


Those who find themselves progressing deeper into the southeastern parts of Elden Ring's Limgrave may come across a fairly hidden area called Impaler's Catacombs. This inconspicuous place is rather straightforward in design but features some pretty punishing enemies for early-game players. The uninitiated may have trouble with the Fanged Imps that prowl the underground "dungeon," and the boss can be downright challenging for anyone that's unprepared.
Thankfully, making it through Impaler's Catacombs in Elden Ring is fairly fast as it's a smaller location with few branching paths. Using the following walkthrough, players can quickly and effectively strike through the enemies found within the lair or simply run past them to engage with the boss. Here's everything players need to know about Impaler's Catacombs and how to survive them.
Where Is Impaler's Catacombs Located?

Those that have yet to find Impaler's Catacombs will need to travel all the way to the southeastern part of Limgrave. Players that follow the road from the Mistwood Ruins to the South will eventually run into The Bridge of Sacrafice. This area connects to the Weeping Penninsula and players will need to cross the bridge to make it to Impaler's Catacombs. As soon as players cross the bridge, they can turn to the left and use Torrent to scamper up the hill and around the bend. In this area, hugging the wall, players will eventually come across a large door that leads down into the inconspicuous catacombs.
There is a handy Site of Grace as soon as players enter the area, down the first flight of stairs. It's definitely one of the easier zones to access in Limgrave.
Impaler's Catacombs Walkthrough

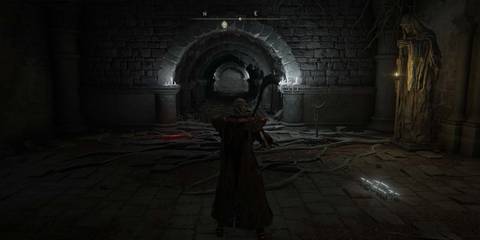
Impaler's Catacombs features a couple of branching paths but for the most part, is a rather straightforward adventure. Players will begin by descending the large staircase in front of the Site of Grace and entering a room where the stairs bend to the left and a bottomless pit resides close by. This area is patrolled by two Fanged Imps and players should be careful not to carelessly roll off the edge of the map when engaging the enemy. Fanged Imps can be a bit of a handful for those just fighting them for the first time. They're very agile and can close gaps quickly. Once the enemies are defeated, players can snag the Grave Violet from the middle of the staircase and proceed through the hallway into the next area.


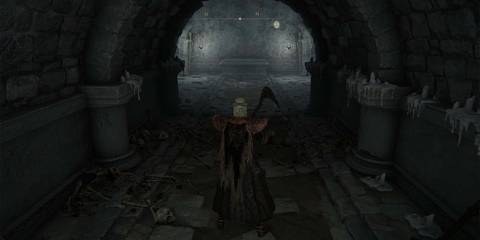
The room past the entryway features a locked door and a Summoning Pool that players can interact with. Thankfully, there is only one path forward and as players progress down the hallway they'll be greeted by three Fanged imps. During the stroll down the hallway, players should keep an eye out to the left, where they can grab a Grave Glovewort on a nearby coffin. Shortly after players will be presented with a fork in the hallway. The path to the left leads to a room with another Grave Glovewort and a singular Fanged Imp that's waiting to strike. Once players have the loot they can slip back to the corridor and take the other path.

When players see a large room they should immediately stop in their tracks. Creeping up to the doorway and looking up will show that the room beyond has a spiked ceiling. The second that players step on the floor in front of them, the room will start to "rise up" and players that don't hurry will be crushed into the spikes by the elevating floor. The only thing worth snagging is a Grave Violet to the left and players will need to be quick on their feet to snag the item and return to the outside of the room to avoid being crushed.
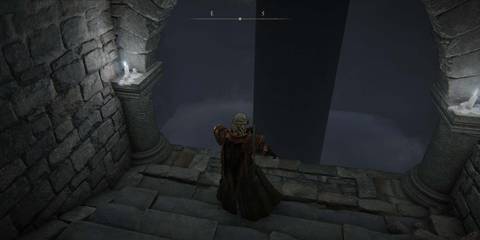


The only way to progress past this point is to step forward to activate the elevating floor then quickly move backward so that the entire structure raises up while players are still firmly in the hallway. Once the floor raises up high enough, players can jump down to the watery area below. The mausoleum-like area is filled with undead that, while slow, can quickly overwhelm the player if they're not careful. Tons of them will spawn as players move through this area so it's best to quickly snag the Root Resin and Prattling Pate: "Please Help" from the area before running around the corner to a nearby ladder.
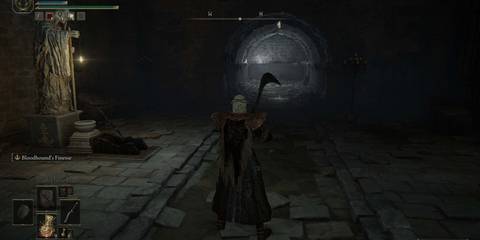

Once players climb the ladder they'll be able to activate the switch in front of a nearby statue. This lever will open the massive doors at the start of the catacombs and the nearby window at the end of the hallway drops down into the room as a shortcut. All that's left is to head down the stairs past the newly opened door and face the boss of this area, the Erdtree Burial Watchdog.
Tips For The Erdtree Burial Watchdog Boss

Those that have faced any of the other Erdtree Burial Watchdogs prior to this fight will face a very familiar foe. This particular Watchdog has multiple faces and is capable of spewing large amounts of fire in multiple directions. Past that, the boss operates very similar to its counterparts, using a massive sword and its stone body to inflict heavy damage.
What really makes this fight different than the others is the inclusion of four Fanged Imps. These creatures can be deadly enough to a lower-level player, which really amps up the boss fight. Because the Imps are so fast and painful, it's highly recommended that players deal with them first by running away from the Watchdog and taking the fast-moving enemies out one by one. This can be a bit of a headache as the Fanged Imps can easily dodge slow-moving weapons and Watchdog will endlessly pursue the player while they're trying to deal with the Imps.

Once the Imps are dealt with, players can turn their attention fully to the Erdtree Burial Watchdog. This boss moves in a strange manner and can seem jittery at times, which can really throw a player's timing off. It usually attacks with its sword and has a wide-sweeping AOE that is telegraphed by the Watchdog slamming its blade down to its side. Players will also need to keep an eye on their range to the Watchdog, as well as its other faces, as it will spew large amounts of fire from time to time.
Aside from those attacks, the Watchdog will also lunge, poke with its sword, float, and slam downwards in an attempt to crush the player. The downward slam is especially frustrating thanks to its aftershock. The beast is also capable of standing on its hind legs and stretching towards the ceiling. When in this mode it will move towards the player at a faster rate and will slice its sword down in a chopping motion.

The best strategy to deal with the Erdtree Burial Watchdog is to pursue it from behind or directly at its front, keeping an eye out for the windup on its AOE attack. Players should poke at the boss and then escape, making sure not to get too overzealous and put themselves in a position to take damage. The Watchdog is semi-unpredictable, making it a bit of a handful for players who have yet to face one. Those that take their time, do damage, and retreat before the Watchdog can react, will have the best success.
Upon defeat, the Erdtree Burial Watchdog will drop 2400 Runes and the Demi-Human Ashes.