Quick Links
There’s plenty to explore in Dying Light 2 with a seemingly endless array of side quests, story missions, uncovered caverns filled with murderous infected, etc. But the most surprising find within this massive world has been the adept inclusion of Easter Eggs.
The black ducks are some of Dying Light 2’s most challenging finds, and their purpose is even more mysterious than their scattered placement throughout the map, but the reward for an eagle-eyed player should prove to be too compelling to pass up. First, we’ll go over where to find each of these 5 villainous rubber ducks before detailing what to do with them once they're safely in inventory.
Prerequisites Before Beginning Your Duck Hunt
The VNC Building is the tallest on the map in Dying Light 2, and accessing it comes hand in hand with completing one of the most consequential story missions in the game. To uncover the black duck Easter Egg, it is necessary to first complete the ‘Broadcast’ mission. Beyond that, everything else should be relatively accessible no matter where the player is on their Dying Light 2 journey. The ducks can be obtained in any order.
Garrison: Duck 1
This duck is actually located in the VNC tower. The easiest access point will be from the Southern entrance.
Take the zip elevator up and enter into the building through the doors on the left. At the far end, take the elevator to the VNC rooftop. Bear in mind, it’s a long way up, so don’t be surprised if the elevator takes a few beats before reaching the roof. At the top, there is a perch overlooking the Western sky. Maneuver onto the perch, then turn around and drop carefully to the open window just below. Inside, there is an inhibitor container along with a safe code on the desk. The safe is just next to the window, and the combination should be fairly obvious from the clue given (6-6-6).
Garrison: Duck 2
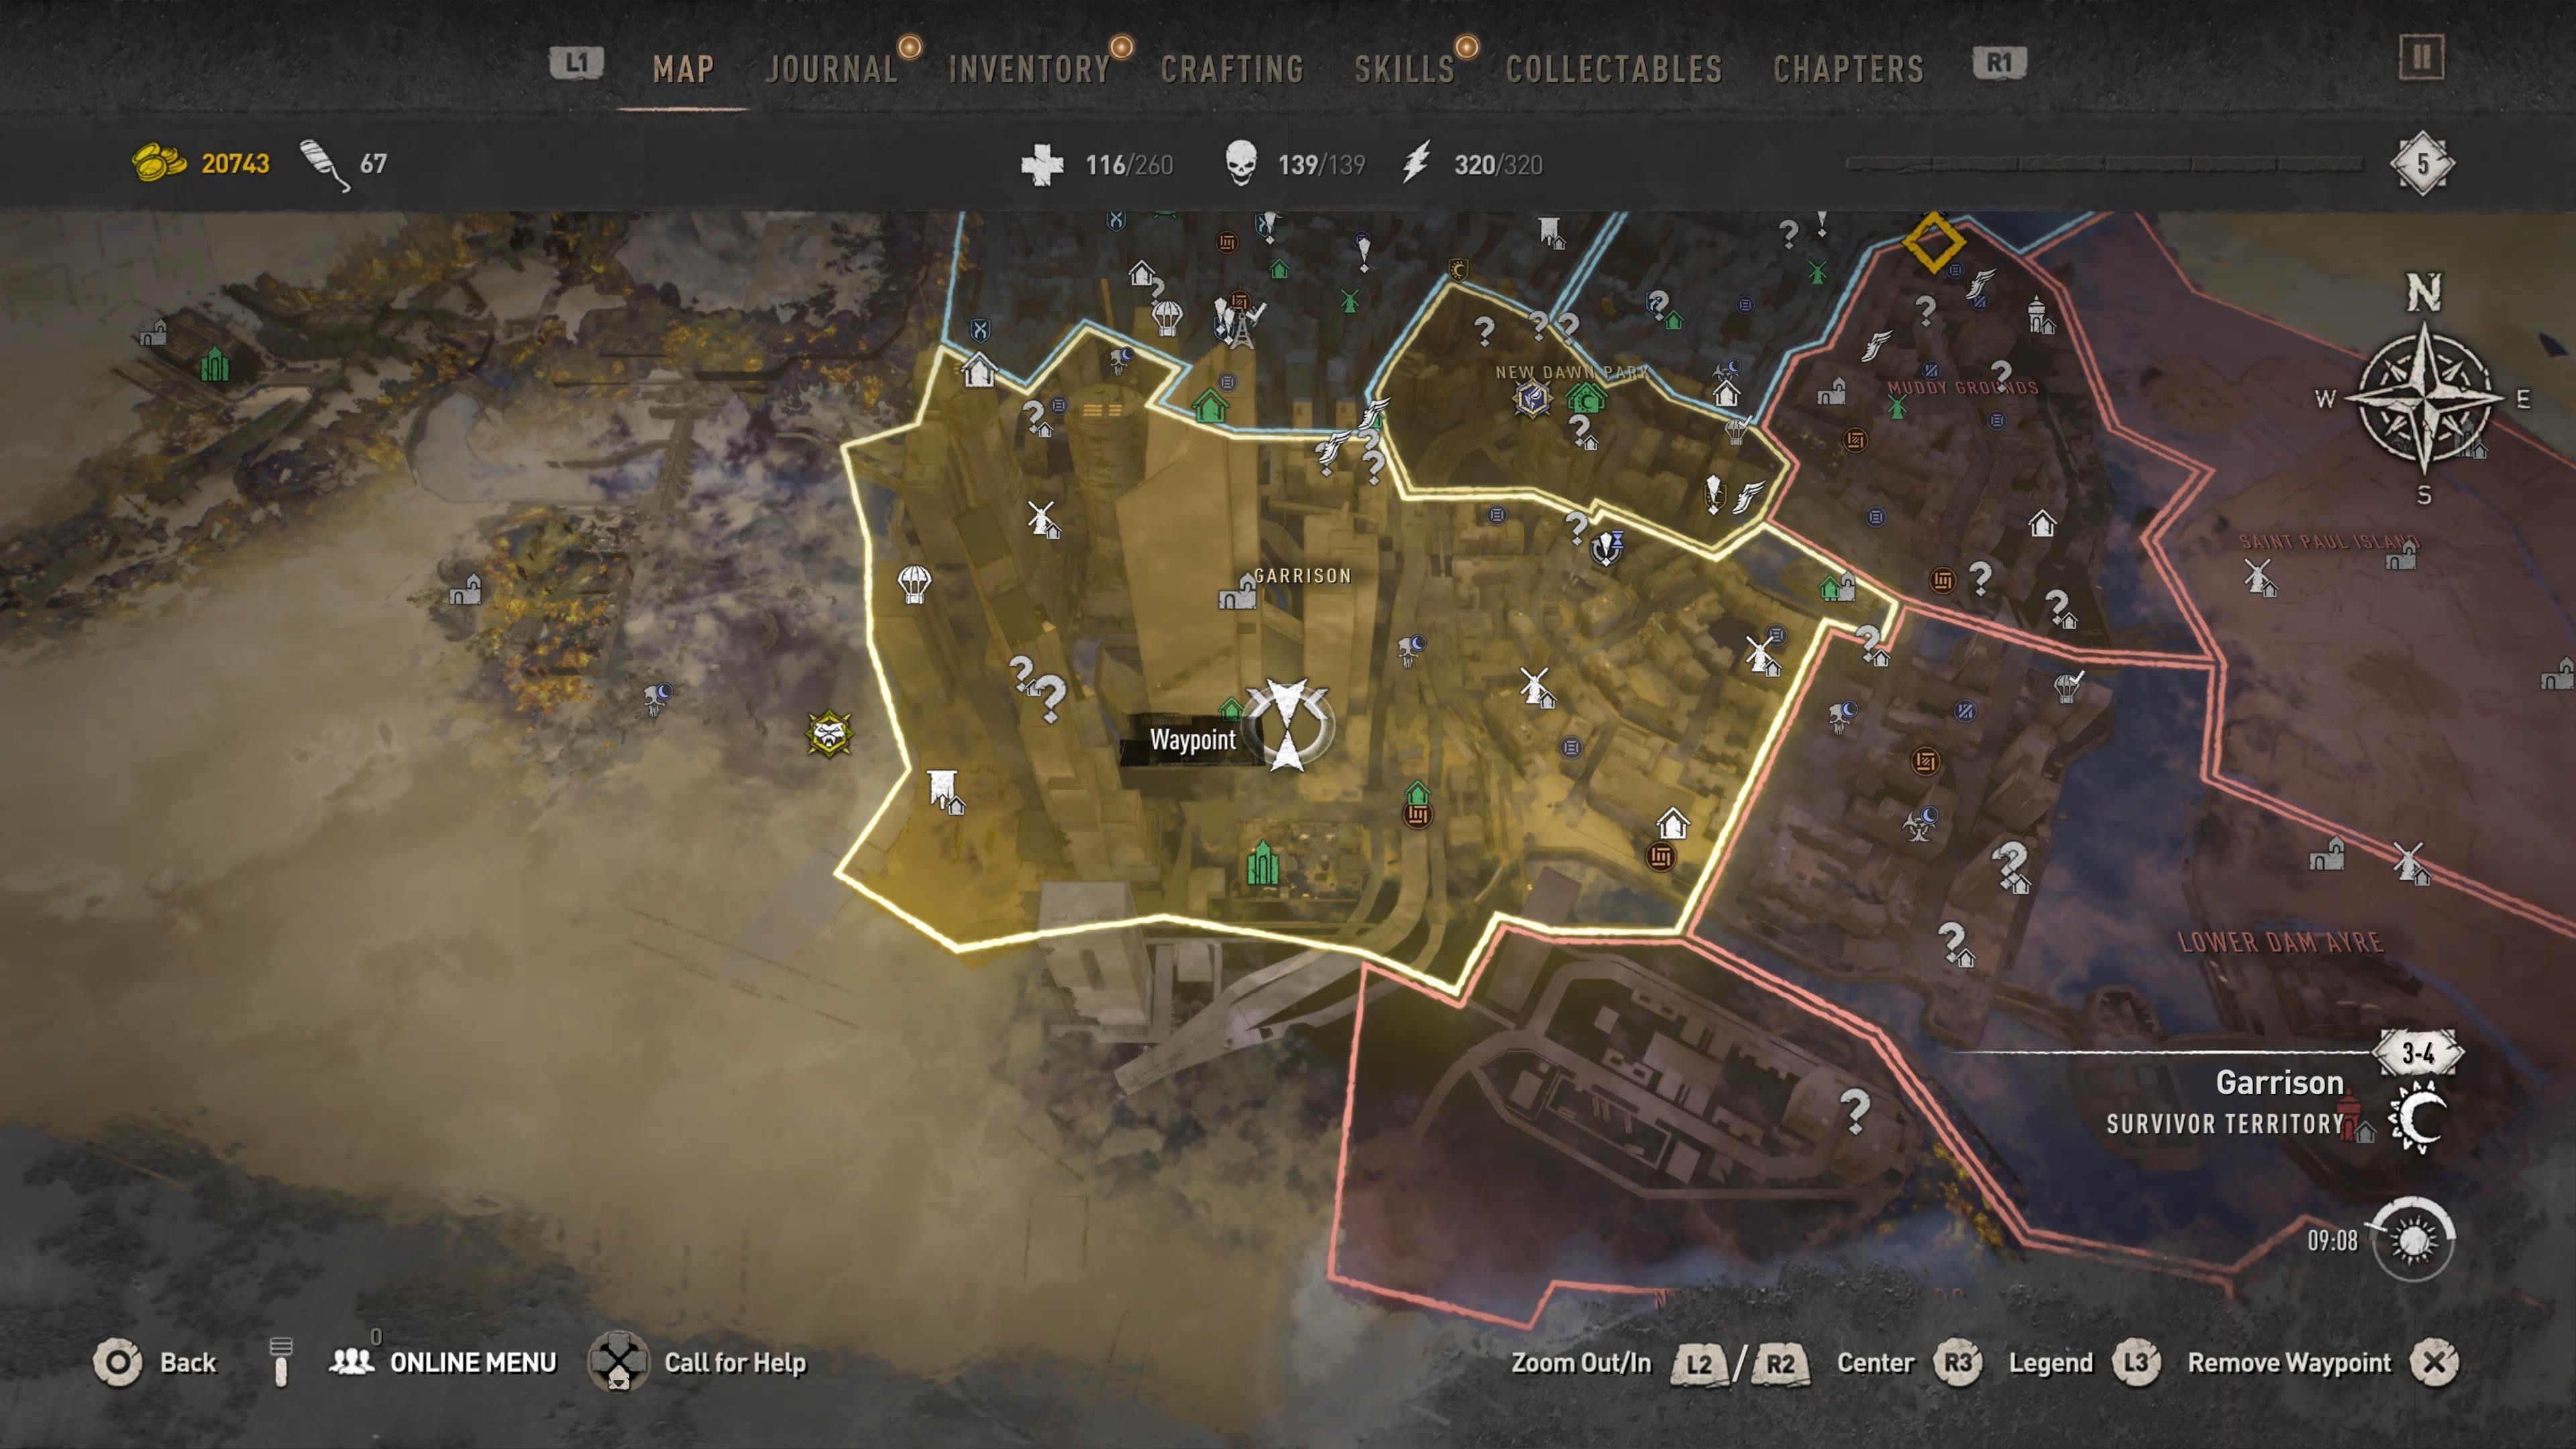
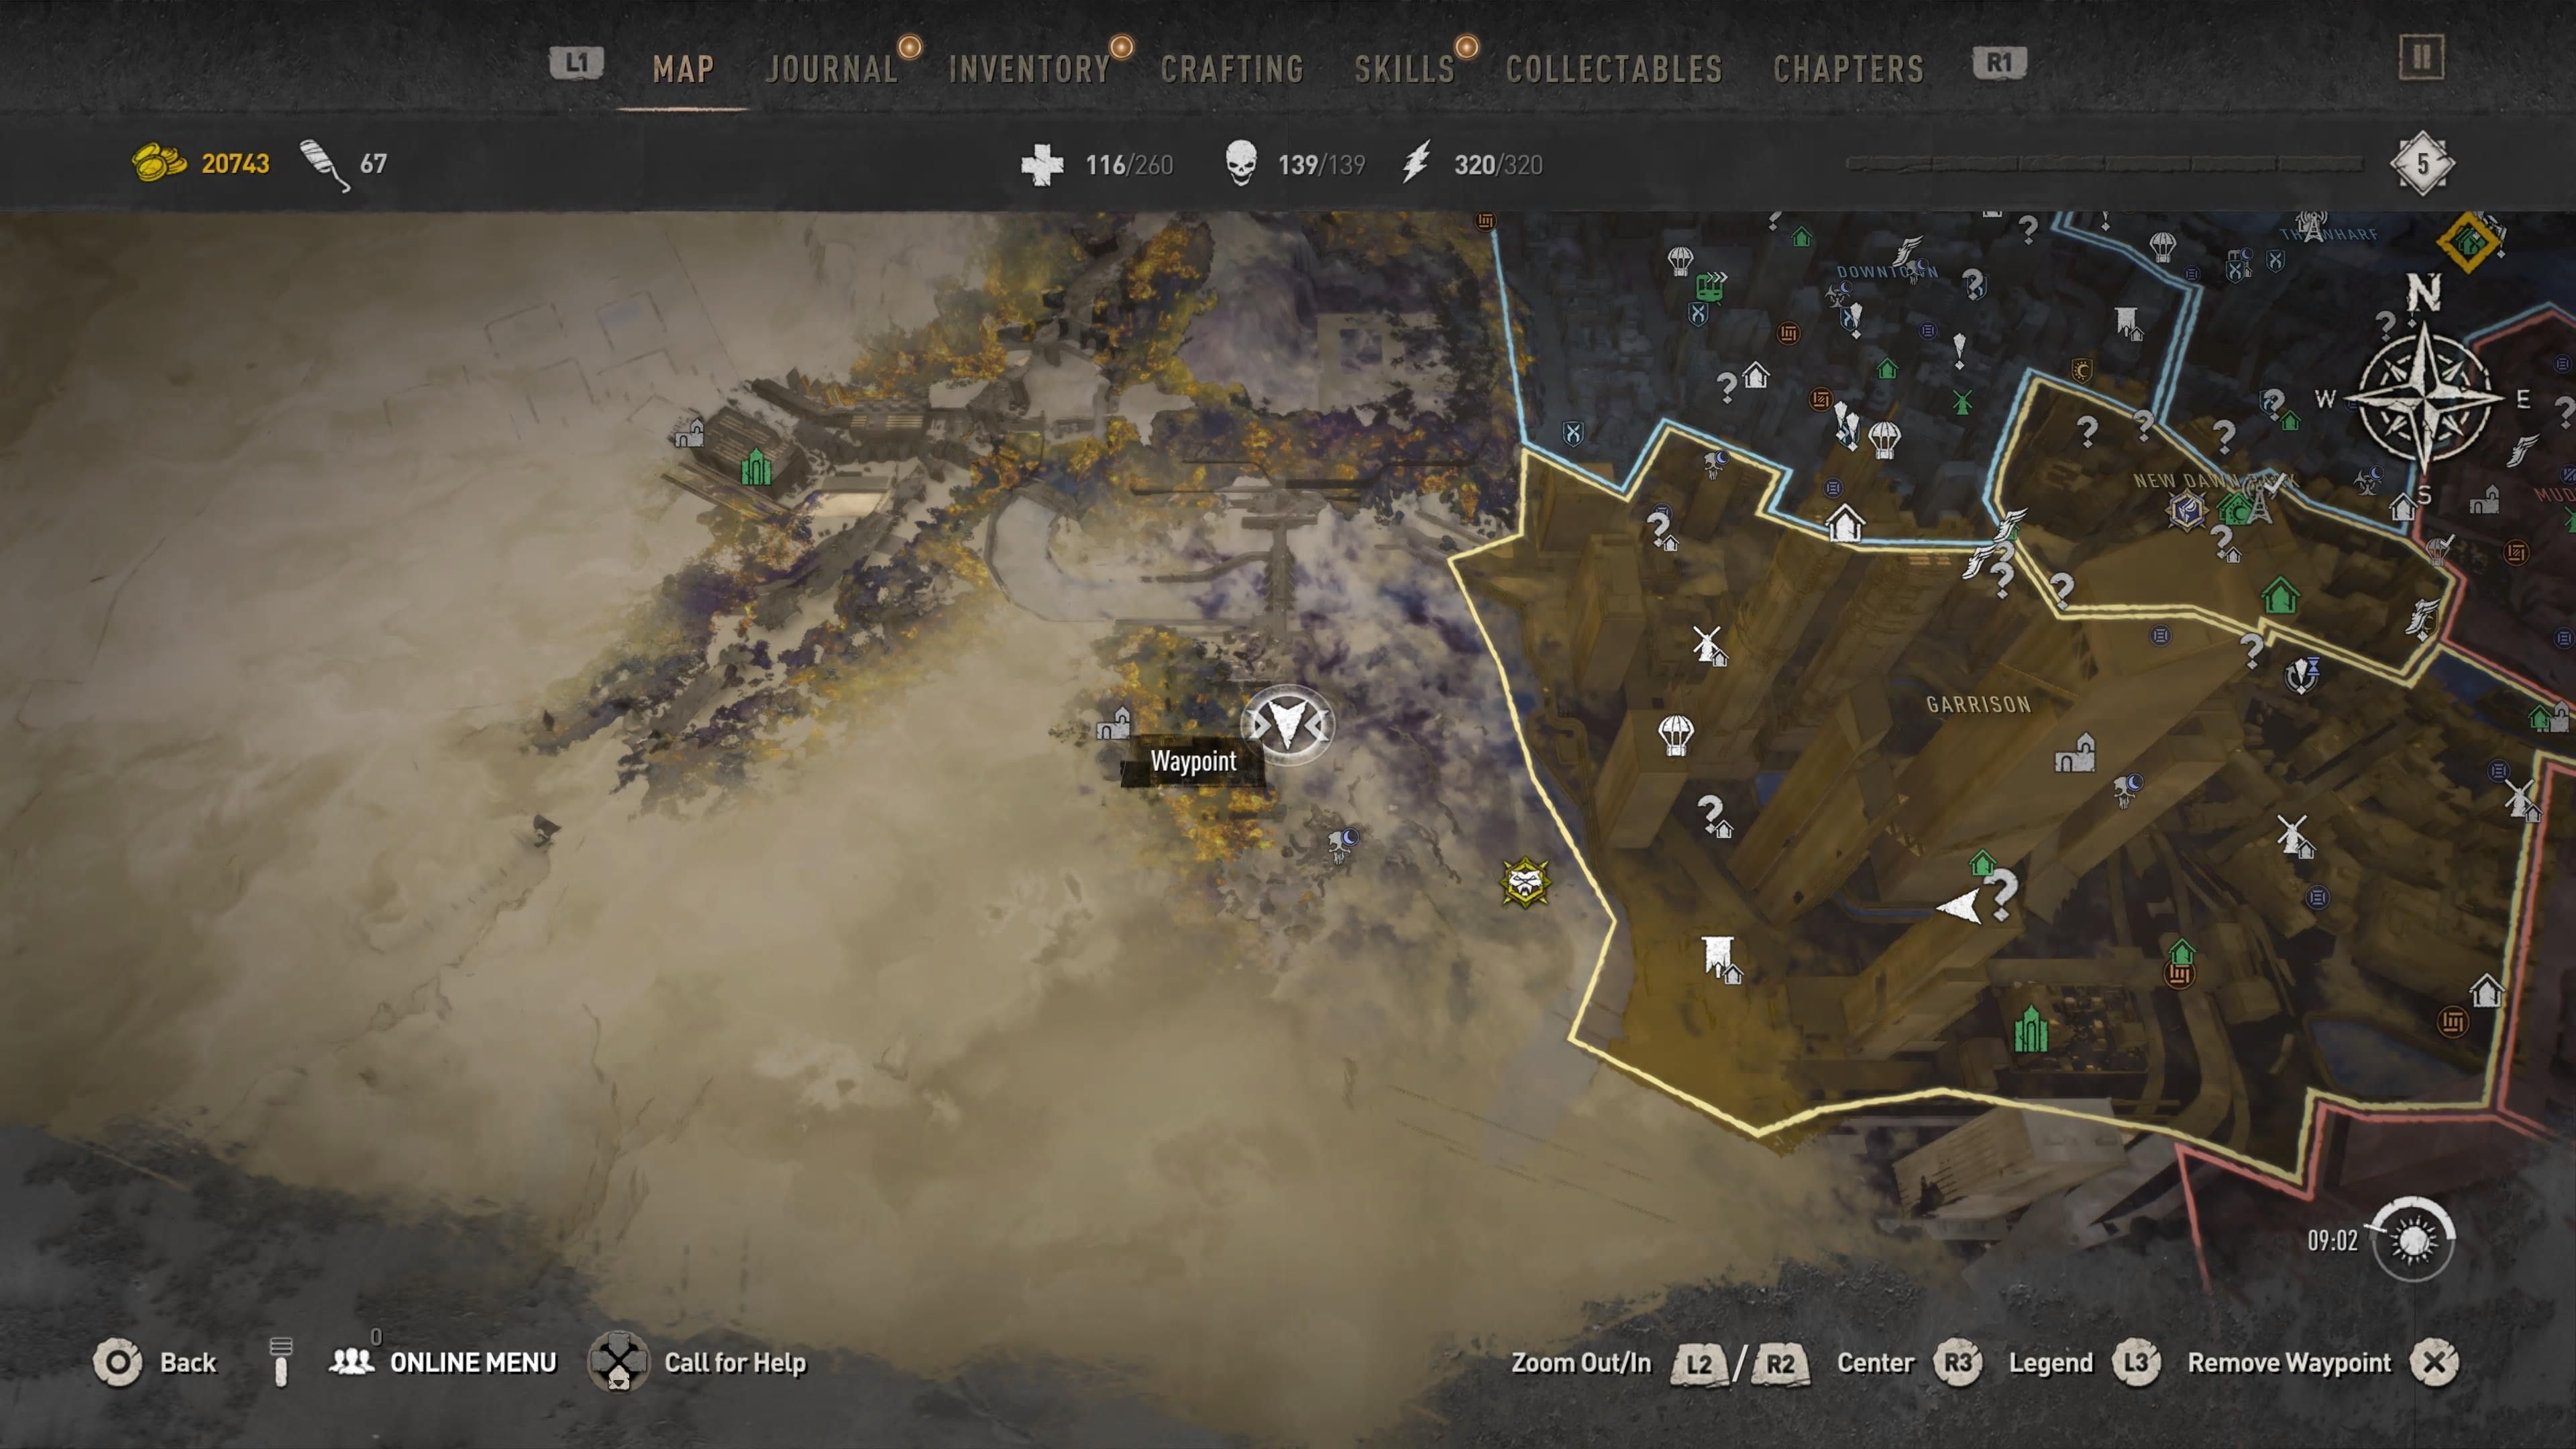
This duck is actually not in the Garrison perimeter but actually just West of it. Head through the woods to the Mount Lucid Observatory.
Next to the main entrance there are two towers on either side. The right side tower is the one holding the duck. Using the grappling hook, latch onto one of the two beams protruding from the tower. Jump and latch on again to the other beam. Continue to use this method until high enough where it is possible to access the tower. Don’t get discouraged if it takes a few tries.
Houndfield: Duck 3
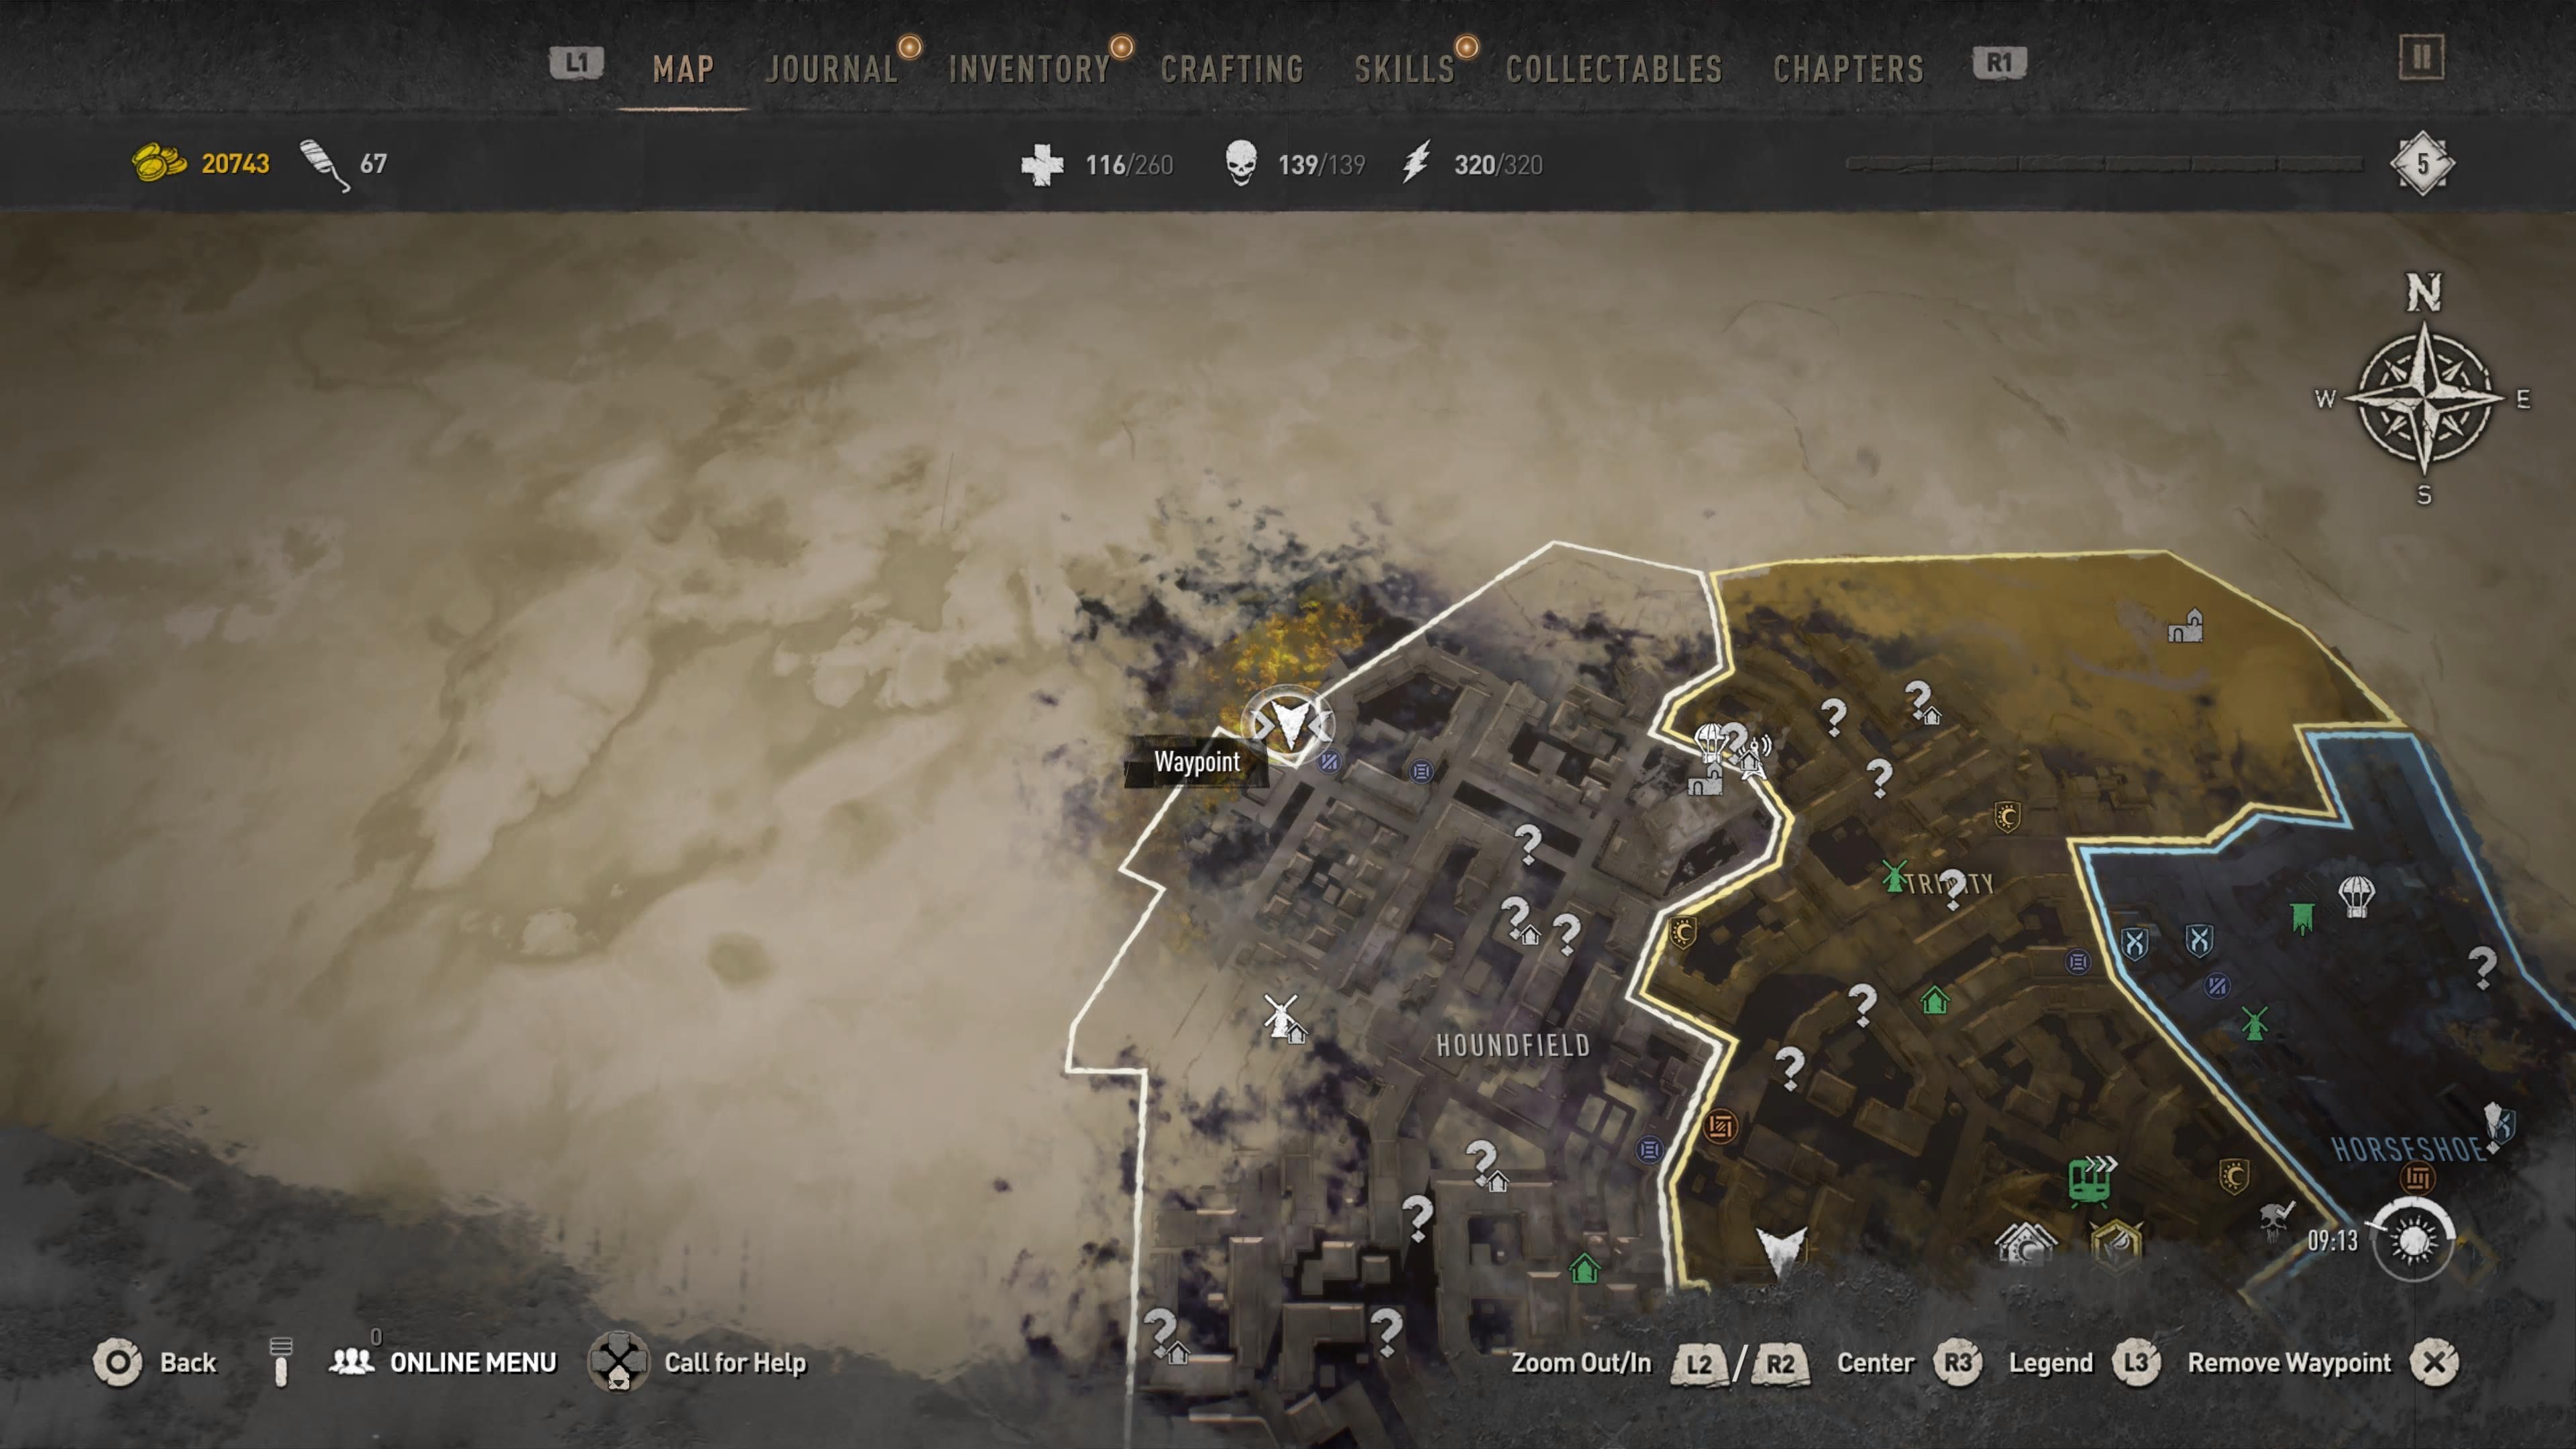
The contaminated marshes in the Western corner of the map house this duck. There is a Forsaken Store just next to the area of marsh where the duck lies.
Jump to the patch of land between the trees that does not immediately infect Aiden with contaminate. On the ground, this duck will be sitting with the same creepy, evil eyes and dull grin as the others.
The Wharf: Duck 4
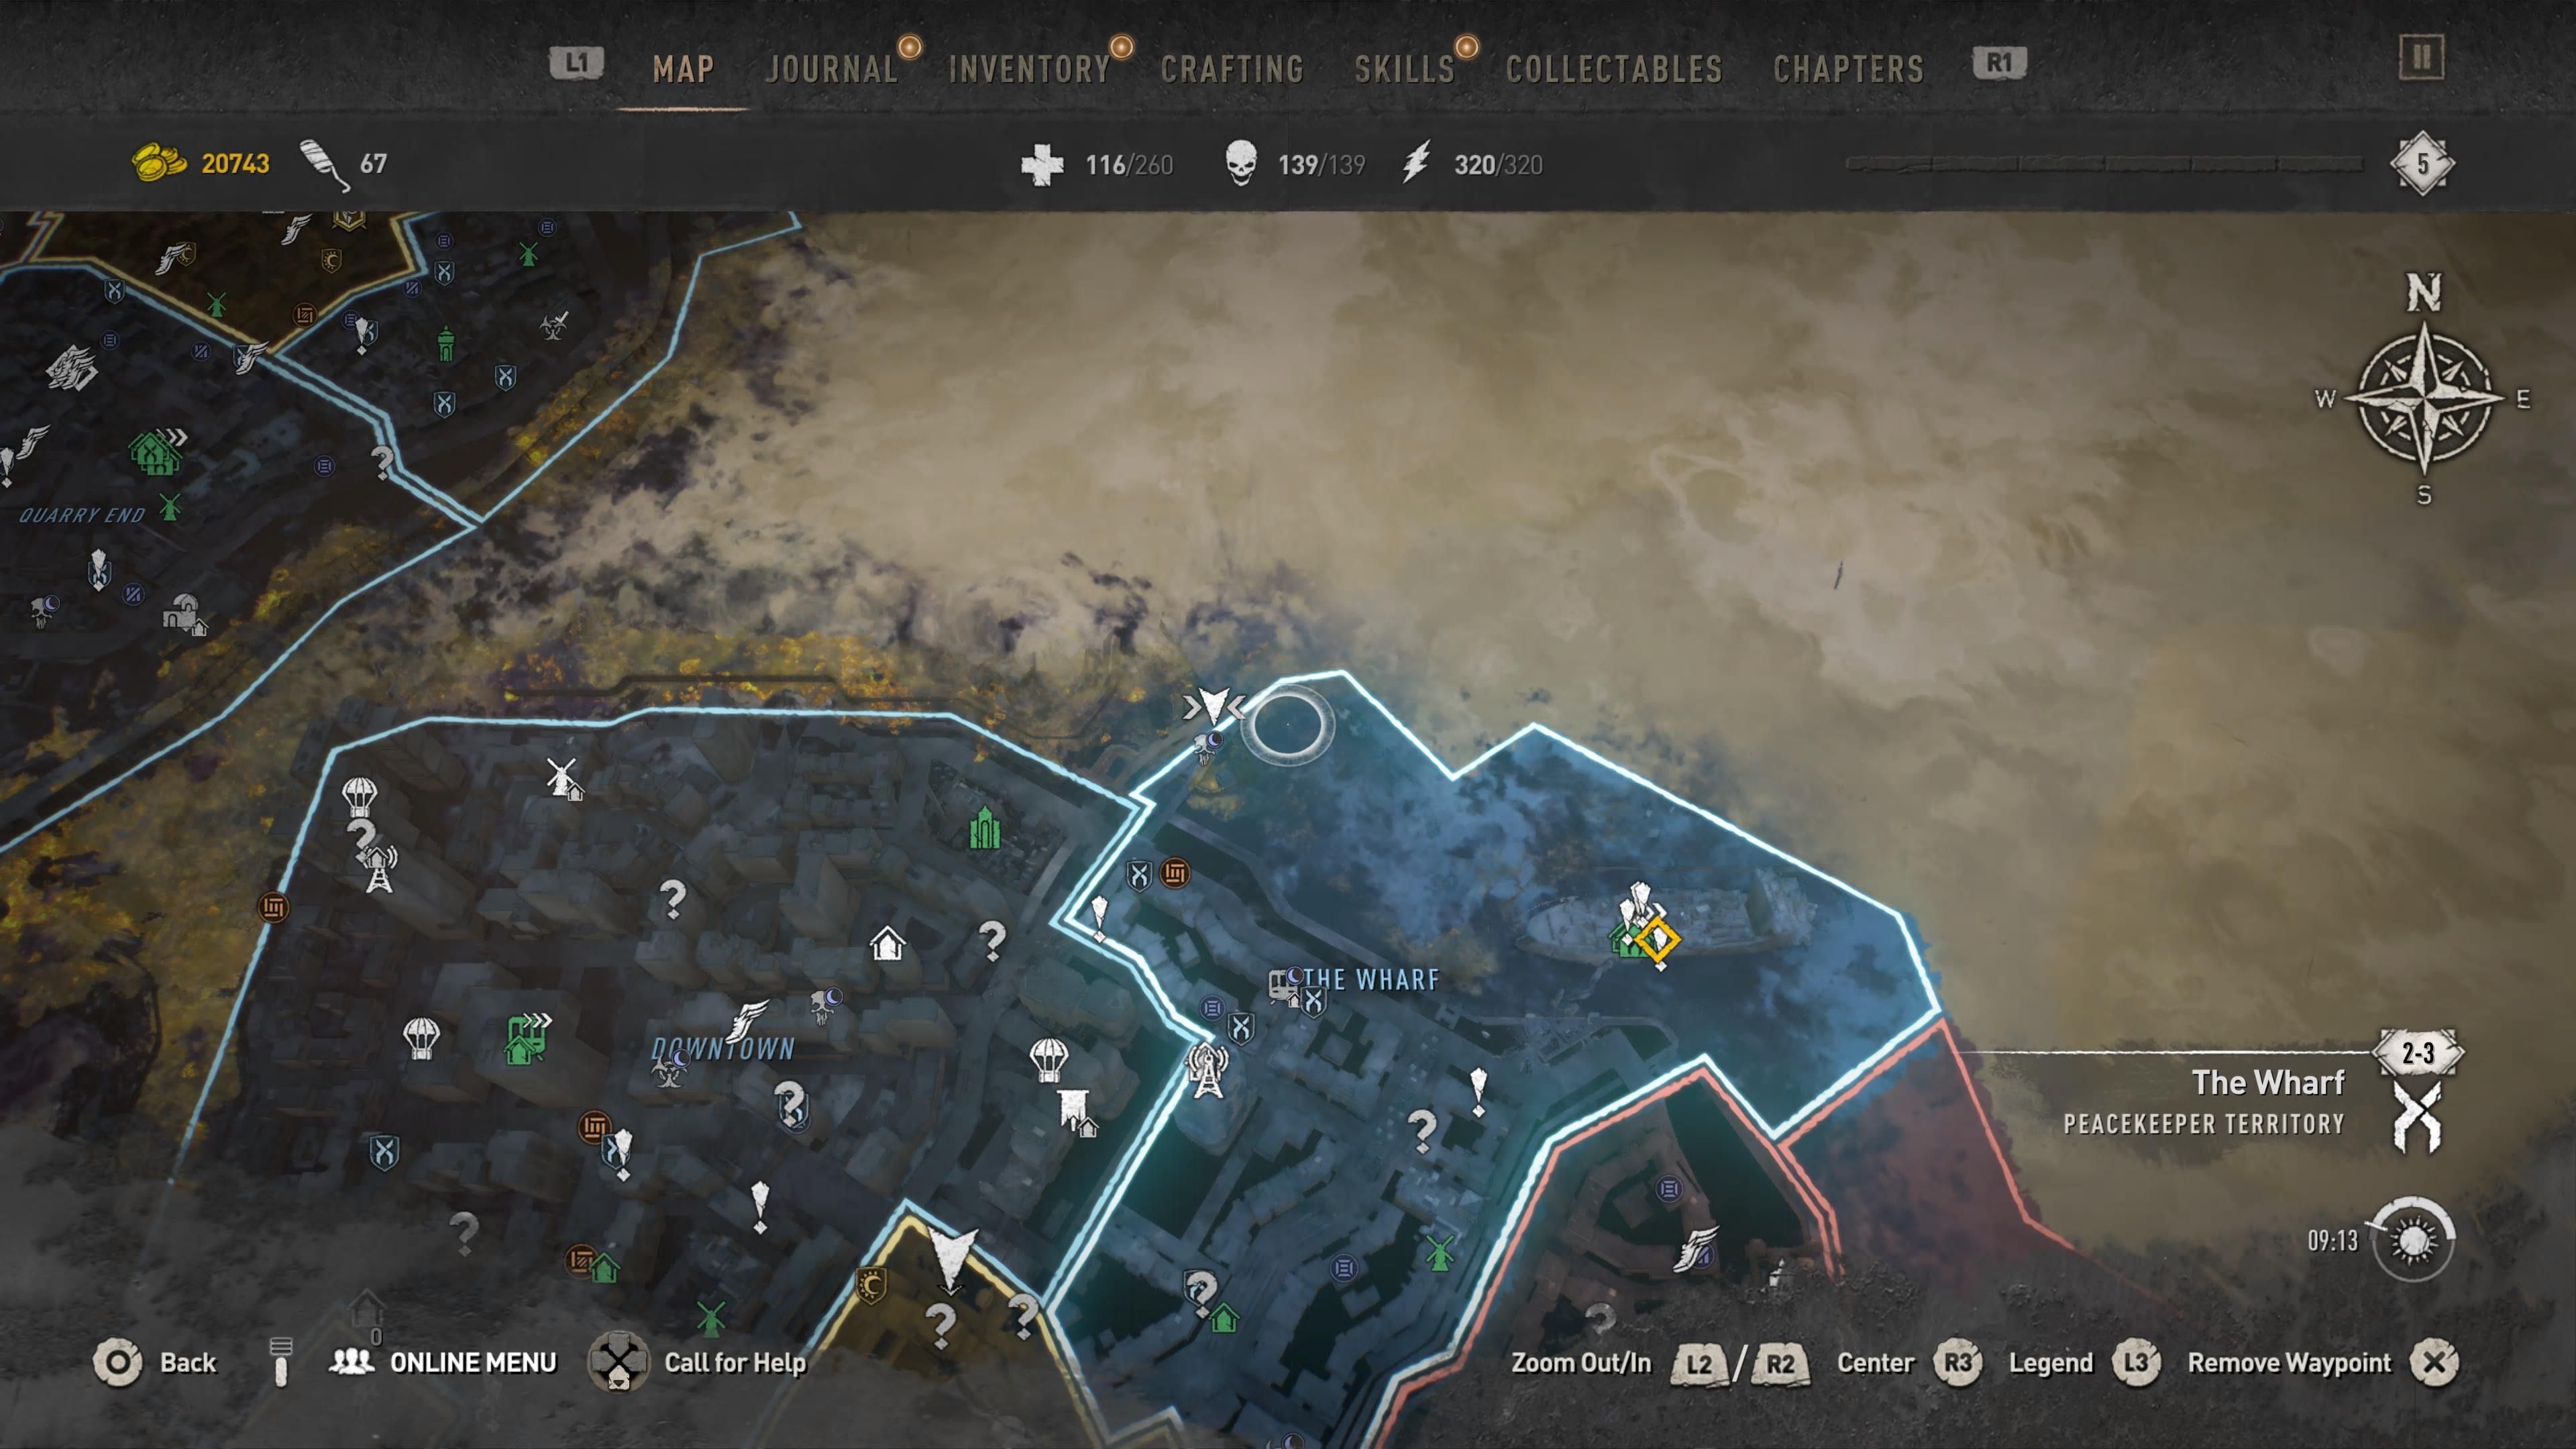
The North West corner of the wharf is home to one of the most cleverly hidden ducks on the list. Head to the GRE anomaly location.
From there, navigate across until standing atop the container on the far North end. Now, jump into the water. Just below the surface, there is a police vehicle. The trunk can be opened with an Easy lockpick. Inside will be an evil duck shrine.
Lower Dam Ayre: Duck 5
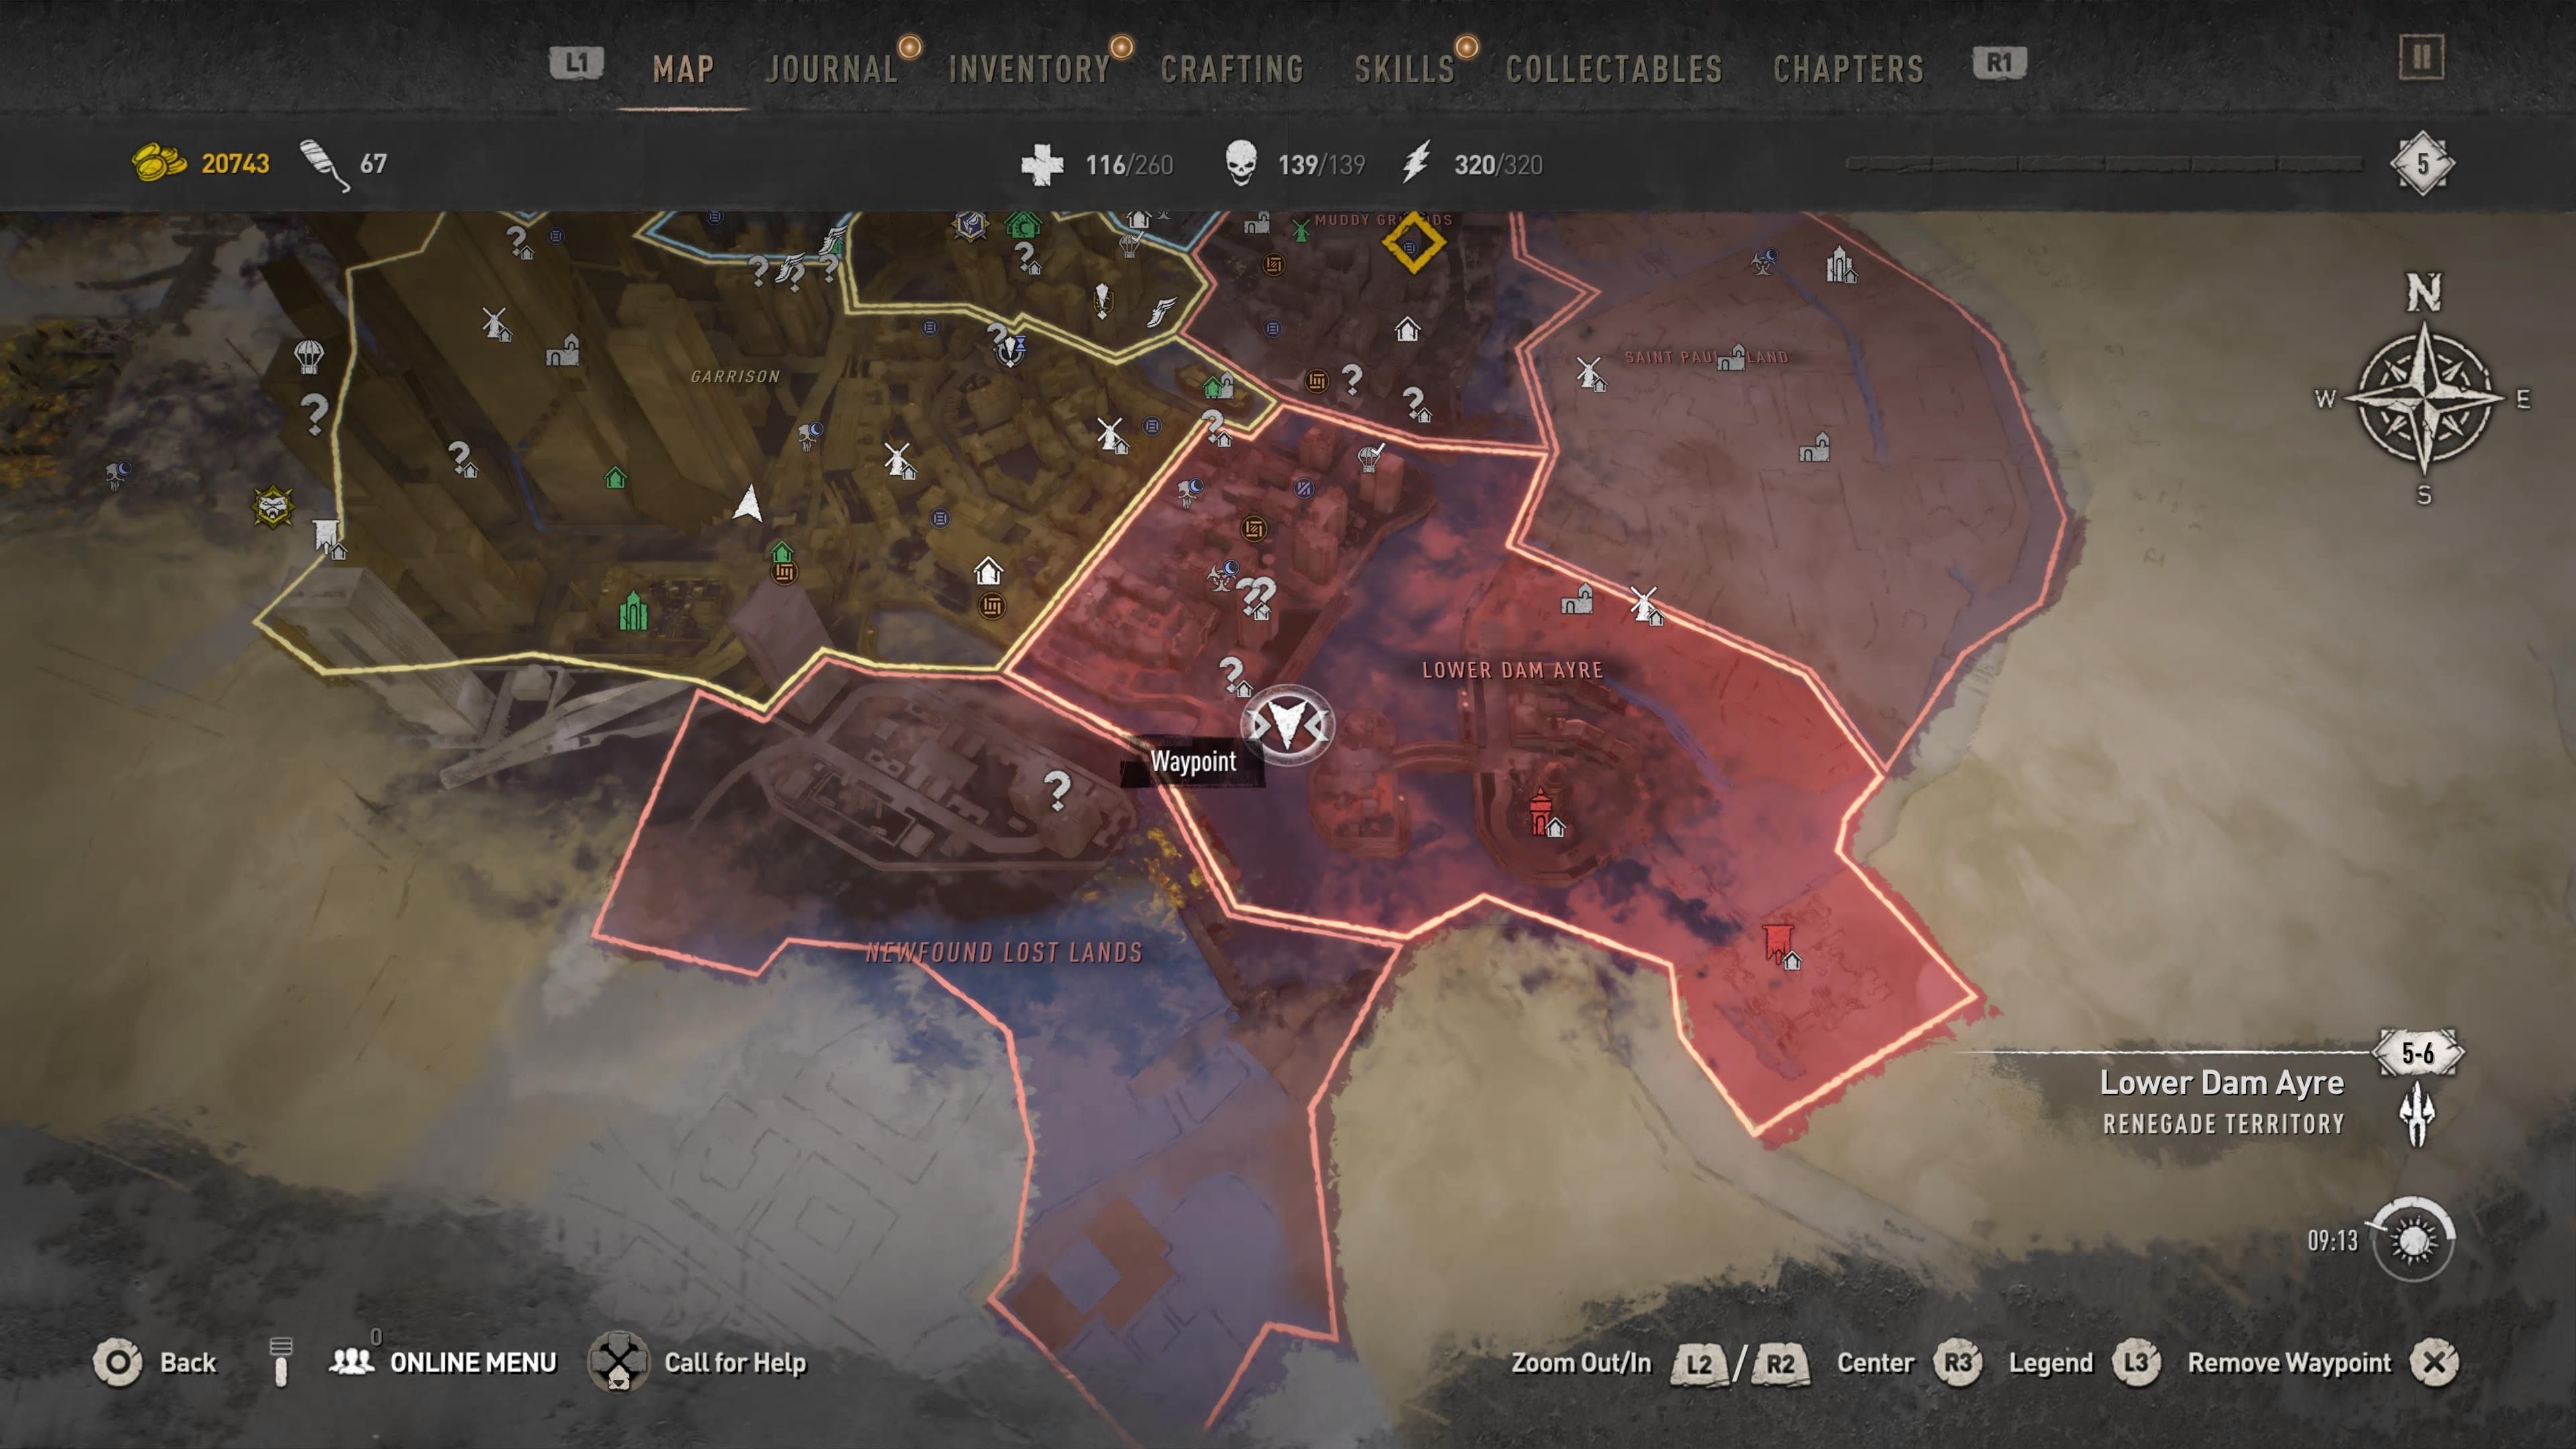
The easiest way to get to this duck is heading to the bridge located towards the South West.
Climb to roughly the middle of the bridge’s right arm and look across the water. There’s a spot not covered in contaminate on the far side. Use the glider to jump to it and collect the final duck.
The Altar
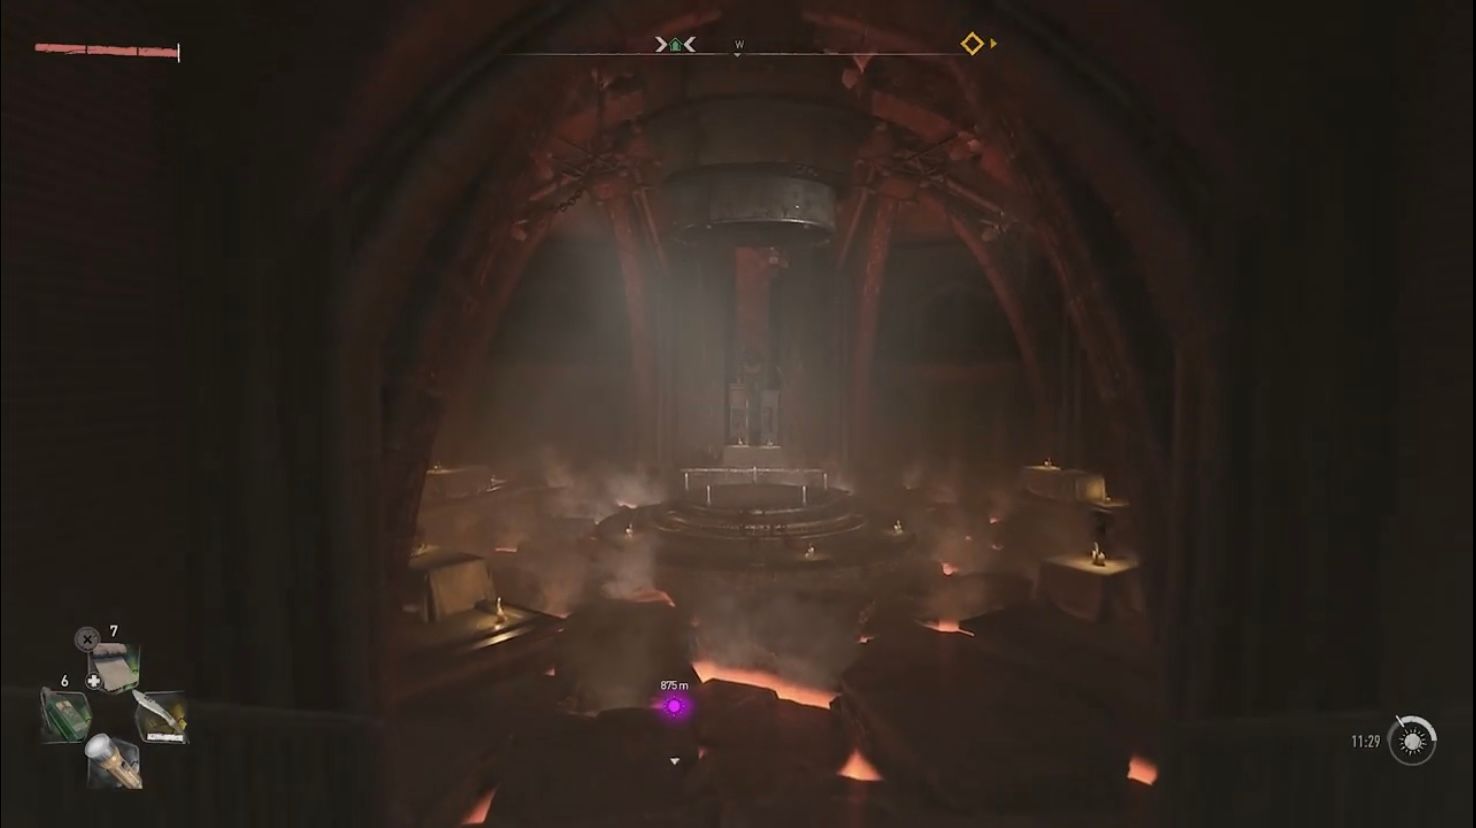
Now that all the ducks have been found, head to the VNC building again. From the main entrance, go to the elevator and take it to the basement. Keep in mind, if the elevator was used to go to the roof of the VNC building, it is likely to take a minute to reach the ground level again. At the basement, go underneath the water and head straight. At the other end, a cracked door on the right will reveal a hallway littered with candles. At the end of this hallway is another elevator. This will go to level 0 where the altar can be used to complete the duck ritual and access the Easter Egg(s).
Important: some players have noted that when exiting this area, do not fast travel directly from the altar location otherwise the elevator that goes to level 0 will not be able to be called again.
The Ritual: The Doom Easter Egg
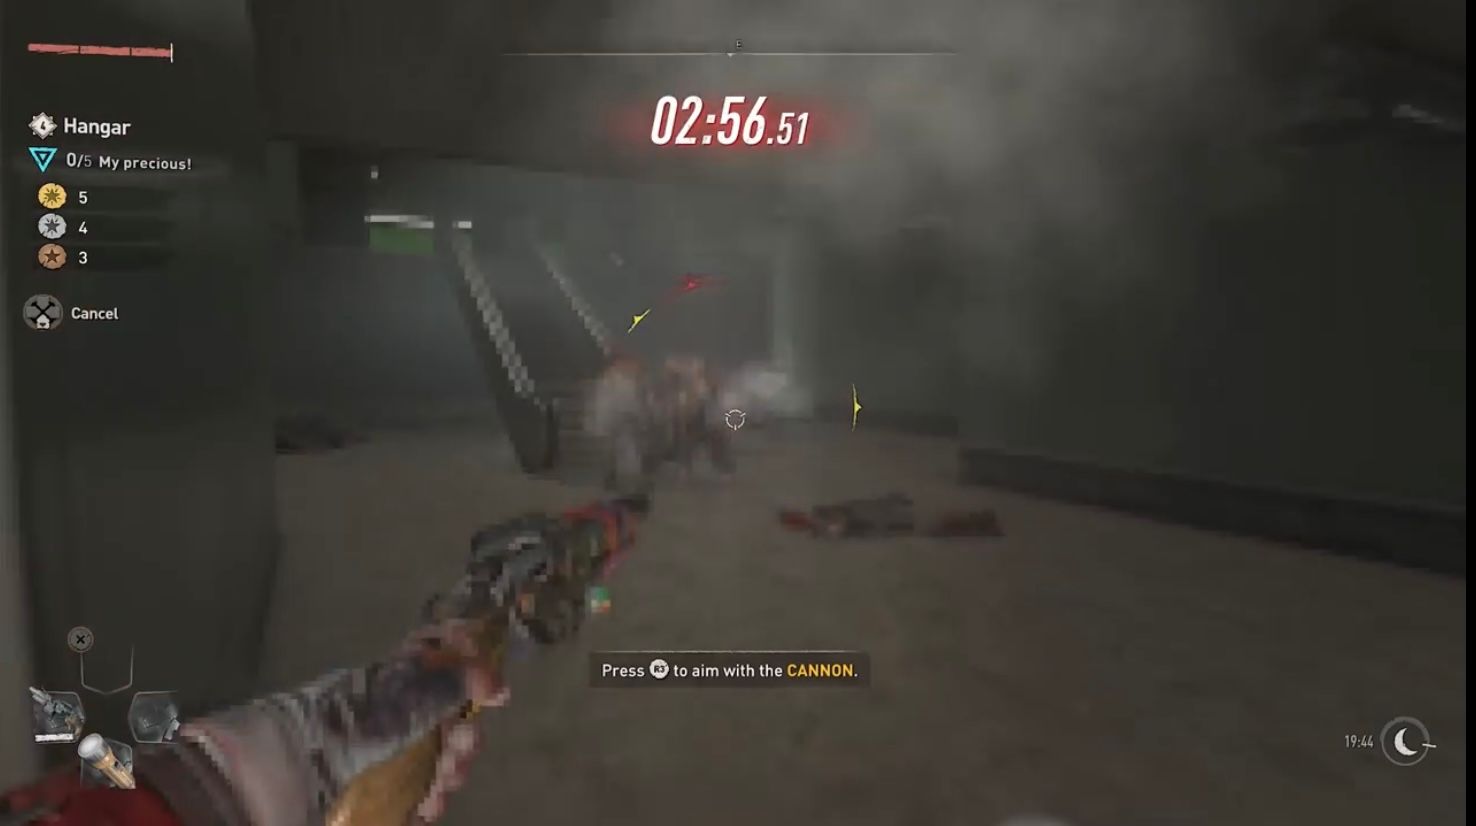
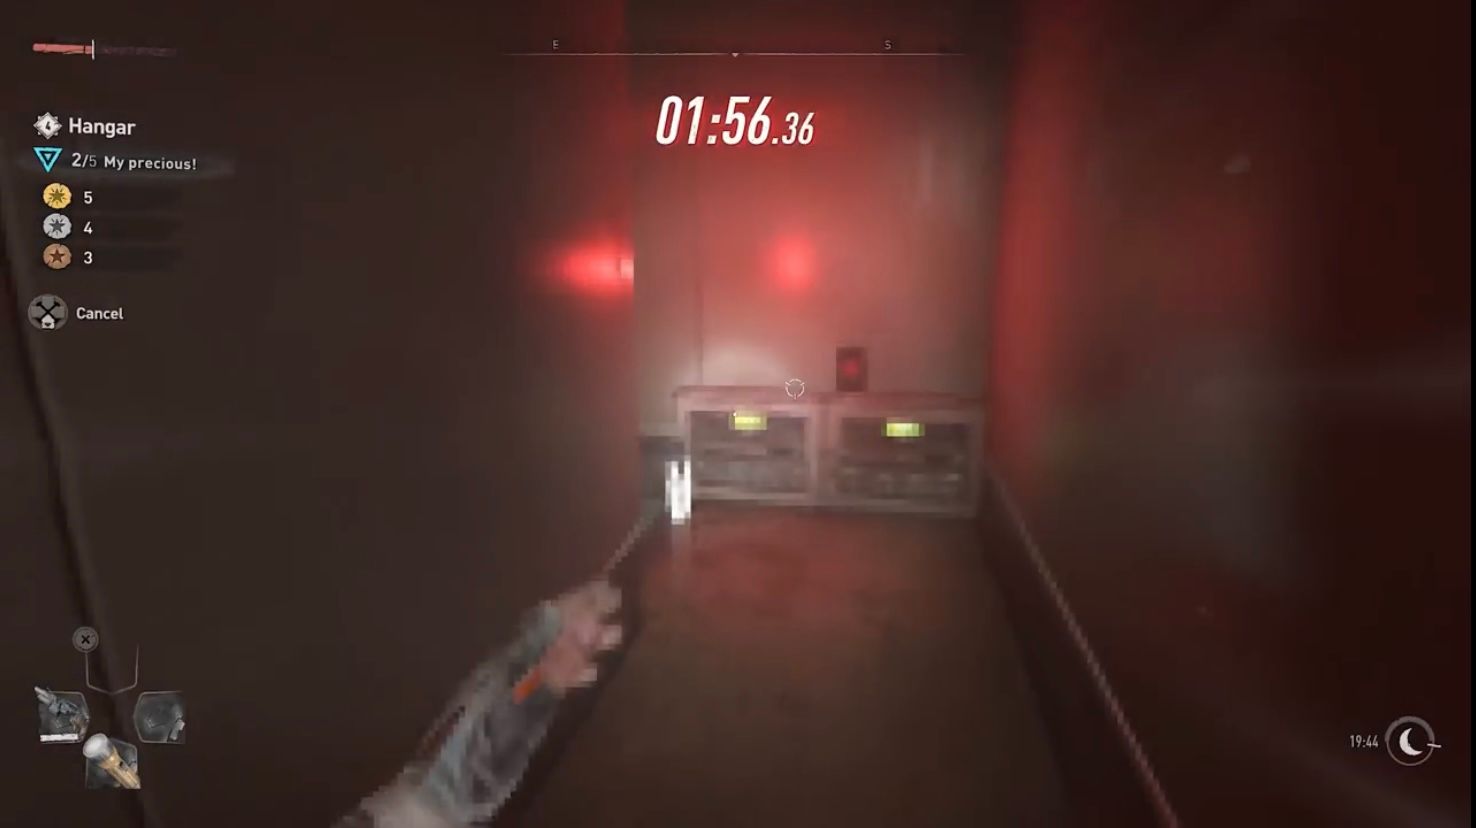
Place the ducks on each of the altars and connect the power in the shape of a pentagram. The flame upon the altar will ignite revealing a Doom-Guy style Shotgun. Interacting with it will prompt the option to begin the mini-game. The mini-game is a Doom Easter Egg complete with retro-style pixilated graphics, heavy metal music, and a lot of shambling monstrosities for you to blow away. Sadly, the gun used in the mini-game is unable to be carried in the main game. However, there are still items to find within this arena that may be fun to use in the world of Dying Light 2.
There are technically four Easter Eggs within this Easter Egg.
Easter Egg 1: Dying Force Blueprint
From the start point, head right to the green room with the pathway through the center of it. At the end of that green room in the short hallway on the right side, there is a wall that can be interacted with. Upon interacting, it will open to reveal a passageway. Through here, a room will be revealed with another green pool in the center of it. Perched on the dais in the middle of that pool is another ‘My Precious’ token, and below that are the blueprints for ‘Dying Force’.
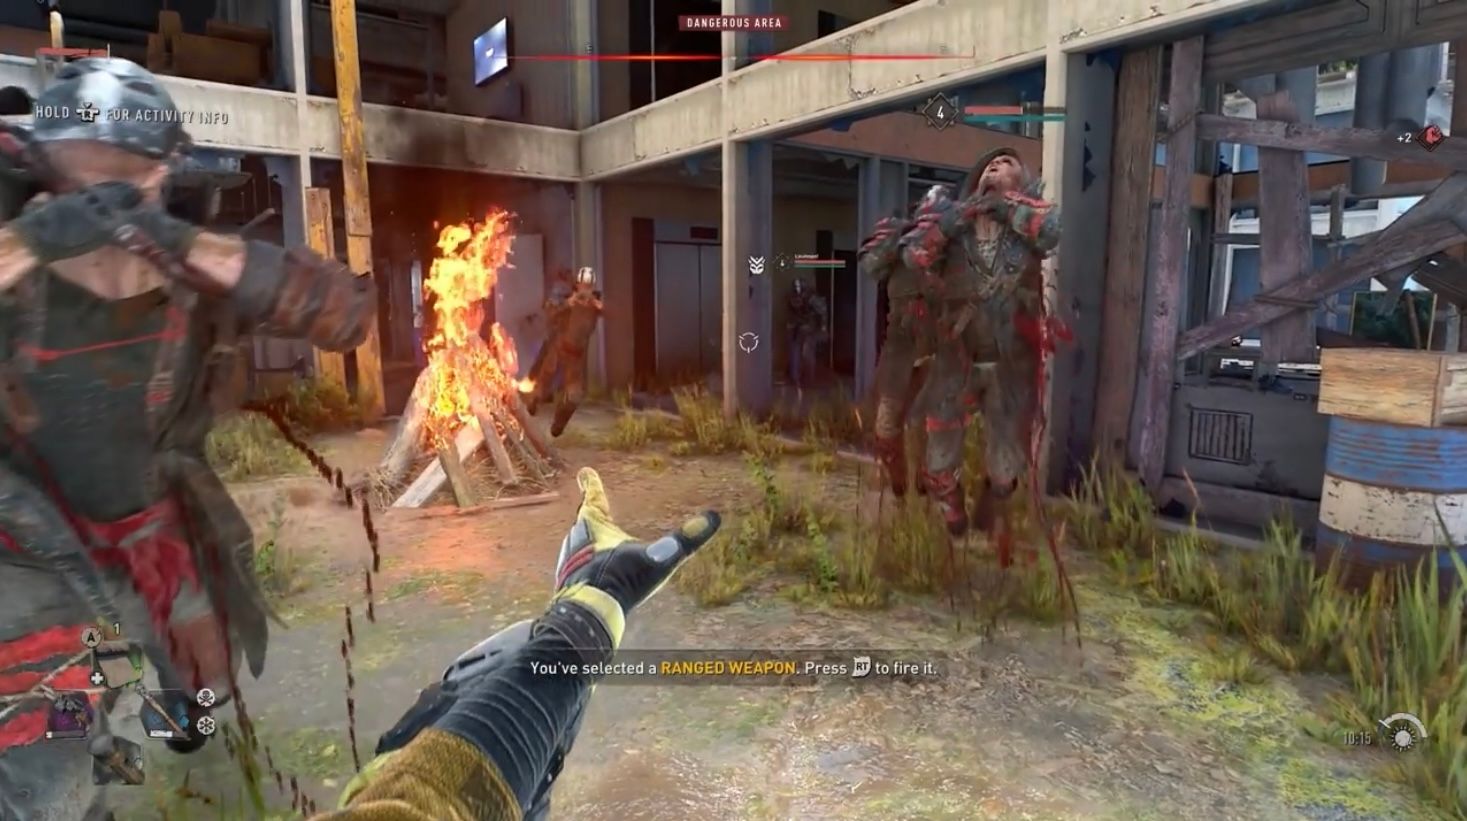
Dying Force is a Star Wars reference. Using it in game will allow the player to essentially force choke enemies. It is as satisfying as it sounds.
Easter Egg 2: Mistress Sword Blueprint
From the beginning, head to the green room once again. This time, take the passage on the far end of the room that is on the left-hand side. The blueprints for the ‘Mistress Sword’ are located on top of a small chest.
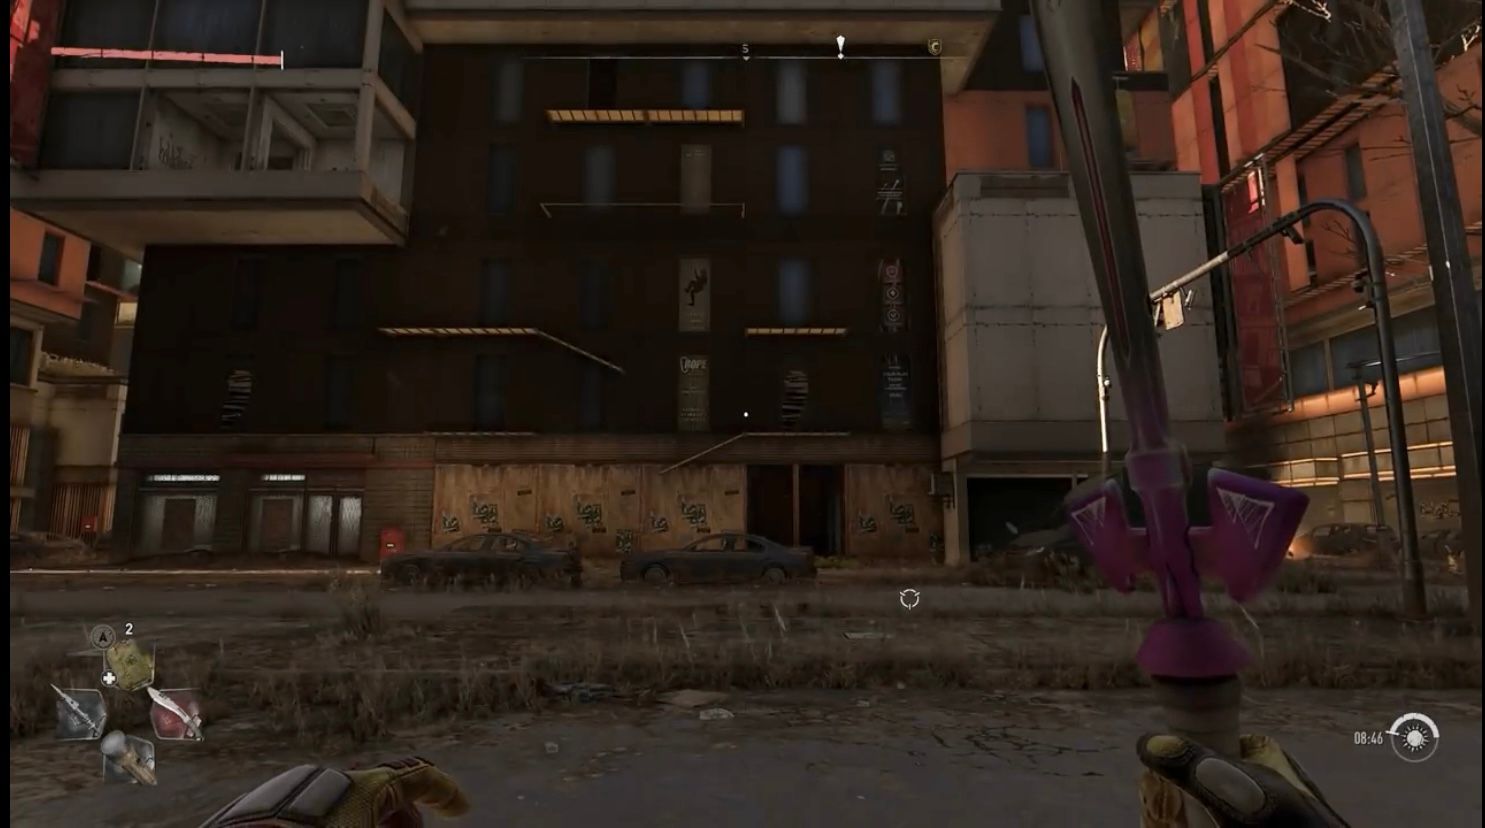
The Mistress Sword is an obvious play on the Master Sword from The Legend of Zelda. Unfortunately, the Mistress Sword does 0 damage. Still fun though.
Easter Egg 3: Dev Letter
Next to the Mistress Sword blueprint, a short ladder can be found in the left corner of that room. Take the ladder up. At the end of the hallway, the devs have left a delightful letter next to another ‘My Precious token’.
Easter Egg 4: Beating the Mini-Game
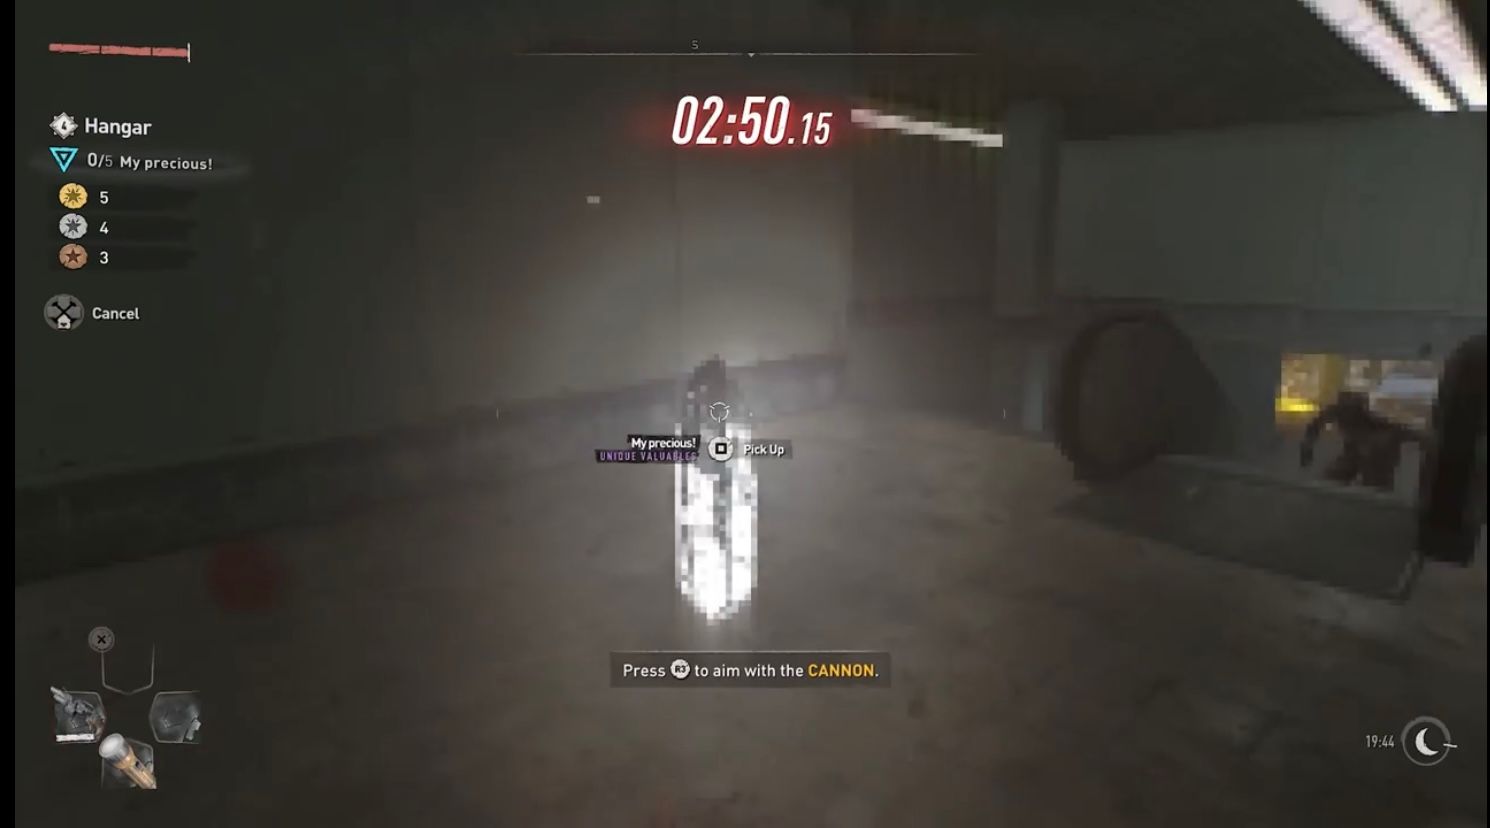
The ‘My Precious’ tokens are used to ‘complete’ this challenge. The gold objective is to collect all five. They can be found as follows:
- The first is directly ahead of you at the start. It is hovering over the blueish pool.
- Go left up the stairs and find the second token floating just at the top of them.
- Take the hallway to the back right to the green room. In the green room, head to the back left where the Mistress Sword blueprint is found. Head up the ladder on the left and grab the third token just before dropping back into the green room.
- Head through the green room again this time taking the path on the right side. Unlock the secret door in the wall that leads to another room with a green pool in the center. The fourth token will be found in that pool.
- Backtrack and keep heading in the direction opposite the green room. The fifth token will be found at the far end hovering in a room with what looks to be some corpses in piles.
Beating the mini-game will award combat points and, of course, bragging rights.


