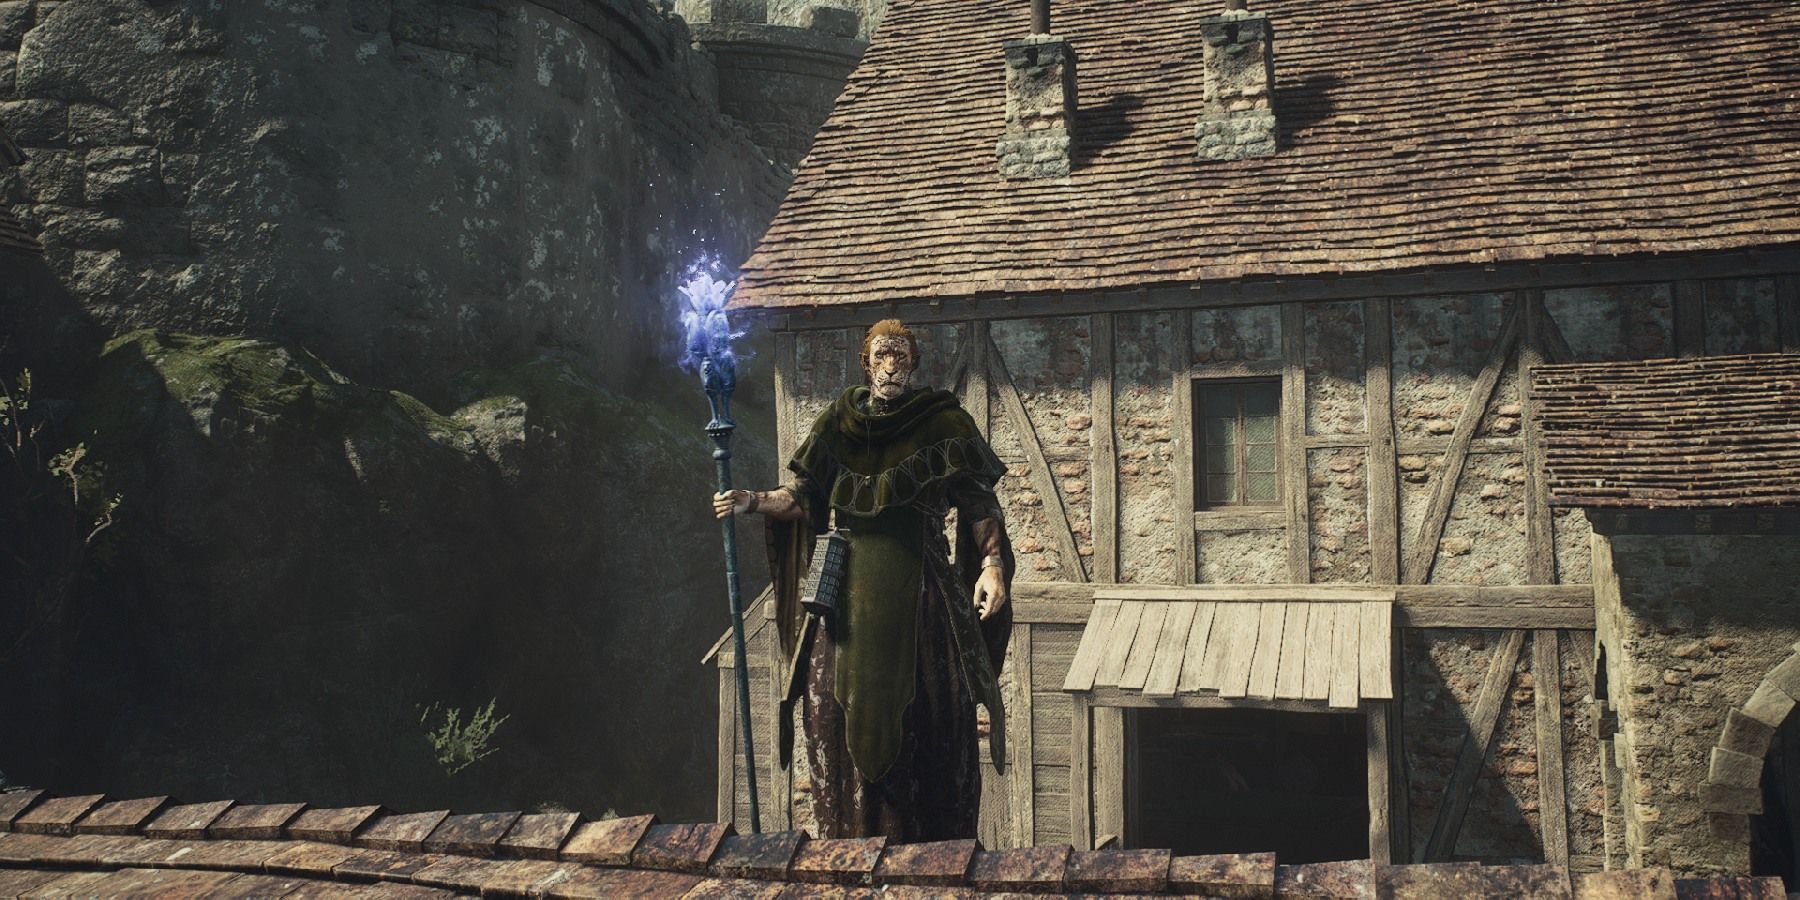
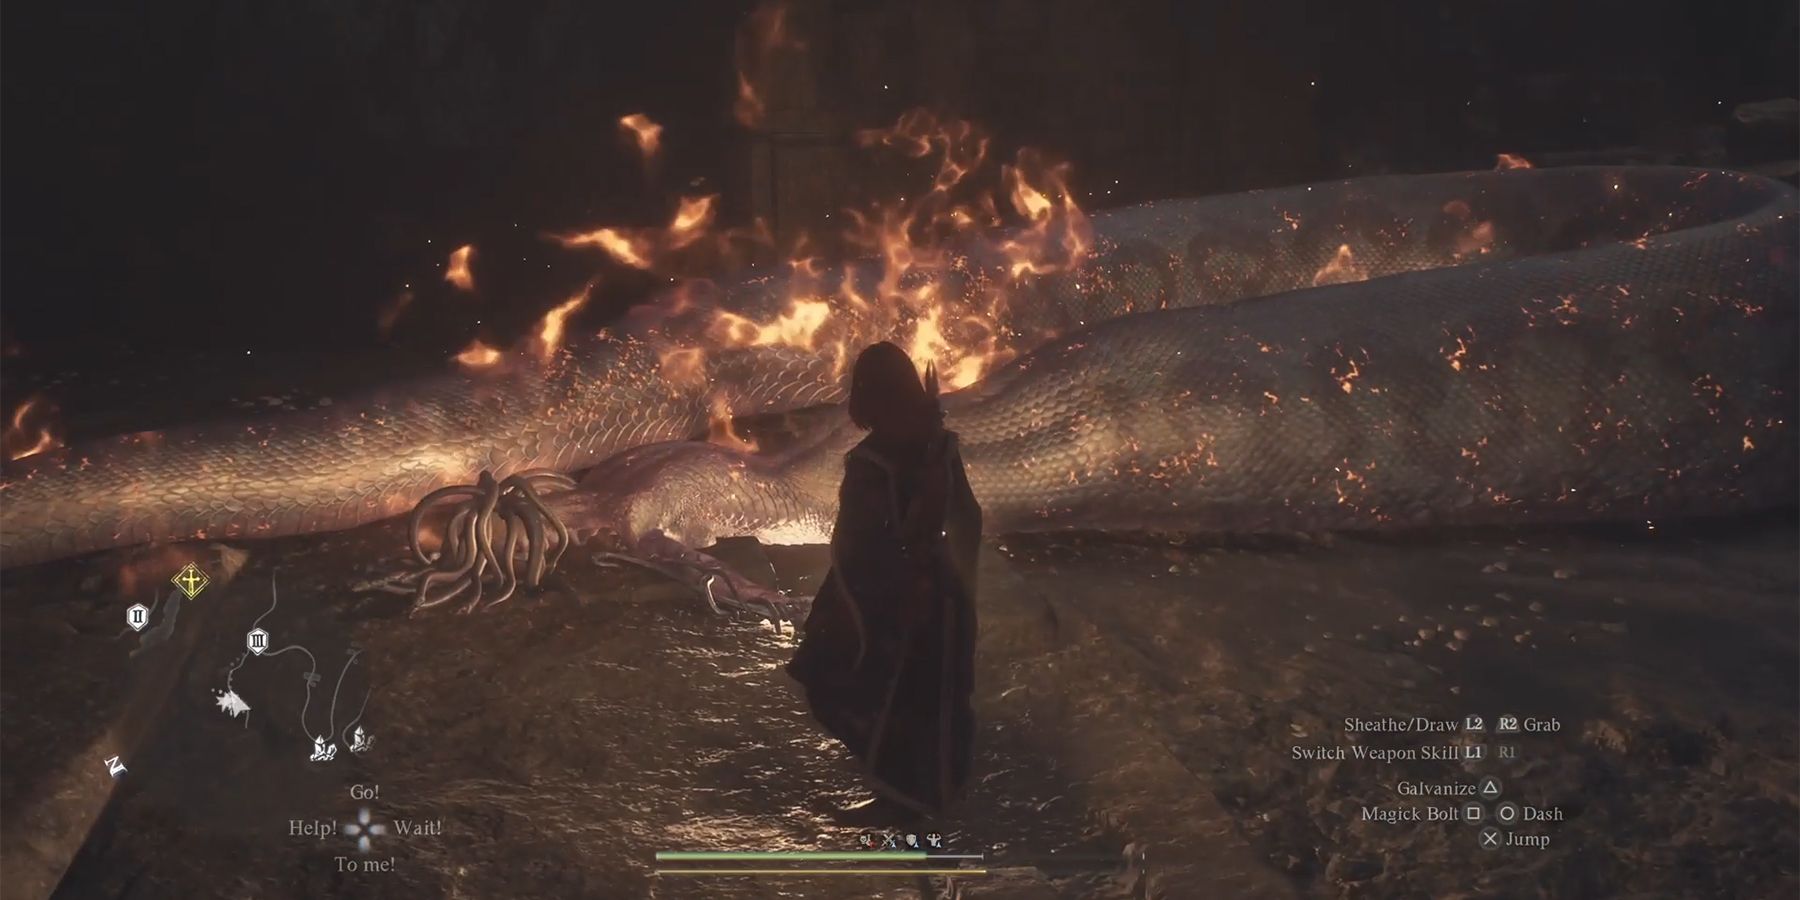
Of the advanced vocations in Dragon's Dogma 2, the Warrior and the Sorcerer are the easiest ones to get. All you have to do is visit the Vocation Guild in Vernworth and complete the quest "Vocation Frustration."
Because of how easy this is, and because pawns can become Sorcerers, some players may think that Sorcerers aren't as good as other advanced vocations. However, this is far from being the case. Players who focus on sorcery can deal stunning amounts of damage by the end of the game, especially if they unlock one of the ultimate skills.
Dragon's Dogma 2: How to Get and Use Rift Crystals (RC)
How to collect and use RC, the pawn-based currency in Dragon's Dogma 2.
Sorcerer Basic Attacks and Core Skills
The two basic Sorcerer attacks and core skills are mostly the same as the Mage's. This means that if you bought the Mage core skills, you don't have to buy them again when you change vocation to Sorcerer. In fact, you can use them right away as a rank 1 Sorcerer. But if you didn't invest any points into Mage first, here's what to expect:
Name | Rank Unlocked | Cost |
|---|---|---|
Magick Bolt | 1 | -- |
Galvanize | 1 | -- |
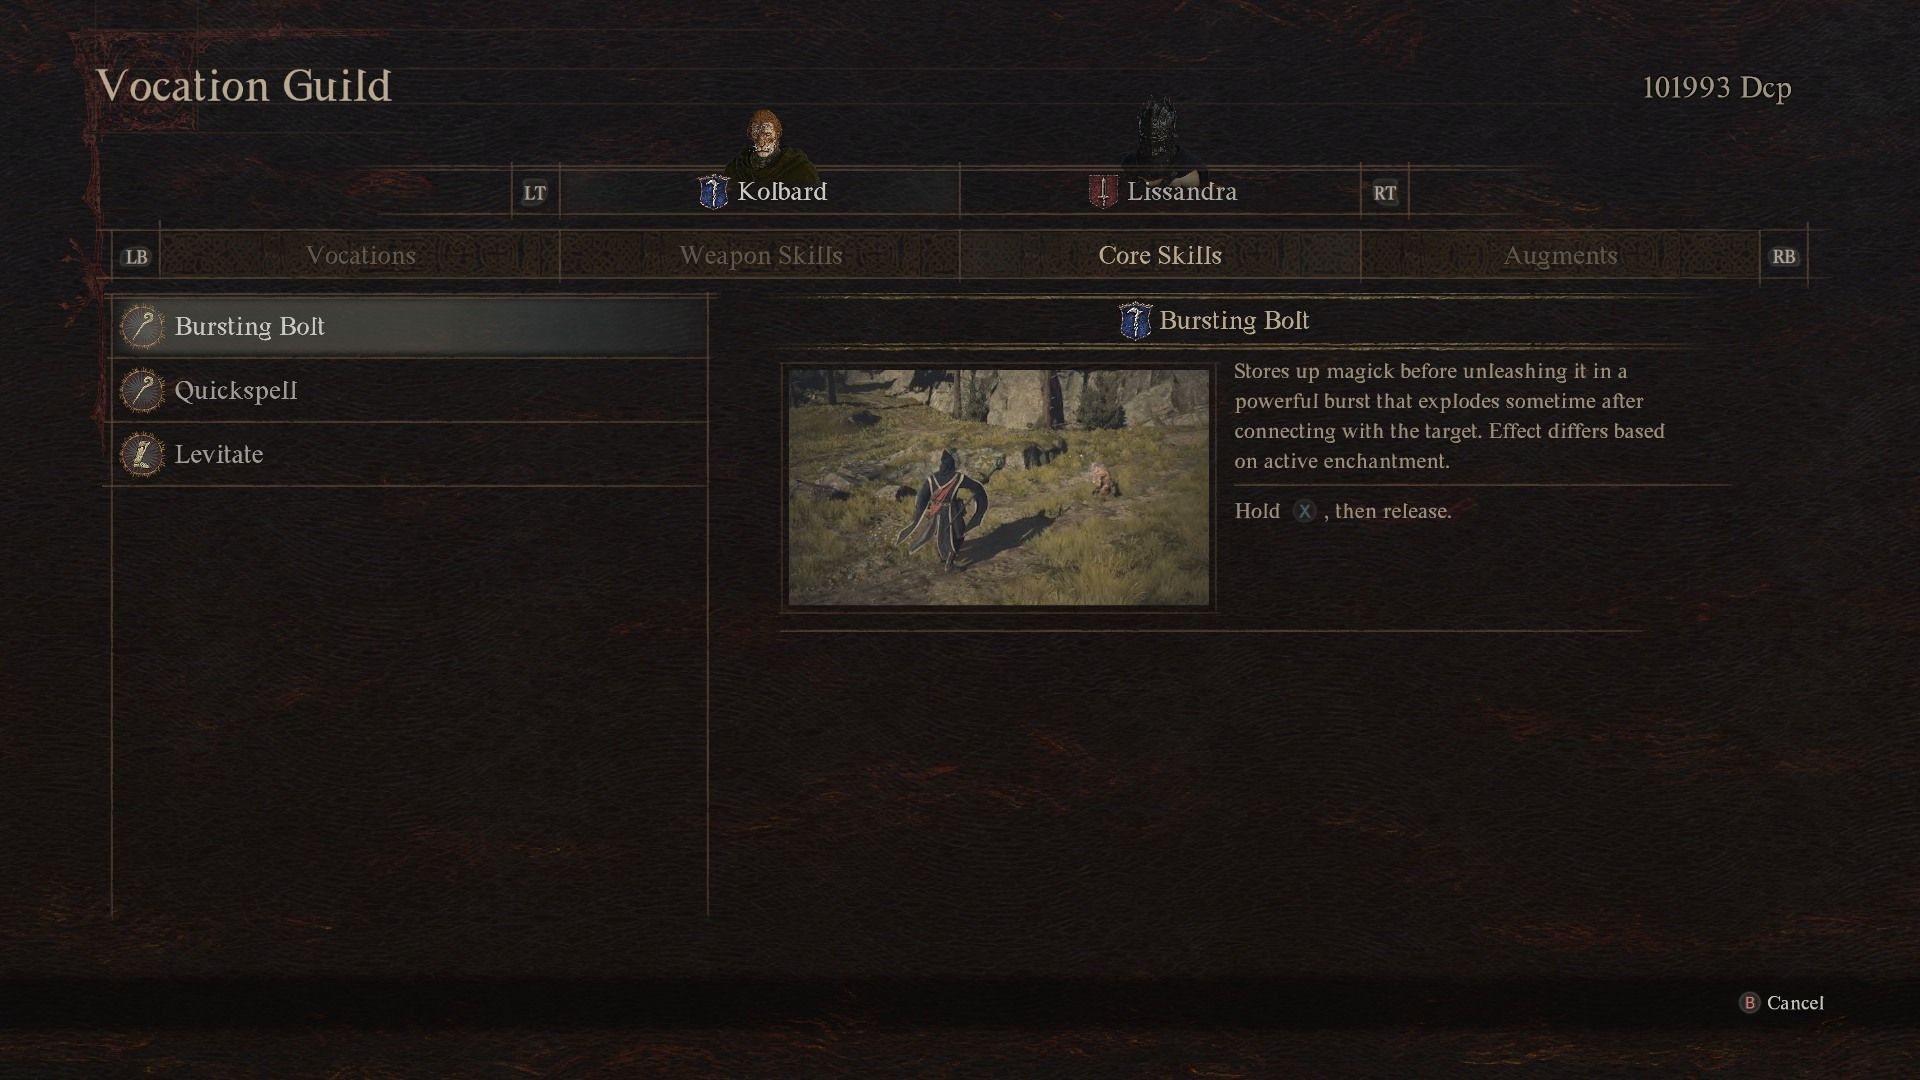
Bursting Bolt | 1 | |
Quickspell | 2 | 250 Dcp |
Levitate | 3 | 400 Dcp |
- Magick Bolt is the basic attack of both Mages and Sorcerers. It doesn't do much damage, but you can hammer them out at a fast pace, and they home in on your target. However, they change direction slowly, so you can't count on them hitting a fast target who isn't moving straight towards you.
- Galvanize is the only Sorcerer core skill the vocation doesn't share with Mage. Instead of creating a dome of healing energy, Galvanize allows the Sorcerer (and only the Sorcerer) to quickly regenerate their Stamina. Considering how much Stamina the high-end Sorcerer skills cost, Galvanize can quickly come in handy.
- Bursting Bolt allows you to fire a more powerful Magick Bolt by holding down the attack button. A Bursting Bolt is also more likely to inflict a condition than a regular Magick Bolt.
- Quickspell lets you sacrifice Stamina to finish casting a spell more quickly. Keep in mind that this sacrifice is on top of the base Stamina cost that comes with each spell, and that spells with longer casting times will eat up more Stamina.
- Levitate allows you to fly for a few seconds by hitting the jump button while in midair. You can use this skill to cross wide gaps and climb cliffs to a certain extent, but it's not as good at preventing fall damage.

Dragon's Dogma 2: Makeshift Gaol Key - Where to Use it and How to Get it
Players can be punished for their crimes in Dragon's Dogma 2, but there are a few ways to get out. Here's all you need to know to taste freedom again.
Sorcerer Weapon Skills
Sorcerer weapon skills are all about dealing damage. While Mages have access to damage and support skills, Sorcerers have replaced those support skills with even more ways to deal damage. In fact, Sorcerers can use most of the damage skills Mages get, except Empyrean. While Mages can wield Holy damage, Sorcerers can't. On the other hand, Sorcerers can use spells that deal Physical damage, while Mages can't.
Unlike with core skills, you'll need to buy Mage weapon skills as a Mage for them to show up on your Sorcerer skill list.
Name | Rank Unlocked | Cost | "High" Rank Unlocked | Cost |
|---|---|---|---|---|
Flagration | Mage 1 | 0 Dcp | Mage 4 | 1000 Dcp |
Levin | Mage 1 | 150 Dcp | Mage 4 | 1000 Dcp |
Frigor | Mage 3 | 450 Dcp | Mage 6 | 1600 Dcp |
Spellhold | Mage 7 | 2500 Dcp | Mage 9 | 3000 Dcp |
Salamander | Sorcerer 1 | 200 Dcp | Sorcerer 5 | 1300 Dcp |
Thundermine | Sorcerer 1 | 200 Dcp | Sorcerer 5 | 1300 Dcp |
Hagol | Sorcerer 2 | 300 Dcp | Sorcerer 6 | 1600 Dcp |
Decanter | Sorcerer 4 | 700 Dcp | Sorcerer 7 | 2000 Dcp |
Seism | Sorcerer 5 | 1100 Dcp | Sorcerer 7 | 2000 Dcp |
Prescient Flare | Sorcerer 6 | 1800 Dcp | Sorcerer 8 | 2500 Dcp |
Maelstrom | Compete "The Sorcerer's Appraisal" and read Myrddin's Chronicle | |||
Meteoron | ||||
Dragon's Dogma 2: How To Reach Dragonsbreath Tower (Roost of the Dragon Trophy Guide)
Dragonsbreath Tower is a significant landmark in Dragon's Dogma 2 that is home to quite a few valuables. Players can locate it here.
- Flagration is a basic Mage spell that turns your hand into a flamethrower. You can turn around and move slowly while the spell is active, allowing you to burn multiple enemies at once. However, they need to be close. High Flagration extends the range of the spell, letting it hit enemies further away.
- Levin calls down a set of lightning bolts on the target location, and you can hammer the attack buttons to spend Stamina and call down more lightning bolts. However, you can't move while the spell is active, and you can't change the target location. High Levin calls down more free lightning bolts.
- Frigor causes a ramp of ice to appear from the ground and slam targets upward. The spell then leaves behind a pillar of ice you can climb up, or you can shatter it to create throwable rocks. Frigor doesn't cause any lingering damage, but you can cast it at a surprising distance, and you aren't locked into casting it for more than a moment. High Frigor creates a larger ramp.
- Spellhold allows you to store one of your other spells in your wand or staff, then unleash it later without spending any time on casting. To use this spell, you must cast another spell, then press the "Spellhold" button once it's ready. You can then cast the spell using the Spellhold button at any point in the future. High Spellhold reduces the Stamina cost of the held spell, which is otherwise the same as the normal spell.
- Salamander creates a cone of fire that originates from the caster. You can't point it at enemies like you can with Flagration, but Salamander lasts for longer and is more likely to set enemies on fire. High Salamander creates a larger cone, and enemies will remain on fire for longer.
- Thundermine creates an orb of lightning in front of the caster that strikes any enemy that gets too close. This lightning can send small enemies flying away, and it's more likely to inflict the Unconscious debilitation. The orb lasts for around 20 seconds, or until it creates a specific number of strikes. High Thundermine lasts for around 40 seconds and can strike twice as many times.
- Hagol summons a blizzard at the target location. It only causes a small amount of damage, but it has a high chance of inflicting Frostbite and Ice-Bound. High Hagol summons a larger blizzard, and enemies affected will stay frozen for longer.
- Decanter is the closest thing Sorcerers have to recovery magic. Cast it on a target to drain their Health, and the caster will regain an equal amount. However, the caster must remain still for as long as the spell is active. High Decanter can target enemies that are farther away, and the caster gets more Health back.
- Seism is a Physical attack that causes the earth or water below the target to explode upwards three times. It knocks small enemies into the air, and it goes a long way to tripping large enemies. However, it takes much more time to cast than most other Sorcerer and Mage spells, and it can knock out half your Stamina gauge with a single casting. You also can't move until the spell ends. High Seism creates five explosions instead of three.
- Prescient Flare creates a glowing sphere on the target enemy. This causes a small amount of damage on its own, but if anyone attacks the target enemy (or the same body part of a large enemy), the Flare will explode and deal even more damage. This damage scales with the number of attacks it took before exploding. Augural Flare sticks around for longer, allowing for more attacks and more damage when it explodes.
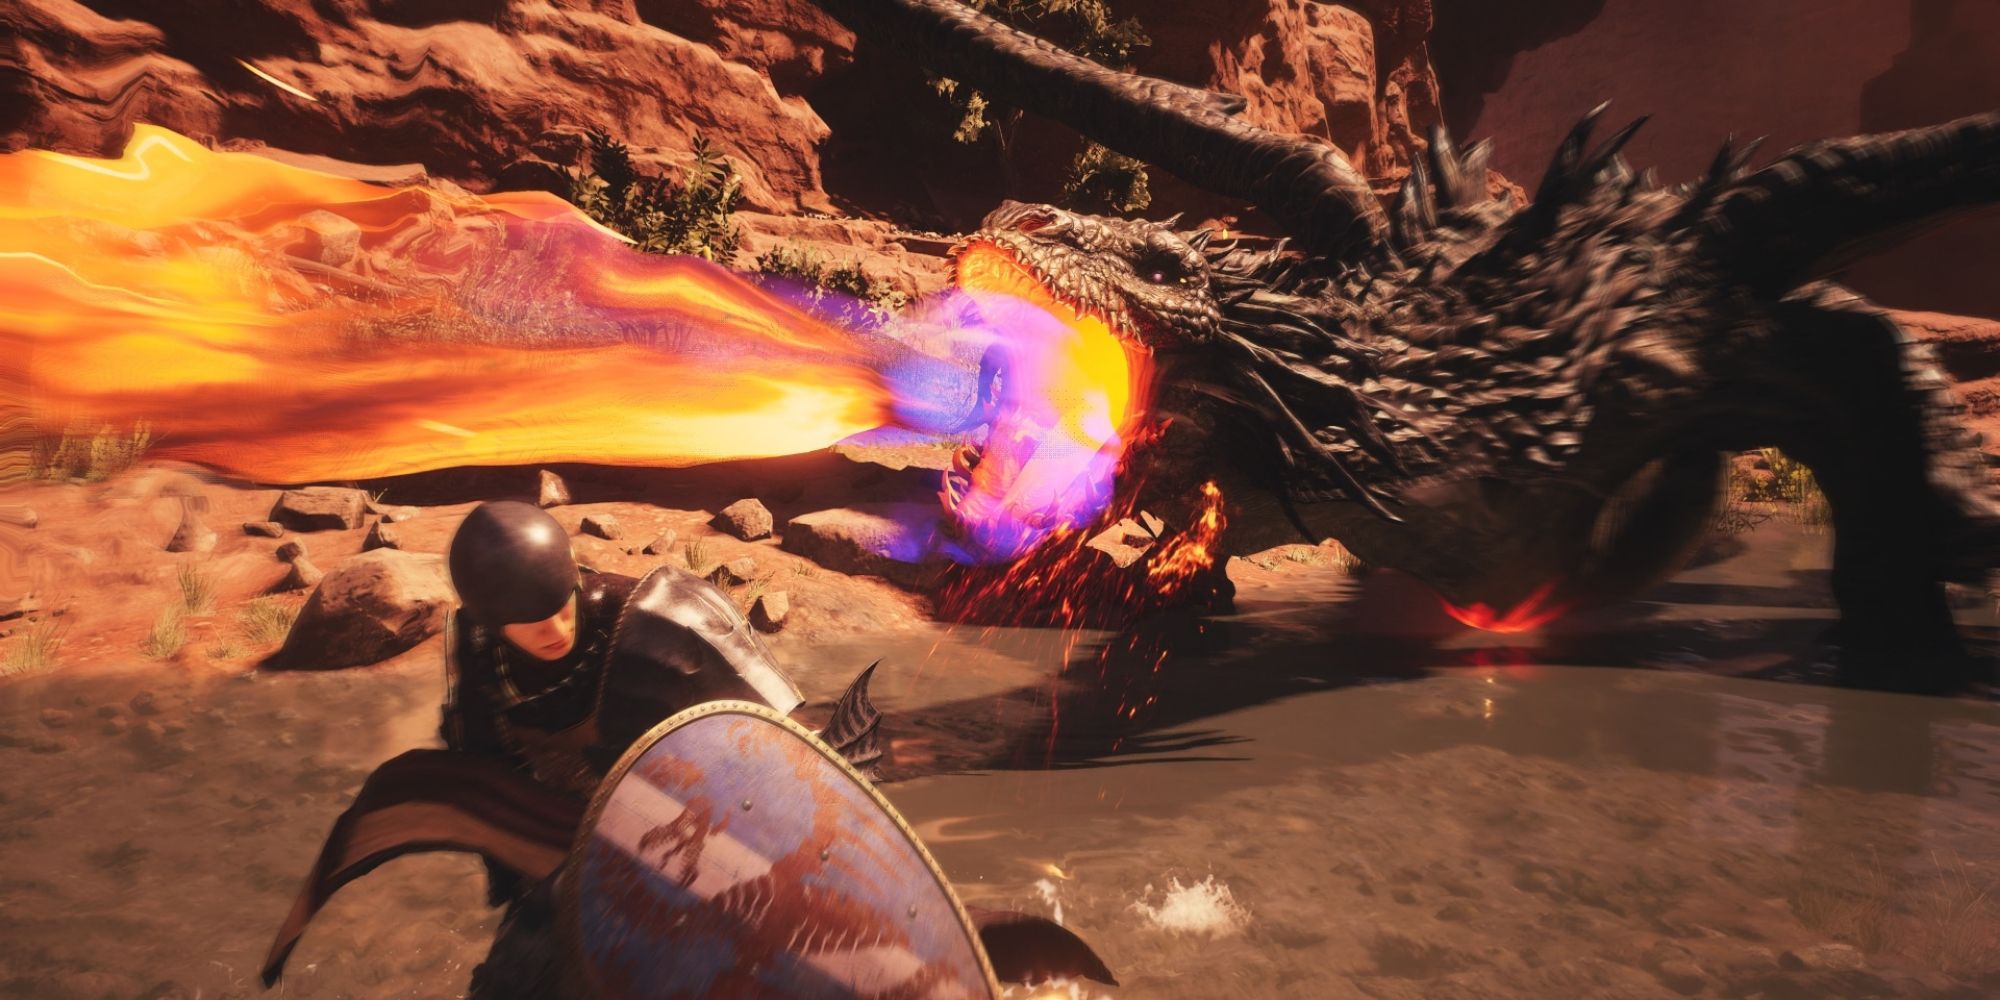
- Maelstrom is the first of the Sorcerer's two ultimate skills. You can't use Quickspell to hurry its casting, you can't move while casting, and it uses almost all of your Stamina. However, it creates a massive whirlwind that flings around small enemies and deals Physical damage to any enemy caught in the radius. A well-timed Maelstrom can help trip a drake and take off multiple Health bars.
- Meteoron conjures a set of meteors to strike a large area centered on your target. It has all the same downsides as Maelstrom, but it deals Fire damage instead of Physical. This makes it less useful against enemies that resist Magick attacks, but more useful against enemies vulnerable to Fire.
Something players should know about the Sorcerer ultimate skills is that it's very hard to finish both Maister quests in a single playthrough. Both Sorcerer Maisters want the same set of books, and most of them appear to only have one copy in the entire game. Myrddin, the Maister in Checkpoint Rest Town who gives you the quest "The Sorcerer's Appraisal," appears to accept forgeries, but you're out of luck if you complete his quest before finding Trysha in the wilderness north of Melve, or if you complete her quest before creating forgeries for Myrddin.
Dragon's Dogma 2: How to Get Astracite
While astracite is a mineral, it's a resource you have to get from a specific enemy in Dragon's Dogma 2.
Sorcerer Augments
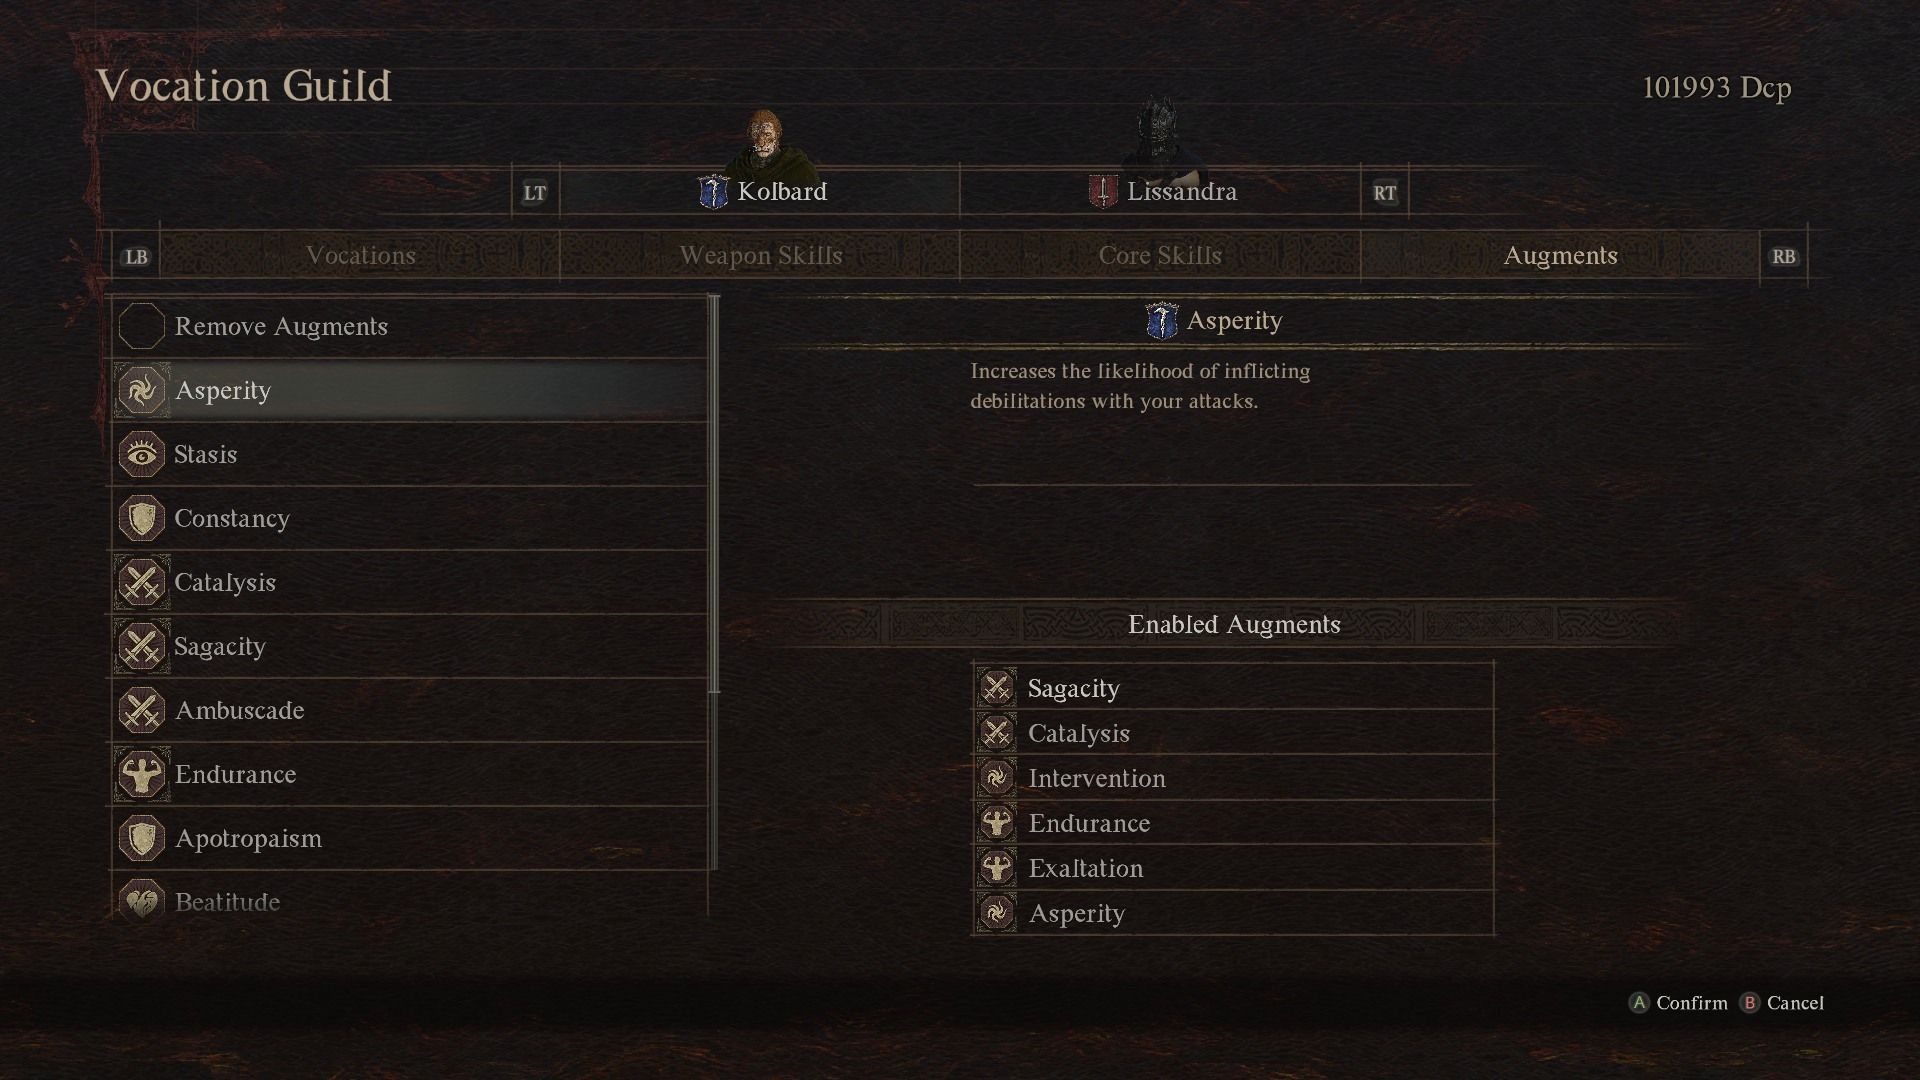
Like other vocations, Sorcerers get five augments you can apply to any vocation after you've changed to a new one.
Name | Rank Unlocked | Cost | Effect |
|---|---|---|---|
Asperity | 2 | 300 Dcp | Debilitations caused by attacks and weapon skills are more likely. |
Stasis | 4 | 900 Dcp | Items that can rot or dry out take longer to do so. |
Constancy | 6 | 1800 Dcp | Provides a boost to Knockdown Resistance. |
Catalysis | 8 | 3000 Dcp | Enemies take more damage from their elemental weakness. |
Sagacity | 9 | 5000 Dcp | Boosts your Magick. |
- Asperity and Catalysis are most useful when you're a Sorcerer, since many of the vocation's spells focus on dealing elemental damage and causing debilitations at the same time.
- Mages can also use Catalysis, but Asperity is less useful to them.
- Stasis is a better augment on a Pawn than the Arisen, since it seems to affect items in every inventory.
- Constancy is more useful to a melee vocation than a Sorcerer. Any amount of damage can interrupt a spell, plus Sorcerers shouldn't be getting hit in the first place.
- Sagacity is useful to every vocation that deals at least some Magick damage.

Dragon's Dogma 2: Infinite Gold & Item Duplication Glitch
The Rift is an unexpected source of riches in Dragon's Dogma 2. Here's how to abuse it and gain infinite money and items.
Sorcerer Weapons, Armor, and Upgrades
Sorcerers use archistaffs instead of the shorter staffs of Mages. Other than that, most of their equipment list overlaps with Mages, with robes, hoods, and tiaras available to both vocations. A few items are Sorcerer-exclusive, but even some of the best robes in Dragon's Dogma 2 are available to Mages, Sorcerers, and Tricksters.
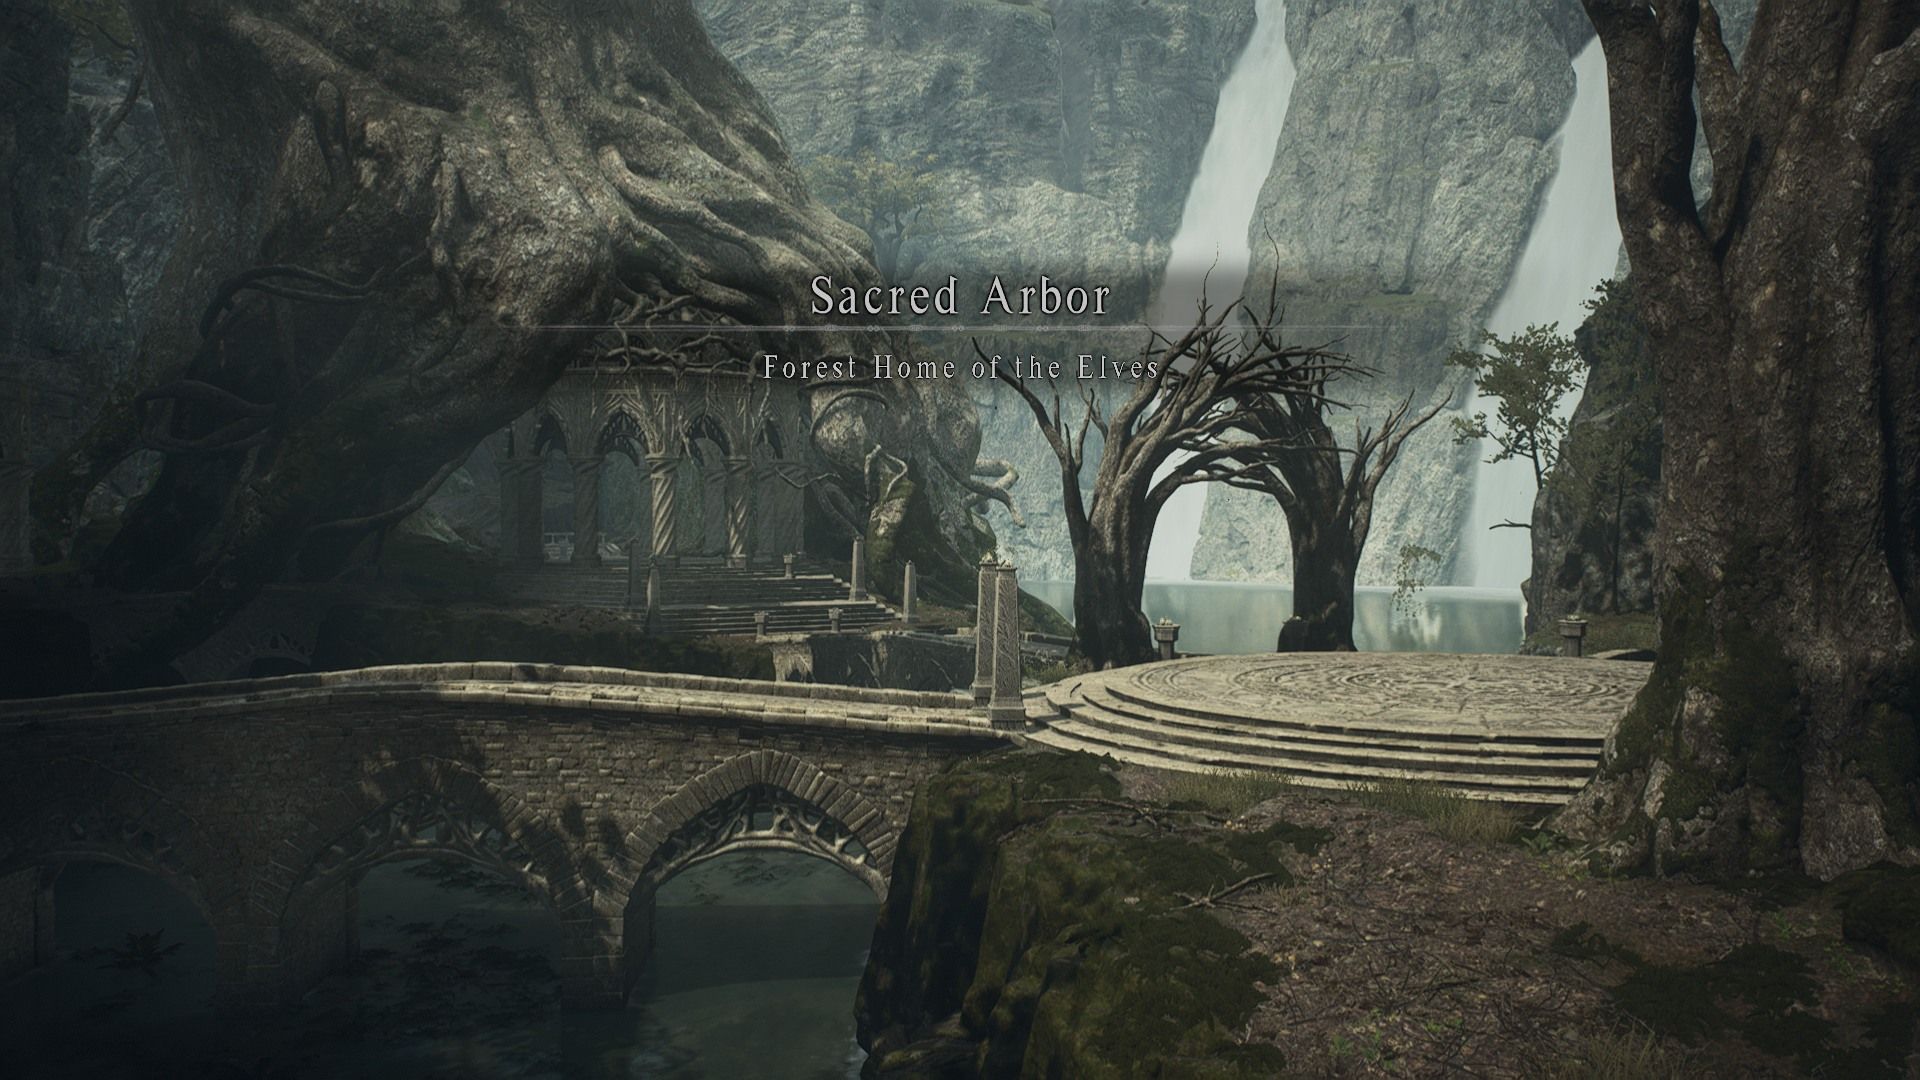
If you play a Sorcerer, you'll want to find Sacred Arbor as soon as possible. Sacred Arbor is the elven town, and it has great items for Sorcerers. You can find the elf town northwest of Vernworth: look for the white treetop surrounded on three sides by water that has a branching path that leads straight up to it.
You may find it hard to communicate with the elven merchants, but keep in mind that the shopping choices are in the same order as every other shop. You can also hire a pawn with Woodland Wordsmith to translate for you. If you can manage to explore the menu, you'll find archistaffs that deal elemental damage and can compete with the archistaffs you'll find on the volcanic island.
The other reason to visit Sacred Arbor is that the elves have their own way of enhancing equipment. This method favors Magick and Magick Defense over Strength and Physical Defense, which is especially useful when improving an archistaff. You may want to stick with the Vermundian style for your armor (most enemies deal Physical damage, after all), but you should always have elves enhance your archistaffs.
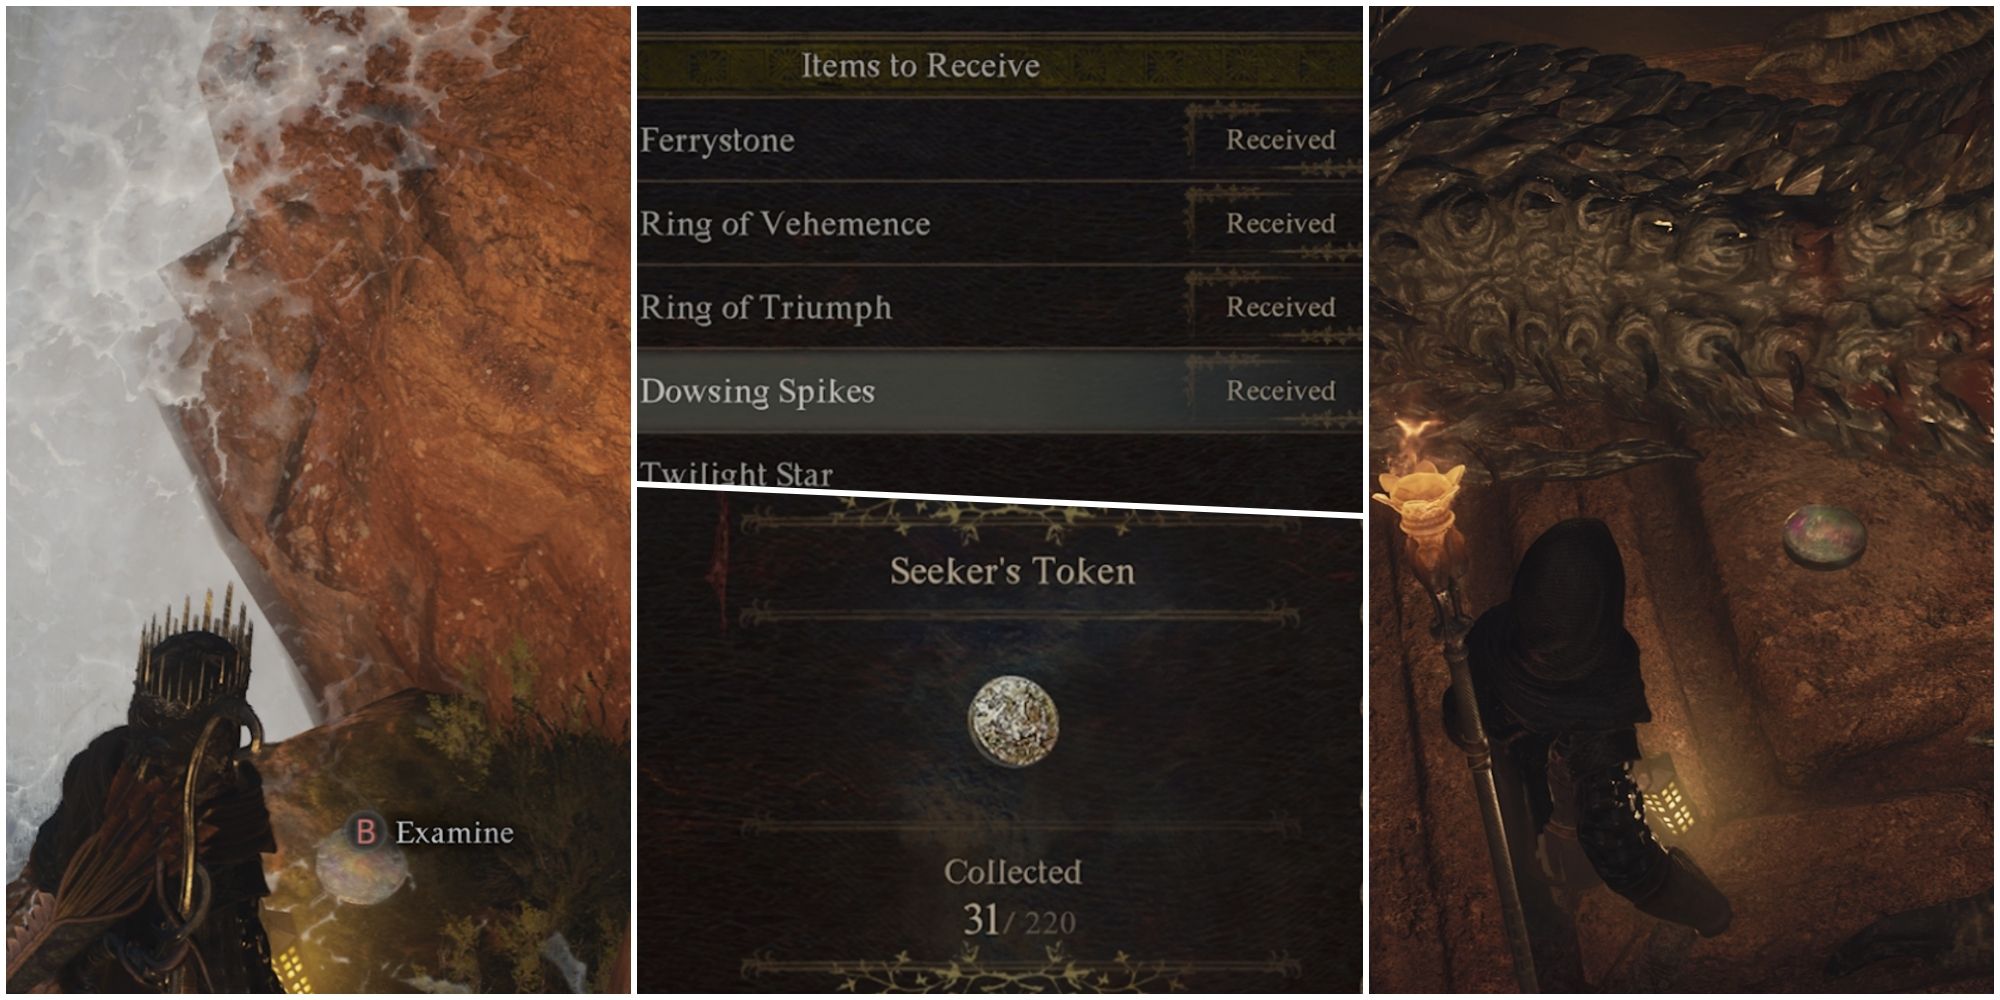
Dragon's Dogma 2: All Seeker Token Locations
Where to find all 240 Seeker's Tokens in Dragon's Dogma 2.
The Best Sorcerer Build
- Be sure to equip at least one Mage spell in your weapon skill list. Mage spells take less time and Stamina to cast, so you can use them for quick battles against weak enemies. Levin is a good choice for this: it has a good range, plus most enemies don't resist lightning.
- Avoid equipping two spells that deal the same damage type. You only get four weapon skill slots, and damage versatility is important as a Sorcerer.
- Try to keep one Physical spell equipped. This shores up your ability to hit magick-reisistant enemies like golems.
- A good party for a Sorcerer Arisen is two melee fighters who can draw enemy attention and a Mage loaded up with support skills. This lets you focus on dealing as much damage and as many debilitations as possible.
- An Archer with plenty of special arrows can also be a good pawn for a Sorcerer Arisen. Sorcerers are good at causing debilitations, and Archers can make them more effective with Drenching Arrows and Tarring Arrows.
- Stamina is essential to Sorcerers, so good Augments from other vocations include Endurance (Archer 4), Exaltation (Mage 9), and Athleticism (Mystic Spearhand 9). Subtlety (Thief 2) is also useful, since you don't want enemies to target you.
- If you're out of Stamina, use Galvanize or hammer the Magick Bolt button. Galvanize helps you recover faster, but it leaves you vulnerable. You regenerate Stamina slower when firing Magick Bolts, but the little damage they do is better than nothing and can slow down enemies.
- The Ultimate Sorcerer skills are high-risk, high-reward. They take long enough to cast that an encounter with small enemies may be over by the time you finish, but anything still around will die quickly. The spells can also tear into large monsters if they don't escape the radius, removing entire health bars with a single spell.

Dragon's Dogma 2
- Platform(s)
- PC , PS5 , Xbox Series X , Xbox Series S
- Released
- March 22, 2024
- Developer(s)
- Capcom
- Genre(s)
- Action RPG
- Metascore
- 88

