


Highlights
- Focus on vocation level in Dragon's Dogma 2 to unlock more skills and augments for a richer gameplay experience.
- Choose the right skills for the Warrior build, as only four can be equipped at a time to optimize one's playstyle.
- Utilize unique skills like Tidal Fury for devastating counterattacks and deal more damage than one's enemies.
Dragon's Dogma 2 rewards the players who focus on their vocation by increasing their vocation level. Each level unlocks more skills and augments that can enhance the playthrough and enrich the experience by adding more options to experiment with.

Dragon's Dogma 2: Best Trickster Build (Best Skills, Augments, And Gear)
The Trickster is the most unique vocation in Dragon's Dogma 2. Players looking to utilize its skills should consider this build.
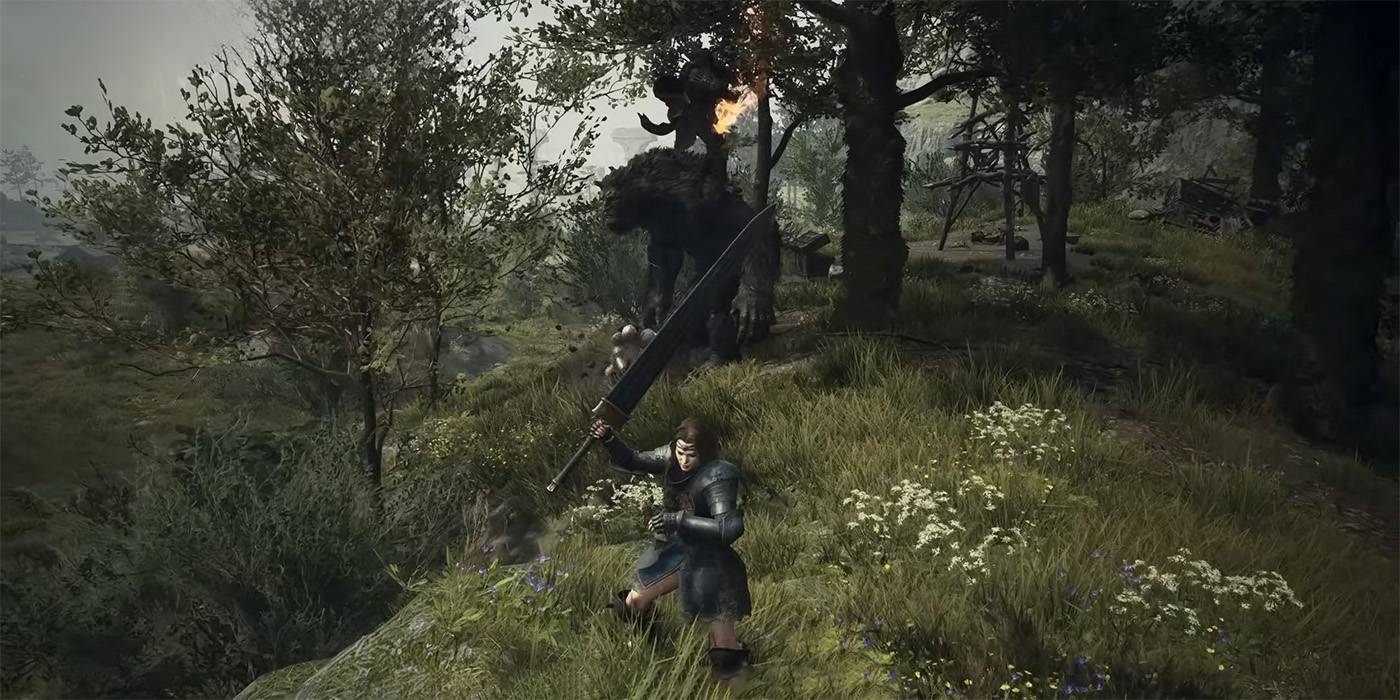
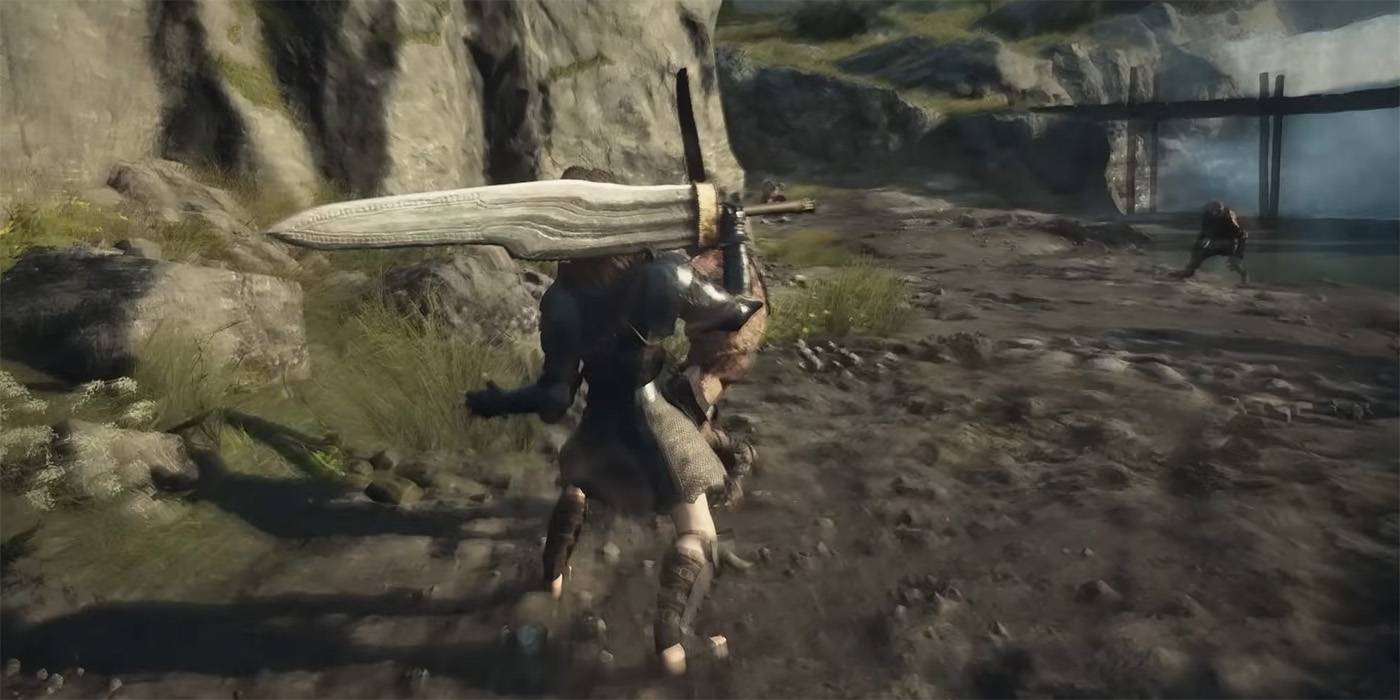
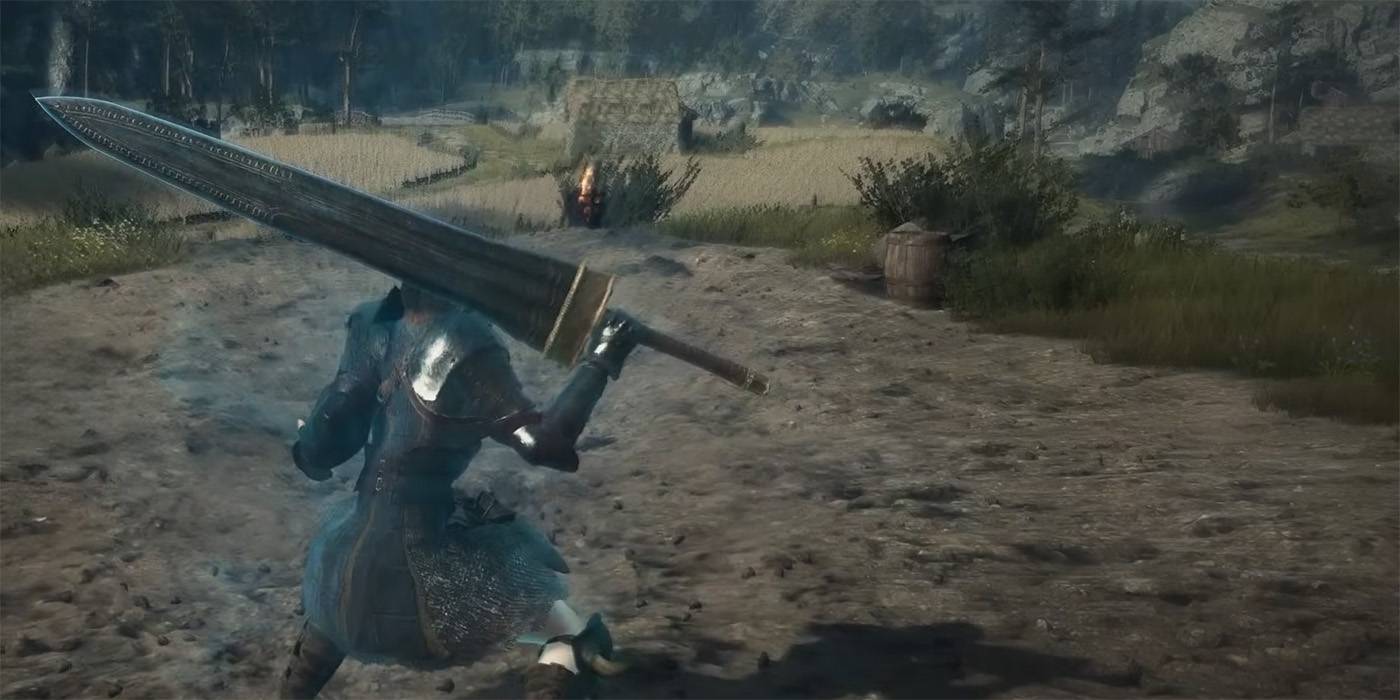
There are a total of 23 skills of the warrior vocation, a class that focuses on dealing high amounts of damage in a short amount of time and tanking any hits the enemies might dish out. Out of these skills, half are improvements, while the extra skill left is the Warrior Maister skill that requires players to finish a quest to obtain. Since only four skills can be equipped at a time, choosing the right ones is an important part of optimizing one's build.
12 Ladder/Catapult Launch
Hoist Me
A surprisingly useful skill to have equipped, Ladder Launch lets players throw allies into the air. Commanding pawns to do so is a bit tricky, but doable, but it shows potential even when equipped by the Arisen.
Pawns in Dragon's Dogma 2 are surprisingly smart. They will approach the Arisen when the skill is activated. The main use-case for this ability is to throw allies at large enemies in hopes of having them latch onto them and deal a lot of damage. However, there are better ways to deal damage to enemies so the skill is mostly useless.
Skill Name | Skill Rank | Skill Cost | Skill Description |
|---|---|---|---|
Ladder Launch | 2 | 300 | Enables the user to plant their feet and launch an ally into the air from their shoulders |
Catapult Launch | 6 | 1600 | An advanced form of Ladder Launch that flings allies further and to greater heights |
11 Bellow/Roar
Look At Me
A simple taunt mechanic, the humble Bellow isn't much to write home about. Getting the aggro of large enemies isn't difficult as a Warrior character, so this skill is somewhat useless, but it can be a good supplement if the rest of the party is primarily support-focused without any survivability.
The advanced version of the skill, Roar, just makes the skill more effective against enemies. Using this skill as a player isn't particularly fun, but it can be a great addition to a Pawn's arsenal so that they can be the best aggro attracter possible. Only use this if keeping the enemies away from the non-warrior party members is a top priority.
Skill Name | Skill Rank | Skill Cost | Skill Description |
|---|---|---|---|
Bellow | 1 | 200 | Shouts to draw the attention of hostile targets in the vicinity |
Roar | 5 | 1300 | An advanced form of Bellow that becomes more likely to draw the attention of foes with additional button presses |
10 Surging/Deluvian Strike
Pierce To Do Extra Damage
Surging Strike is one of the best ways to deal with small enemies in DD2. It deals extra damage to enemies that flinch and often finishes them off in a single strike if executed to its maximum potential. When employing the skill, players will leap up slightly, and bring down their blade vertically, piercing targets underneath.
The best way to use the skill is from a height since the skill will deal more damage. Furthermore, the skill can be used while jumping, meaning it can be chained together with Skyward Sunder.
Skill Name | Skill Rank | Skill Cost | Skill Description |
|---|---|---|---|
Surging Strike | 3 | 450 | Leaps up and plunges down the blade using the full force of the user's weight. Deals further strikes to smaller, flinching targets. Employable while jumping. More powerful when used from a height |
Diluvian Strike | 7 | 2000 | An advanced form of Surging Strike that inflicts greater harm |
9 Goring/Ravening Lunge
Great For Creating Some Breathing Space

Ravening Lunge is a great way to take the fight away from the crowd and challenge the enemies on more equal grounds. Being surrounded is never fun, but having a skill that can let players rush out with an enemy to beat up afterward makes it much more bearable.
The duration for which the Arisen can keep the enemy impaled makes it quite easy to find a wall to slam them into, dealing a significant amount of damage. It takes a few tries to get the timing and distance just right, but it is immensely rewarding once done.
Skill Name | Skill Rank | Skill Cost | Skill Description |
|---|---|---|---|
Goring Lunge | 2 | 300 | Charges forward, running targets through with the blade. Pressing the activation button again stabs forward. Striking with momentum impales foes and crashing them into walls inflicts more harm |
Ravening Lunge | 5 | 1300 | An advanced form of Goring Lunge that consumes less Stamina while charging forth |
8 Revivify/Inspirit
Debilitations, Begone
One of the most annoying things in Dragon's Dogma 2 is debilitation. If left untreated, these status effects can cripple the player. However, many of these are not easily curable, requiring pre-crafted medicines to properly treat.

Dragon's Dogma 2: Best Armor For Magick Defense
Looking to protect yourself from magic in Dragon's Dogma 2? These are the best armor pieces for the job.
However, Revivify makes that irrelevant, directly curing all debilitations at the cost of stamina. When the alternative is constantly losing health, or staying completely still, losing a bit of stamina to get to safety isn't a bad option.
Skill Name | Skill Rank | Skill Cost | Skill Description |
|---|---|---|---|
Revivify | 3 | 450 | Gives the user a second wind, curing them of some debilitations (caught fire, frostbite, sleep, silence, and unconscious) |
Inspirit | 6 | 1600 | An advanced form of Revivify that consumes less Stamina when activated |
7 Savage/Indomitable Lash
One Strike, One Kill

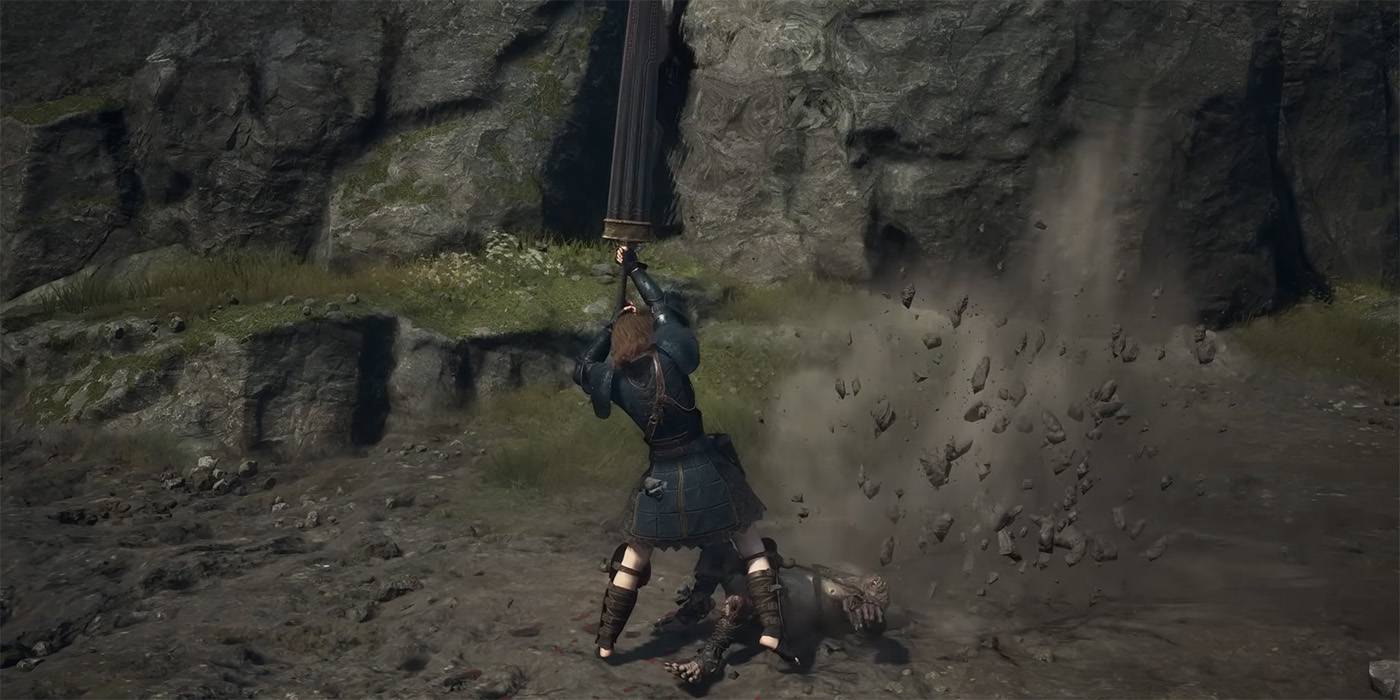
Savage Strike is one of the highest damage skills in the entire game. It gives Warriors an extremely high damage output, though it is somewhat dull to use compared to the more flashy skills in the Warrior arsenal. What it lacks in elegance, it makes up for by its sheer usefulness.
Savage Strike deals the most damage in a single slash that is possible, usually killing off small enemies entirely when fully charged. It does take some time to properly charge up, but it isn't an issue when the skill is paired with the Warrior's innate skill, Bulwark, which makes Warriors less susceptible to damage when charging attacks.
Skill Name | Skill Rank | Skill Cost | Skill Description |
|---|---|---|---|
Savage Lash | 4 | 700 | Channels the user's strength into a devastating charged strike |
Indomitable Lash | 7 | 2000 | An advanced form of Savage Lash that inflicts greater harm when fully charged |
6 Knoll/Mountain Breaker
Goliath, Meet David

Knoll Breaker might not be the best skill overall, but it is certainly the best skill at taking down large enemies. However, the downside is that it is quite useless for small enemies. It is a single attack skill that has the potential to knock down enemies and cause the unconsciousness debilitation.
Against large foes, Knoll Breaker is invaluable. It allows the entire party to deal immense damage once the enemy is downed and can be used repeatedly for the desired effect.
Skill Name | Skill Rank | Skill Cost | Skill Description |
|---|---|---|---|
Knoll Breaker | 5 | 1100 | Thrusts the blade upward, delivering a solid blow that can knock targets off balance or render them unconscious. Can be charged prior to unleashing |
Mountain Breaker | 8 | 2500 | An advanced form of Knoll Breaker that inflicts greater harm when fully charged |
5 Skyward Sunder/Heavenward Sunder
Down With The Sky

The basic skill of the Warrior class, Skyward Sunder is a great way to knock down large enemies. It can also be used to target airborne enemies, making it a good skill to keep equipped if there aren't any long-range fighters in a party.
Like all the other Warrior skills, Skyward Sunder can be charged and deals more damage when fully charged up. When facing bosses, it's a good strategy to charge the attack and unleash it once they get close, targeting their head. Doing so will likely result in the enemy staggering back, or even falling down. You can also follow up the Skyward Sunder with Surging Strike, a complementary skill that does a downward slash rather than an upward one.
Skill Name | Skill Rank | Skill Cost | Skill Description |
|---|---|---|---|
Skyward Sunder | 1 | 0 | Jumps up and slashes upward simultaneously, swinging the blade in mid-air. Can be charged prior to unleashing |
Heavenward Sunder | 4 | 1000 | An advanced form of Skyward Sunder that inflicts greater harm when fully charged |
4 Gale/Windstorm Slash
Swordslash Barrage

A late-stage Warrior skill, Gale Slash is very useful against high HP enemies that don't seem to go down no matter what. Whether it's a Drake or an elite goblin, the Gale Slash will reduce them to mincemeat once it's used. Not only does the skill deal a lot of damage, but it also looks quite cool, giving it extra points for style.
Players do need to time each slash properly to keep increasing the speed, but that is fairly easy to do with a little bit of practice. Unfortunately, Warriors can't move while performing the Gale Slash, and it doesn't even count towards a charged attack. This means that there's a good chance that anyone using the attack will get staggered if they're attacked.
Skill Name | Skill Rank | Skill Cost | Skill Description |
|---|---|---|---|
Gale Slash | 7 | 2500 | Uses the blade's momentum to unleash a series of weighty slashes. Swings grow faster and faster if correctly timed. Unleashes a powerful slash attack if the button is released when swinging fast enough |
Windstorm Slash | 9 | 3000 | An advanced form of Gale Slash that further increases the speed of consecutive swings when timed correctly |
3 Rending/Razing Sweep
Let It Rip

Rending Sweep is one of the first unlockable skills for the Warrior Vocation, requiring just a single level to buy. It doesn't cost a lot, and it has incredible utility so getting it is a no-brainer. The skill is great for dealing AoE damage to enemies and getting them out of one's way.

Dragon's Dogma 2: Best Armor For Strike Resistance
Strike Resistance increases how much defense the player has against that type of damage. Here's the best Strike Resistance armor.
In fact, the best use-case for Rending sweep is to knock enemies off of cliffs or to knock them into walls. The knockback on the skill makes both possibilities viable. If enemies fall off the cliff, they will immediately die, and if they get pushed into the wall, they will lose a lot more HP. The upgraded version of the skill, Razing Sweep can be unlocked at Vocation Rank 4, and deals more damage than the base skill.
Skill Name | Skill Rank | Skill Cost | Skill Description |
|---|---|---|---|
Rending Sweep | 1 | 200 | Spins the blade with enough force to cut down foes in all directions. Can be charged prior to unleashing |
Razing Sweep | 4 | 1000 | An advanced form of Rending Sweep that inflicts greater harm when fully charged |
2 Tidal Fury/Wrath
A Devastating Parry

It's no secret that the key to winning any fight is dealing more damage to the enemy than the enemy deals damage to the player. Tidal Fury is a skill that combines both aspects of that mantra and combines it into a single skill that is more effective the more players use it.
When timed right, Tidal Fury parries enemy attacks, but it blocks them even if the skill is activated too early. In practical terms, this means that fans have a way to block enemy attacks, with a high, skill-based, chance to deal damage right back at them. Once upgraded to Tidal Wrath, the skill timing becomes more lenient, making it even more essential.
Skill Name | Skill Rank | Skill Cost | Skill Description |
|---|---|---|---|
Tidal Fury | 6 | 1800 | Delivers a momentous counterattack if the user is struck at the moment of activation. Can guard against targets' strikes even should the counterattack fail |
Tidal Wrath | 8 | 2500 | An advanced form of Tidal Fury that eases the counterattack's timing, extending the duration during which it can be activated |
1 Arc Of Might
Warrior Ultimate

Arc of Might, the Maister skill for Warriors, is everything a Warrior class player wants in a skill. It's unrelenting, it's explosive, and it's very flashy. The only downside? Once players use it, they'll be out of commission for a good few seconds, leaving them exposed to enemy attacks.
However, unless fans happen to miss their attack, they won't have to worry about enemy retaliation. This is not the kind of skill players use in the middle of a horde of enemies. It's overkill for small fry but deals a lot of damage to bosses and tanky enemies. Just be mindful of the fact that players can't move very fast a few seconds after using the attack, or do much of anything.
Skill Name | Skill Rank | Skill Cost | Skill Description |
|---|---|---|---|
Arc Of Might | Maister Skill | Champion's Fable | Channels every ounce of the user's strength into an almighty blow. Consumes all of the user's Stamina when activated |

Dragon's Dogma 2
- Platform(s)
- PC , PS5 , Xbox Series X , Xbox Series S
- Released
- March 22, 2024
- Developer(s)
- Capcom
- Genre(s)
- Action RPG