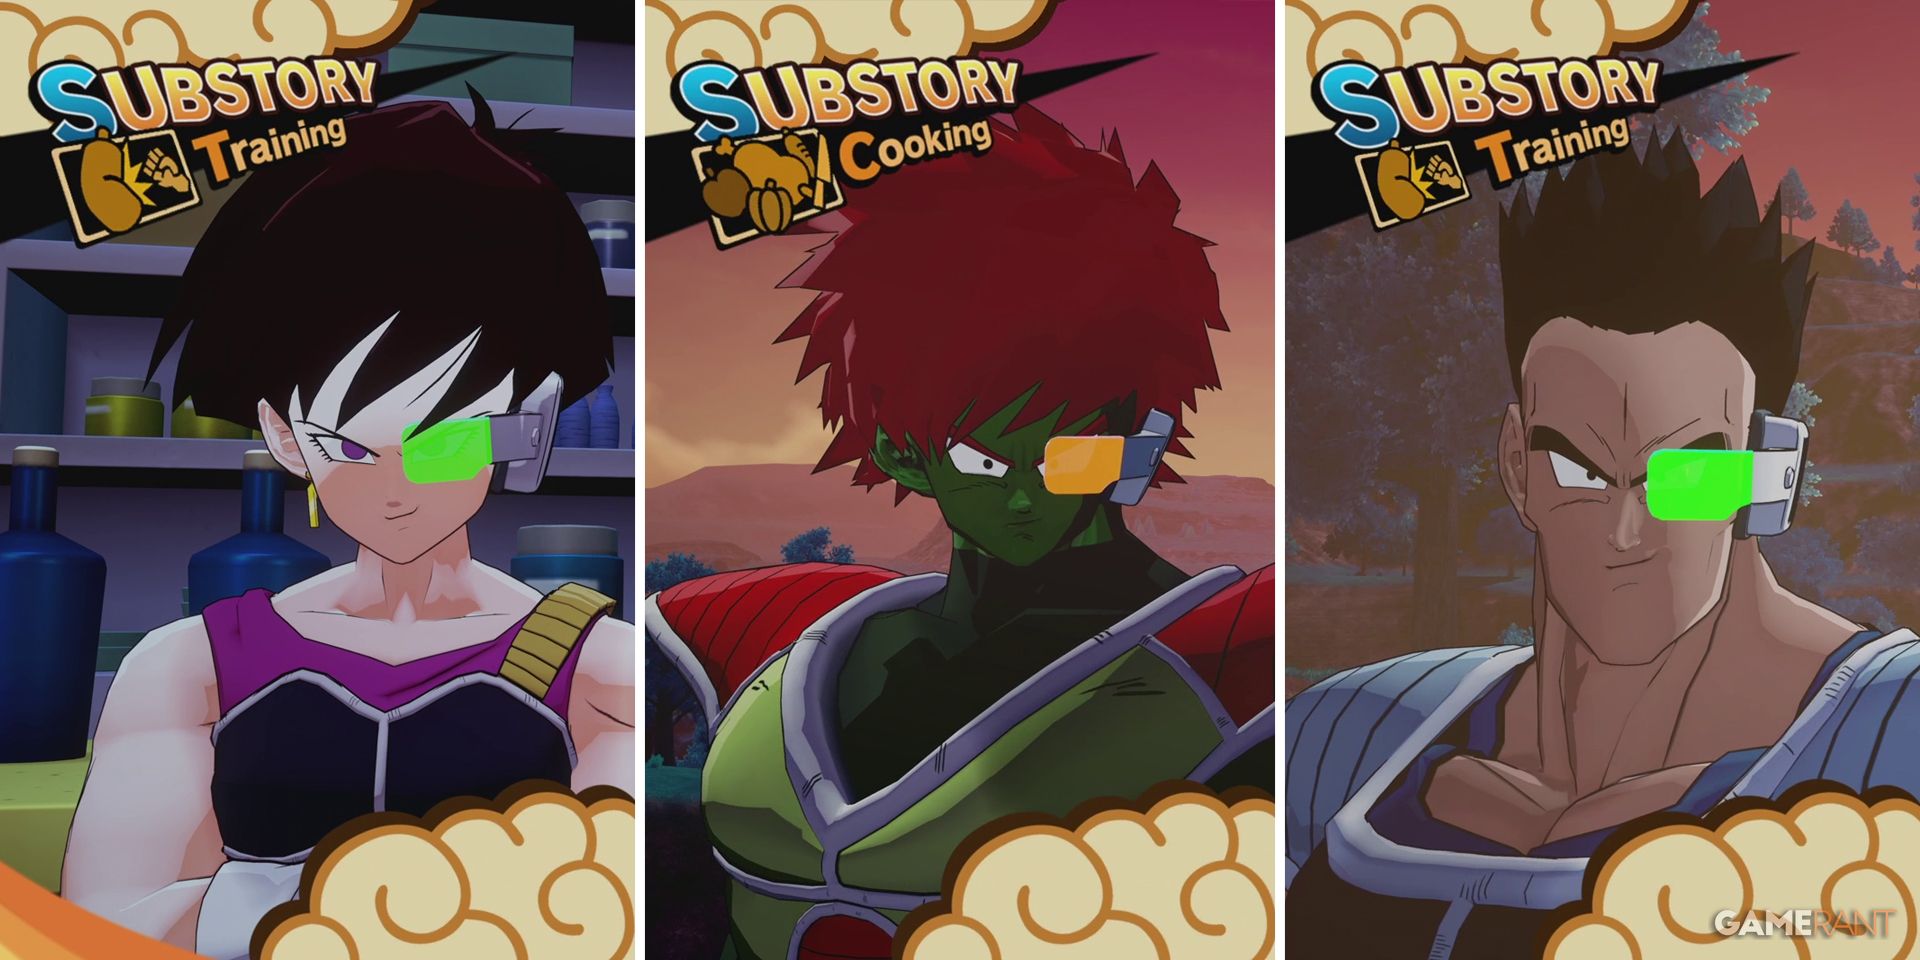
Much like the main story campaign of Dragon Ball Z: Kakarot, the Bardock - Alone Against Fate DLC features plenty of engaging side content to keep players busy. This typically comes in the form of substories, which, as the name might suggest, serve as short side quests that help to provide a bit more backstory for some of the expansion's main characters.
Players will be able to get started on these substories right from the get-go, with all but one of them available in the expansion's very first episode. It's worth noting, though, that some of the substories only become available after others have been completed, while several will stop being available if players progress the main story too far. Thankfully, those who do miss out on any of the substories will get another chance at them after completing Dragon Ball Z: Kakarot's Bardock DLC.
Quick Links
Every Substory in Bardock - Alone Against Fate |
|---|
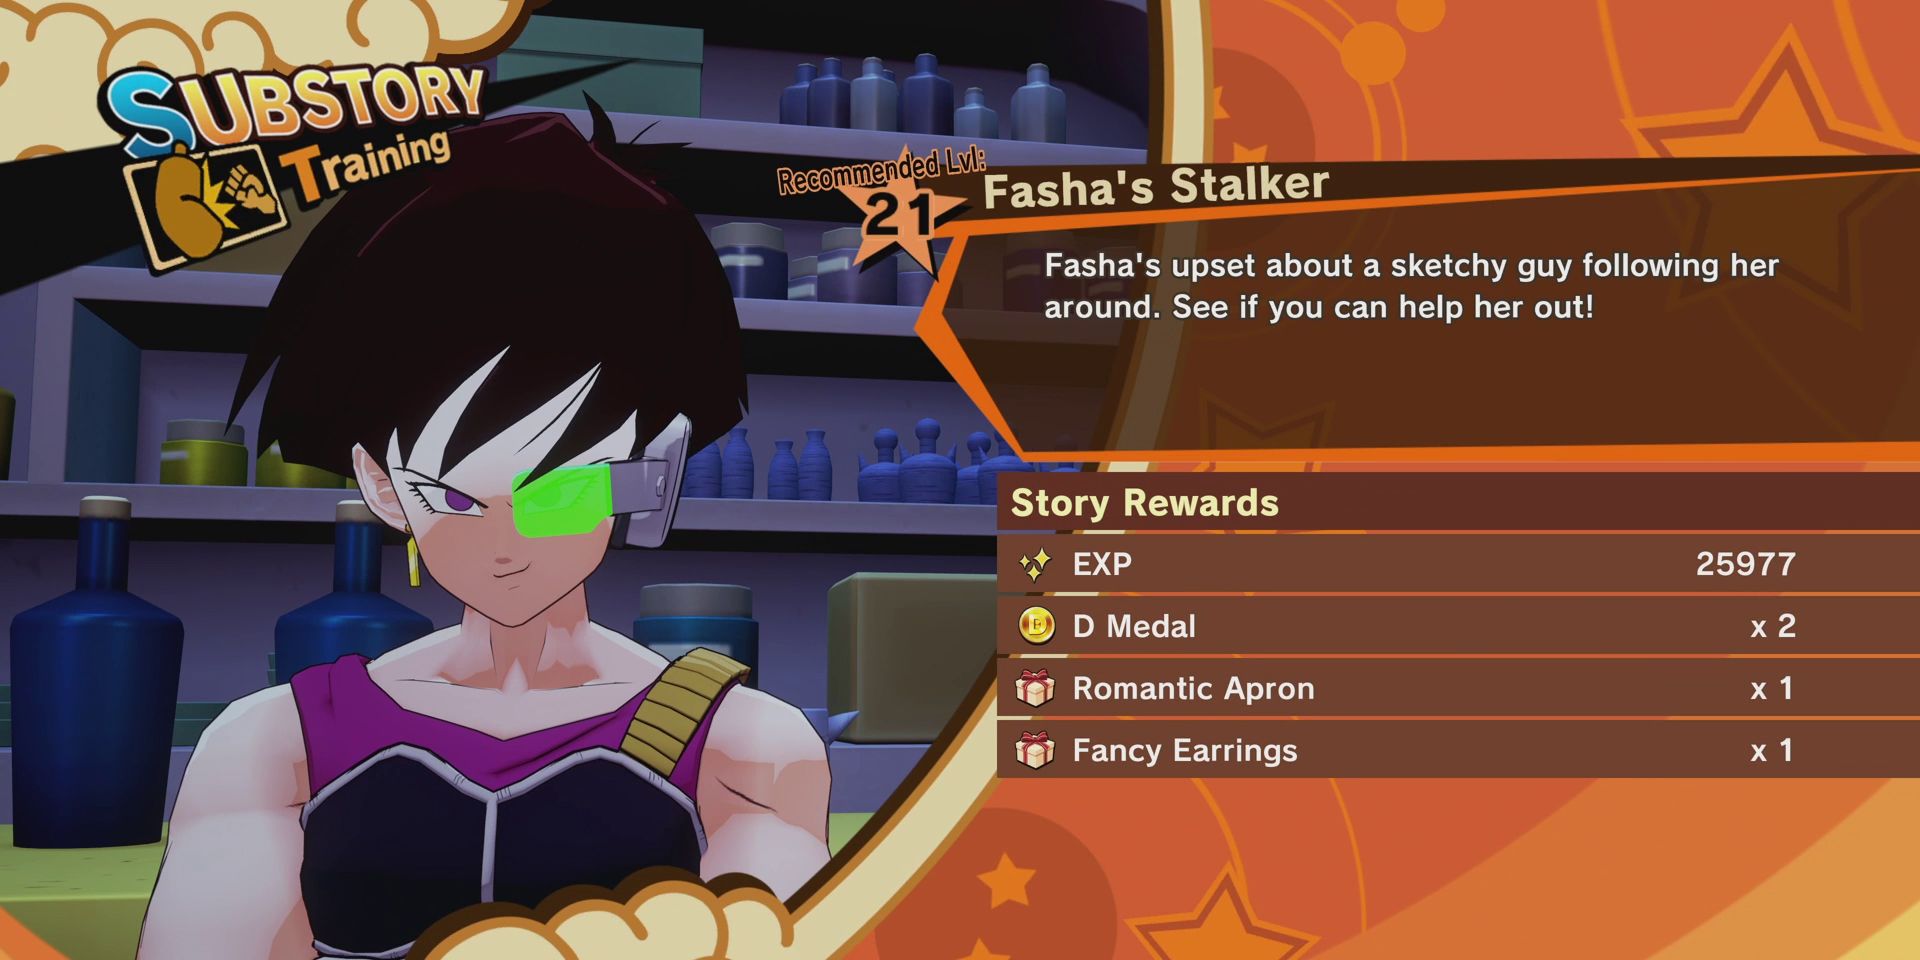
Fasha's Stalker
Story Rewards | |
|---|---|
EXP | 25,977 |
D Medal | x2 |
Romantic Apron | x1 |
Fancy Earrings | x1 |
Fasha Soul Emblem | x1 |
How to Complete Fasha's Stalker in Dragon Ball Z: Kakarot
To begin the "Fasha's Stalker" substory, players will need to head into the Saiyan Stomping Ground and speak with Fasha. She'll point out a suspicious-looking man in the corner who she says has been looking at her funny and then ask Bardock to find out what he wants. The man in question is named Spini, and he'll beg players to help him grow stronger so that he can win Fasha's heart.
After the conversation ends, players will be tasked with meeting up with Spini in the wasteland to the southwest of the Frieza Force Base. Once there, they'll twice have to beat Spini in battle. He's only level 20, so players should have no trouble taking him down, after which, they'll be able to return to Fasha at the Saiyan Stomping Ground to complete the mission. As well as the items listed on the story rewards screen, they'll also receive the Fasha Soul Emblem.
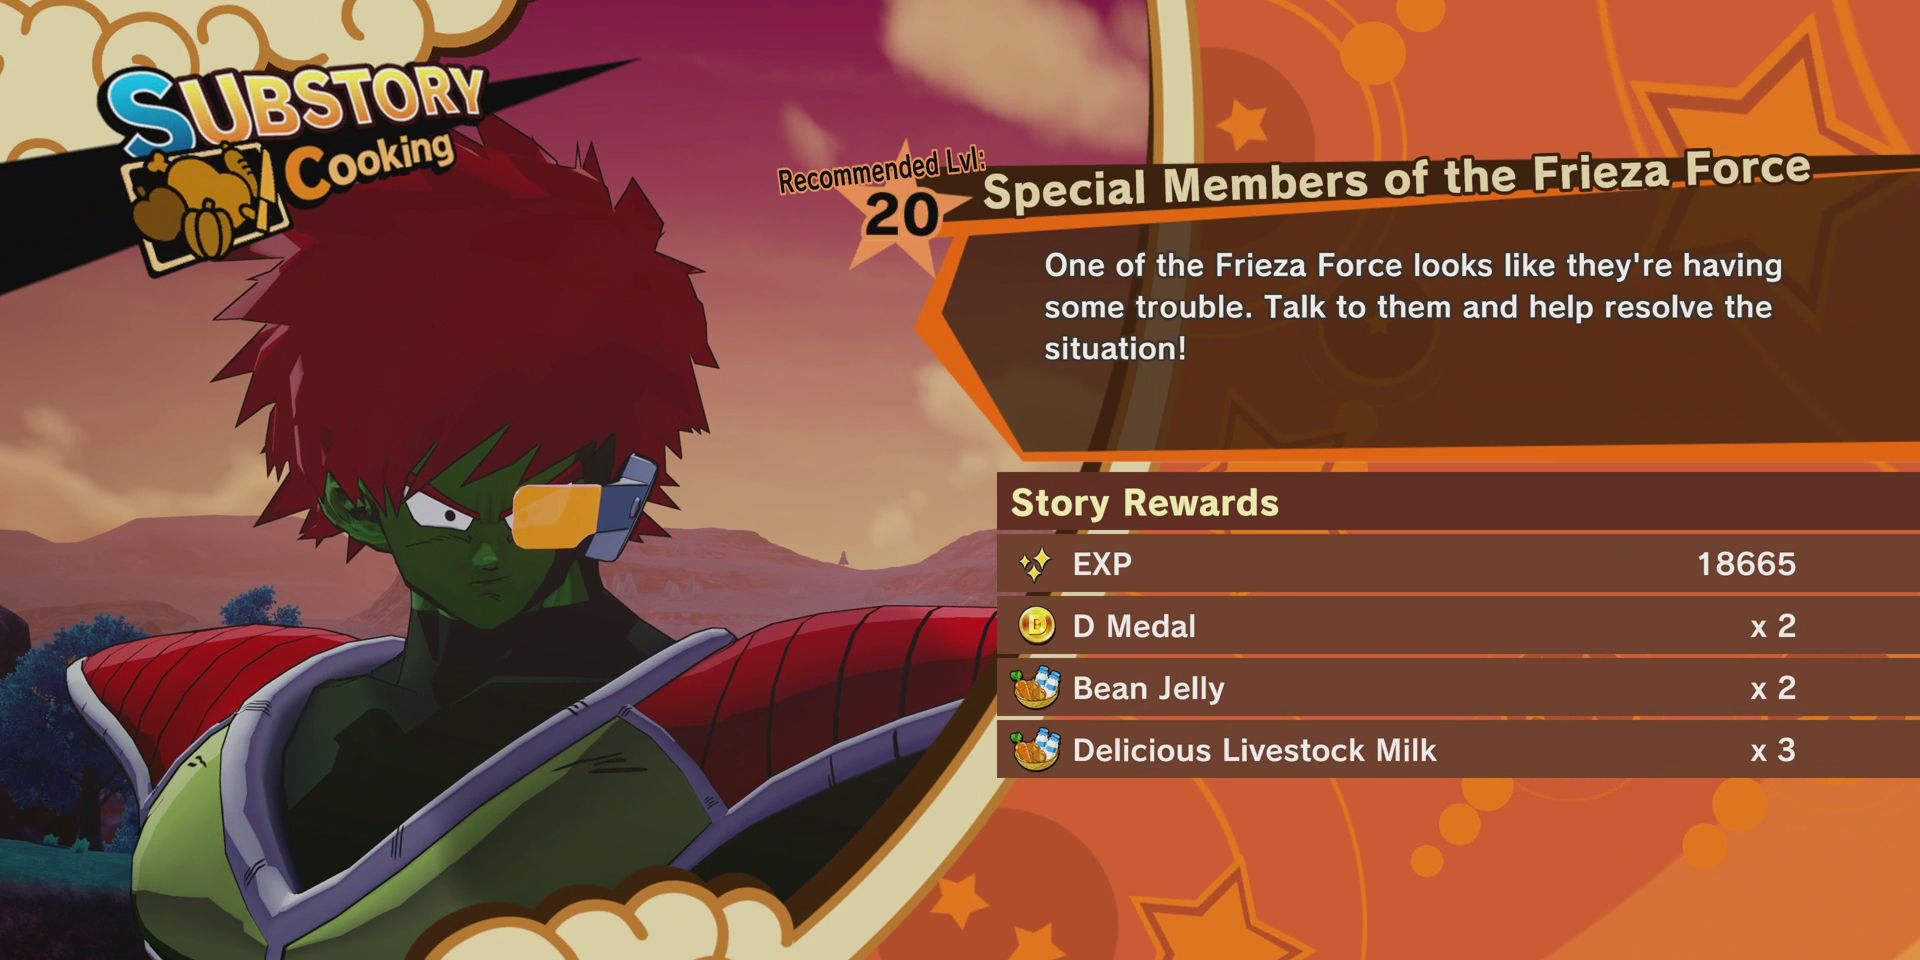
Special Members of the Frieza Force
Story Rewards | |
|---|---|
EXP | 18,665 |
D Medal | x2 |
Bean Jelly | x2 |
Delicious Livestock Milk | x3 |
Melone Special | x1 |
How to Complete Special Members of the Frieza Force in Dragon Ball Z: Kakarot
"Special Members of the Frieza Force" can be started by speaking with the Frieza Force member with green skin and red hair to the south of the Frieza Force base. Those who've already completed all of the substories in the base version of Dragon Ball Z: Kakarot should recognize this guy as Melone: an elite chef who needs help tracking down rare ingredients for his cooking.
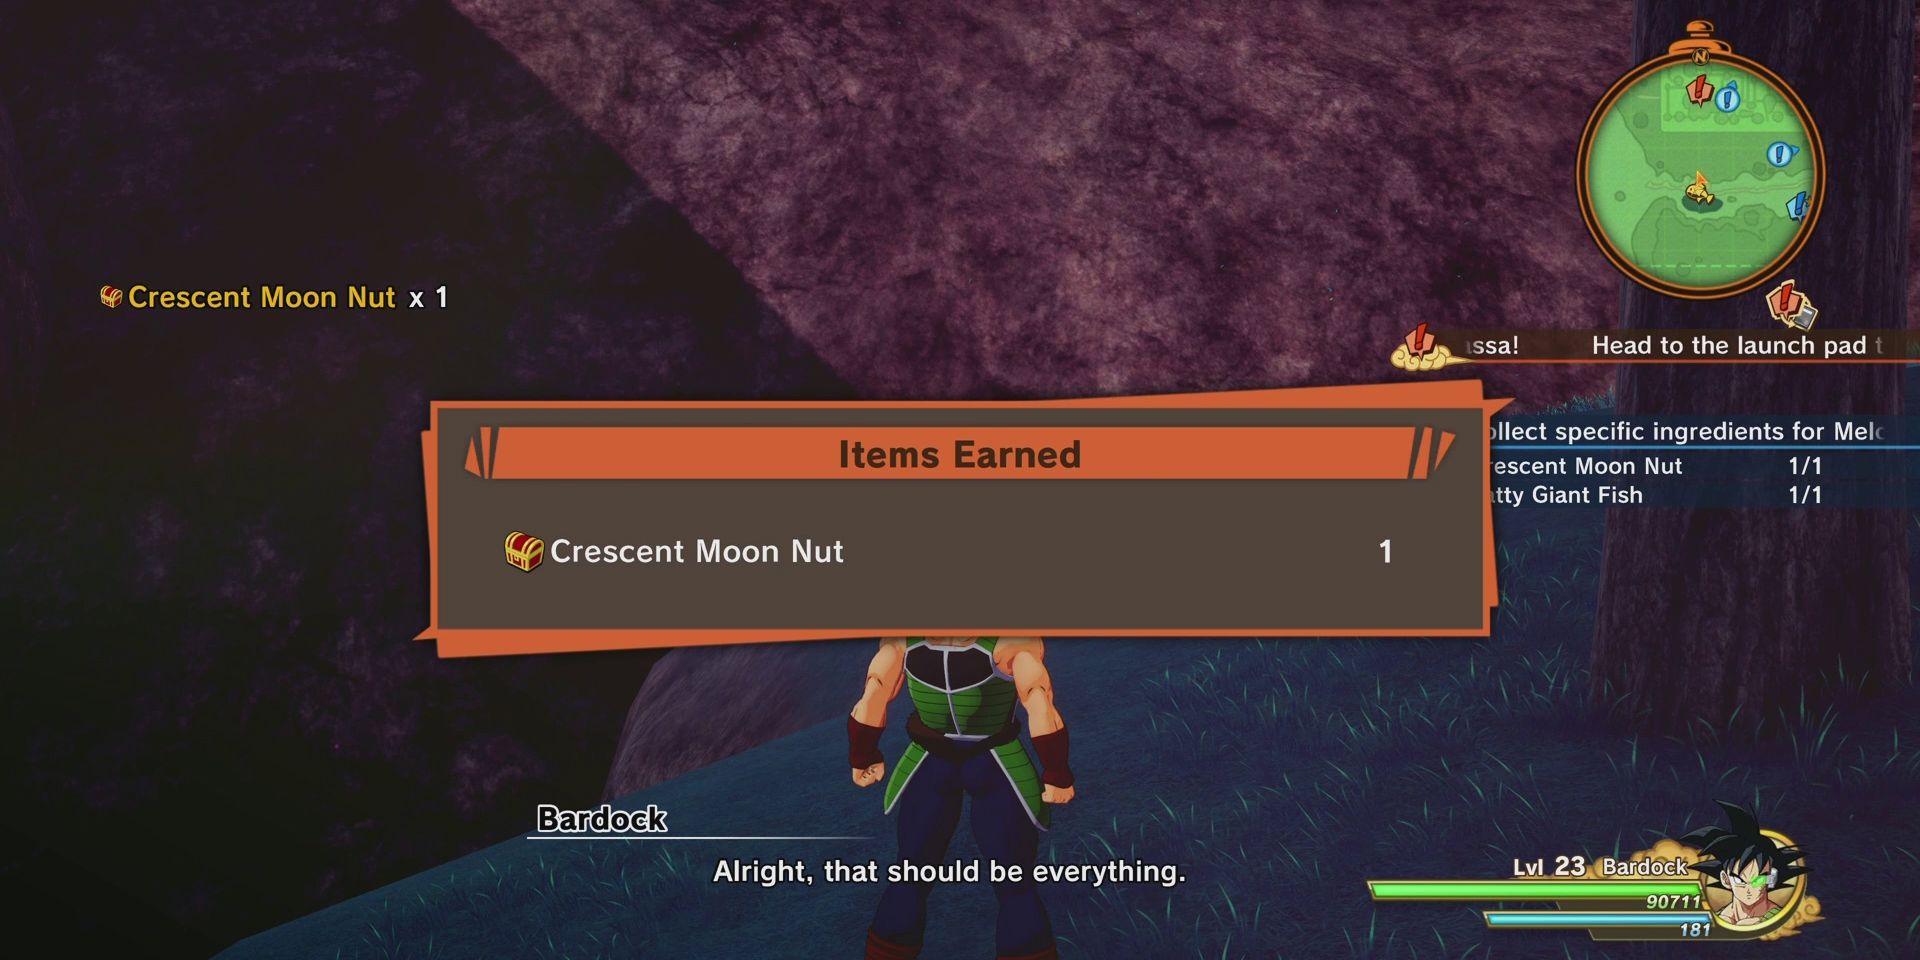
On this occasion, he'll ask players to find him a Crescent Moon Nut and a Fatty Giant Fish; both of which can be found in the area that's marked on the map just to the west of Melone. For the fish, players simply need to interact with the fishing mini-game until they catch the right one. Finding a Crescent Moon Nut is a little trickier, however, as rather than looking in bushes or trees, players will instead need to fly up onto a cliff just to the north of the fishing spot and look for a glowing purple object. After finding both, players can return to Melone to claim the promised story rewards as well as one Melone Special.
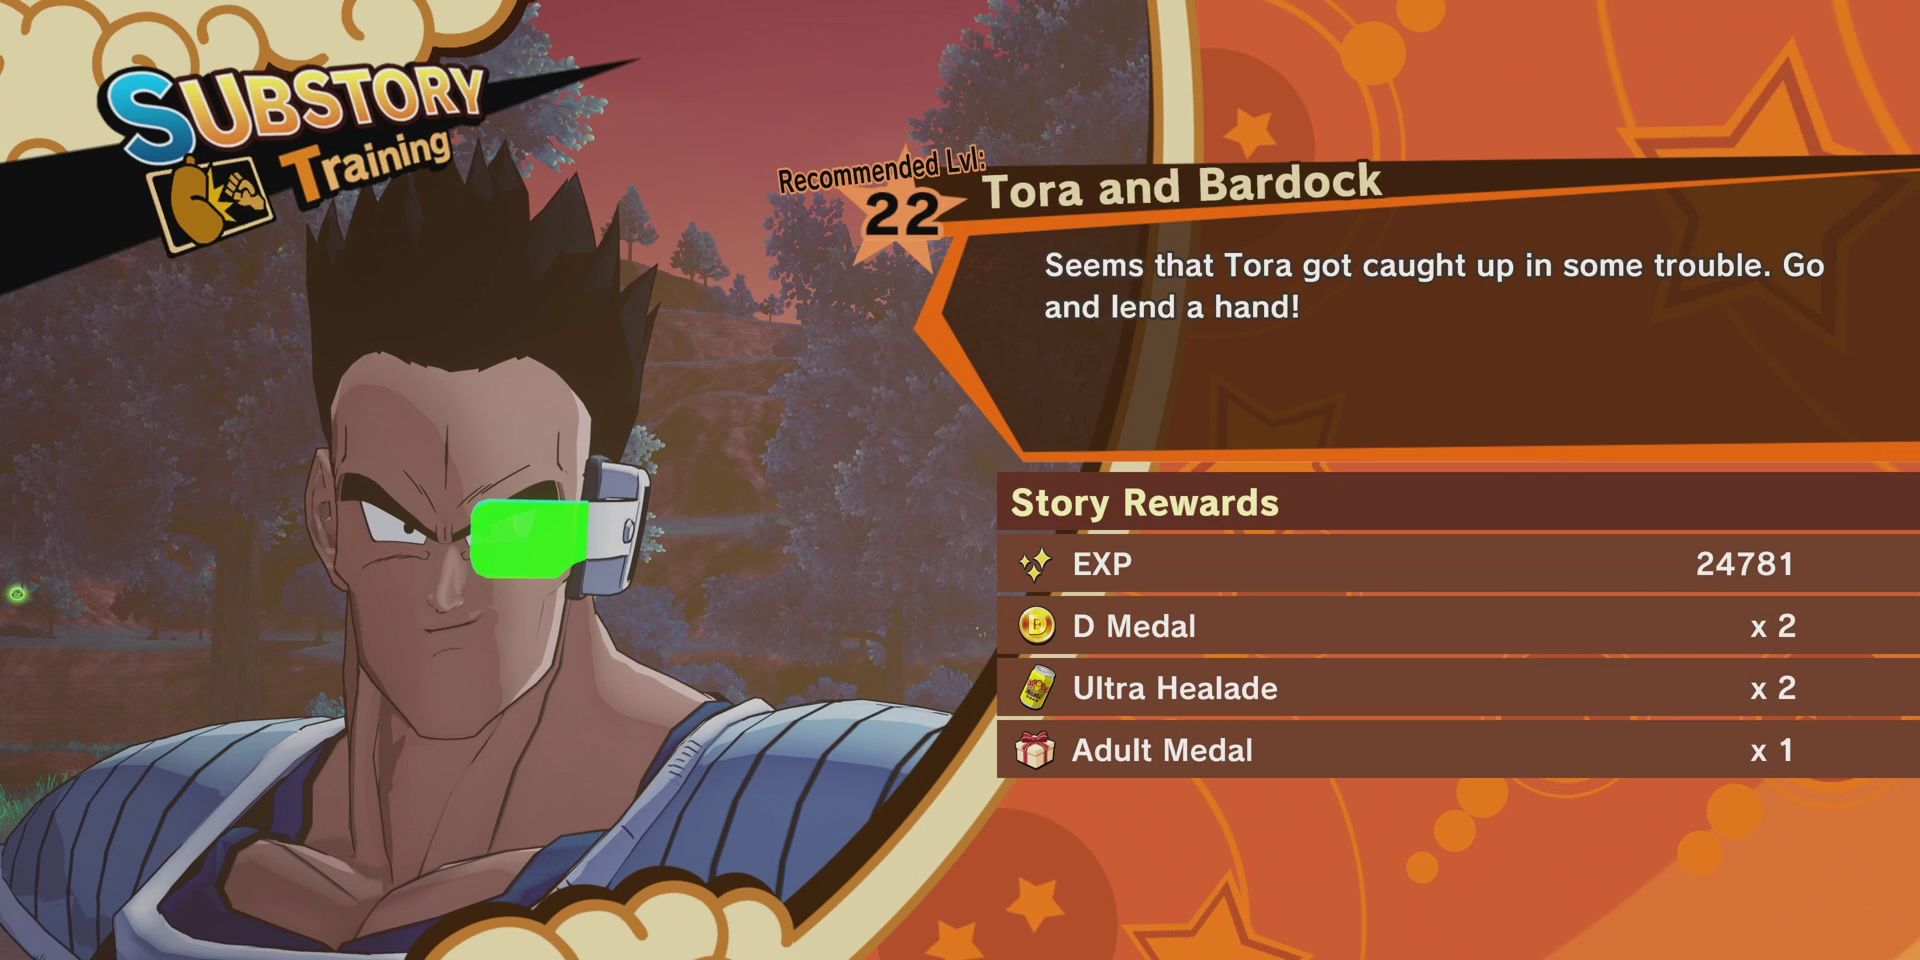
Tora and Bardock
Story Rewards | |
|---|---|
EXP | 24,781 |
D Medal | x2 |
Ultra Healade | x2 |
Adult Medal | x1 |
Tora Soul Emblem | x1 |
How to Complete Tora and Bardock in Dragon Ball Z: Kakarot
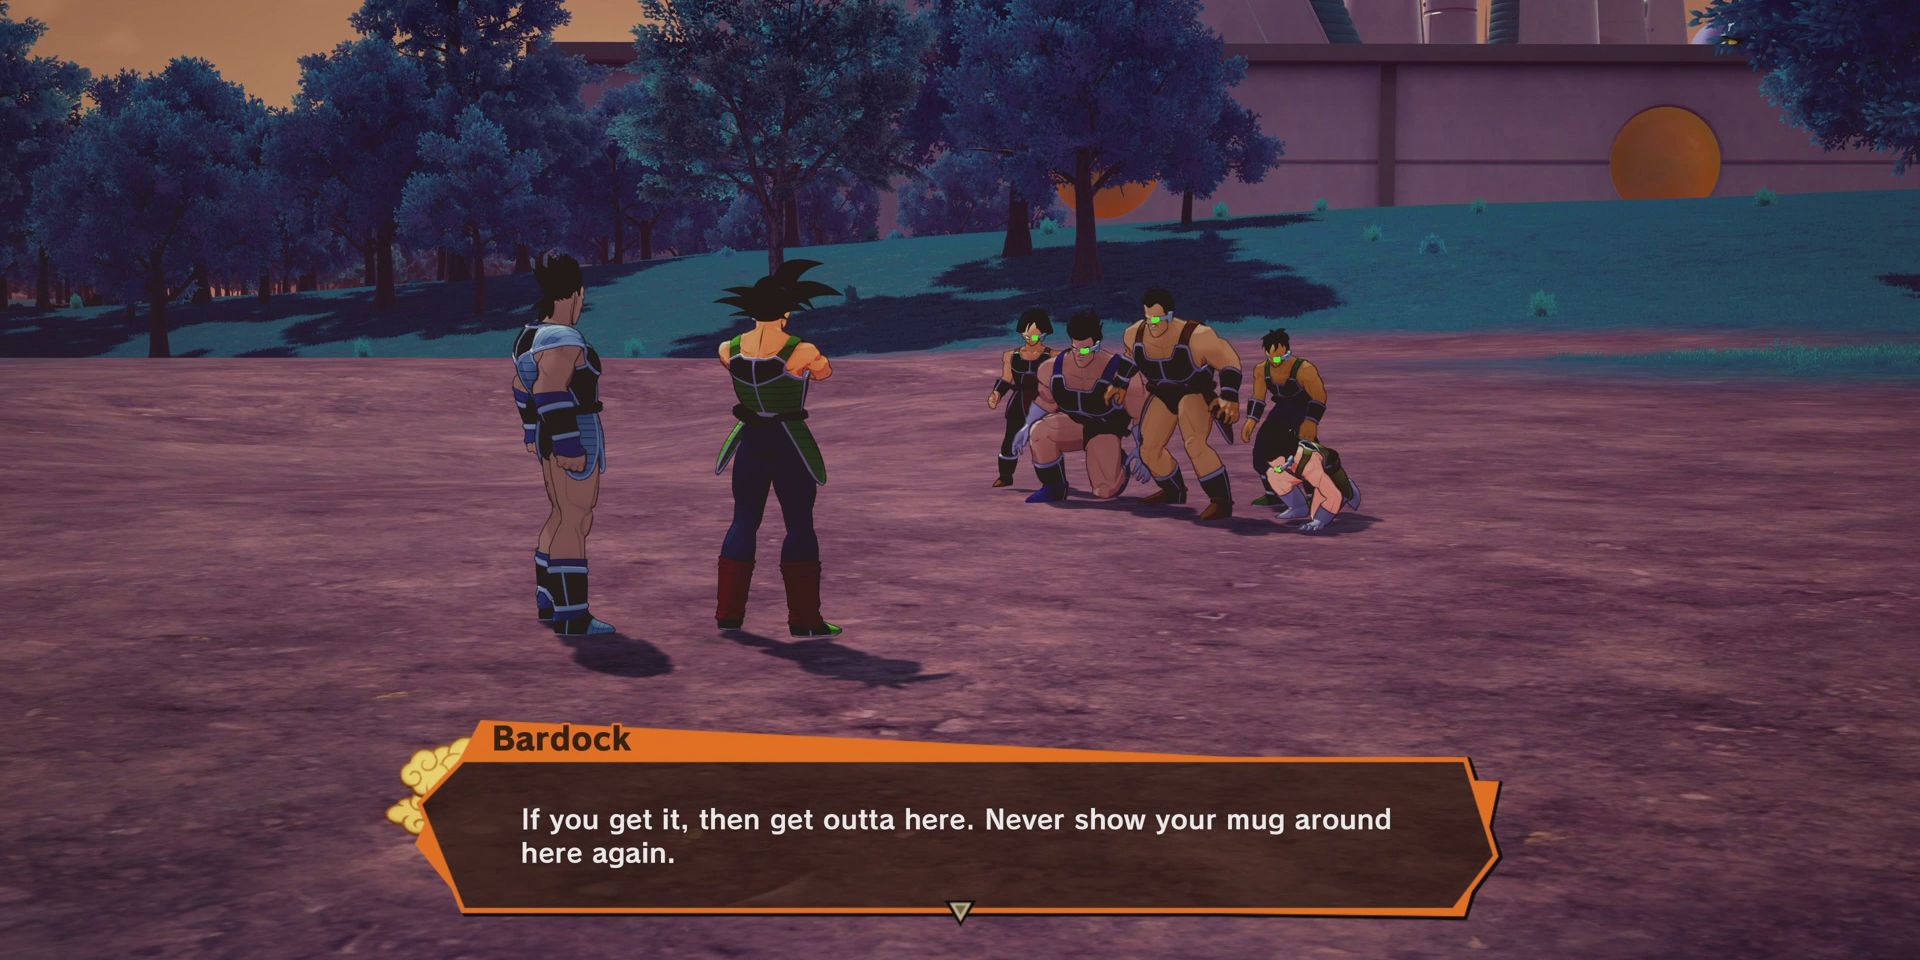
The "Tora and Bardock" substory can be triggered by speaking with Tora to the east of the Frieza Force base and requires players to beat up a group of level 20 Saiyans. Though none of them are particularly difficult by themselves, taking on all five at once can be a little tricky, so players should stay on their toes so as not to be caught off guard.
Players will also want to make the most of their Super Attacks and Tora's support abilities, both of which can help to make the fight go much more smoothly. Once all of the Saiyans have been taken care of, there'll be a short cut-scene, after which, players will be able to claim their rewards. They'll not only receive the items listed on the story rewards screen, but also the Tora Soul Emblem.
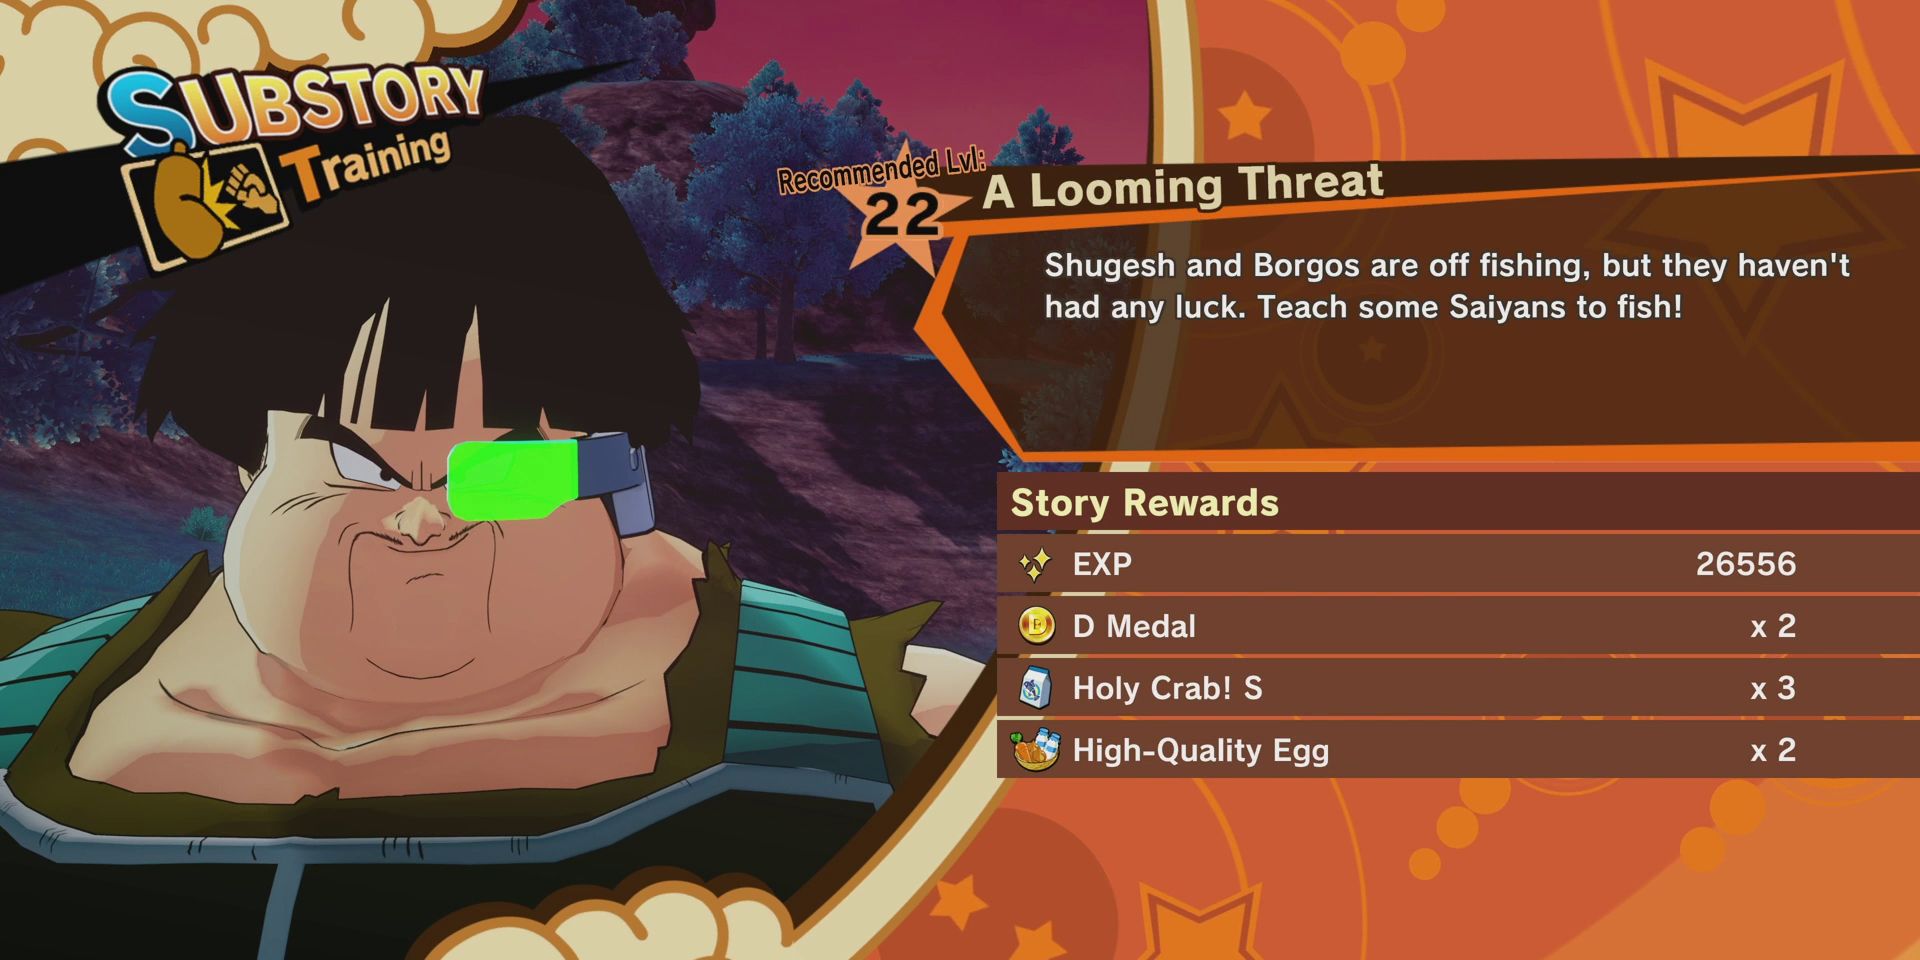
A Looming Threat
Story Rewards | |
|---|---|
EXP | 26,556 |
D Medal | x2 |
Holy Crab! S | x3 |
High-Quality Egg | x2 |
Shugesh Soul Emblem | x1 |
Borgos Soul Emblem | x1 |
How to Complete A Looming Threat in Dragon Ball Z: Kakarot
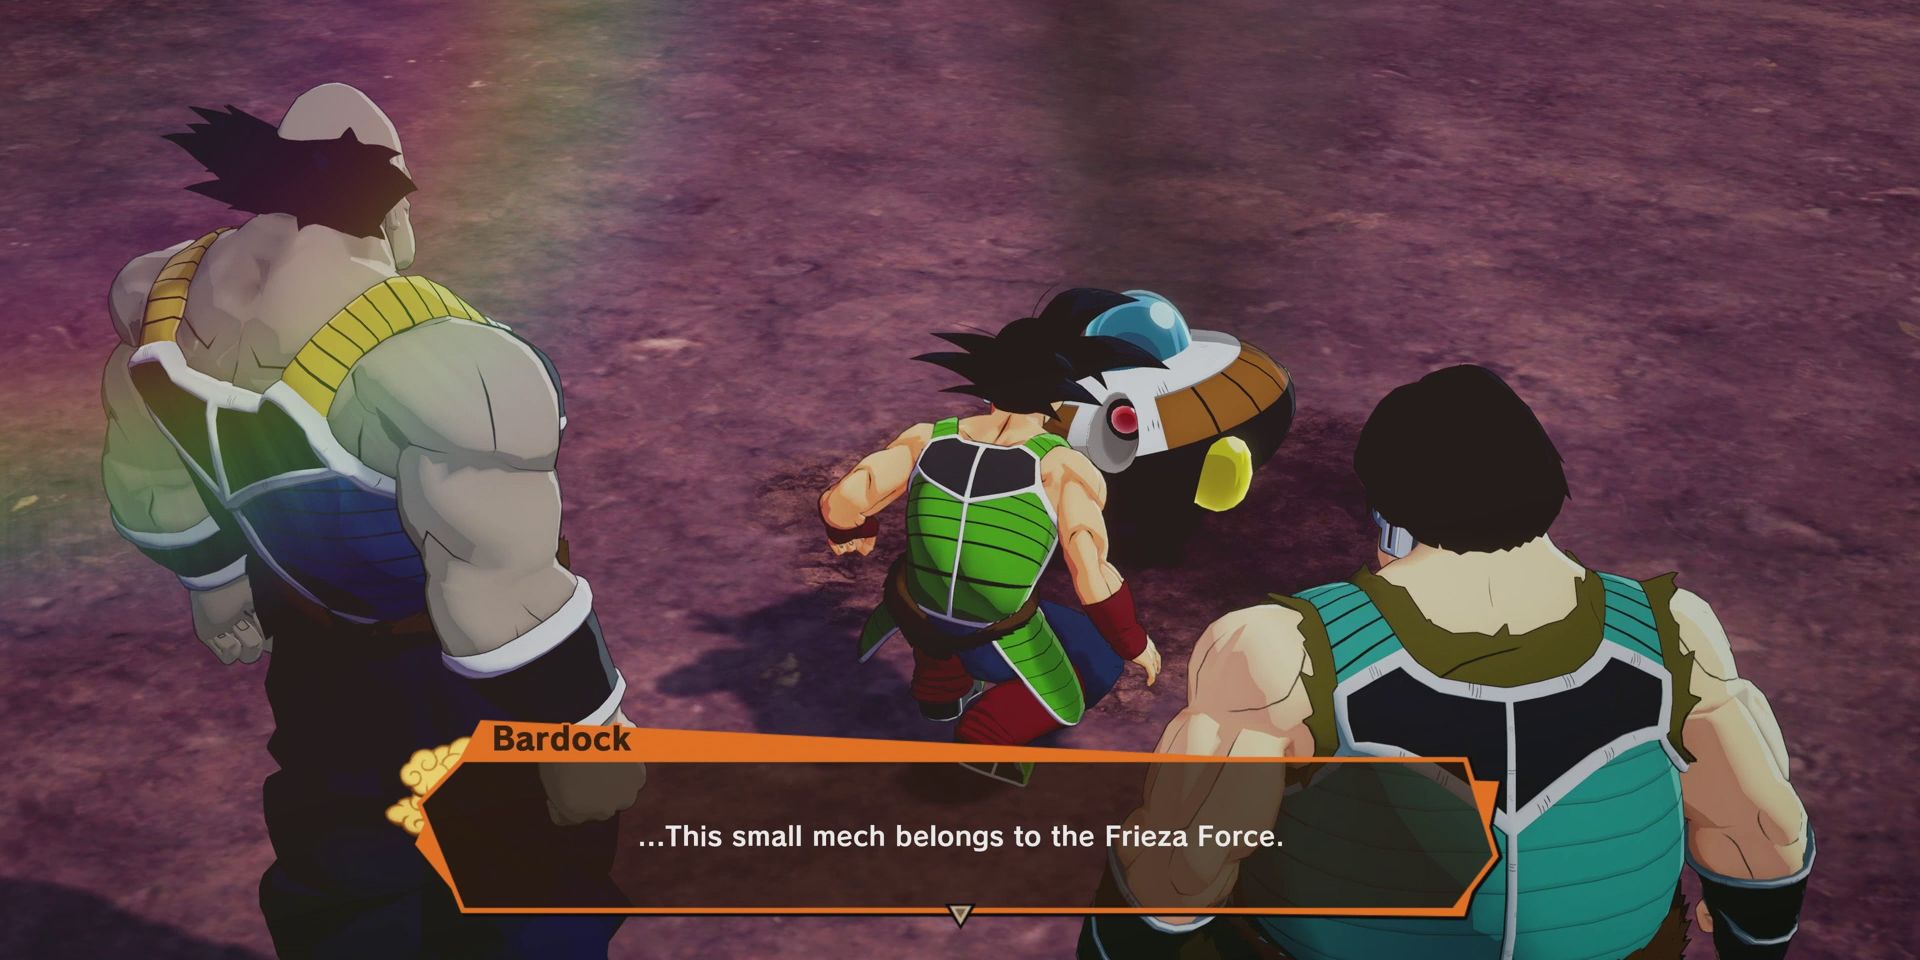
To begin the "A Looming Threat" substory, players should head for the blue icon to the north of the Frieza Force base. Once there, they'll need to speak with Shugesh and Borgos and then catch two Giant Bug-Eyed Fish from the nearby fishing spot. After catching the fish and reporting back to the two Saiyans, the group will be attacked by a bunch of level 21 Saibamen. Defeating them will reveal that a mysterious Small Mech has been watching the action and players will be prompted to give chase.
Heading to the first quest marker will lead to a short conversation with another Saiyan. Once it finishes, players should make their way to the next quest marker, where a battle with the Small Mech and a level 22 Combat Machine will take place. Beating both will complete the substory, unlocking a new one in the process. In addition to the items listed on the story rewards screen, players will receive the Shugesh and Borgos Soul Emblems.
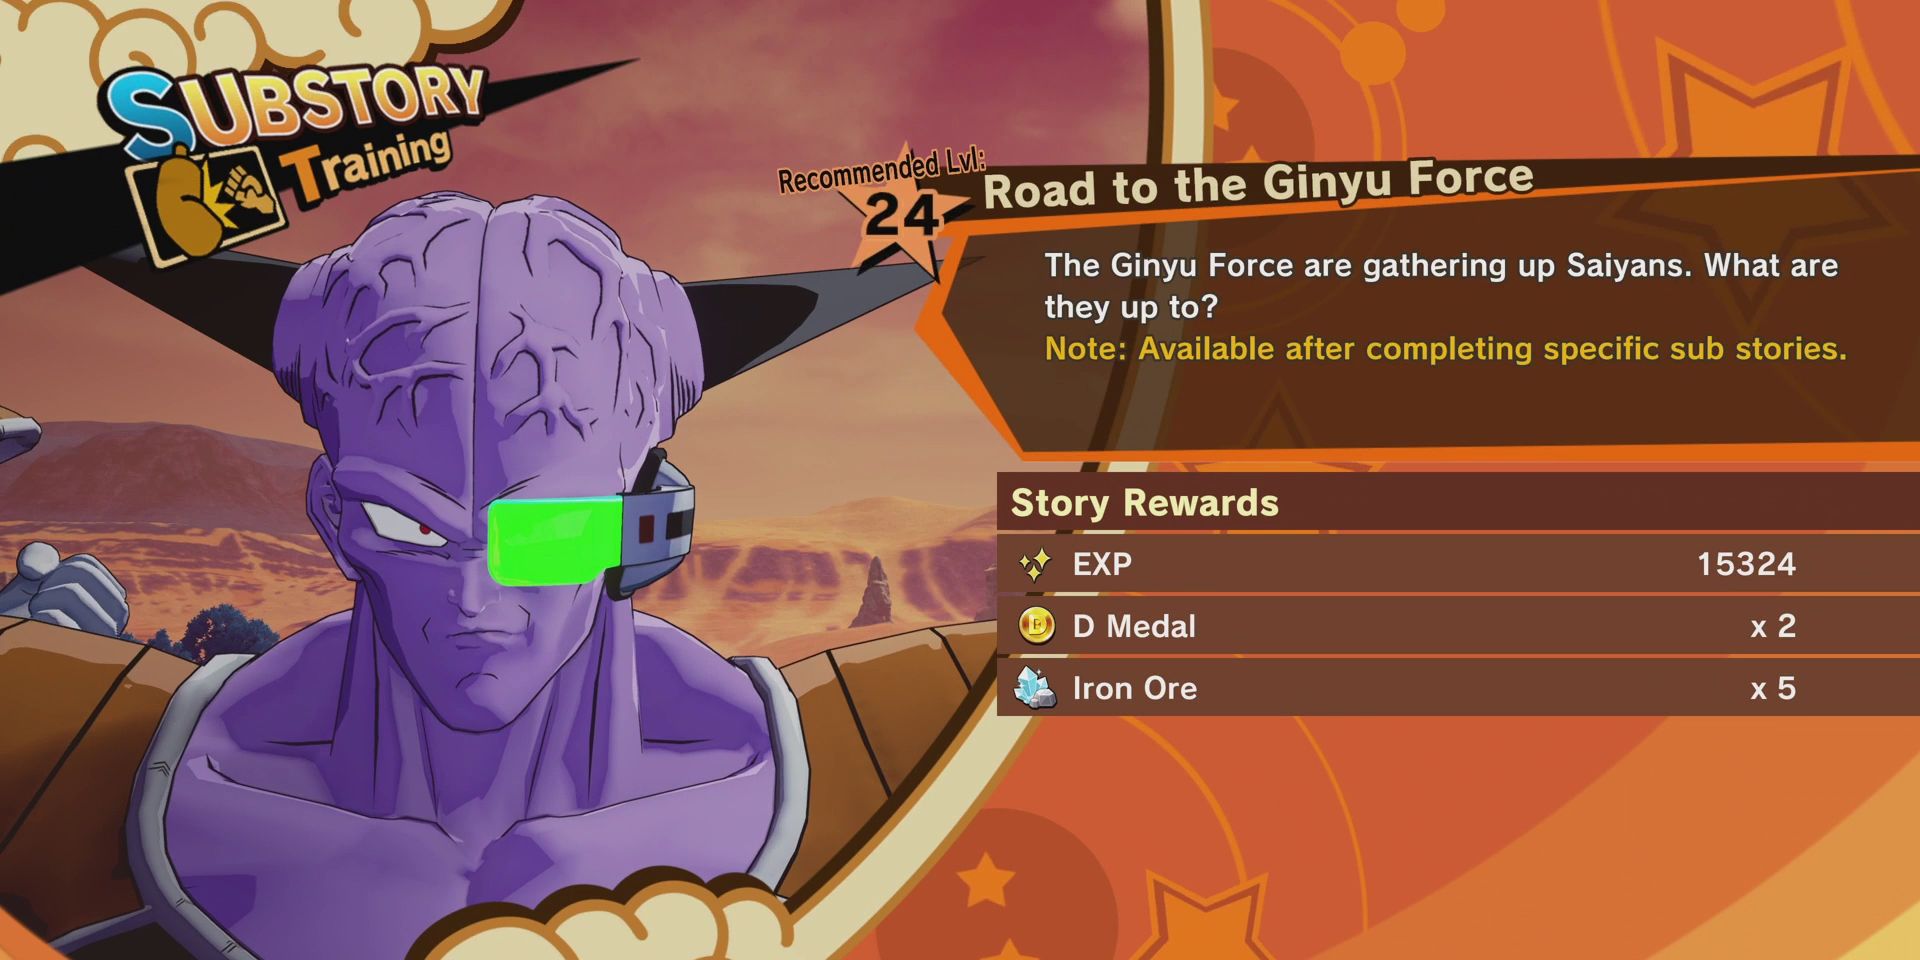
Road to the Ginyu Force
Story Rewards | |
|---|---|
EXP | 15,324 |
D Medal | x2 |
Iron Ore | x5 |
How to Complete Road to the Ginyu Force in Dragon Ball Z: Kakarot
Heading to the Saiyan Settlement to the north of Planet Vegeta sees players coming face to face with Jeice of the Ginyu Force, who reveals that defeating the Small Mech was just the first in a series of tests. To get started on the second, players should head to the blue quest marker to the west, which will trigger a one-on-one fight with Recoome. He's level 23 and quite powerful, but with some well-timed blocks and a few nice combos, players shouldn't have too much trouble taking him down.
After defeating Recoome, Captain Ginyu will announce that the next fights will be two-on-two, but as there are five challengers, players will end up getting paired with Fasha and Tora in a battle against Burter and Jeice. They should again be ready to dodge at a moment's notice, while also punishing their opponents whenever a chance to do so presents itself and healing with items if their health gets low. Focussing on a single enemy can make life much easier here, as too can using support abilities and Z Combos as often as possible. Once both Ginyu Force members have been defeated, there'll be another short cut-scene and then players will receive their rewards.
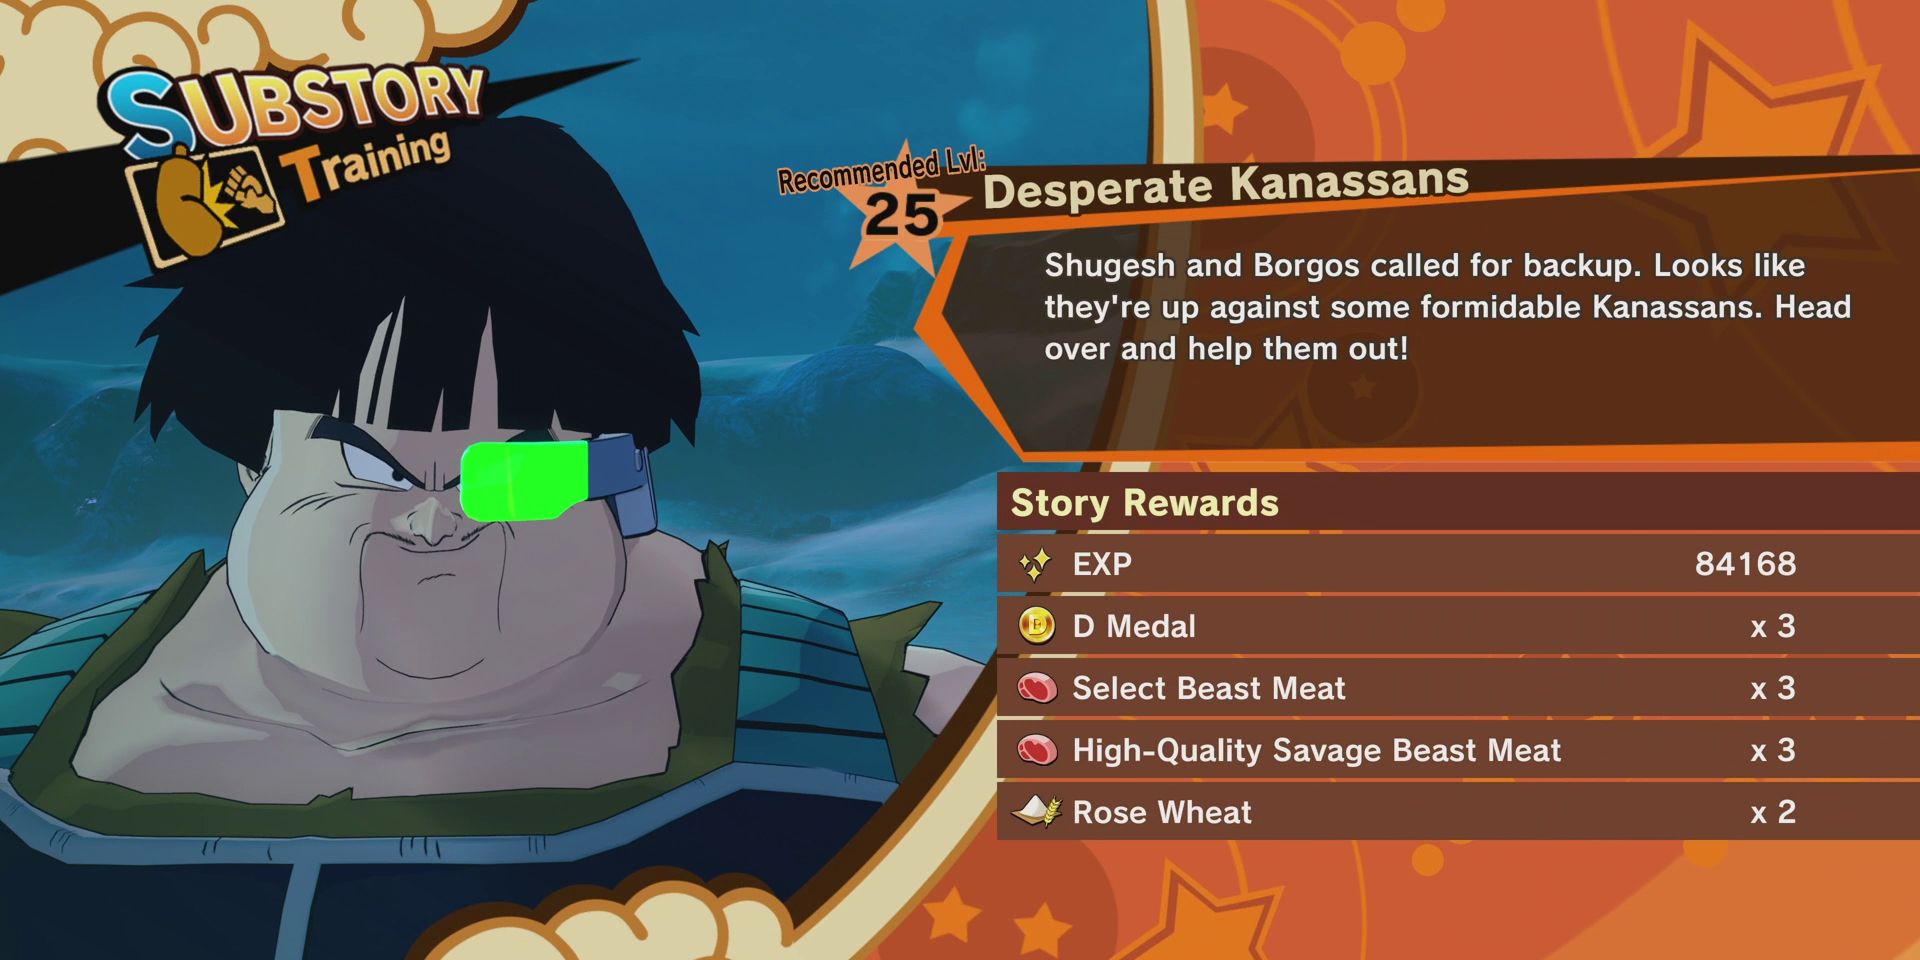
Desperate Kanassans
Story Rewards | |
|---|---|
EXP | 84,161 |
D Medal | x3 |
Select Beast Meat | x3 |
High-Quality Savage Beast Meat | x3 |
Rose Wheat | x2 |
How to Complete Desperate Kanassans in Dragon Ball Z: Kakarot
The "Desperate Kanassans" substory becomes available during the second part of the first episode once players arrive on Planet Kanassa. Shortly after their arrival, players will get a message from Shugesh informing them that he and Borgos have run into some crazy strong Kanassans, after which, players can start the side quest by heading to the blue marker to the east of the area.
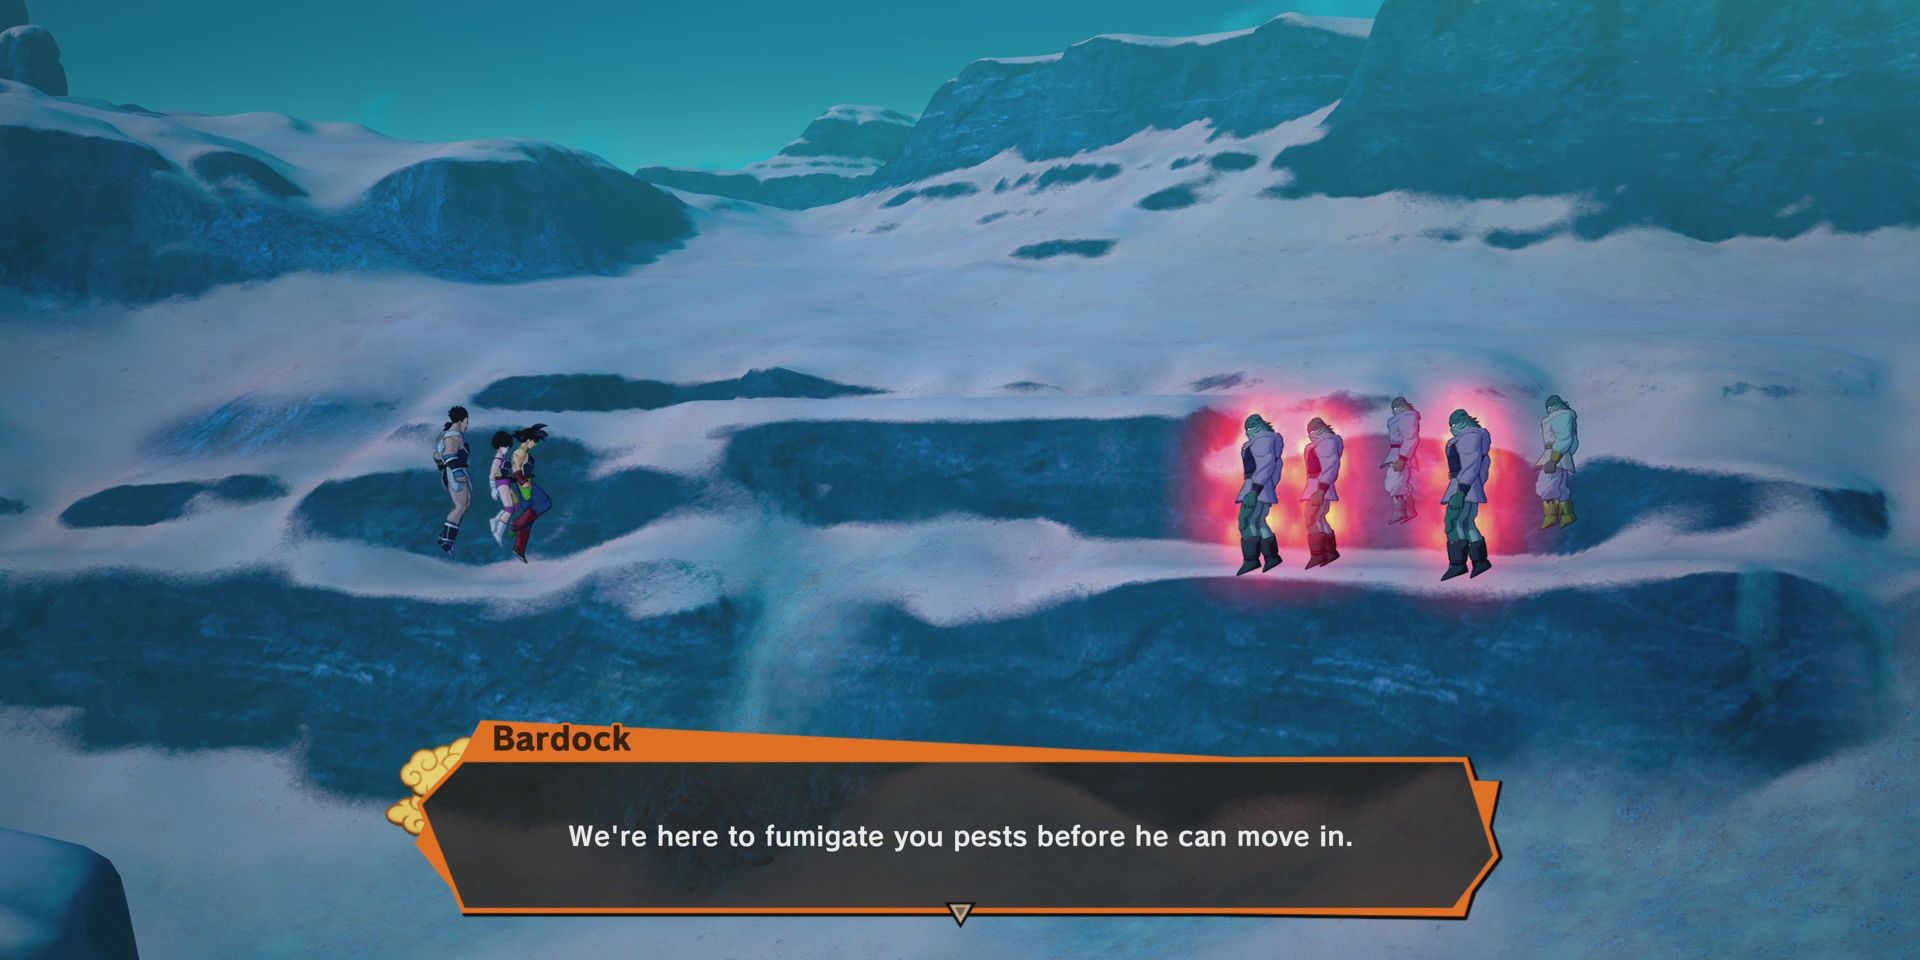
After speaking with Shugesh and Borgos, players should head south to another blue quest marker to initiate a battle with the aforementioned Kanassans. There are five of them in total, three of which are level 25 Enhanced Kanassans. The other two are regular Kanassans and are only at level 22, so players should take these guys out first before focusing on the heavy hitters. Once they've all been defeated, the substory will end and players can claim their rewards.
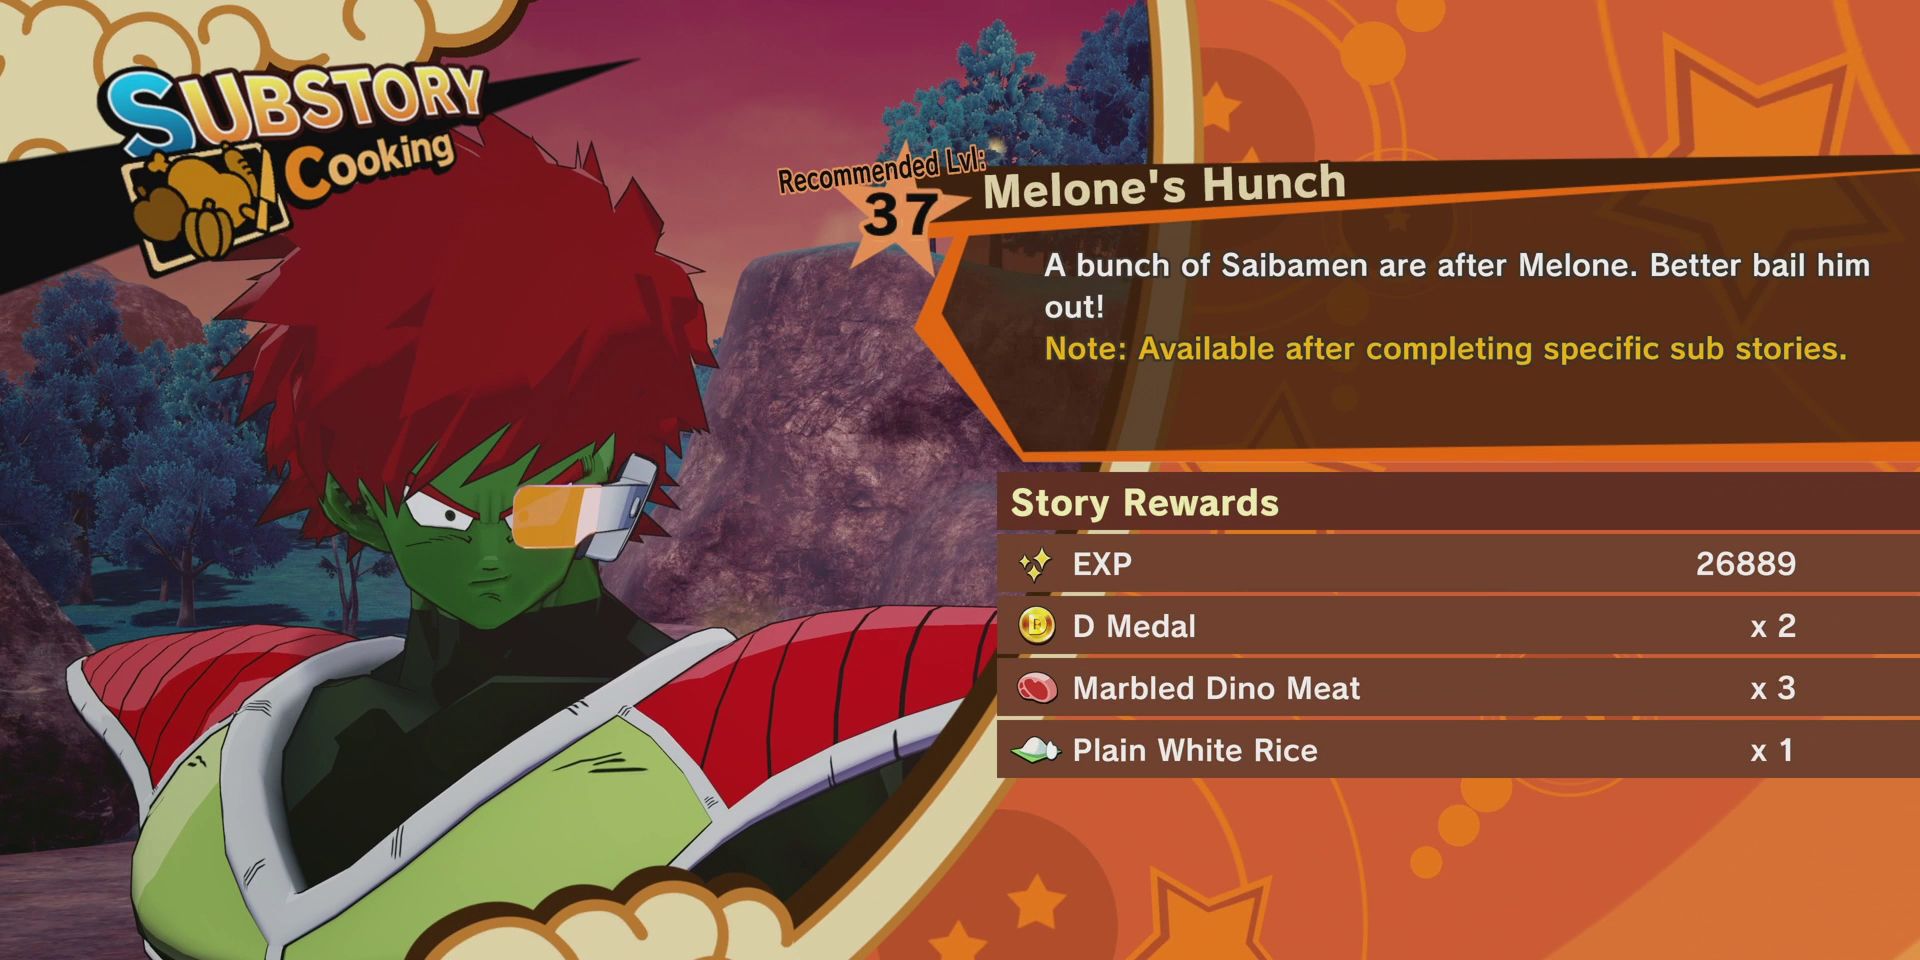
Melone's Hunch
Story Rewards | |
|---|---|
EXP | 26,889 |
D Medal | x2 |
Marbled Dino Meat | x3 |
Plain White Rice | x1 |
Melone Special | x1 |
How to Complete Melone's Hunch in Dragon Ball Z: Kakarot
"Melone's Hunch" becomes available right at the very end of the Bardock DLC, though only if players completed the "Special Members of the Frieza Force" substory earlier on. Before heading off to confront Frieza, players should head to the blue quest marker to the north of the Frieza Force Base, where they'll find Melone in some woodland surrounded by a group of angry level 37 Saibamen.
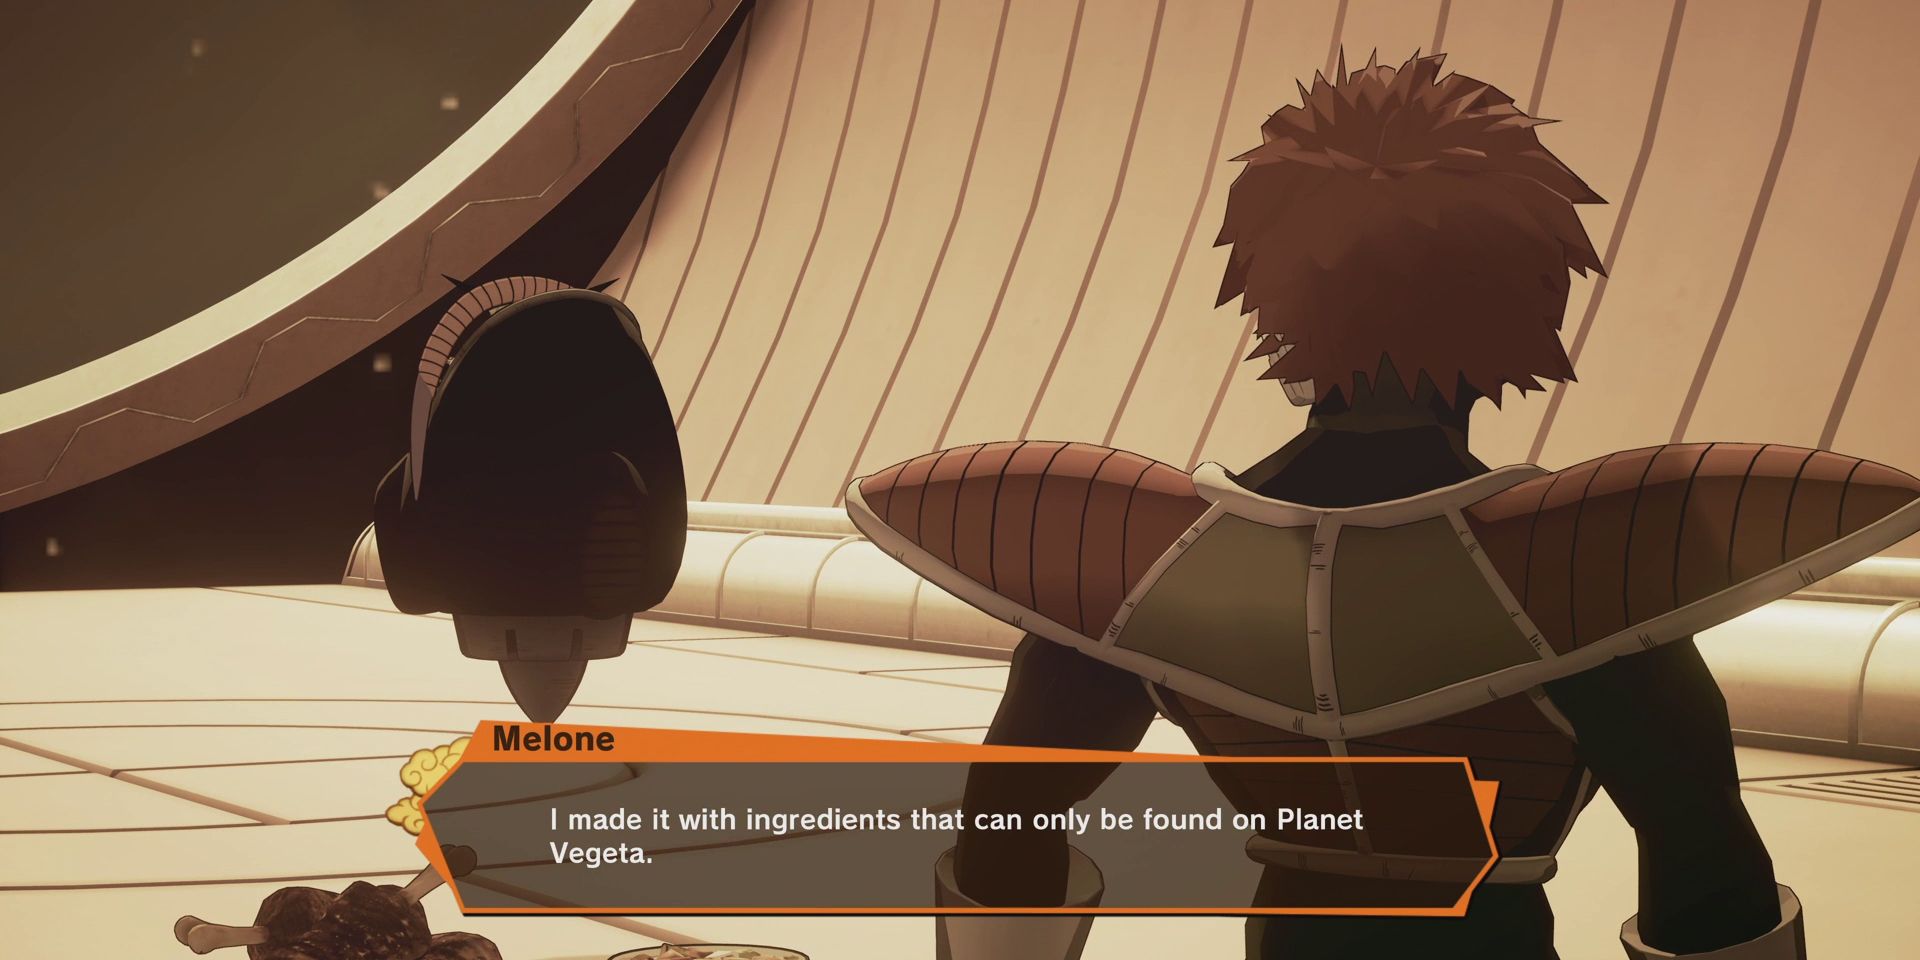
After players have taken care of the Saibamen, Melone will thank them before telling them about an earlier conversation that he had with Frieza. It's perhaps a little redundant given that both players and Bardock already know what's coming at this point in the story and the substory itself feels a little out of place on account of the impending battle. Despite this, though, completionists will no doubt want to tackle this substory anyway and claim their rewards (which also include another Melone Special) before finishing off the episode.
Dragon Ball Z: Kakarot is available now for PC, PS4, PS5, Switch, Xbox One, and Xbox Series X/S.

