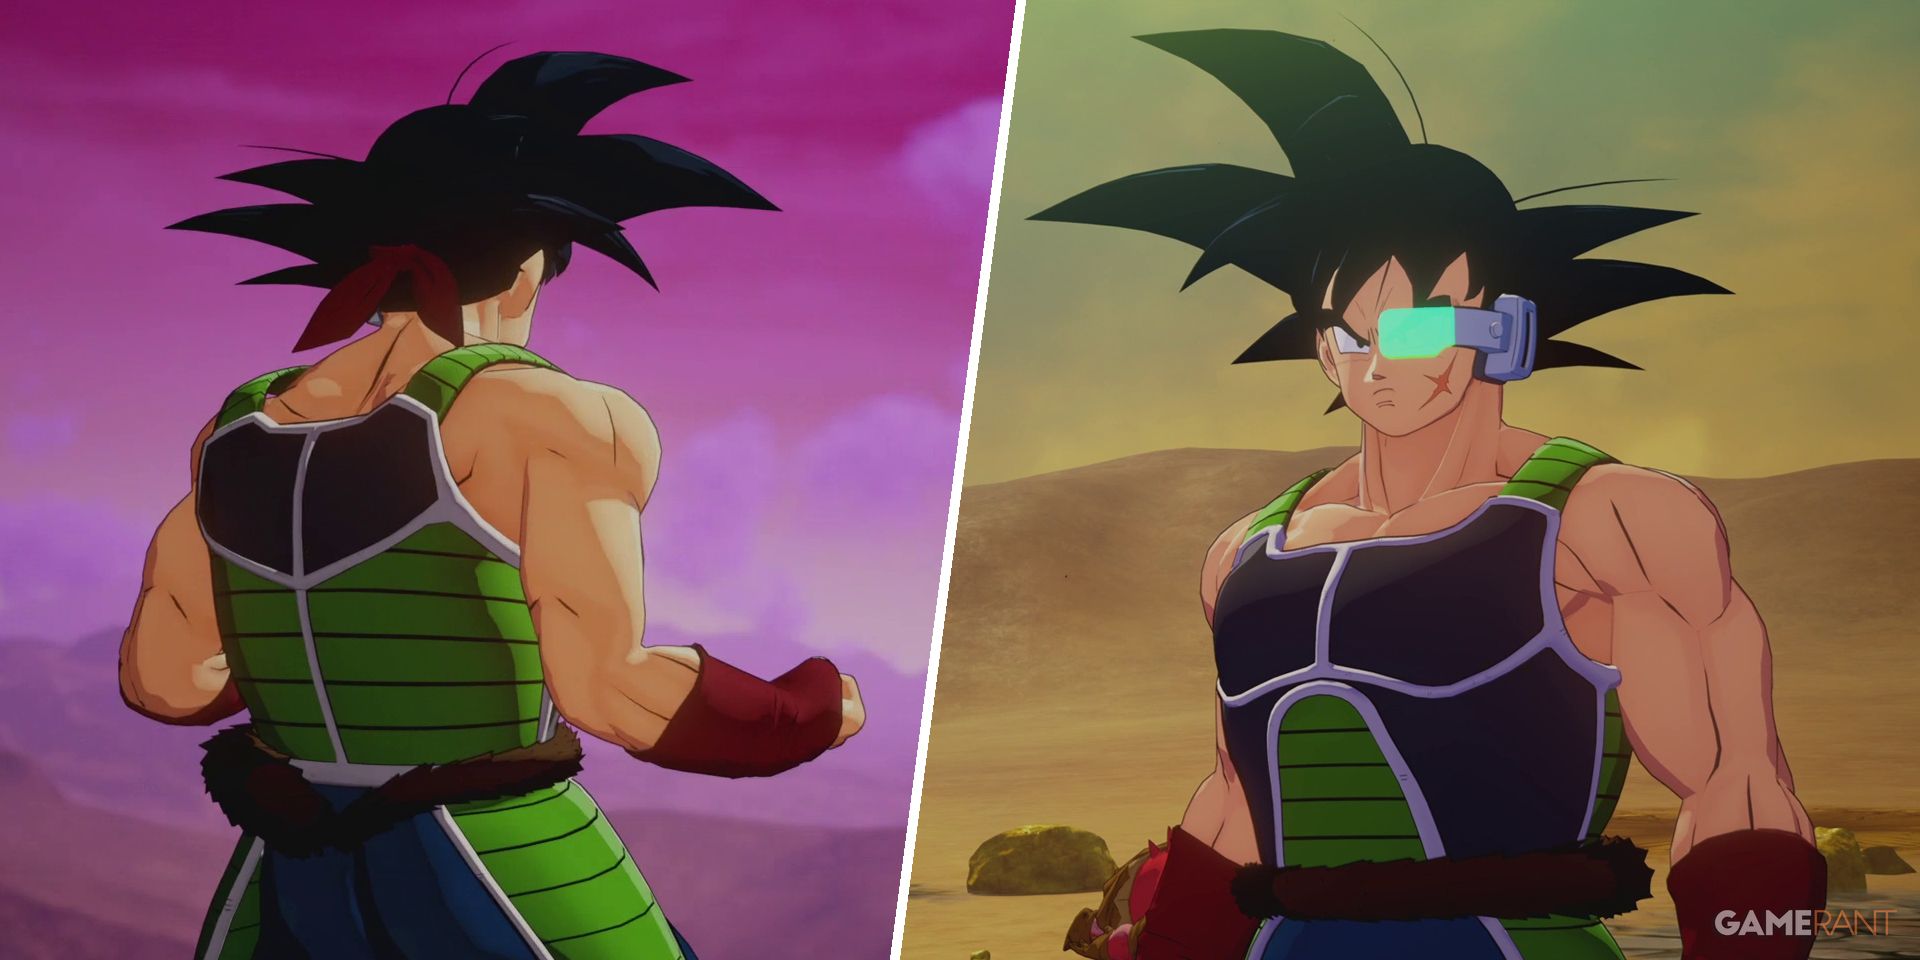
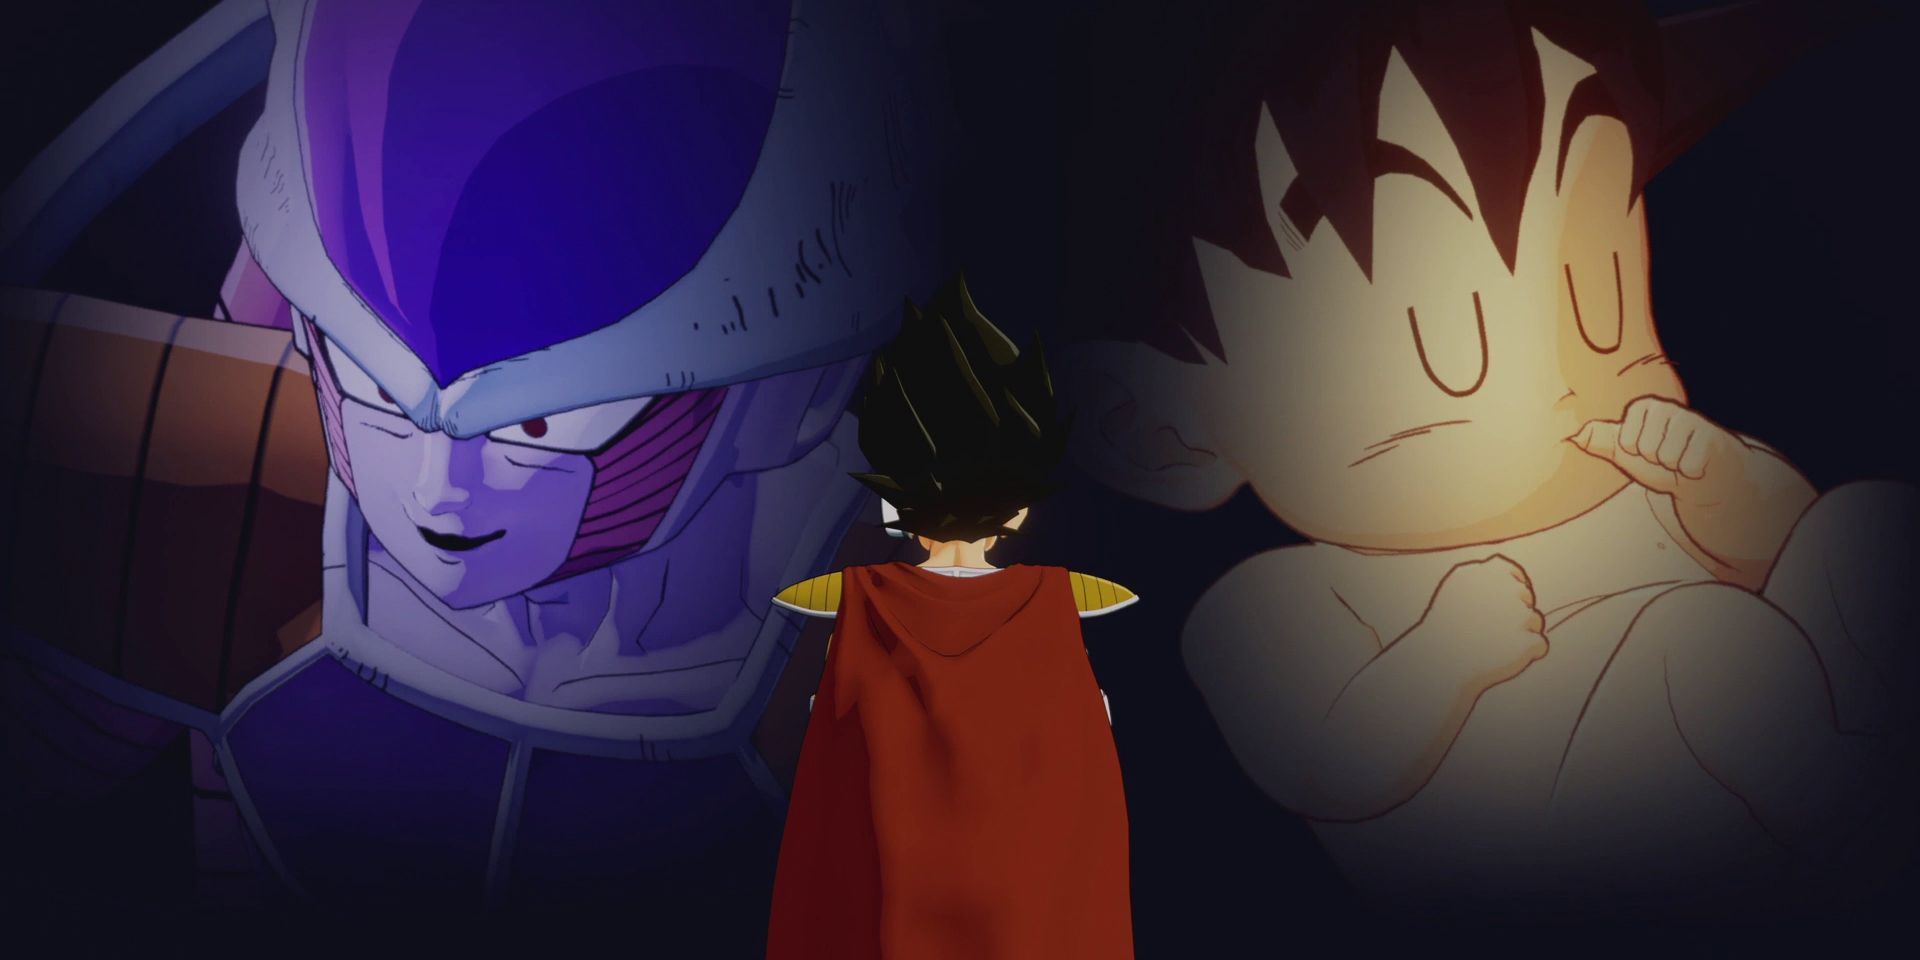
Dragon Ball Z: Kakarot's Bardock - Alone Against Fate DLC is made up of three episodes, each of which is relatively short in length. The whole story can be completed in around ninety minutes, making it one of the shorter DLC expansions for the popular RPG game.
Thankfully, the DLC does offer a fairly decent amount of side missions for players to sink their teeth into, as well as a healthy dose of post-game content. With this in mind, those hoping to complete everything in Bardock - Alone Against Fate may want to check out a walkthrough to ensure that they don't miss anything.
Prologue
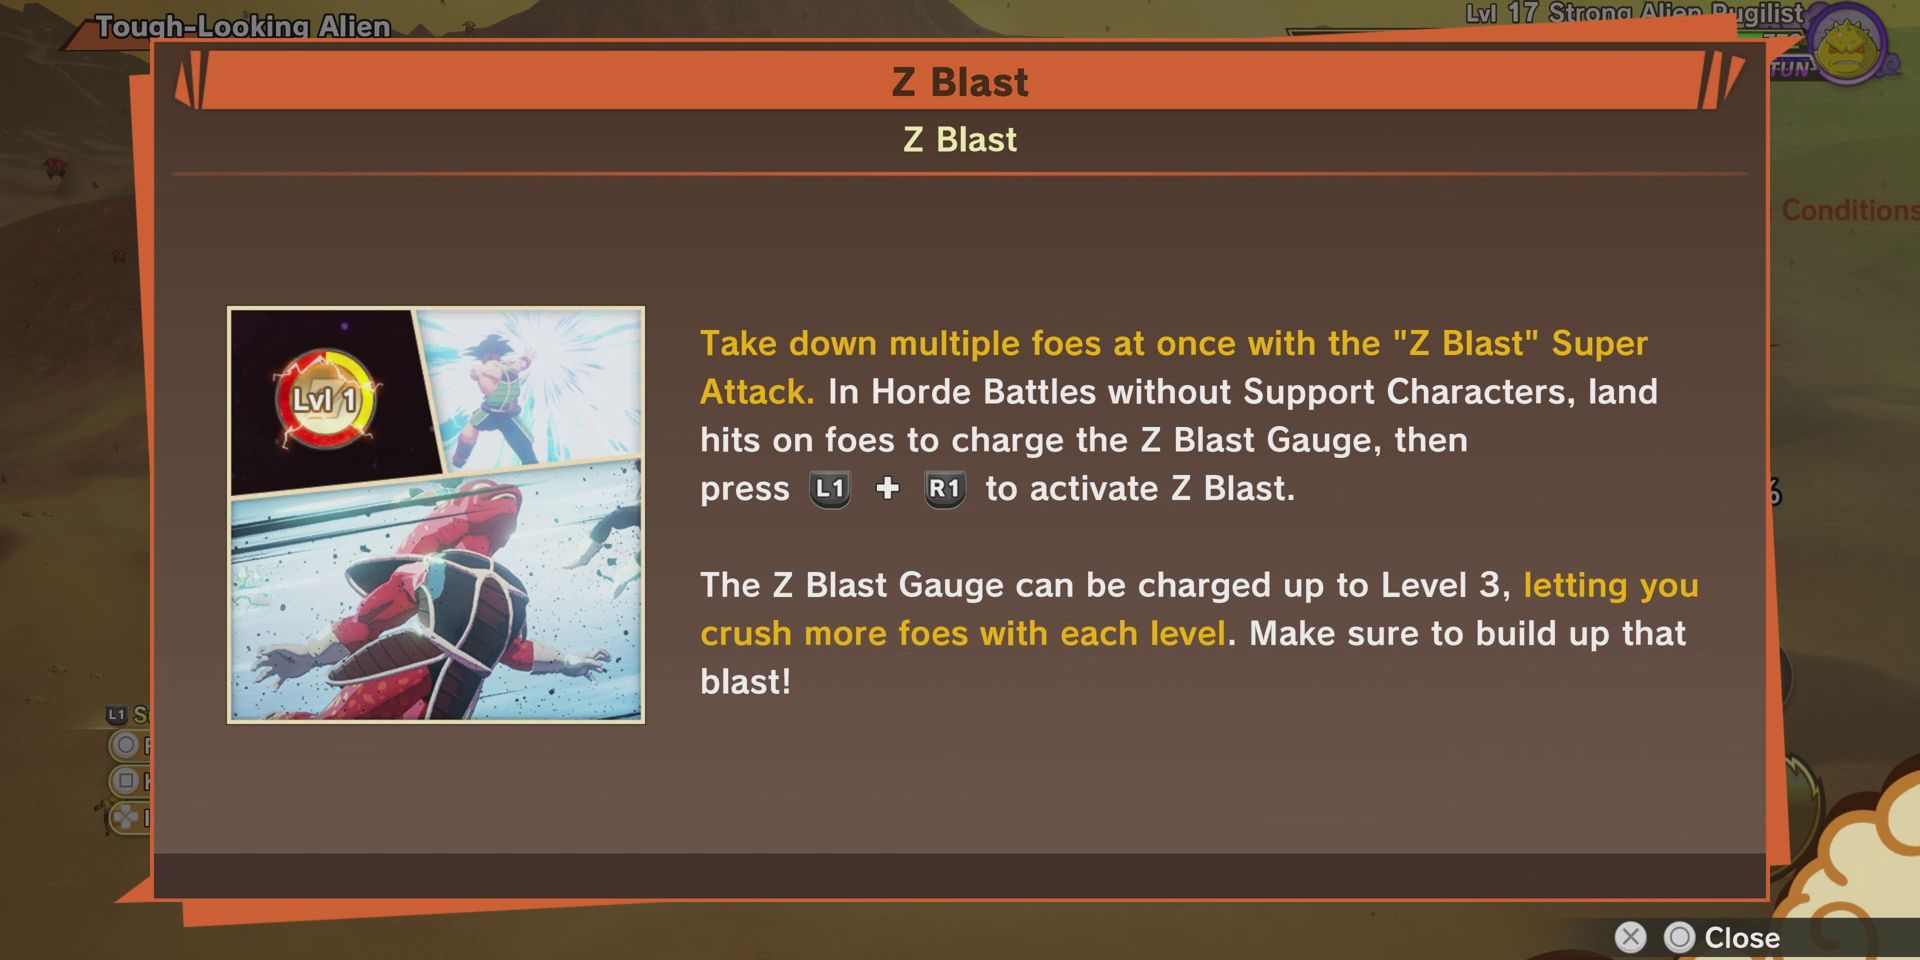
After a short scene-setting cut-scene, players will be thrown into the first of many Horde battles in Bardock - Alone Against Fate. The aim of these battles is to take out the number of enemies displayed in the top left-hand corner, which can be done using either regular attacks or Z Blasts. The latter can be carried out by pressing the left and right shoulder buttons at the same time, though only after building up the Z Blast Gauge.
When players are fighting solo, this gauge can be filled up by performing combos, with a 100 combo needed to reach Z Blast level 1. Levels 2 and 3 can be reached by increasing the combo to 150 and 200 respectively. If players are fighting alongside support characters, however, they'll instead need to perform support attacks until the backgrounds of both support characters' icons change color. Unlike with solo Z Blasts, support Z Blasts only have one level.
In this first battle, Bardock is fighting alone, so players will need to build up a combo in order to fill the gauge. A level 2 Z Blast should be enough to take out 80 enemies, after which, another cut-scene will play out and the Saiyans will return home to Planet Vegeta. This concludes the prologue, after which, players can begin to explore some of the side content in Bardock - Alone Against Fate.
Planet Vegeta
After another short cut-scene at the Saiyan Stomping Ground, players will find themselves free to explore Planet Vegeta. They can progress the main story by heading to the launch pad nearby, but before they do so, they may want to check out some of the DLC substories. There are four available right from the get-go, with a fifth one being unlocked after players have completed "A Looming Threat."
- Fasha's Stalker
- Special Members of the Frieza Force
- Tora and Bardock
- A Looming Threat
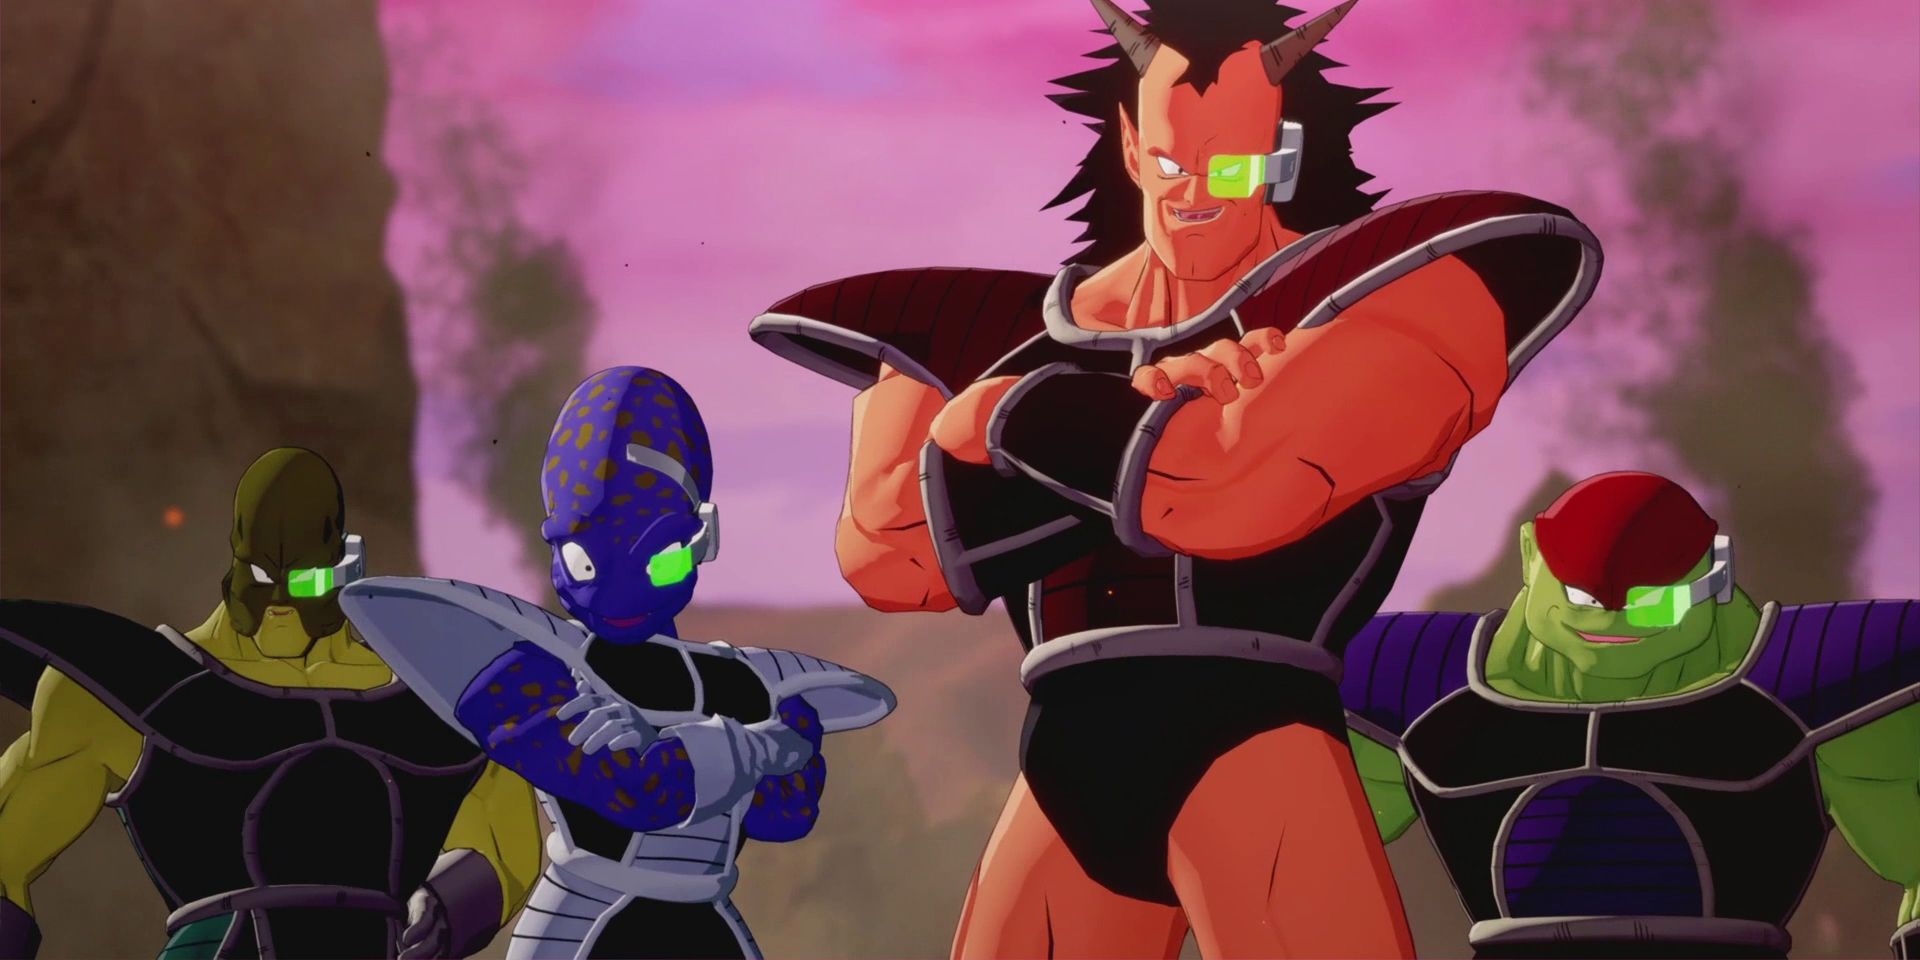
- Road to the Ginyu Force
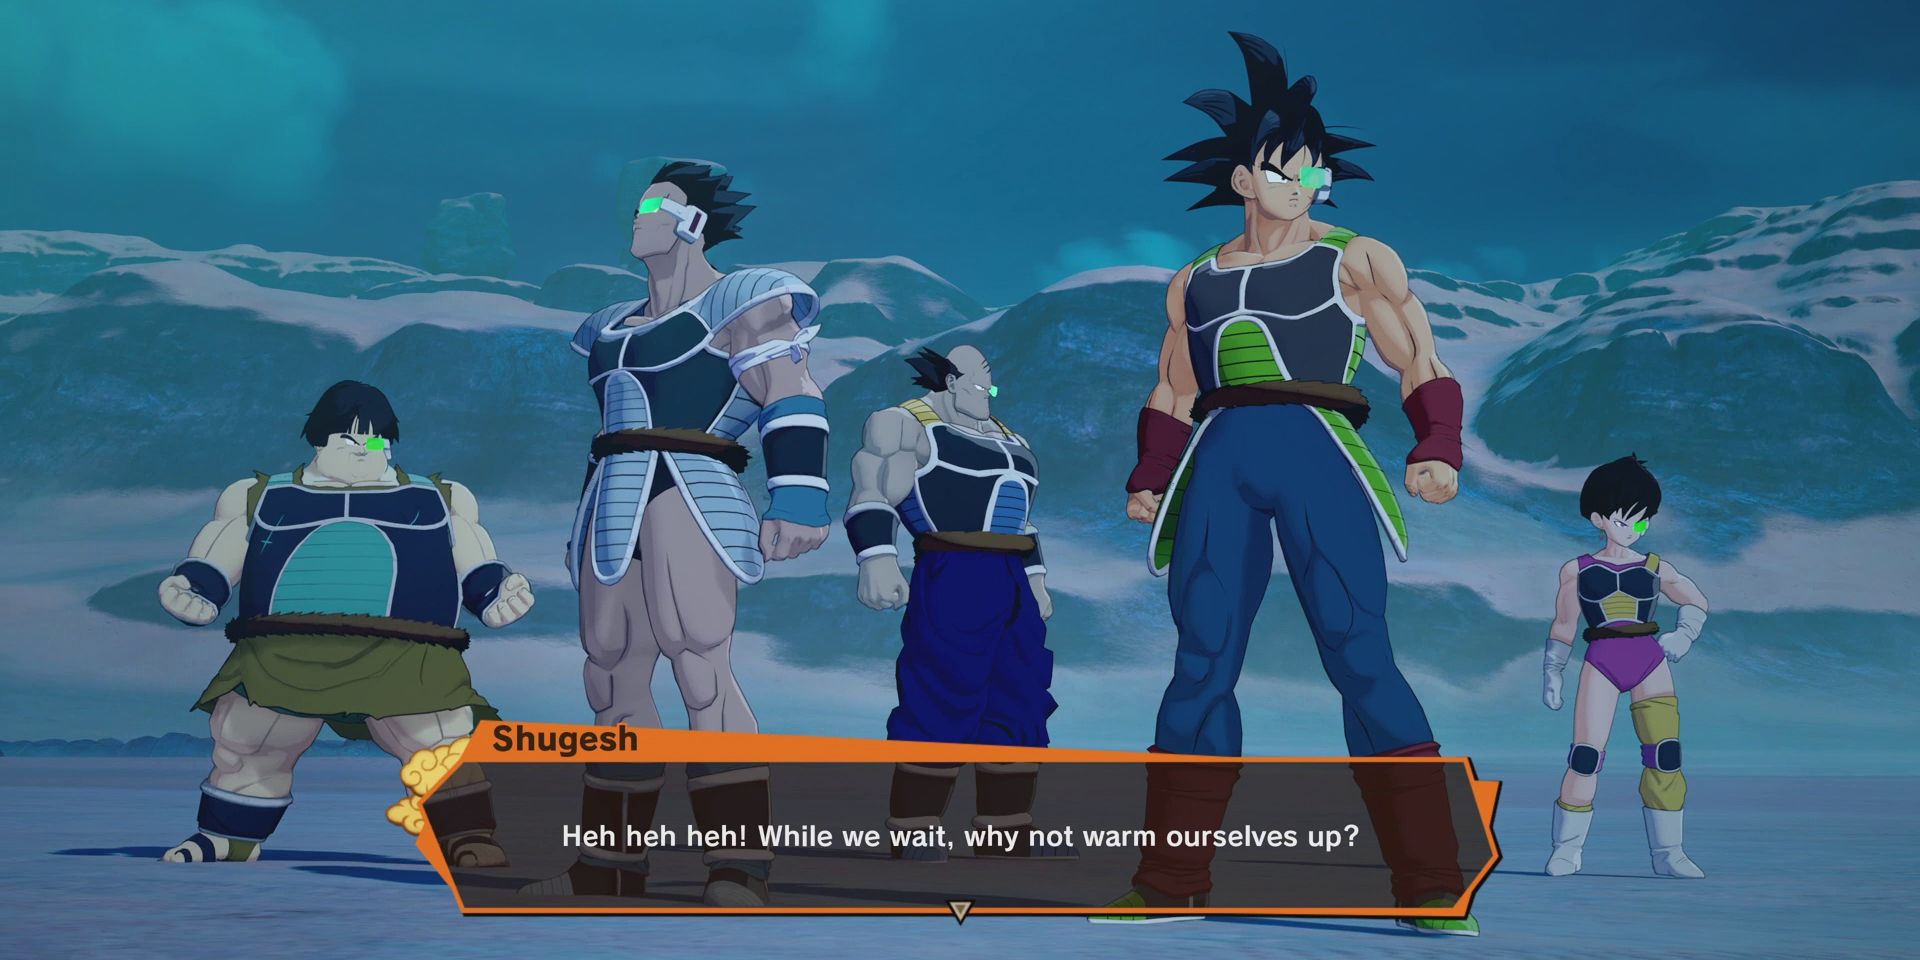
Whenever they're ready to proceed, players should make their way to the launch pad at the Frieza Force base for another cut-scene involving Nappa and Prince Vegeta. Bardock will then be given the chance to meet his son before departing, but he instead opts to get on with the mission, which sees the mighty Saiyan and his team heading to a new hunk of rock named Planet Kanassa.
Planet Kanassa
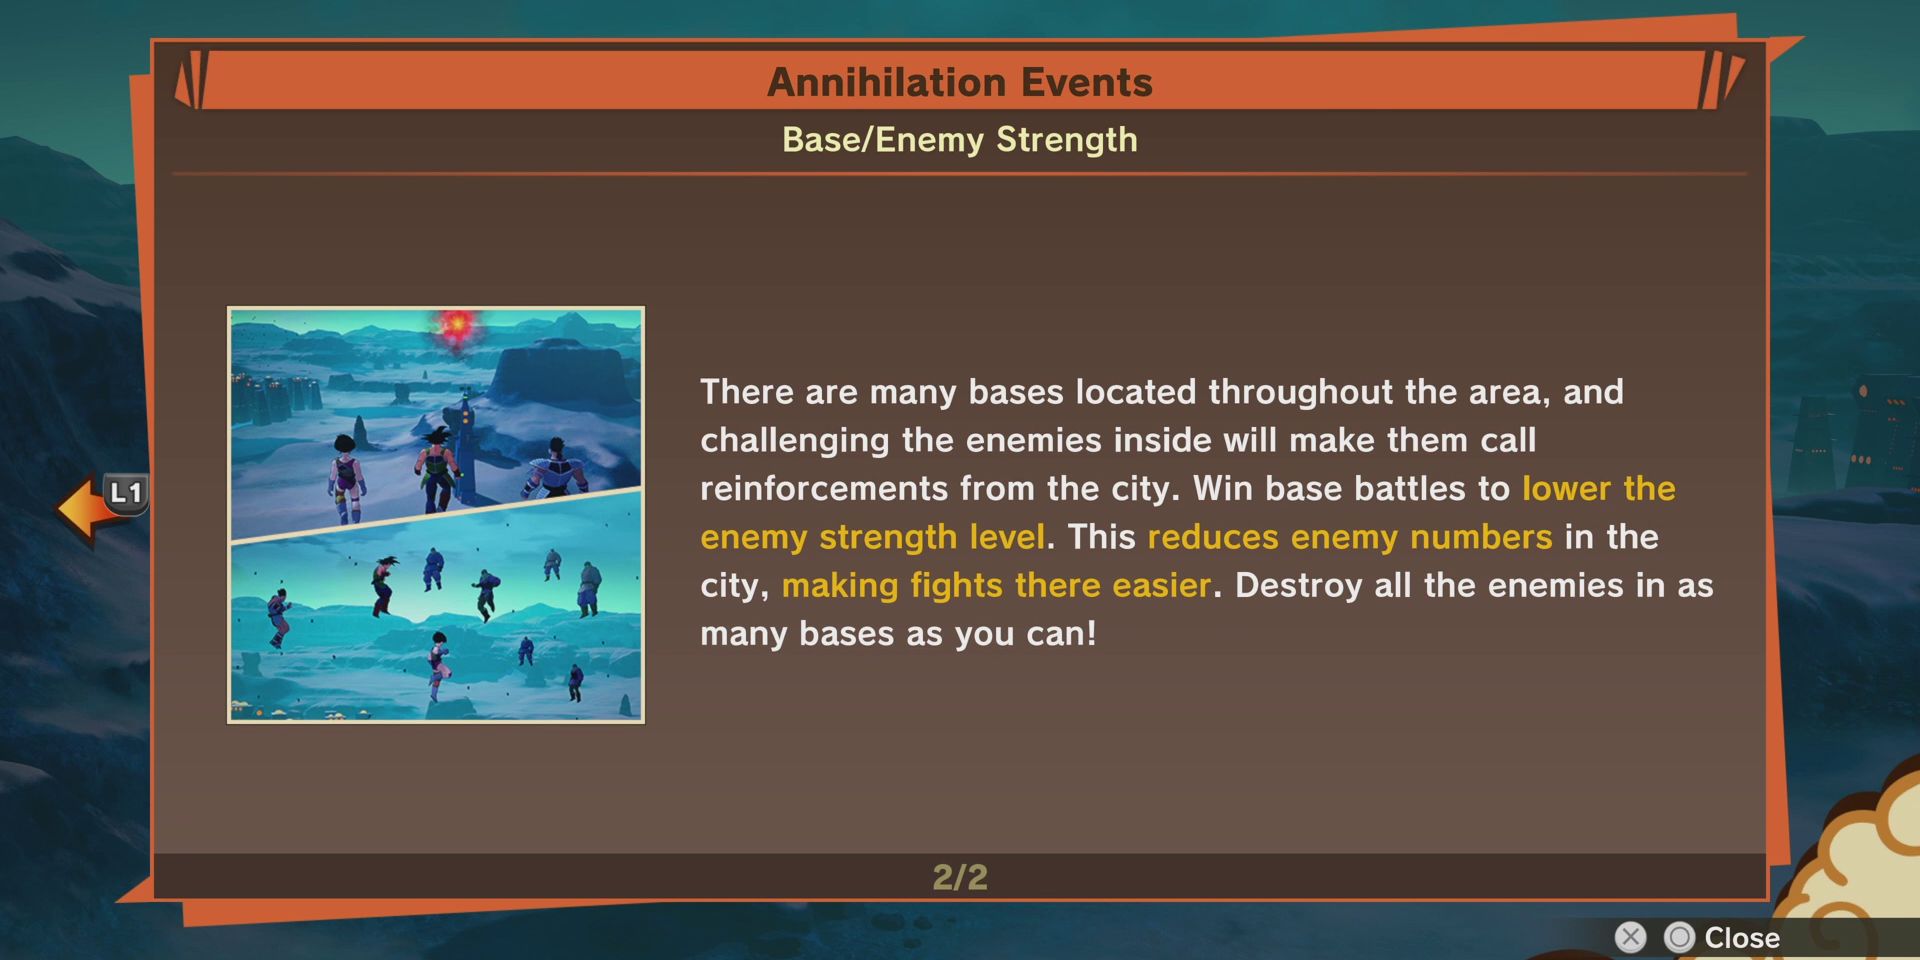
The aim of this next section is to defeat the enemy horde in the main city. However, heading straight there will lead to players having to take on a ridiculous number of enemies. It is technically possible to defeat them all (though players will almost certainly need a healthy supply of healing items in order to do so), but players are instead advised to lower the Enemy Strength meter before their assault on the city.
In order to lower the enemy's strength, players will need to head to one of the enemy bases, which are marked with purple tower icons on the map. Doing so will draw some of the enemy forces out of the main city and lead to a horde battle. There are three bases in total, allowing players to bring the Enemy Strength level down from four to one. Players are also advised to take on the "Desperate Kanassans" substory before heading into the city, as it will no longer be available after they do so.
Once they've lowered the enemy's strength to a level that they feel comfortable with, players can head into the city for one final horde battle. After it's over, there'll be a series of cut-scenes in which Bardock and his crew destroy the city and everyone in it, apart from one solitary survivor. He too is dealt with eventually, though not before leaving Bardock with an unwanted parting gift.
Planet Meat
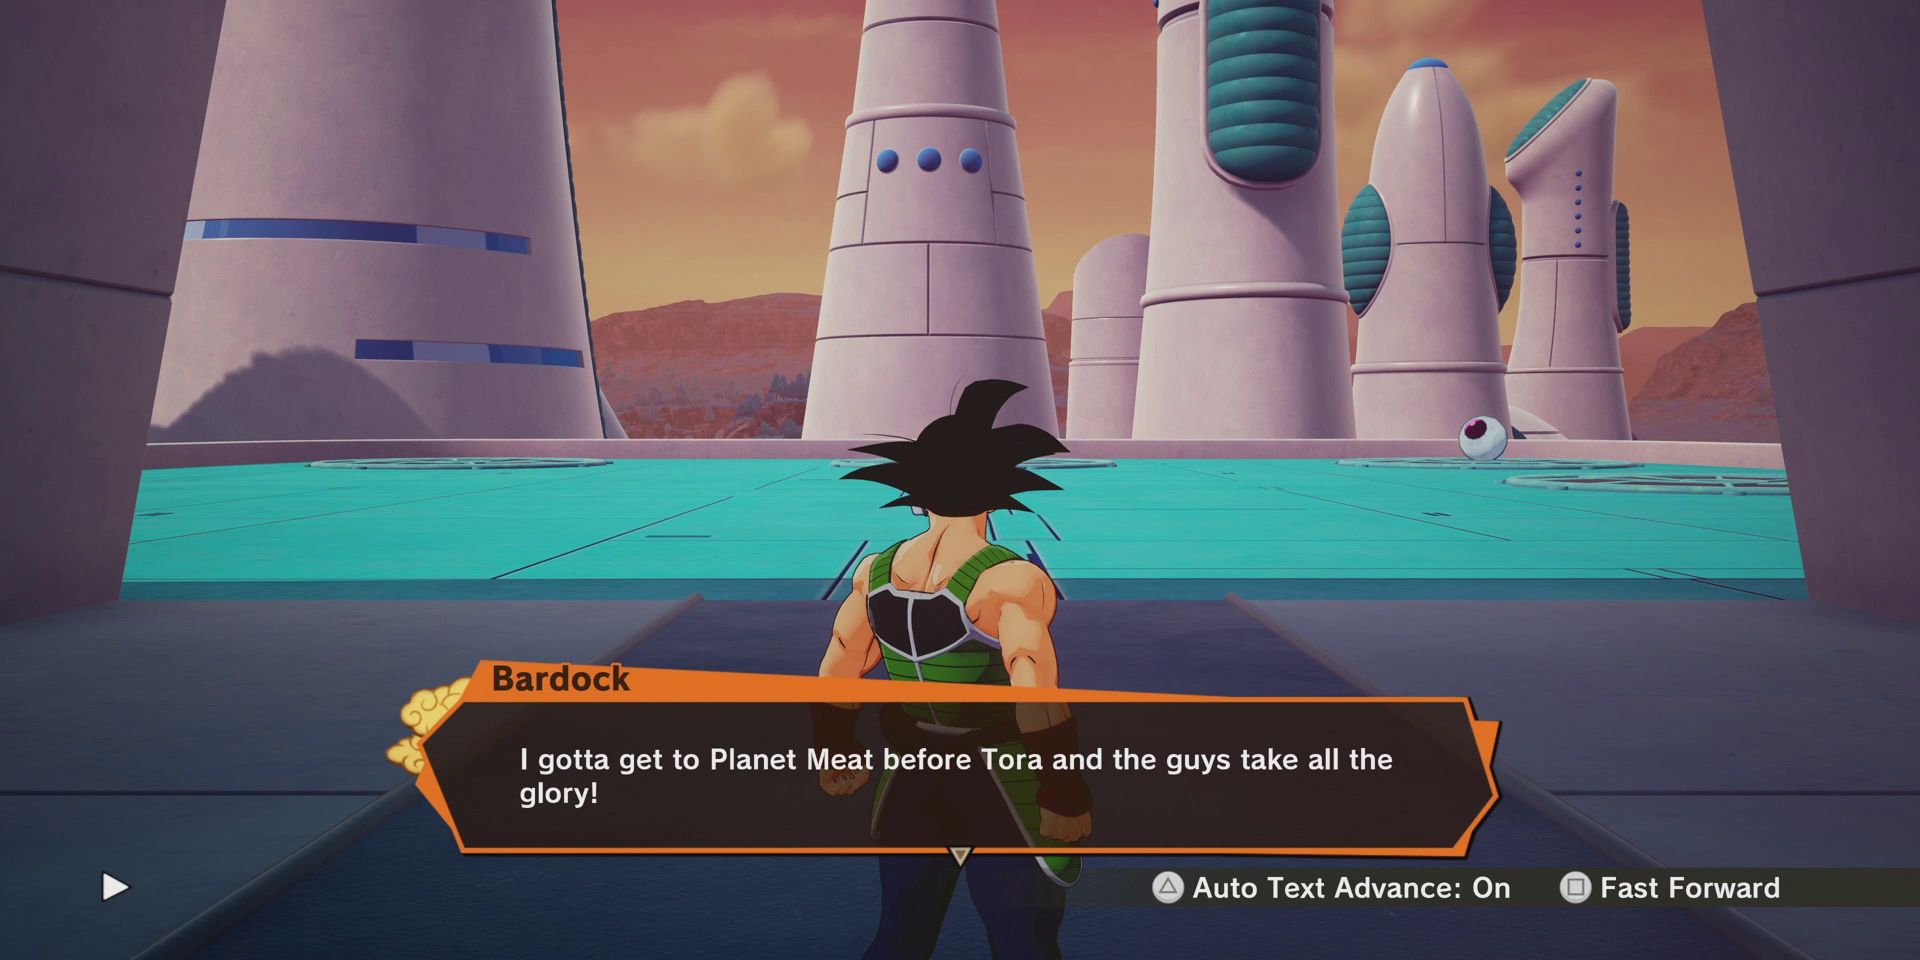
After leaving the infirmary, players will again be free to explore Planet Vegeta, though, assuming they completed all of the substories available during the first part of the DLC, there's nothing new to be done here at this time. With this in mind, they can head straight for Planet Meat by heading to the Saiyan pod at the launch pad of the Frieza Force base.
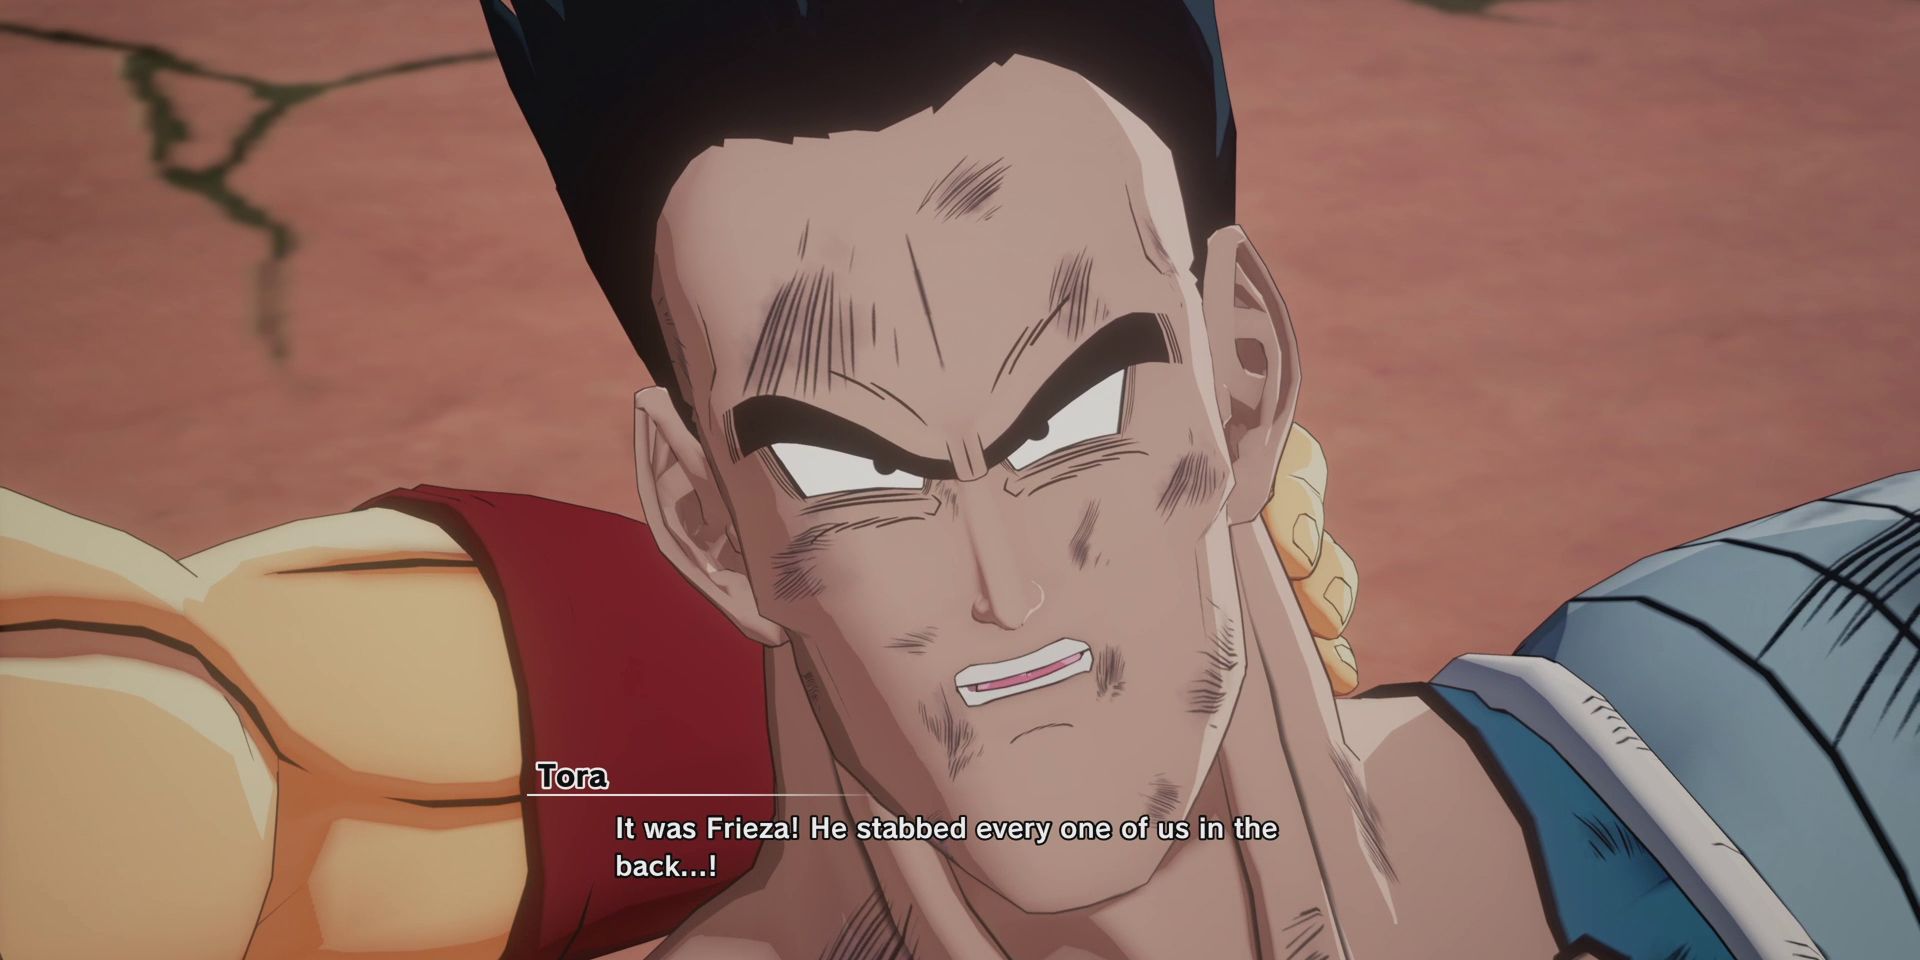
Upon their arrival on Planet Meat, players will find Bardock's team in tatters. After learning what happened from the badly injured Tora, they'll then be thrown into a battle with some of Dodoria's underlings. Assuming players have been completing substories and the occasional random battles, they should out-level the opposition here, though that's not to say that this will be an easy fight.
The trick to this battle is to focus on one enemy at a time, as it's their strength in numbers that can make Dodoria's underlings a somewhat tricky team to topple. Players should also keep moving to avoid being grabbed, as this will either end up with them being double-teamed by the opposition or thrown across the battlefield; both of which can inflict a fairly sizeable chunk of damage. The newly unlocked "Spirit of the Warrior Race" transformation can here help too and is performed by holding both triggers and then pressing the corresponding face button that's displayed on-screen.
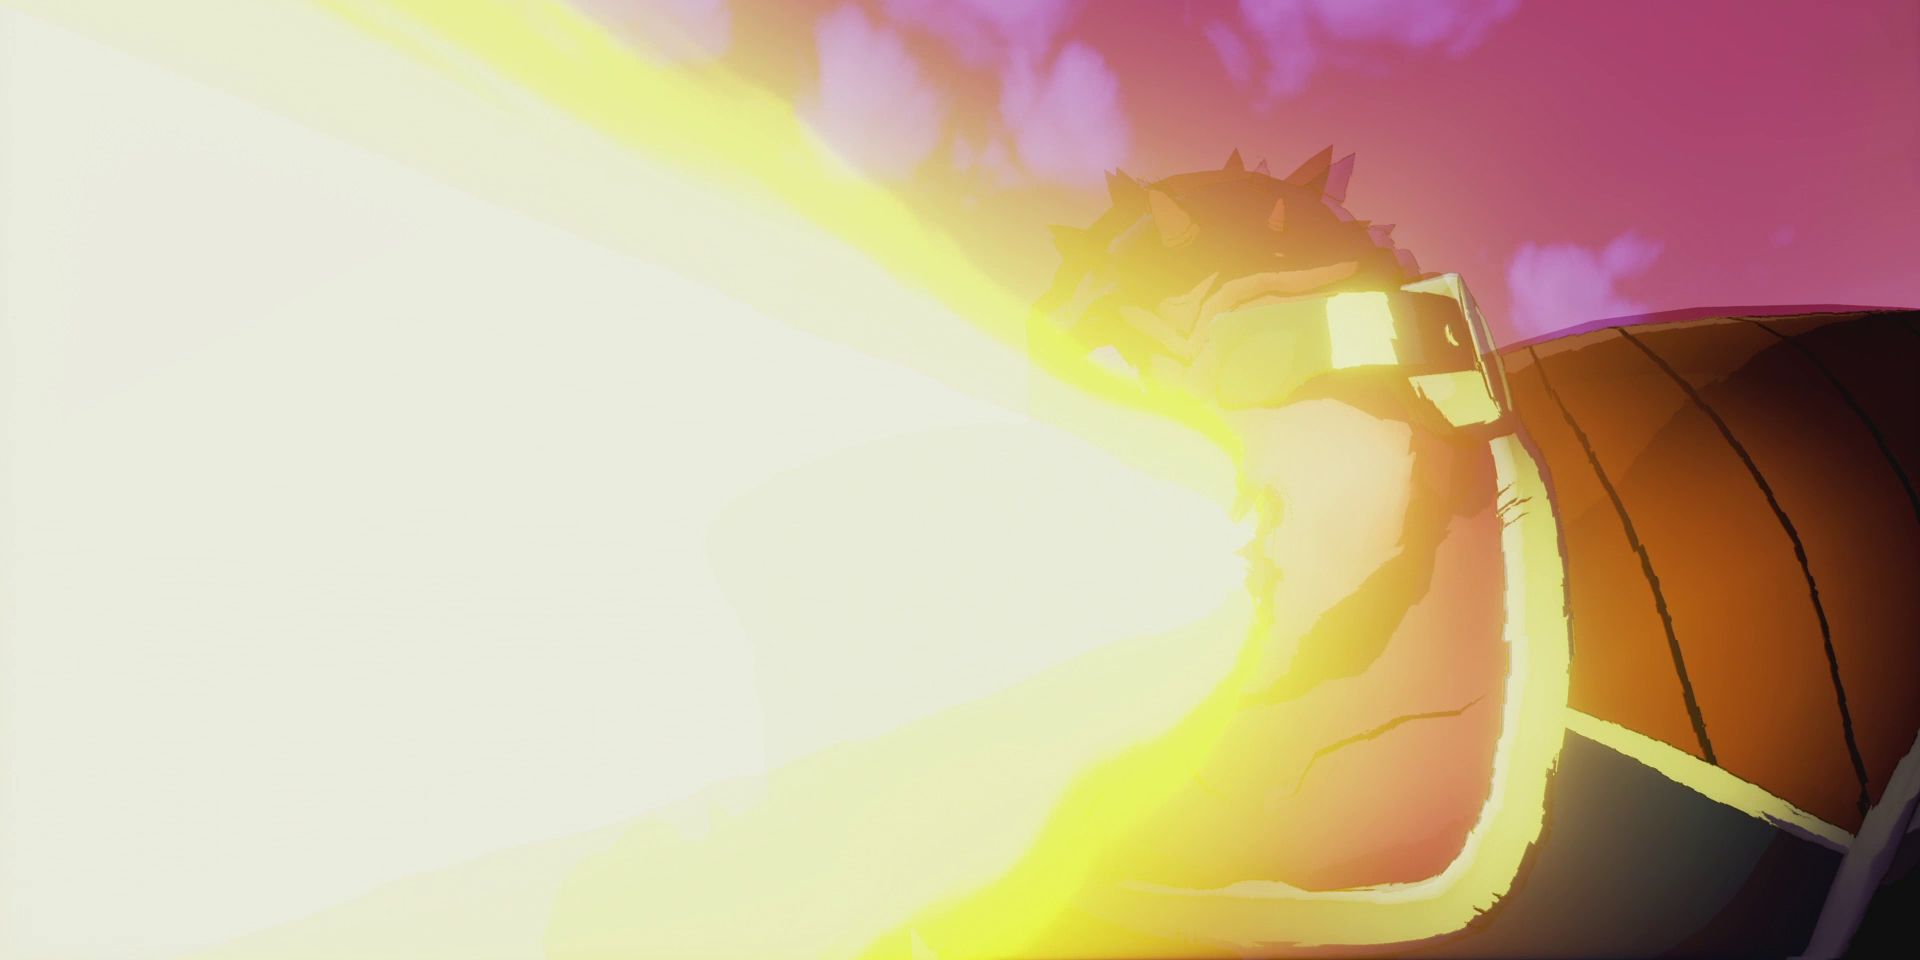
After defeating the underlings, Bardock will have another vision, after which a few of the previously fought enemies will regroup for another battle. Though they're at a slightly higher level this time, there are also only two of them, making this a much more straightforward fight than the last one. Bardock will eventually vaporize them, but before he has time to celebrate, Dodoria will hit him with a powerful energy beam attack. Thankfully, he's called back by Frieza before he has a chance to finish Bardock off.
Planet Vegeta
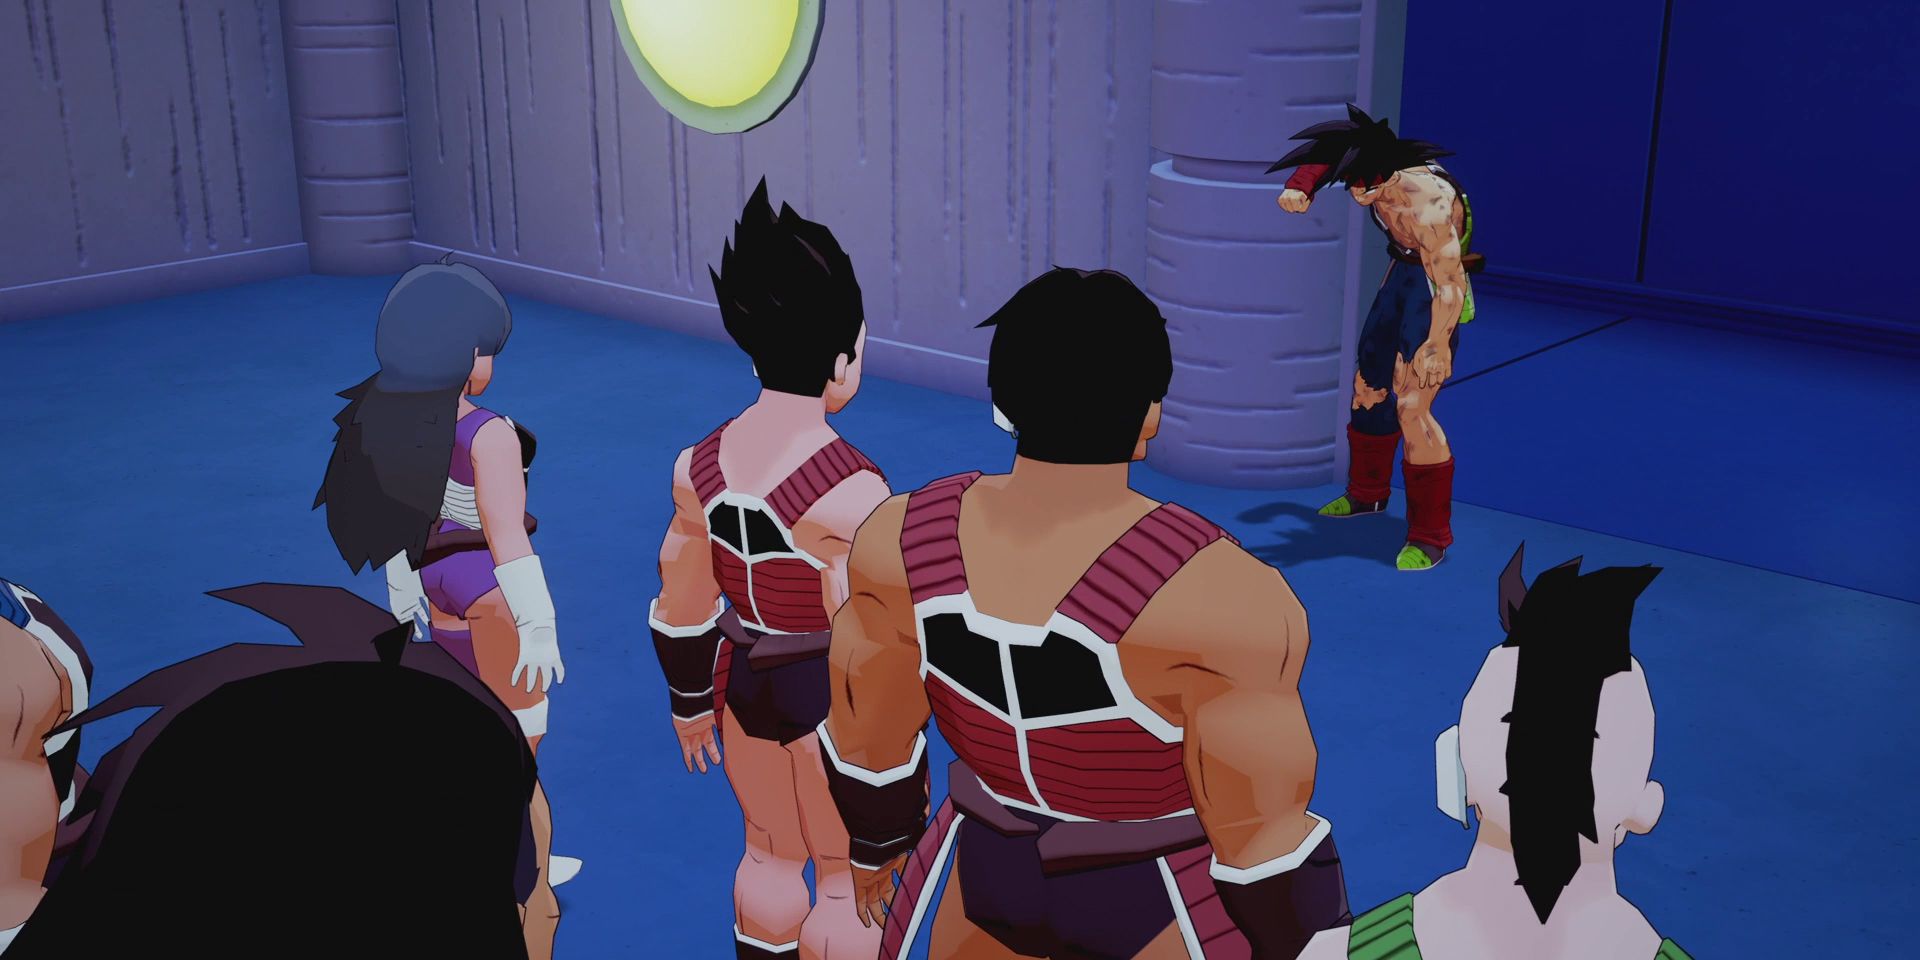
With his team all dead and his body badly bruised and beaten, Bardock makes his way back to Planet Vegeta. Players will need to slowly limp their way down a few corridors in an attempt to mobilize the Saiyan forces, but none of them believe that Frieza would ever turn against them. With the fate of the planet now in Bardock's hands alone, players will be tasked with flying up to confront Frieza, though, before they do, they may want to tackle the "Melone's Hunch" substory.
Space
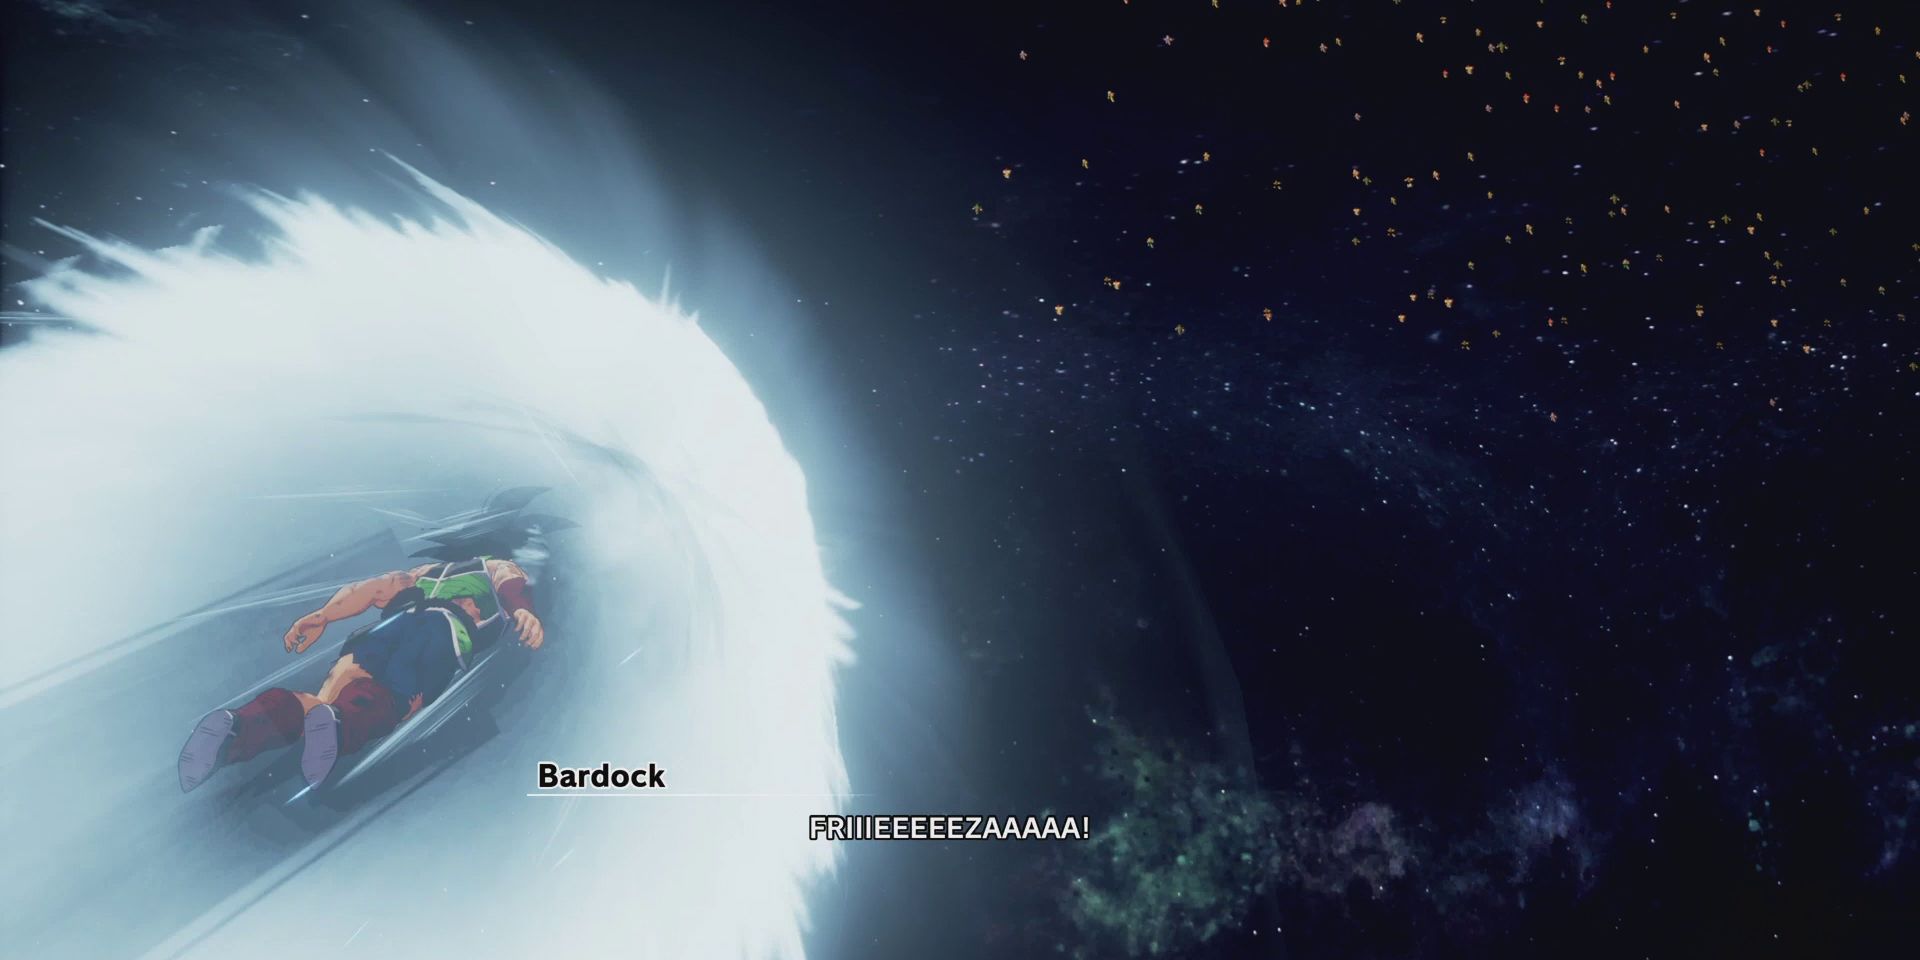
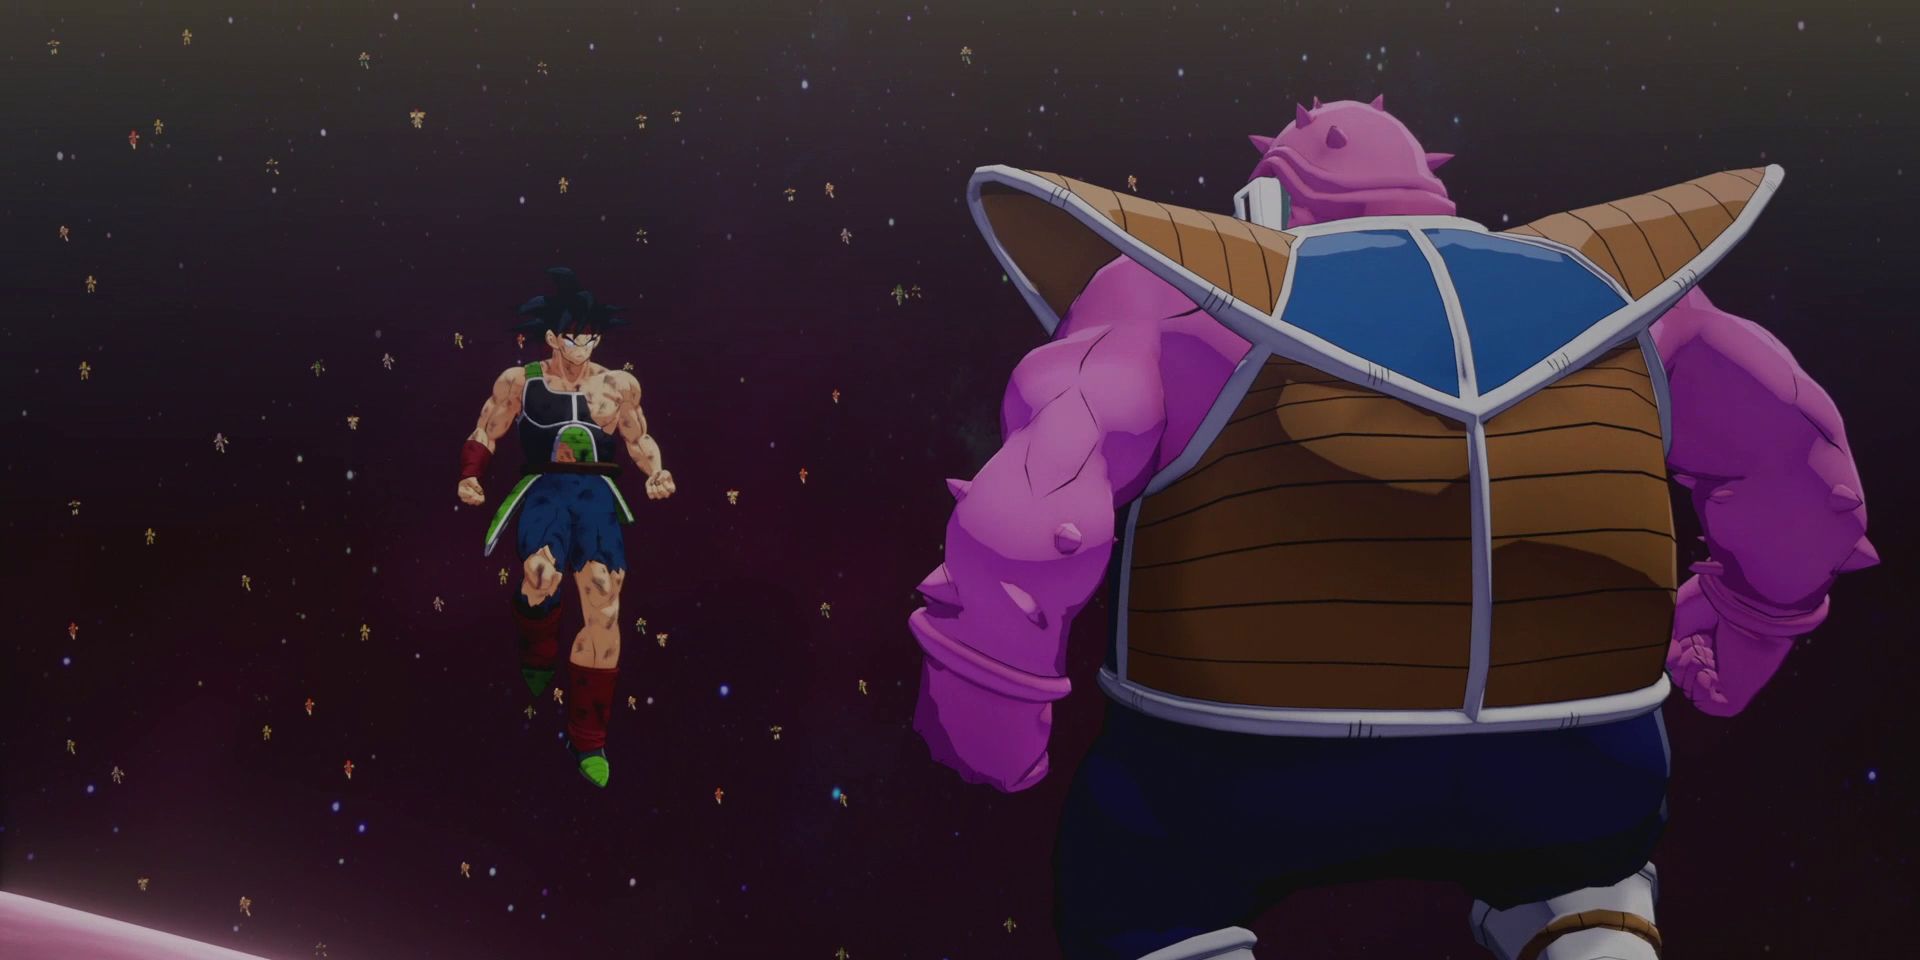
Once they're ready, players should head to the quest marker and select the okay option. This will lead to Bardock flying up into outer space, where he'll immediately find himself involved in a Horde Battle with some of Frieza's forces. Once they've been taken care of, Dodoria joins the fray, and, as one might expect, provides a much greater threat than the underlings who preceded him.
In order to beat Dodoria, players will need to be constantly on their toes and ready to dodge at a moment's notice. Every now and again, Dodoria will knock players back and there'll be a short close-up animation, after which, he'll use one of his special attacks. When this happens, players should spam the dodge button and move to the left or right, being sure to steer clear of the purple beam that indicates where he's going to attack next. Aside from that, the best strategy is to stay tight to Dodoria and get in as many combos as possible between dodges.
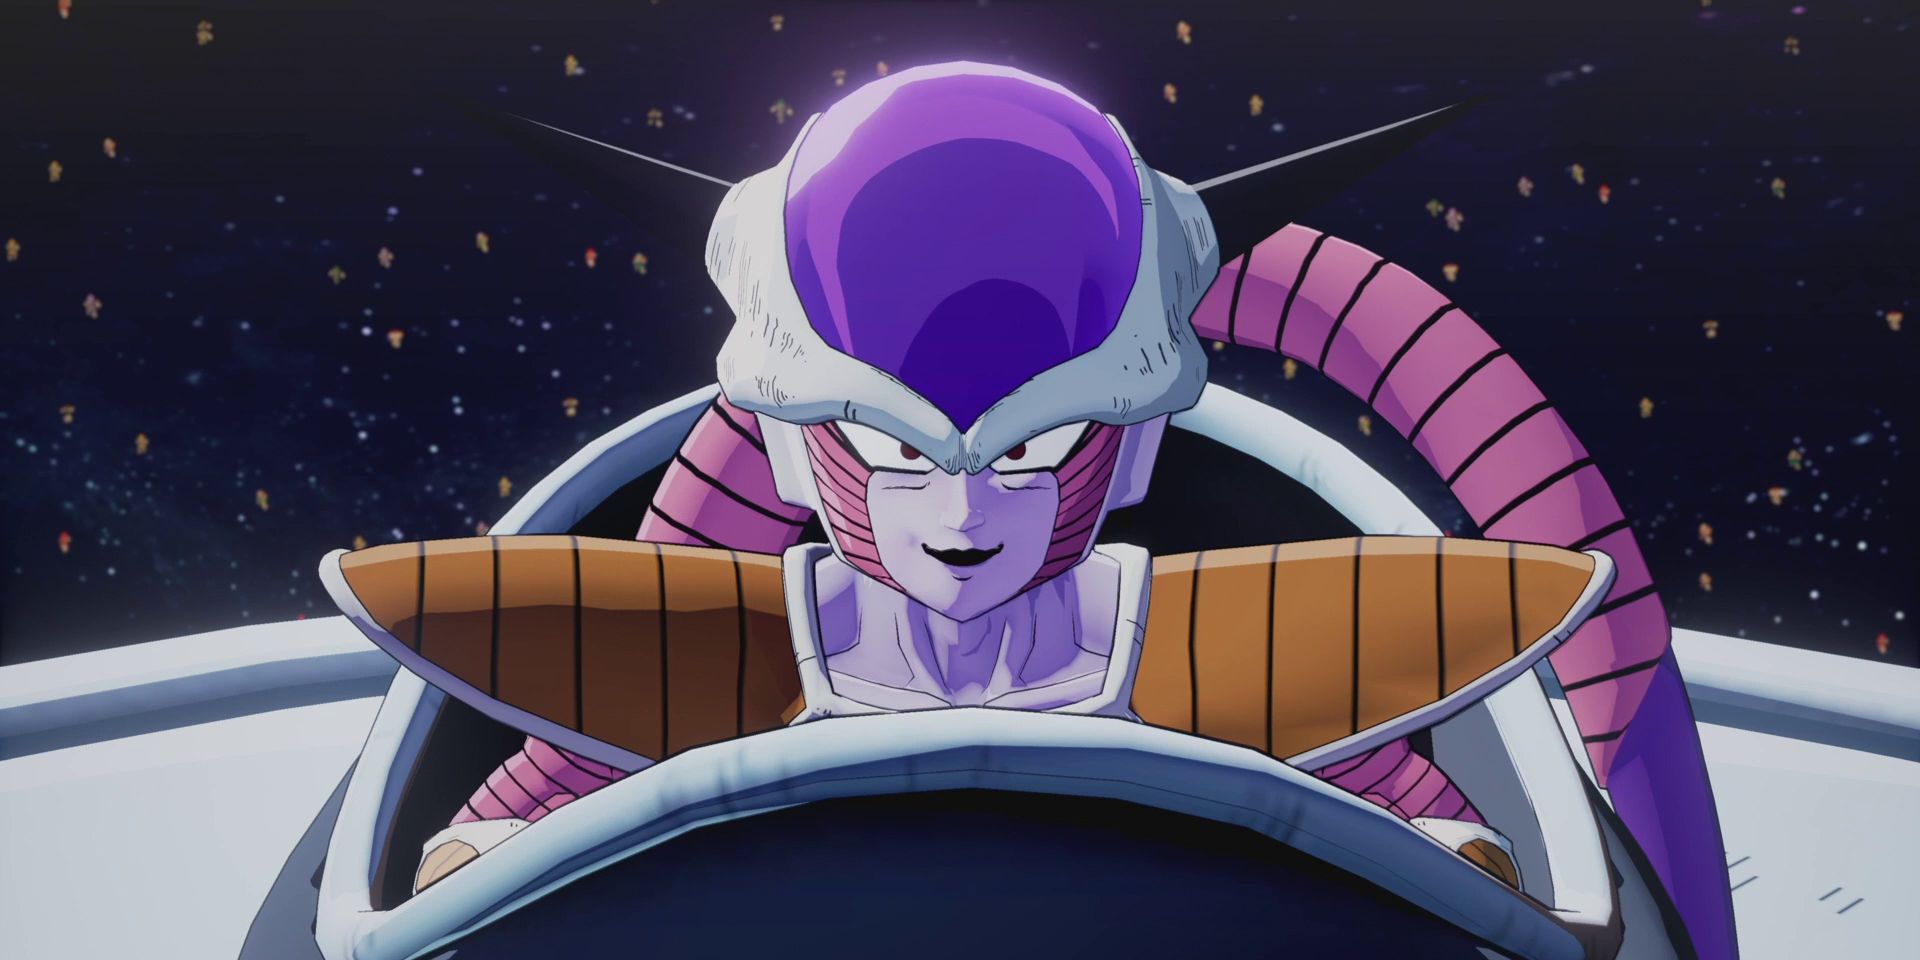
Eventually, Dodoria will withdraw from battle and players will find themselves up against the big bad himself. Like Dodoria, Frieza's special attacks can be incredibly deadly, so dodging them is going to be key for those hoping to survive this fight. Players should also be sure to hold a decent amount of Ki in reserve, as the pink energy balls that Frieza summons will need to be destroyed using ki blasts.
When players eventually get Frieza down to the final third of his final HP bar, he'll begin charging an attack and players will be instructed to go on the offensive. A simple combo should be enough to deplete the yellow bar above Frieza's head, which will lead to several more cut-scenes, and, ultimately, the conclusion of the main story in Dragon Ball Z: Kakarot's Bardock - Alone Against Fate DLC.
Prince Vegeta's Story
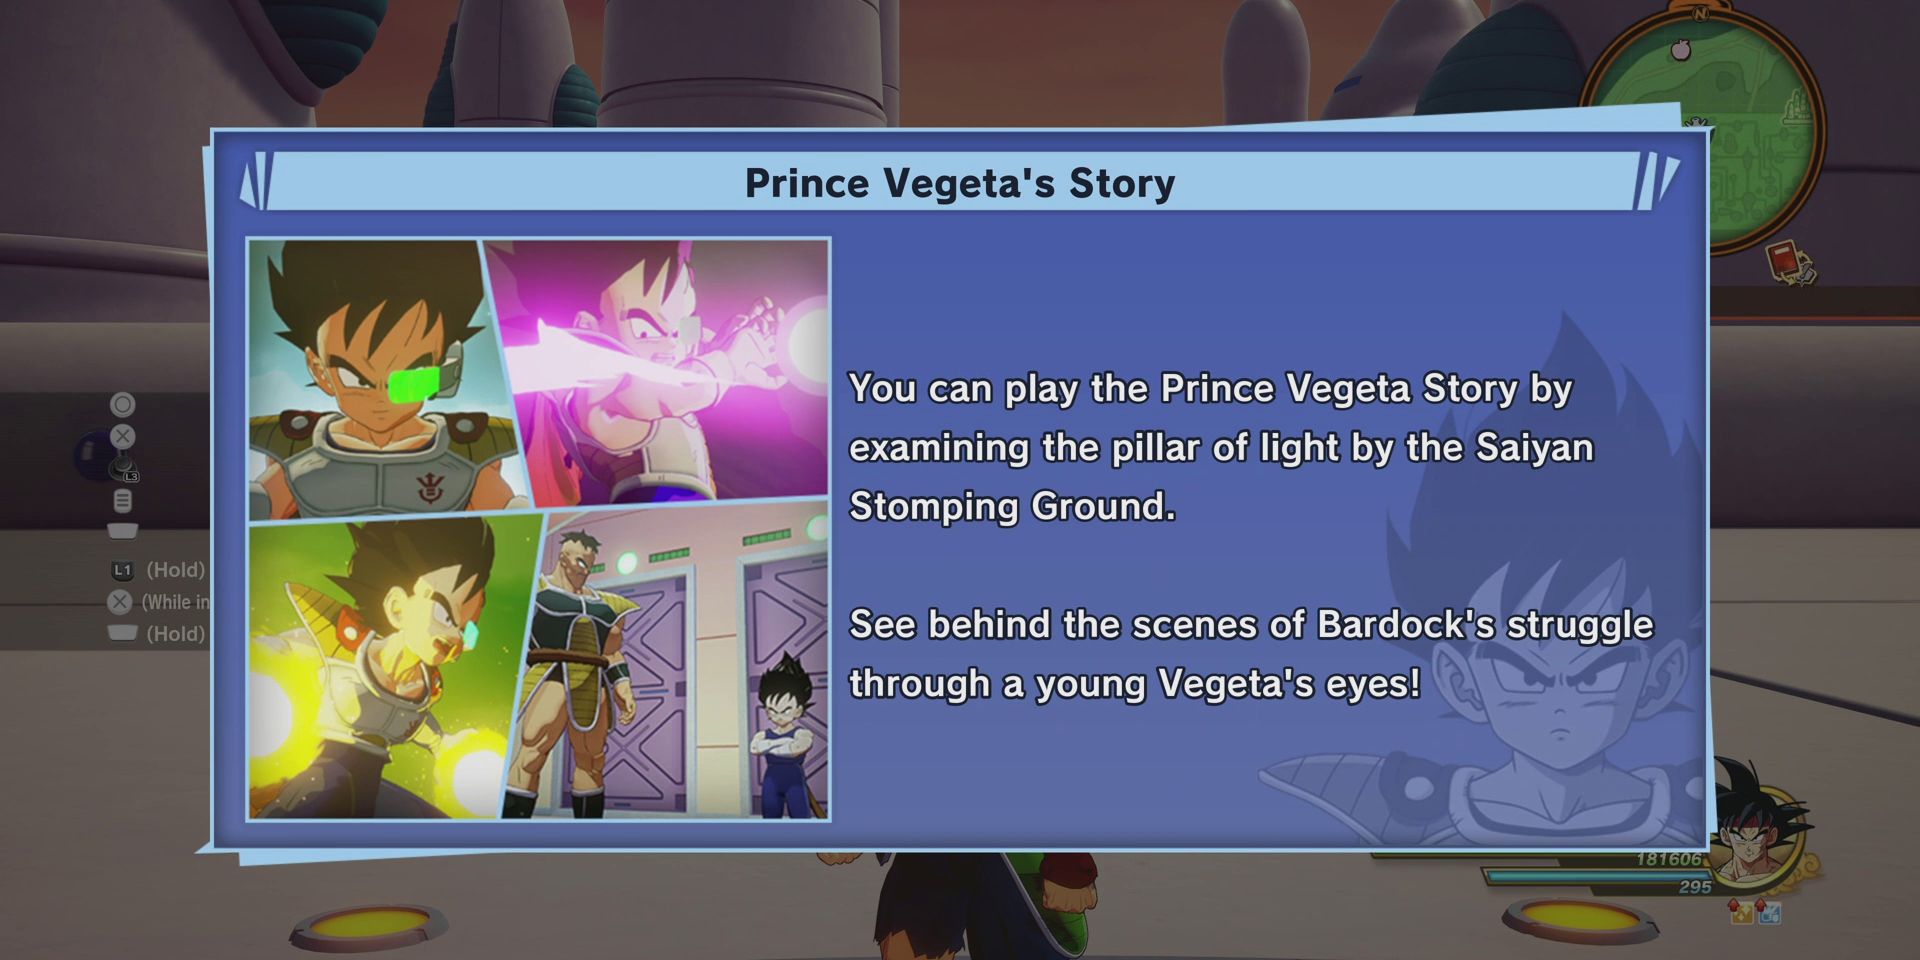
Once the credits have finished rolling, players will find themselves back on Planet Vegeta and will receive a message letting them know about a few new pieces of content that have been unlocked. One of these is Prince Vegeta's story, which can be accessed by interacting with the pillar of light opposite the entrance to the Saiyan Stomping Ground.
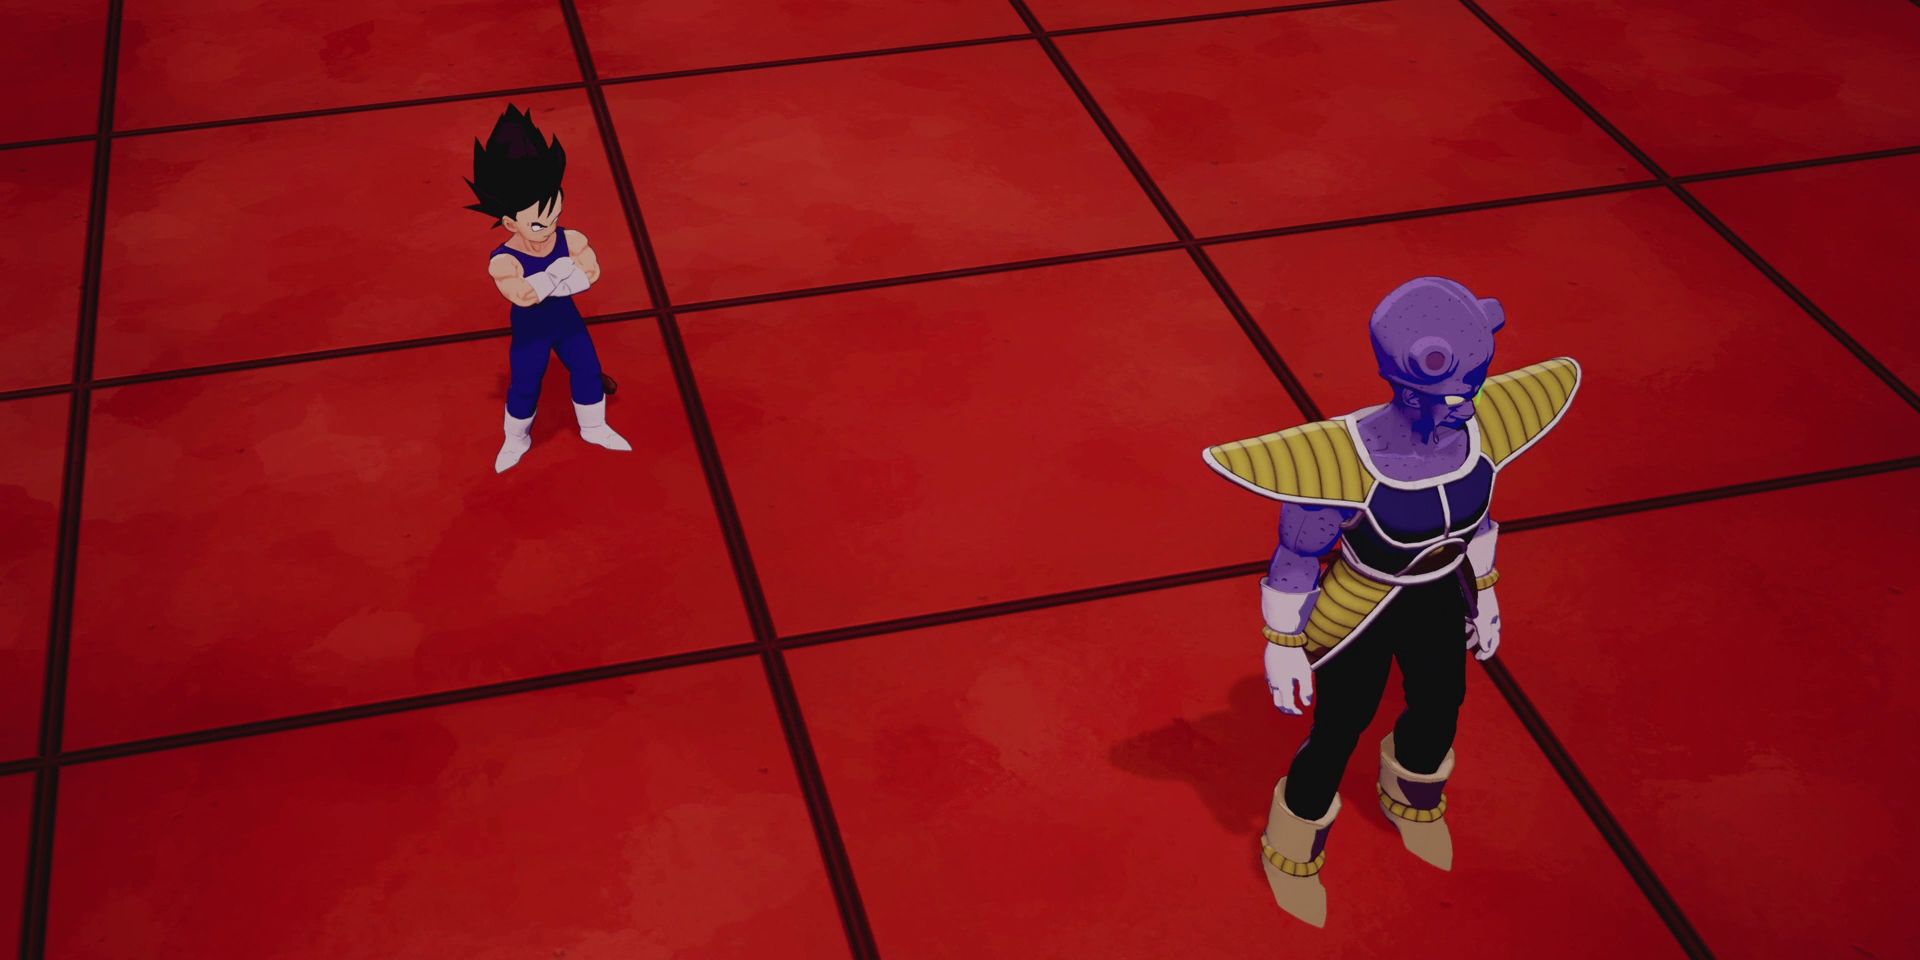
Upon beginning Prince Vegeta's story, players will need to defeat a group of Saibamen before taking down Frieza's henchman, Cui. They'll then be sent to an unnamed planet, where they'll again need to take part in a series of horde battles. In these ones, more powerful enemies appear at certain points, making it difficult to know when exactly to use Z Blasts. It's generally best to use level 2 Z Blasts though, as this tends to yield the best results.
After lowering the strength of the enemy forces, players can head to the main city for one final horde battle. It's again an incredibly simple one, unless, that is, the player decides to take it on at level 4, which results in there being 1,250 enemies to defeat. Ultimately, players will always end up having to defeat around the same number of enemies in total regardless of how many bases they destroy, so it arguably makes sense to do so in four horde battles rather than just one.
Not long after the city falls, Nappa receives a message informing him about the fate of Planet Vegeta. He of course passes this message on to the young prince, who seems neither concerned nor surprised by the news. Players will then be returned to Bardock on Planet Vegeta. There are a few special challenges available at the newly unlocked Tough Training Ground which can be used to level up quickly, though, from a story perspective, this point effectively marks the end of the Bardock - Alone Against Fate DLC.
Dragon Ball Z: Kakarot is available now for PC, PS4, PS5, Switch, Xbox One, and Xbox Series X/S.

