In Disney Dreamlight Valley, the Phone is a Royal Tool made instantly accessible to the player upon entering the valley, allowing them to immediately start making and capturing their favorite memories. While upgrades are available for other Royal Tools, the Phone does not yet feature any such enhancements.
Similar to other tools, the Phone is accessible in the Tool menu via its assigned hotkey and can be used to enter Photo Mode. Here is everything players need to know about using the Camera Royal Tool and Photo Mode in Disney Dreamlight Valley.
Photo Customization Aspects in Disney Dreamlight Valley
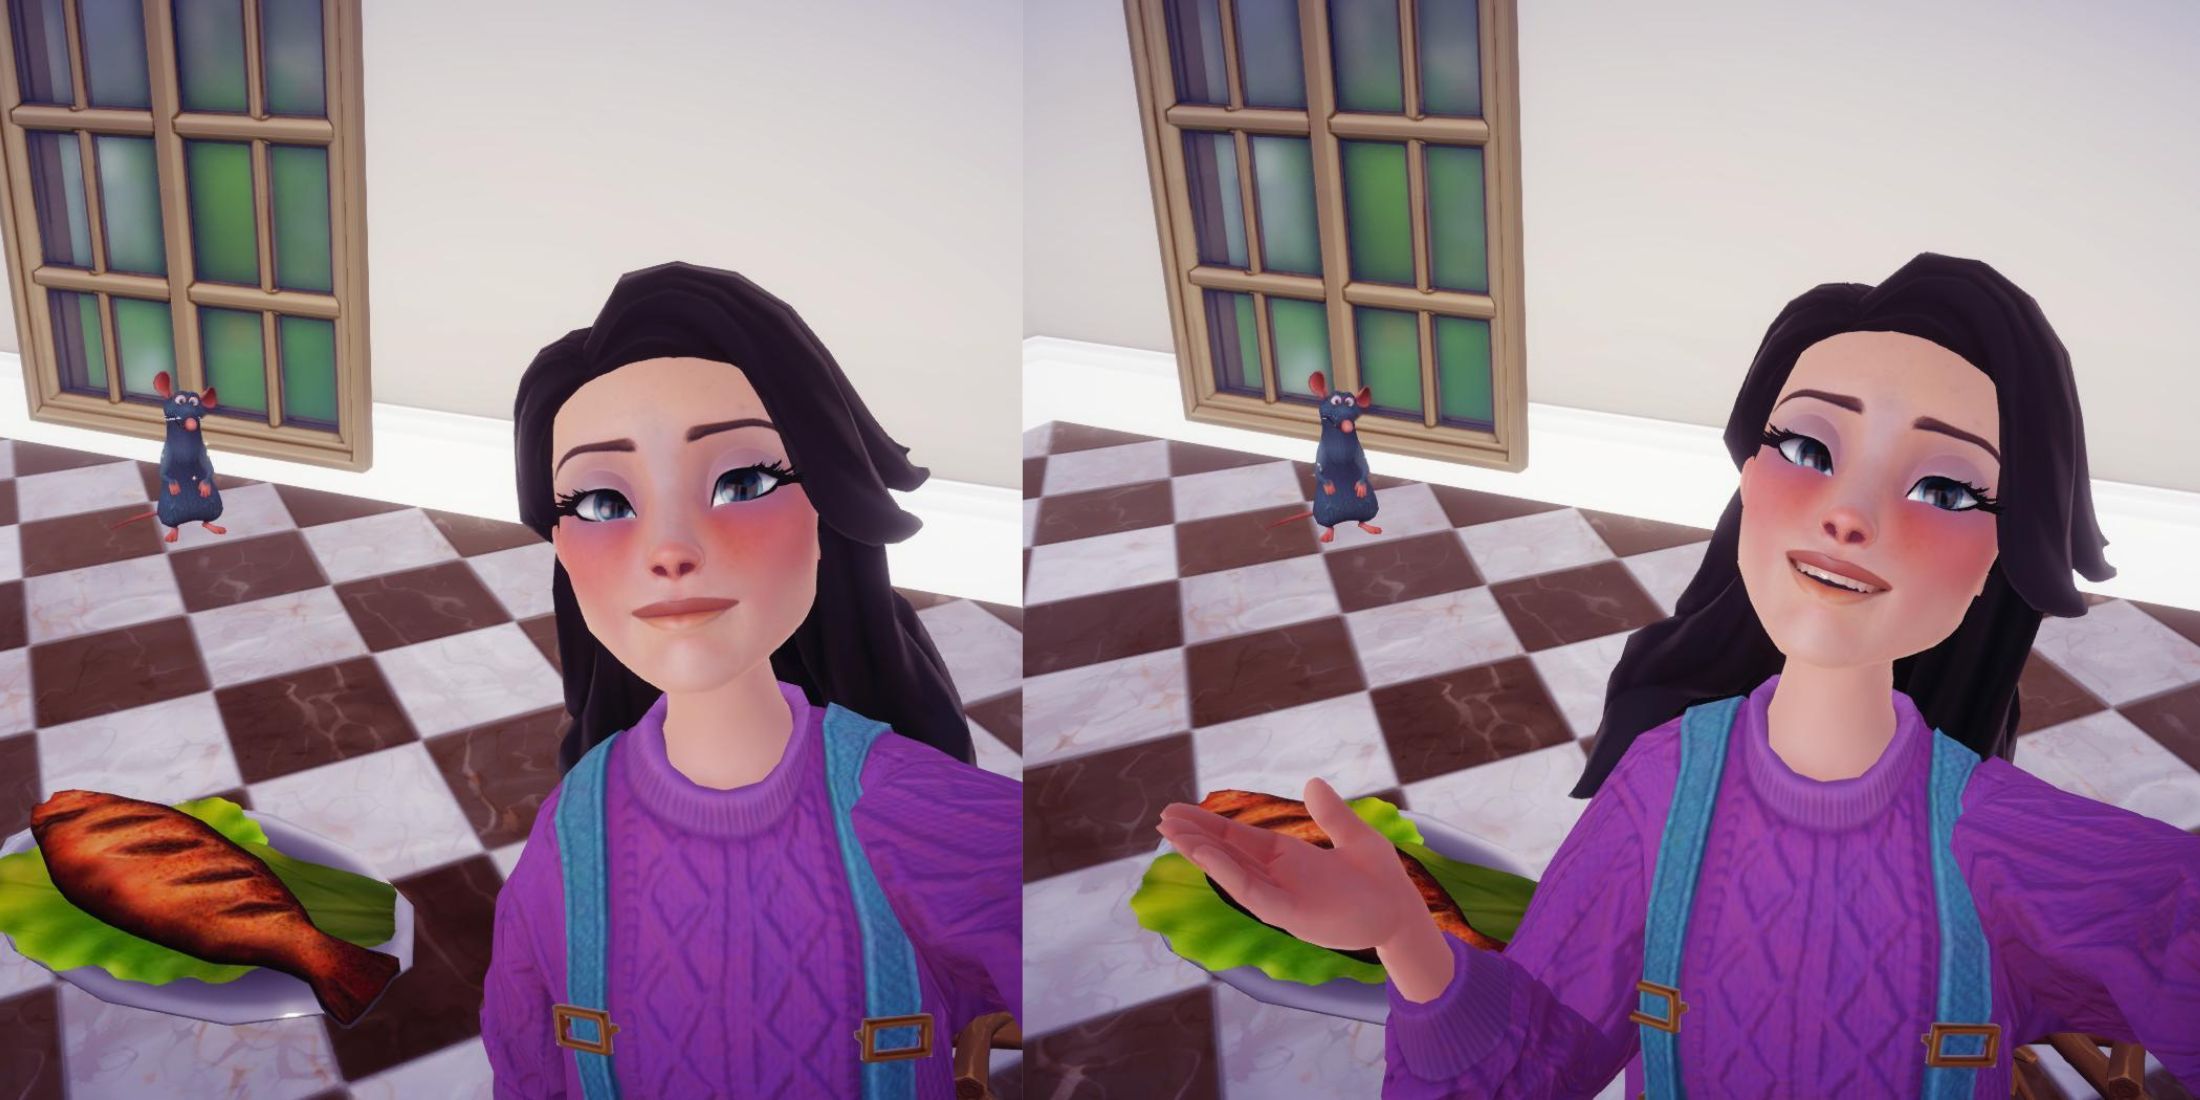
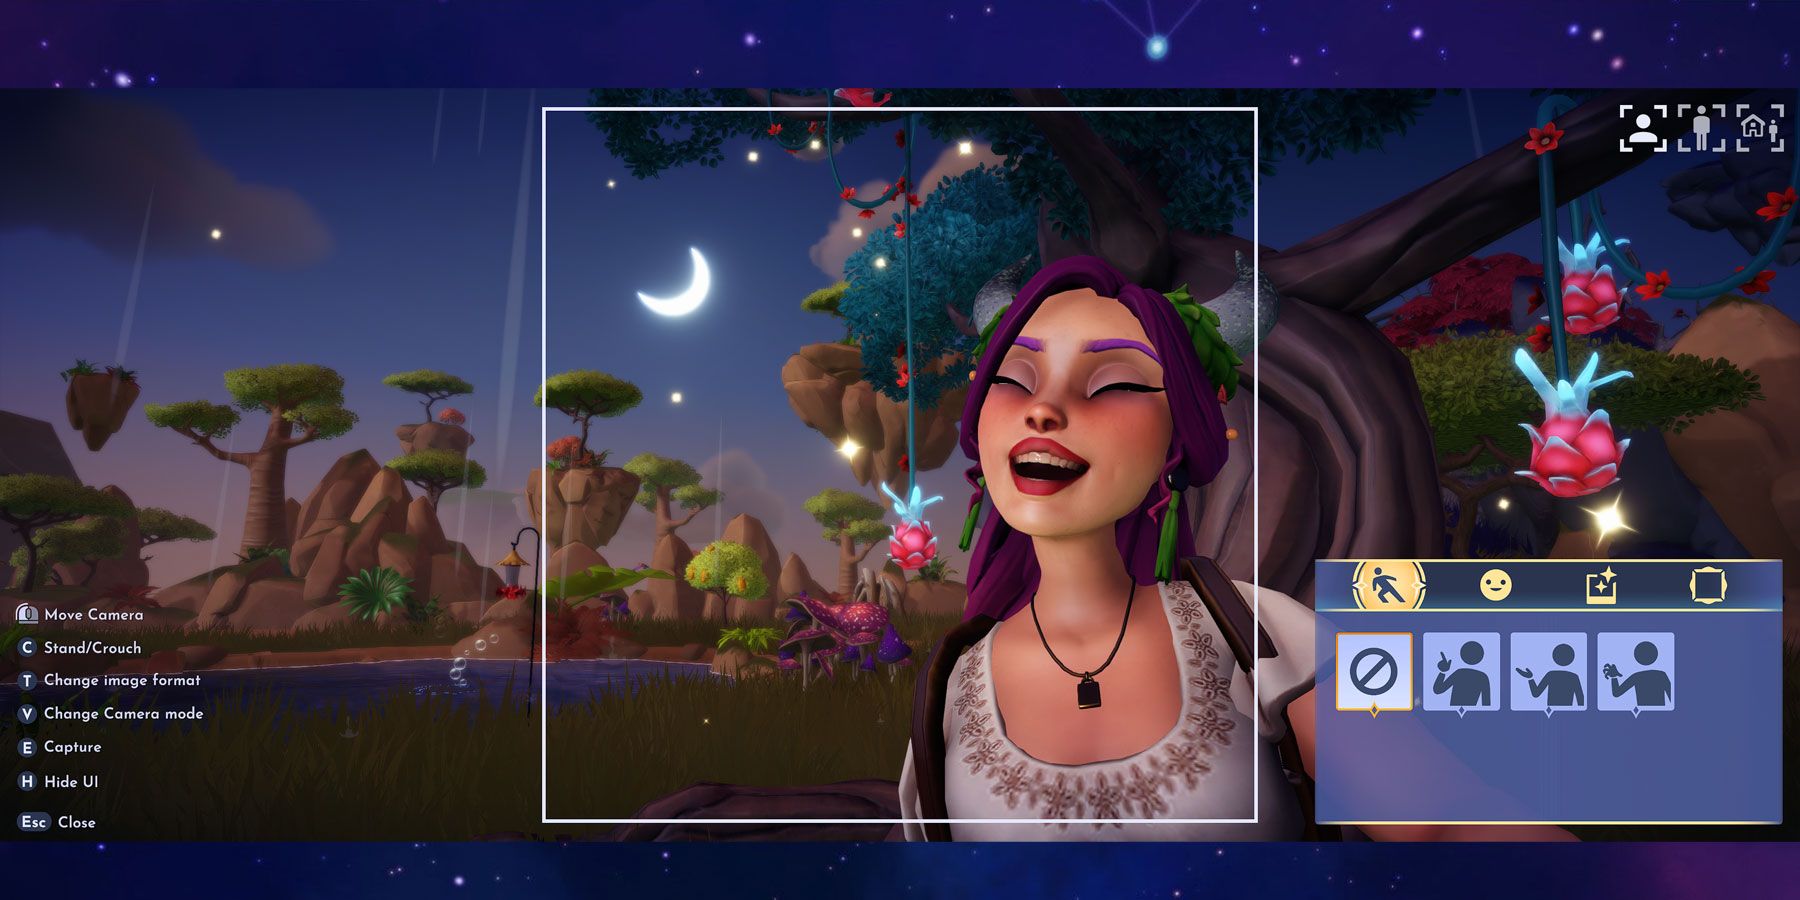
Disney Dreamlight Valley's Photo Mode presents the player with a variety of customization controls which can be accessed in the bottom right corner of the screen. These allow the player to modify their character's pose, incorporate filters or frames, or even spotlight a beloved animal companion in the photo. Features that the player can use to customize the shot prior to capturing the photo include:
- Poses - In Selfie Mode, four hand poses are at the player's disposal, while Full-Body or Wide Shot Modes offer four full-body poses.
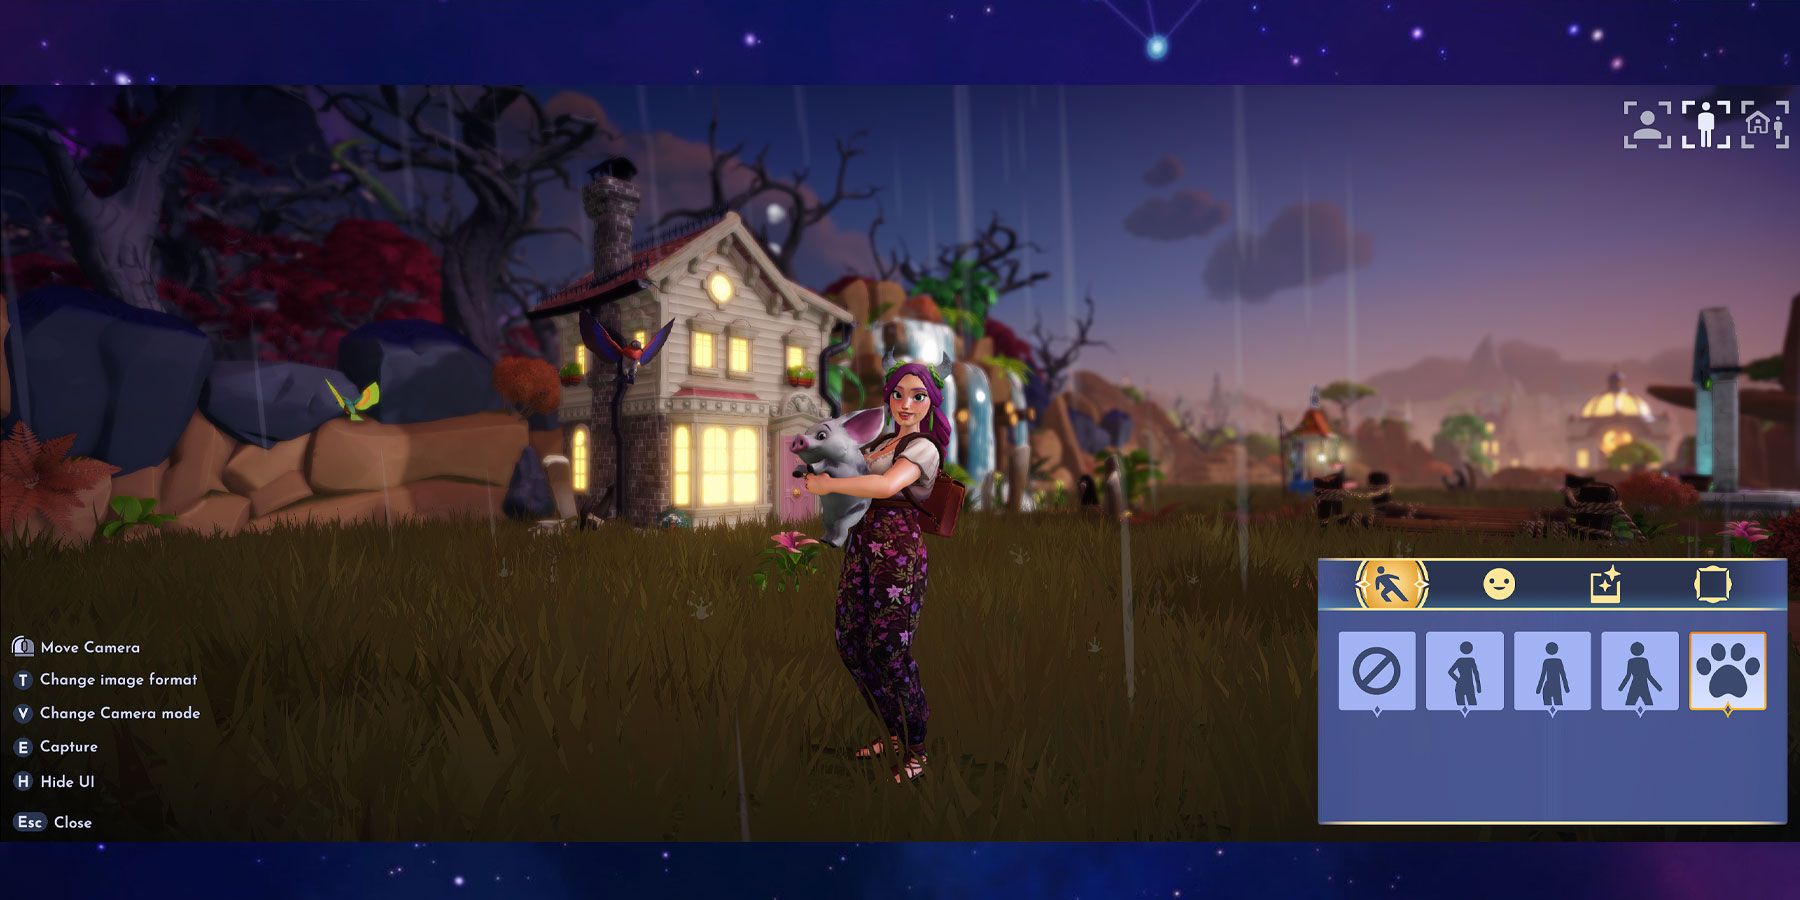
- Animal Companion Pose - Available in the Poses menu only when the player has equipped a critter Companion and is in Full-Body or Wide Shot Camera Modes. A pawprint icon will appear when this function can be used.
- Facial Expressions - Eight different facial expressions are available for the player's selection.
- Filters - Eight distinct, optional filters can be applied to the player's photo.
- Frames - Ten distinct, optional frames can be applied to the player’s photo.
All Camera Photo Mode Controls in Disney Dreamlight Valley
Before capturing a photo, there are six different commands which the player can use in Disney Dreamlight Valley’s Photo Mode. Each function has its own respective hotkey, which is shown at the bottom left of the screen when the Camera has been pulled out and activated. Here’s the function of each Camera feature within Dreamlight Valley’s Photo Mode:
Move Camera
The Move Camera control gives the player the ability to move the camera to the left or right, adjusting the capture area, with slight vertical adjustment possible. Any view encompassed within the photo boundaries will feature in the photo.
Stand/Crouch
This toggle feature enables the player to alternate between standing and crouching, but its use is restricted to Selfie Mode exclusively. Standing or crouching is not an option in any other Camera mode. This feature makes it easier to capture characters, including Stitch and Vanellope, in their shots.
Change Image Format
This Change Image Format function modifies the size and area that will be captured by the camera. There are three distinct photo sizes in any Camera Mode: a vertical narrow option, a square photo, and a full-screen capture.
Change Camera Mode
Changing the Camera Mode adjusts the type of photo the player is taking by changing how much of their character model is visible in a shot. These modes can be alternated via the allocated hotkey, with Change Image Format also available to resize the capture area:
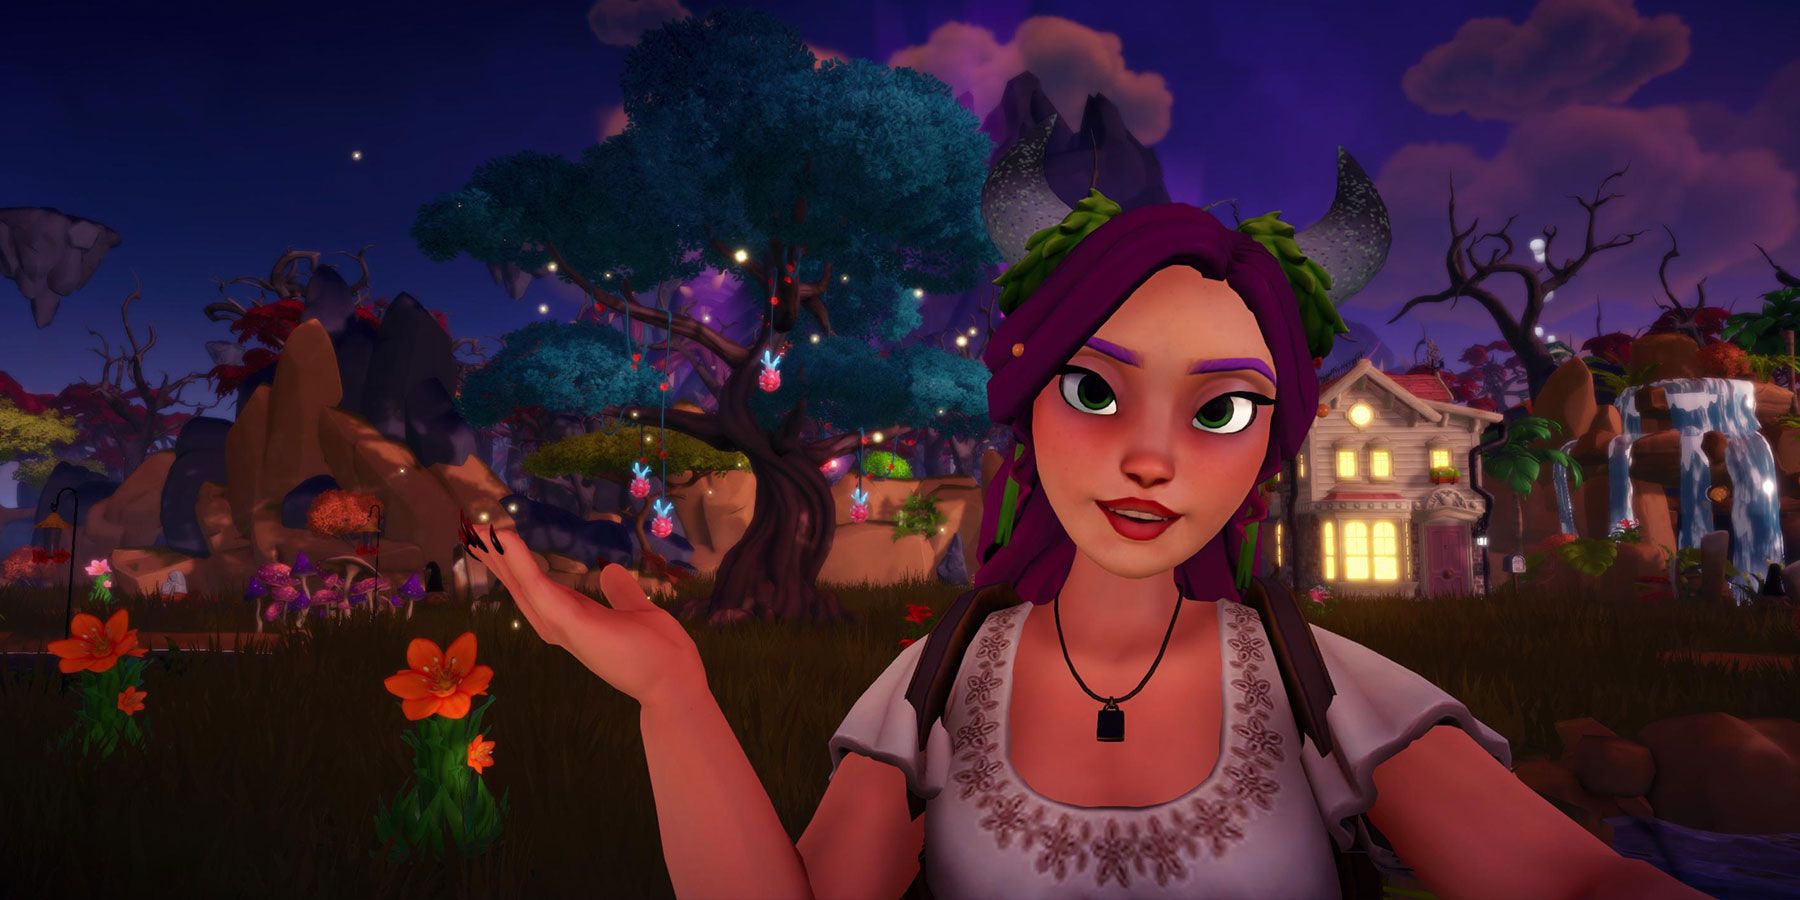
- Selfie - This mode captures a close-up photo of the character, holding the camera in their left hand; great for taking personal shots with Disney characters.
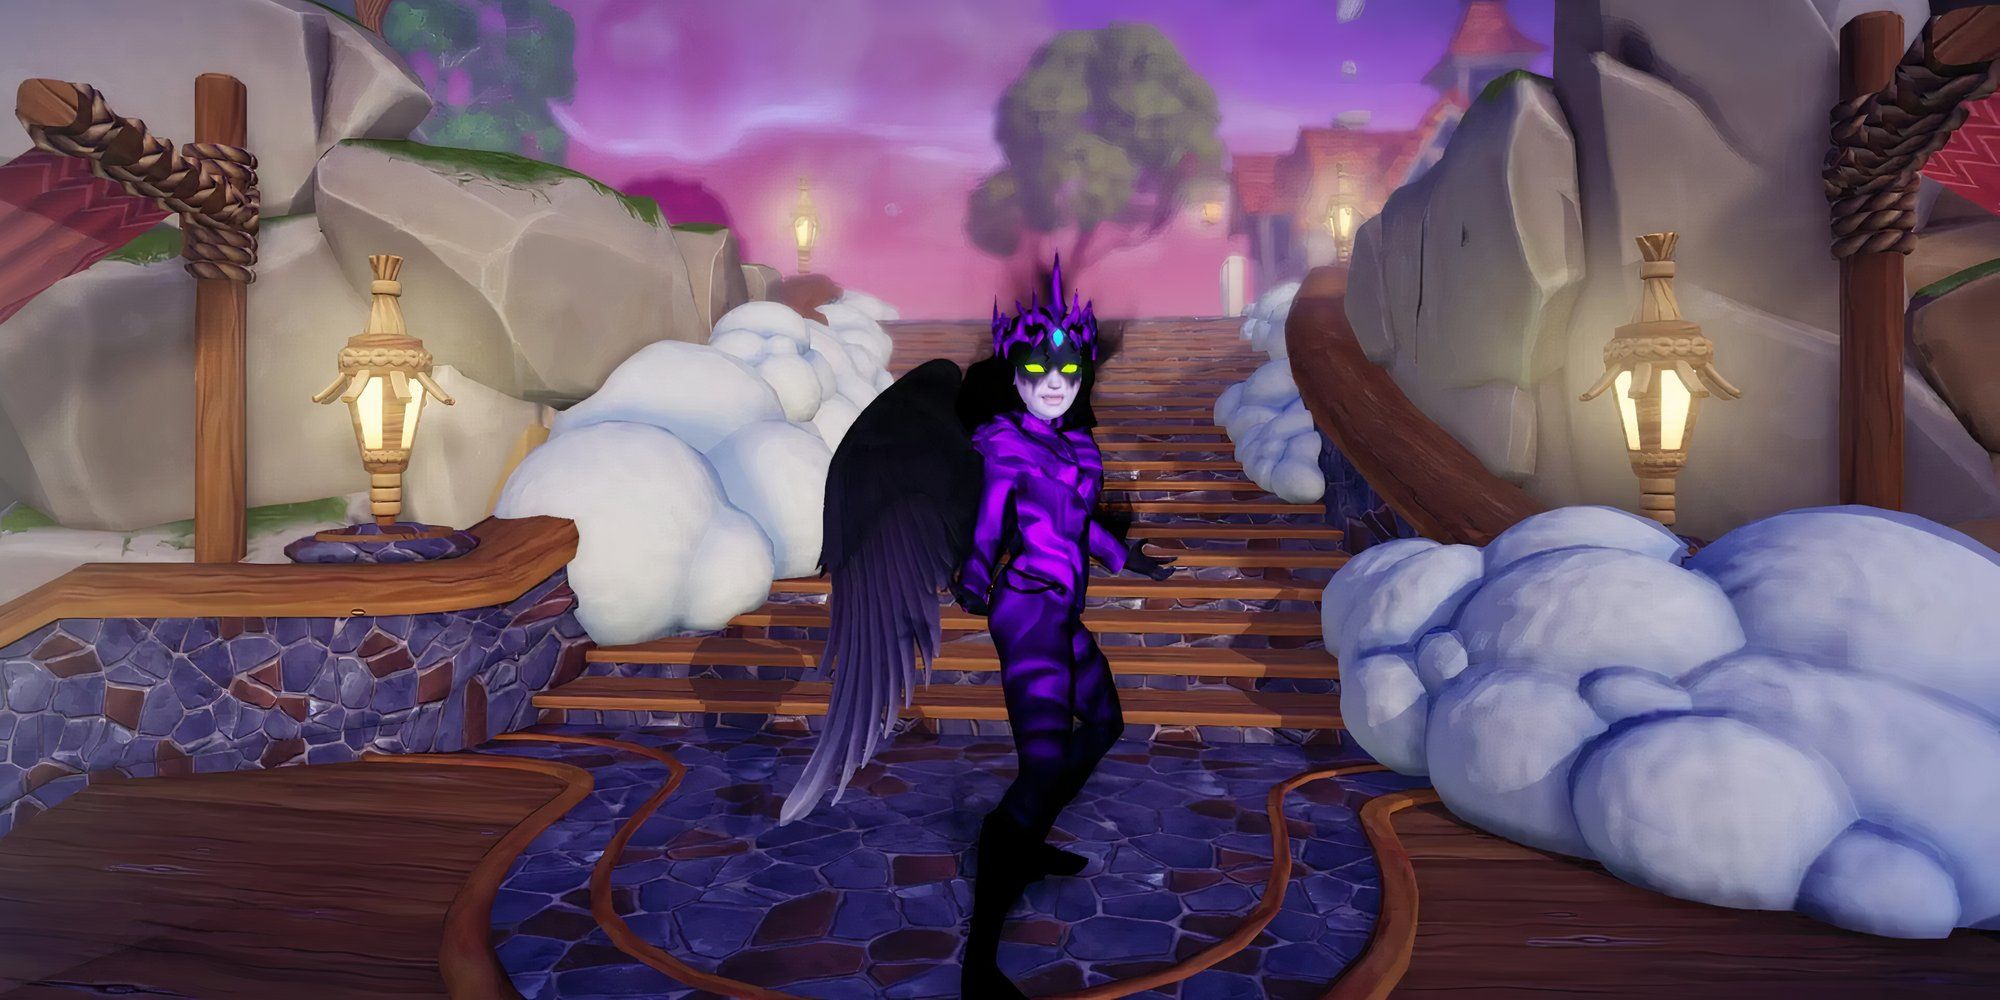
- Full-Body - A zoomed-out mode enabling the capture of the character's full body in the photo's center, ideal for outfit displays and posing with villagers.
- Wide Shot - Switches to a rear view of the character and permits camera rotation for wide-angle shots. It also allows zooming in or out with the assigned hotkey, which is useful for capturing broader valley views and character homes.
These modes can also be switched by selecting icons at the screen's top left corner.
Capture
This hotkey is used to take the photo once the player is satisfied with the arrangement and customizations of their shot.
Hide UI
This hotkey toggles the visibility of the UI elements, including the hotkey list and customization features. This allows the player to view the entire screen uninhibited, offering a better view of the final shot which will be captured.
Close
The Close hotkey exits the Camera’s Photo Mode. Using the Photo hotkey again will reactivate Photo Mode.
All Camera Post Photo Capture Functions in Disney Dreamlight Valley
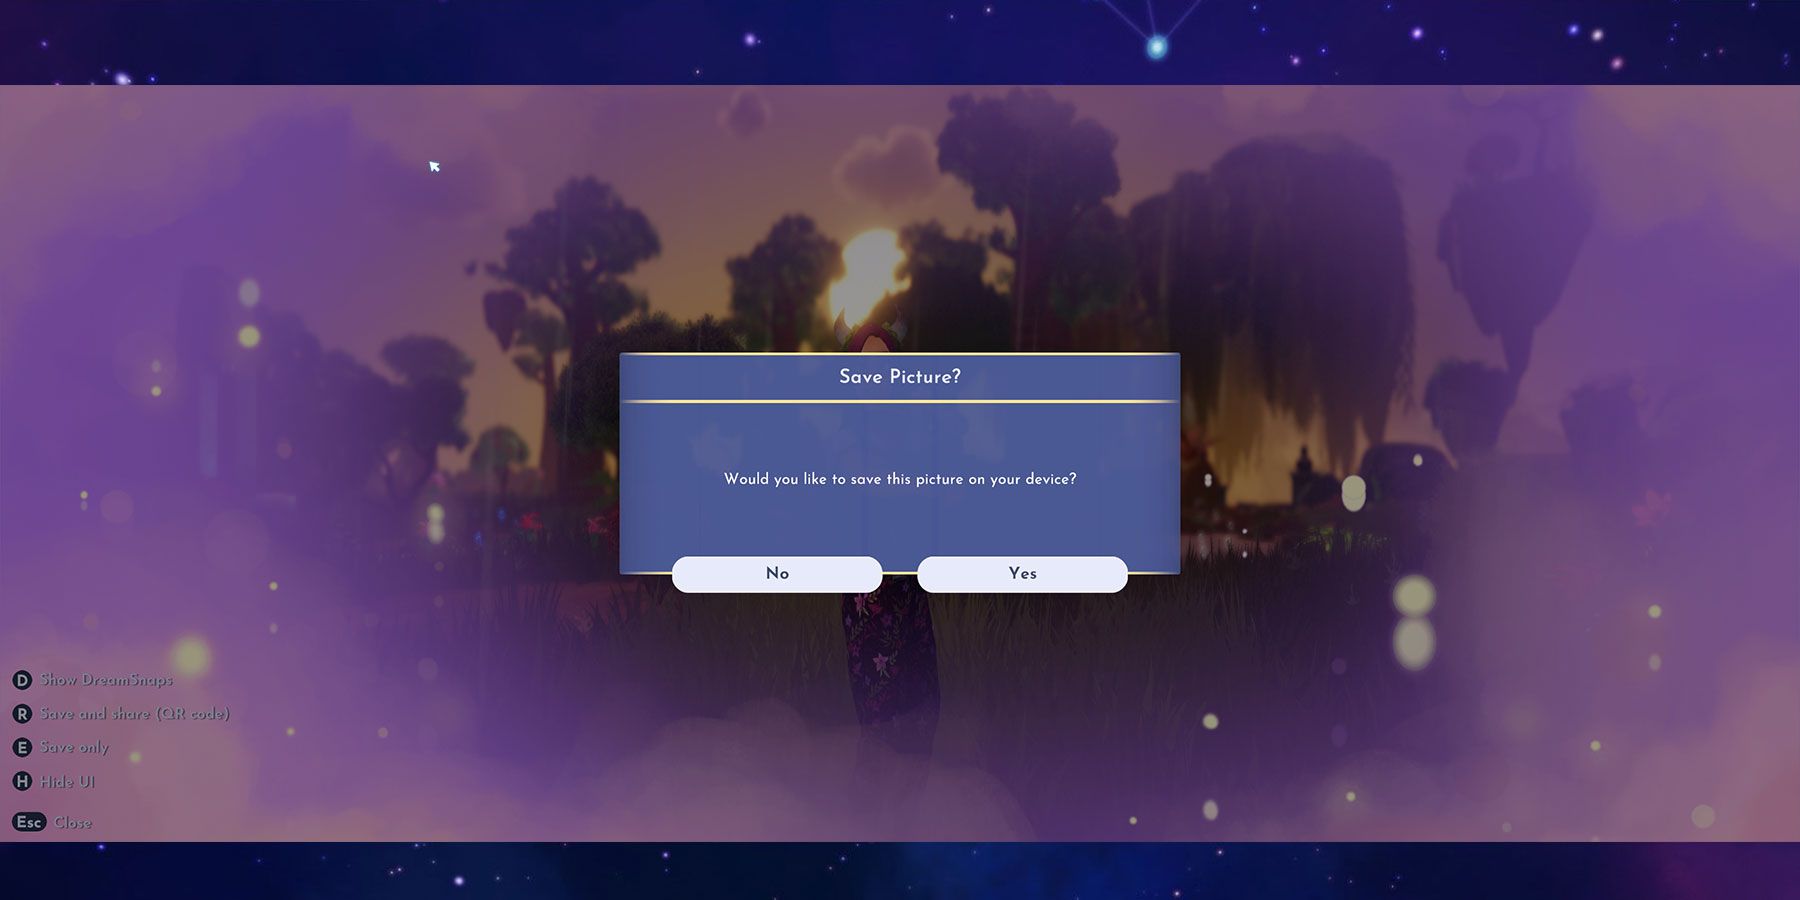
After the player has captured a photo, a handful of additional commands become available:
Show DreamSnaps
This toggle displays the DreamSnaps view, assisting players in checking whether their photo adheres to the weekly DreamSnaps challenge requirements. To submit DreamSnaps for voting in the weekly event, this mode must also be toggled.
Save and Share (QR Code)
This option opens a prompt displaying the option to save the photo to the player's device and also generates a QR code. Scanning the QR code with a mobile device's camera opens the photo in a web browser where it can be saved.
Save Only
The save-only option allows the player to save the captured photo to their local device, be it their computer or gaming console. These captures can be found only in each platform's photo gallery or in the "\Users\[User]\Pictures\Disney Dreamlight Valley" directory on PC.
Disney Dreamlight Valley is available now on Nintendo Switch, PC, PS4, PS5, Xbox One, and Xbox Series X/S.

