Digimon Survive branches at the end of Chapter 8, giving players access to four possible routes depending on several criteria. This section of the guide will cover the Wrathful Route, attained by gaining enough points in the Wrathful stat before the decision at the end of part 9 and then choosing "I want to Stay with Agumon."
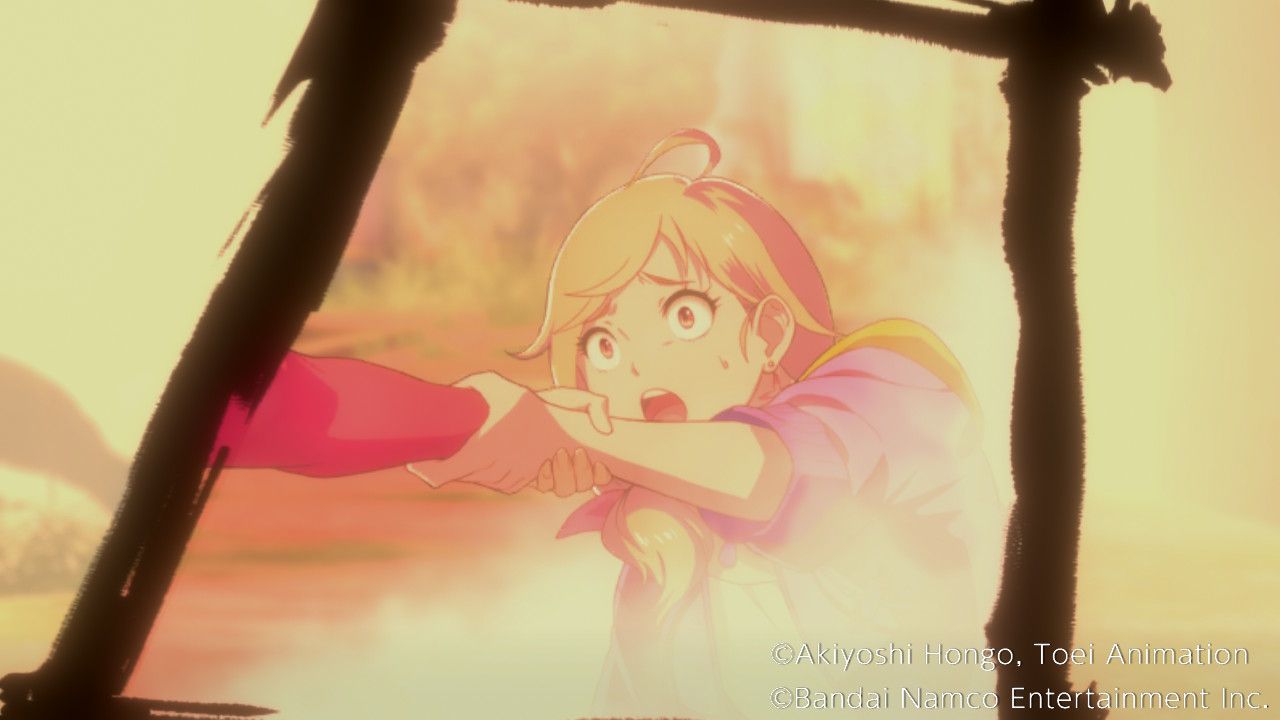
Digimon Survive Part 9, on the Wrathful Route, begins with a grim recollection from Saki's past, remembering the events leading up to her coming to camp. She was scheduled to have surgery due to her illness, but was able to convince the doctor to postpone this most recent surgery so that she could go to camp and make some memories. We get some more insight into Saki's outlook beneath the facade of cheer she puts on around the others, and the screen fades to black.
Introduction
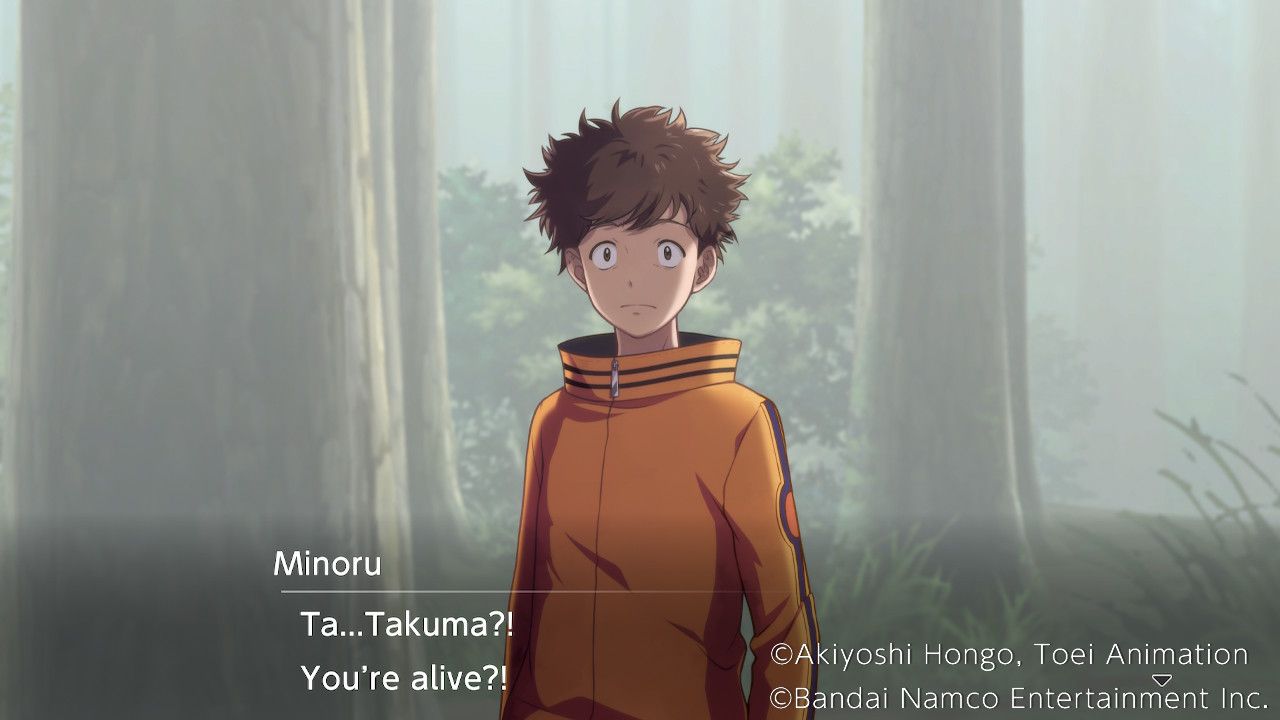
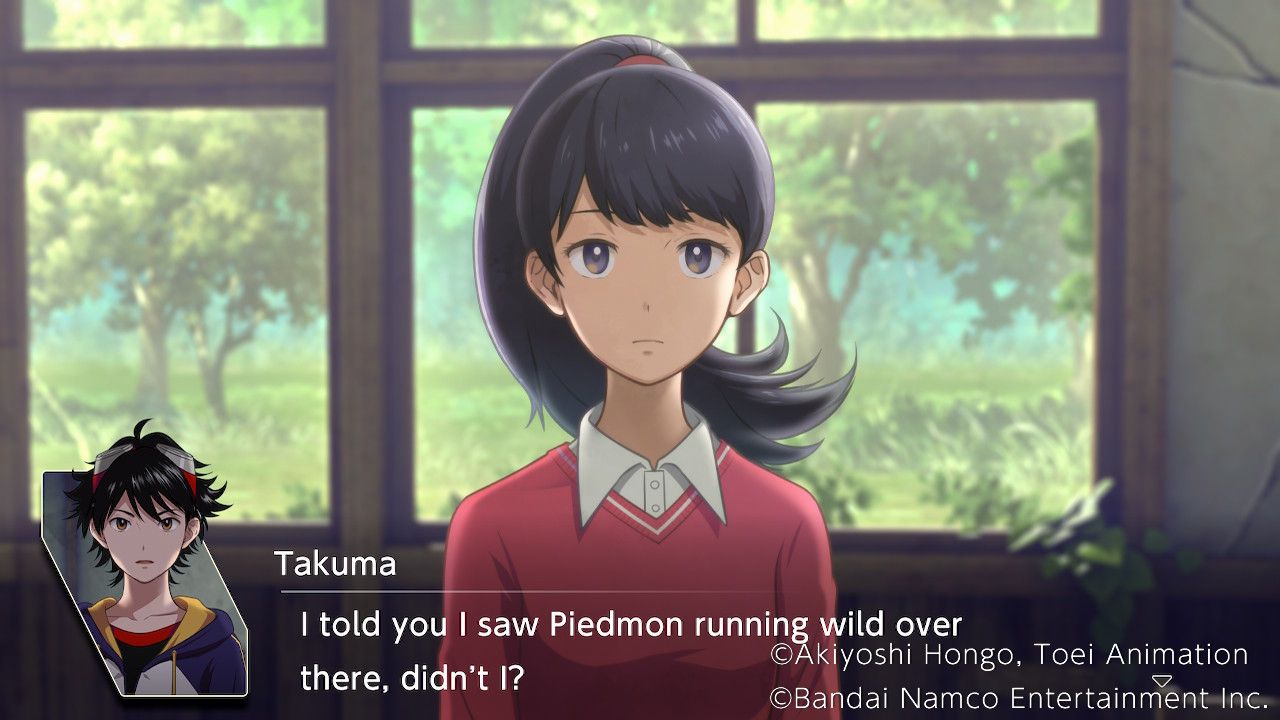
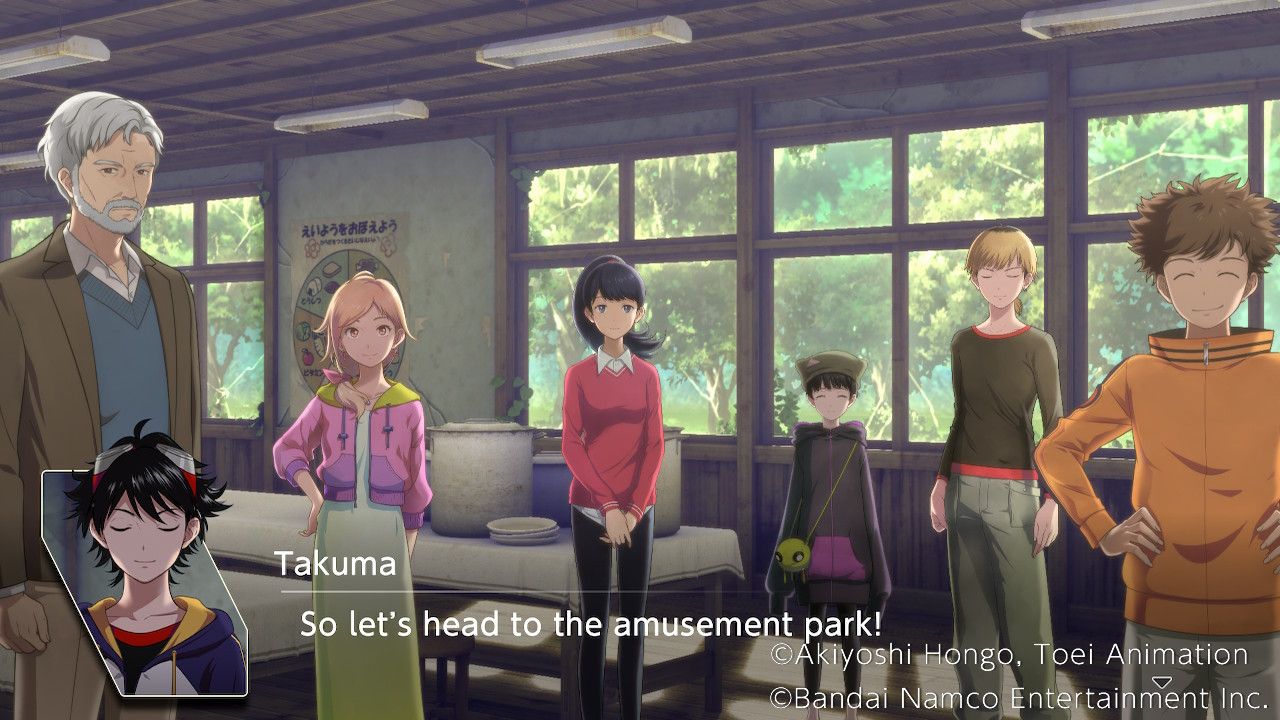
Takuma and Agumon awaken back in the other world, in the forest near the school building. Unfortunately, Miyuki is missing, and the fog is thickening, but luckily Minoru is nearby and able to help Takuma and Agumon reunite with the others. Meanwhile, Renamon watches from the shadows.
After reuniting with the others, Aoi reveals that it's been ten days since Takuma vanished, in this world at least. In Takuma's absence, Aoi has taken up a leadership role, and Takuma explains what happened during Part 8. After explaining that Miyuki is the key, Aoi asks Takuma to explain how exactly.
Piedmon and the gate. | Wrathful +1 |
Miyuki's Family. | Moral +1 |
Connected Worlds. | Harmony +1 |
Free Action
During this free action period players have five moves to use.
Free Battle
The School Area Free Battle offers players access to Dokugumon, Arukenimon, Marinedevimon, Triceramon, and Tuskmon. Meanwhile, the Forest Area Free Battle offers access to Andromon, Monzaemon, Bluemeramon, and Etemon.
Old School
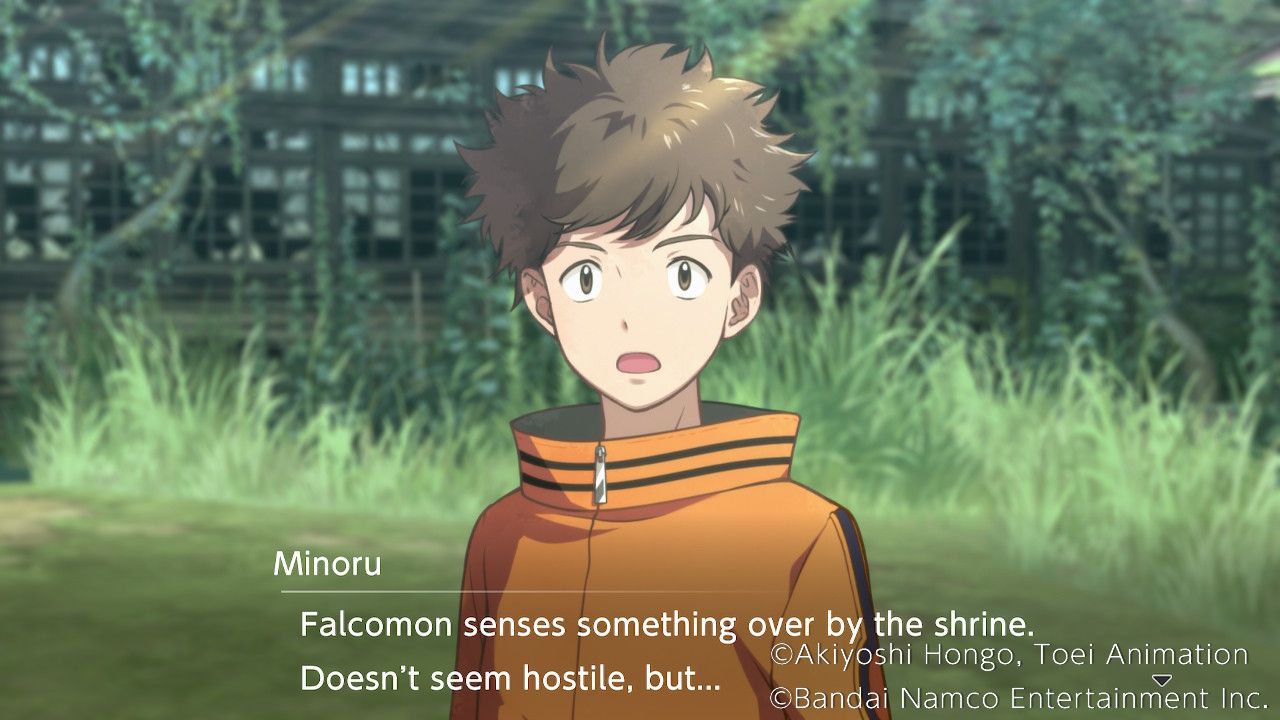
Minoru can be found at the Old School. Speaking to him will cause Falcomon to note a strange presence he senses in the direction of the Shrine. This unlocks the shrine as a location to visit in the Forest area during this free action period. After visiting the Shrine as suggested, Minoru will move to the Corridor.
Corridor
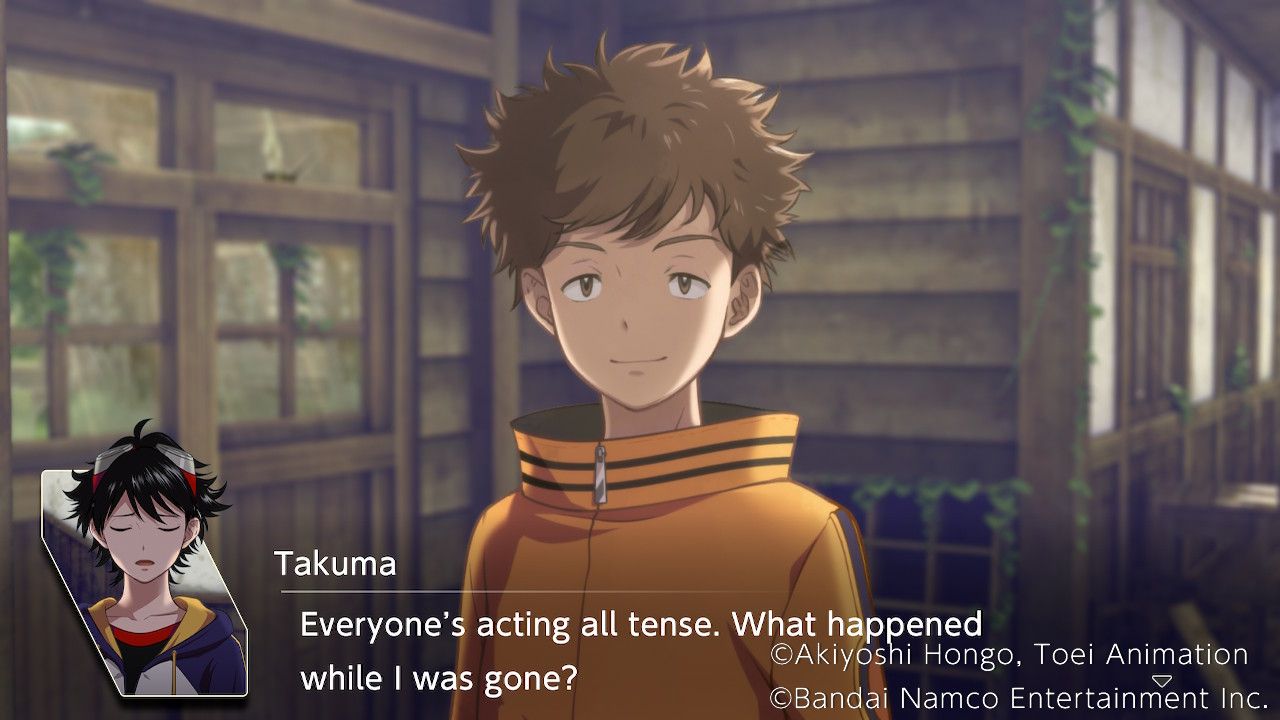
Speaking to Minoru here after investigating the Shrine allows Takuma to finally ask why everyone is so tense, but Minoru dodges the question and Falcomon notes how much tougher Minoru is. This flusters Minoru a bit and directs the conversation elsewhere.
Falcomon's Changed | No Effect. |
Minoru's Shaped Up! | Minoru Affinity Up! |
He's the same Guy. | No Effect. |
Cafeteria
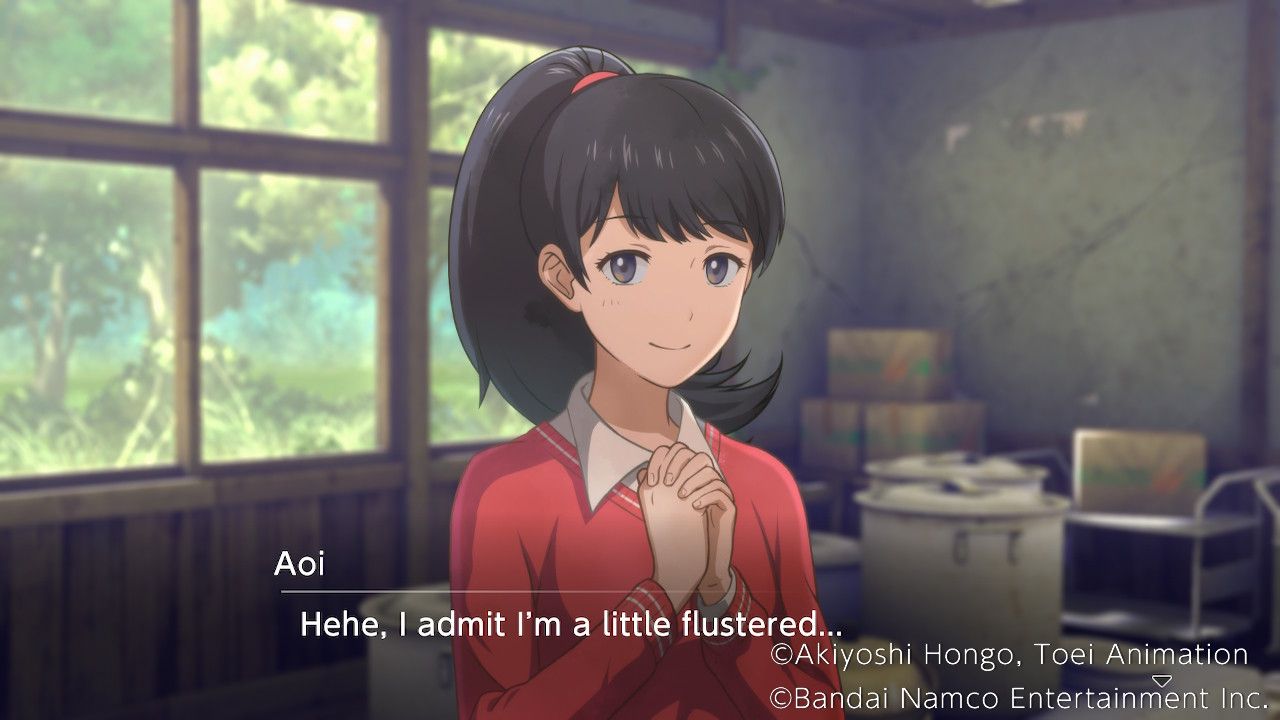
Aoi and Saki are in the Cafeteria, and speaking to Aoi will reveal that Haru got upset after Miyuki vanished and disappeared somewhere. The group hasn't been able to look for him because they've been busy keeping themselves alive. Saki explains that Aoi has kept everyone together this whole time.
Not a clue, honestly. | No Effect. |
She healed everyone? | Aoi Affinity Up! |
Aoi's a wizard?! | No Effect. |
Music Room
Agumon can be found in the Music Room. He wonders if Takuma regrets coming back to this world with him.
It's hard to say. | Moral +1 |
Really and Truly! | Harmony +1 |
Trust me, all right?! | Wrathful +1 |
Gym
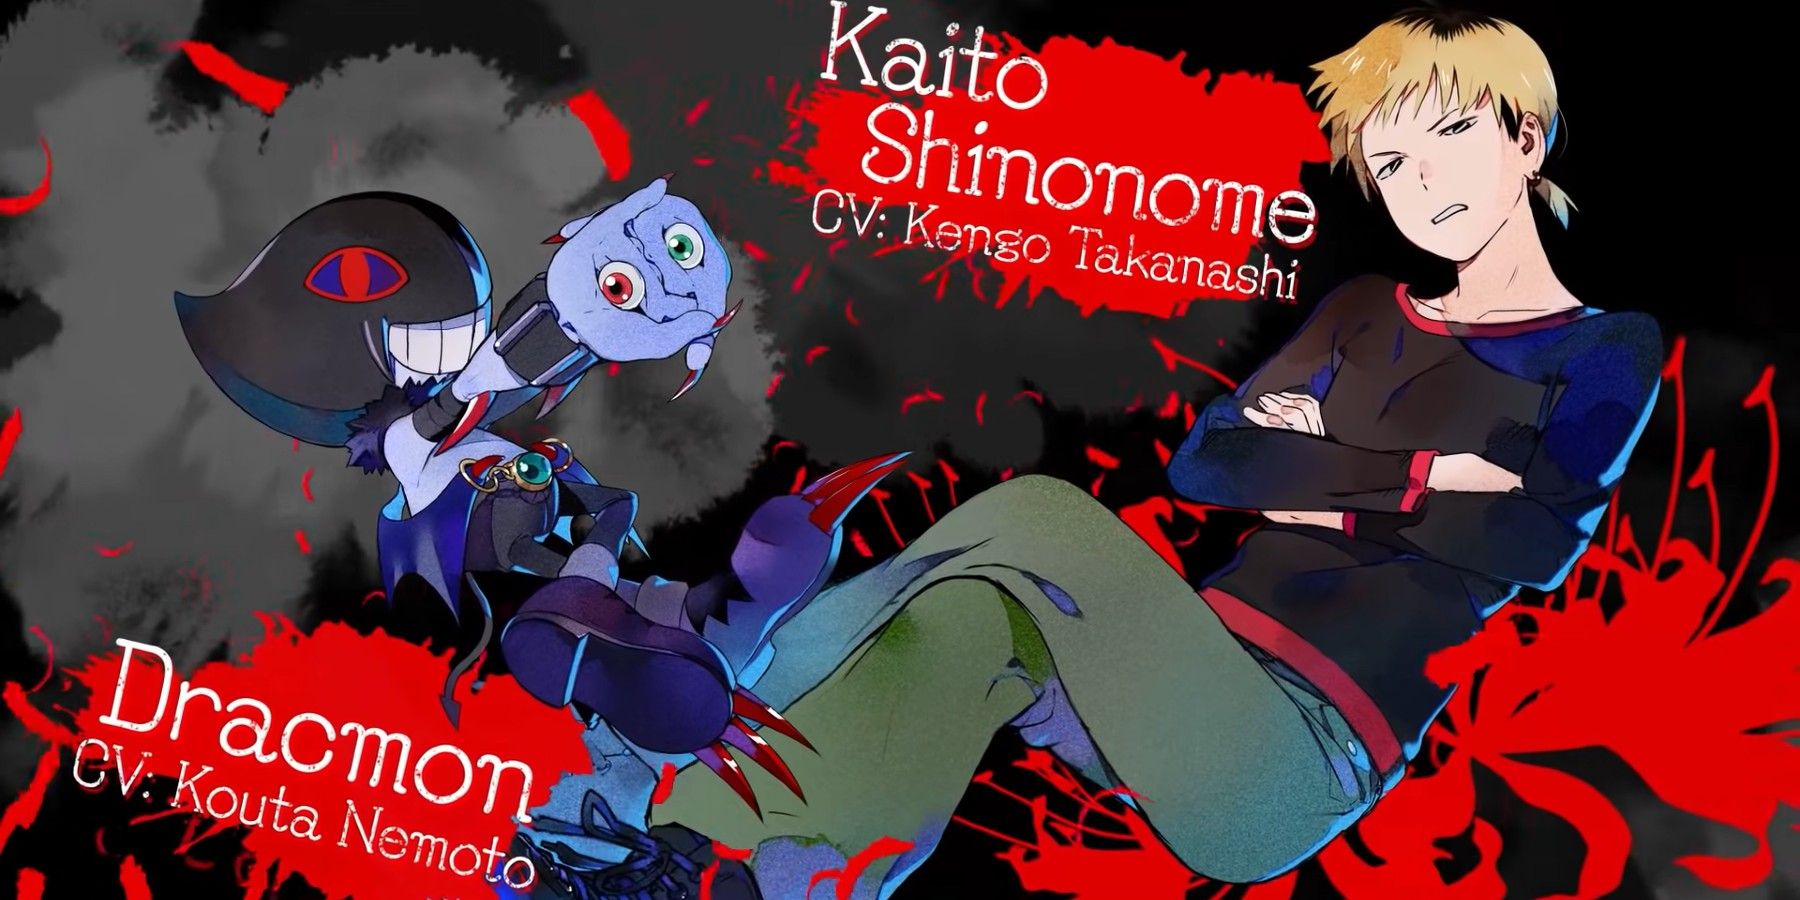
Miu and Kaito are in the Gym. Speaking to Kaito reveals that he isn't taking the whole "Miyuki is the Key" thing very well. An argument starts between him and Miu, and Takuma considers stepping in.
Leave him alone. | Kaito Affinity Up! |
Calm him down. | Miu Affinity Up! |
Woods by School
Speak to Dracmon here to learn about something strange he's sensing near the Shrine.
Shrine
Visiting the Shrine after hearing about the strange presence from Falcomon or Dracmon will allow Takuma to obtain "The Tale of the Mural" chapter 3 by scanning around the Shrine with the camera, and also allows players to find three Perfect Evolution Slabs in the same way.
Woods by School - 2
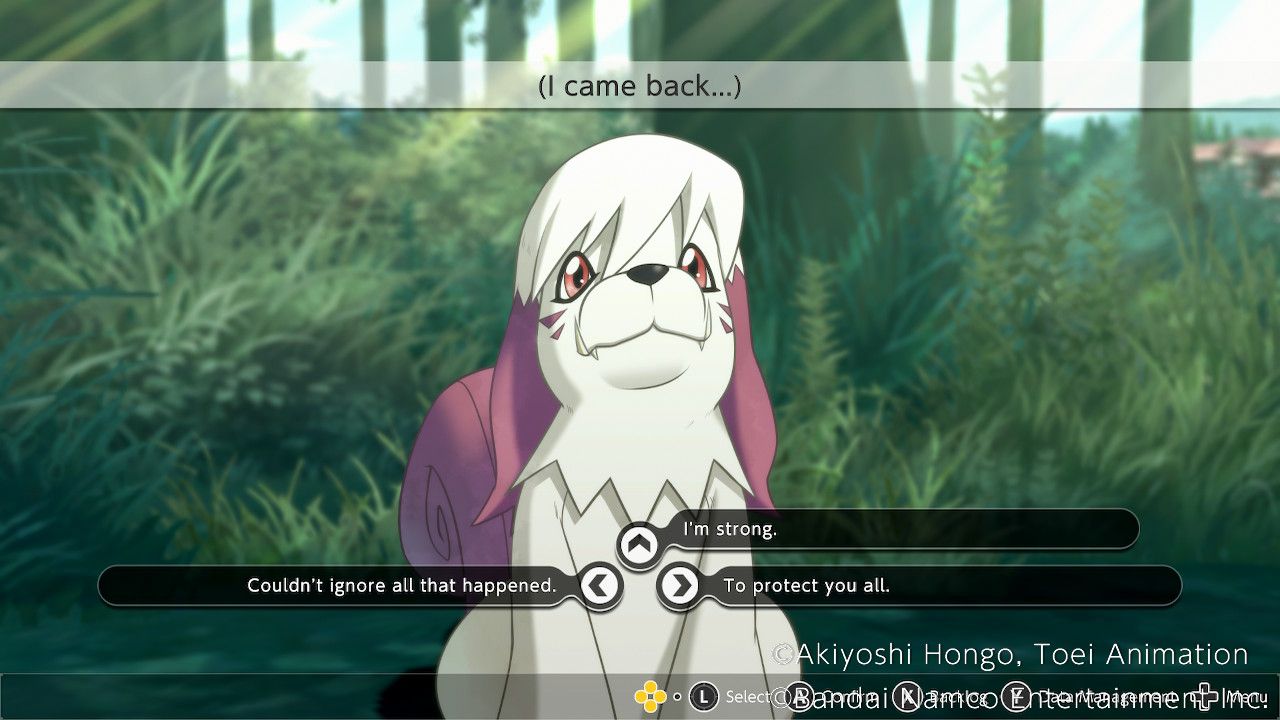
After investigating the Shrine players can speak to Labramon at the Woods by School. Labramon is wondering why Takuma came back.
Couldn't ignore all that happened. | Moral +1 |
To protect you all. | Harmony +1 |
I'm strong. | Wrathful +1 |
Old School - Mandatory
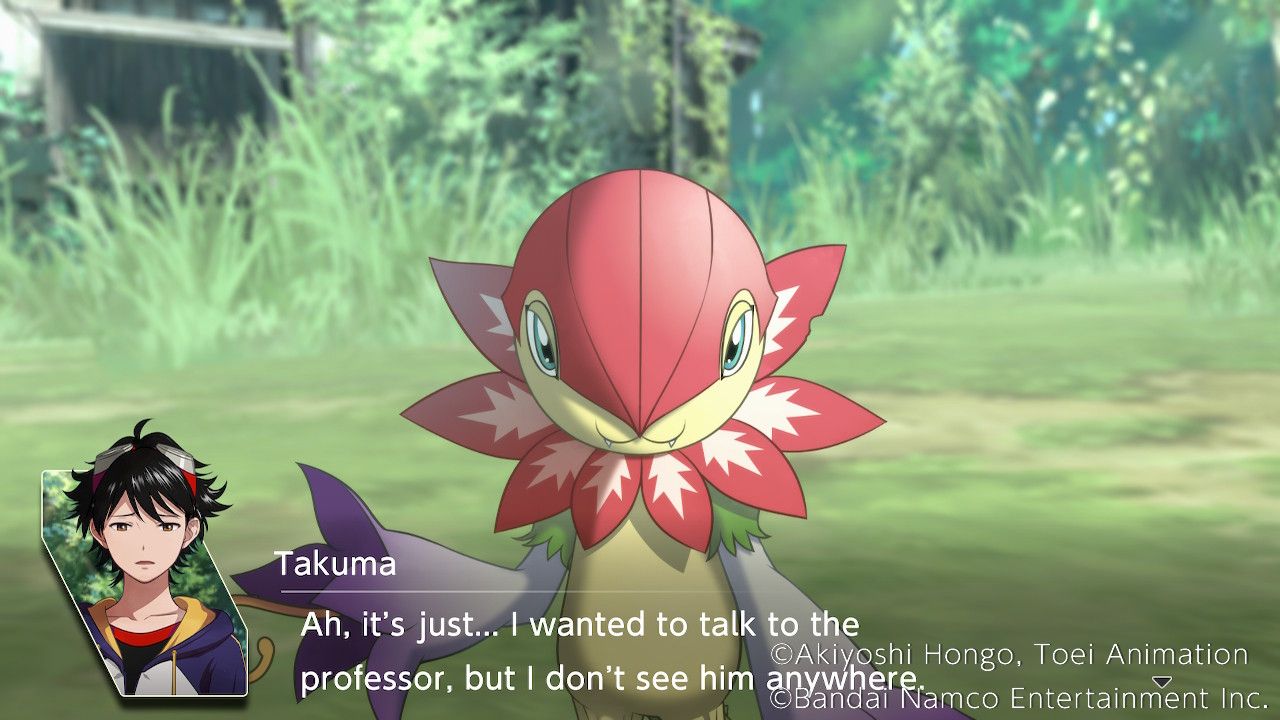
After using up three moves players will have to visit the Old School and speak to Floramon. She asks Takuma to look out for Saki, since she's worried about her, and also tells him where the Professor went.
Inner Shrine - Mandatory
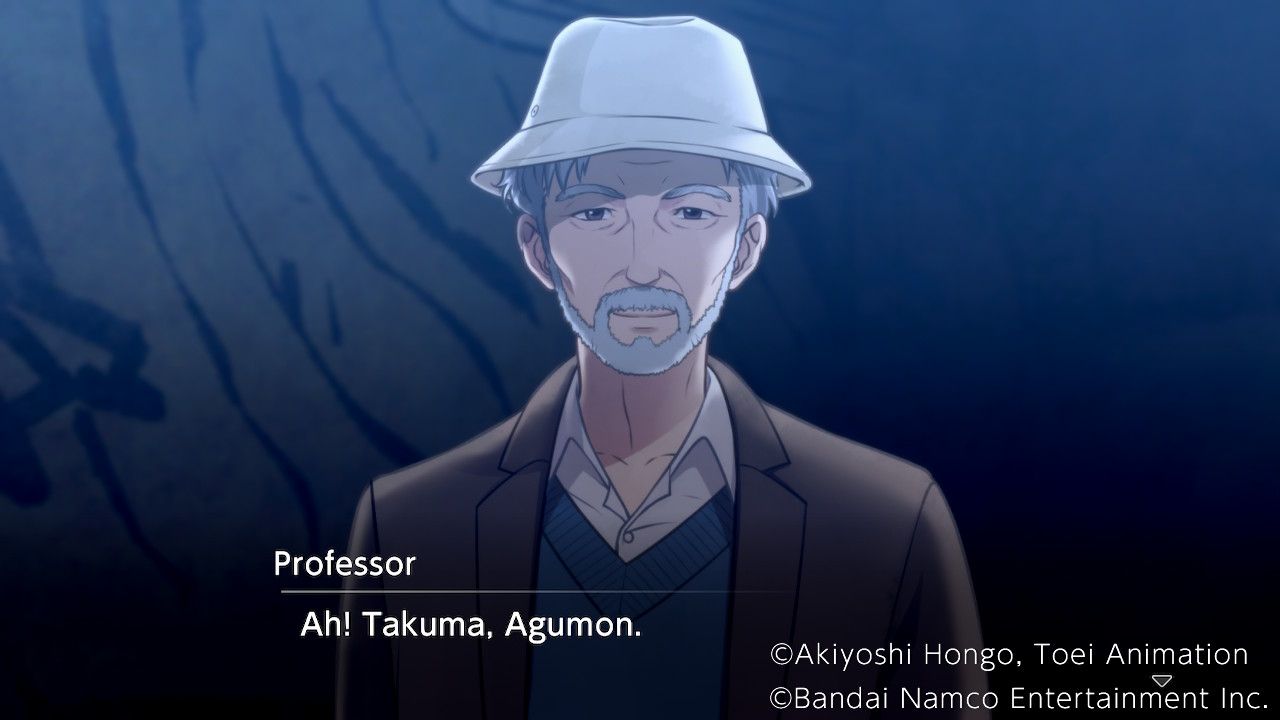
After using up all five moves players can visit the Inner Shrine to speak with the Professor. This gives players the opportunity to ask about all the Murals in the Shrine and discover what the Professor has learned. This uncovers a ton of lore about the history of the two worlds. Unfortunately, the Professor changes the subject as soon as Takuma tries to ask him about Miyuki.
The Story Continues
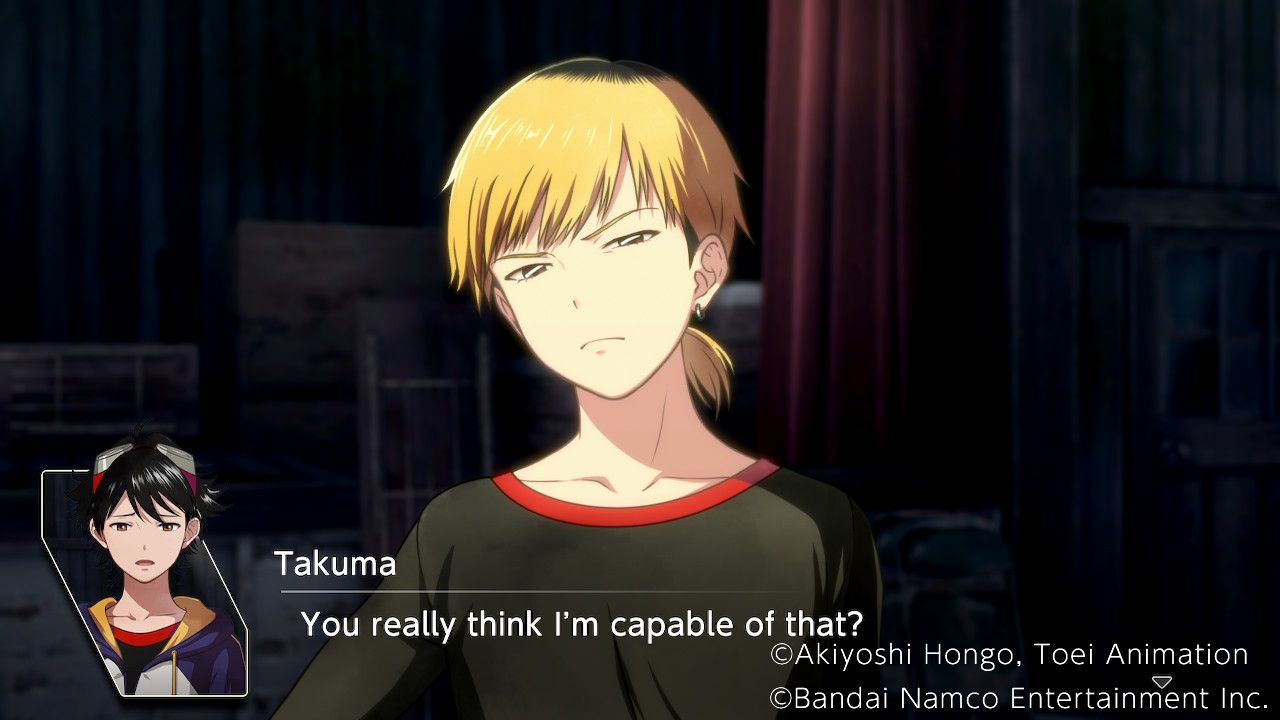
After speaking with the Professor, Takuma returns to the School, where Minoru mentions something about Miyuki, but immediately clams up.
Tell him your side. | Moral +1 |
Ask what's wrong. | Harmony +1 |
Ask him straight. | Wrathful +1 |
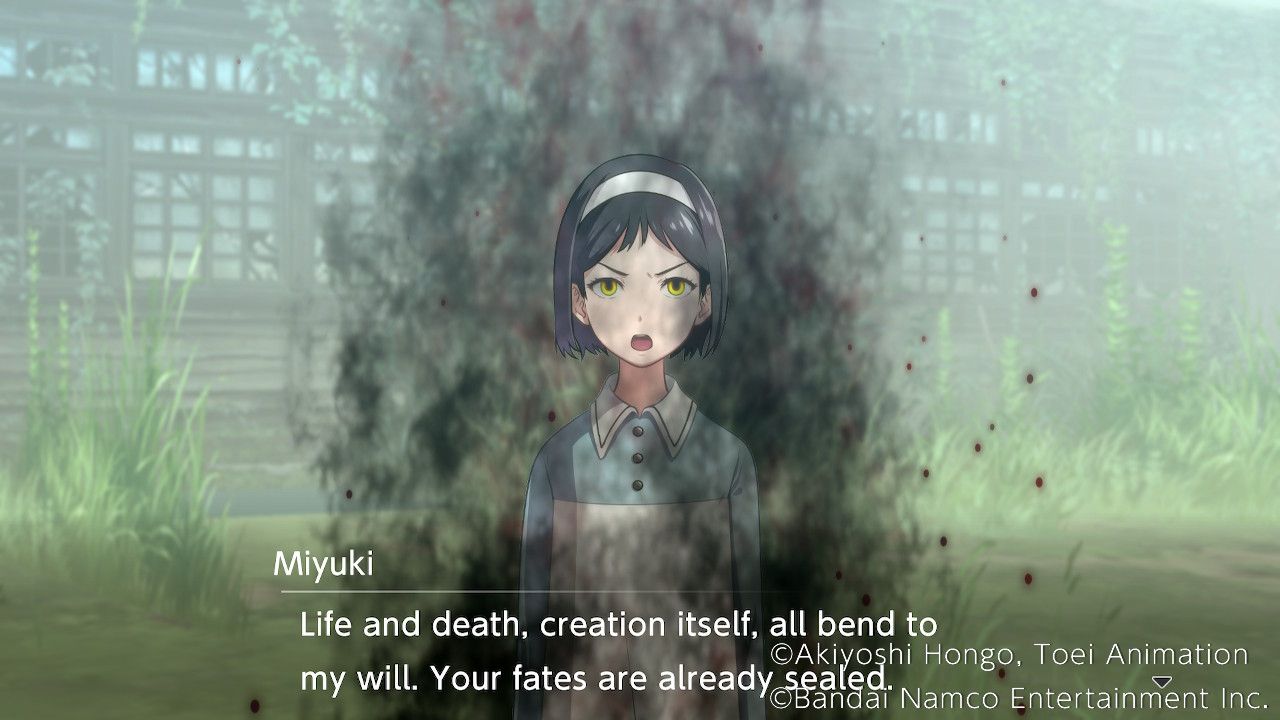
Regardless of the player's choice here, the fog thickens and the alarm is sounded, interrupting the discussion and leading to a rather shocking revelation. Miyuki is here, and she's leading the enemy?! It turns out that she somehow arrived back a few days earlier than Takuma, and was possessed by the Master.
Fighting Time Agumon!
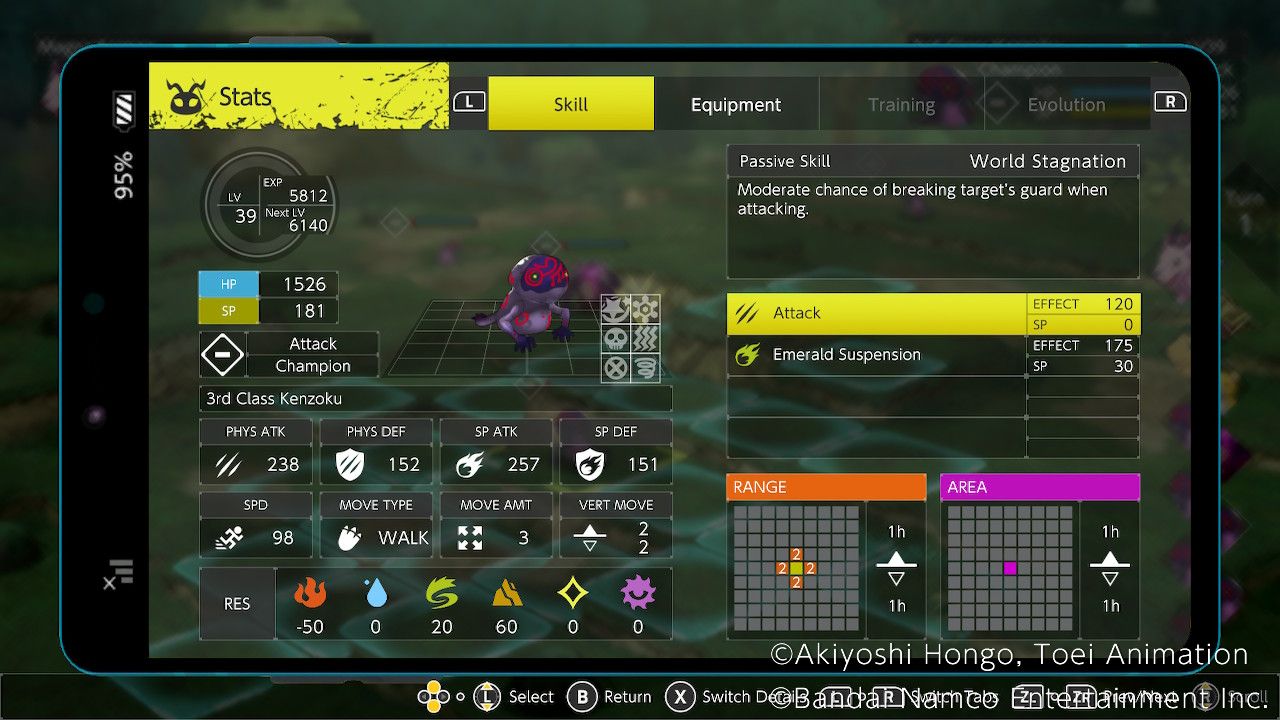
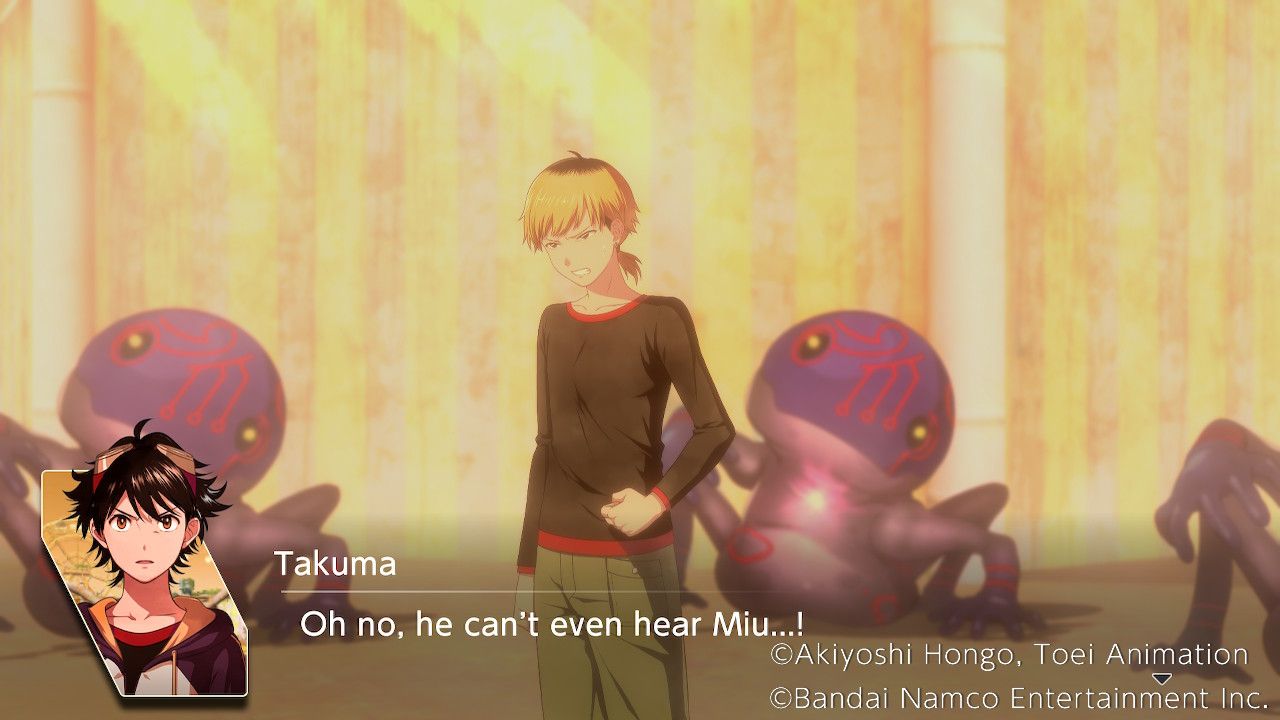
Time for the first mandatory battle of Part 9, and it's against something unfamiliar. This time we're dealing with the Master's personal minions, the Kenzoku. These nasty-looking purple monstrosities come in several varieties, but this first fight has two varieties to worry about.
Kenzoku are a rather tricky type of foe since they can share the same name but have completely different resistances and stats. The 3rd Class Kenzoku in this fight include both attackers and all-rounders, with fire and dark damage attacks. Light and fire-wielding Digimon perform very well against these, but it's important to view the stats of them when fighting to check what each Kenzoku's weaknesses and attack types are. 3rd Class Kenzoku do all share the Passive Skill "World Stagnation," which has a decent chance of breaking their target's guard when attacking, so blocking isn't quite as effective when facing them.
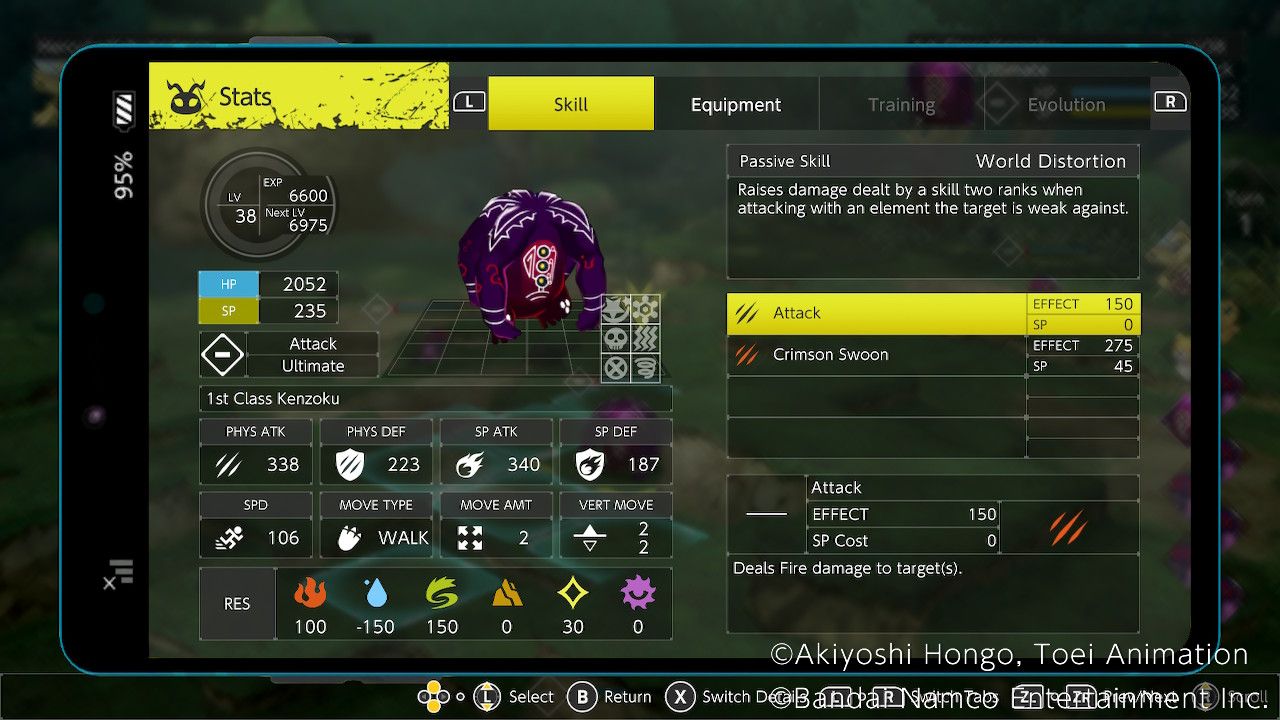
The greater threats here is the Ulitmate-level Attacker known as 1st Class Kenzoku. These beefy foes have excellent attack stats and decent physical defense, leaving special attacks as the best way to hurt them. Their attacks deal fire damage and Crimson Swoon has a chance to raise both of their attack stats when it hits. They also strongly resist wind and fire, resist light, and are heavily vulnerable to water, so plan accordingly to take advantage of this. 1st Class Kenzoku have the Passive Skill "World Distortion", which raises the damage they deal when attacking with an element the target is weak against, so keeping an eye on this and avoiding putting Digimon with a weakness to their attacks in the firing line will be critical to success.
Head to the right at the beginning of the fight to snag Holy Light, which is a powerful light attack equippable. The trick to this fight is to take it slow and try to pick off the 3rd Class Kenzoku before worrying about the 1st Class since they can swarm and overwhelm the party if they charge straight in. That said, if the player is able to defeat the 1st Class Kenzoku before getting overwhelmed, that will immediately end the fight.
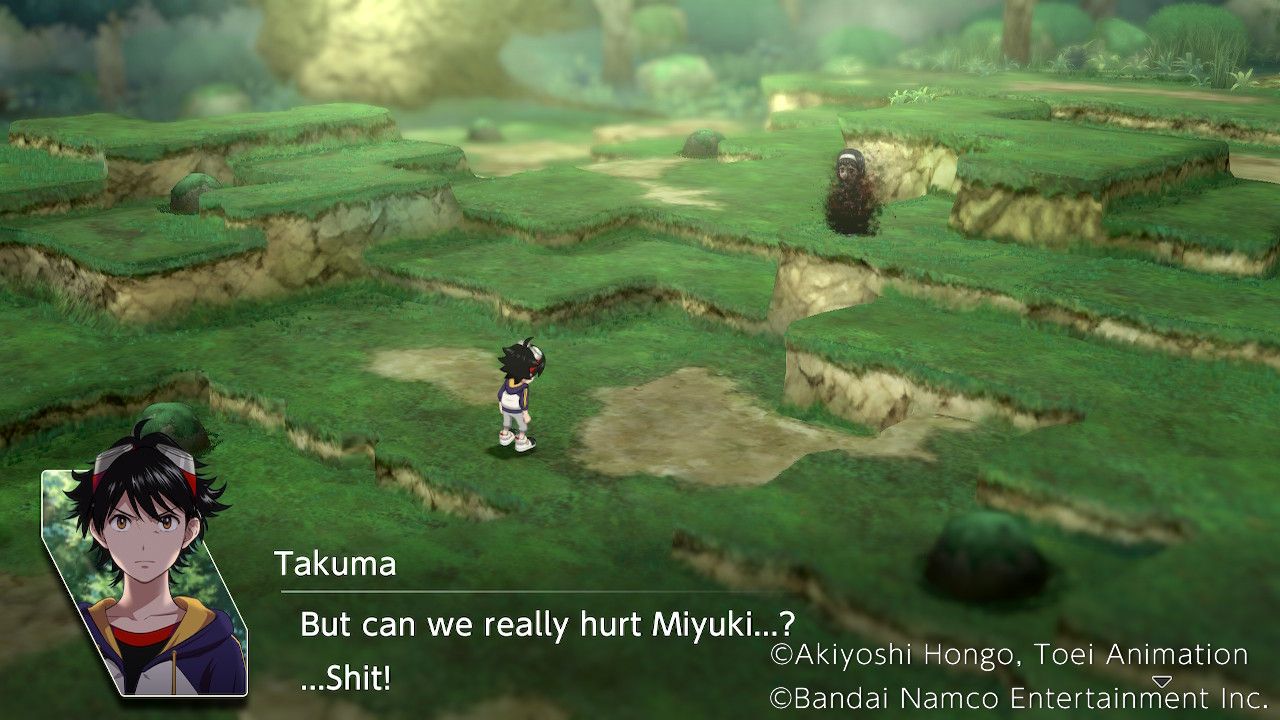
After the fight Takuma will charge in, but hesitate due to the Master using Miyuki's body. The Professor then intervenes in the fight, and Renamon arrives as well. Their appeals momentarily shake the Master's hold on Miyuki, but it doesn't last, and she begs Haru to run. The Master regains control and retreats, and Renamon storms off.
The Cafeteria
Back in the School, the group discusses the situation with Miyuki. Takuma tries to think of a way to get through to Miyuki again.
The professor can... | Moral +1 |
Let's all talk to her! | Harmony +1 |
We need Miyuki. | Wrathful +1 |
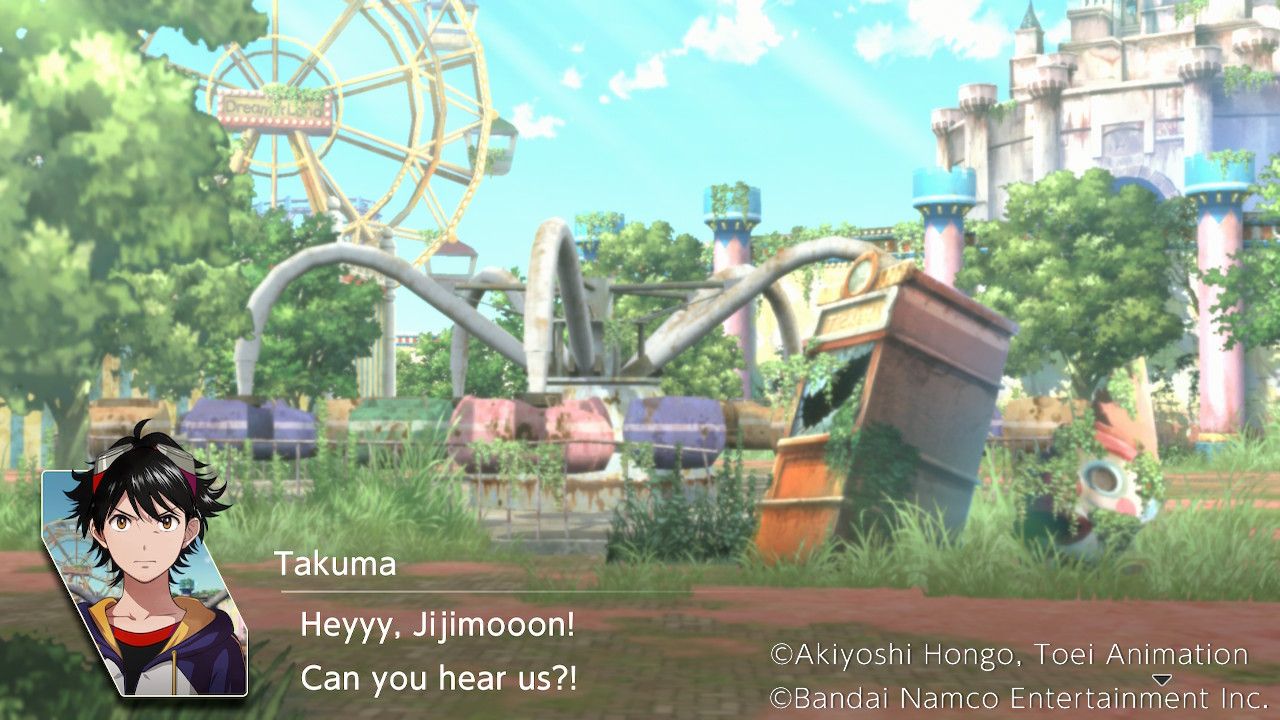
After choosing an option, Takuma will wonder if there's another way. Choosing "There must be." allows players to select all three options and gain all three boosts one after another. Eventually, Miu will suggest asking for help from Jijimon at the Amusement Park, since he knows a lot about the world and might have some ideas. The group agrees and heads out.
The Amusement Park
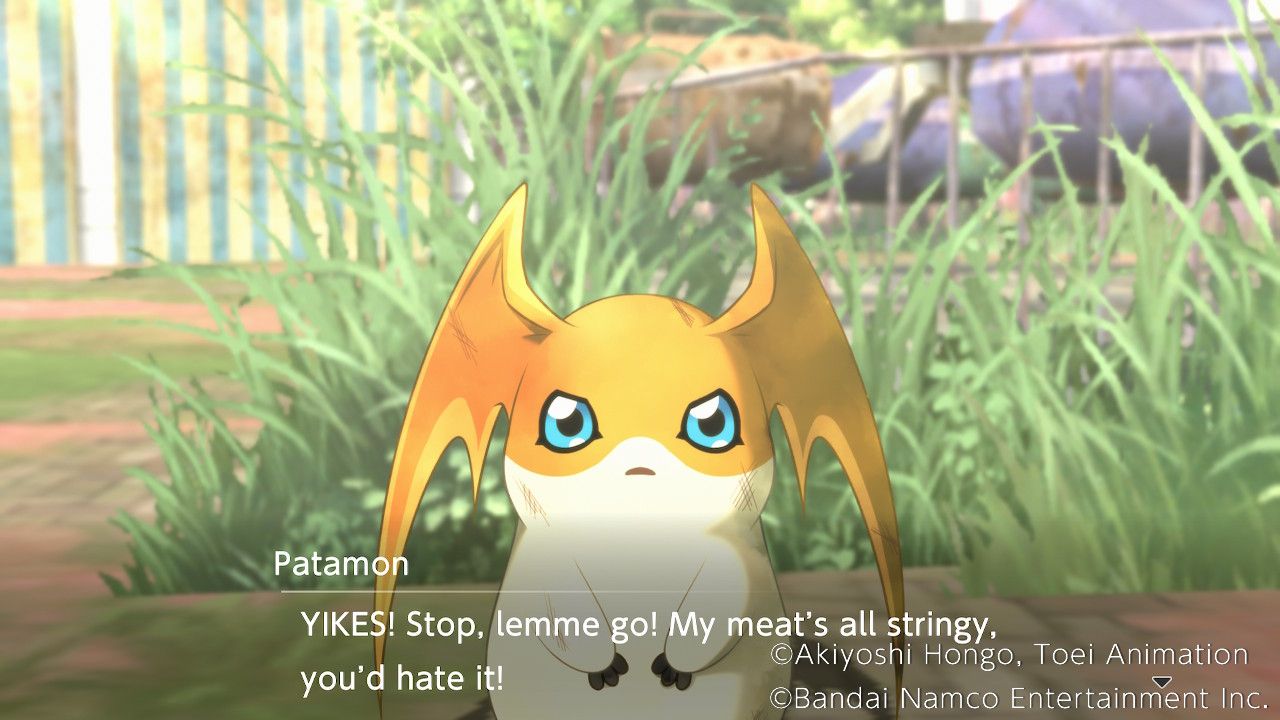
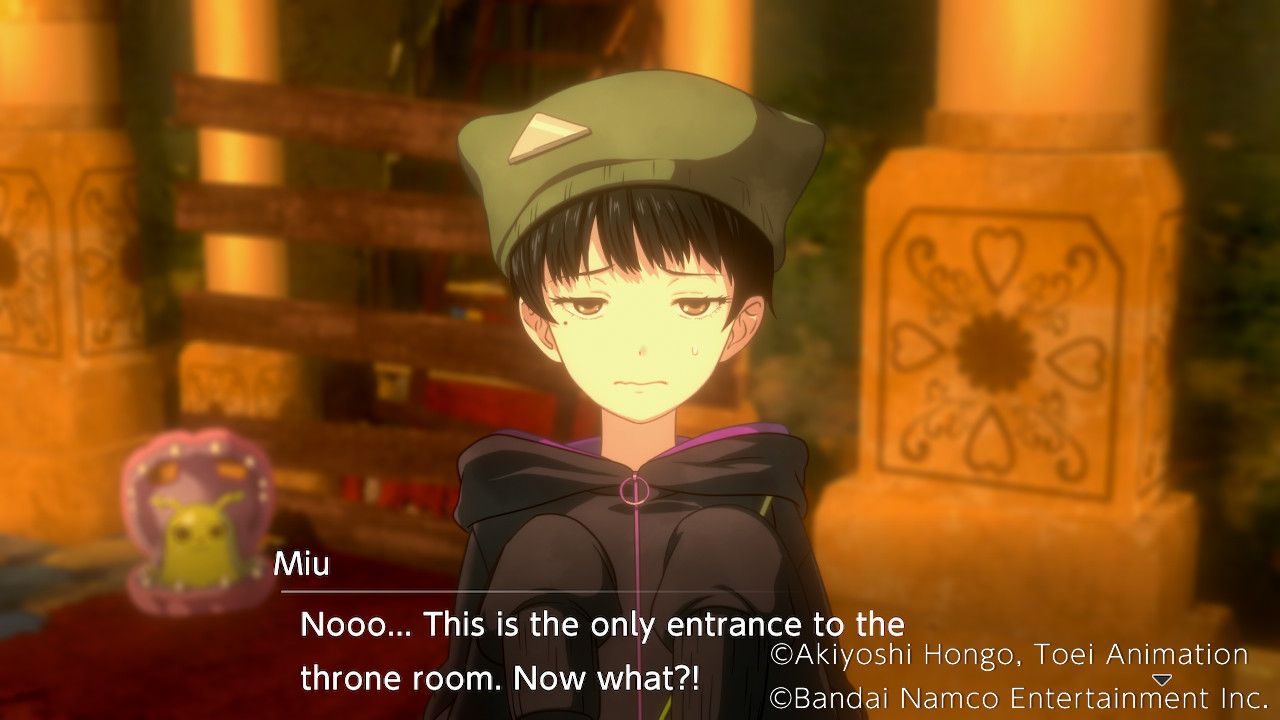
At this point the group reaches the Amusement Park, which is eerily quiet and seemingly deserted. Agumon senses something, and before long Saki finds Biyomon, Palmon, and Patamon injured nearby. They reveal that Miyuki and the fog monsters have attacked the Amusement Park, presumably realizing the group would go there for help. The others, including Jijimon, are apparently holed up in the Throne Room, but the path there is blocked off. Miu heads off to gather the injured, and the Exploration phase begins.
Exploration
Central Plaza
Head for the Central Plaza to find Miu, Minoru, their partners, and some of the injured Digimon. Speak to Miu to find her worrying that she caused this by making her Hideout here.
Cheer her up for now. | No Effect. |
Scold Her. | Miu Affinity Up! |
Speak to Minoru to discuss why the Master attacked here, and Minoru will reveal just how pissed off he is about this.
We'll beat the Master. | No Effect. |
We'll save them all. | Minoru Affinity Up! |
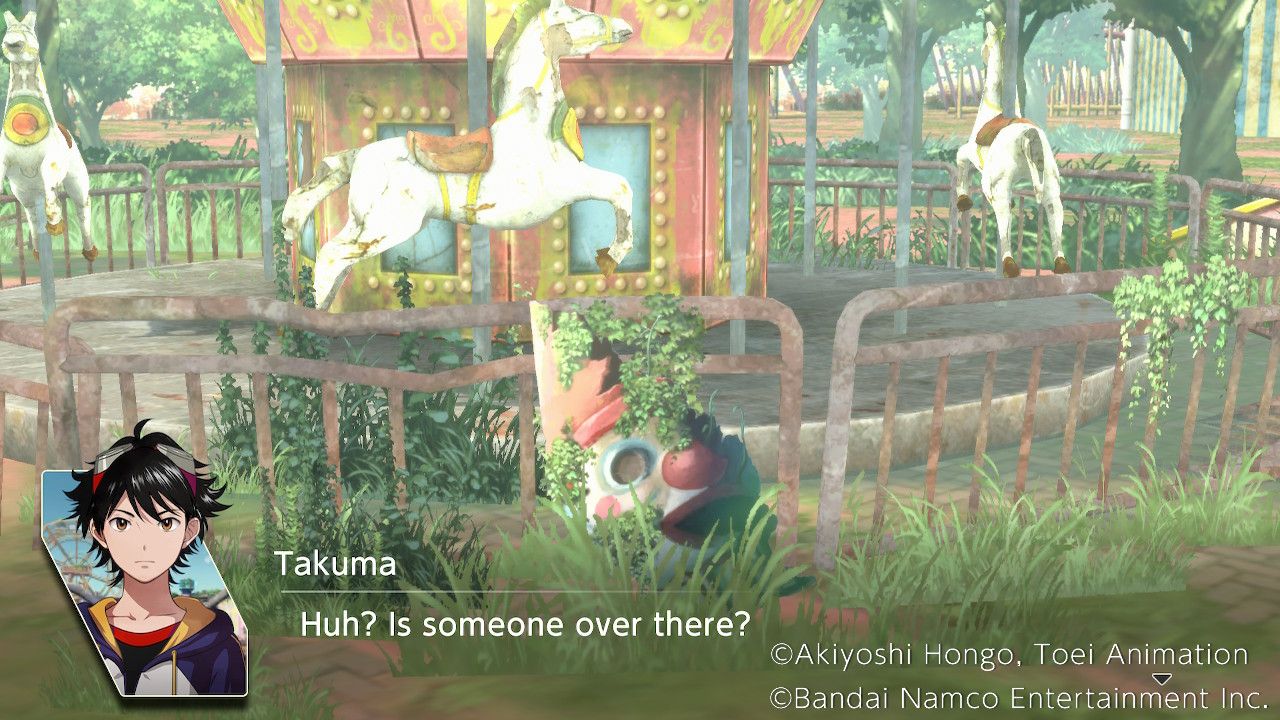
Speak to the Patamon near Minoru to get a Speed Charge+, a buff equippable. Then check the patch of grass in the lower left with the clown head to find an injured Palmon.
Performance Space
Aoi, Saki, and their Partners are here. Chat with Saki and she'll ask if the kids who lived here had fun lives before all of this happened.
I don't really know. | No Effect. |
I'm sure they had fun. | Saki Affinity Up! |
Speak to Aoi to hear her thoughts on what's happened here, and Takuma will wonder if he should try to calm her down.
I feel the same way. | Aoi Affinity Up! |
Calm down a little. | No Effect. |
Don't blame yourself. | No Effect. |
After that speak to Biyomon for an optional, and rather sad, scene. Then check the grass near where they were to find Patamon and treat their wounds.
Castle Courtyard
The Professor is here with Kaito and Dracmon. Speak to the Professor to muse about why no enemies have been encountered yet.
What's their goal? | Moral +1 |
Rescue comes first. | Harmony +1 |
Should we fight, then? | Wrathful +1 |
Speak to Kaito to hear his frustration, as he gets increasingly angered by what he finds. Try to calm him down.
Jijimon comes first. | No Effect. |
I want to save Miyuki. | No Effect. |
Rescue comes first. | Kaito Affinity Up! |
Speak to the injured Palmon nearby to treat their wounds and get a Final Heal, one of the strongest healing equippable skills in the game. Then check the grass on the far left of the screen to find an injured Biyomon.
Reaching the Throne Room
The group reunites after finding as many of the injured as possible, and heads for the Throne Room. They quickly find the way sealed off, but after Miu calls out Jijimon opens up a hidden passage in the wall. Jijimon has no idea why the Master and the Kenzoku have attacked the Park, and has little to add regarding Miyuki's possession. His only advice is to call out to her soul with everything they've got, and find a way to defeat the Master.
Some other way? | Moral +1 |
Keep calling to her... | Harmony +1 |
Defeat the Master! | Wrathful +1 |
Despite the disappointing news, the group has little time to worry about it since the enemy start beating down the door to the Throne Room. Kaito rushes off to fight the enemy, Miu follows, and Saki runs off to try to find and evacuate any remaining Digimon from the Park. Aoi and Takuma agree to split up to support the others. Minoru and the Professor join Aoi in aiding Saki, while Takuma heads after Kaito and Miu.
Kenzoku Battle
In the chaos, Miu gets surrounded as the battle begins. Takuma and Agumon rush in to help. Only Agumon and Syakomon are available in this fight, out of the Partner Digimon, so players will need to deploy one of their recruited Digimon here to assist. We meet the 2nd Class Kenzoku in this fight, who use the "World Tear" passive skill to make themselves difficult to flank while having very good attack range. A Digimon with an Earth attack will be useful for taking out the two 3rd Class Kenzoku below the starting point.
After the first turn Kaito will finally notice Miyu is in trouble, joining the fight with Dracmon from the top of the map. Try to get the group together as soon as possible, and don't let the Kenzoku surround anyone. The two extra 3rd Class Kenzoku in the upper right of the map are weak to fire, and the 1st Class Kenzoku that appears is weak to fire, so fight smart and open up a path, taking a moment to grab the chest for Acceleration Charge+, and excellent skill equippable for any loadout.
Beat all the enemies to end the fight, which tends to be easier if the group is close together to provide each other with support and buffs.
Kenzoku Battle 2
Saki, Aoi, and Minoru are doing a great job evacuating anyone still alive from the Park, but the incoming fog would make carrying on very dangerous. Saki refuses to give up and heads into the fog, with Aoi joining her, and before long they've cleared out everyone they can find. A voice calls for help, but it turns out to be a trap, as a Kenzoku mimics the voice of a wounded Digimon to draw in Aoi. Luckily Saki is able to push it back, and Kaito, Miu, and Takuma arrive to help.
Since Miu is tending to the evacuees, it's up to Takuma, Kaito, and Aoi to handle this fight, with one extra slot for a recruited Digimon. Do a quick scan of the Kenzoku's weaknesses, and prioritize the 1st Class ones when considering weaknesses here since they deal the most damage. That means bring Water and Wind Attacks to take them down quickly.
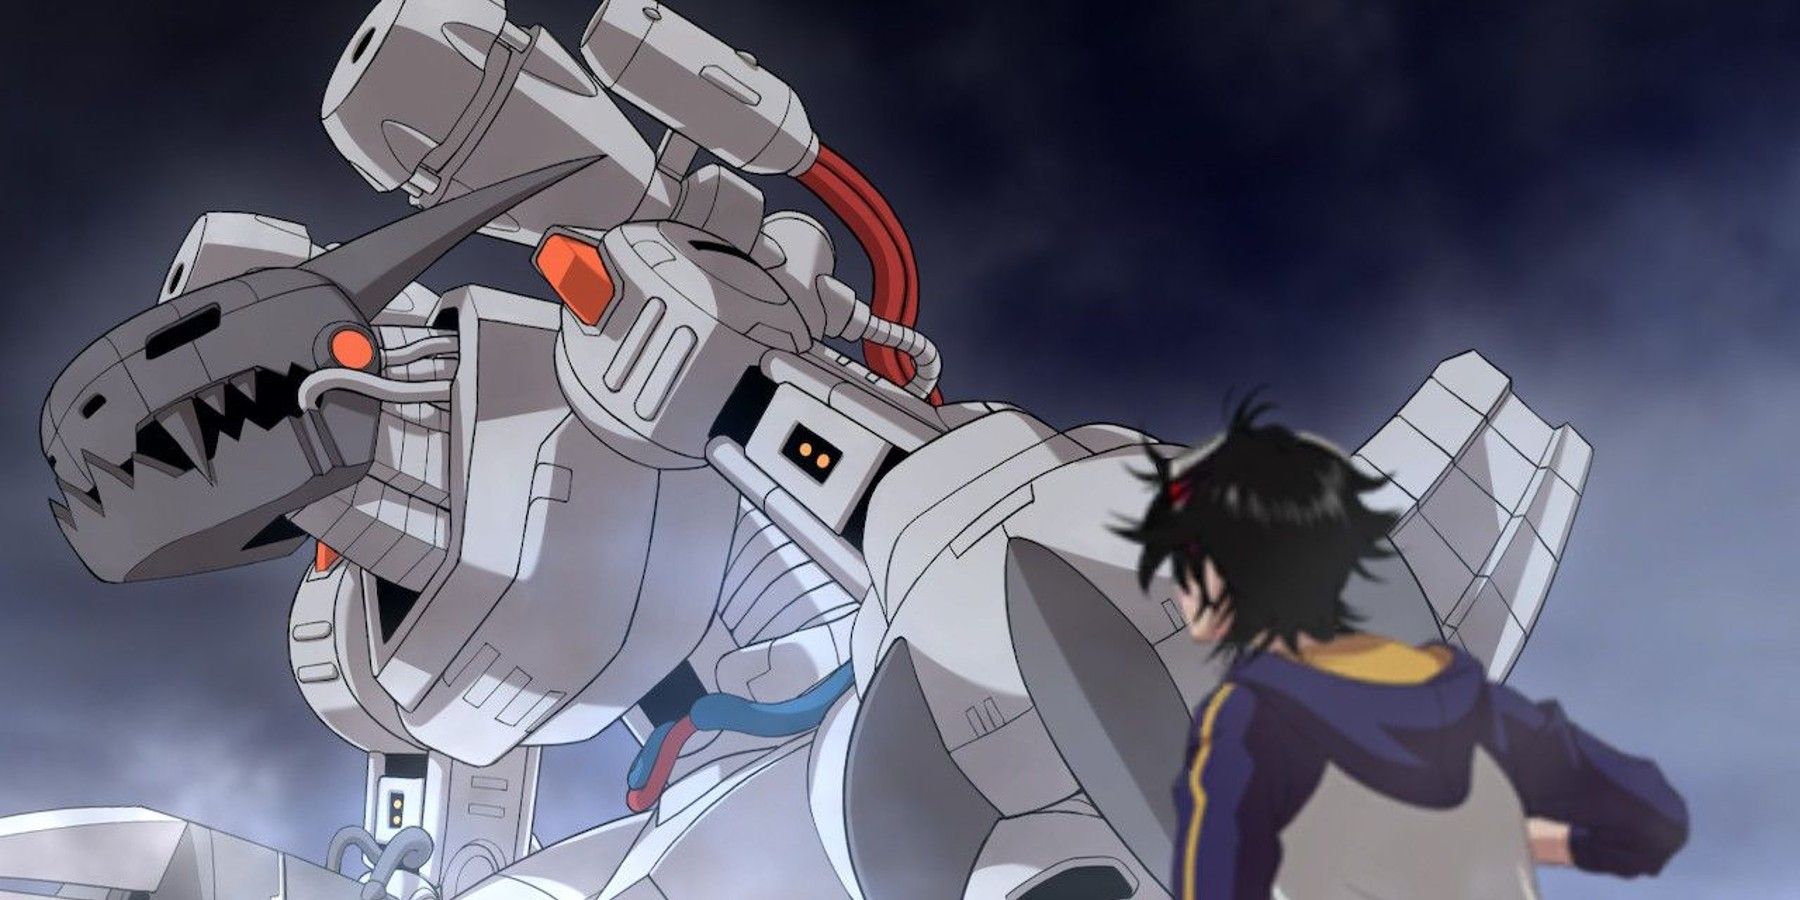
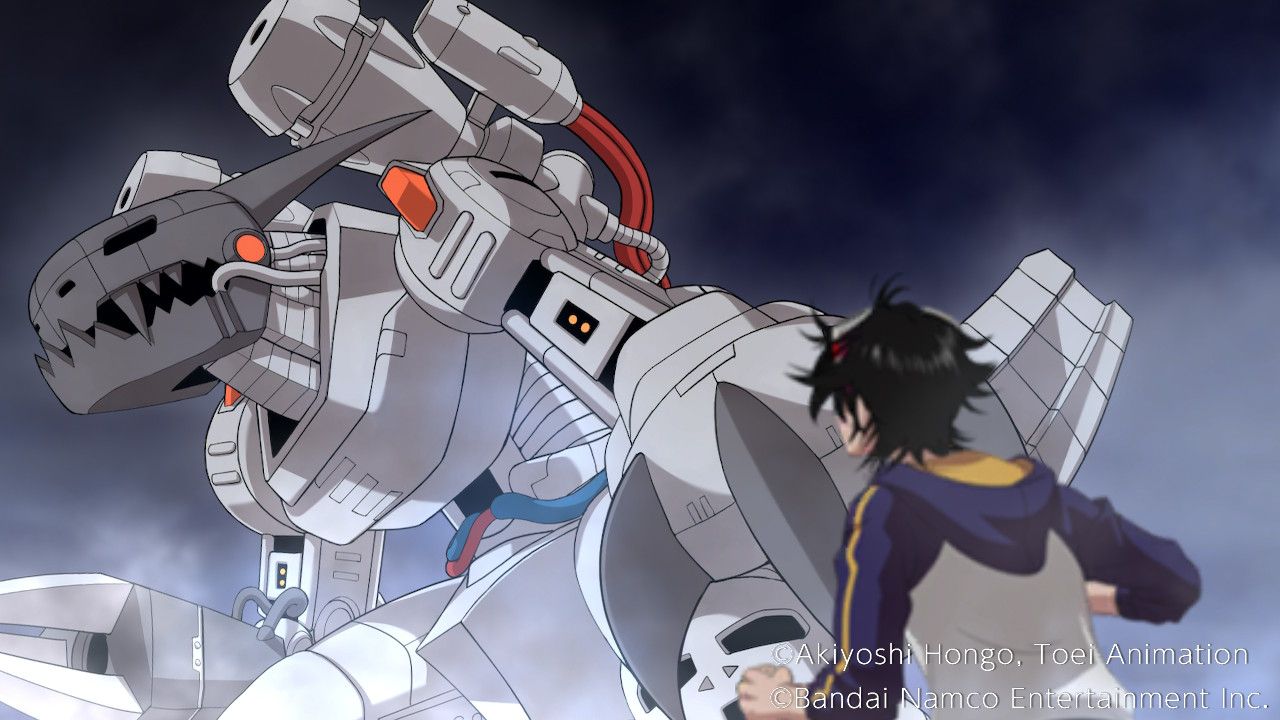
The loss condition here is Agumon dying, so prioritise keeping him alive, though that's unlikely to be an issue after turn 1. After the first turn a scene will play, and Takuma will gain fresh resolve, leading to Agumon's long awaited mega evolution. Machinedramon joins the fray, ready to blast the Kenzoku away.
He's a Mega level Special Digimon with fantastic Special Attack, along with excellent Special Defence and good Physical Attack and Physical Defence. He's weak to light, wind, and water, but greatly resists dark and fire. His passive Skill "Unlimited Power" raises the damage dealt by dark attacks by two ranks, and also raises his physical attack and restores SP whenever he defeats an enemy. His "Infinity Cannon" is a long range AOE blast that deals excellent damage.
Blast the Chest on this map open to get a Perfect Enlightenment Slab, and use Machinedramon's power to clean up the Kenzoku and end the fight. The reinforcements that show up are weak to wind.
The Darkest Hour
Unfortunately, a surviving Kenzoku spots Saki, and makes one last effort to eliminate one of the group, dragging her into the fog. Despite the group's best efforts, Saki is devoured by the fog, and Floramon fades away with her. The group retreats reluctantly, dragging a distraught Aoi with them.
Digimon Survive is available for PS4, PC, Xbox One, and Nintendo Switch.
