Digimon Survive's tenth part on the Wrathful Route continues from the bitter loss of Saki in the previous chapter, showing us a glimpse of the Master speaking with a familiar face, who comes to the table with a chilling offer.
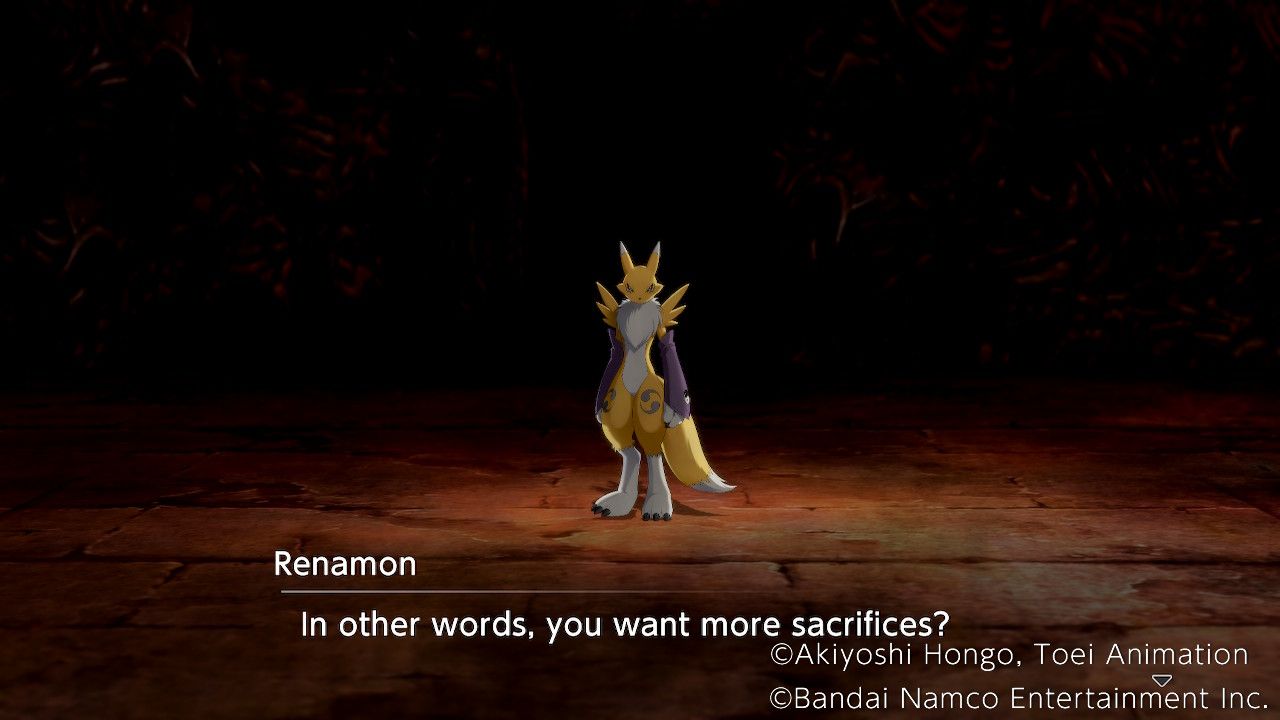
In this part of Digimon Survive, we open with Renamon offering to bring the Master sacrifices in exchange for Miyuki, an offer they consider for a moment. The Master agrees to give up Miyuki once its wish is fulfilled, as long as Renamon serves them.
Comparing Digimon Survive and Digimon Story: Cyber Sleuth
The Digimon franchise can use lessons learned from the releases of Digimon Survive and Cyber Sleuth to improve any future installments.
Introduction
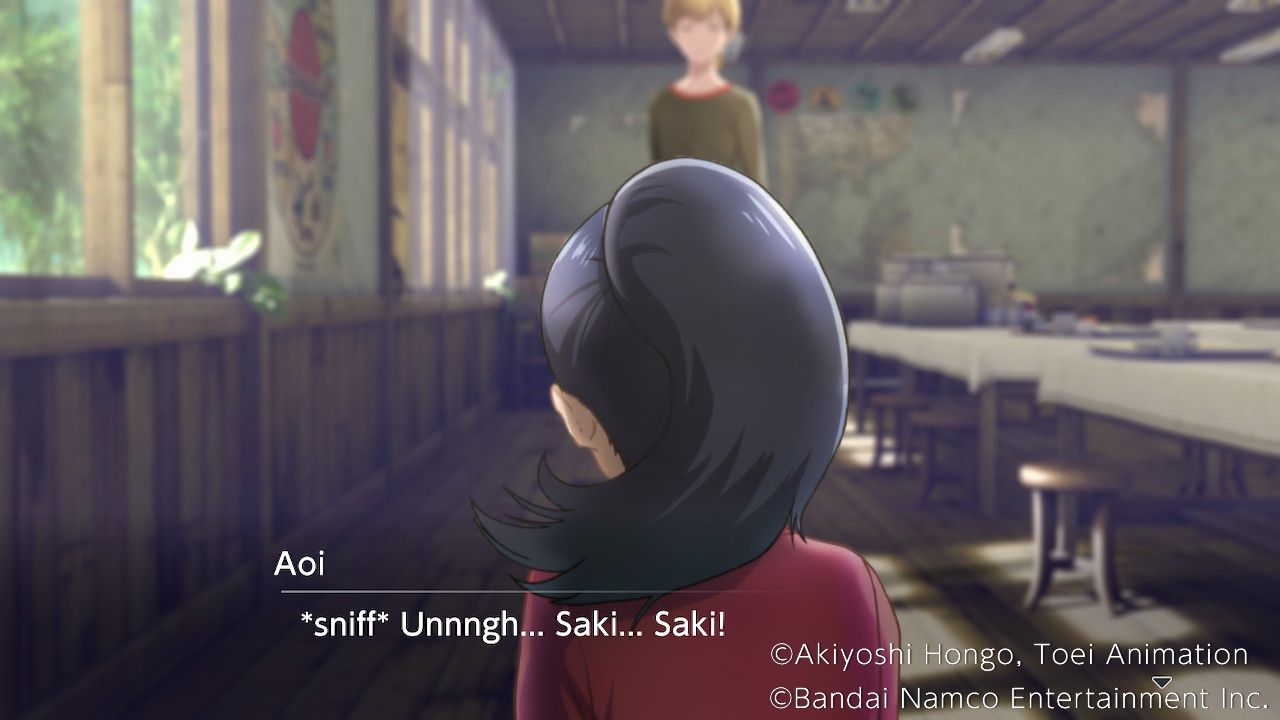
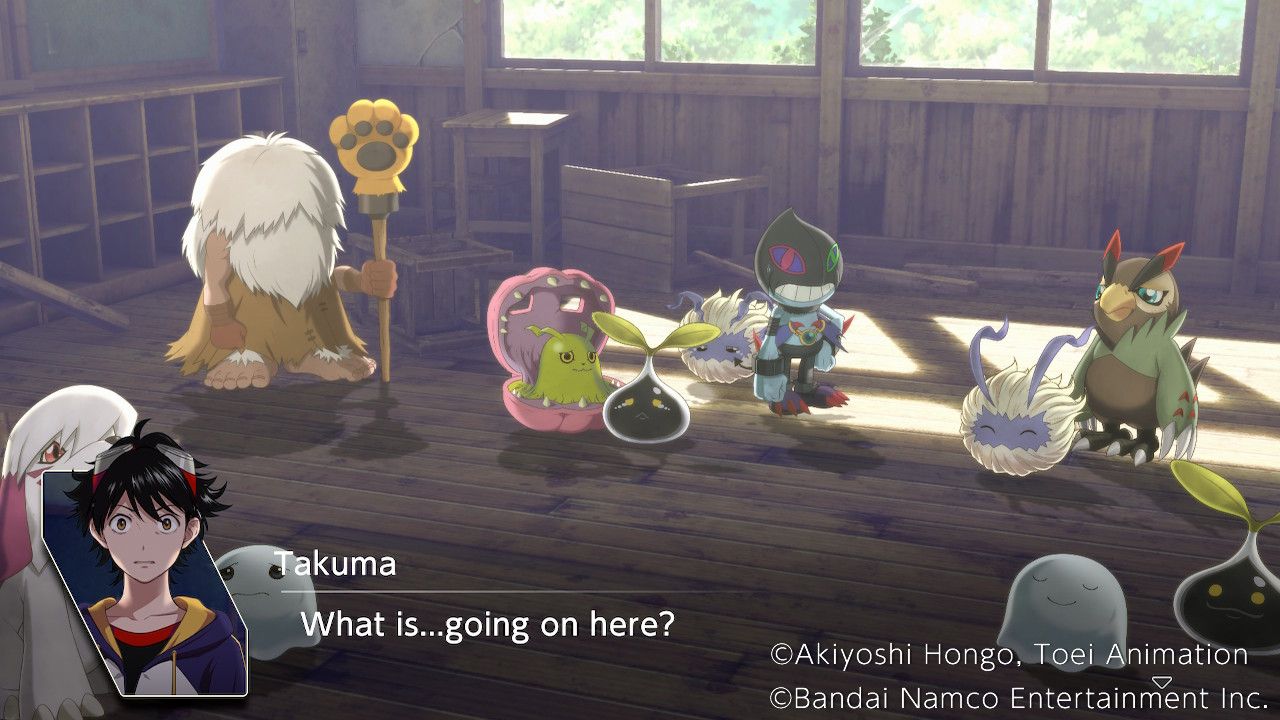
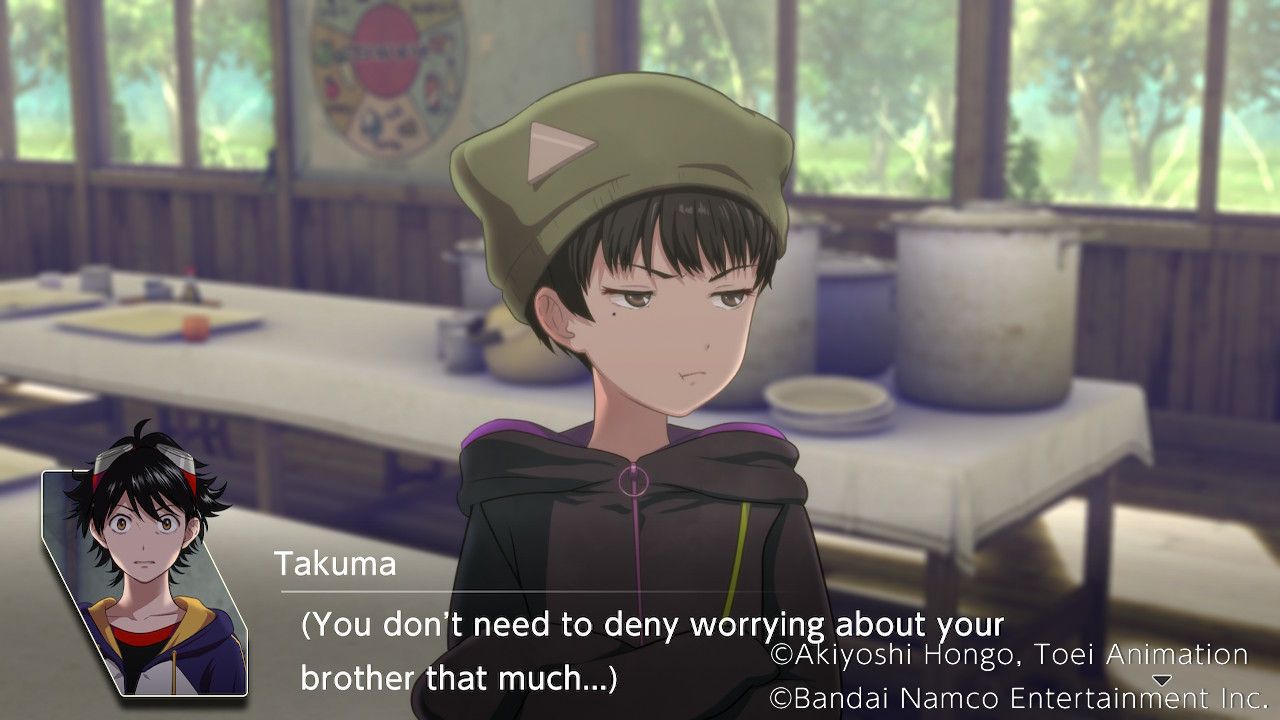
Players are now shown that Takuma and the others have brought the survivors from the Amusement Park to the School, where Agumon is struggling to take care of them all. Aoi is taking the loss of Saki particularly hard and doesn't respond to anyone. Takuma's rousing speech gets the others out of their funk, but unfortunately, Aoi takes it badly and leaves to stretch her legs.
The ensuing conversation between her and Takuma reveals that she blames herself for Saki's death and Takuma is offered a dialog choice.
We're all to blame. | Moral +1 |
It's not your fault. | Harmony +1 |
Saki won't come back. | Wrathful +1 |
Regardless of Takuma's choice, the game now progresses to Free Action.
Free Action
During this Free Action players have 7 moves to spend.
Free Battle
The School Area Free Battle offers opportunities to fight Marinedevimon, Arukenimon, Dokugumon, Diatrymon, and Crowmon. The Forest Area offers chances to fight Garudamon, Bluemeramon, and Etemon.
Old School
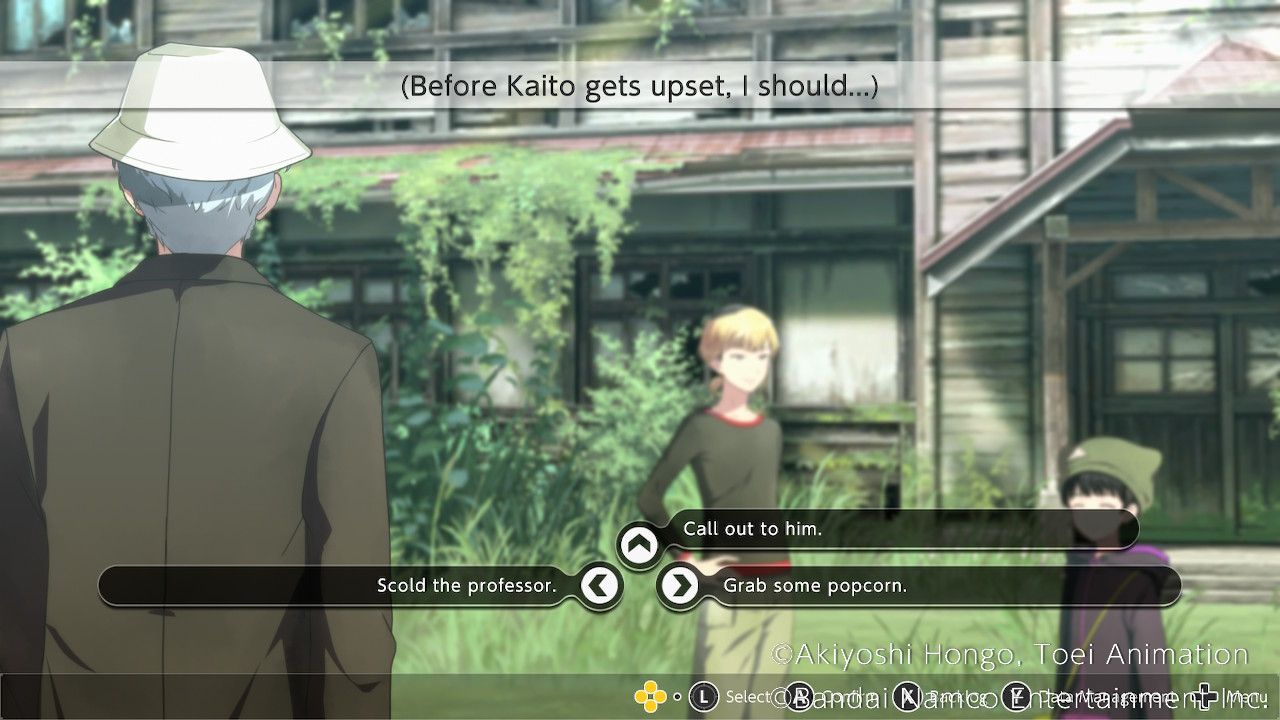
Kaito can be found here, and Miu will show up once he's spoken to, seeming understandably upset and worried. Kaito reaffirms that he'll protect her, and she thanks him for trying to cheer her up. Before long the Professor appears too, and Takuma worries that Kaito will get angry if he sees the Professor watching them, so Takuma has to make a decision.
Scold the professor. | Kaito Affinity Up! |
Grab some popcorn. | No Effect. |
Call out to him. | No Effect. |
Corridor
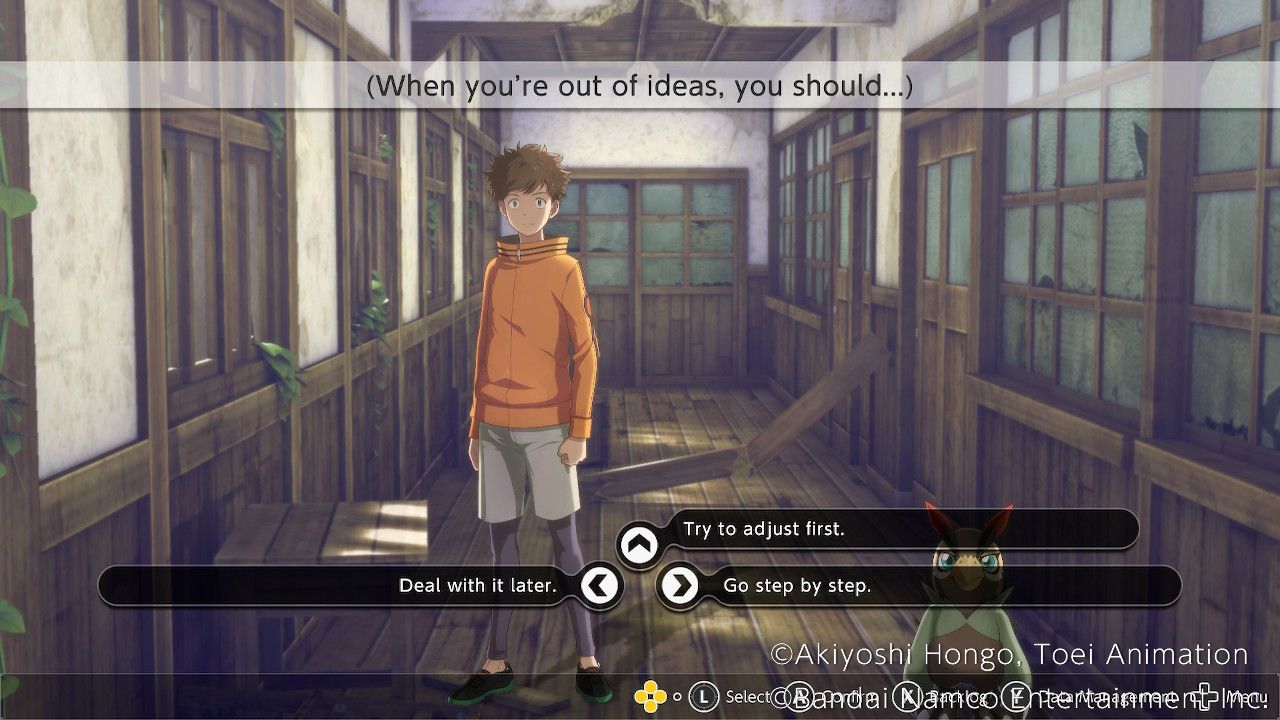
Minoru and Falcomon are here. Minoru is having trouble sorting his thoughts and pushing forward, given recent events. Falcomon asks Takuma and Agumon their opinion.
Deal with it later. | No Effect. |
Try to adjust first. | No Effect. |
Go step by step. | Minoru Affinity Up! |
Cafeteria
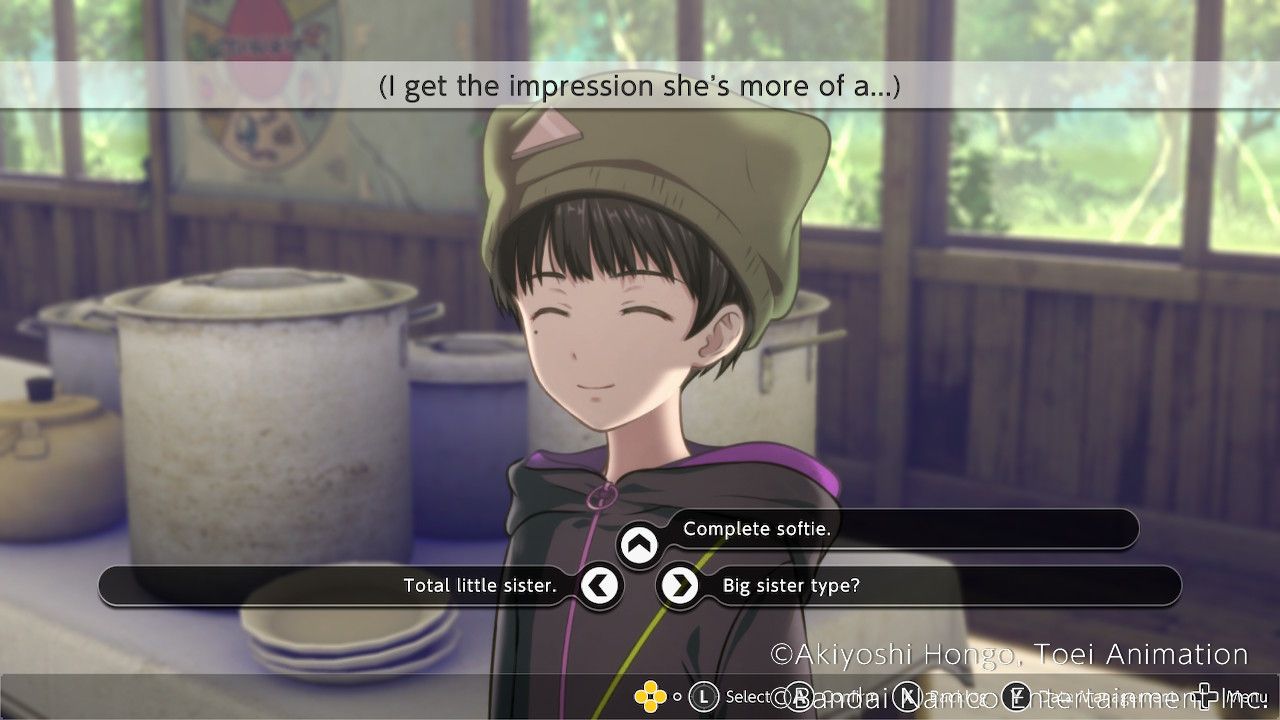
Miu, Syakomon, and Agumon can be found here. Speaking to Miu shows she's taking good care of the kids from the Amusement Park, though she's a little embarrassed that Takuma saw her at first, and Syakomon says she's like a Big Sister.
Total little sister. | No Effect. |
Big sister type? | No Effect. |
Complete softie. | Miu Affinity Up! |
Speaking to Agumon has him ask what is most important to Takuma.
My friends? | Moral +1 |
World peace? | Harmony +1 |
My own life? | Wrathful +1 |
Agumon also gives Takuma a Vexing Alacrity Crystal after this conversation.
Gym
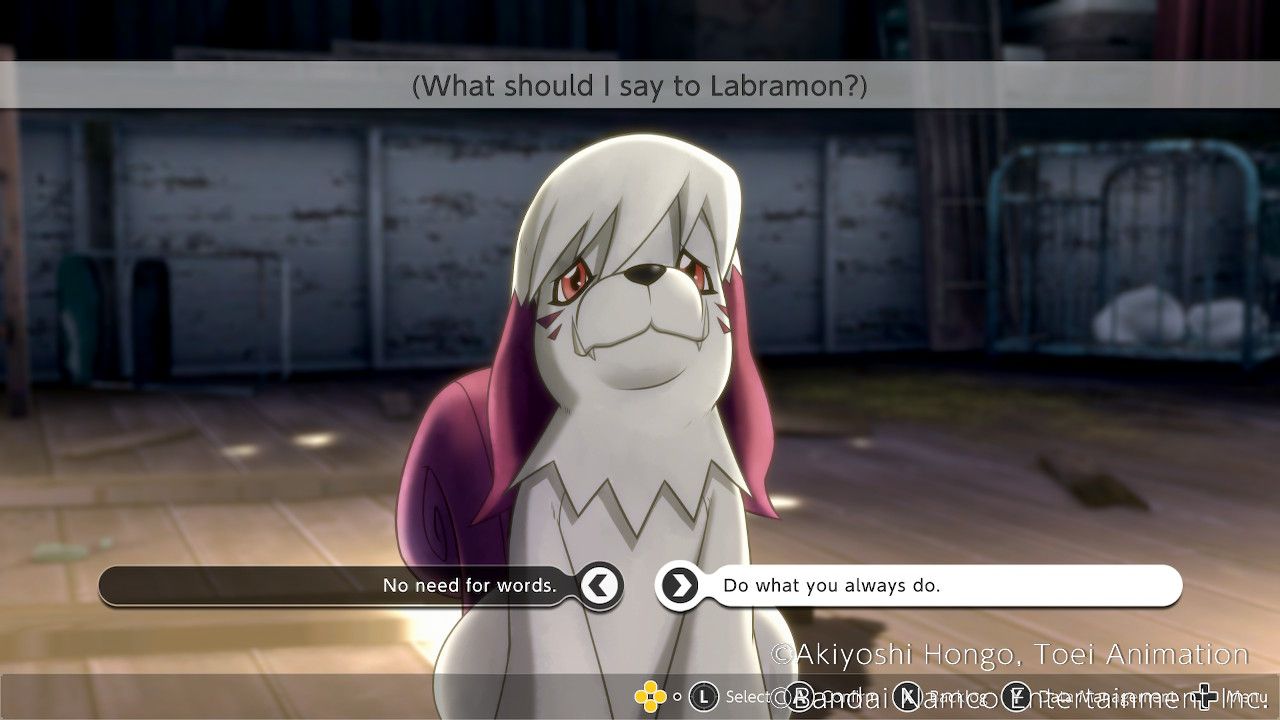
Labramon is alone at the Gym, worried that she isn't being useful to Aoi and trying to think of a way to help her.
No need for words. | Aoi Affinity Up! |
Do what you always do. | No Effect. |
Cafeteria 2
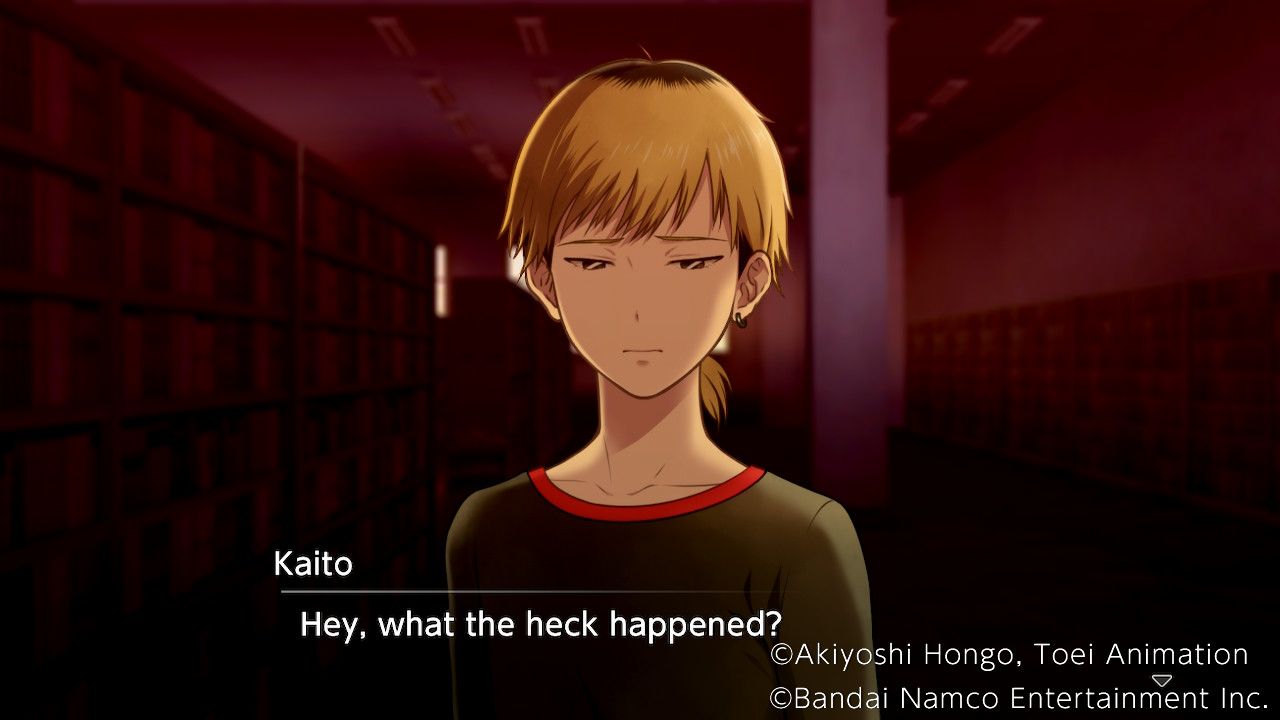
After using up four moves players will have no choice but to head to the Cafeteria, where Aoi and Kaito can be found. Kaito tries to comfort her and reminds her that it was Saki who let go of Aoi's hand, not the other way around. Aoi refuses to believe it, and Kaito keeps trying to get her to understand, though ultimately she falls apart.
Classroom
Minoru can be found here with Falcomon and the kids from the Amusement Park. He's been taking notes from Miu on how to take care of them and Agumon wants to listen in as he tells them a story.
I'll pass for now. | No Effect. |
No kid stuff for me. | No Effect. |
Why not listen a bit? | Minoru Affinity Up! |
Cafeteria 3
Miu and Syakomon are in the Cafeteria again, where Miu is definitely not worried about Kaito, not a chance.
I hope he behaves. | No Effect. |
No need to be shy. | No Effect. |
Anyone would worry. | Miu Affinity Up! |
Woods By School
Agumon and the Professor are both here. Speaking to Agumon doesn't cost an Action and will reveal something in the grass, which players can then select to find Tentomon, Gomamon, and Palmon. Head to the Shrine, Inner Shrine Ext, or Spider Lily Forest to continue this plot thread. Talking to the Professor doesn't cost an action either, but doesn't reveal anything new.
Shrine
Speak to Agumon here after speaking to him at the Woods By School to find Tentomon. Say "We Don't Want to Fight" to trigger a fight anyway and battle an Okuwamon, Dinobeemon, Tentomon, and Megakabuterimon. There's a chest on this map that contains a Fine Anti-Wind Crystal. Say "Don't be scared." to recruit Tentomon and avoid the fight entirely.
Inner Shrine Ext.
Speak to Agumon here to encounter absolutely nothing and waste an Action.
Spider Lily Forest
Speak to Agumon here to find Gomamon. "Put on a tough act" to anger him and trigger a fight with Mermaimon, Zudomon, Gomamon, and Megaseadramon. The chest here contains a Fine Anti-Light Crystal. "Speak with Kindness" allows players to instead recruit Gomamon.
Woods By Shrine
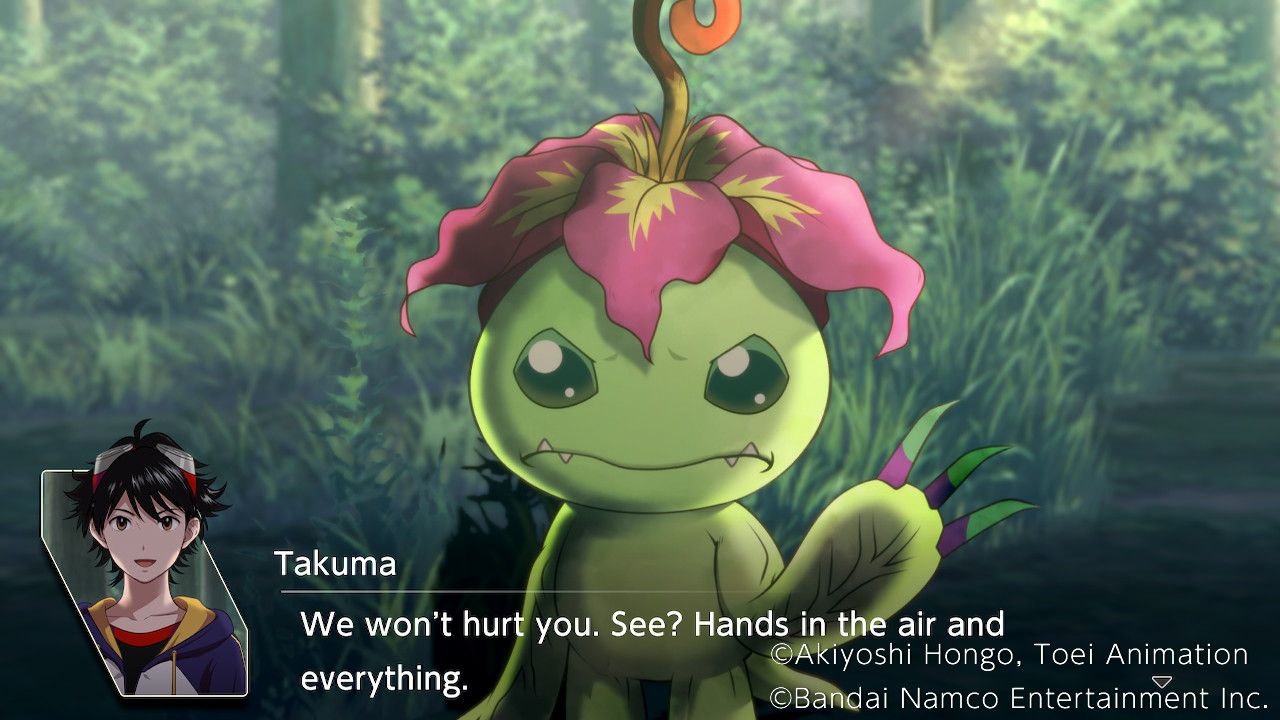
Speak to Agumon here to find Palmon. "Drive it Off" to fight Blossomon, Deramon, Palmon, and Lilymon. A chest containing a Fine Potency Crystal can be found here. "Wave a white flag" to recruit Palmon and avoid starting a fight.
6 Awesome Things You Didn’t Know You Could Do In Digimon Survive
Digimon Survive features a ton of secrets to uncover and additional features to make use of.
The Story Continues
We rejoin the Professor and learn that he has found a new building deep within the forest that surrounds the school. Meanwhile, Aoi wanders the woods as Kaito and Labramon follow silently. Saki's death hit hard, and Aoi is clearly not doing well, but before Aoi can get her thoughts off her chest Haru appears in the distance. Aoi chases him deeper into the woods, determined to save someone this time, and Kaito runs back to the School to tell the others what is going on.
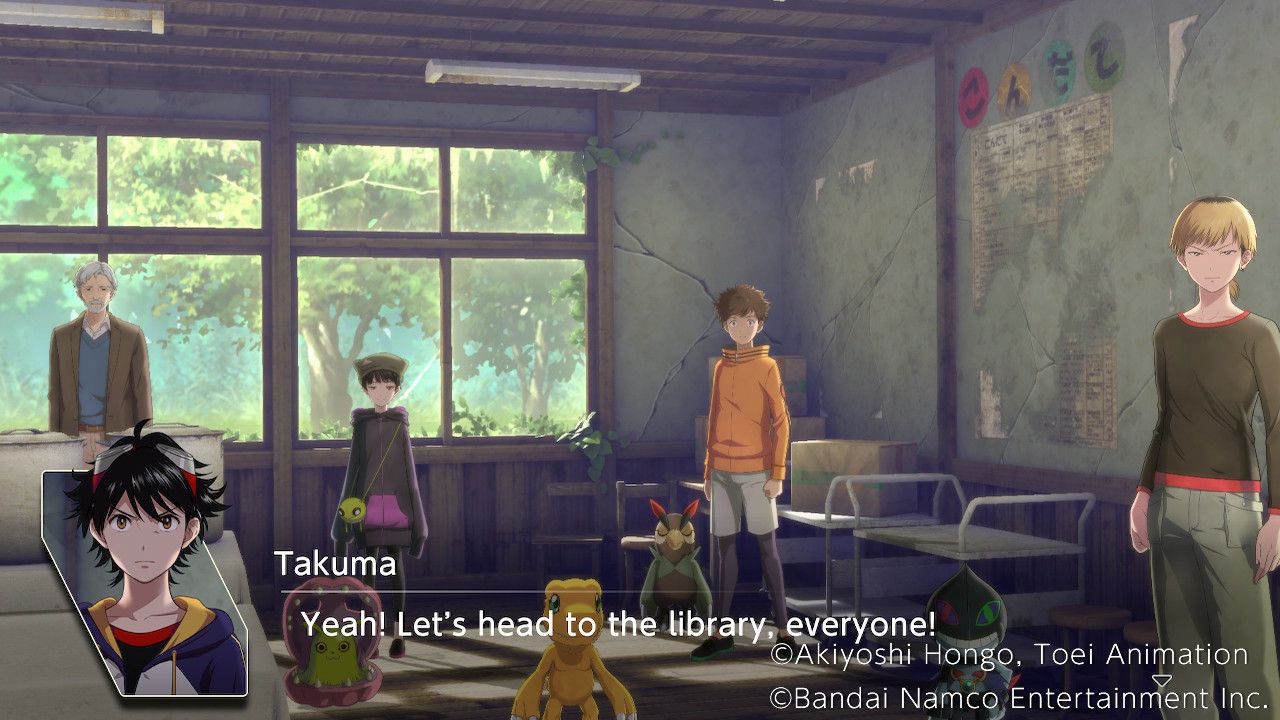
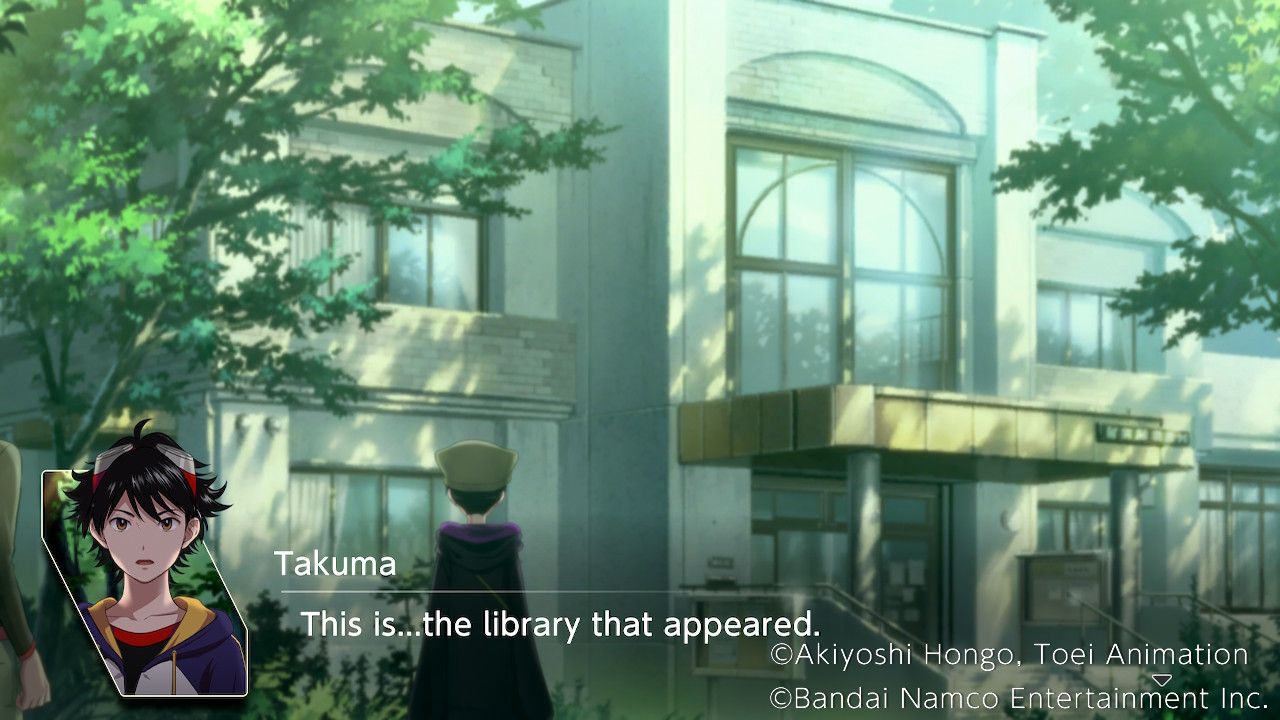
Arriving at the Cafeteria, Kaito explains what happened and tells the group where Aoi went, causing the Professor to note that they were headed in the same direction as the new building he found: a library. The possibility of this being a trap is brought up, but there's little choice but to head for the library regardless:
"Explore the Library." | Moral +1 |
"Save Aoi and Labramon." | Harmony +1 |
"Chase after Haru." | Wrath +1 |
Aoi arrives at the Library, noting that it looks identical to the one back in our hometown. She rushes in, desperate to save Haru, with Labramon hot on her heels. Saki suddenly appears in the library, telling Aoi how much she wanted to live and asking why Aoi didn't save her. She asks Aoi to follow her, saying it isn't fair that only Aoi was able to survive. Aoi steps towards her as the scene changes, while Labramon begs Aoi not to fall for this trap.
Back with the group, they encounter Renamon and learn that they strongly dislike the Professor. Renamon plans to sacrifice the entire group to the Master in exchange for Miyuki, blaming their arrival for Miyuki's capture. The Kenzoku arrive, called by Renamon, and a battle begins.
Battle: Kyubimon and the Kenzoku
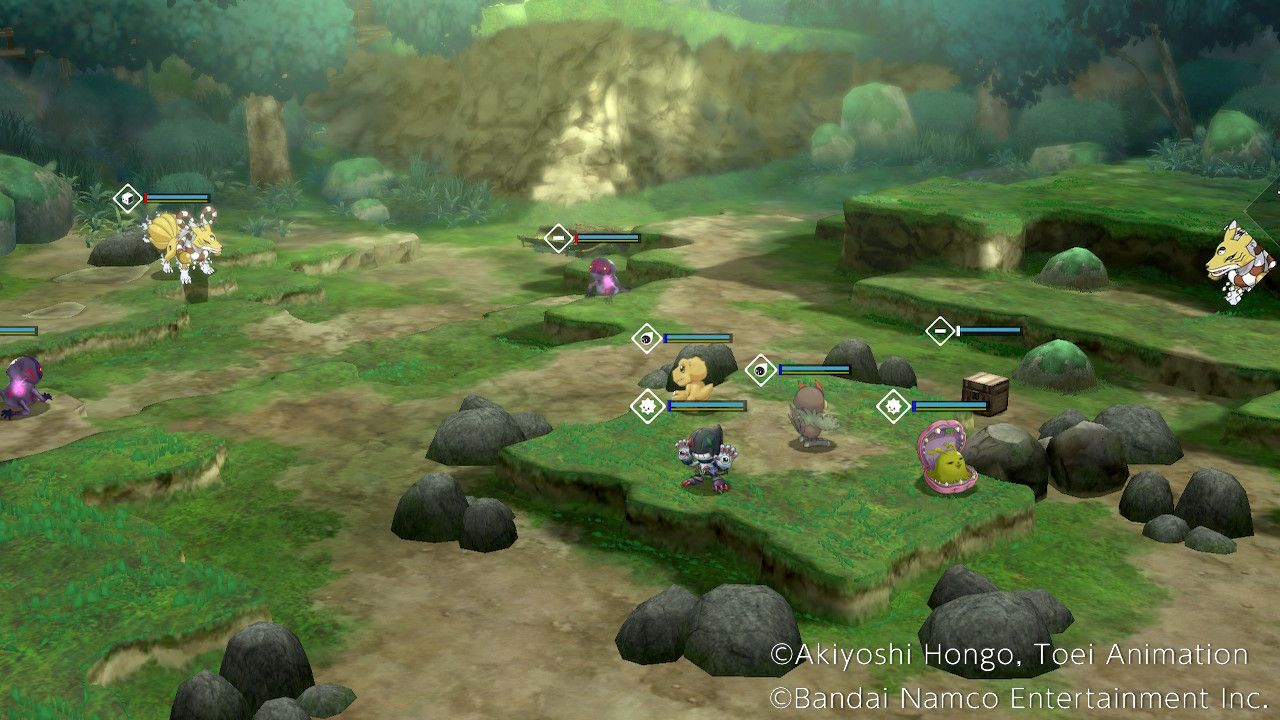
The Kenzoku in this area are level 43 Champions with excellent all-round stats. Their lowest stats are SPD and PHYS DEF, so players should use physical attacks to damage them. They are resistant to fire and water but weak to earth and their passive skill "World Stagnation" gives them a chance to break their target's guard when attacking. Their basic attack deals physical water damage, and they can use the special attack "Azure Coagulation" to hit a target within 3 spaces with water damage and potentially freeze them.
The big threat on this map is Kyubimon, a level 40 Champion with incredibly high SP ATK and no weaknesses. The only element Kyubimon doesn't resist is Dark, so Kaito and Dracmon should take point here. Kyubimon's basic attack deals Special Fire Damage, while her Dragon Wheel can hit any foe within 3 spaces for a lot of special fire damage while sometimes reducing their PHYS DEF and SP DEF by two ranks.
The chest next to the party's deployment point contains an Acceleration Charge accessory, while the chest below Kyubimon's starting position contains Hell Crusher. Sending Falcomon to grab it after evolving to Crowmon for better mobility is a good call here, though players should be careful of Kyubimon and the huge amounts of damage they can deal.
Evolving Agumon into Machinedramon and blasting Kyubimon with Infinity Cannon is probably the best way of dealing damage to them since they are weak to Dark. Kaito and Dracmon are another guaranteed source of Dark Damage at this point in the game, and should definitely be deployed during this battle.
Reaching the Library - Exploration
Renamon insists that only they should be the one to save Miyuki, no matter what, and then tells the group to "Be ready to Atone for your Sins" before leaving for the library. This begins an exploration phase.
Free Battle
Free Battles in th chapter allow players to face off against Bluemeramon, Garudamon, Andromon, and Etemon.
Library
Entering the Library area, the Professor will note that it appears to be new and undamaged, a notable difference from all other buildings found up to this point.
Reception
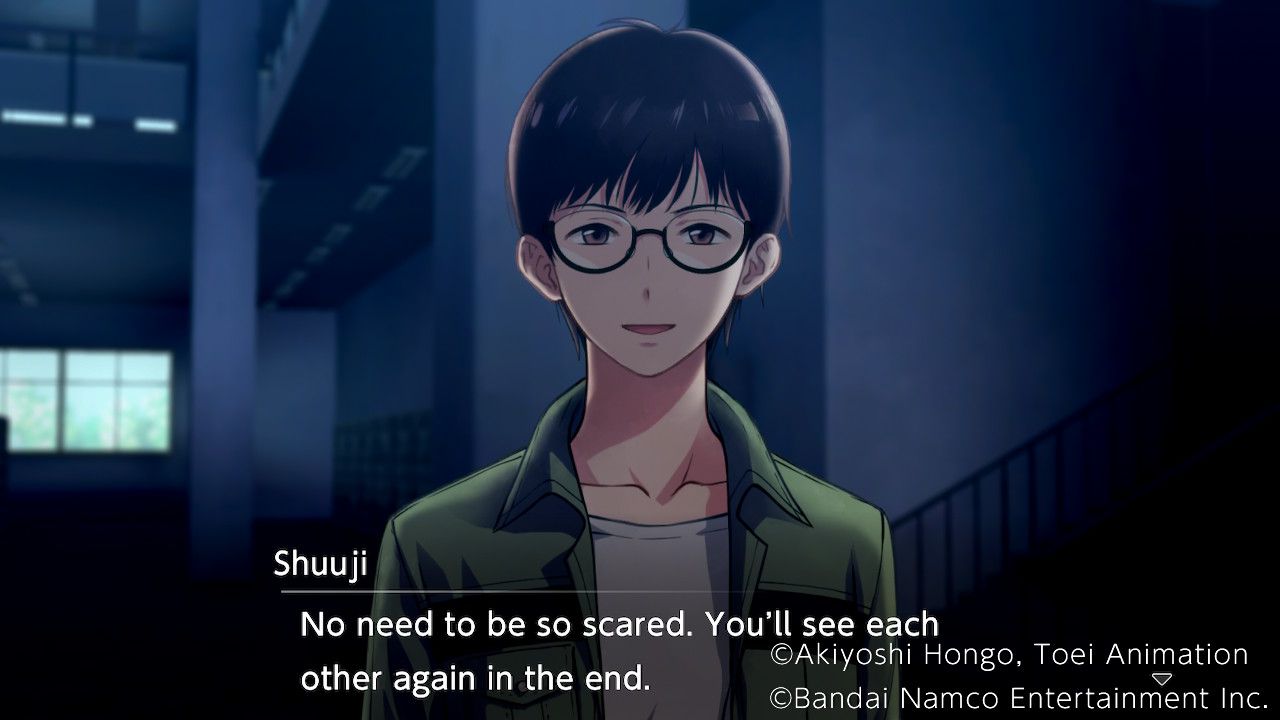
In the reception area, the group encounters Shuuji and Ryo, who claim that they died because the group abandoned them and that the group should give up on living and walk into the fog. The others have mysteriously vanished, and the words of Shuuji and Ryo seem to cast a spell over Takuma, but Agumon is able to snap him out of it. Unfortunately, the group is still separated and the doors leading outside are still locked.
Inside the Library - Exploration
Now trapped inside the Library, it's time to find the others.
Free Battle
In this Free Battle spot players can face Numemon, Crowmon, Gigadramon, Fangmon, and Marinedevimon.
Reception
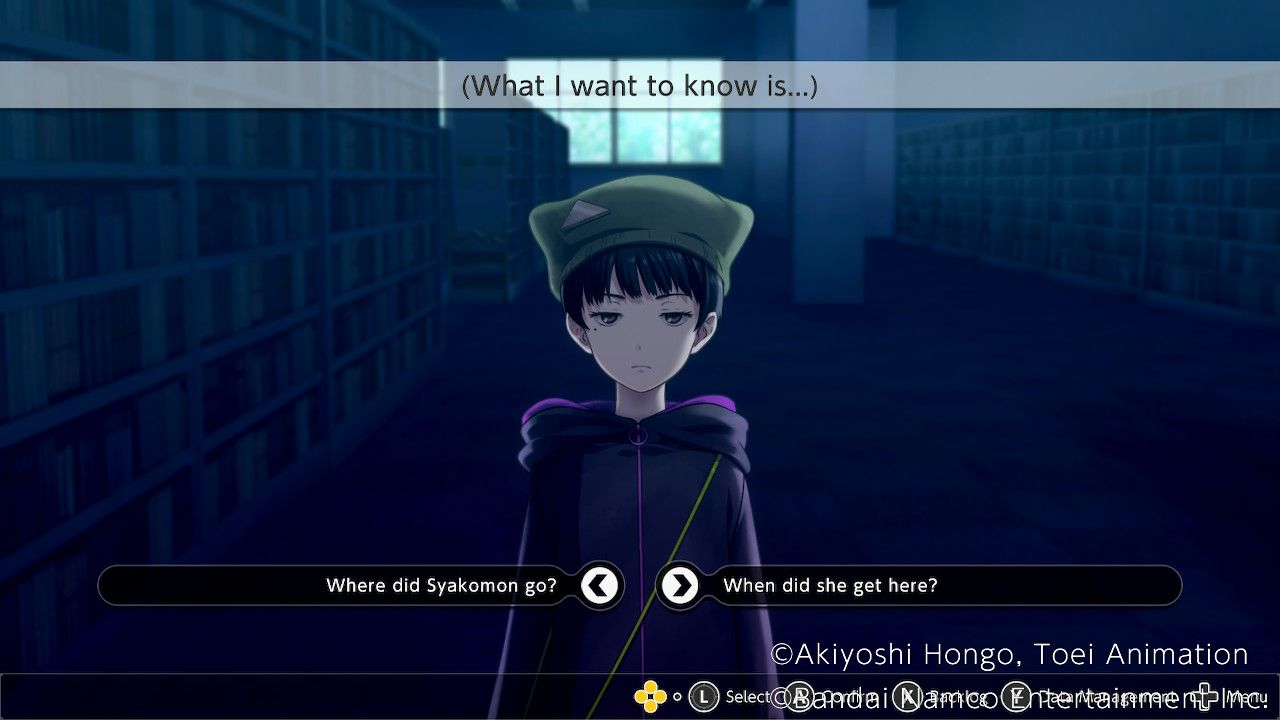
At the Reception Takuma can find Miu, Syakomon is missing and Takuma feels that something is off about this.
Where did Syakomon go? | "Miu" is revealed to be one of the Master's Monsters. |
When did she get here? | "Miu" is revealed to be one of the Master's Monsters. |
A fight then ensues with a lone Kenzoku. It is particularly vulnerable to light and highly resists dark, and will always break its target's guard when attacking. Players should head south from the deployment point and break open a chest, then take out the Kenzoku (with light element attacks if possible.) The chest contains a Fine Stamina Crystal.
After advancing towards the lone Kenzoku, two more enemies will appear. A 2nd Kenzoku that is vulnerable to fire and a 1st Class Kenzoku that is vulnerable to water. Eliminate them both to finish the fight. The real Miu is then located under the reception desk with Syakomon, unconscious. Once they wake up Takuma will continue searching for the others. Despite Miu saying they aren't ready to walk around yet, She and Syakomon are now available to use in battle again.
Bookshelves
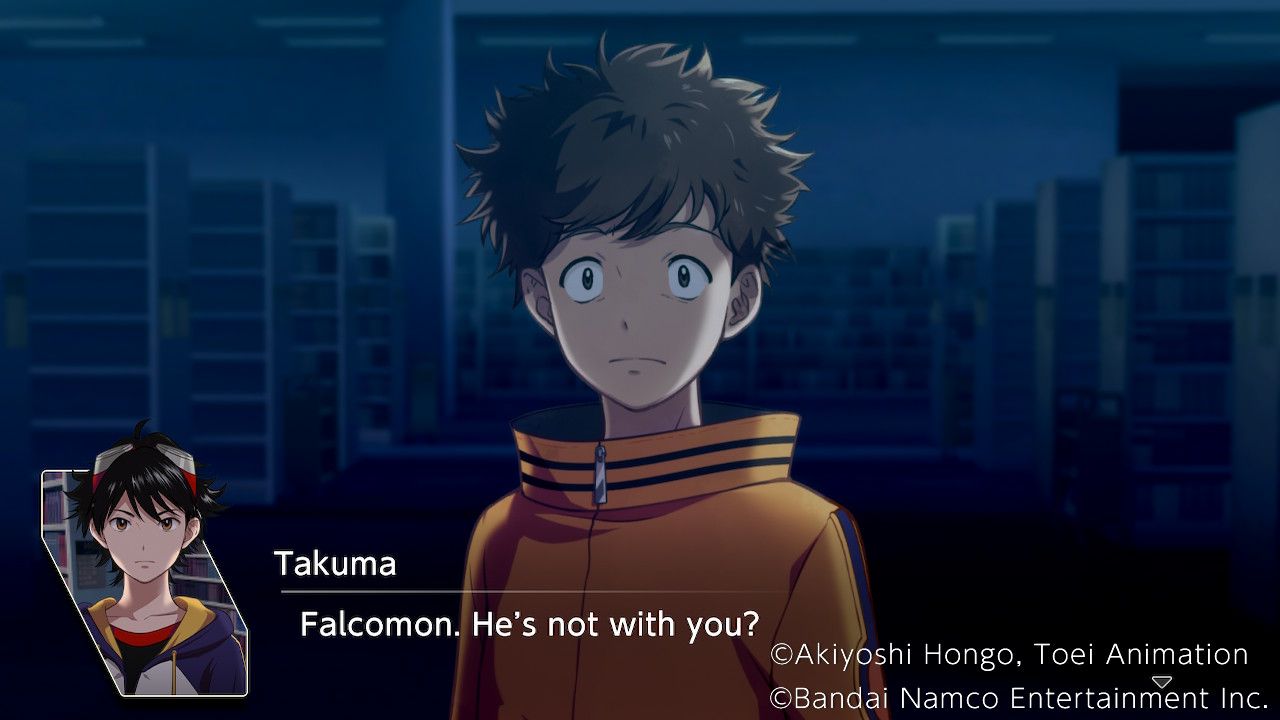
Arriving at the Bookshelves, Takuma will find Minoru standing alone. Minoru claims that Falcomon wandered off on his own, which doesn't sound right to Takuma. Takuma quickly concludes that this isn't the real Minoru, and sure enough, a fight starts. There's a chest right ahead of the deployment point and several Kenzoku to deal with. The 1st Class Kenzoku are vulnerable to light and resist dark, the 2nd Class Kenzoku are vulnerable to wind but resist earth and water, and the 3rd Class Kenzoku are extremely vulnerable to light but heavily resist dark.
Players should sprint for the chest and take out the Kenzoku that are guarding that area first. Bring in Digimon with light and wind attacks to handle the fight with ease. The chest contains a "Burst Flame" accessory.
With the fight over, Takuma finds the real Minoru and Falcomon behind a bookcase, and they are unlocked for use in battle again.
Far Bookshelves
In the Far Bookshelves area, Takuma can chat with Agumon about what to do next. After completing the Reception, Bookshelves, and Far Bookshelves events players will progress into the second part of the Library Exploration Phase.
Free Battle - Phase 2
After visiting all three locations once, the Free Battle will change to allow encounters with Dokugumon, Arukenimon, Garudamon, Cyclonemon, Deltamon, Etemon, and Dobermon.
Reception, Bookshelves, and Far Bookshelves - Second Visit
On a second visit to any location after visiting all three once, Takuma will find Kaito. Bathed in creepy red light, the whole area feels more sinister than ever. Kaito is acting strangely, as Takuma and Agumon note, resulting in a dialog choice:
"Who Cares," you say? | "Kaito" is revealed to be a fake. |
You trust the visions? | "Kaito" is revealed to be a fake. |
A fight with some Kenzoku then occurs. The 1st Class Kenzoku on this map are vulnerable to wind, the 2nd Class Kenzoku are weak to fire, and the 3rd Class Kenzoku are very weak to fire. The chest directly ahead in the middle of the map contains an Ultimate Enlightenment slab, so players should prioritize that if they want to have powerful allied Digimon. Take down the Kenzoku with wind and fire attacks to end the fight quickly.
With the fight over, Takuma and Agumon will find the real Kaito, making him and Dracmon playable in battle again.
Finding the Professor
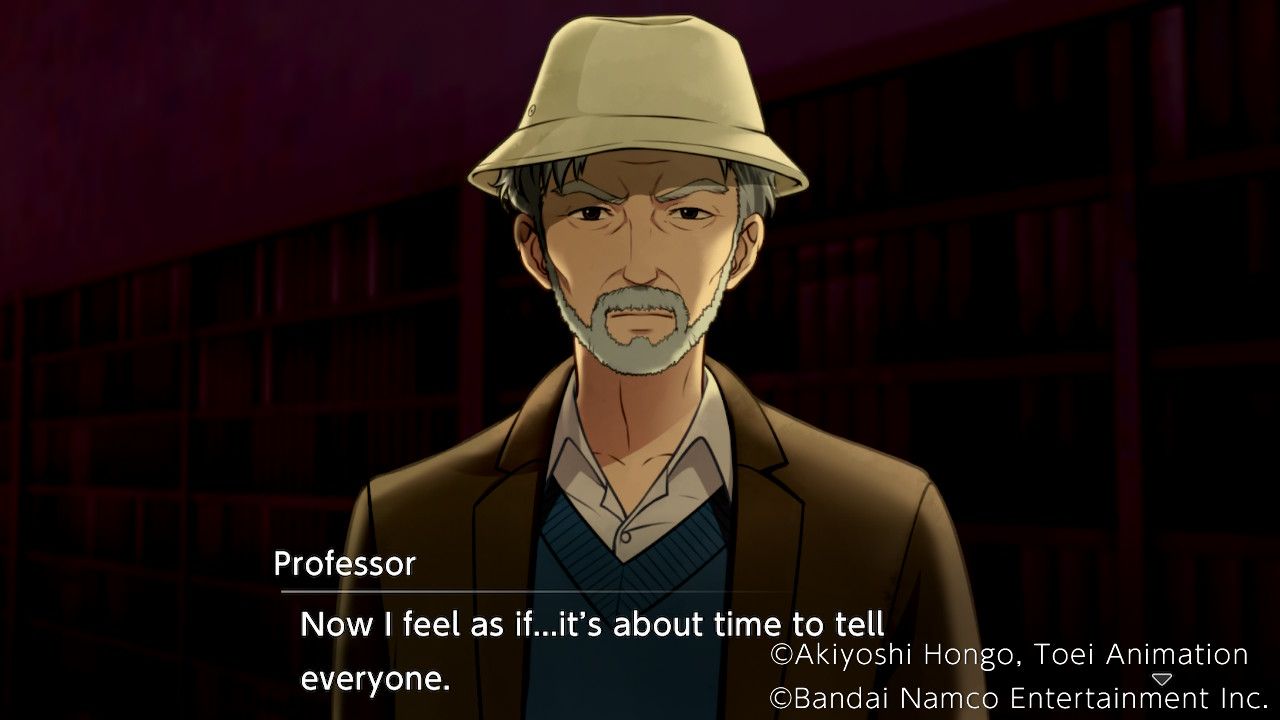
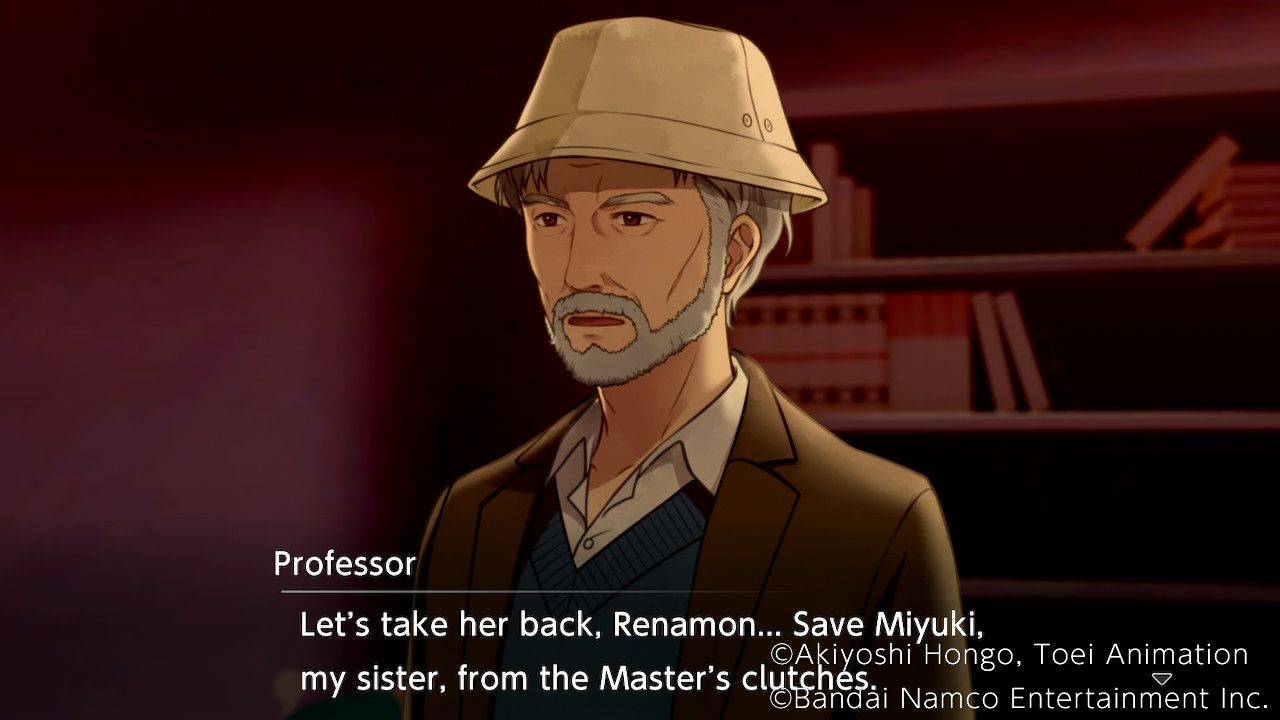
Return to any location after finding Kaito to trigger dialog with Agumon and find the Professor. He will then clarify once again that he is Miyuki's brother, Haru, despite how strange it sounds. Takuma will then consider whether telling the others about this right now is the right move:
Not right now. | Moral +1 |
Absolutely. | Harmony +1 |
No Way. | Wrathful +1 |
The Professor confirms that their memories have fully returned and returns to the Reception with Takuma, where Kaito and Dracmon have managed to find Aoi and Labramon. Renamon will then arrive and reveal their scheme to trade the group for Miyuki. In the process, Renamon confirms that Miyuki is her human partner. Renamon explains the events of Haru and Miyuki's visit to the otherworld and the reason for taking Haru's form.
Digimon Survive Should Be Another Subfranchise like World and Story
The Digimon franchise has several different video game series, and the latest title, Digimon Survive, should go on to become its own subfranchise.
Battle: Taomon and the Kenzoku
As the group affirms their resolve to live, Renamon begins another battle. Becoming Taomon, they are a particularly difficult foe here. They resist all elements but have the least resistance to light, and can use their Talisman of Light attack to deal dark damage and confuse their target. This, paired with their incredibly high SP ATK stat, makes them incredibly dangerous to approach unprepared.
Several varieties of Kenzoku appear in this fight, so players should make use of the stat viewing feature to check their individual weaknesses and resistances. Since the whole party is back together and players can also bring in three allied Digimon, the trick will be sending the right people to handle the right foes.
Players should begin by sending the other partner Digimon up to reach the chest on the right side of the room, while Agumon and the allied Digimon progress up the left side. Evolve as high as possible and strike the Kenzoku from the sides and from behind whenever possible. More Kenzoku will spawn as the group advances upward.
Players should avoid getting too close to Taomon until the whole group is ready to move in since Taomon can unleash incredible amounts of damage and is likely to take out anyone who gets too close if players attack unprepared.
Digimon Survive: 10 Choices That Will Cost You The Best Ending
To get the True Ending in Digimon Survive, players must maximize their affinity with Ryo. Avoid these mistakes that can lower his affinity.
Battle: Kenzoku Horde
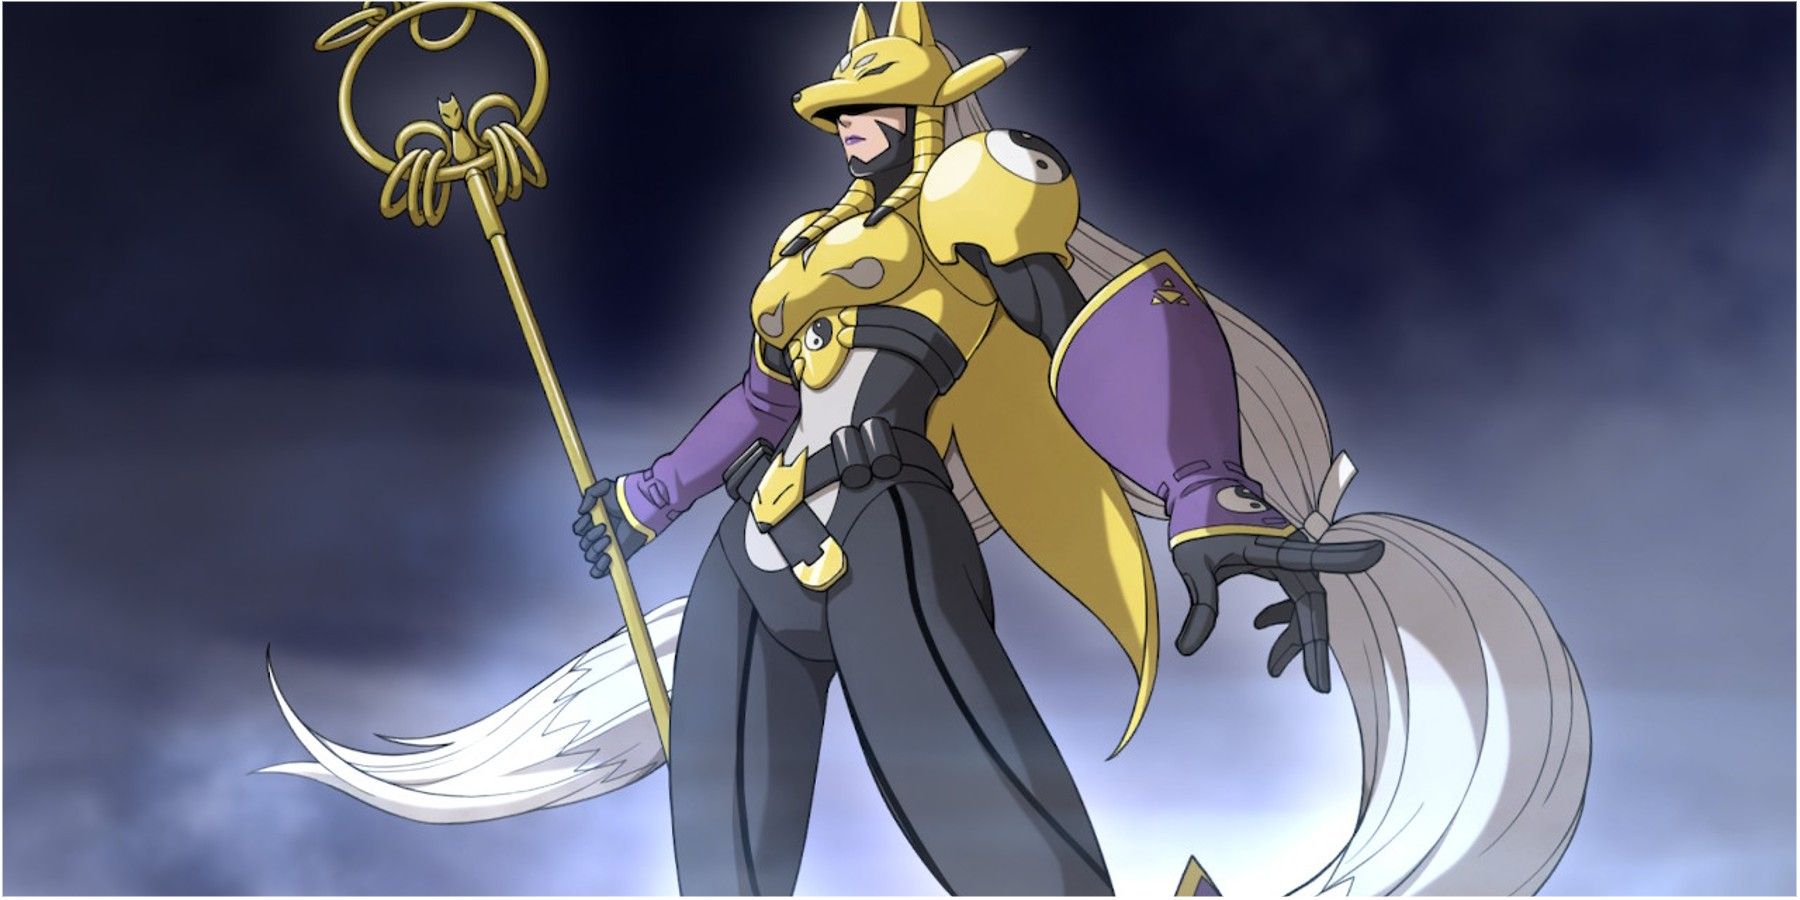
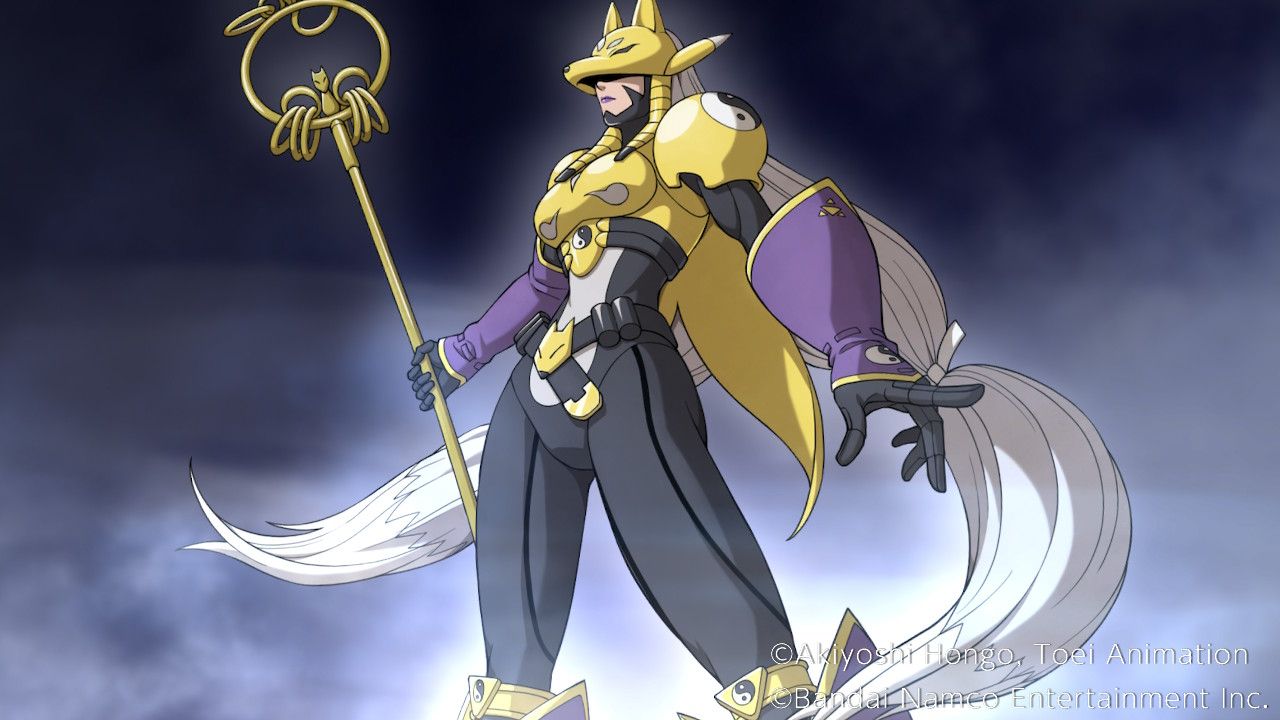
After beating Renamon, the Professor finally manages to get through to them and convince them to join forces with the group. Unfortunately, the Master chooses this moment to arrive and summon a horde of Kenzoku (Aoi appears to still be hallucinating and sees them as multiple Sakis). A new battle begins. Renamon manages to briefly reach Miyuki through the Master's possession, gaining the strength to evolve further. Sakuyamon joins the battle as a new allied Digimon and players are able to deploy Agumon alongside three other Digimon.
Several of the Kenzoku on this map are vulnerable to light damage, allowing players to use Sakuyamon's Amethyst Mandala to annihilate them. The few Kenzoku without a weakness to light are vulnerable to wind. The chest on the left a little ahead of the starting point contains a Panic Wisp accessory.
After reaching the top of the area three more Kenzoku will spawn, all of whom are vulnerable to earth damage. Wipe them out to finish the battle.
The Aftermath
Renamon reveals that the Master seeks to attack the Human World using Miyuki's power. After a stirring speech from Kaito, Miu, Minoru, Takuma, and the Professor, Renamon agrees to join the group and work together to rescue Miyuki. Unfortunately, Aoi has vanished in the confusion, likely still suffering the aftermath of Renamon's illusion attack. The Chapter ends with Aoi, lost and alone.
Digimon Survive is available for PS4, PS5, PC, Xbox One, Xbox Series X/S, and Nintendo Switch.
