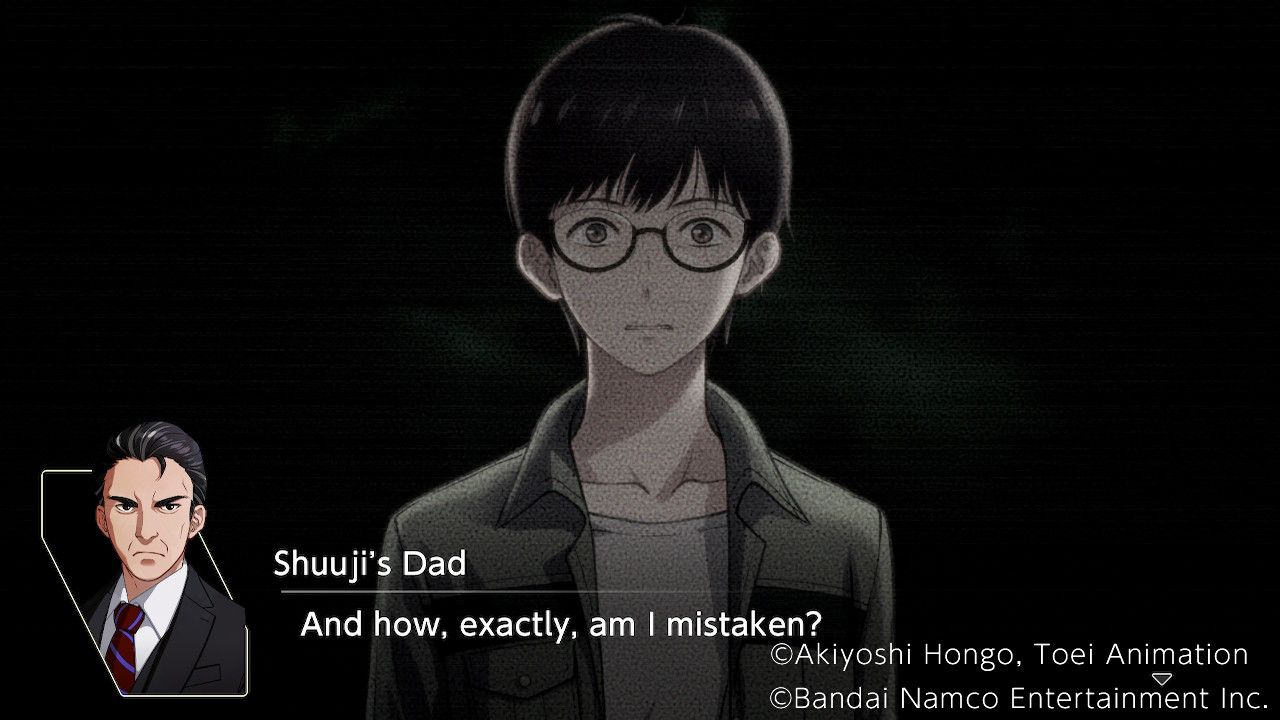
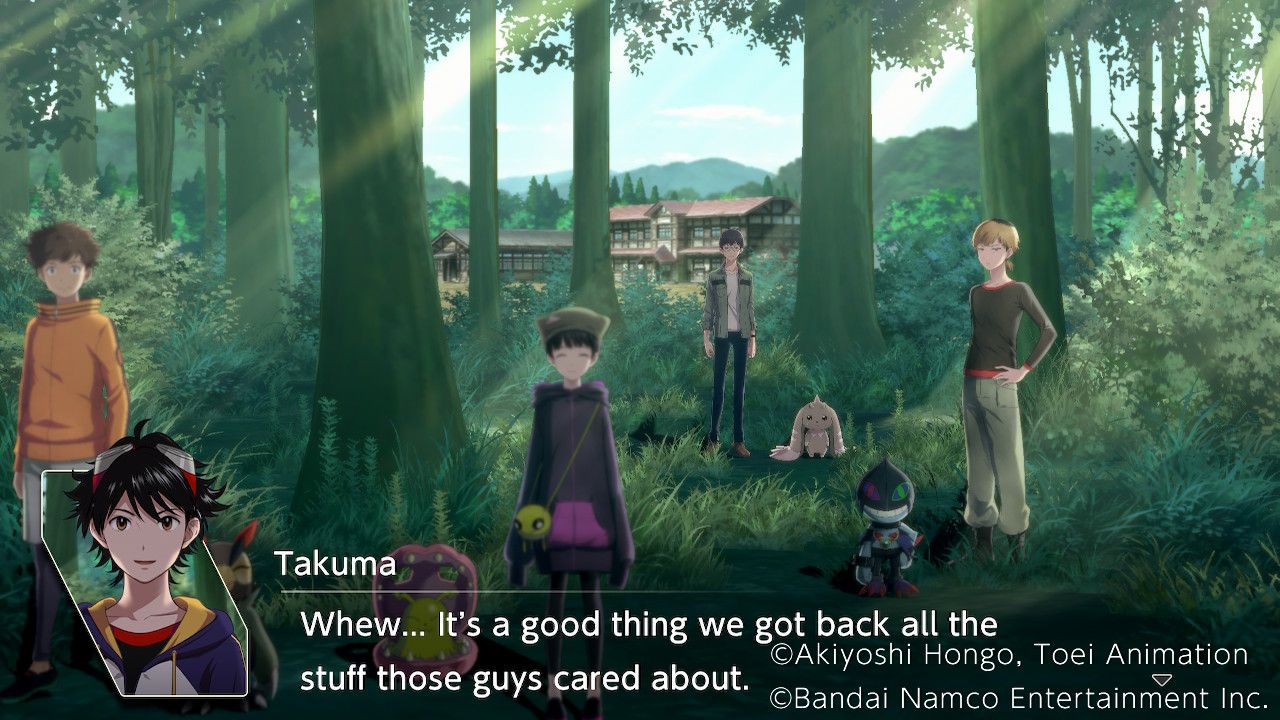
Digimon Survive's 5th Part explores some of Shuuji's background while also investigating the underground waterway that connects the two islands.
Digimon Survive Part 5 opens with a flashback/nightmare sequence of Shuuji interacting with his father. Seems he has some rather huge confidence issues, likely reinforced by his father's disdain for him and abandonment of him.
School - Opening
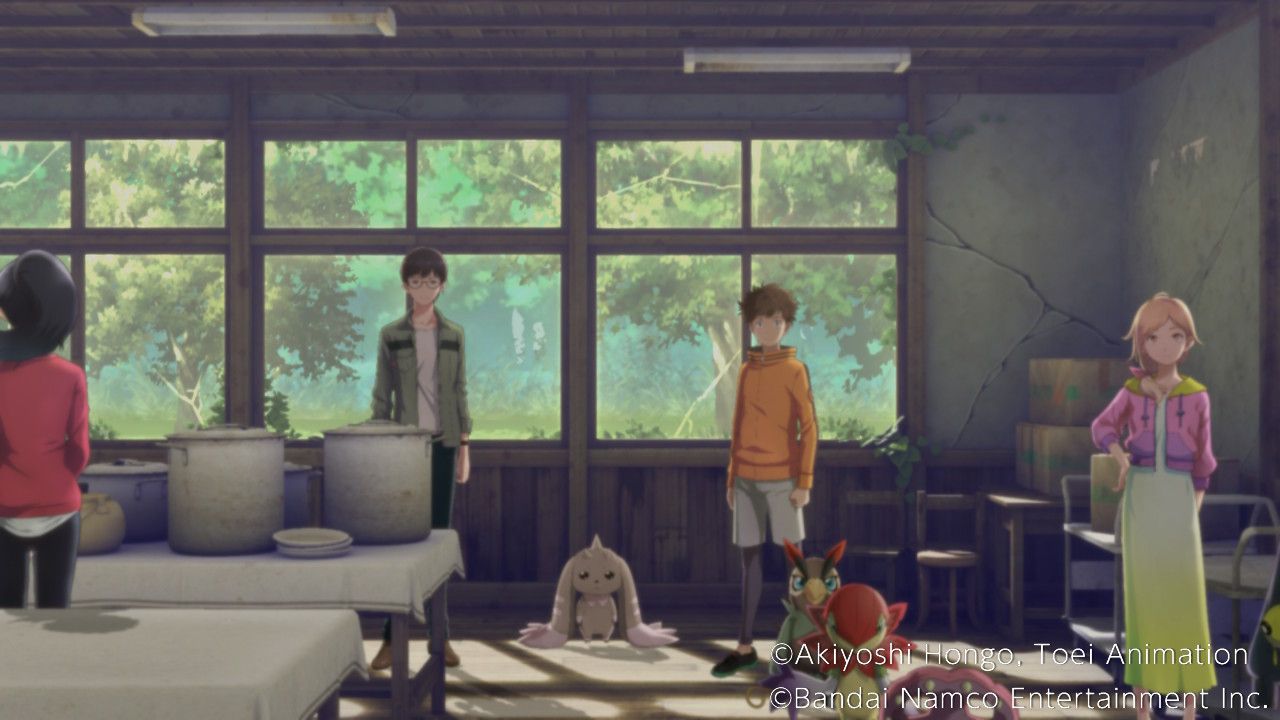
After Shuuji wakes, the game cuts to the group meeting in the Cafeteria, as per normal, to discuss their plans. Minoru reckons the best course of action is pursuing the kidnappers to question them about the boundary between worlds and the Caretaker, but opinions are understandably split when it comes to doing something that risky.
Think a bit more... | Moral +1 |
|---|---|
Look for another way. | Harmony +1 |
Enter the enemy base. | Wrathful +1 |
Shuuji seems to be losing it a little, which is disturbingly familiar.
School - Free Action
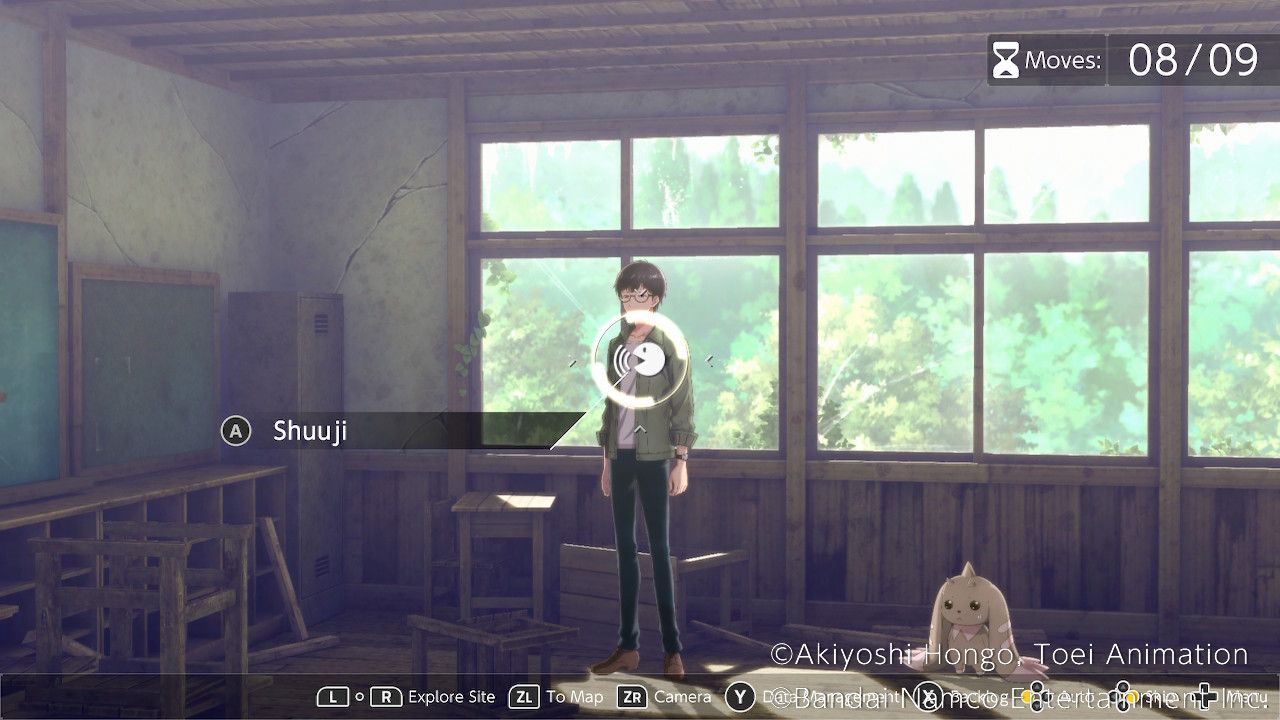
The game now shifts to the Free Action segment for the chapter, which gives players 9 moves to interact with the others and explore around the School and Woods areas.
Free Battle
The Free Battle in the School Area gives players access to Diatrymon, Deltamon, Gazimon, Fangmon, Betamon, Tuskmon, Gotsumon, and Dokugumon. Meanwhile, the Forest Area offers Deltamon, Tuskmon, Dokugumon, Numemon, Fangmon, and Diatrymon. These two Free Battles are excellent opportunities to recruit some powerful champions that may have been missed in earlier Parts of the game.
Old School
Miu and Syakomon can be found here, where speaking to Miu will present an opportunity to raise Takuma's affinity with her by playing along with her game.
Do it Syakomon! | No Effect. |
|---|---|
Yeah, let's cast it out! | Miu Affinity Up! |
Take Kaito's side. | No Effect. |
Players can speak with Miu a second time to learn that she's lost something and is looking for it. This costs an action but doesn't pay off until the end of this Free Action, where it will raise her affinity.
Corridor
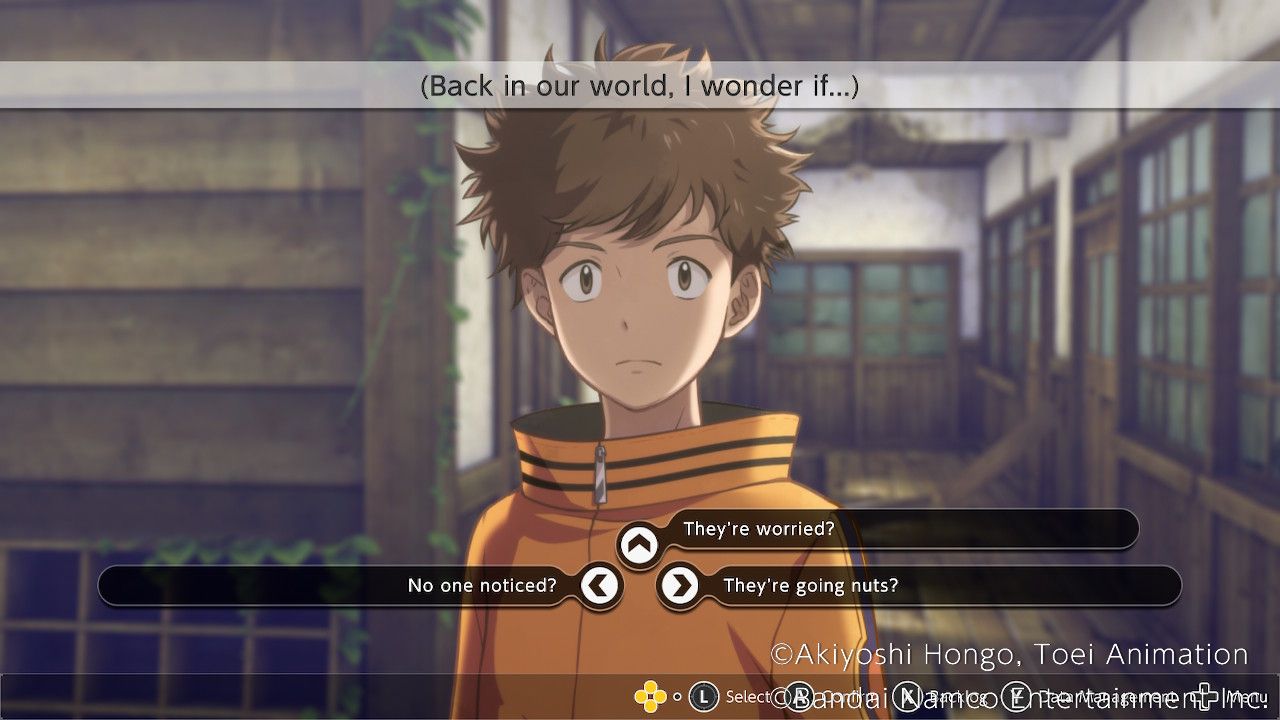
Minoru can be found in the corridor with Falcomon, where he's musing about the Kemonogami legends. Takuma will wonder what people are doing about the group's disappearance back in their world.
No one noticed? | No Effect. |
|---|---|
They're going nuts? | Minoru Affinity Up! |
They're worried? | No Effect. |
A second conversation with Minoru will cost another action and reveal that his socks have gone missing. Like with Miu above, this will pay off later with an affinity boost at the end of the Free Action.
Classroom
Shuuji and Lopmon are in the classroom. If a player comes to the classroom first without hearing about the missing items from anyone, Shuuji will be found worrying about what he should do and trying to come up with a plan.
Let me help, too. | Shuuji Affinity Up! |
|---|---|
That doesn't suit you. | No Effect. |
You do your best. | No Effect. |
If Takuma has already heard about missing items, Lopmon will let slip that Shuuji's wallet is missing too. This causes an affinity boost with Shuuji at the end of the Free Action.
Both conversations with Shuuji cost an action.
Music Room
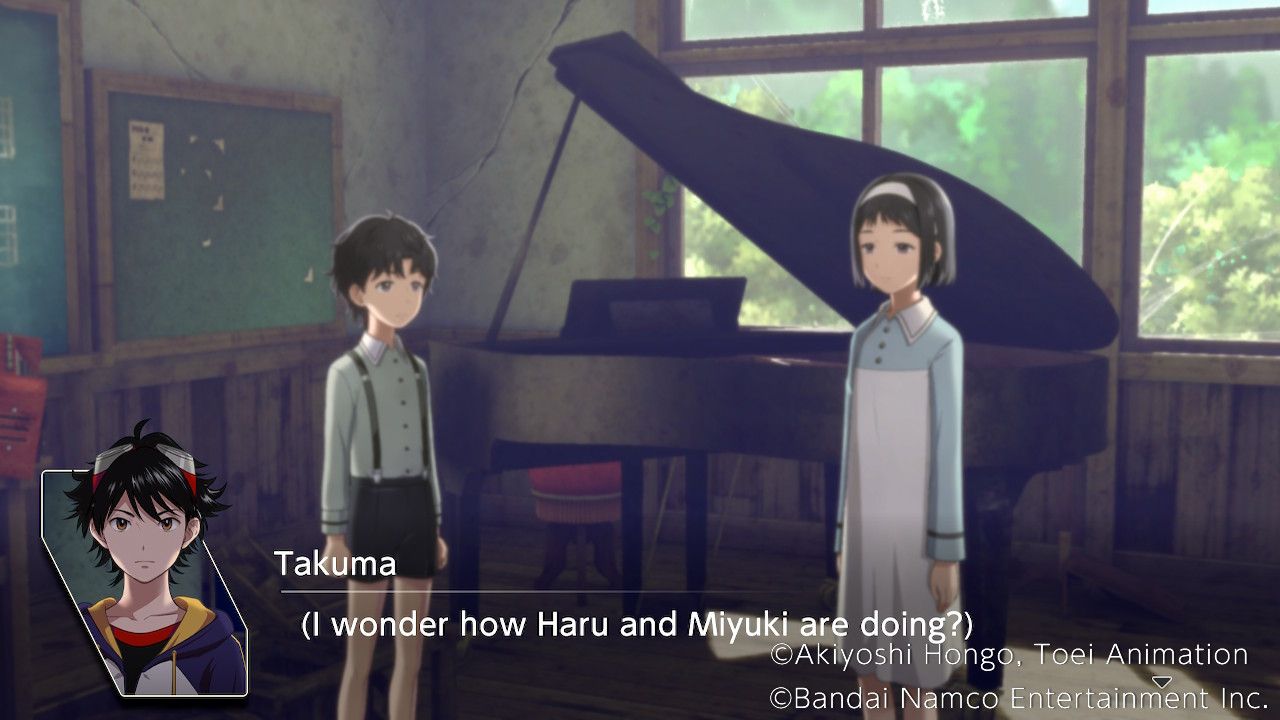
Haru and Miyuki can be found in the Music Room like usual, where speaking to Miyuki will cause Haru to mention he's seen the girls changing, and Takuma has the opportunity to comment on that to gain a karma stat.
Best not to think about it. | Moral +1 |
|---|---|
That's not cool! | Harmony +1 |
I'm jealous, Haru! | Wrathful +1 |
Haru also gives Takuma three Rib Party Sets, which can be used for restoring SP to multiple targets in a small area during battle. Speaking to Haru again won't cost an action and causes him to point out a monster in the hallway, though this doesn't actually trigger an event.
Faculty Room
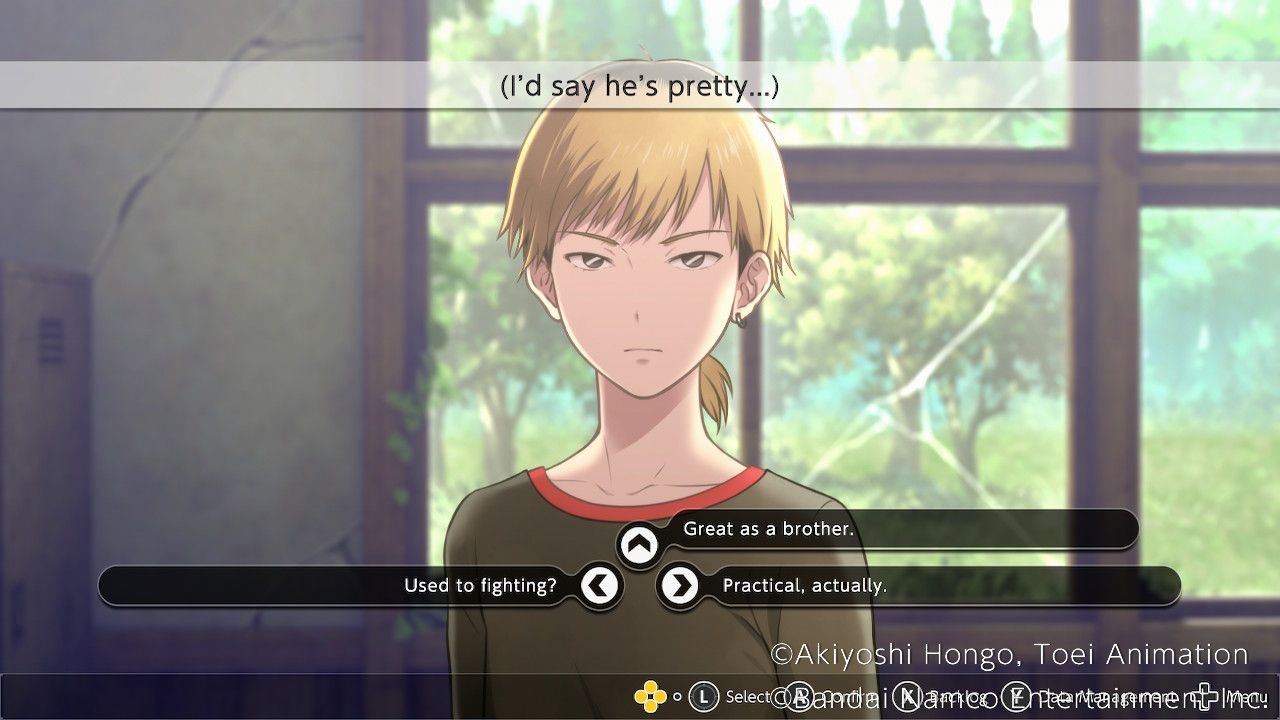
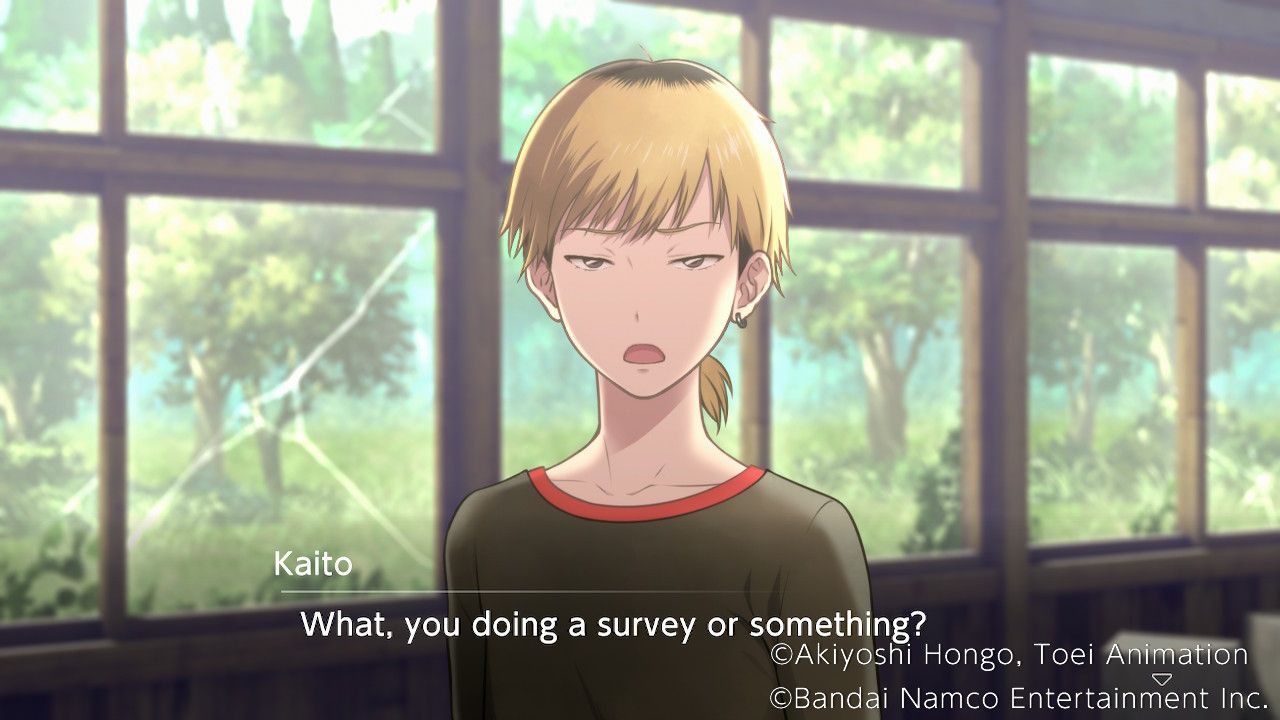
Kaito and Dracmon are together in the Faculty Room, where Takuma gets a chance to mention what he thinks of Kaito.
Used to fighting? | No Effect. |
|---|---|
Practical, actually. | No Effect. |
Great as a brother. | Kaito Affinity Up! |
Speak to Kaito a second time to learn that a can of food has gone missing. He's a little upset because it was Miu's favorite, and this conversation will give affinity with Kaito at the end of Free Action.
Cafeteria
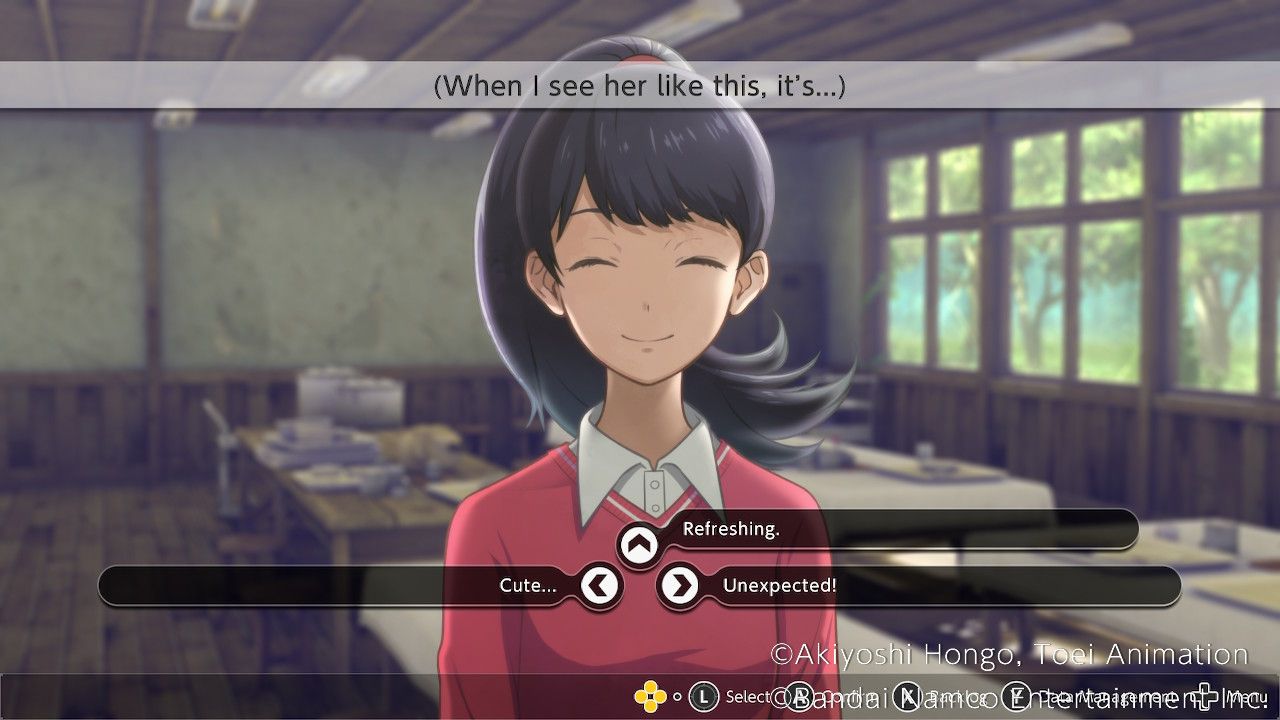
Aoi is found in the Cafeteria with Labramon. Speaking to her will cause her to comment on a ring she carries with her because it looks cute and cheers her up.
Cute... | Aoi Affinity Up! |
|---|---|
Unexpected! | No Effect. |
Refreshing. | No Effect. |
Gym
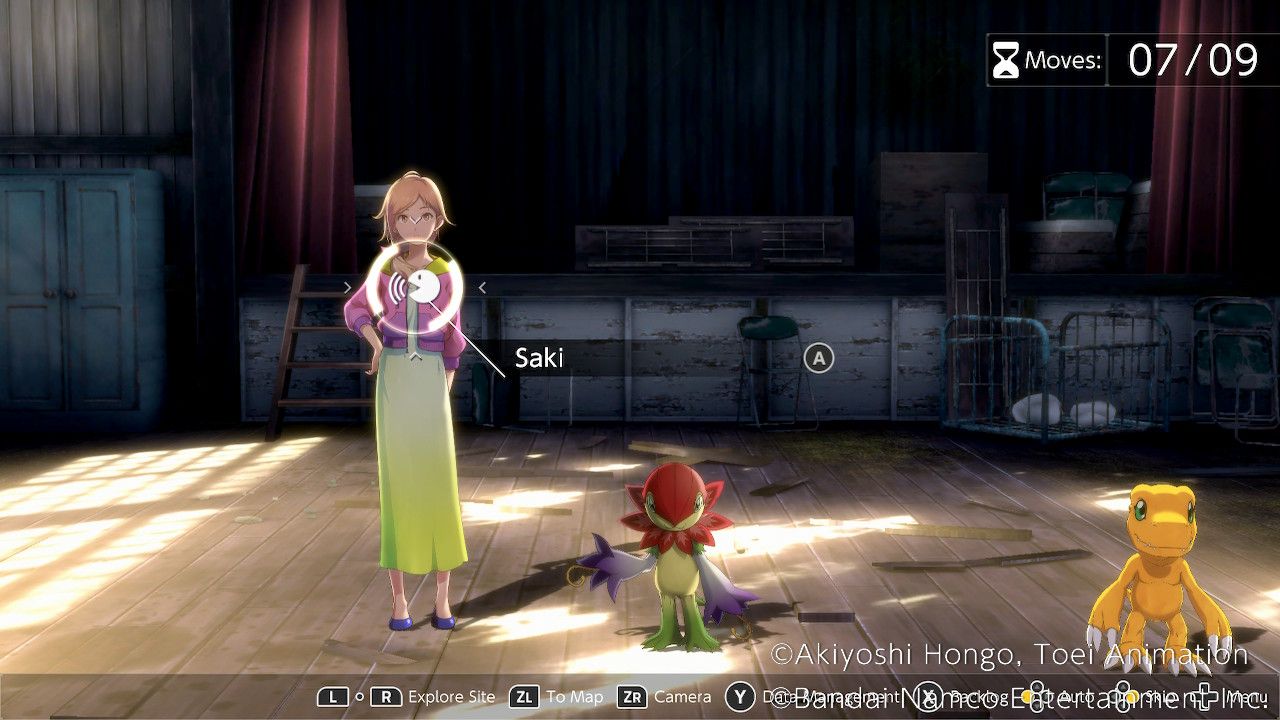
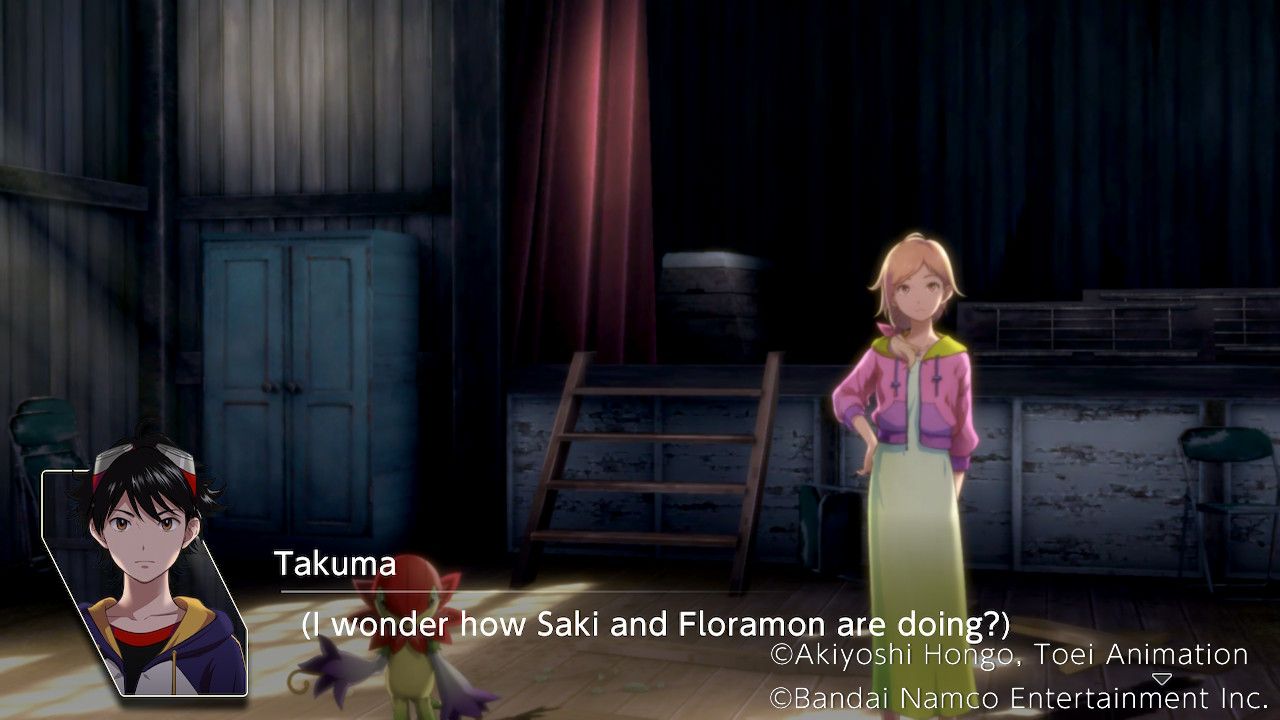
Saki and Floramon can be found in the Gym, where Saki will confess she's struggling to keep her spirits up. Saki asks what will happen if they become sacrifices in this world.
I don't know. | No Effect. |
|---|---|
We can go home. | Saki Affinity Up! |
We'll die, won't we? | No Effect. |
After hearing about the missing items from someone else, returning to the Gym after speaking to Saki will cost an action and trigger an event where a mysterious person scares Saki. This will pay off at the end of the Free Action by boosting Saki's affinity with Takuma.
The Thief
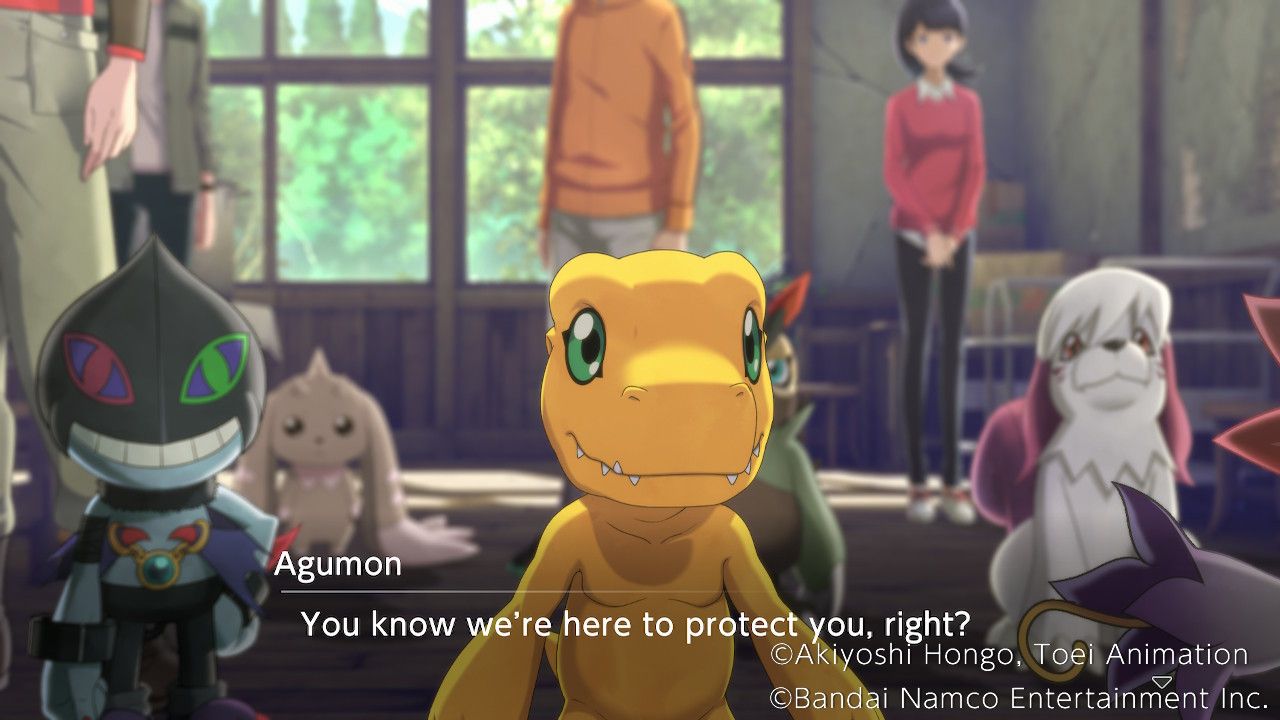
After the Free Action ends, Agumon is able to find the person behind all the missing items. A Gazimon has been sneaking around the school stealing things, and Agumon manages to corner them with the help of Falcomon and Syakomon.
The fight is very straightforward, with only a single foe to take down, but grabbing the chest near Gazimon will snag a Heal equippable skill that allows any Digimon to be given a basic healing skill. The chest near where Agumon appears contains a shock equippable skill, which is a skill dealing non-elemental damage that has a high chance of inflicting sleep.
After defeating Gazimon it drops the stolen goods and runs. Every character who Takuma triggered a lost item conversation with during the Free Action will appear afterwards, retrieving their lost item and boosting Takuma's affinity with them.
The start of Shuuji's Spiral
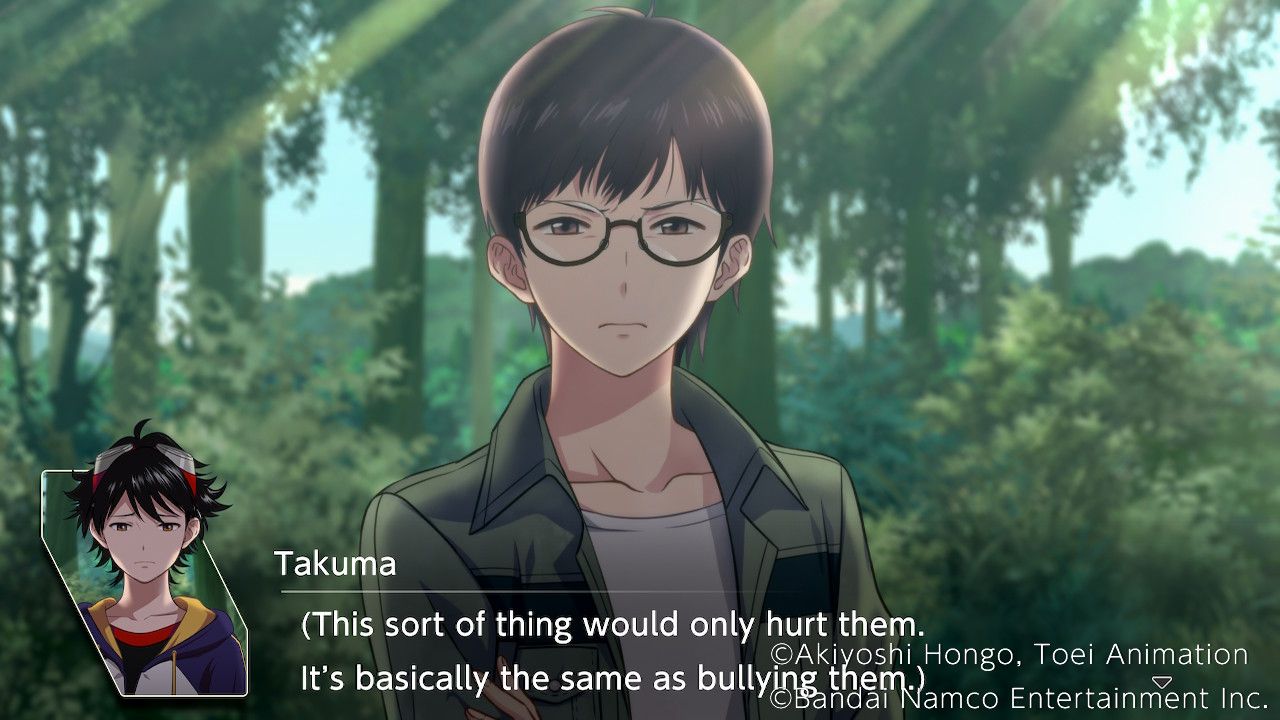
Visiting the toilet at the school after the sequence with the Thief causes Takuma to encounter Shuuji and Lopmon. He's continuing to berate and belittle Lopmon, and Takuma tries to step in.
Don't talk like that. | No Effect. |
|---|---|
Do your best, Lopmon! | No Effect. |
Time to be a leader. | Shuuji Affinity Up! |
Afterwards Shuuji and Lopmon are found at the Woods by the School, where he is putting Lopmon through a brutal training regime that borders on bullying.
How about a break? | Shuuji Affinity Up! |
|---|---|
Will this work? | No Effect. |
This isn't training. | No Effect. |
Takuma isn't really sure what can be done to build Shuuji and Lopmon's trust in each other and prevent Shuuji's current actions and attitude, so unfortunately he leaves them to it.
The Story Continues
Takuma takes some time to go and speak to everyone at the school again at this point. After speaking to three people this sequence will end automatically.
Old School
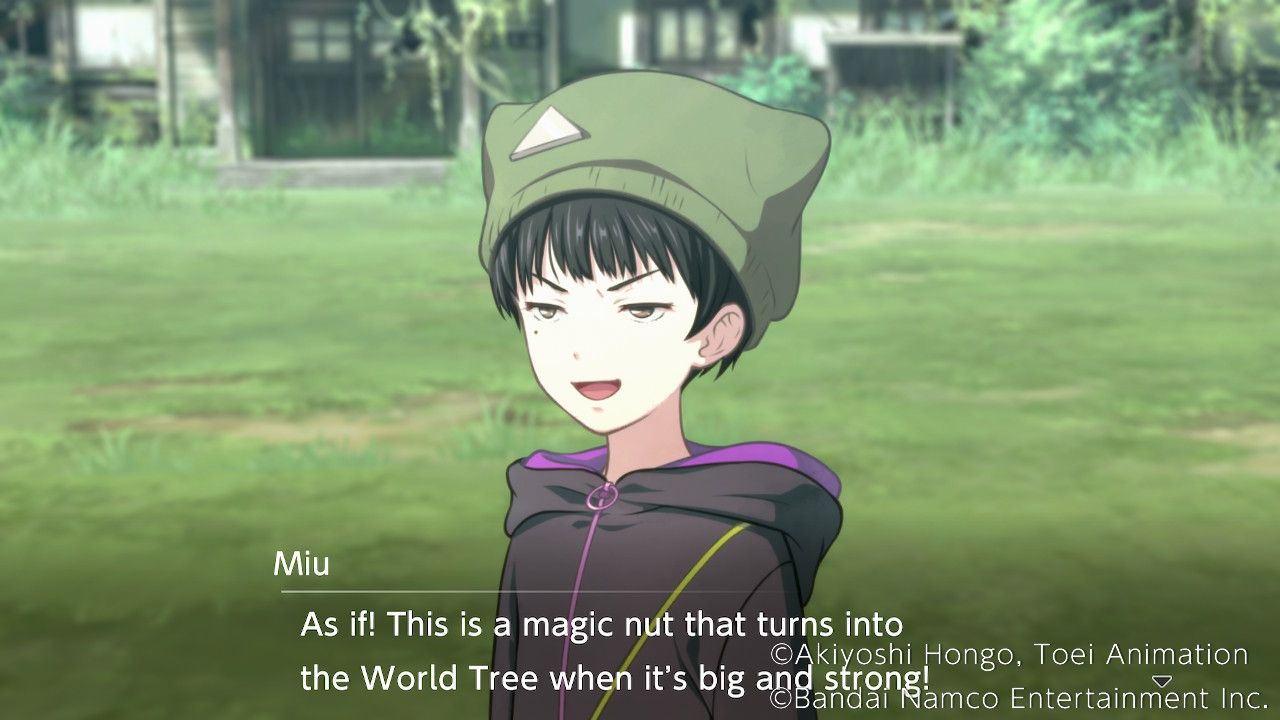
Miu is here with Syakomon, pretending that an acorn is the seed of the World Tree, and that a pebble contains a demon sealed inside. Syakomon is playing along cheerily.
You should stop this. | No Effect. |
|---|---|
Weirdos are cute? | No Effect. |
Spirit power's cool! | Miu Affinity Up! |
Classroom
Agumon is found here on his own, and asks Takuma what he thinks of Agumon and the other partners.
Strange creatures. | Moral +1 |
|---|---|
Reliable partners. | Harmony +1 |
Strong and cool! | Wrathful +1 |
Music Room
Once again Haru and Miyuki can be found here, where Haru is saying some suspicious stuff about people disappearing and Miyuki not needing to worry.
Faculty Room
Kaito and Dracmon are still here, and after breaking up an argument between the two before it could start, Takuma tries to find a way to learn more about Kaito.
What he likes about Miu. | Kaito Affinity Up! |
|---|---|
You care a lot... | No Effect. |
Did something happen? | No Effect. |
Cafeteria
Aoi and Labramon are still in here, and busily planning lunch for the day. Aoi claims it's the only thing she can do to help, but Takuma is quick to try and lift her spirits.
Like a coordinator? | No Effect. |
|---|---|
A mom, in a good way. | Aoi Affinity Up! |
Our class president. | No Effect. |
Gym
Saki and Floramon have stayed in the Gym, where they're playing some volleyball. Saki says it's meant to help her learn what Floramon can do. She makes a comment that she admits Aoi or Shuuji would find a bit tactless.
Hard to understand. | No Effect. |
|---|---|
Tactless, actually. | No Effect. |
Fine, I think. | Saki Affinity Up! |
The Story Continues - 2
Heading back towards the Cafeteria, Takuma hears Shuuji's voice and heads in to discover yet another argument. After it calms down for a moment, Takuma has an opportunity to ask for someone's opinion.
I'll ask Minoru. | No Effect. |
|---|---|
I'll ask Saki. | No Effect. |
I'll ask Miu. | No Effect. |
Unfortunately, regardless of who is chosen, Shuuji gets angry about how well they seem to get on with their partner. His distrust of Lopmon coupled with his own insecurity leads to him berating them.
Maybe get more allies? | Moral +1 |
|---|---|
Act with caution. | Harmony +1 |
Trust our partners. | Wrathful +1 |
Shortly afterward, with Shuuji bemoaning the situation and contributing little in the way of practical solutions, Takuma can call on someone else for an opinion.
I should hear Miu out. | No Effect. |
|---|---|
Agumon wants to talk. | No Effect. |
What does Kaito think? | No Effect. |
Shuuji continues to be against chasing down the kidnappers for information, and while he has a point, it's not like the group has a wealth of options. Outvoted, Shuuji argues one last time when Miyuki and Haru ask if they should come, insisting that they shouldn't put the two in danger.
Agree with Shuuji | No Effect. |
|---|---|
Agree with Minoru | No Effect. |
Dracmon asks Takuma and Kaito to keep an eye on Shuuji and Lopmon, 'cause things are looking bad.
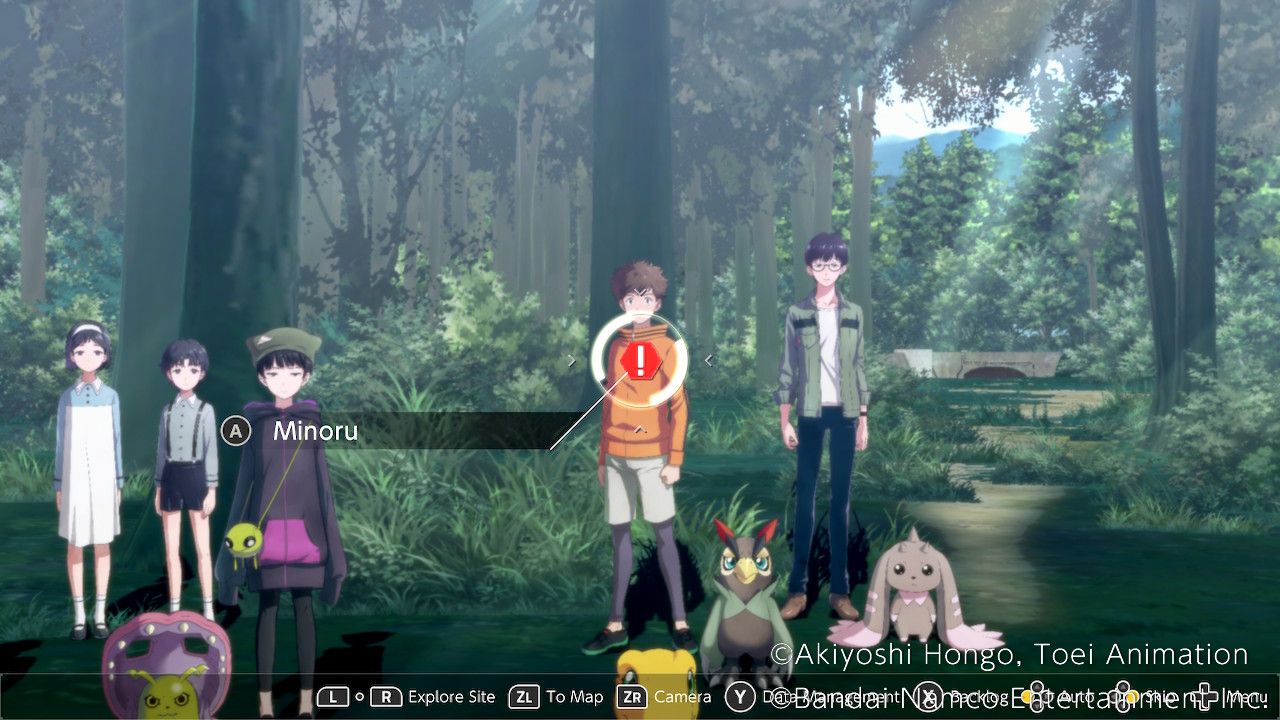
In the woods on the way to the Dam the group stops for a moment. Talk to Minoru to hear that he saw something strange nearby, but Shuuji quickly puts an end to his plan to check it out. Speak to Shuuji and another argument between him and Minoru will start.
Come on, you two... | Moral +1 |
|---|---|
Let's keep our cool... | Harmony +1 |
Gotta stay focused... | Wrathful +1 |
The group is quickly getting sick of Shuuji's attitude problem, and Takuma has to find a way to stop a fight from starting between him and Kaito.
Let Miu handle this. | Moral +1 |
|---|---|
Get them to listen. | Harmony +1 |
Let them fight! | Wrathful +1 |
Seems Minoru wasn't just seeing things, as a familiar figure watches from nearby.
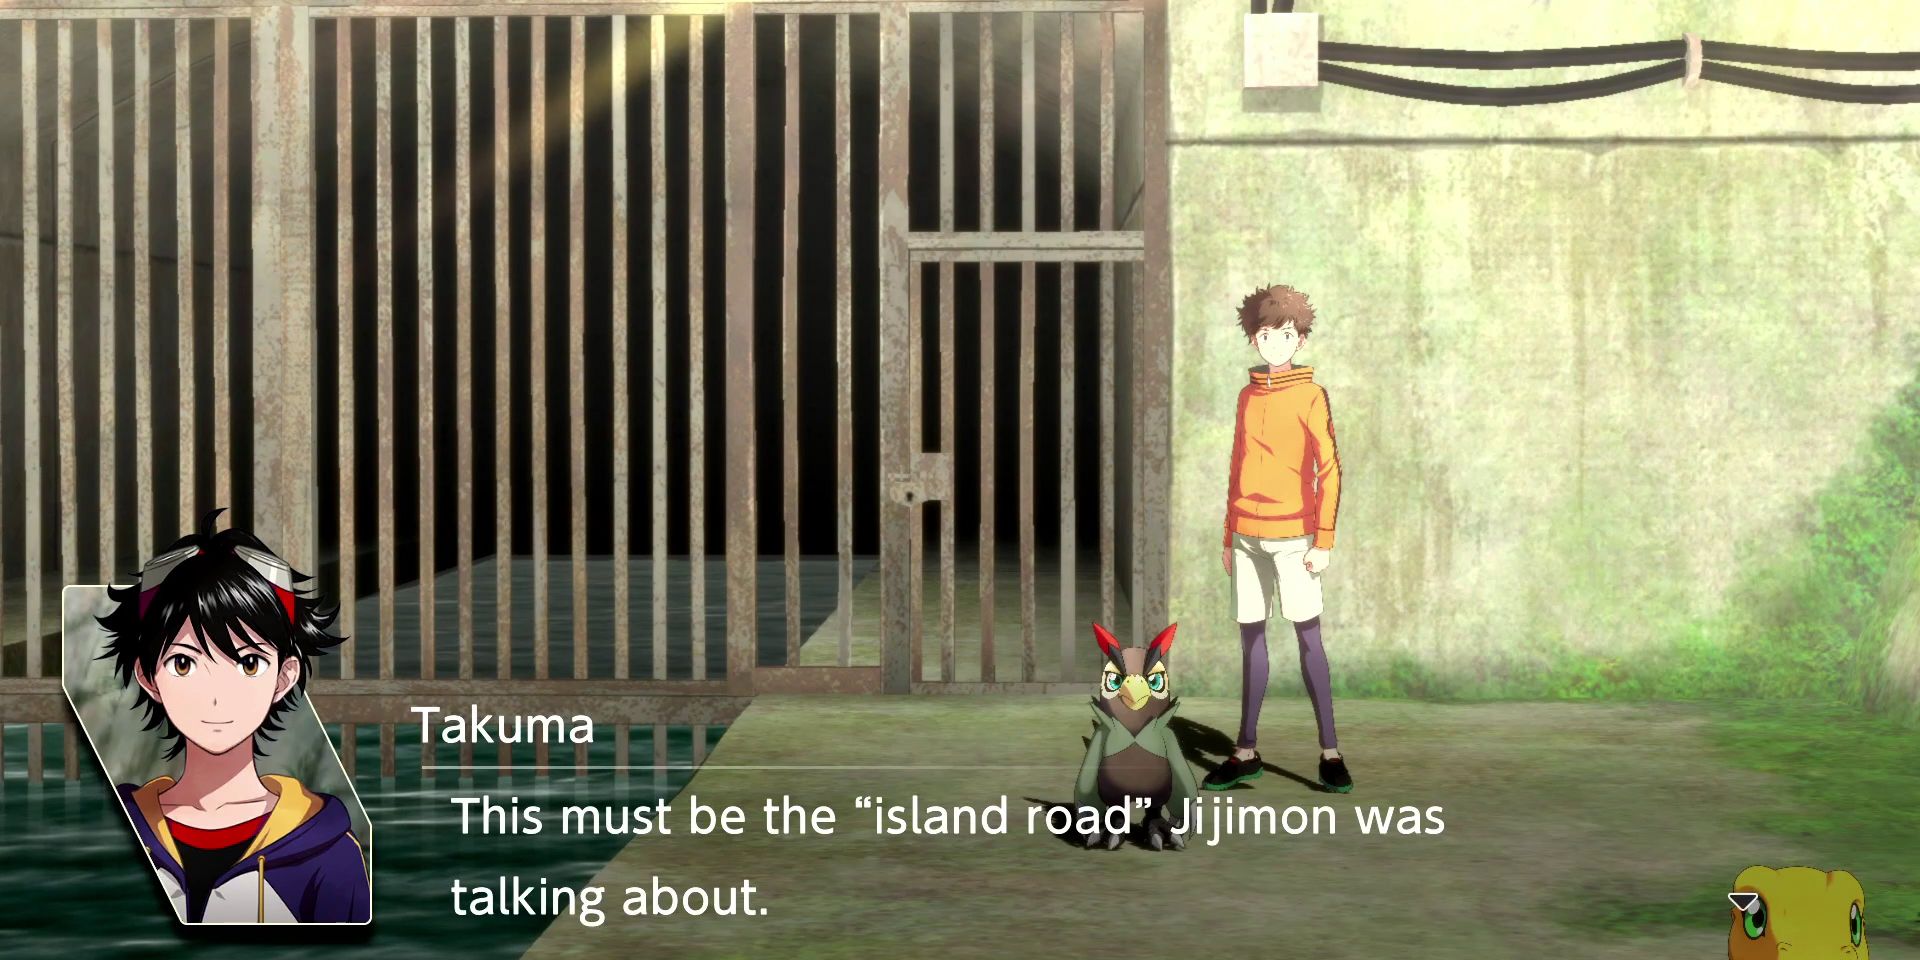
Arriving at the Waterway Entrance, just interact with the locked door to use Jijimon's key. The idea of leaving Miyuki and Haru here with Shuuji and possibly Aoi to protect them is brought up.
Aoi should stay, too. | Moral +1 |
|---|---|
Miyuki and Haru stay. | Harmony +1 |
Shuuji's on his own. | Wrathful +1 |
Unfortunately, Shuuji takes all of these suggestions badly, and rushes ahead into the Waterway. Agumon, in a moment of surprising seriousness from him, comments that human hearts affect the Digimon strongly, and Shuuji being this way might cause something bad.
Ambush and Illusions
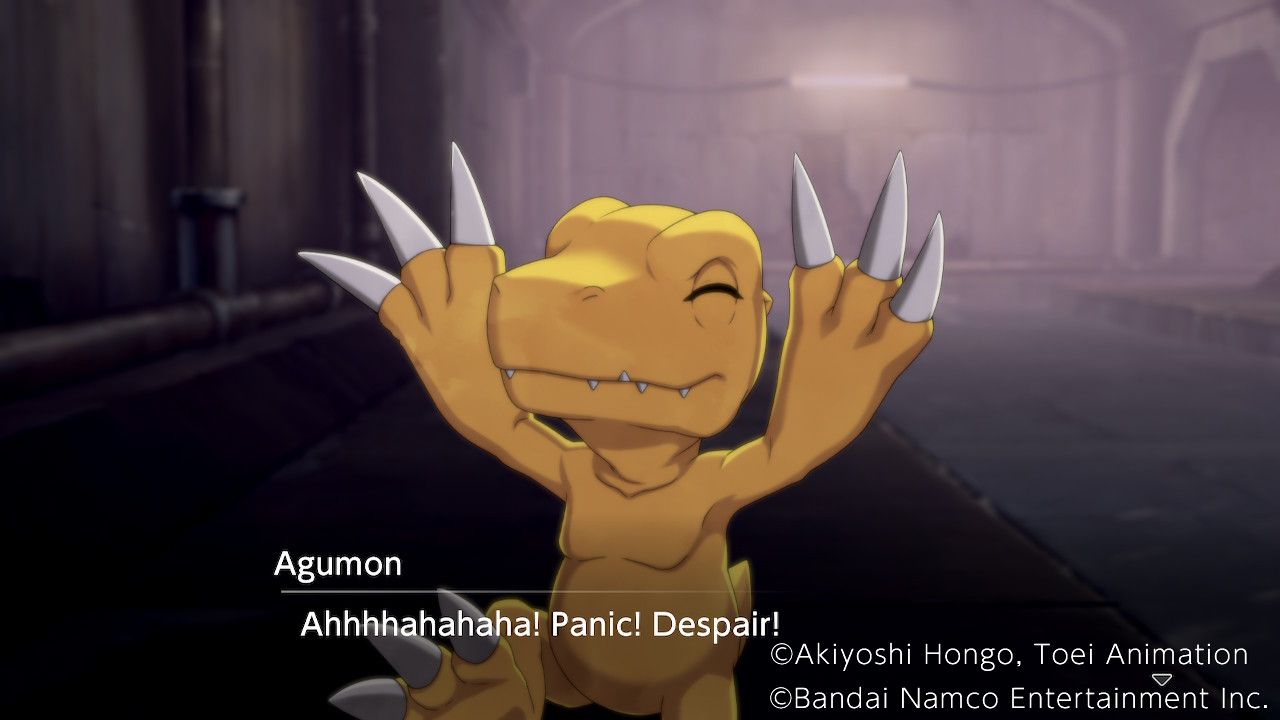
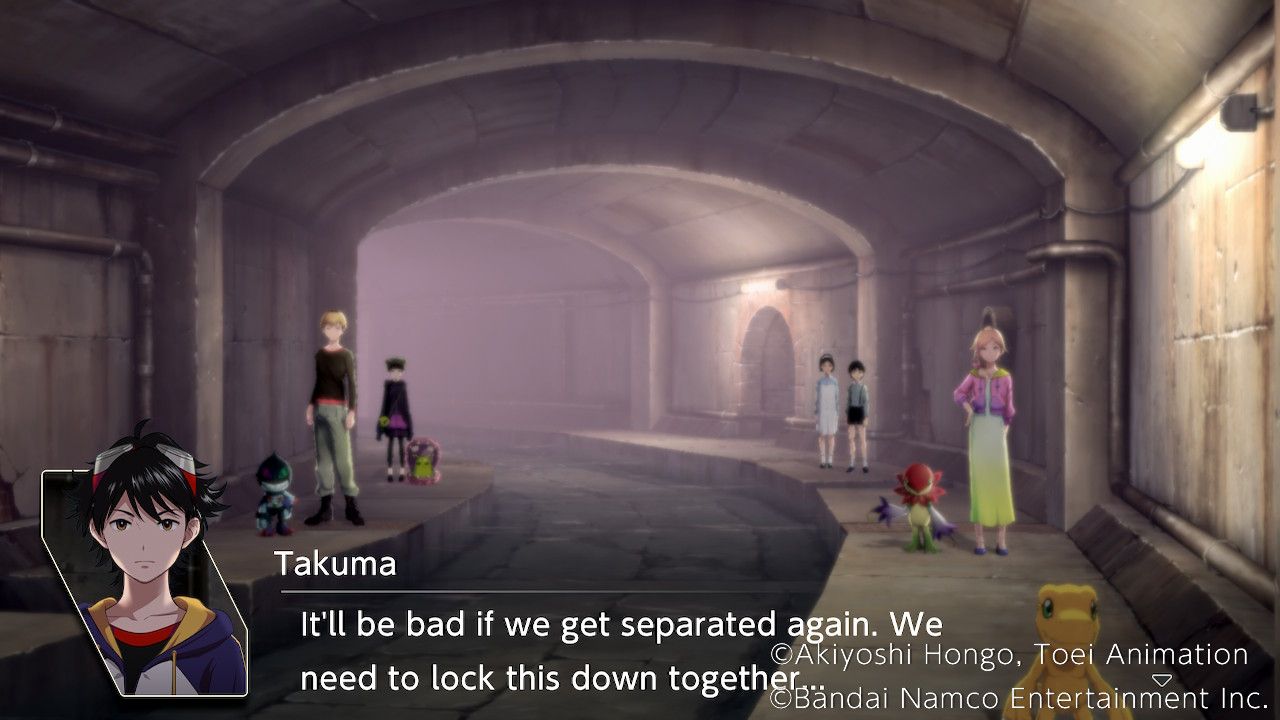
Arukenimon quickly reveals herself within the tunnels, using a strange thick fog to separate the group and knock them unconscious. Takuma awakens alone in the tunnel. Head straight ahead to meet an illusory Agumon, then head straight again to trigger a second encounter with it. Head straight ahead again, and then once more, to reach a pair of Agumon.
While both claim to be real, there's an easy way to tell them apart.
After choosing the Agumon on the right, the fake turns into a Seadramon and a battle starts.
Seadramon Battle
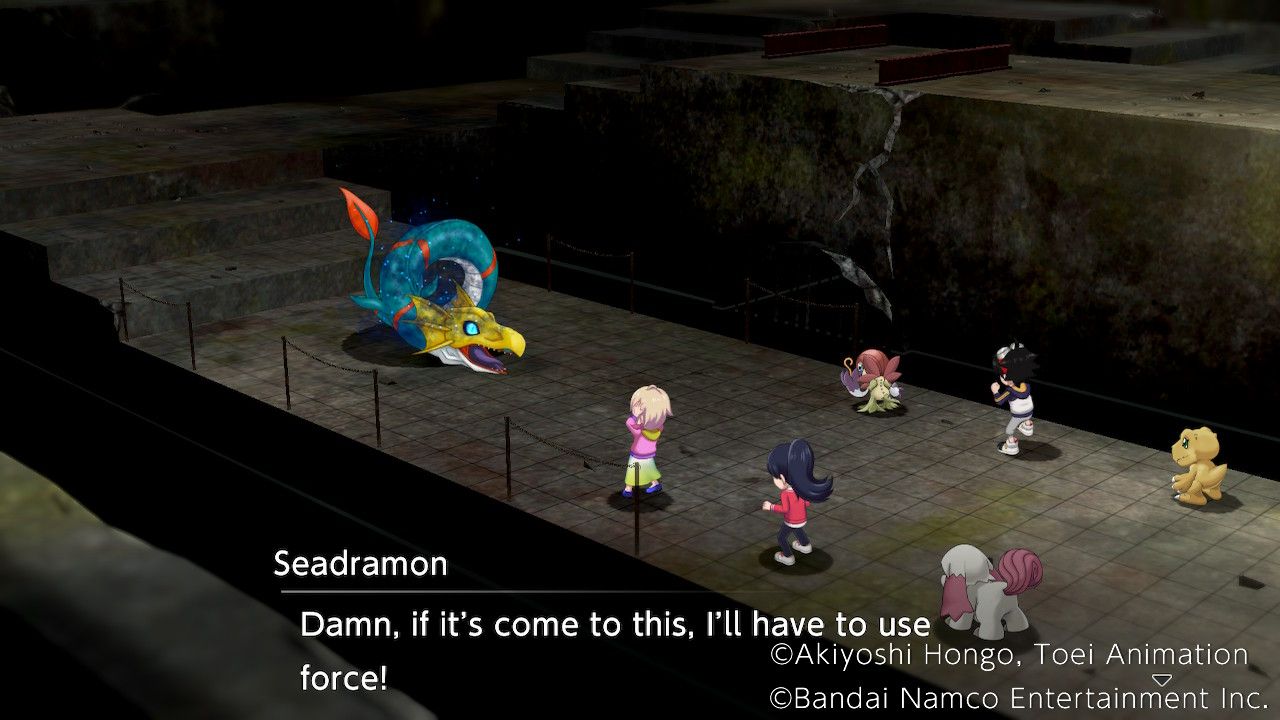
This fight prevents players from using any of the partner Digimon aside from Agumon, so having some good Free Digimon will make it much easier. Tentomon and Togemon on the right of the map are guarding a chest, so head that way and grab it before fighting Seadramon. Both of them are weak to fire, so Agumon and most of his champion forms can deal with them easily and snag the Anti-Fire Crystal. (Maybe one of them should have used it.)
Bring a flying unit and head down from the starting point and to the left to find a chest across the gap. It contains Wind Claw, a pretty strong wind element attack skill.
A Phasmamend at the T-junction above the starting point can be handy for topping up the team's health, but Seadramon advances towards the group every turn, making it impossible to put off the fight for long.
Seadramon is resistant to both fire and water attacks, and has a severe weakness to earth. It can hit enemies in a 4 square line from it using Ice blast, which deals water damage with a low chance of freezing them.
Finding Aoi
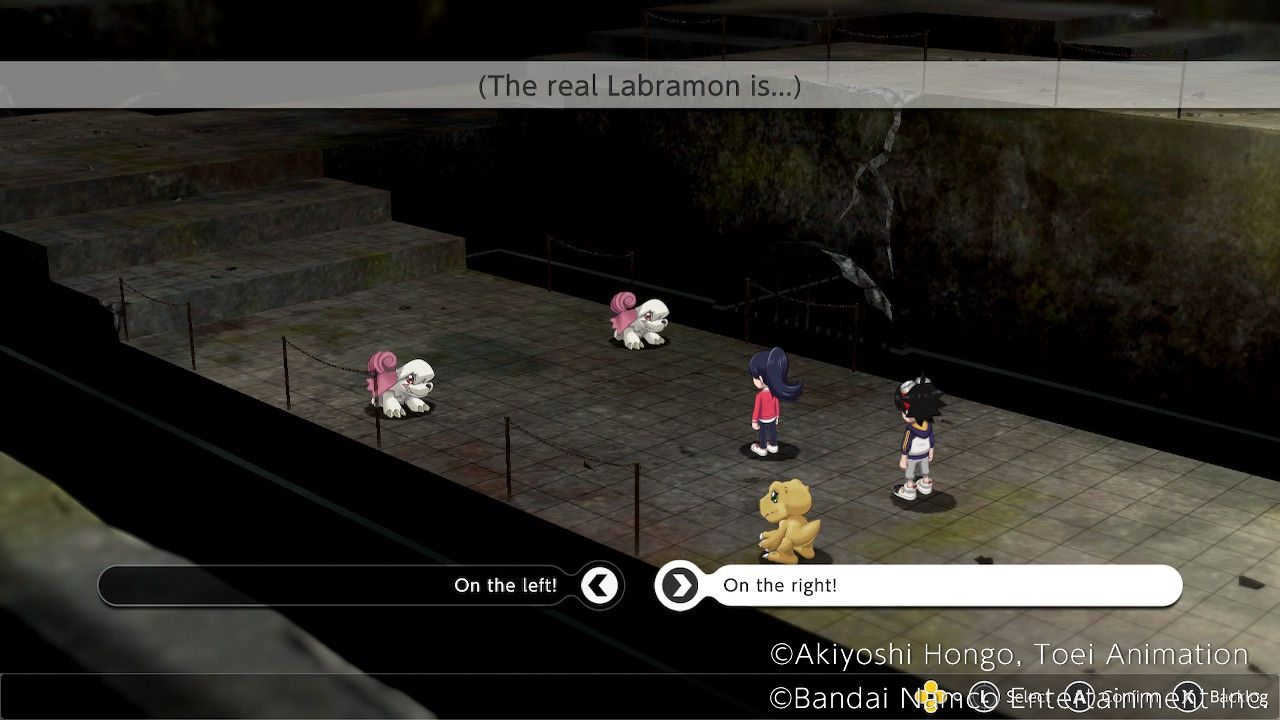
Head straight ahead past Agumon to find Aoi. She's been having trouble too, due to an illusion of Labramon that's been taunting her. Go straight to find the fake Labramon, which Takuma will shoo away. Go straight again to trigger another brief encounter, and then players have the option to head straight ahead or turn right. Turning right loops back to the start of this section, so go straight ahead.
When confronting the pair of Labramon, the illusion can be found by saying "He loves Aoi to bits." This will cause the fake to slip up big time, revealing that the Labramon on the right is the real one.
Finding Saki
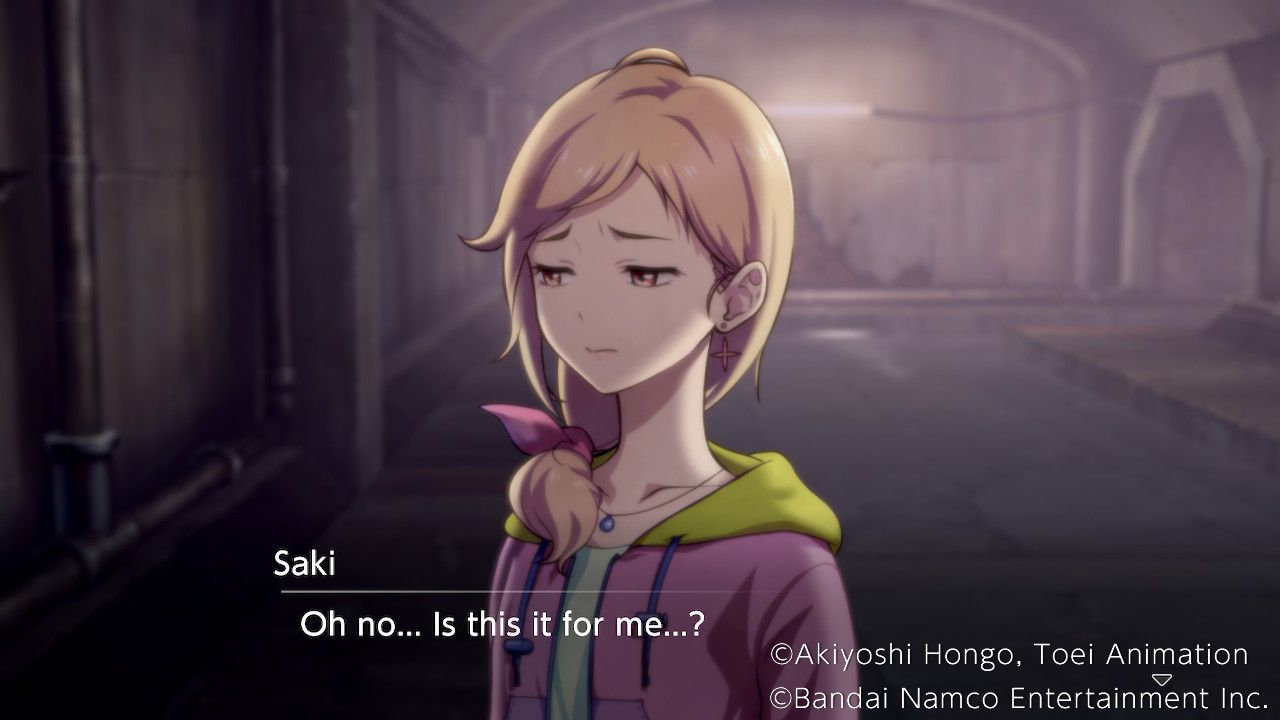
Shortly afterward Labramon will pick up Saki's scent. She's gotten separated from Floramon and is dealing with the same problem Aoi and Takuma faced earlier. Go straight ahead and run into fake Floramon. Going right here triggers an additional optional dialog with the fake Floramon, while going straight ahead leads to the next necessary encounter. A right turn, followed by going straight, will lead to an encounter with two Floramon. The real Floramon would "Forgive Secrets." and saying that makes it clear that the one on the left is the real one.
Seadramon Battle 2
This fight is very similar to the previous fight, though this time there is only a single chest and players have access to Floramon and Labramon in addition to Agumon. The chest is directly to the right of the starting point and contains Iceberg, a non-elemental skill with a high chance of freezing the target.
Finding Miu
Takuma sees a mysterious Digimon that players might recognize from the prologue, and then runs into Haru and Miyuki. Haru identifies the Digimon as "Renamon," saying it protected them. After sending them to Aoi and Saki for safety, Takuma presses on and locates Miu, who had a fight with a fake Syakomon. Go straight ahead, then head right, to find the fake Syakomon. Head straight from there, then right to encounter it again. Head right one more time to find a pair of Syakomon.
To work out which speaker of the Syako-Stereo is the real deal, ask if Syakomon thinks Miu is a loner. The real one will quickly become obvious.
Finding Minoru & Kaito
Moving on to the next part of the seemingly endless waterway, Takuma finds Minoru and Falcomon, who have reunited already. A battle ensues against Seadramon. Much like last time, the map is the same and the enemies are largely identical (there's a Betamon this time). The chest behind Tentomon and Togemon contains Panic Wisp (Non-Elemental attack, causes confusion) while the one behind Seadramon's starting point contains a Speed Break (Reduces an enemy's Speed Stat). Additional waves of Betamon and Tentomon will appear when taking the right path,
Kaito and Dracmon will arrive to help mid-fight, having handled the illusory Dracmon on their own. Advance on Seadramon and take it out to end the fight. The Phasmacharge at the T-Junction attacks with a relatively strong special attack on a random nearby target each turn, so destroy it or trick enemies into walking up to it.
With the battle over and the group (sans Shuuji) reunited, it's time to look for Shuuji before things get worse.
Exploration
Unlike most exploration phases, there's no map screen here and players will need to navigate from area to area by selecting a path to go down in each room.
Heading down the right-hand path from the first room leads to a junction where Miu can be found, along with Syakomon. Speak to her to hear about something in the water, then use the camera on the water to uncover her good luck charm. Head right from here to spot Shuuji and Lopmon. Unfortunately Shuuji is experiencing hallucinations from the gas Arukenimon used and doesn't respond to Takuma's calls. Go left from here, talk to Minoru, and then check the water for his action figure using the camera.
Head to the right to get back to the junction where Shuuji was seen, then go right to find Aoi and Labramon. Talk to Aoi and then check the water with the camera to find Aoi's music CD. Head right again, speak to Saki, and then check the water with the camera to find her chart. Head back past Aoi to the main junction and go straight ahead to reunite with the rest of the group. All the items that were found vanish suddenly, suggesting they were illusions created by the gas.
Catching up with Shuuji, Takuma manages to snap him out of it, but he isn't doing well at all. The group discusses what they should do when they meet Arukenimon again.
Meet them and see. | Moral +1 |
|---|---|
Try talking. | Harmony +1 |
Get ready to fight! | Wrathful +1 |
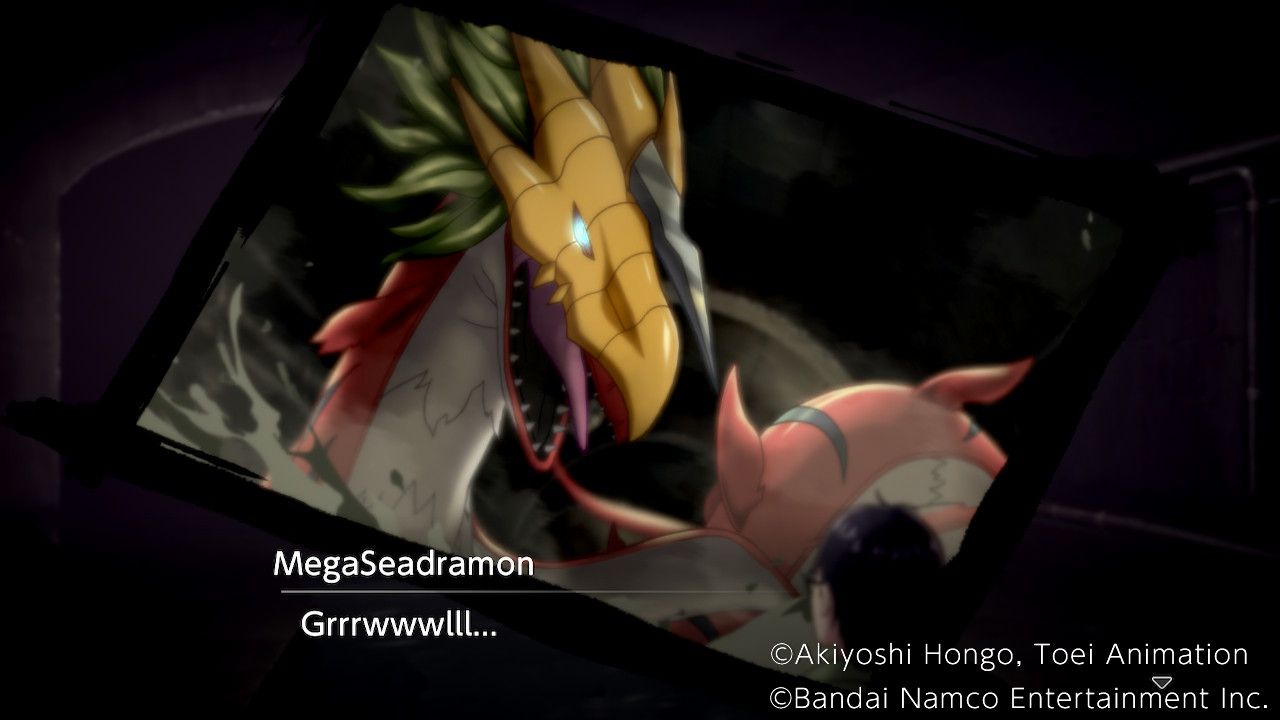
Shuuji seems to still be seeing things and runs off in a panic. Follow him down the path to the right once the game hands control back, and then speak to Kaito to continue the story. Arukenimon has Shuuji cornered and offers to let the group go home if they offer one member of the group as a sacrifice. The group arrives and figures out that he's hallucinating her, but he sprints away. He tries to offer himself to Arukenimon as a sacrifice, but panics when Megaseadramon arrives. Lopmon tries to protect him but gets swatted away, and he completely loses it and starts physically attacking him and shouting at him to evolve.
Boss Battle
The group sees black smoke pouring out of Lopmon and tries to rush to Shuuji's side, but Arukenimon blocks their path and calls in Megaseadramon to keep them busy.
This battle uses the same map as the other Waterway battles, so bringing a flying unit is recommended for using the path below the starting point on the left. There's a chest over there containing a Mature Enlightenment Slab.
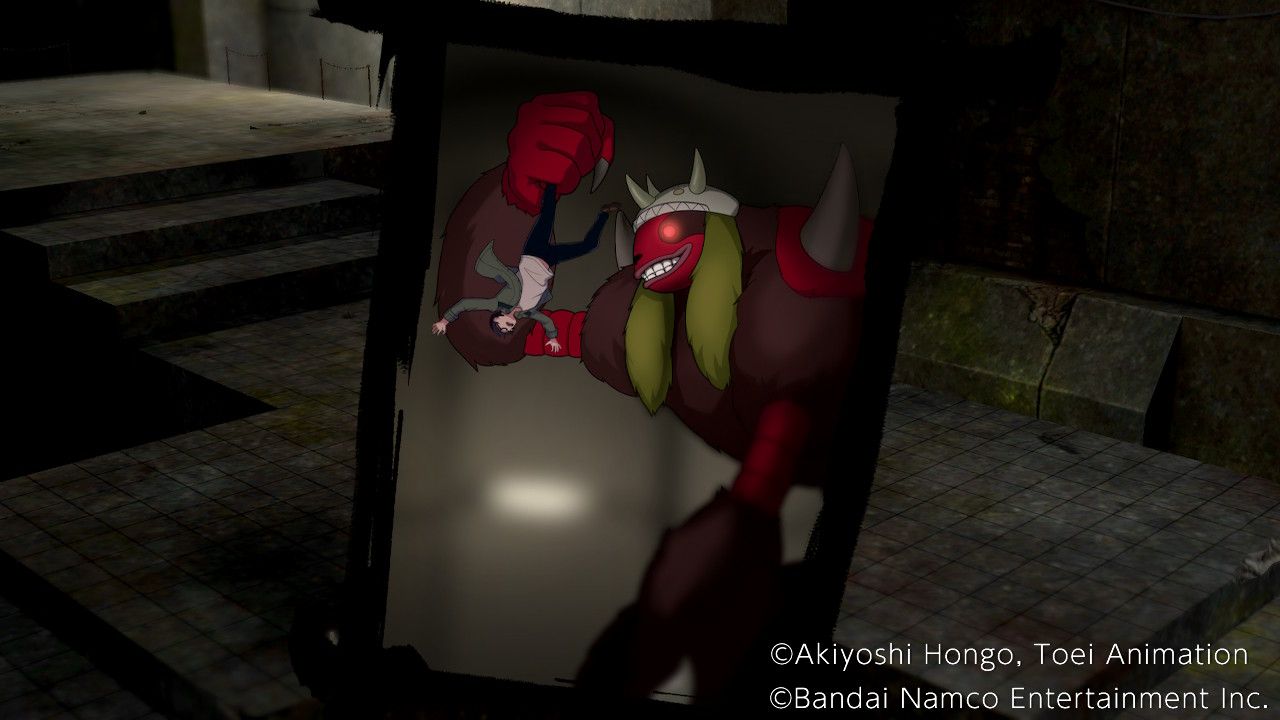
Most of the enemies here should be familiar by now, but we'll hold off on discussing Megaseadramon for the moment. Advance the team towards the phasmamend at the crossroads to trigger a cutscene. Lopmon overflows with dark fog, transforming into the terrifying Wendigomon. Wendigomon eliminates Megaseadramon in a single strike but quickly turns on Shuuji too, devouring him.
The group has no choice but to face Wendigomon to survive. The fight now resets, with new enemies appearing. There's a chest to be had in the top right, guarded by a Gazimon and a Kiwimon. Kiwimon are weak to fire but resist water and earth, and this one can use Aura to heal groups of enemies. Its Pummel Peck attack allows it to reduce a target's physical and special defense by one rank while dealing earth damage. Hit it with fire attacks, preferably from a virus Digimon, for best results here. Grab the chest to get the Oblivion skill, and then get ready to fight Wendigomon.
Wendigomon is an All-Rounder Digimon with exceptionally high Physical and Special attack stats. The Wrathful Urge passive makes its Physical attack higher but causes its attacks to all have a chance of missing, while its Howling Destroyer attack deals a bunch of Dark damage with a chance to confuse the target and chances to increase physical and special attack too. Wendigomon is weak to light element attacks but highly resistant to dark, so bringing along an Angemon or Gatomon is very useful.
After landing a hit on Wendigomon it will start shouting in Shuuji's voice, baring his many insecurities and frustrations to the group. Takuma, determined to keep everyone alive, manages to give Agumon even more power. Agumon evolves to the Ultimate level for the first time here, gaining a form based on Takuma's highest Karma stat.
Metalgreymon (Moral) | Metalgreymon is an All-Rounder Digimon with exceptional Special attack stats. The passive skill "Organic and Inorganic" boosts his fire damage and fire resistance, while also making him less likely to get put to sleep. He resists wind and fire but is tremendously vulnerable to water. "Giga Destroyer" is a simple but powerful special attack that deals Fire damage to a target within four squares. |
|---|---|
Triceramon (Harmony) | Triceramon is a Defense Digimon with particularly tremendous special defense. His "Robust Armor" passive skill raises his physical and special defense by one rank and recovers his HP at the start of each turn. He resists Water and Earth but is weak to Wind. "Tri-Horn Attack" allows him to deal earth damage with a decent chance of knocking the enemy back a square and putting them to sleep. |
Megadramon (Wrathful) | Megadramon is an Attack Digimon with incredible Physical attack and very good Special Attack too. He suffers from weaknesses to every element except fire and dark, which he resists. His passive skill "Dark Dragon" raises the damage dealt by Fire attacks by two ranks, and the damage dealt by Dark attacks by one rank. His "Eradication Attack" deals fire damage to a target within four squares with a chance to raise his physical and special attack stats. |
The Conclusion
Lopmon is quickly swallowed up by the encroaching fog after the battle, much to the horror of the group and the delight of Arukenimon. She leaves before the group can do anything about her.
...had his reasons. | Moral +1 |
|---|---|
...worried about us. | Harmony +1 |
...guided us. | Wrathful +1 |
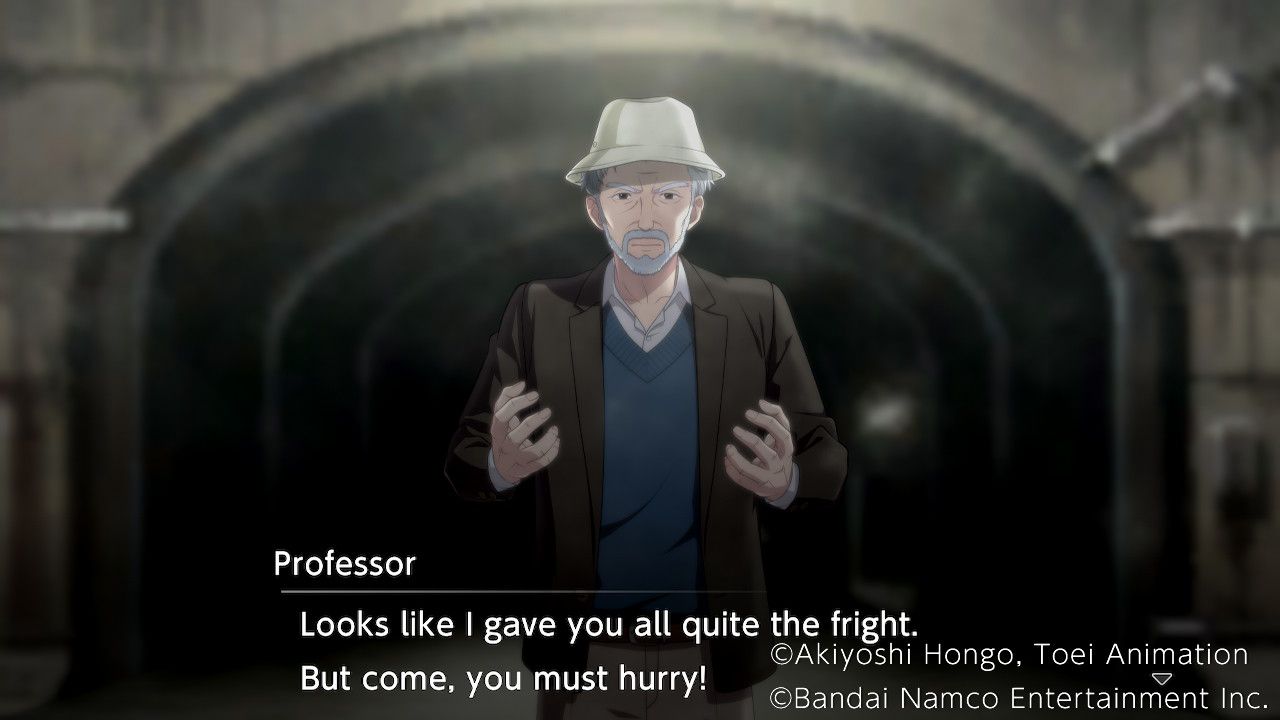
As the fog encroaches the group panics, only to be guided to safety by an unexpected but familiar face. Seems the Professor survived the fall after all!
New Game + Only
In New Game +, if Ryo is saved he will snap Shuuji out of it, preventing Lopmon's Dark Digivolution and causing Megaseadramon to be the main boss of this chapter instead.
Digimon Survive was released on the 28th July 2022 for PS4, PS5, PC, Xbox One, Xbox Series X/S, and Nintendo Switch.
