Quick Links
Digimon Survive Part 3 finally reintroduces Kaito and Miu to the story, while also introducing Kaito's partner Digimon and setting up a major antagonist that players will see plenty more of in the future.
This Part of Digimon Survive also provides a number of opportunities to recruit some powerful new Digimon to their team and build up affinity with the party. It also raises the stakes and introduces a number of threats that will be present for much of the game.
Woods - Opening
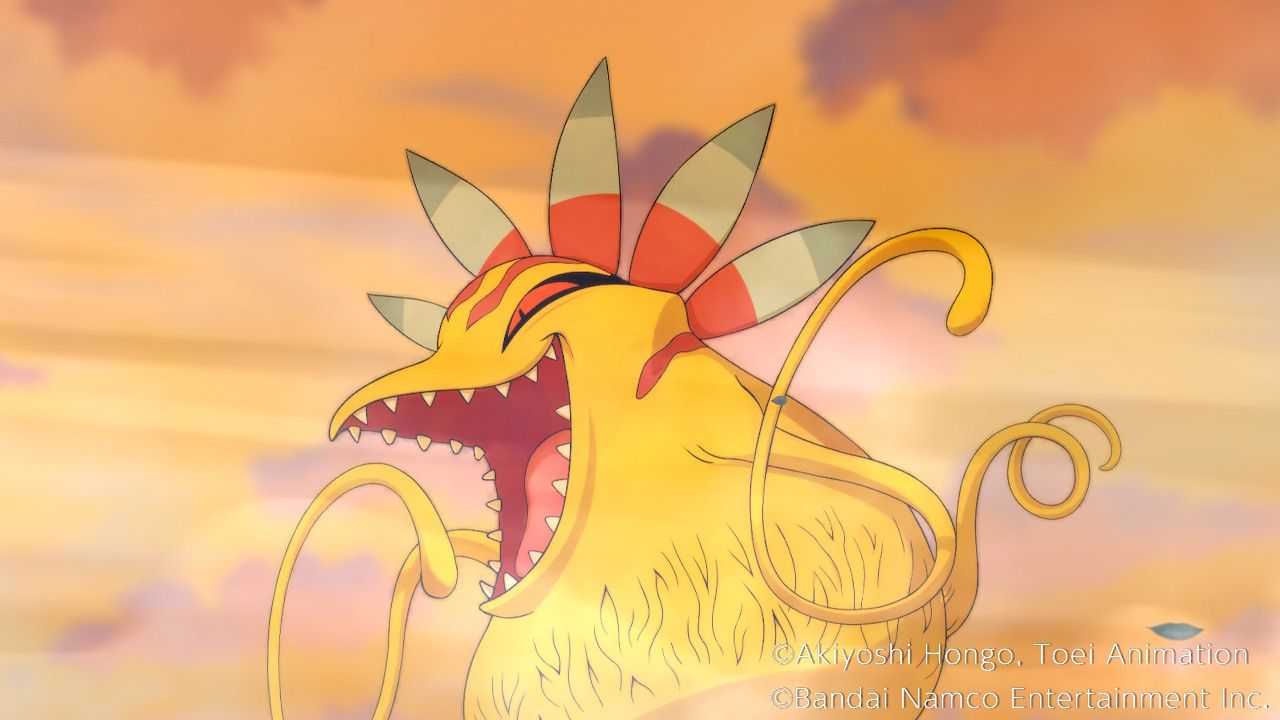
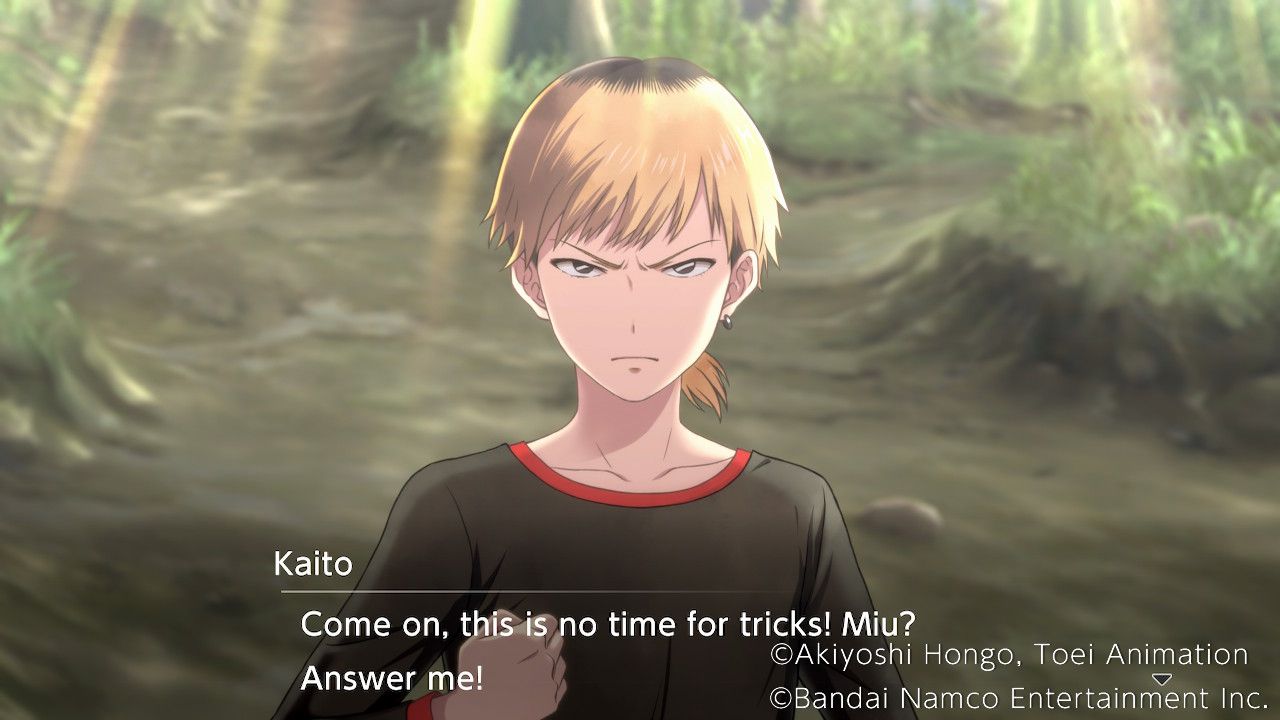
Part 3 opens with an argument between Miu and Kaito in the woods. Kaito, understandably, wants Miu to stick close to him since they have no idea where they are, while Miu wants him to stop bossing her around and finds this whole mystery a bit exciting. A loud noise alerts them to something nearby, and Kaito heads off to investigate. Kaito glimpses a yellow-skinned creature from atop a tree, but Miu is missing when he returns.
The School - Opening
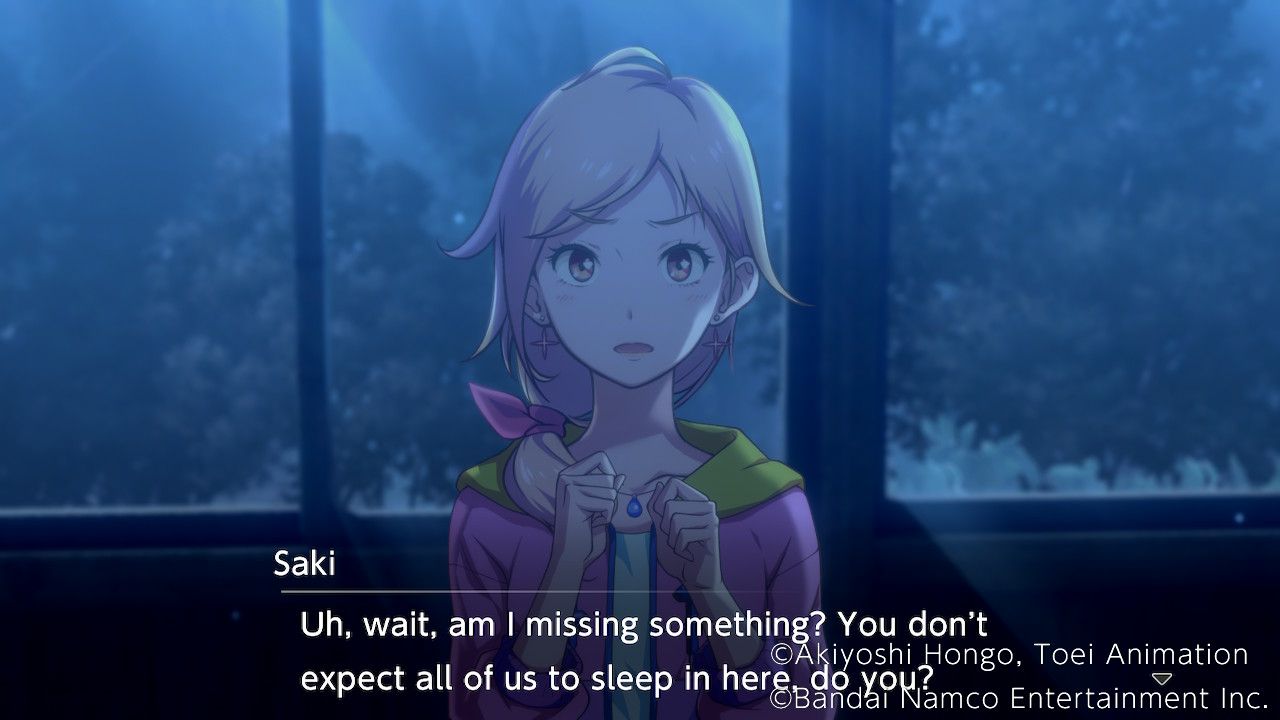
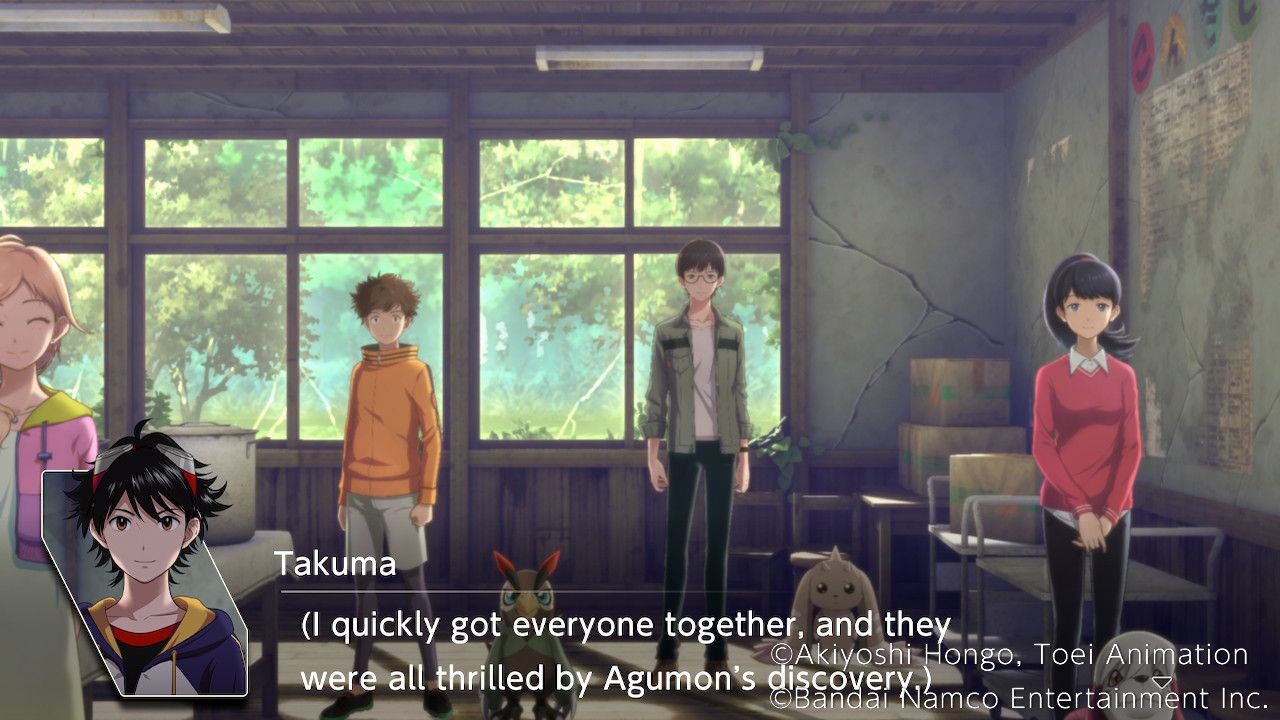
Takuma awakens once more in the classroom at the school, recalling the group's return from the Dam the day before with Agumon. The night before, Saki made the point that the boys and girls shouldn't sleep in the same room, and calls Minoru and Takuma inconsiderate for not considering this sooner.
Saki's Right. | No Effect. |
|---|---|
Safety in numbers. | No Effect. |
Takuma suggests the girls sleep in the Music Room with Miyuki and Haru, which Haru accepts at Miyuki's insistence, and the game cuts back to the next morning. The others wake up, and it becomes clear that Shuuji and Lopmon are struggling to connect. Shuuji is struggling to hold himself together, which isn't helped by his being the oldest and the others looking to him for leadership. Takuma fills in Shuuji on the events up to this point, and the group addresses the theory that they've ended up in another world.
Let's ask the girls. | No effect. |
|---|---|
Let's start with food. | No effect. |
As Takuma approaches the Cafeteria he and Agumon overhear raised voices, and arrive at a difficult situation. Minoru and Shuuji are arguing over the next move to take. Shuuji doesn't want the group out exploring, understandably concerned for everyone's safety, while Minoru wants the group to look for information, so they can better understand what's going on.
The group weigh in with their opinions, seeming decidedly split on their approach. Ryo in particular seems despondent and unwilling to talk, while Miyuki and Haru have no opinion to share. Shuuji asks Takuma for his take on everything.
We should look around. | No effect. |
|---|---|
Let's wait and see. | No effect. |
Unfortunately, Takuma's deciding vote has little impact on the discussion, and Takuma suggests everyone takes some time to cool down before coming to a conclusion. This leads to the Free Action section of this Part.
School - Free Action
This time players are given 12 moves for Free Action, giving them plenty of opportunities to spend time with the group and build up affinity. There's also a Free Battle available in both the School Area and the Forest Area.
Free Battle: School and Free Battle: Forest
These Free Battles provide access to Biyomon, Meramon, Patamon, Gazimon, Gotsumon, Dokugumon, Betamon, Deltamon, and Numemon. Taking a bit of time to recruit Patamon, Meramon, Deltamon, and Dokugumon, along with Numemon if they weren't recruited already, can be very helpful. Patamon and Numemon are both somewhat uncommon compared to the other possible enemies encountered here but are well worth the extra effort.
Corridor
Aoi and Labramon are here in the Corridor. Takuma and Aoi will discuss how rough the current situation has been on everyone. Takuma now has the opportunity to get her take on things. Unlike most dialog choices, Takuma can keep asking Aoi questions until all of these options are exhausted, and doing so will raise affinity with Aoi. While she's quite stressed, talking through everything with her helps to calm her down.
Classroom
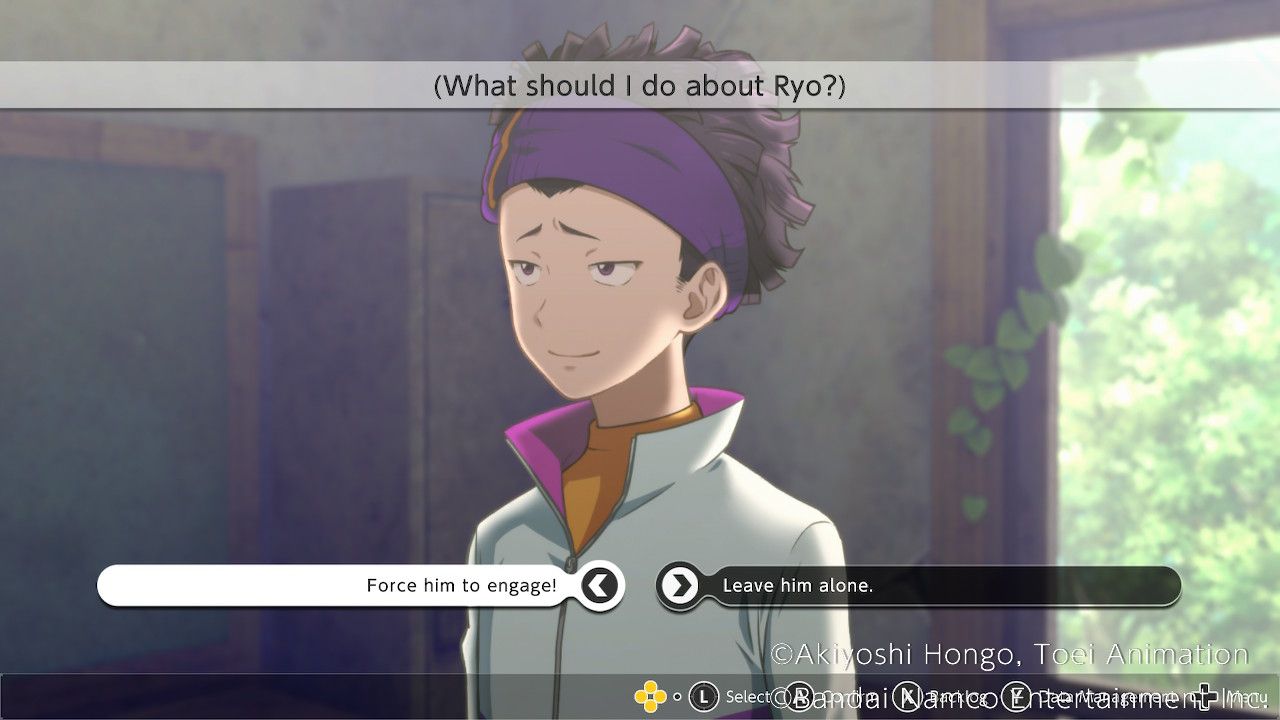
Ryo can be found here with Kunemon. He's not doing terribly well and seems to be more than a little delusional.
Force him to engage! | Ryo Affinity Up! |
|---|---|
Leave him alone. | No Effect. |
Music Room
Miyuki and Haru are hanging out in the Music Room, playing. Haru tries to explain the game to Agumon, and then Takuma is given a choice of how to respond to Haru's current attitude.
Any thoughts, Miyuki? | Moral +1 |
|---|---|
Stop playing games! | Harmony +1 |
Let me play, too. | Wrathful +1 |
The conversation ends abruptly as Miyuki dozes off, but Haru gives Takuma a Big Bandage before he leaves.
Cafeteria
Shuuji, Saki, Lopmon, and Floramon can be found here. Entering the room automatically triggers a conversation in which Floramon and Lopmon are properly introduced. Speaking to Shuuji will trigger a discussion between Saki and Shuuji about the professor, and offers Takuma a choice on who to comfort.
Comfort Saki. | Saki Affinity Up! |
|---|---|
Encourage Shuuji. | Shuuji Affinity Up! |
Cheer up both. | No Effect. |
Unfortunately, the two are still very much on opposite sides when it comes to the explore vs stay put discussion.
Gym
Minoru and Falcomon are in the Gym. Minoru is trying to clear his head. Exhausting all of his dialog options here will raise his affinity and help him to calm down. Minoru strongly believes the group should explore and find as much information as possible, seeing no point in sticking around. He figures if there's a way here, there has to be a way back.
After Speaking to Minoru, Aoi, Shuuji, and Saki, characters will change their positions and new encounters become available during Free Time.
School - Free Time Part 2
Corridor
Aoi and Minoru can be found in the Corridor now, but Labramon and Falcomon are strangely absent. Speaking to each of them will reveal that Falcomon and Labramon have both gone missing. Speaking to Agumon will trigger some additional dialog to this effect. This takes a total of three moves, but will trigger a new event a little later on. (See "Corridor - Second Visit" for the next step in that event chain)
Cafeteria
Saki and Floramon can be found in the Cafeteria. Saki needs a distraction to get her mind off things, and Takuma can run through all the dialog options in sequence to hear her opinion on everything and boost her affinity. Players wanting to increase her affinity must simply make sure to keep asking her about things until all the options have been exhausted. Saki is a bit worried that all of this is due to the "curse" Miu mentioned back in the prologue.
Woods By School
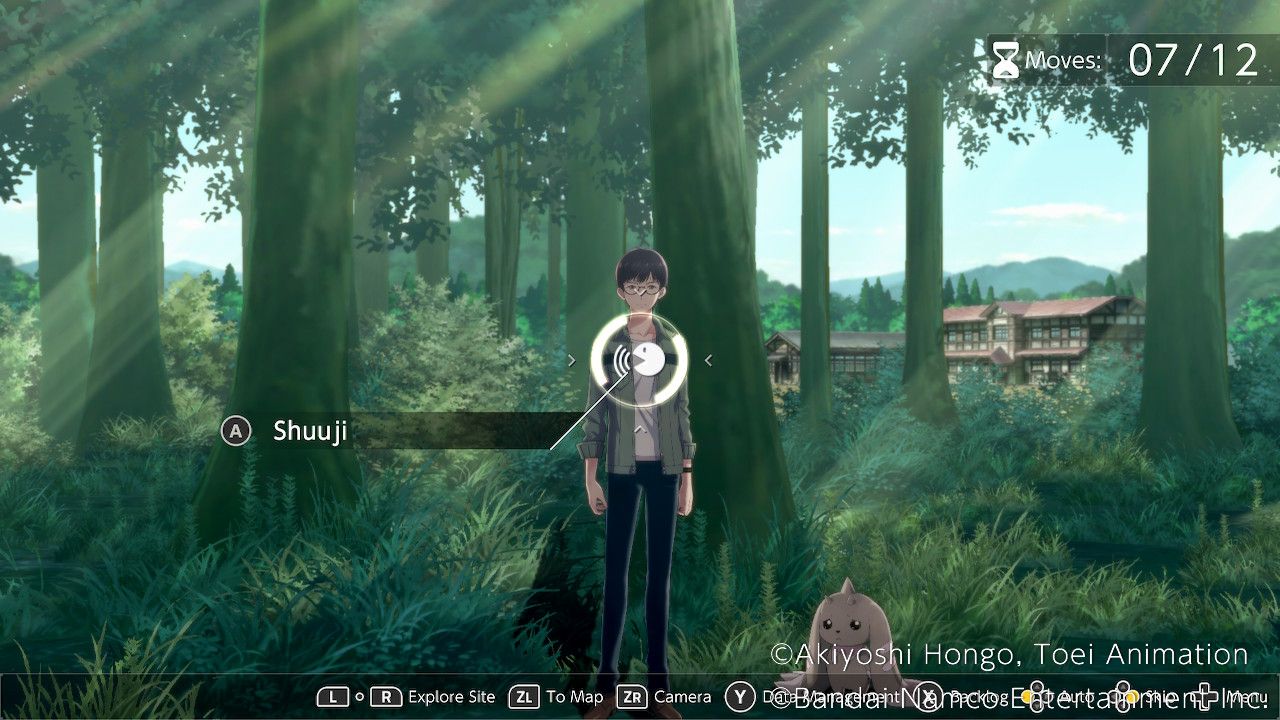
Shuuji and Lopmon can be found in the woods near the school, where they are looking for additional food supplies to help the group. Shuuji is struggling to find something useful he can do due to his own feelings of inadequacy.
I'll leave you to it, then. | Shuuji Affinity Up! |
|---|---|
Let me help you, Shuuji. | No Effect. |
Shuuji reveals he's also received one of those garbled text messages, and continues to take out his own frustration on poor Lopmon when it returns with gathered nuts.
Corridor - Second Visit
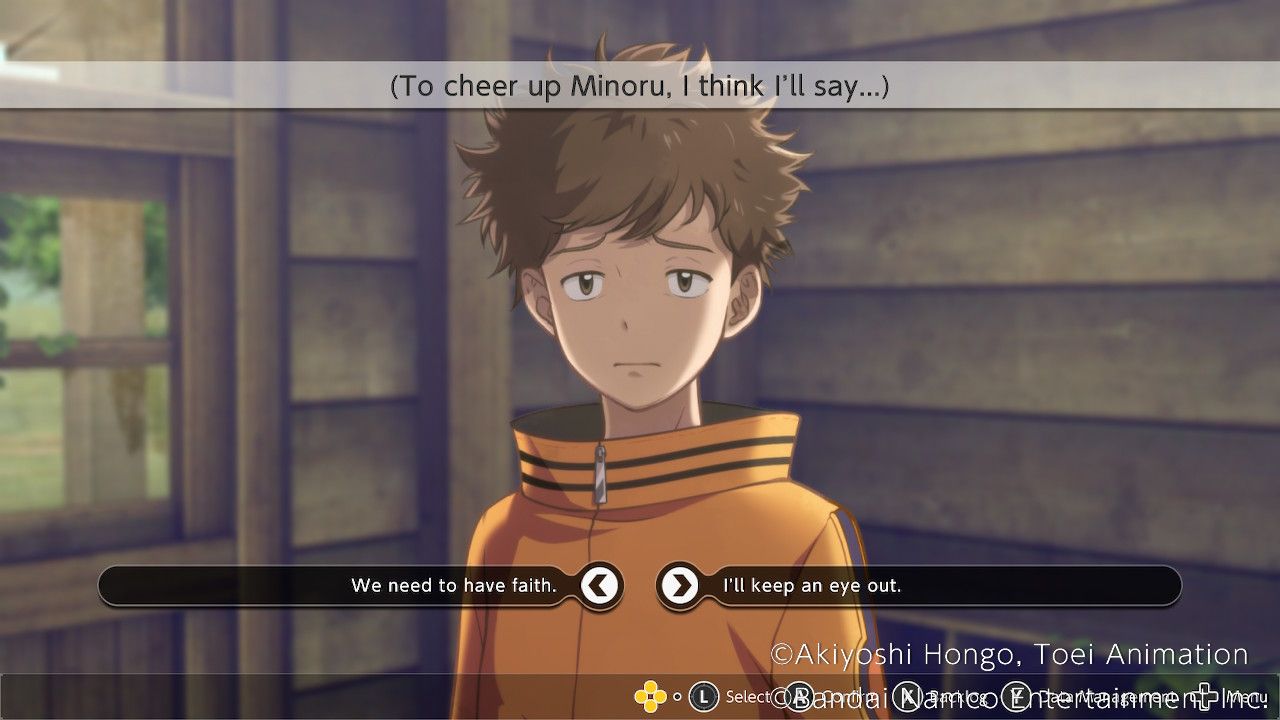
Having spoken to Aoi, Minoru, Agumon, and either Saki, Ryo, or Shuuji, Players can return to the Corridor to find Minoru alone. Falcomon seems to still be missing, and Minoru is getting a little worried. Agumon has also taken this opportunity to disappear.
We need to have faith. | No effect. |
|---|---|
I'll keep an eye out. | Minoru Affinity Up! |
Having cheered up Minoru, it's time to figure out where everyone's Digimon have been vanishing to. (See "Woods by School - Kunemon" to continue this event chain)
Woods by School - Kunemon
Kunemon can be found in the Woods by the School without Ryo. Communicating via gestures, Kunemon can be asked four questions here. It's worth asking all of them to get a picture of what Kunemon and Ryo are up to. After asking all the questions Kunemon can bring Takuma to Agumon and the others in the Spider Lilly Forest.
Spider Lilly Forest - The Missing Digimon
All the Digimon who vanished earlier are found here, having sensed something strange. It seems they've located something suspicious in the bushes. Examine the suspicious thicket to continue the event, revealing Gomamon. Takuma will heal Gomamon's wounds and it will join the party in exchange.
Woods by Shrine
Lopmon can be found in the Woods by the Shrine, alone. Interacting with him will allow Takuma to give his honest opinion on Lopmon and the other Partner Digimon.
...strange creatures. | Moral +1 |
|---|---|
...trusty partners. | Harmony +1 |
...strong and cool! | Wrathful +1 |
Alas, Lopmon is quite upset about being unable to connect with Shuuji, and Takuma can't find the right words to comfort them.
School - The Story Continues
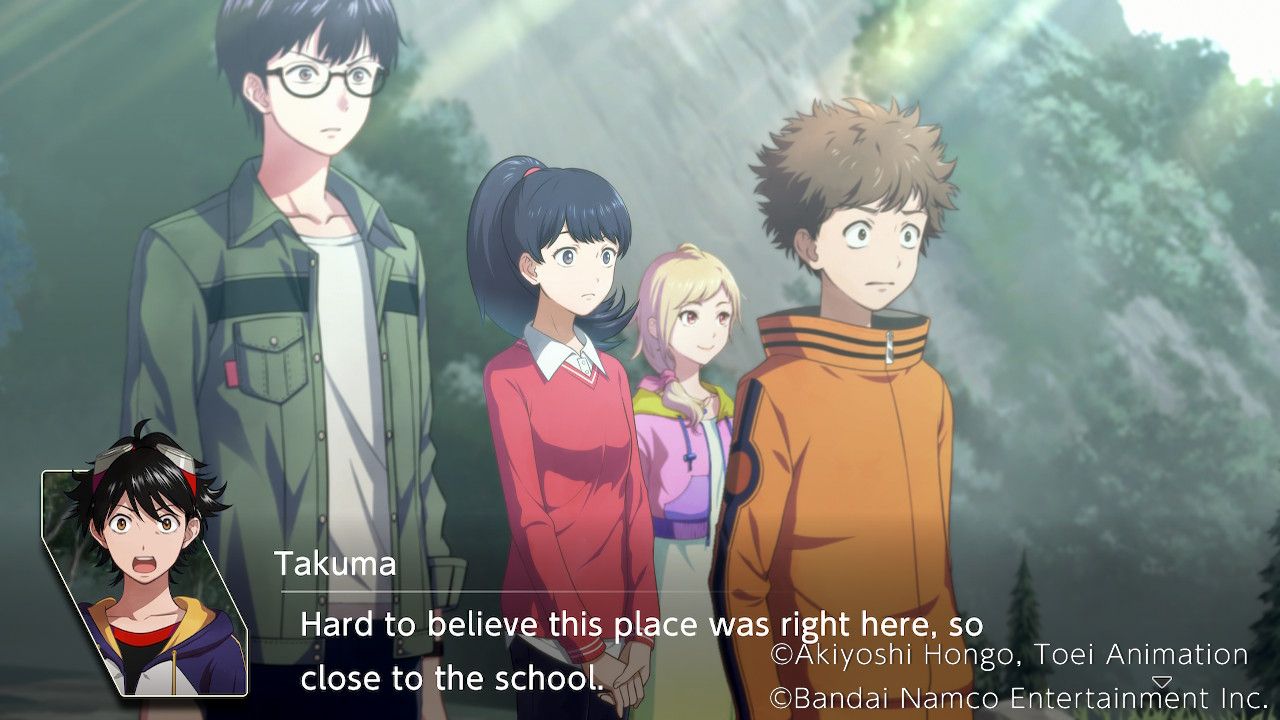
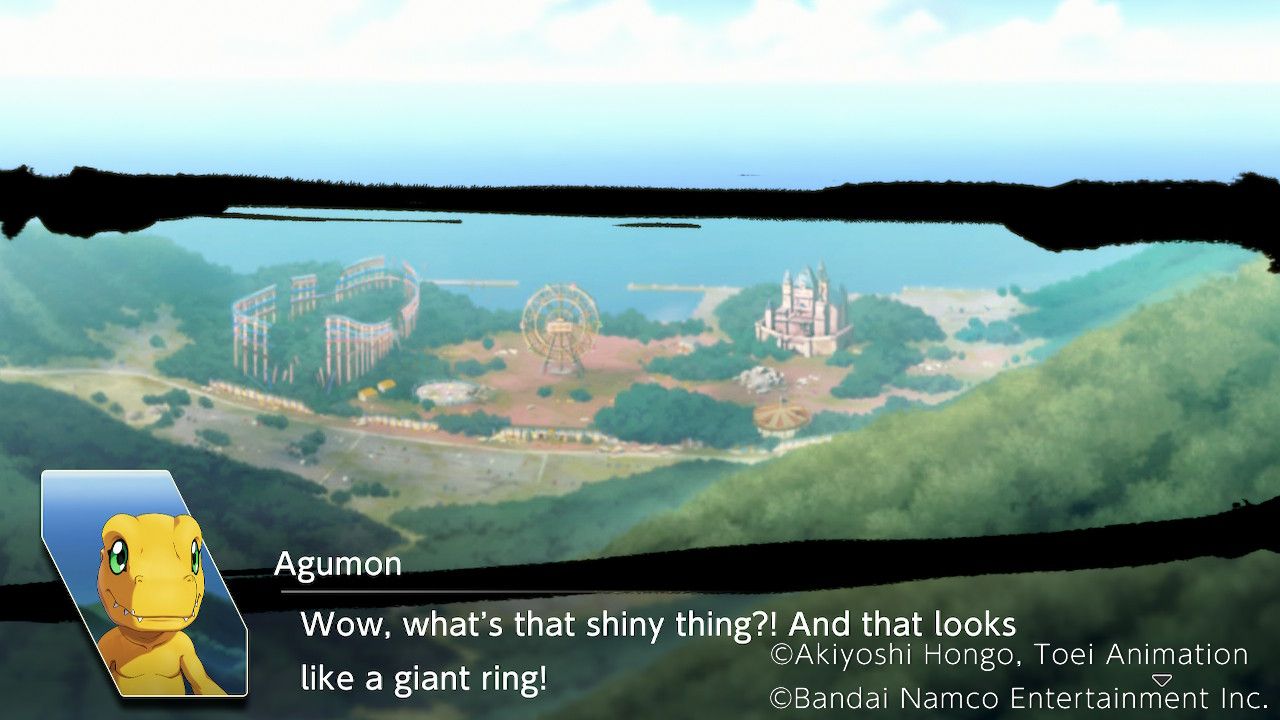
Returning to the school after the Free Action segment, Takuma and Agumon reunite. Apparently, Agumon has found something big and shiny while exploring with the other Digimon. Further discussion reveals it to be a Radio Tower, which would probably be an excellent place to scout the area and possibly find help. If they're very lucky, it might even give them a working phone signal.
Labramon explains that the Radio Tower is atop a mountain through the forest, which immediately upsets Shuuji, who has expressed a reluctance to even explore the area immediately surrounding the school. Ryo is lost in his own thoughts and has nothing to add to this.
Aoi, despite her earlier agreement with Shuuji, decides the Radio Tower is worth the risk of investigating just in case they can contact someone for help. Saki is in favor as well, and with Minoru retaining his previous stance on exploring that means the majority of the group are in favor of setting out. Takuma, in an effort to convince Shuuji, tries to remember why he was opposed to exploring.
He has to get his way? | No Effect. |
|---|---|
We'll run low on food? | No Effect. |
We might get lost? | No Effect. |
We might be attacked? | No Effect. |
Shuuji reluctantly agrees with the group, and they set off for the Radio Tower.
Mountain Pass
The group arrives at a Mountain Pass, with a large metal bridge in the distance. Ryo still doesn't seem to be doing too well, despite the group's best efforts to keep his spirits up. After a little while, the group spies Kaito arguing with a mysterious woman in the distance. He's clearly not happy, as it seems the woman has something to do with Miu's disappearance during the opening of this chapter. She immediately changes tact as the group approaches, trying to make Kaito seem like the bad guy.
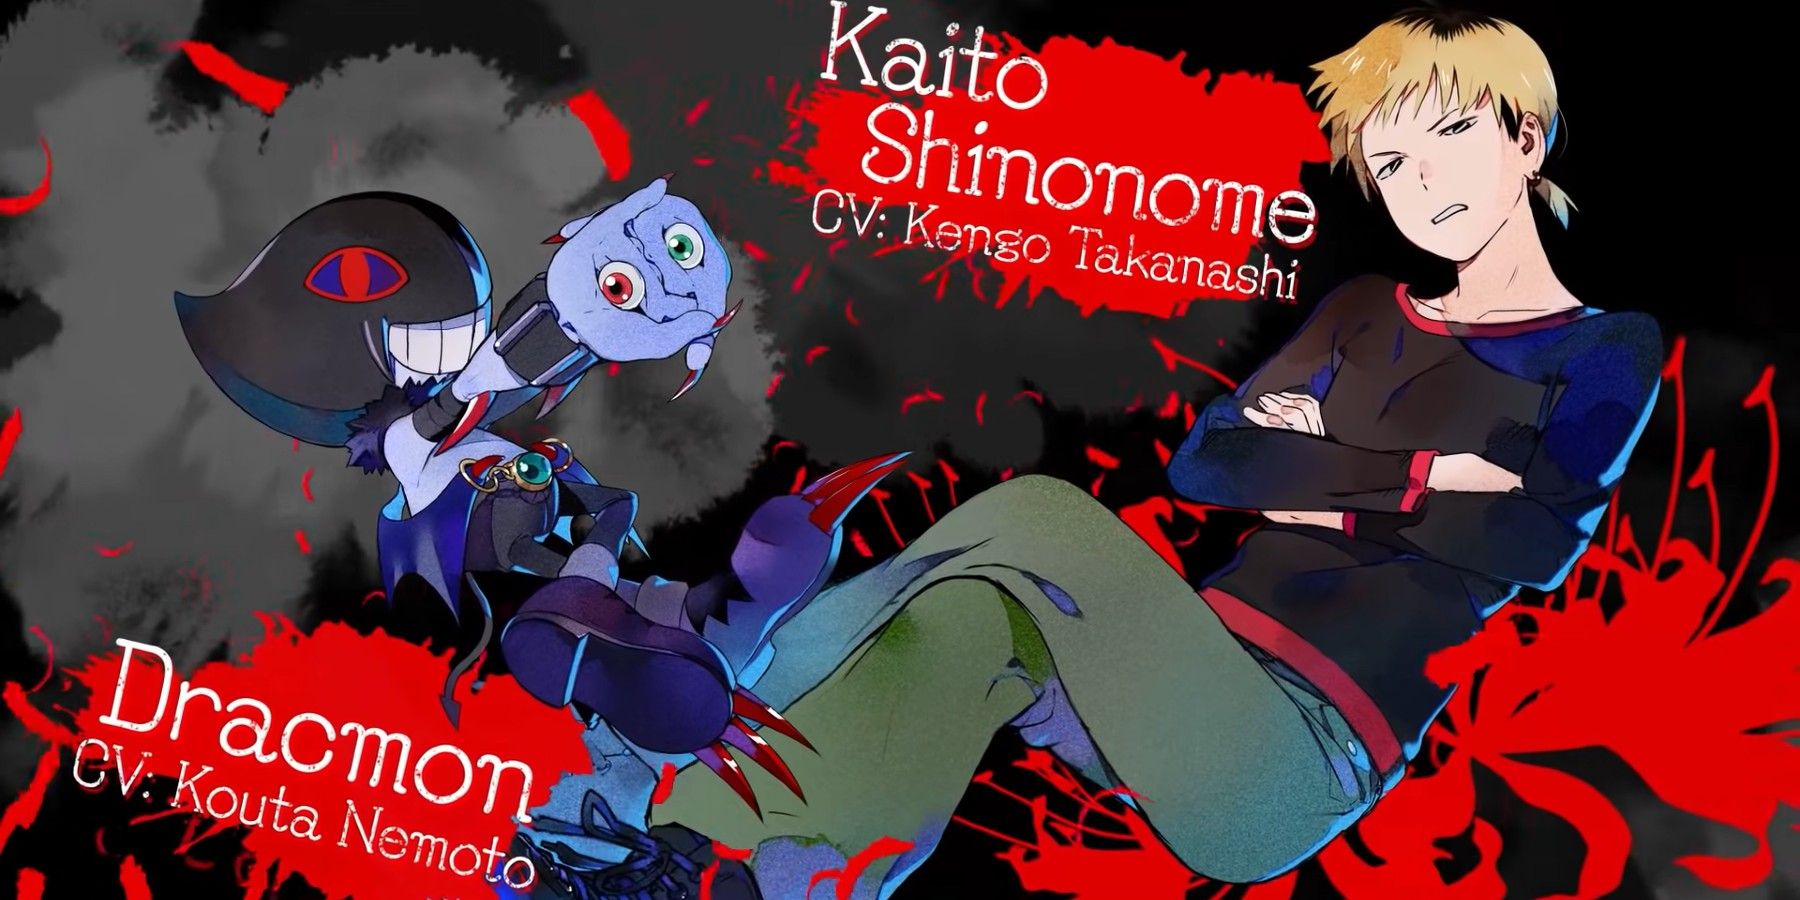
It's at this point that we meet Kaito's partner, Dracmon. Apparently they met shortly after Miu disappeared, and Dracmon has been helping him to look for her. Unfortunately, they ran into this woman who Kaito seems to believe is a monster in disguise. Speak to Kaito and the unfamiliar woman to get more details on what happened. Apparently this all began because she came up to Kaito holding Miu's purse. She claims that she only approached him because she hadn't seen any other humans around, and that she found the purse by chance.
Keep talking to everyone and piecing together what happened until the time comes to make a decision. Believe Kaito, or Believe the Mysterious Woman.
Believe Kaito
Believing Kaito gives players an opportunity to explore an extra area before the next main fight, and there are plenty of opportunities to gain extra items via the phone camera. Players can investigate the thicket on the right side of the area to find a Guard Break item, and can speak with either Haru and Miyuki or Kaito to trigger additional dialog. After interacting with any combination of those three options a total of three times, the game progresses to Kaito and Takuma finding the others trapped by Arukenimon in the Cable Car.
Believe the Mysterious Woman
Believing the Mysterious Woman guides players straight to the Cable Car station, and provides an opportunity to gain some extra karma via the following choice.
She seems nice. | Moral +1 |
|---|---|
I wish she'd join us! | Harmony +1 |
I don't trust her. | Wrathful +1 |
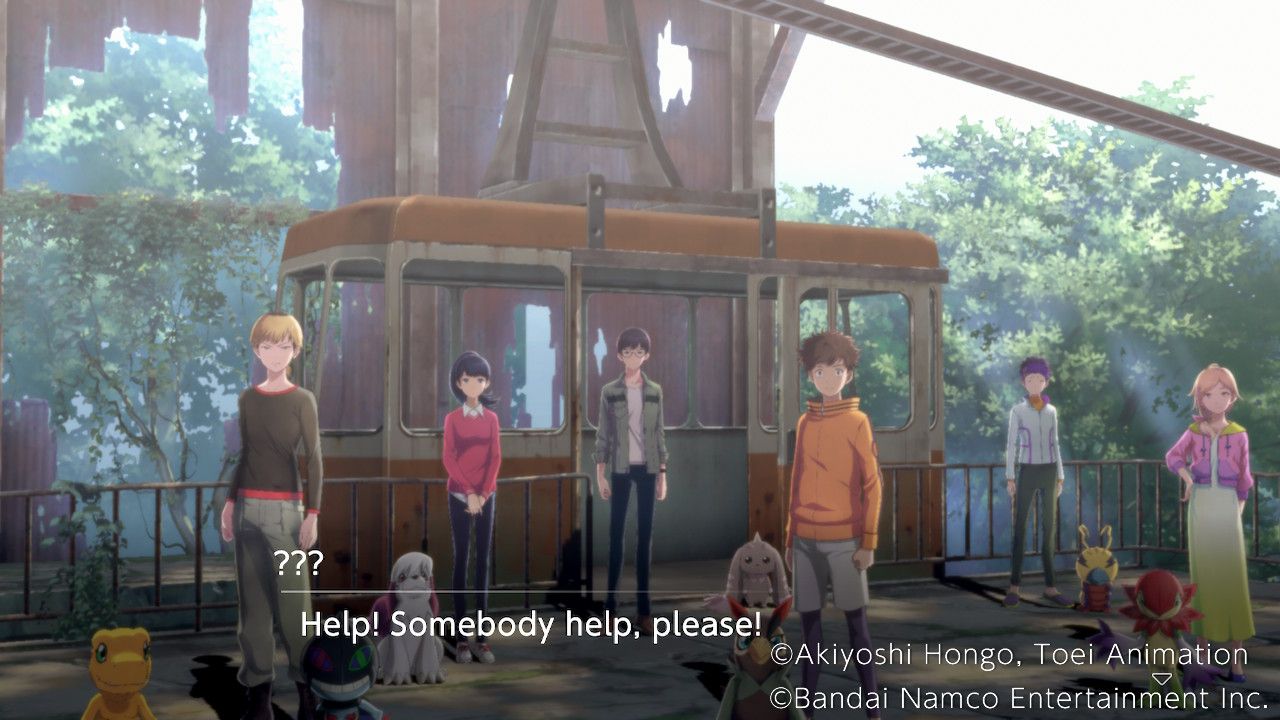
This results in the game proceeding straight to the next main battle and prevents players from deploying Agumon in that battle. Unfortunately trusting the mysterious woman who keeps acting suspiciously probably wasn't that smart, and now Arukenimon has most of the group trapped.
Cable Car - Battle
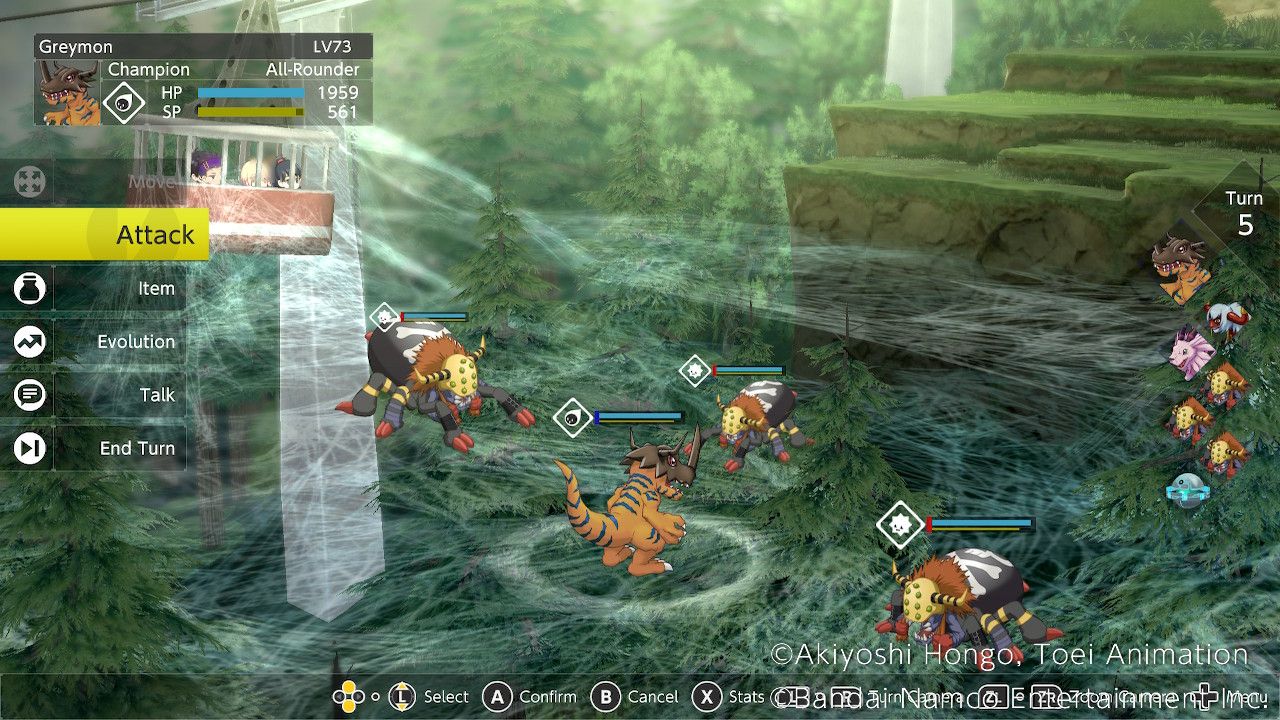
If the Mysterious Woman was chosen earlier, Kaito will fight alongside up to two of the recruited free Digimon in this fight. If Kaito was chosen, Takuma will join him along with a single free Digimon. This fight requires players to defeat Arukenimon to win, but initially, the fight is very much stacked against them. Arukenimon has a veritable army of Dokugumon to assist her in this fight.
Now that Kaito and Dracmon are here it's time to discuss what they bring to the fight.
Partner Overview
Dracmon is an Attack Digimon with the Virus type and a particular affinity for physical attacks. Its passive skill "Prankster" allows it to occasionally inflict a random status abnormality when attacking, and the "Eye of Nightmares" attack hits a target within 3 squares with dark damage and has a chance to confuse them. (This causes them to attack allies) Dracmon is weak to light but resistant to dark.
Dracmon is a bit unusual as he joins the party having already gained his champion form. Dracmon may digivolve into Sangloupmon. Sangloupmon has equal physical and special attack stats, and decent speed too. He has the passive skill "Bloodsucker" which allows him to gain HP equal to a portion of the damage dealt when attacking. Its special attack "Sticker Blade" deals dark damage to a target within3 squares and absorbs HP equal to a portion of the damage dealt, which pairs well with Bloodsucker to give Sangloupmon tremendous survivability.
Kaito's Talk command allows him to boost the physical attack stat of a partner Digimon, which proves useful when working with Digimon that use physical attacks like Tuskmon.
Battle
The trick to this battle is to head to the left first and try to take out the large Dokugumon by the Cable Car. This will release the rest of the group and allow them to join the fight.
Dokugumon are all over the area, and boast poison resistance along with a special attack that can poison targets. Fortunately they are rather vulnerable to fire and wind damage, making them easy pickings for most of Agumon's evolutions, Agumon itself, and Biyomon/Birdramon if the player has recruited one. Their resistance to dark damage makes them a slightly trickier foe for Dracmon/Sangloupmon, but his excellent attack stats will help him cut through them regardless.
The larger Dokugumon guarding the Cable Car has improved defensive stats and a higher level than the other Dokugumon on the map, but can still be taken down relatively easily with fire attacks.
Something the game tends not to bring up or explain also makes its first appearance on this battle map. The "Phasmamend" is a floating orb found nearby to Arukenimon on this map, and it likes to cast heal on anything in its range on its turn. This can be handy if the player's team is closer to it than the enemy, or frustrating if the enemy stick too close to it. Make good use of these when they show up in battle, or destroy them, so the enemy can't make use of them.
The chest on the right-hand side of the map contains a "Speed Break+", which grants a skill that can cripple an enemy Digimon's speed stat and drop their position in the turn order when equipped to an allied Digimon.
The chest on the left-hand side of the map contains a "Venom Trap." This grants a skill that deals a small amount of damage but has excellent odds of inflicting poison on the unfortunate target when equipped to an allied Digimon.
Clearing out the large Dokugumon causes Falcomon and Labramon to join the fight, but also causes two additional Dokugumon to spawn nearby. Luckily, both Falcomon and Labramon (along with their evolved forms) are vaccine Digimon who can make mincemeat of the Dokugumon.
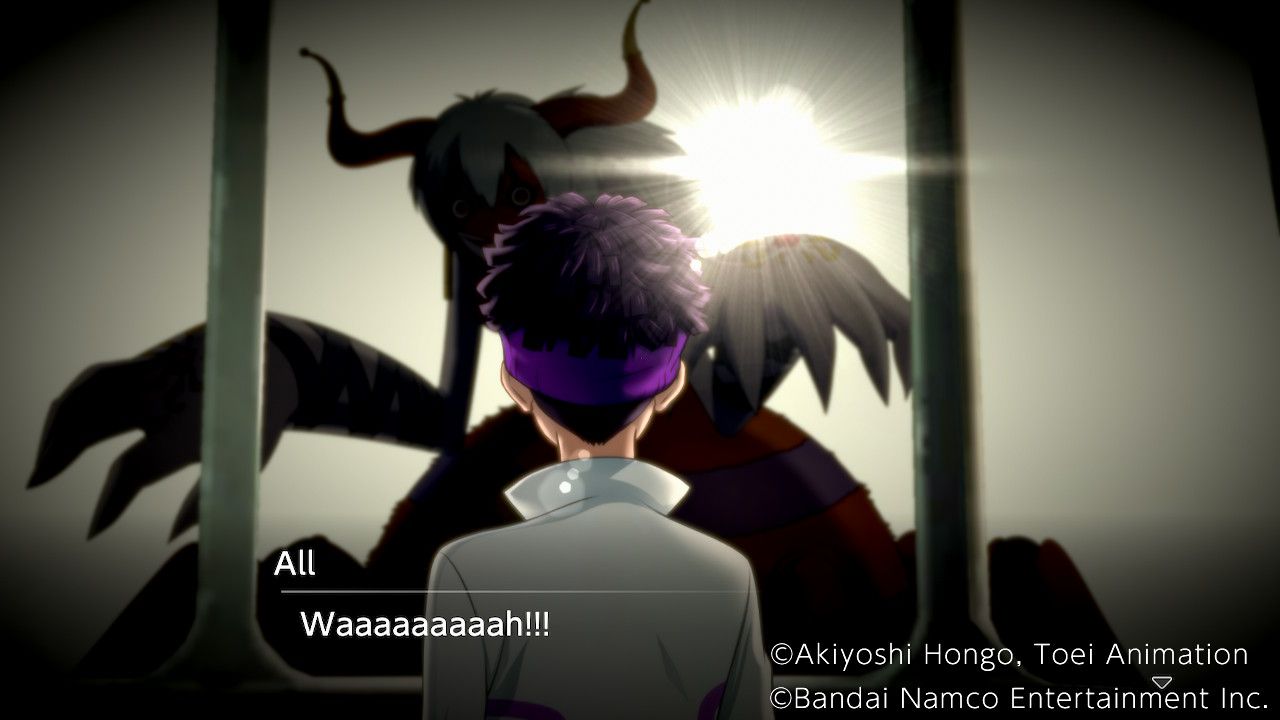
Clear out the Dokugumon and move as a group towards Arukenimon, paying careful attention to the terrain height so that the whole group can reach her. Arukenimon has exceptionally good movement and a high special attack stat. Her Spider Thread attack deals dark damage, and her passive skill "Spider Queen" has a chance to reduce a Digimon's speed when they attack her. She is weak to light element damage and resistant to dark, making Sangloupmon less than effective at damaging her. Luckily she also only deals dark damage, which Sangloupmon is resistant to, and the rest of the available partners for this fight have a type advantage against her.
If a Patamon was recruited earlier, digivolving it into Angemon or Gatomon will provide players with a powerful and fast moving vaccine Digimon that deals light damage, making it perfect for trouncing Arukenimon.
Arukenimon unfortunately escapes after the fight to lick her wounds and return another day, leaving no clues as to Miu's location. The group resumes their climb up the mountain in hopes of finding useful information at the Radio Tower.
The Story Continues
The group arrives at the end of the Cable Car route, where a Tentomon has been trapped in webs by Arukenimon.
Depends on what we get. | Moral +1 |
|---|---|
We help, of course. | Harmony +1 |
Let's leave him be. | Wrathful +1 |
After cutting him down, he reveals that he helped Miu to escape Arukenimon, resulting in his own capture. She was apparently headed to "that shiny place." He suggests climbing somewhere high to look for the place, and Saki suggests the Radio Tower the group was headed for anyway.
Atop the Radio Tower, the group makes a discovery fans of the original Digimon anime might have seen coming. They are on an island, and there's almost nothing familiar about the landscape. A theme park in the distance proves to be the "shiny place" Tentomon mentioned.
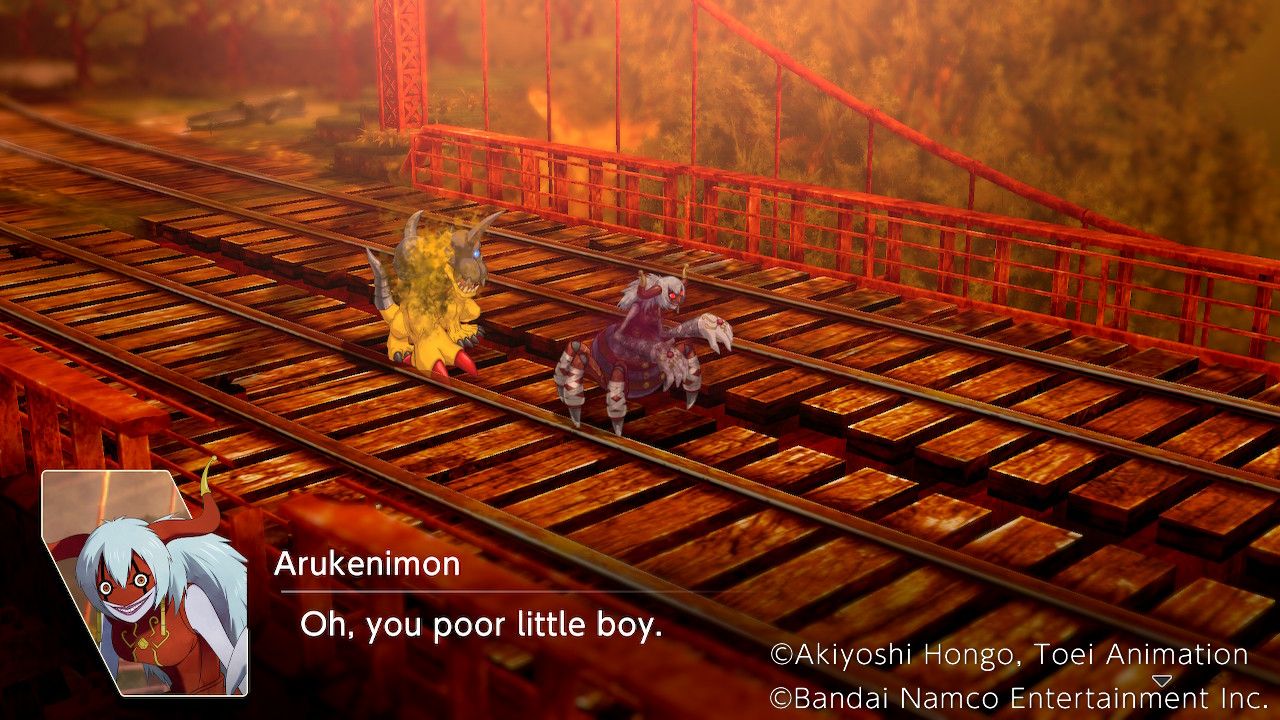
Everyone struggles to process the reality of the situation, but Ryo in particular is crushed, declaring that they must be in the afterlife and rushing off somewhere. He unfortunately runs into Arukenimon, who decides to have Cyclonemon execute him for her. The group arrives to save him and another battle begins.
Bridge - Battle
This battle is a shorter and simpler affair than the battle with Arukenimon, though this doesn't mean there's no danger. Betamon and Gotsumon make up the bulk of the enemy force on this map, so vaccine and virus Digimon will perform well here.
Snagging the chest on the left, right after the fight starts will net a "Saint Knuckles", which gives the equipped Digimon a strong light element physical attack that heals the user for a portion of the damage it deals.
Floramon is a required unit on this map, so have her advance cautiously alongside the rest of the group, clearing out the enemy one by one. After the first turn things get interesting, as Cyclonemon makes the mistake of trying to break Saki's spirit. With a little encouragement from Floramon, she shakes off its words and her determination gives Floramon new strength.
Vegiemon is an interesting addition to the team, swapping Floramon's data type for the Virus type, and featuring excellent and well-balanced stats. Vegiemon has a particularly good special attack stat, resistance to wind and earth, and a weakness to fire. The "Rich Fragrance" passive skill gives all of Vegiemon's attacks a low chance of confusing the target(s), and "Poop Toss" deals earth damage with a low chance of reducing the physical and special defense of the target. This makes Vegiemon into a very effective debuffer with reasonable damage too.
Cyclonemon, the boss Digimon on this map, is a powerful attacker Digimon with lackluster defenses. "Soldier for Revenge" raises the damage done by its counterattacks, while "Hyper Heat" allows it to hit any target within four squares distance (in a straight line from him) with fire damage and potentially drop their physical and special defense. It resists fire, water, and earth, but is greatly vulnerable to wind, making Falcomon/Diatrymon very effective at damaging it.
After landing a hit on Cyclonemon the situation gets worse, with it knocking Ryo off the bridge. Haru jumps after him to everyone's shock, and the group has no choice but to wrap up this fight ASAP if they hope to save them.
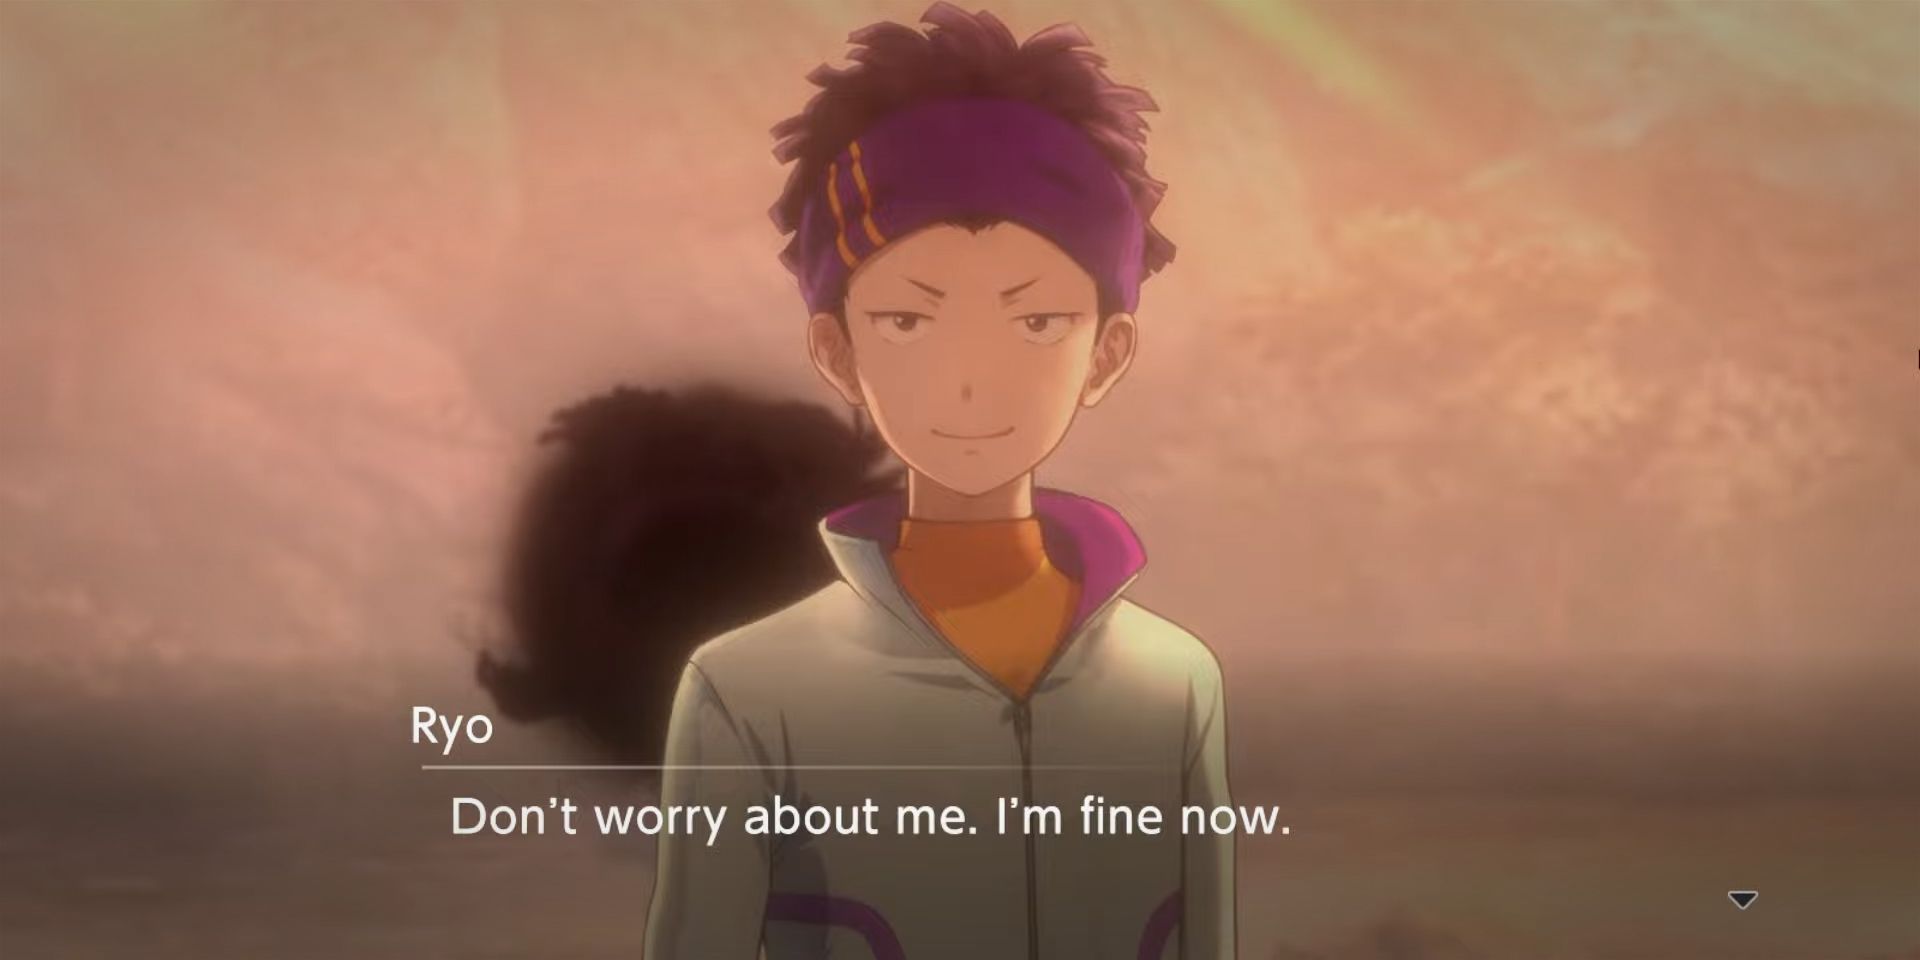
Ryo continues to lose it at the bottom, and Haru starts speaking strangely, as though he knows way more than he's letting on. The fog rolls in, and Kunemon arrives to help, but unfortunately Ryo is hallucinating and wanders into the fog. The rest of the group arrives, but Ryo is completely losing it and a cluster of strange tentacled hands reach for him.
Of course we'll help! | Moral +1 |
|---|---|
It's risky, but yeah. | Harmony +1 |
Can we even make it? | Wrathful +1 |
Despite Takuma wanting to save him Agumon holds him back to protect him from the fog. Ryo continues to hallucinate as the myriad hands drag him away. Kunemon seems to glitch and fade away after Ryo vanishes.
Haru cryptically explains that Ryo "Gave up on himself, so this world consumed him." With Ryo dead, the group return to the School with heavy hearts.
I just don't know. | Moral +1 |
|---|---|
Cooperation. | Harmony +1 |
Determination | Wrathful +1 |
Takuma encounters Agumon on his way back to the classroom, and they talk about what might have changed things.
We'd Talked More. | Moral +1 |
|---|---|
He'd talked with us. | Harmony +1 |
He'd faced his fears. | Wrathful +1 |
With no clear solution, Agumon does his best to cheer Takuma up, and they wish each other good night.
Saving the Day (New Game + Only)
Saving Ryo requires players to be in New Game + and raise his affinity to 30 before the scene where he would usually die. This causes Kunemon to leap to his defense and successfully get through to him, snapping him out of his funk and saving his life in the process.
Digimon Survive was released on the 28th of July 2022 for PS4, PS5, PC, Xbox One, Xbox Series X/S, and Nintendo Switch.
