Quick Links
Digimon Survive's fourth Part finally reintroduces Miu to the story, alongside her partner Syakomon. It also introduces most of the game's main antagonists and sets up the main threat going forward while also expanding on the lore of the world the group has found themselves in.
Digimon Survive Part 4 opens with Arukenimon making her excuses to a cloaked figure, trying to make up for letting the children escape during part 3. The cloaked figure suggests she take Megaseadramon with her, and Monzaemon is also seen lurking. The arrival of an uninvited guest, in the form of Garurumon, aggravates matters further. He seems to care less about Arukenimon's goal and more about crushing the "traitors" who side with humans.
School - Opening
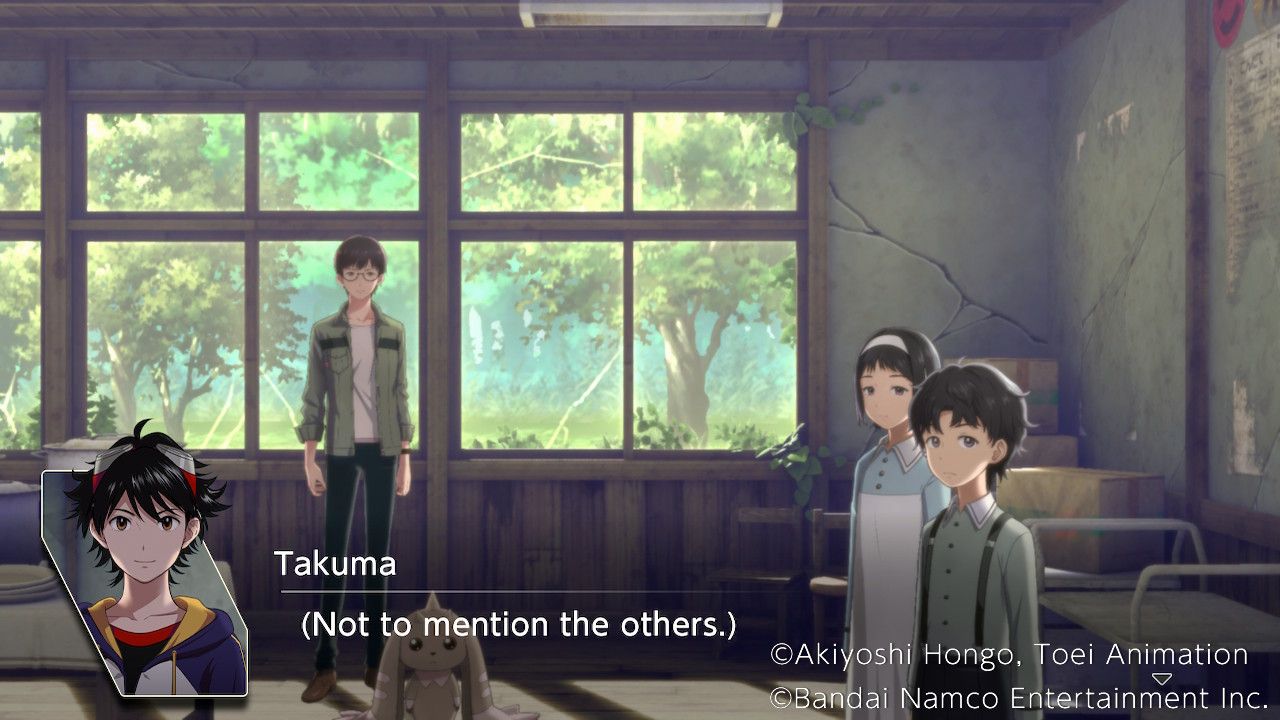
Takuma startles awake, having had a nightmare about Ryo's death. He heads to the Cafeteria to find the others but only finds an irritable Kaito, waiting for the others to get their act together, so they can go look for Miu. He understands that they need time but understandably doesn't think they can afford to waste any. With some help from Dracmon, he's convinced to wait until noon before rushing off on his own.
School - Free Action
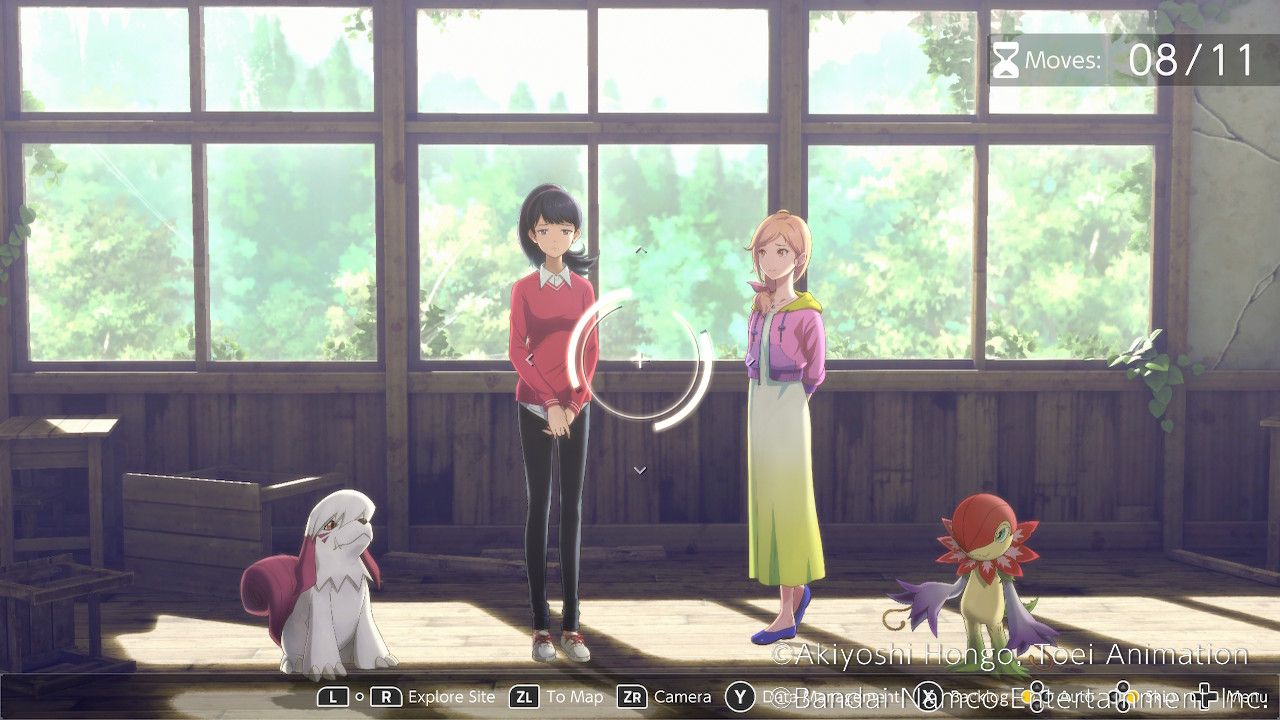
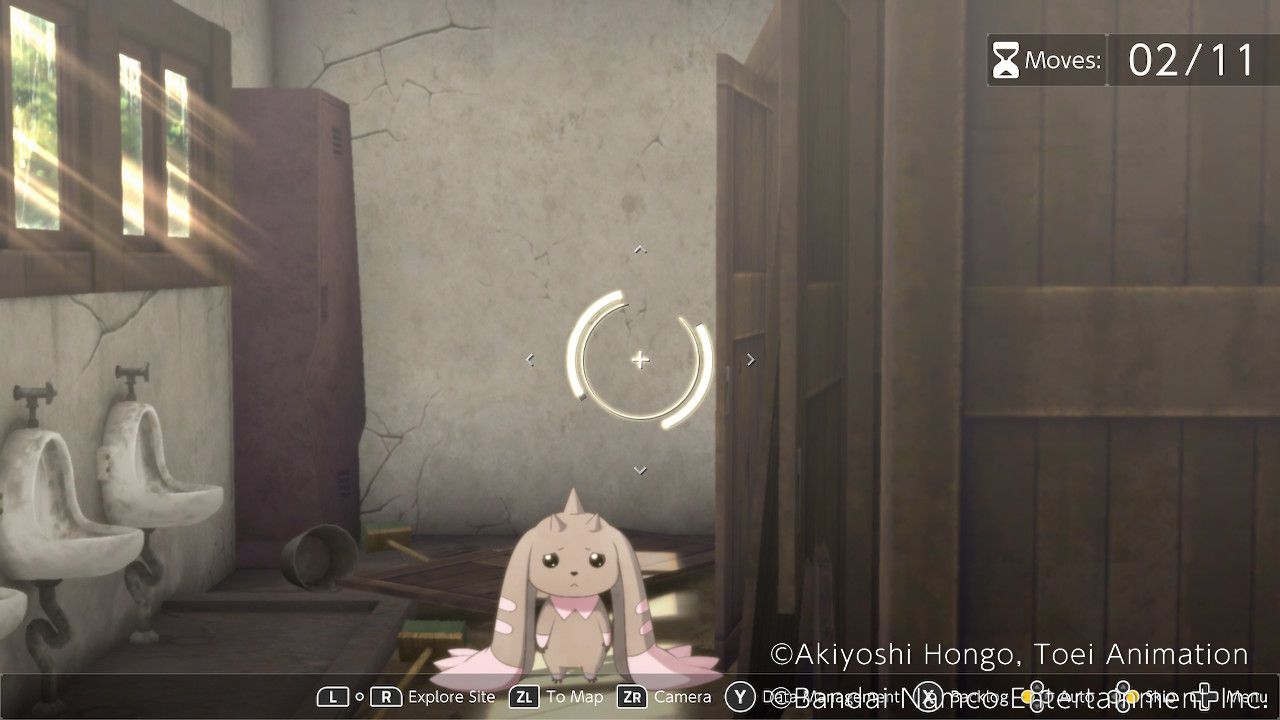
This free action segment gives players 11 moves to work with, so there's a decent number of opportunities to raise affinity and even grab some useful items.
Corridor
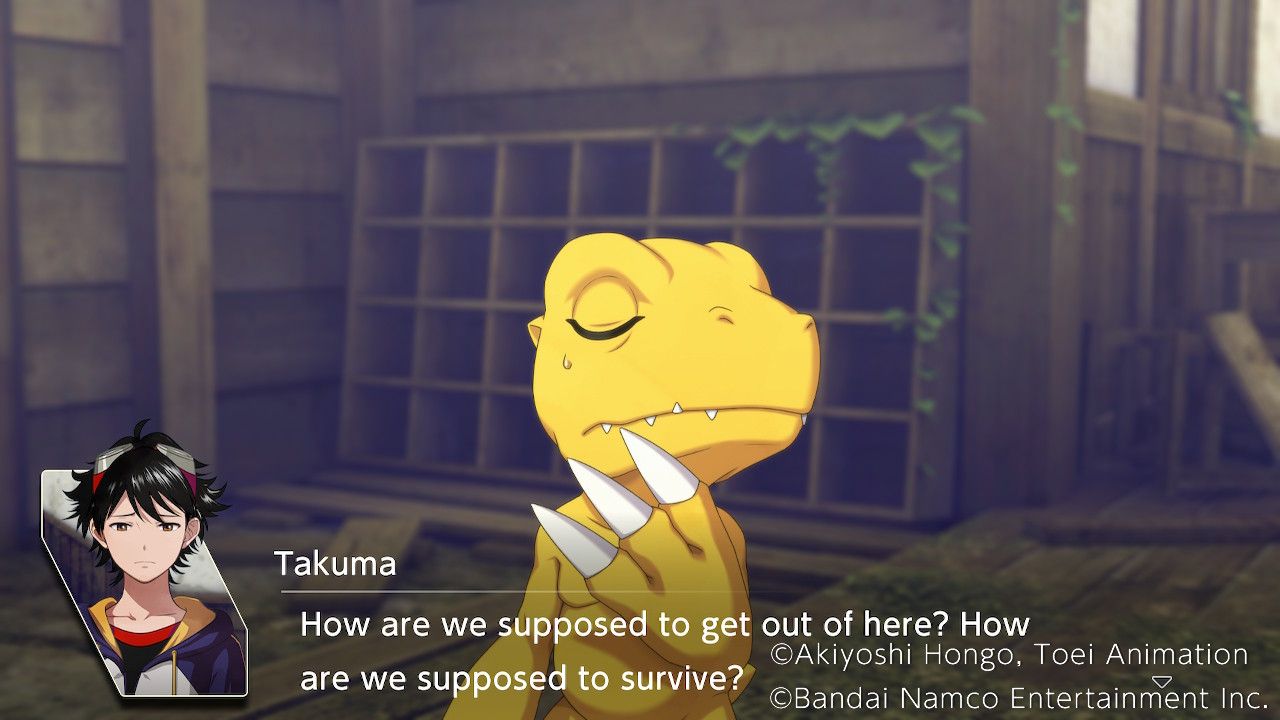
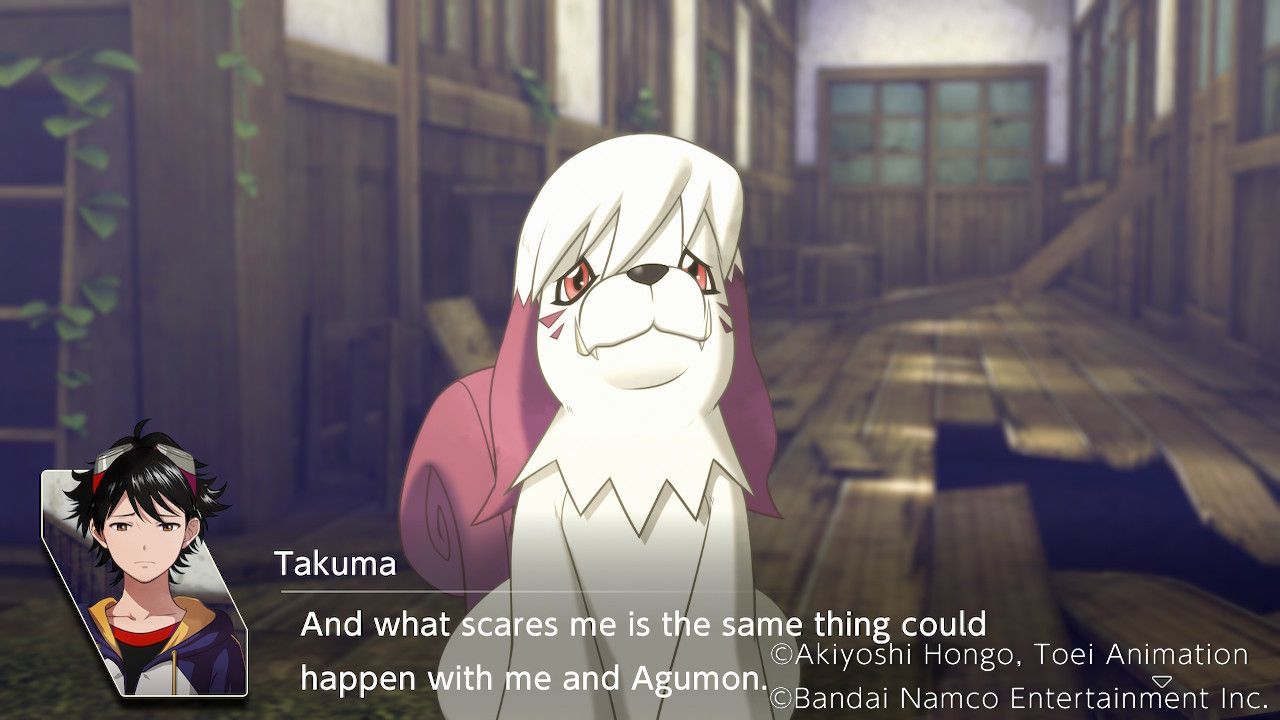
Agumon can be found here, triggering a conversation about what happened with Ryo and Kunemon. After cheering Agumon up, he wants to try to help the others and asks Takuma what he should do.
I honestly can't say. | Moral +1 |
|---|---|
Talk with people. | Harmony +1 |
Give people space. | Wrathful +1 |
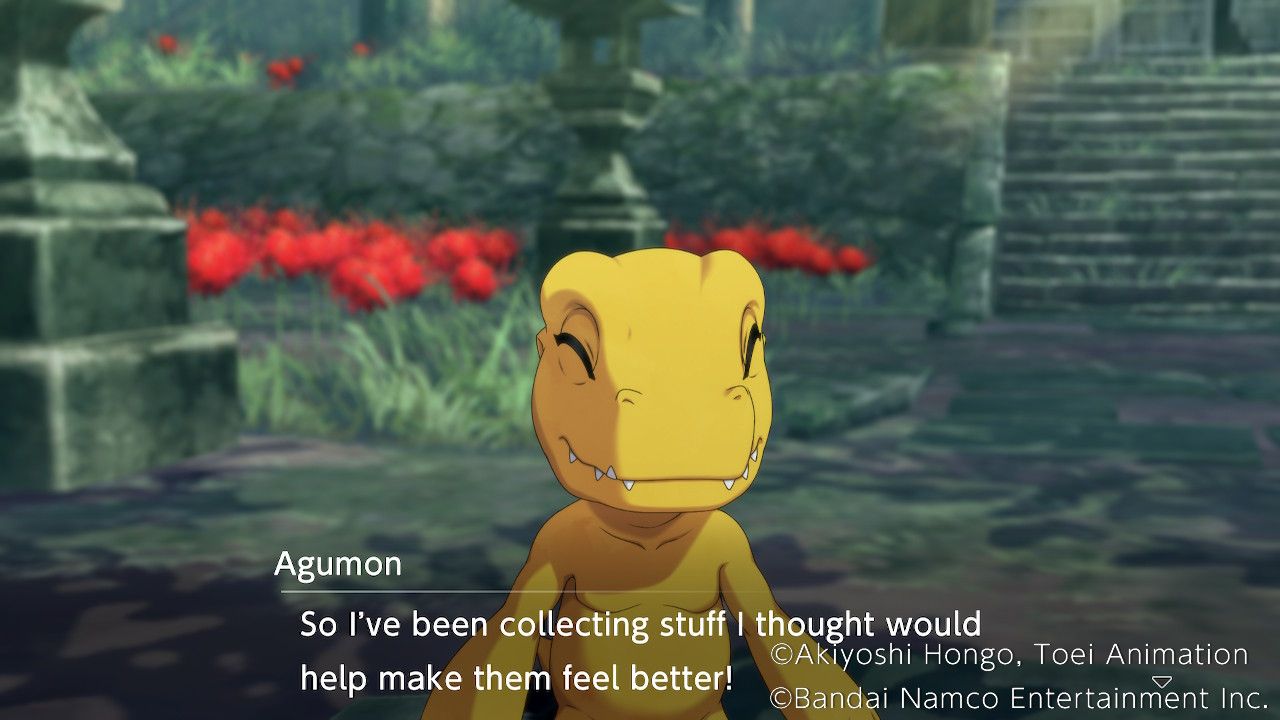
The discussion gives Agumon an idea, and he heads off somewhere, promising to be back by noon. This does not take an action and triggers a new event at the Woods by School. It also causes Shuuji and Lopmon to appear in the Corridor when revisited.
Shuuji is taking what happened to Ryo very badly and keeps snapping at poor Lopmon. He believes what happened to Ryo is his fault since he's meant to be the leader.
Think of that later. | No Effect. |
|---|---|
I'll apologize too. | Shuuji Affinity Up! |
No need to apologize. | No Effect. |
Lopmon tries to comfort him, but sadly Shuuji continues to rebuke him for it. After this, Lopmon will appear at the Toilet.
Classroom
Aoi, Saki, Labramon, and Floramon are in the classroom. Speaking to Saki will cause her to reflect on Ryo and the way he acted, suggesting that he reminded her a bit of herself.
I couldn't say. | No Effect. |
|---|---|
I think you're nice. | Saki Affinity Up! |
I think you're blunt. | No Effect. |
Speaking to Aoi will reveal just how hard she's taking what happened, lamenting her inability to help Ryo.
It was inevitable. | No Effect. |
|---|---|
What's done is done. | No Effect. |
We're all responsible. | Aoi Affinity Up! |
Saki will explain to Takuma that she isn't sure there's any "right thing" to say at the moment.
Have you had it rough? | Saki Affinity Up! |
|---|---|
You really get girls. | No Effect. |
You're so considerate. | No Effect. |
Saki says she'll stay here with Aoi and asks Takuma to let her handle this. After this conversation, Labramon will appear in the Corridor, and Floramon will appear outside the Old School.
Cafeteria
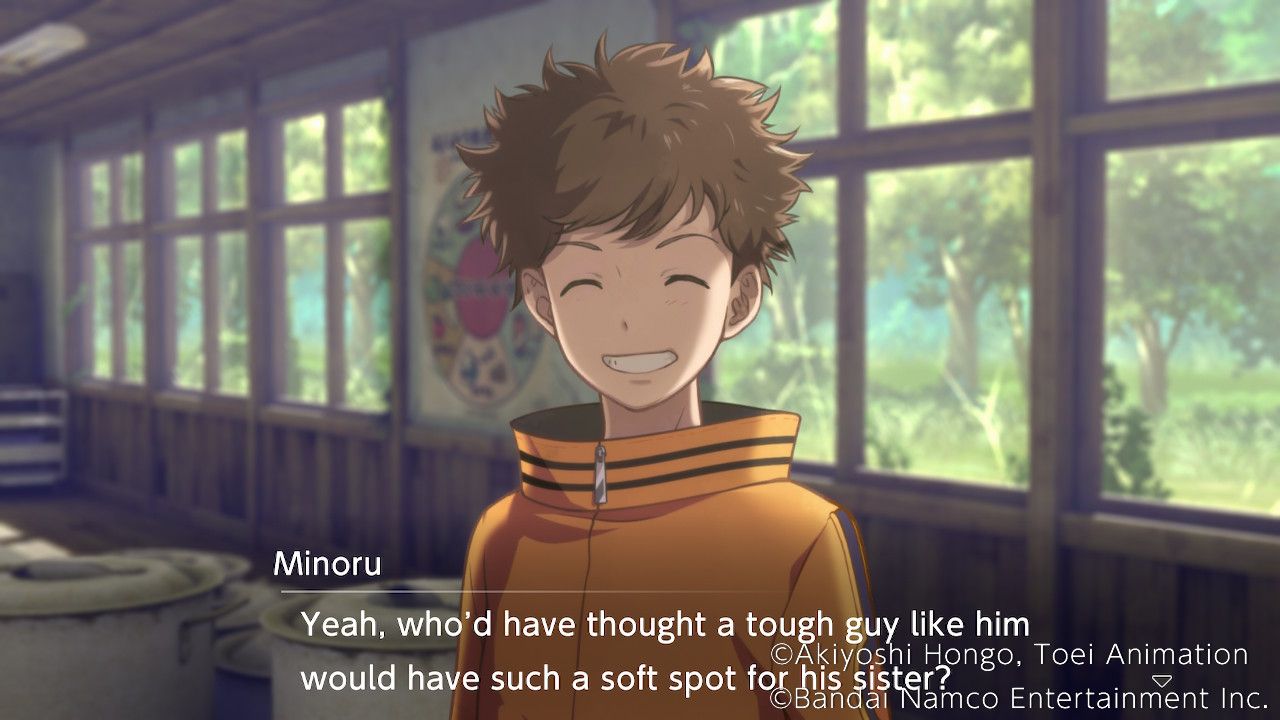
Minoru and Falcomon can be found at the Cafeteria. Speaking to Minoru will show that he's at least trying to pretend that he's doing okay despite everything, and he'll ask Takuma what sort of comics he likes.
Why are you asking? | No Effect. |
|---|---|
Those comics he likes. | Minoru Affinity Up! |
I'm not telling. | No Effect. |
Takuma will notice that Minoru is forcing himself to act more upbeat, trying to put on a brave face so Takuma and the others don't worry.
Speaking to Falcomon here will cause him to bring up Kunemon, revealing that Kunemon had made a piece of equipment for Ryo before he died. He'll ask Takuma what he thinks of it.
I'm not sure. | Moral +1 |
|---|---|
It's really well-made! | Harmony +1 |
This is terrible! | Wrathful +1 |
Falcomon gives the item to Takuma afterward, and it turns out to be an "Anti-Paralysis Crystal."
Gym
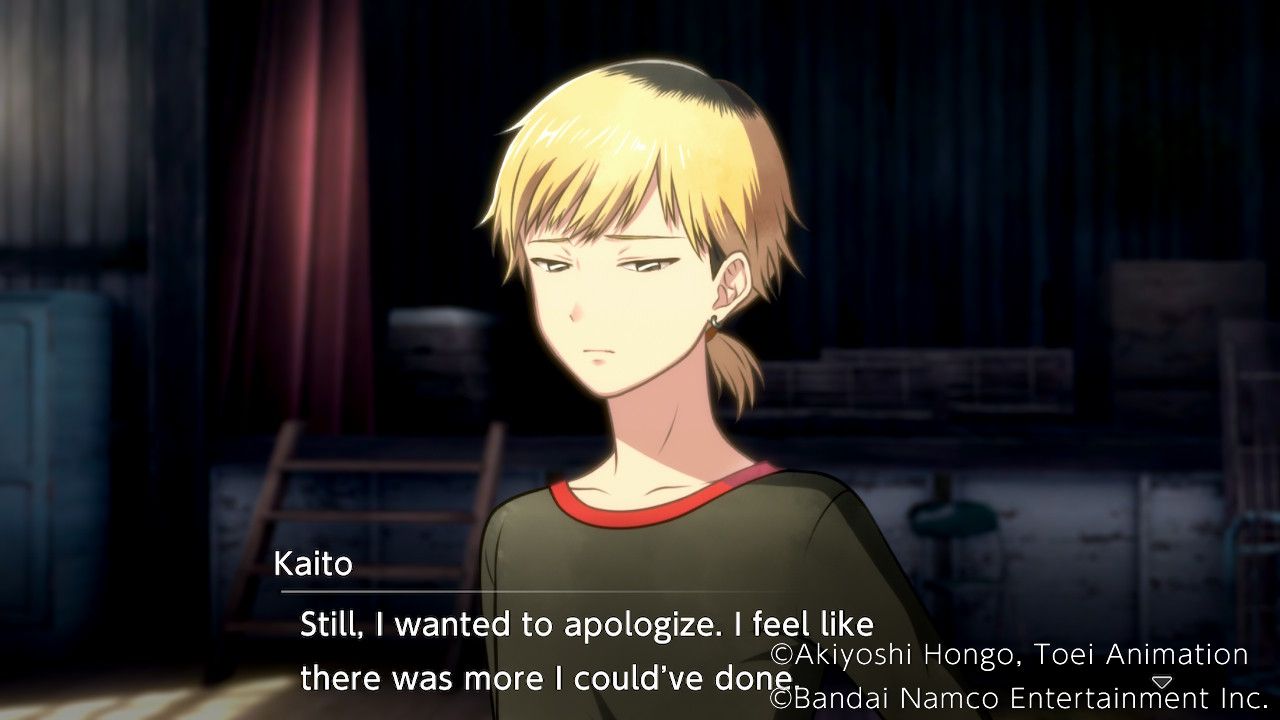
Kaito and Dracmon are in the Gym. Speaking to Kaito will reveal he moved to the Gym, so he wasn't intruding on the others while you discuss what happened. Kaito laments not seeing through Arukenimon's disguise quicker, though Takuma is quick to point out she had everyone fooled.
You've got some sense. | No Effect. |
|---|---|
You're a good guy. | No Effect. |
You're really honest. | Kaito Affinity Up! |
Kaito wonders about the hands in the fog that dragged Kaito away, but unfortunately, Dracmon is in the dark too. He also received one of those garbled texts. After this conversation, Kaito and Dracmon will appear at Old School.
Old School
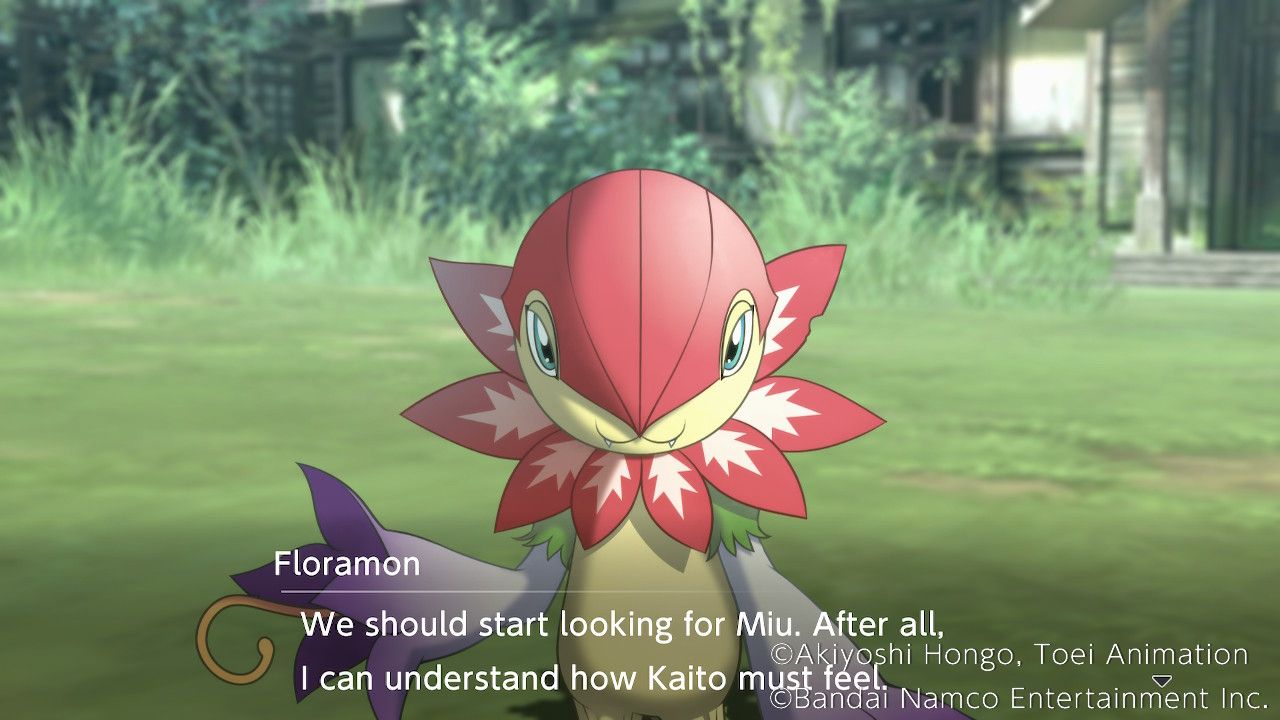
Floramon can be found here after speaking to Aoi and Saki, while Kaito and Dracmon appear here after speaking to Kaito in the Gym. Speaking to Floramon will have her reveal that she can sense something in the direction of the Shrine.
Speaking to Kaito will cause him to express frustration that everyone isn't ready to go yet. Takua will point out that Ryo's death has hit everyone hard, but Kaito will still consider running off to find Miu immediately. How will Takuma convince him to stay?
By force, if need be! | No Effect. |
|---|---|
Appeal for help! | Kaito Affinity Up! |
Persuade him. | No Effect. |
Regardless of the choice made, Kaito will hang around until noon, as he originally agreed to.
Corridor - Labramon
Labramon is found in the Corridor at this point, having left Aoi for a little bit. She's upset with herself because she wants to comfort Aoi but is struggling with the idea of Aoi's death, causing her to disappear too. Labramon promised to be at the Cafeteria by noon.
Lopmon - Toilet
Lopmon is in the Toilet because Shuuji told them to "get lost." After Takuma expresses his hope that Lopmon and Shuuji start understanding each other soon, Lopmon will tell Takuma that Agumon was headed for the shrine.
Woods Near School
After speaking to Agumon, an event will trigger when Takuma heads to this location. Agumon can be heard talking about something he's found, but Takuma just misses him.
Woods Near Shrine
After speaking to Agumon, an event will trigger when Takuma heads to this location. Agumon can be heard getting excited about something he has found, but Takuma will miss him again.
Shrine - Looking for Agumon
Takuma will arrive at the Shrine looking for Agumon and find him with a collection of Choice Ribs, which he'll give to Takuma. Agumon has spent the time since speaking to Takuma gathering things that he thinks will make everyone feel better.
The Story Continues
Takuma returns to the Cafeteria, where everyone has gathered on time. Kaito thanks everyone for coming and apologizes for dragging everyone into this. Most of the others are perfectly willing to head out and find Miu, but Shuuji asks if they're serious about it, pointing out the myriad dangers the group has encountered so far.
He goes a bit too far, though, suggesting that Miu might already be dead and drawing the ire of the group (especially Kaito).
Shuuji says he needs to be responsible as the leader and look out for the others, but Takuma is quick to point out that Kaito is equally responsible for Miu's safety, which gets through to Shuuji. Unfortunately, the argument is quickly reignited, and Takuma is given a choice on how to stop it.
Try to enlist help. | Moral +1 |
|---|---|
Honor Shuuji's point. | Harmony +1 |
Side with Kaito. | Wrathful +1 |
Thankfully, Aoi is able to get both of them to quit their arguing and stop wasting time. The group sets off to the Amusement Park to look for Miu. Takuma tries to ask Haru about the strange way he was acting yesterday, but Haru doesn't appear to know what Takuma is asking about.
The trek through the Forest is rough, not helped by Shuuji's attitude and Kaito's insistence on pushing onward.
Find another way. | Moral +1 |
|---|---|
Press on like this. | Harmony +1 |
Turn back here. | Wrathful +1 |
The group presses on a while longer, but everyone is exhausted, and the Amusement Park is still nowhere in sight. The group does their best to convince Shuuji and Kaito to take a short break.
I want to look around. | Moral +1 |
|---|---|
Let's take a break. | Harmony +1 |
Let's press on. | Wrathful +1 |
Even Kaito is willing to take a break, noting that Miyuki is falling asleep on her feet. Minoru is worried about Lopmon too, who is still being berated constantly by Shuuji.
Speak to Minoru, Aoi, and Shuuji in order to continue the story. Aoi and Minoru have some interesting musings on the world and recent events, while Shuuji continues to treat Lopmon badly.
Before long, Kaito gets everyone moving again, pointing out that they'll run out of sunlight if they stop for too long.
Lopmon | No Effect. |
|---|---|
Saki | No Effect. |
Miyuki | No Effect. |
A short way past their rest stop, the group finds the Amusement Park and heads in to search for Miu.
They are quickly accosted by a trio of Digimon working for the "Queen." They've mistaken Agumon and the others for monsters that kidnap children and keep jumping to the wrong conclusions when the group tries to explain what they're actually doing. They also seem to be a little afraid of the queen, who can apparently turn people to stone.
Agumon, work this out. | Moral +1 |
|---|---|
We don't want a fight. | Harmony +1 |
You asked for this! | Wrathful +1 |
Fortunately, the trio flees before the group is forced to actually fight them, leaving the group to search the park for Miu. For about five seconds, they quickly attempt to confront the group again moments after heading through the park gates. Speak to Kaito to try and calm him down before this escalates into actual combat.
Minoru and Kaito end up fighting them anyway and quickly send them running. This rather upsets Aoi and Saki, who make them promise not to fight them again if they show up. The group elects to split up to cover more ground while looking for Miu, and players are given access to the world map.
Park Area - Exploration
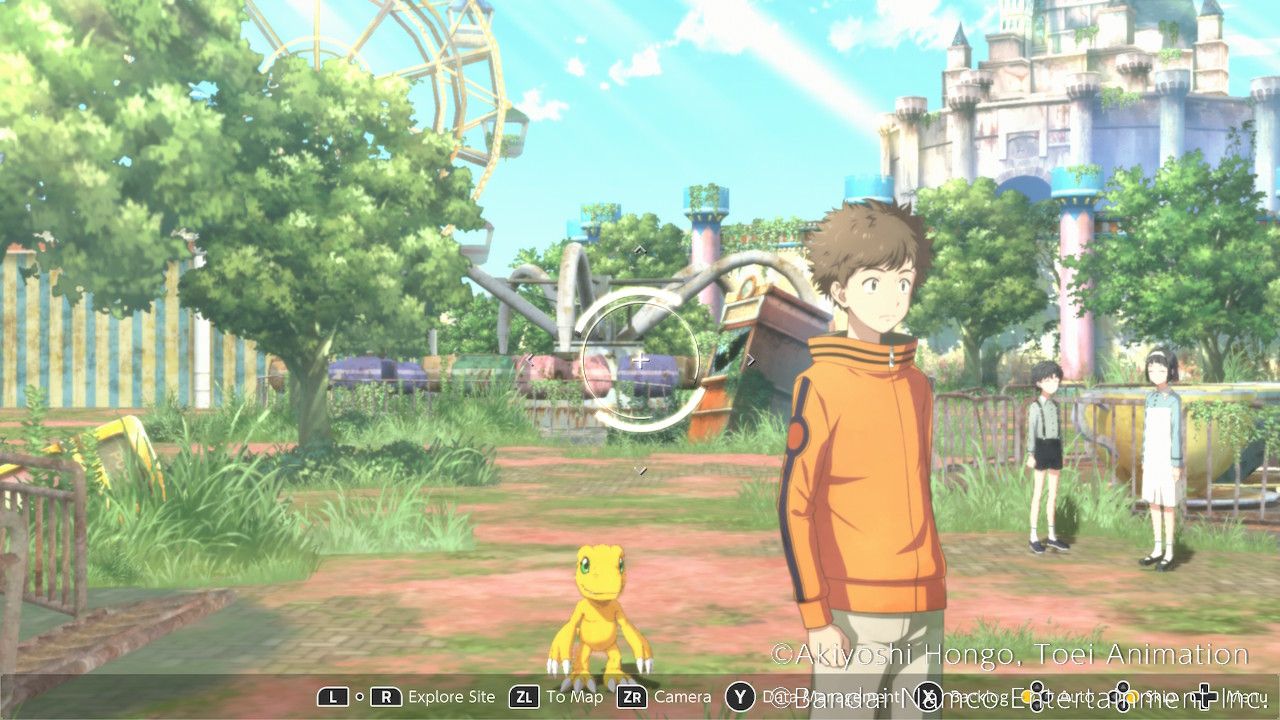
The Park has several areas to explore, and players will need to visit most of them sooner or later in order to finish Part 4.
Free Battle
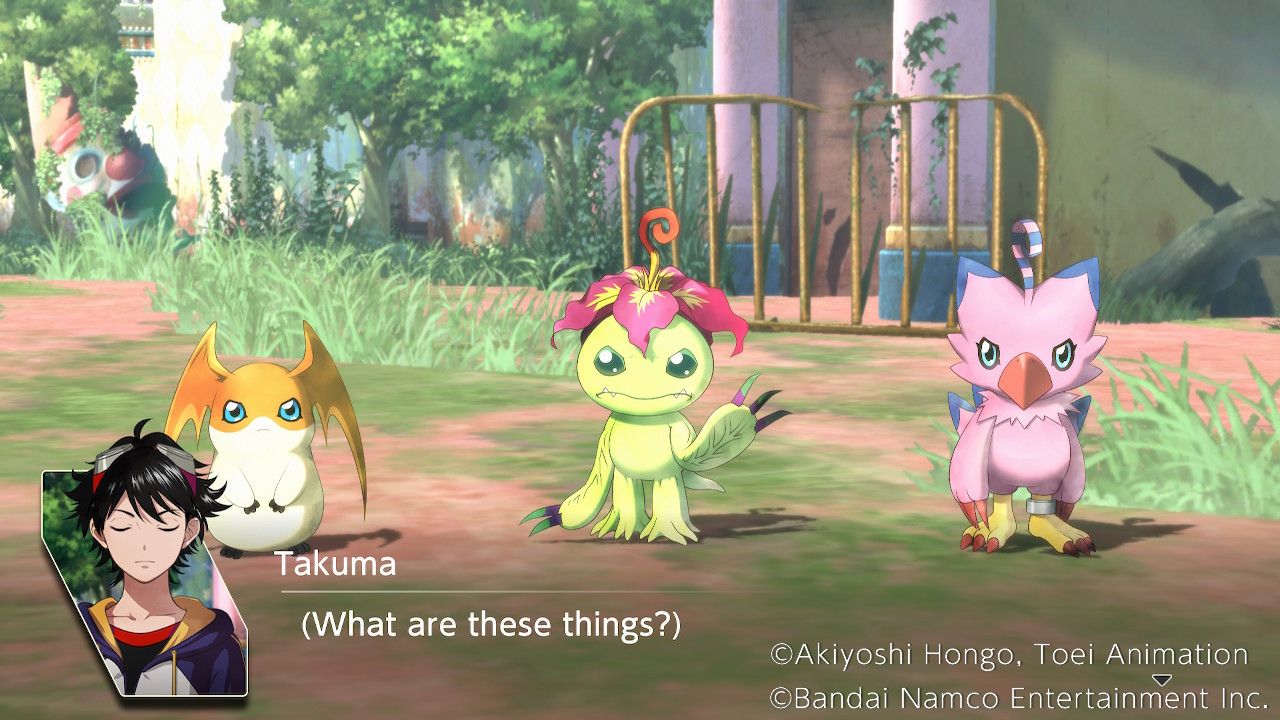
The Free Battle at the Park features a range of Digimon, including some new faces. Patamon, Gatomon, Biyomon, Birdramon, Meramon, and Diatrymon can be found here.
Due to its excellent movement, it may be worth grabbing a second Diatrymon for times when Minoru and Falcomon are unavailable, while Gatomon is a decent physical attacker that can inflict confusion with its signature attack.
Park Gate
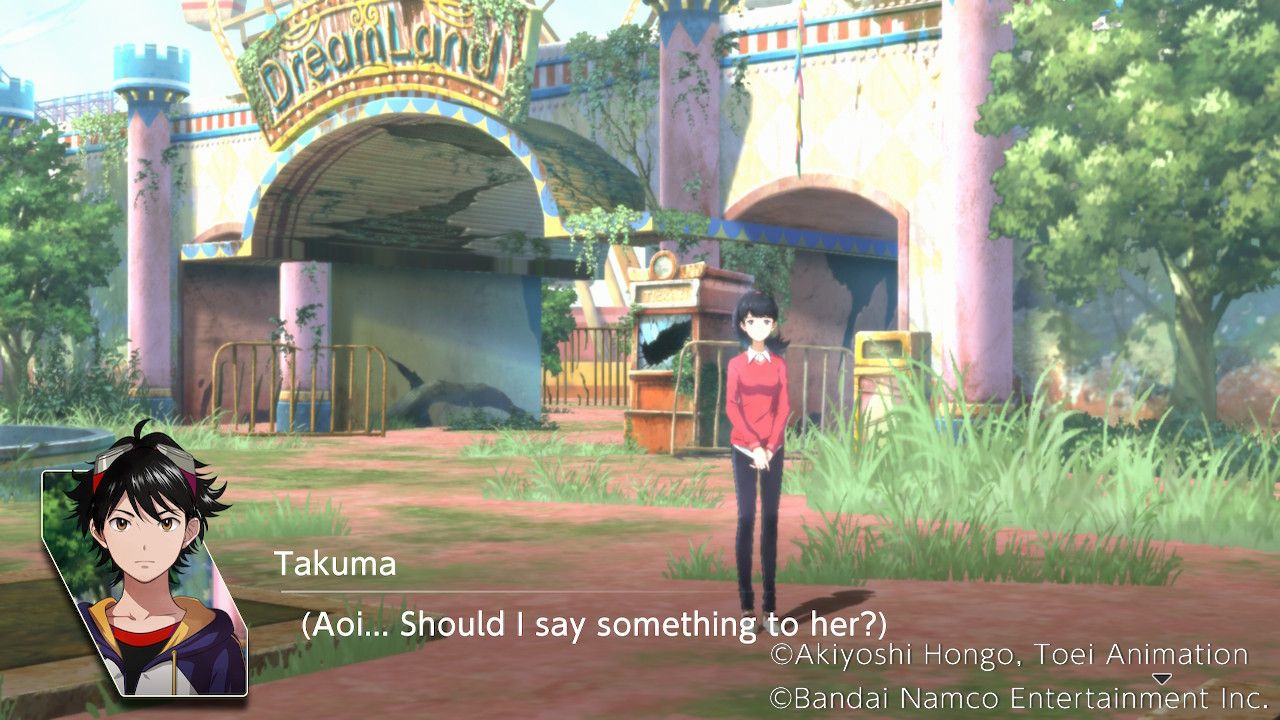
Aoi can be found at the Park Gate, wondering if the trio of Digimon from earlier are alright after getting a beating from Kaito and Minoru.
Save your concern. | No Effect. |
|---|---|
You sure are nice. | No Effect. |
You love cute stuff. | Aoi Affinity Up! |
Central Plaza
Minoru is here with Haru and Miyuki. Interacting with Haru will show a scene of Haru and Miyuki being uncharacteristically lively and cheerful, but after glancing at Agumon, Takuma looks back to see both of them have vanished. Agumon points them out a short distance away, back to their usual selves.
Minoru is finding exploring an Amusement Park alone a weird experience, and Takuma brings up the idea of renting out a park. Minoru takes the opportunity to accuse Takuma of being a huge romantic and asks who Takuma would take with him if he rented an amusement park.
Refuse to answer. | No Effect. |
|---|---|
My girlfriend. | No Effect. |
You. | Minoru Affinity Up! |
Performance Space
Saki and Floramon can be found here. Speaking to them causes Saki to say something cryptic about liking the "idea" of amusement parks before quickly changing the subject. All-in-all she seems to be enjoying the experience, but Takuma expresses concern that she might be overdoing it after being so worn out by the journey.
No reason. | Saki Affinity Up! |
|---|---|
You're too excited. | No Effect. |
You seem wistful. | No Effect. |
Castle Courtyard
Kaito is here, but quickly on arrival, Takuma will be accosted by the trio of Digimon from earlier, who accuse Kaito, Takuma, and Minoru of following them. Aoi shows up right on cue to remind everyone that they agreed not to fight them.
Ignore them. | Moral +1 |
|---|---|
Try to convince them. | Harmony +1 |
Scare them off. | Wrathful +1 |
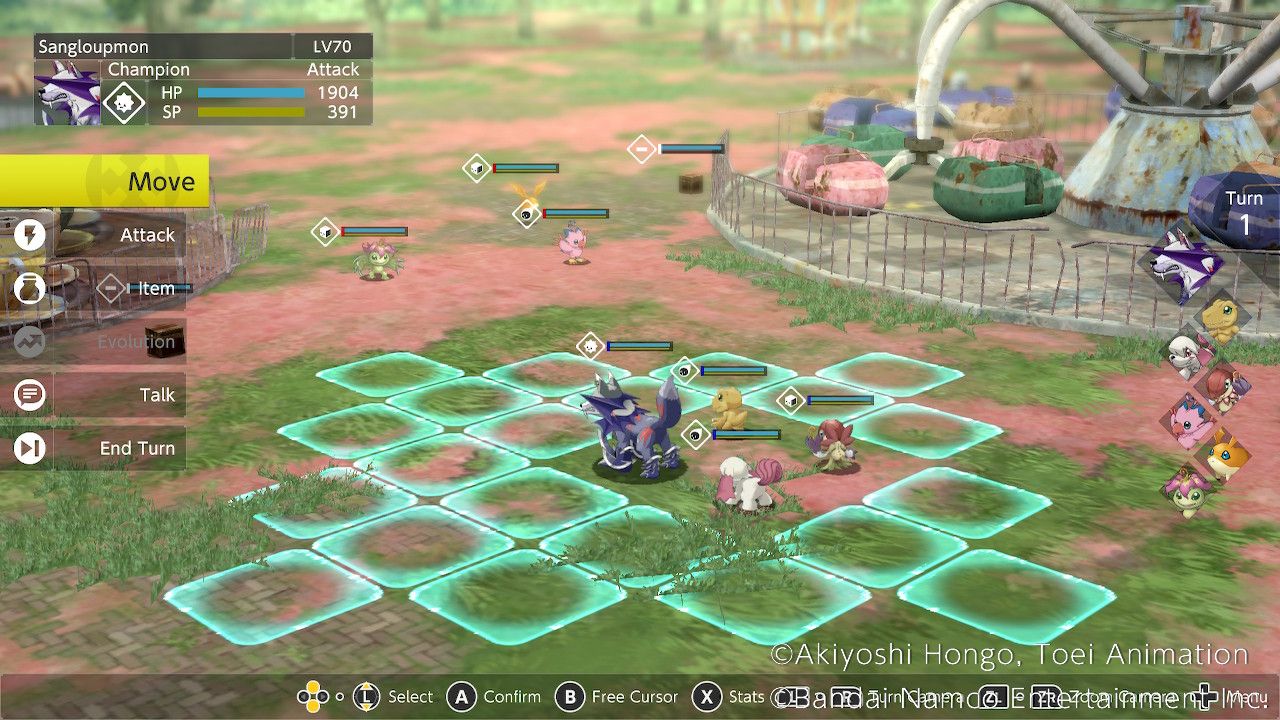
Unfortunately, they end up attacking, and combat begins. This is a simple enough battle; just get behind them and use their weaknesses to take them out fast.
Biyomon is a vaccine attribute special Digimon who is weak to the earth element, so get Saki and Floramon to handle them so they can't back up their allies. (Evolving to Vegiemon is a bad idea here as it changes Floramon into a virus Digimon, giving Biyomon the advantage).
Agumon can take down Palmon easily thanks to its weakness to fire, and Dracmon can handle Patamon easily due to its weakness to the dark element. Patamon should probably be the top priority since it can heal the other enemy Digimon due to its equipped skill.
The chest directly ahead of the starting point contains ribs, while the one near Patamon's starting point contains a Sincerity Melon. After defeating them, players are sent back to the World Map, but immediately re-entering the Castle Courtyard will allow players to speak with Kaito.
Kaito is understandably pretty worried about Miu, but he seems to be keeping calm for the moment. Takuma will then ask him about Miu:
Does it get annoying? | No Effect. |
|---|---|
What do you love most? | Kaito Affinity Up! |
What makes her cute? | No Effect. |
The Amusement Park - The Story Continues
Everybody regroups to discuss what they've found, which is essentially nothing. After a moment, the three Digimon from earlier appears again, once again attempting to oust the group from the Park. Takuma has to choose how to handle them.
Completely ignore them. | Moral +1 |
|---|---|
Keep trying to reason. | Harmony +1 |
Pose as servants. | Wrathful +1 |
Unfortunately, they flee again, still under the impression that the group is evil.
Amusement Park - Exploration 2
Park Gate
Visiting the Park Gate and speaking to Agumon will reveal a hidden item in the ticket booth in the form of two Crisp Apples.
Performance Space
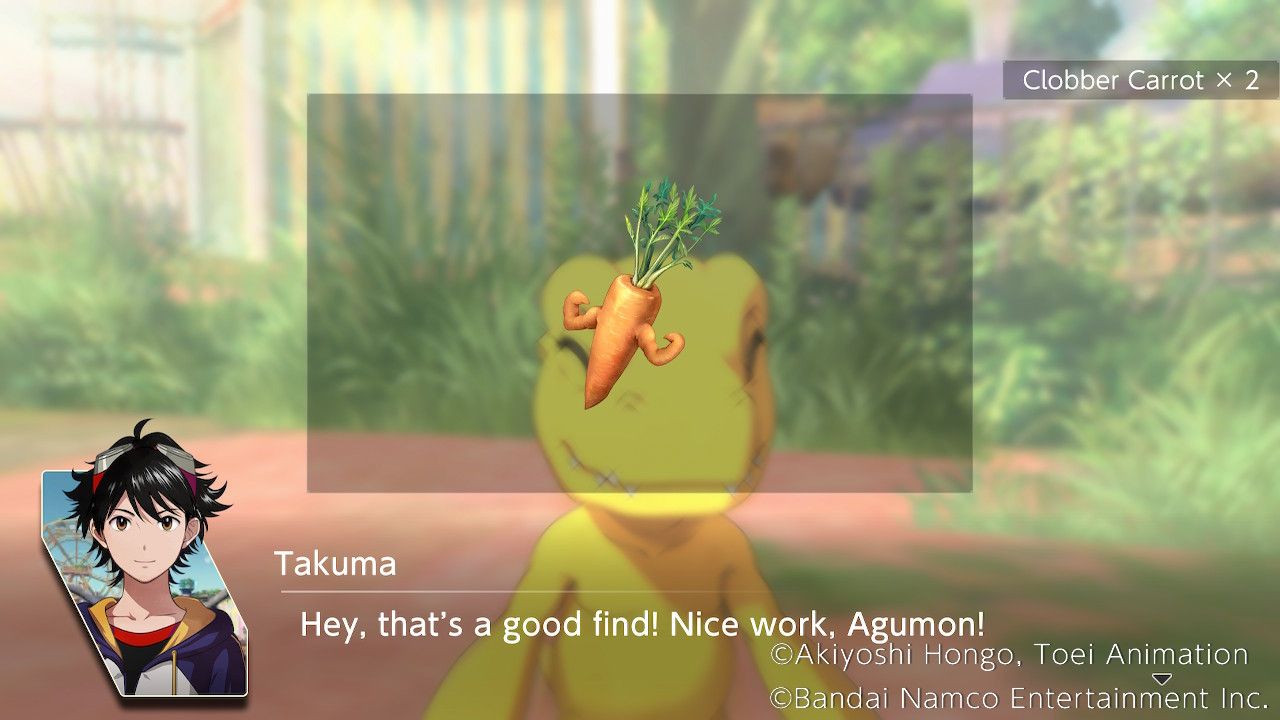
Talk to Agumon here to discover a hidden space in the floor, where a pair of Clobber Carrots can be found.
Castle Courtyard
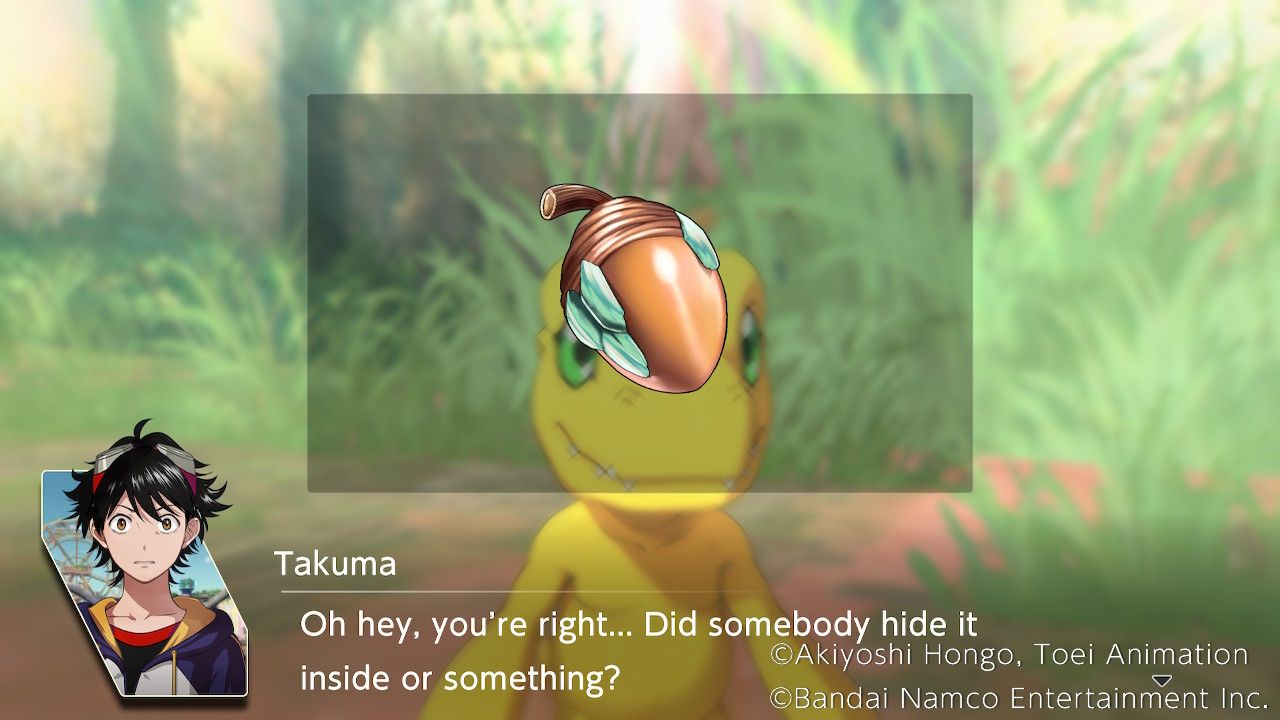
Investigate the pillar here to find a pair of Amulet Acorns.
Central Plaza
The group has gathered here to talk about the situation, as they seem to have run out of places to look. Minoru points out that hanging around like this is a great way to get jumped by the three Digimon that keep showing up, but unfortunately, pointing this out seems to make it happen.
After a great deal of shouting from Kaito, Aoi is able to convince him to back off and let her handle it, managing to get through to the three Digimon, and they let slip that the queen is a young human girl.
The three Digimon agree to go ask the queen about Miu and then head off to their "Secret Hideout." Kaito has a bad feeling about the queen and suggests following them to the hideout.
Finding the Queen
In order to successfully follow Patamon, Biyomon, and Palmon, players will need to choose the correct option in each room they visit. Luckily the choices are very easy to spot, and a mistake will just force players to begin from the start of that room.
Interact with the Corner in the first room, then the End of the Hall in the second. Interact with the Corner in the third room, and finally interact with the Pillar in the fourth room to find the passage into the Throne Room.
Head back to each room after picking the correct option for that room, and new items and encounters can be found with the camera.
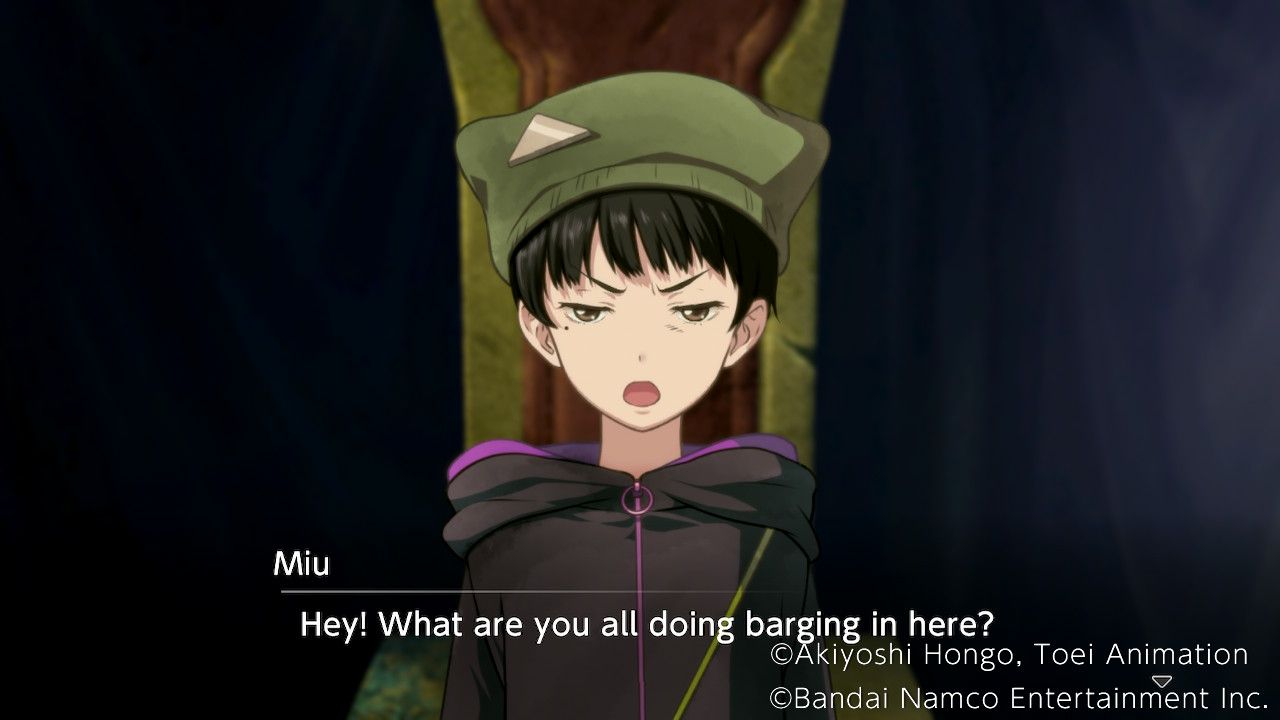
Inside the throne room, to the surprise of everyone except Kaito, Queen Miu is found. Accompanied by her partner Syakomon, she appears to have somehow become the queen of the Amusement Park.
We've got great food! | Moral +1 |
|---|---|
This world is dangerous. | Harmony +1 |
Stop acting up! | Wrathful +1 |
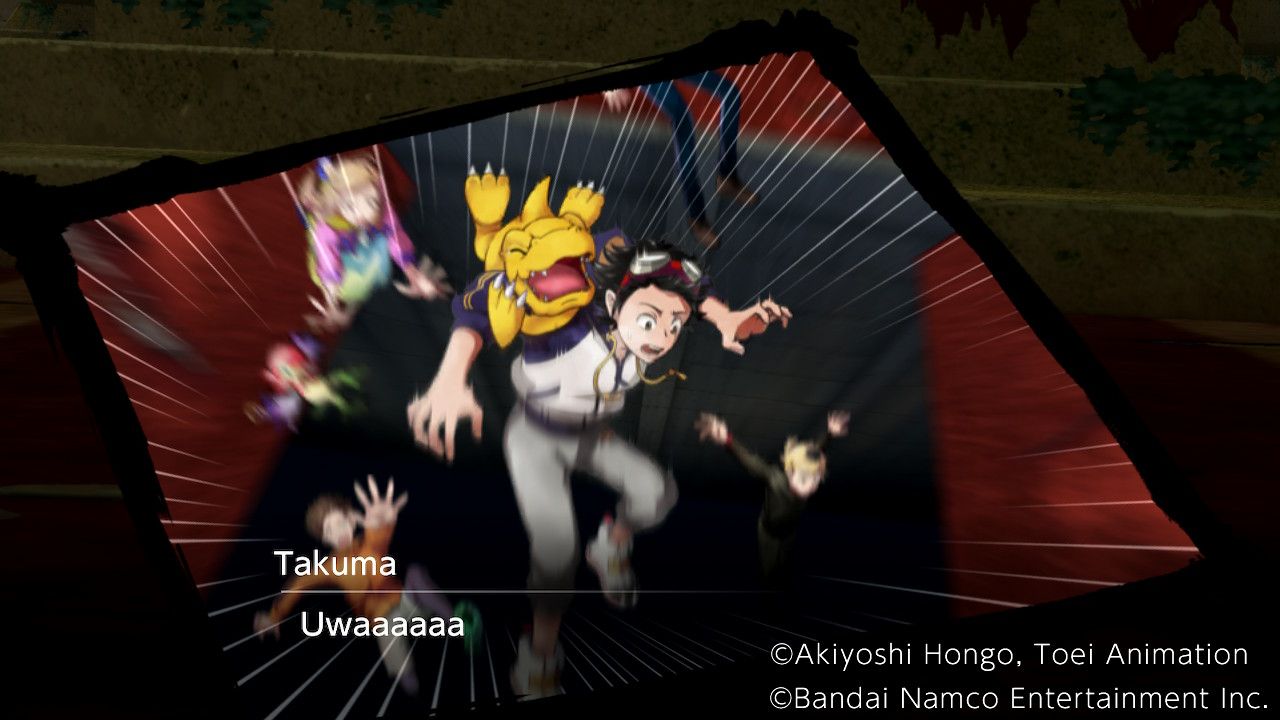
Unfortunately, and despite Syakomon trying to convince her otherwise, Miu deploys a trapdoor and drops the group into a prison cell beneath the castle. Investigate the cell for possible escape routes to cause the story to progress; it seems there's no breaking out of here.
Kaito will attempt to break the cell door down, but this proves futile. Luckily a new ally appears, and they seem very familiar with "Her Rowdiness." Jijimon lets the group out of the cell and guides them down a tunnel towards an exit. Minoru and Shuuji are both a little suspicious of him, perhaps understandably given recent events.
Try to wait on Miu? | Moral +1 |
|---|---|
Follow along! | Harmony +1 |
Find our own way. | Wrathful +1 |
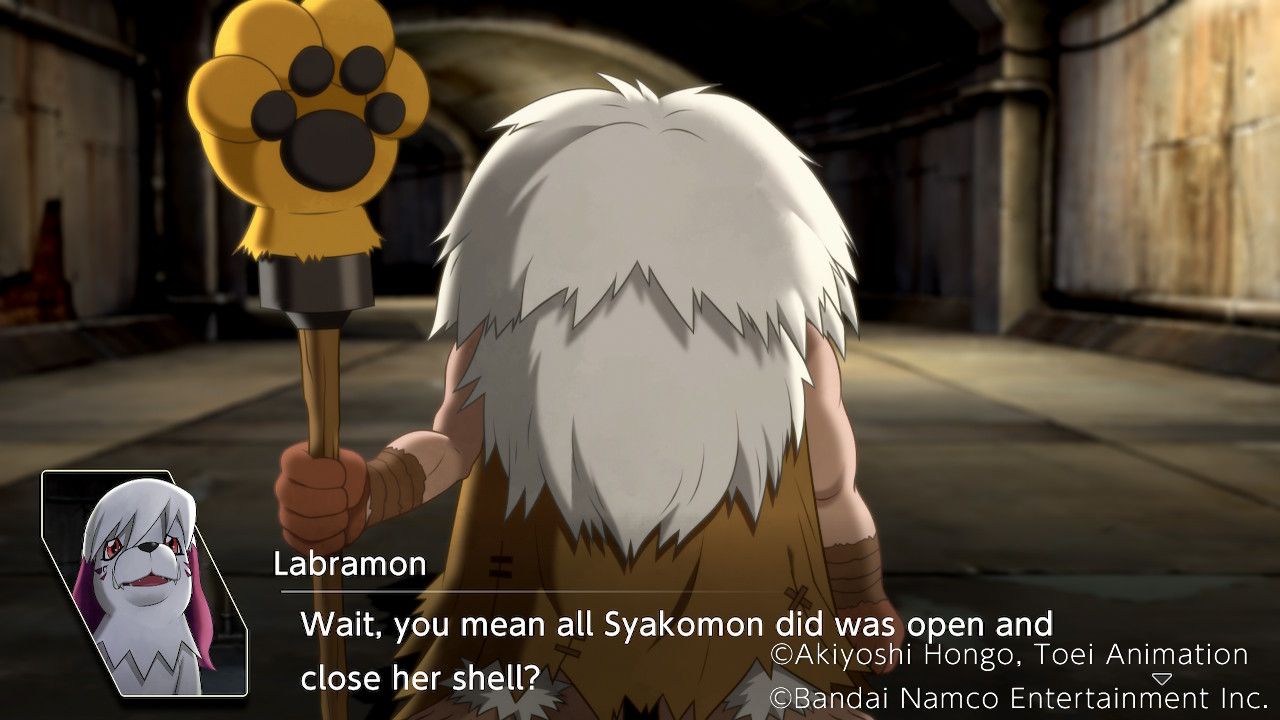
Jijimon reveals that he was in charge around here before Miu arrived. Apparently, the other Digimon here are rather gullible and believed she could turn people to stone and back again after Syakomon opened and closed her shell and Miu made a show of it. Jijimon saw everyone was having fun and decided to retire rather than ruin it for them.
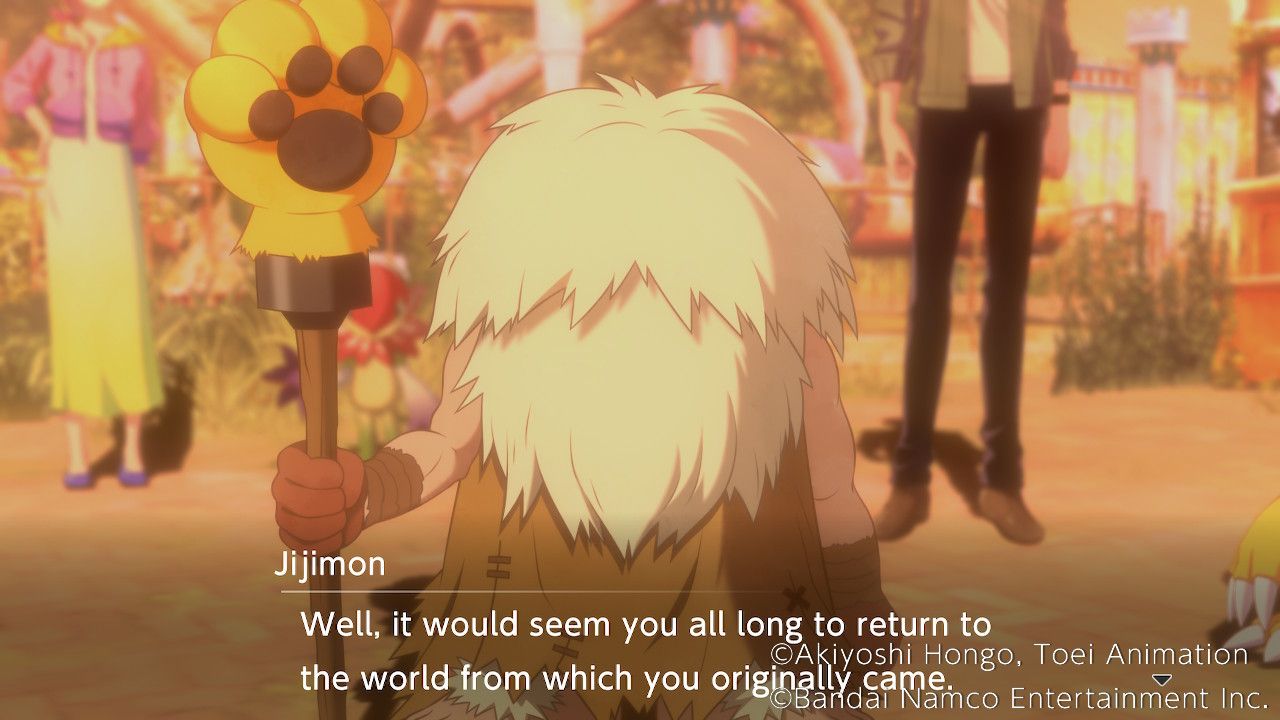
Jijimon drops some lore during the walk to the exit, explaining that this world was created long ago by a supremely powerful being that faded away long ago, and the current caretaker may wish to reshape it, resulting in the strange appearances of human structures and objects in the world.
Unfortunately, it seems things took a turn for the worse while the group was underground, and the Park is now under attack by hostile monsters. It seems Arukenimon's group has made their move and is trying to capture Miu. What is the priority here?
Gathering Information. | Moral +1 |
|---|---|
Rescuing Miu. | Harmony +1 |
Our own safety. | Wrathful +1 |
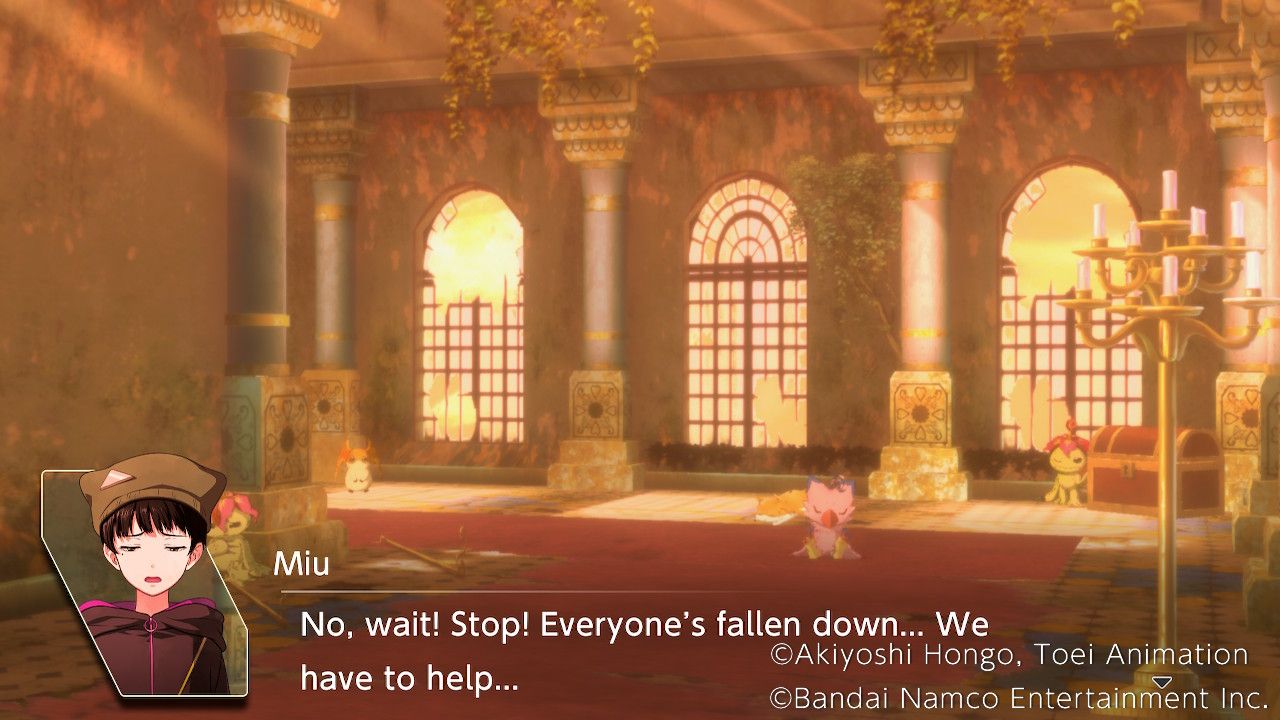
The group rushes back to the Throne Room, but Miu and Syakomon are gone. Biyomon is here, and she lets the group know that the Queen is hiding somewhere. The task now becomes finding her before the enemy does.
Amusement Park - Exploration 2: Finding Miu
Free Battle
The Free Battle will now occasionally feature Angemon, who can be a great addition to the team if players haven't already added him to the team by evolving Patamon.
Central Plaza
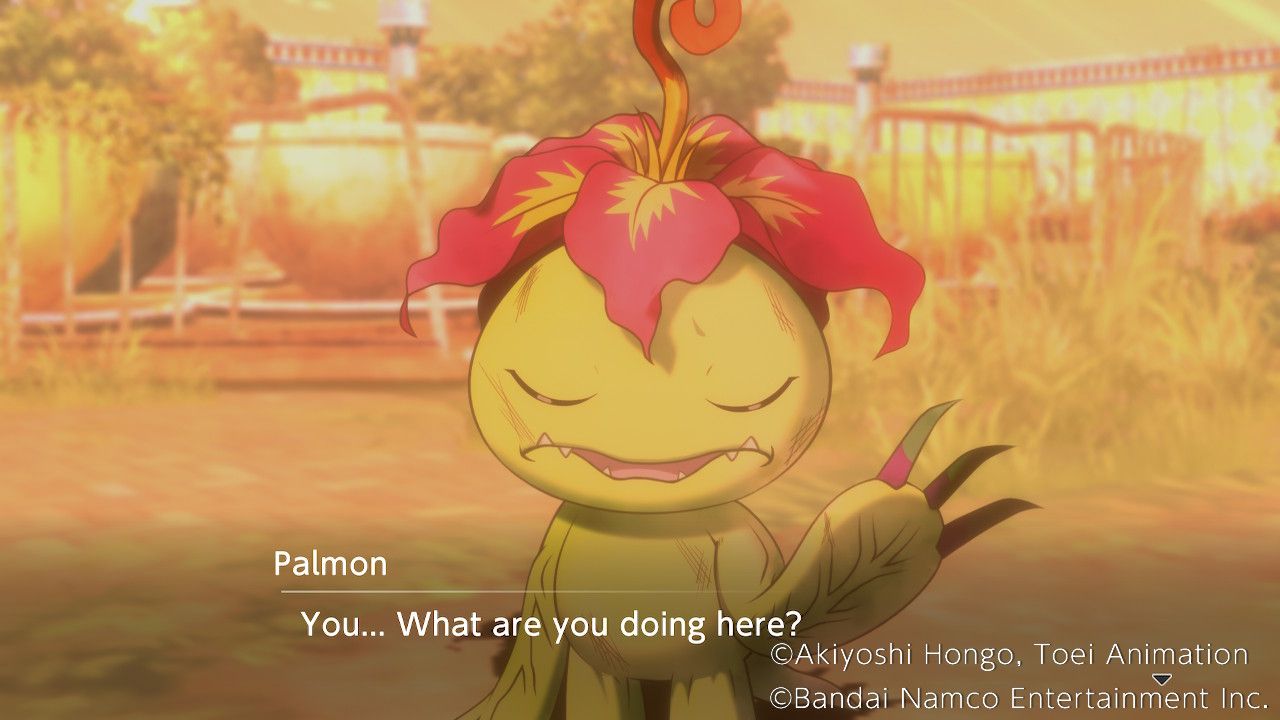
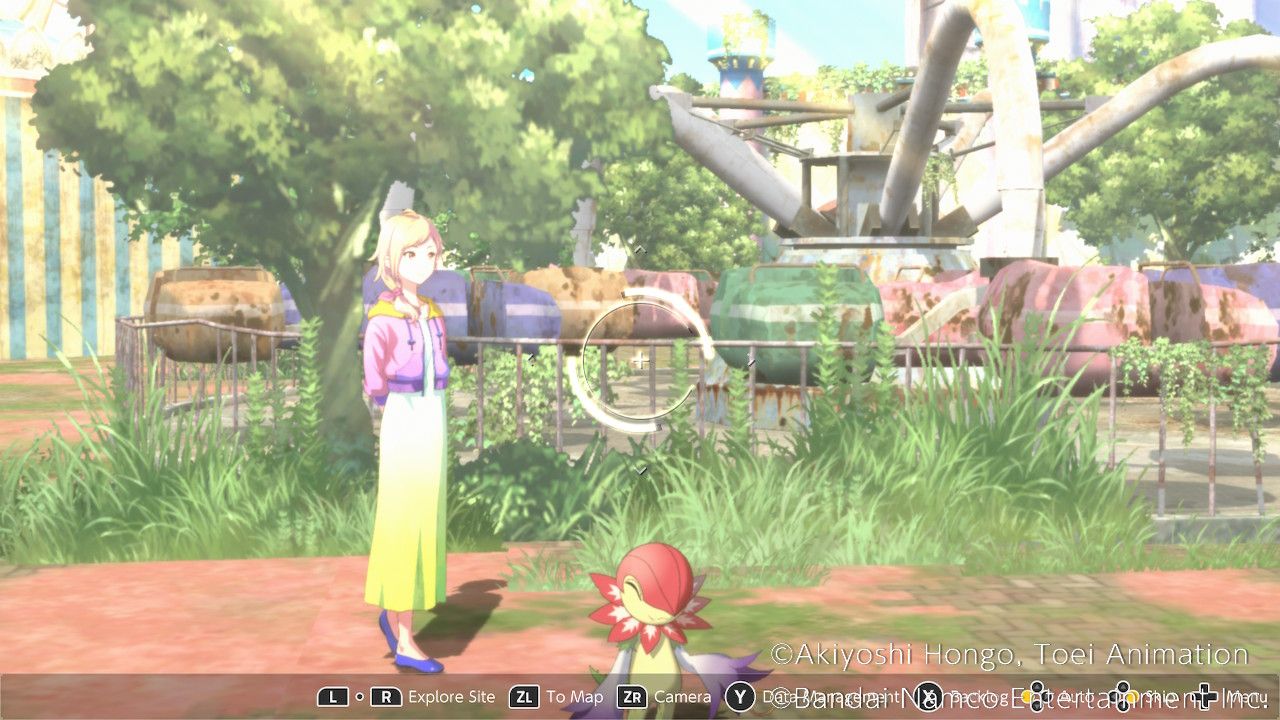
Palmon is in the Central Plaza, having gotten injured during the attack. Talk to them to get the option to treat their injury. Palmon reveals that Miu hasn't left the castle; good to know.
Performance Space
Speak to Patamon here to finally get them to understand that the group aren't bad guys. Players get the option to treat their injury here.
Castle Courtyard
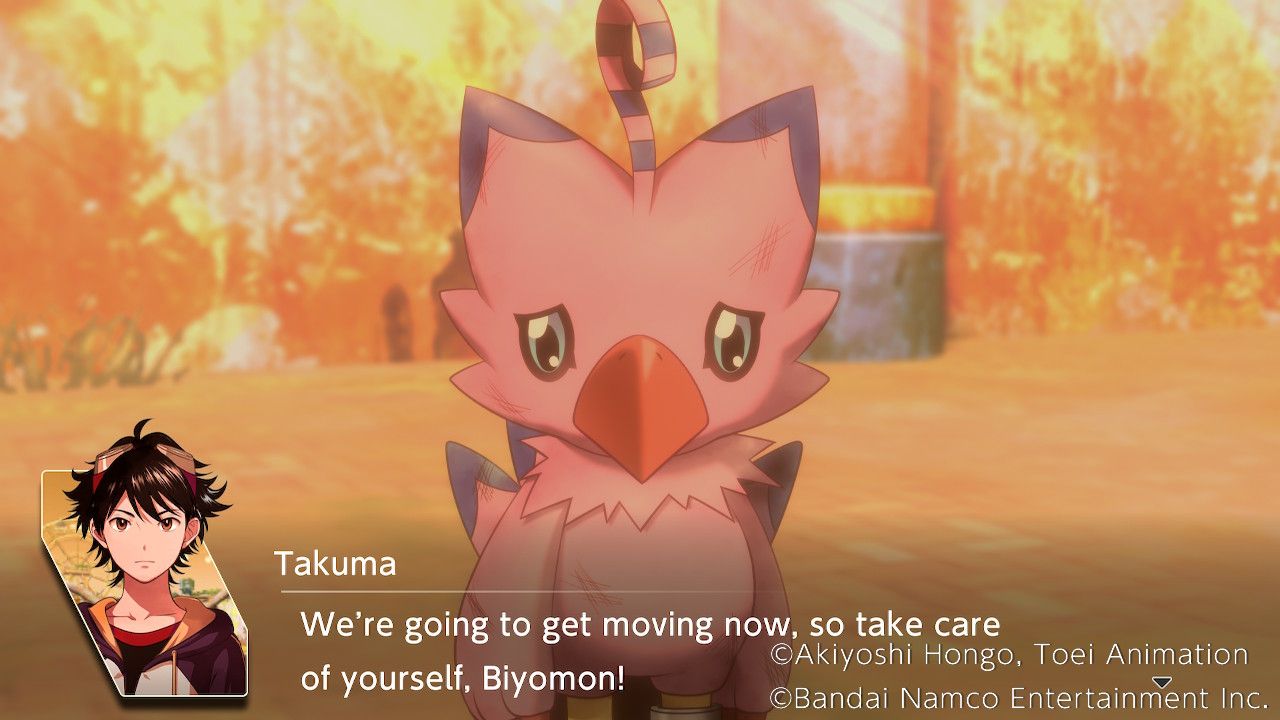
Biyomon is here, looking pretty rough. All they know for sure is that Miu is still inside the castle somewhere. Ignore Takuma rudely mistaking Biyomon for Patamon and decide whether to treat the injury or not.
Park Gate
Head here, and Agumon will suggest searching inside the castle.
Central Plaza - 2
Kaito and Shuuji can be found here after visiting the Park Gate. Speak to Kaito to trigger dialog between him and Shuuji, revealing that Shuuji has an older brother.
He's a disappointment? | No Effect. |
|---|---|
That he's scary? | No Effect. |
That he's annoying? | Shuuji Affinity Up! |
Shuuji quickly gets the group refocused on finding Miu, pointing out (like Agumon and the healed Digimon) that Miu likely hasn't even left the castle yet.
Castle Path West
Head here to speak with Saki, who stumbles over a useful item right as Takuma approaches her. The Skill Crystal is a handy item that gives a Digimon a bonus to max SP while equipped.
Castle Path East
Head here to speak with Minoru. He's found an exceptionally useful equippable item called Acceleration Charge. It gives the equipped Digimon access to the buff skill of the same name, which gives the target an extra square of movement for several turns.
Castle Path North
Palmon shows up here, trying their best to be unhelpful. All they say regarding Miu is, "Nobody would ever think to look in a place like that!"
Castle Path South
Patamon can be found here, but all they have to say is that Miu will be in the "safest place there is."
Throne Room
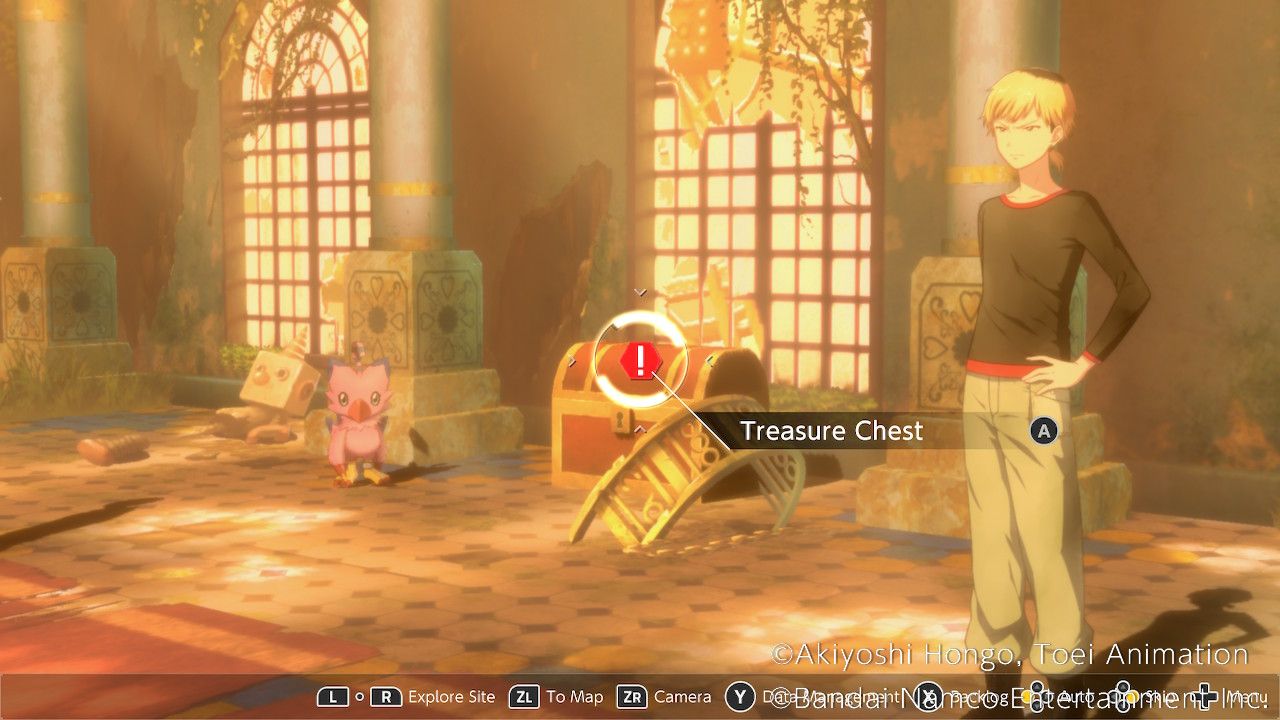
Turns out Miu never left the Throne Room, and players now have all the necessary information to oust her from her hiding place. Check the treasure chest on the far right of the Throne Room three times to locate Miu inside it.
A lot of convincing later, Saki is able to get Miu to come with the group, and the enemy breaches the castle right on cue. With the building collapsing around them, the group has to flee outside.
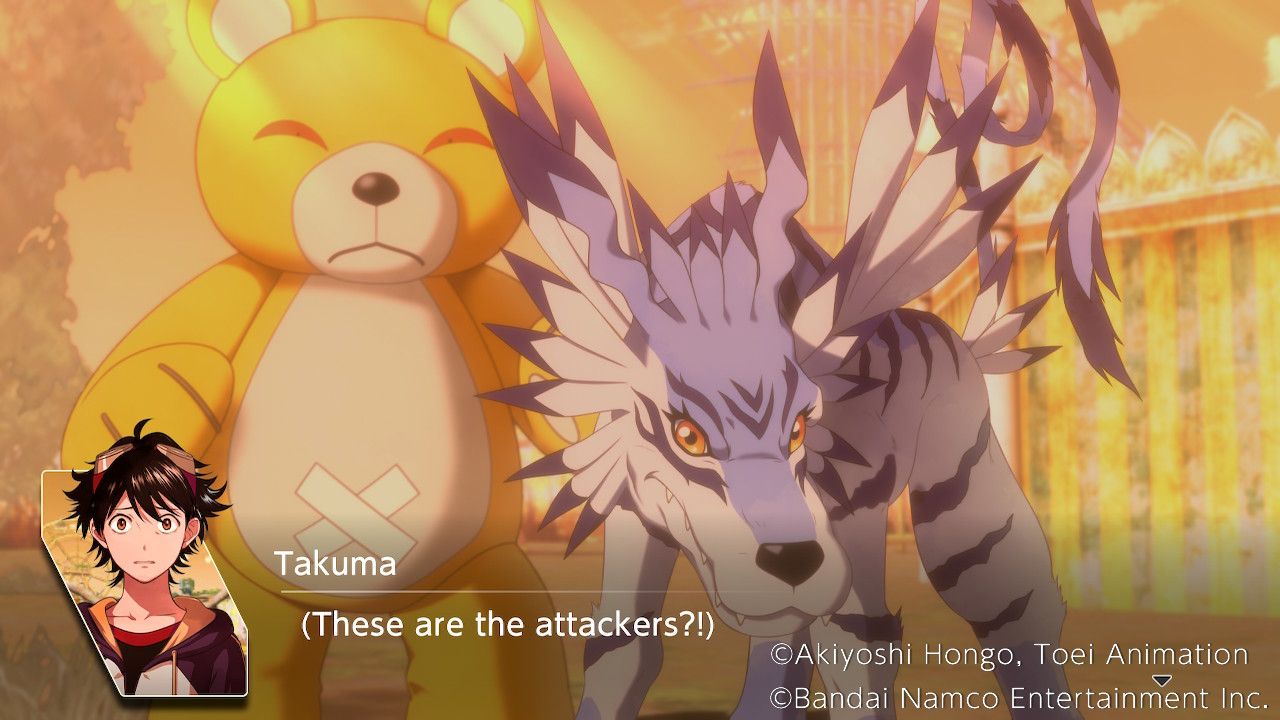
Monzaemon and Garurumon lead the attackers and quickly engage the group, though Garurumon's grudge seems to be with the team's Digimon partners rather than the kids themselves. As Monzaemon attempts to grab Miu, the Digimon she befriended at the Park defends her alongside Syakomon and are quickly beaten down by Monzaemon.
With Garurumon blocking the retreat and Monzaemon advancing towards Miu, the situation looks bleak. Takuma tries to say something to bolster the group's spirits.
Make Garurumon angry! | Moral +1 |
|---|---|
Challenge Garurumon to a fight! | Harmony +1 |
Agumon and the others are too much for you. | Wrathful +1 |
Boss Battle
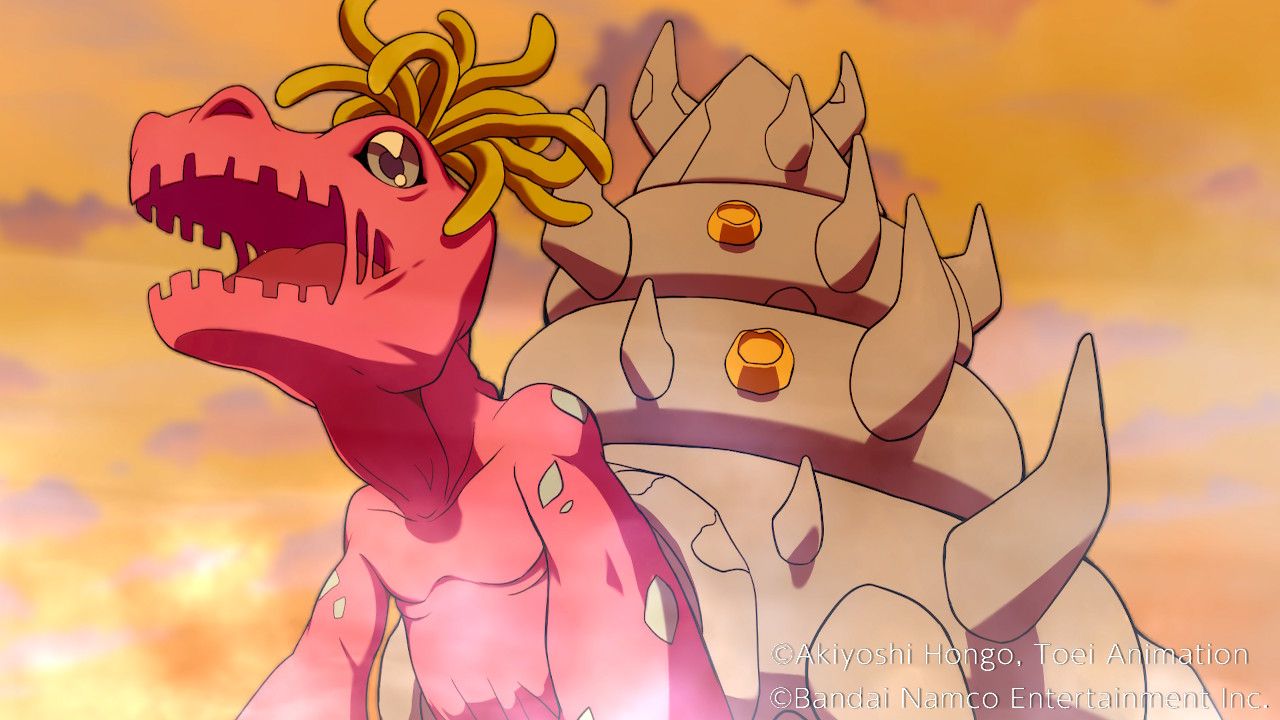
This fight opens with Kaito and Takuma trying to protect Miu from Garurumon and getting injured as a result. Biyomon and Patamon try to help but are beaten back easily. Miu finds her inner strength and asks Syakomon to save Kaito and the others. Syakomon digivolves into Shellmon, and the battle begins properly.
Partner Information
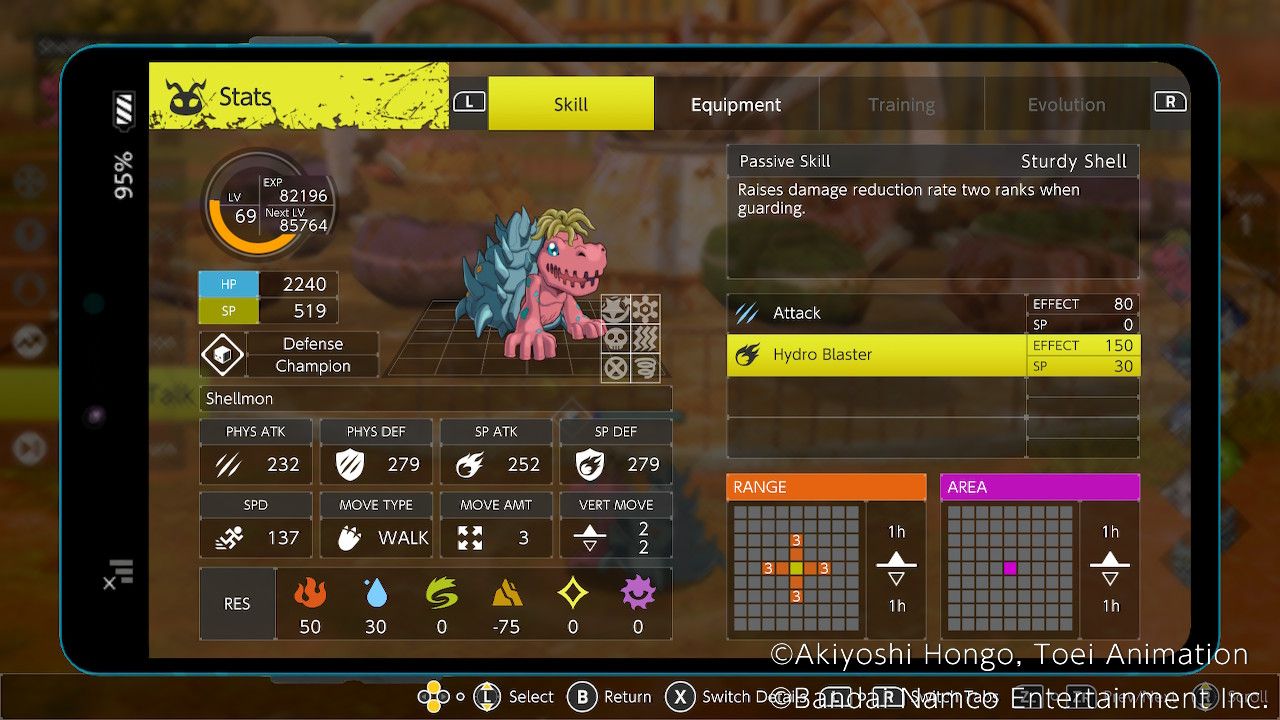
Syakomon and Shellmon are both excellent Defense Digimon with access to water element attacks. Shellmon gains improved damage reduction when guarding due to the "Sturdy Shell" passive skill, while "Hydro Blaster" deals water damage to a target within three squares in a straight line and has a decent chance to knock them back a square.
- Shellmon is highly vulnerable to earth damage but resists fire and water.
- Paired with its high defense stats, this allows Shellmon to withstand hits from enemy Digimon much more readily than the other partners.
- Syakomon works the same as Shellmon in terms of stats and has the "Tough Shell" passive skill, which functions identically to Shellmon's passive skill.
- Water Pressure is a special attack that deals water damage and has no other effects.
- Miu's Talk command allows her to raise a partner Digimon's physical defense, which can be very handy for bolstering Syakomon's defenses or those of a squishier member of the team.
The Battle
Head left after starting and crack open the chest near Togemon to get a bandage. Togemon are data Digimon, making them vulnerable to attacks from virus Digimon, and are very weak to wind element damage.
They make up for this with excellent resistance to water element damage and a passive skill that deals a portion of damage received from physical attacks back to the attacker. Needle Spray may have a short range of two squares in straight lines only, but it deals good earth damage and has a chance to paralyze the target.
Break open the chest up and to the right of the starting area to grab the Comet Hammer equippable skill, a useful earth element attack. Garurumon is nearby and is a dangerous Digimon with well-rounded stats and a fire-breathing attack named "Fox Fire," which can lower the target's speed.
Garurumon is weak to water and earth but resists fire and wind, so attacking him with Shellmon and Floramon should prove effective here, especially given their data attributes which give them the advantage against him. Gomamon and its evolutions can also prove useful if they've been recruited and leveled up a little.
The Gotsumon should be familiar foes by this point, and their weakness to wind and data types means that Falcomon/Diatrymon and Dracmon/Sangloupmon can handle them easily.
Monzaemon is easily the most dangerous enemy on this map, so take out the rest of the enemies first and approach it as a group to overwhelm it with numbers. It resists light and fire but has no elemental weaknesses to exploit, and its vaccine attribute means the best Digimon to send at it are data attribute Digimon.
It has Attack Charge and a special attack that can negate stat boosts, along with deceptively high movement for a giant teddy bear, so focusing it down and debuffing it if possible will be essential.
End of Part
With the battle won and Monzaemon destroyed, Garurumon is forced to retreat, though several members of the group got the impression he was holding back.
...once was enough. | Moral +1 |
|---|---|
...we might not win. | Harmony +1 |
...we can take him. | Wrathful +1 |
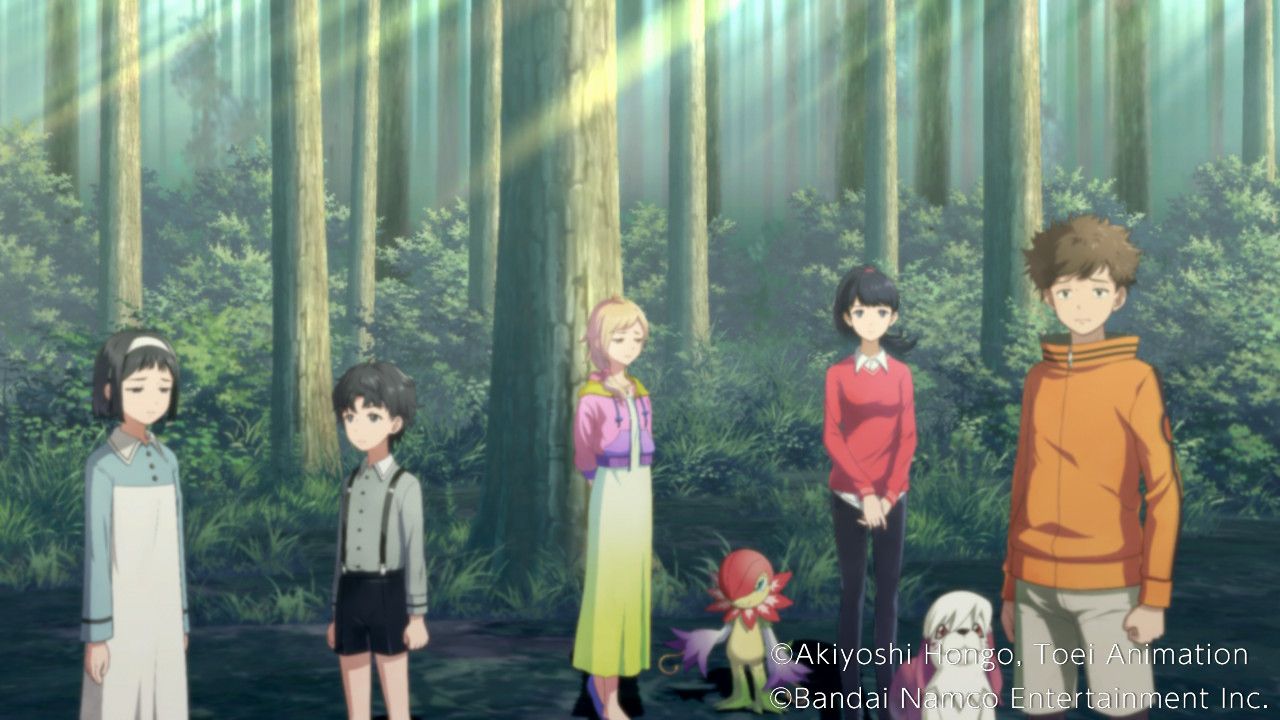
Jijimon arrives to thank the group for protecting the Park, and Miu asks him to stop calling her queen and just call her Miu. She tells him she'll be leaving to travel with Kaito and the others, and the group expresses some worry about ever finding a way back to their own world.
Jijimon explains that human children have come to this world before when the border between the worlds grows thin. Jijimon claims that the evil Digimon believes that sacrificing children can stop the spread of the fog, but Jijimon also notes that not all children who enter this world were sacrificed to the fog.
Minoru realizes that, since legends of the Kemonogami exist in their world, there must be some kids who made it home.
Jijimon also says that a friend of his claims some humans knew a technique to thin the border between worlds and that his friend can still sense their partner is alive in the human world.
Unfortunately, Jijimon has no idea where his friend has gotten to now, and it's been a long time since they've seen each other. Doubly unfortunately, the only ones likely to know more about the way to thin the border are the kidnappers.
...keep thinking. | Moral +1 |
|---|---|
...run and hide. | Harmony +1 |
...ask the kidnappers. | Wrathful +1 |
Syakomon, luckily, has a pretty good idea of where the kidnappers are based. They came from the north, which leads to the sea. Minoru then remembers the underground waterway by the Dam, reasoning that it might lead to the other island via an underground/underwater path, and Jijimon reveals he has the key to it, having taken it from the kidnappers during the attack. With a new goal in mind, the group heads to the School for the night.
After a short talk with Agumon, Kaito, and Dracmon, the Part comes to an end.
Digimon Survive is out now for PC, PS4, Switch, and Xbox One.

.jpg)
