Quick Links
Part 6 of Digimon Survive explores the connection between Digimon and their human partners, especially regarding the recent events with Shuuji and Lopmon (and what ultimately became of them.) These events have driven a wedge between some of the group and their partners, leading to further conflict.
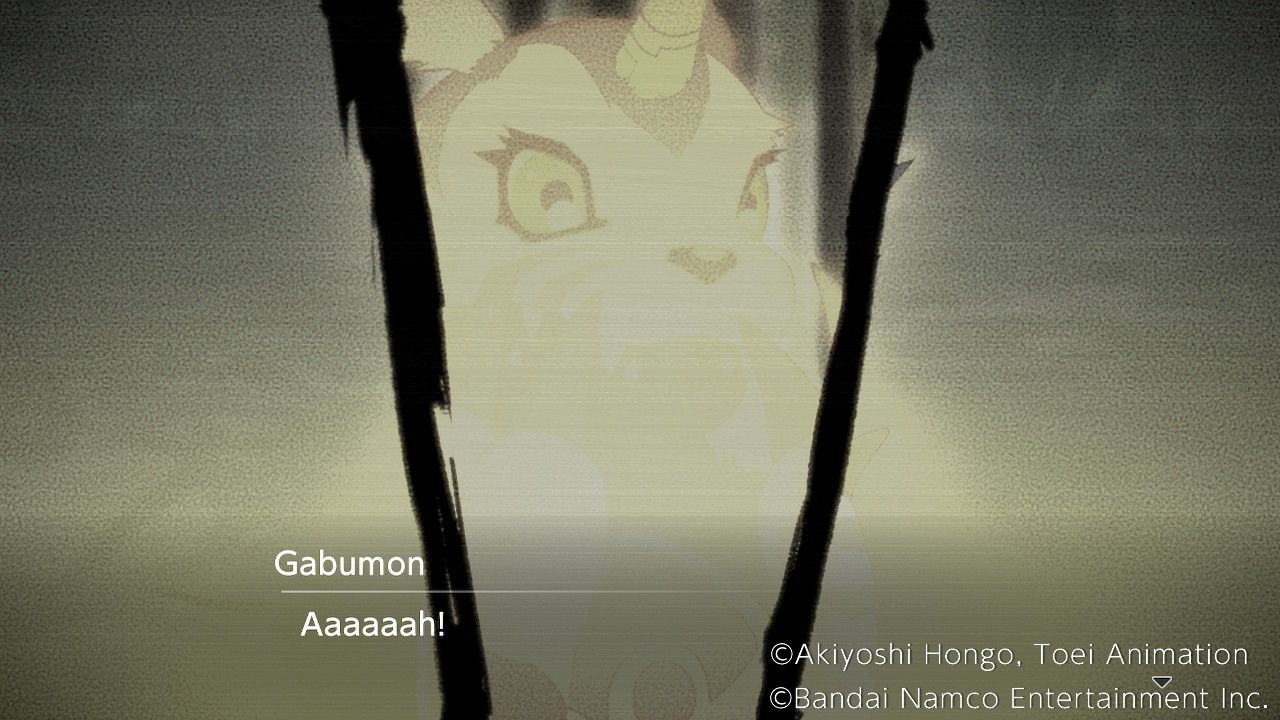
Digimon Survive Part 6 also explores the history of Garurumon, an Antagonist with an intense dislike for humans, and the research conducted by the Professor on Kemonogami. It opens with Haru and a Digimon named Gabumon fleeing from enemies. Gabumon manages to digivolve to protect Haru, becoming Garurumon, but Haru is pulled through a portal and disappears, leaving him alone. This is revealed to be Garurumon's dream, and he has a brief dialog with Arukenimon.
The Second Island - Opening
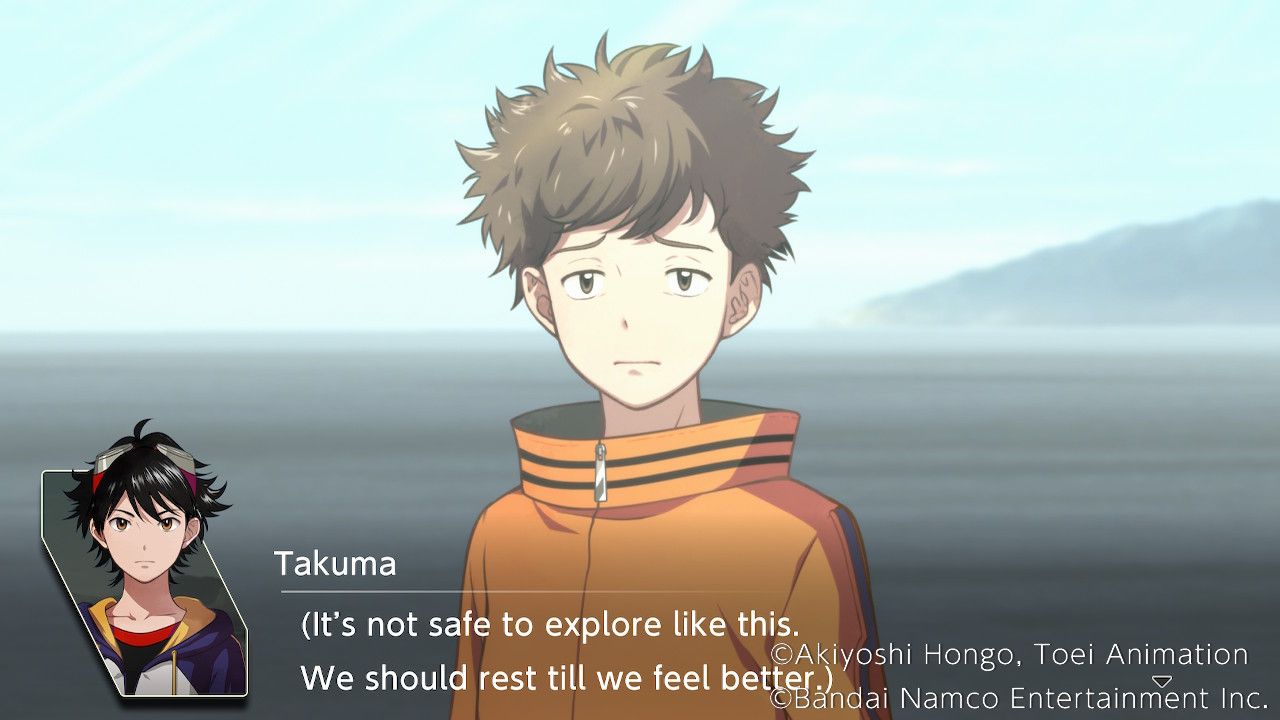
The group finally reaches the exit to the underground waterway, emerging on the second island, but everyone is worn out. The Professor explains his survival following the fall from the Dam, and offers to patrol the area while everyone else gets some rest.
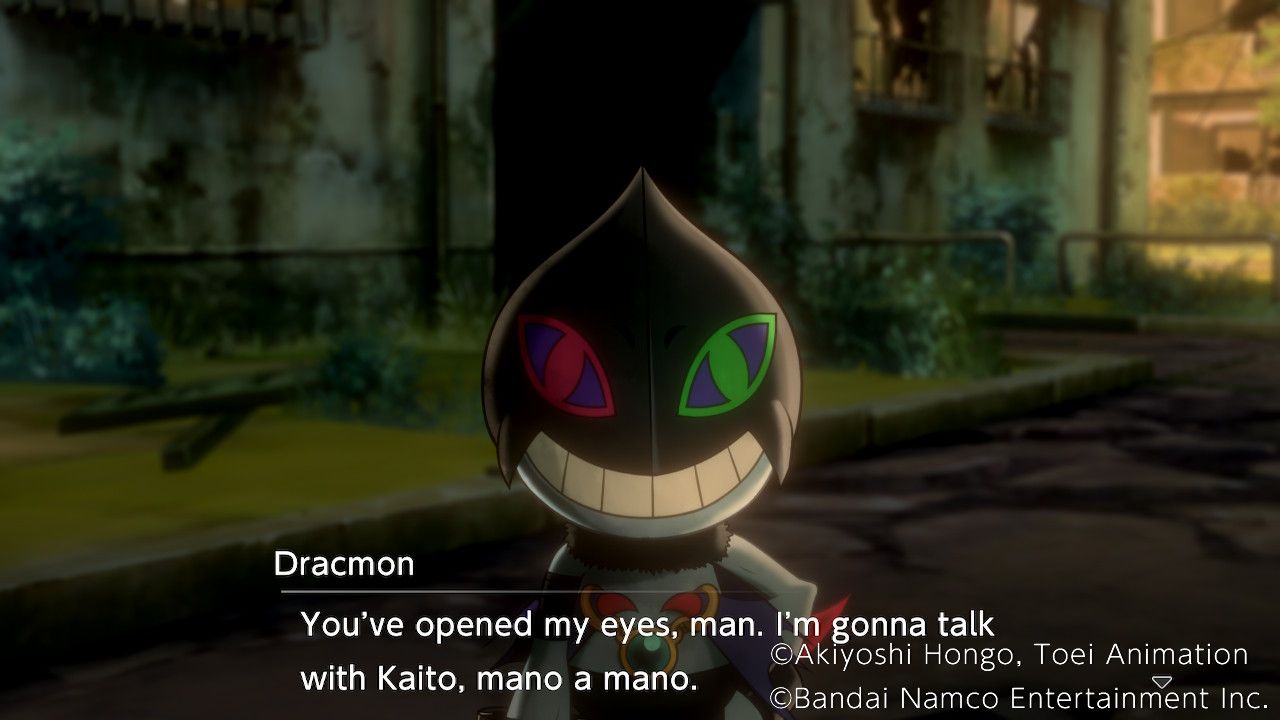
A short while later, Kaito brings up what happened to Shuuji and Lopmon, demanding answers from Dracmon. Unfortunately, Dracmon doesn't have any answers and several members of the group are starting to express some doubt about their partners. Takuma tries to calm things down.
Now's not the time. | Moral +1 |
|---|---|
Calm down, you two. | Harmony +1 |
Then don't believe. | Wrathful +1 |
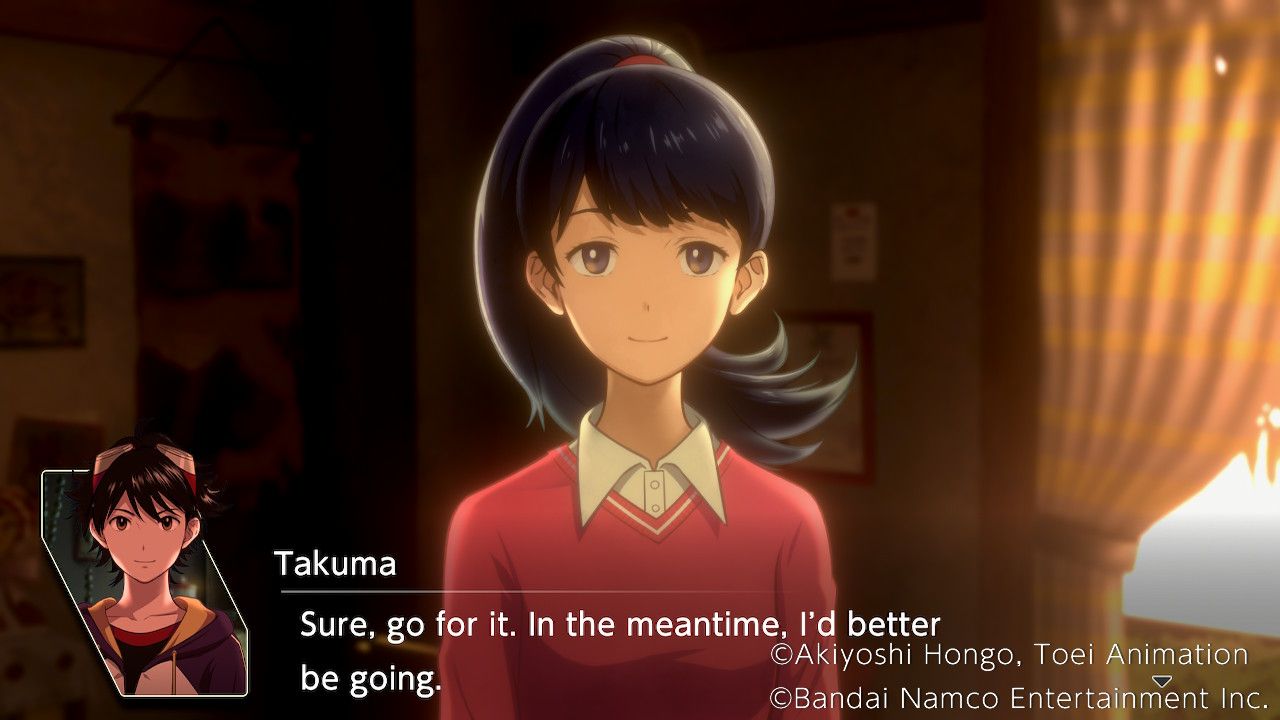
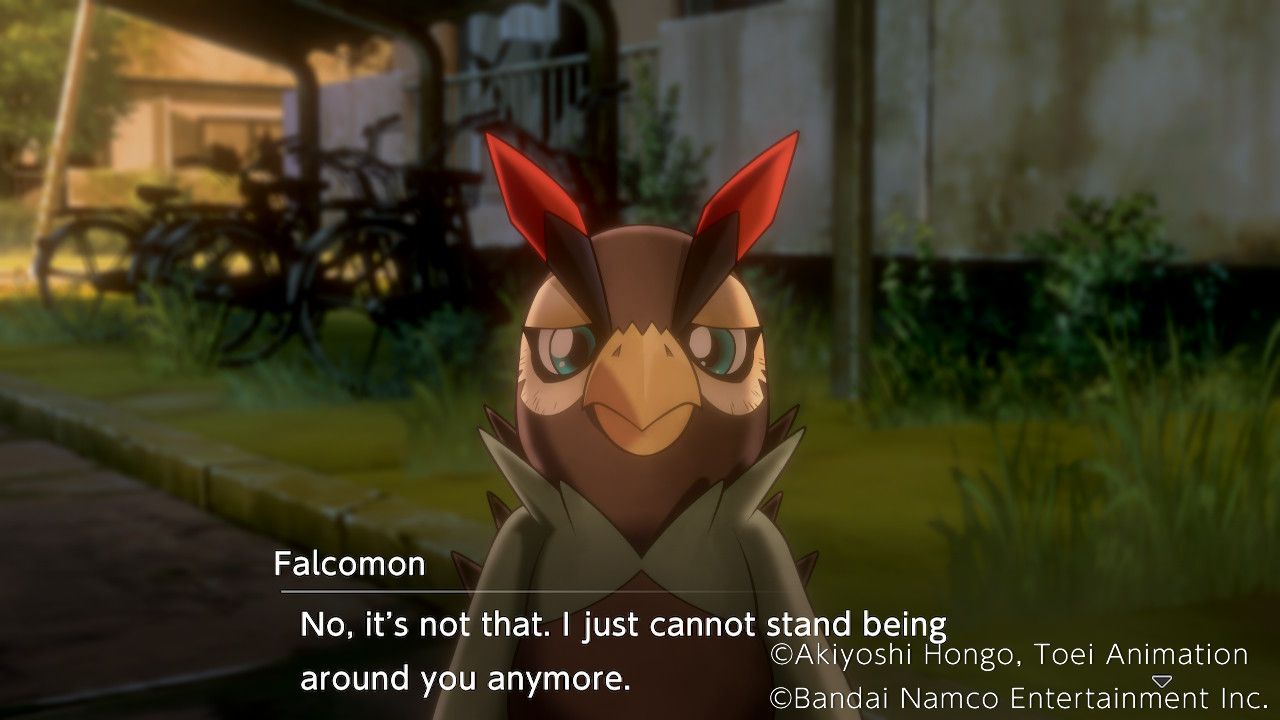
Falcomon almost leaves in anger over the distrust Minoru is feeling in him, but Takuma and Agumon convince him to wait until the Professor gets back, at least. This triggers the Free Action for the chapter.
Free Action
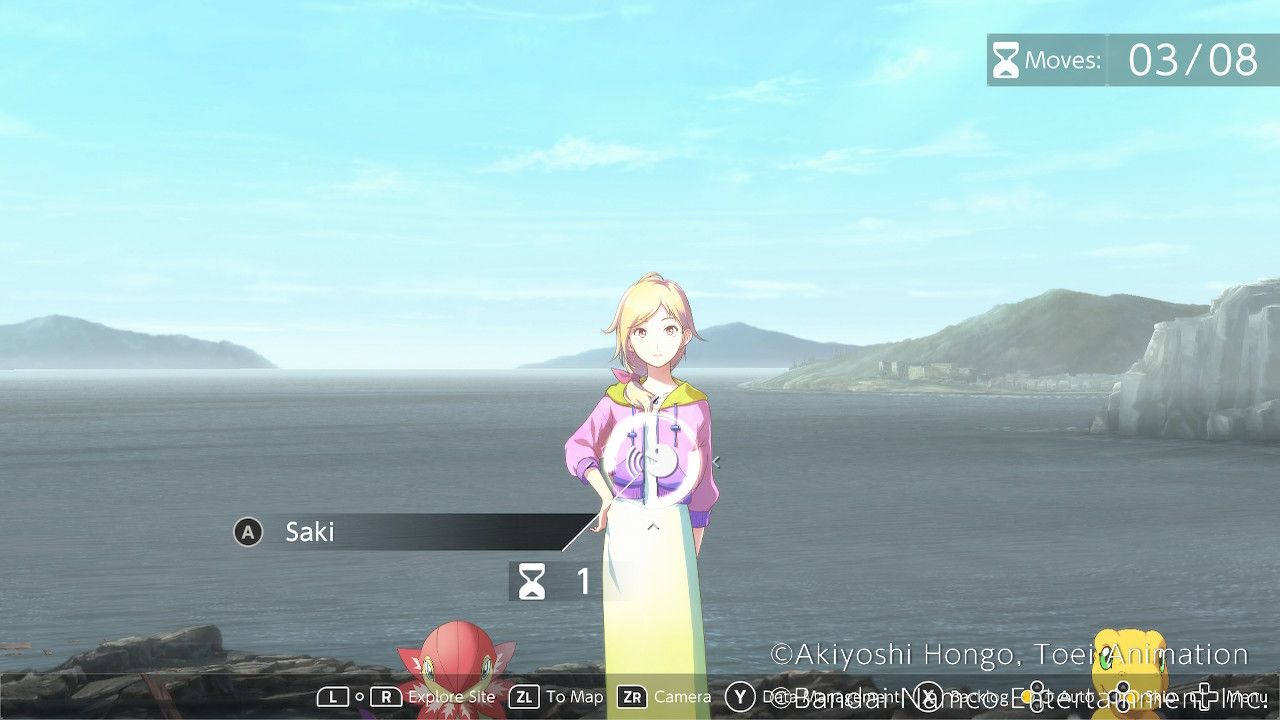
This Free Action gives players 8 moves to work with while exploring the new areas and interacting with the group.
Free Battle
The Free Battle at the Dam Underground allows players to encounter Dokugumon, Numemon, Birdramon, Meramon, Angemon, Sangloupmon, Fangmon, and Diatrymon. The Free Battle at the Second Island area provides encounters with Sangloupmon, Etemon, Guardromon, Monzaemon, Meramon, and Bluemeramon.
Monzaemon is of particular note here as it grants Perfect Enlightenment Slabs when successfully negotiated with, which can be used to get Free Digimon to the ultimate level. Certain encounters, such as Angemon and Sangloupmon, might only appear after 4 actions have been spent and the locations update.
Waterway Plaza
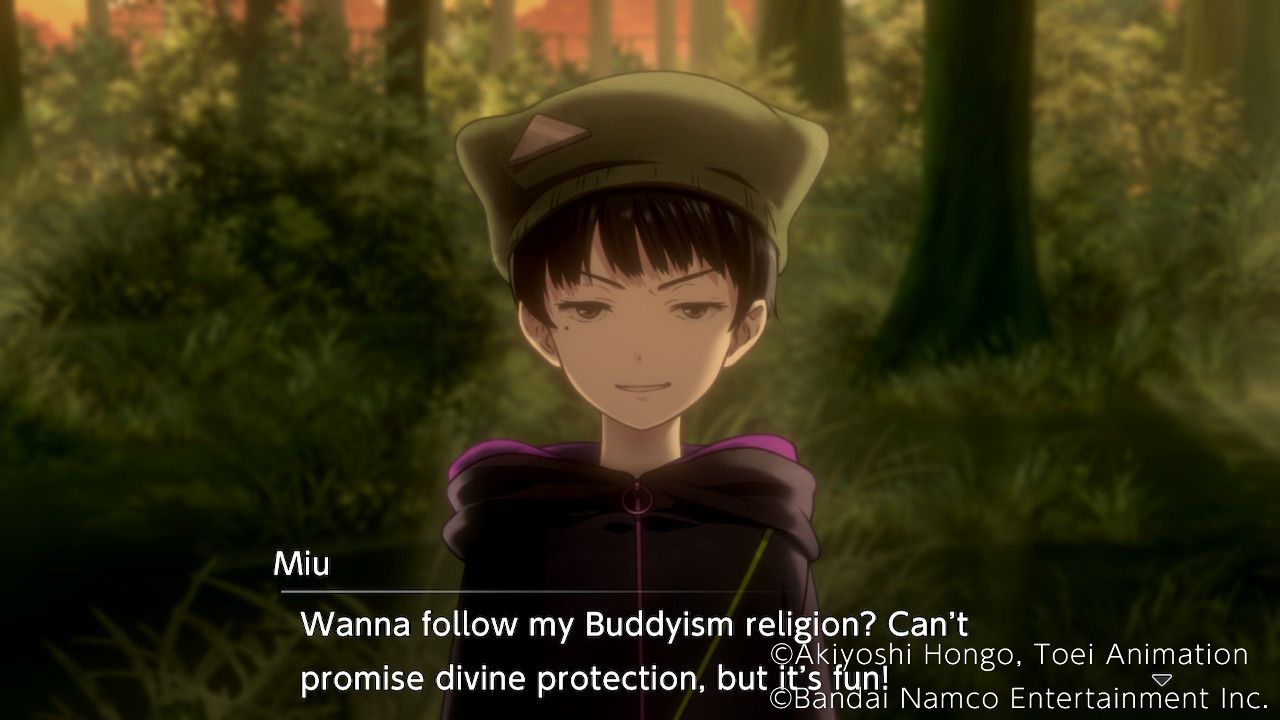
Miu, Saki, Syakomon, and Floramon can be found at the Waterway Plaza.
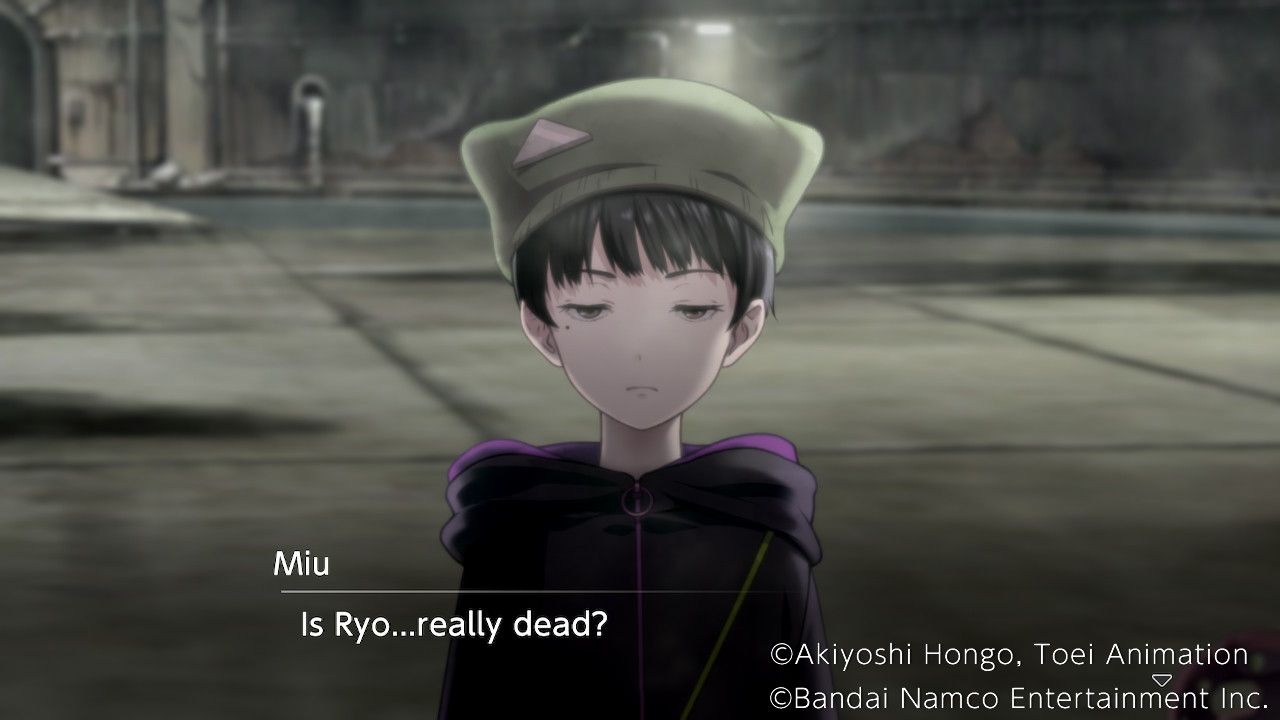
Speaking to Miu will reveal that she blames herself for everyone ending up in this world since she led them to the Shrine in the first place. Takuma will try to comfort her.
Don't regret the past. | No Effect. |
|---|---|
It's not your fault. | Miu Affinity Up! |
You're overworrying. | No Effect. |
Speaking to Saki will have her comment on how quickly and easily a person can die, leading to Takuma making an attempt to understand what she's thinking.
What's on your mind? | No Effect. |
|---|---|
No, no problem. | No Effect. |
I'm just worried. | Saki Affinity Up! |
Beach By Waterway
Minoru, Falcomon, and Miyuki are at the Beach By the Waterway.
Speaking to Miyuki will cause her to point at something, but Takuma can't spot it and tries to get her to clarify what she's seeing.
Say something, anything! | Moral +1 |
|---|---|
Is something there? | Harmony +1 |
Say I see nothing... | Wrathful +1 |
Afterward, she hands Takuma a Power Pineapple.
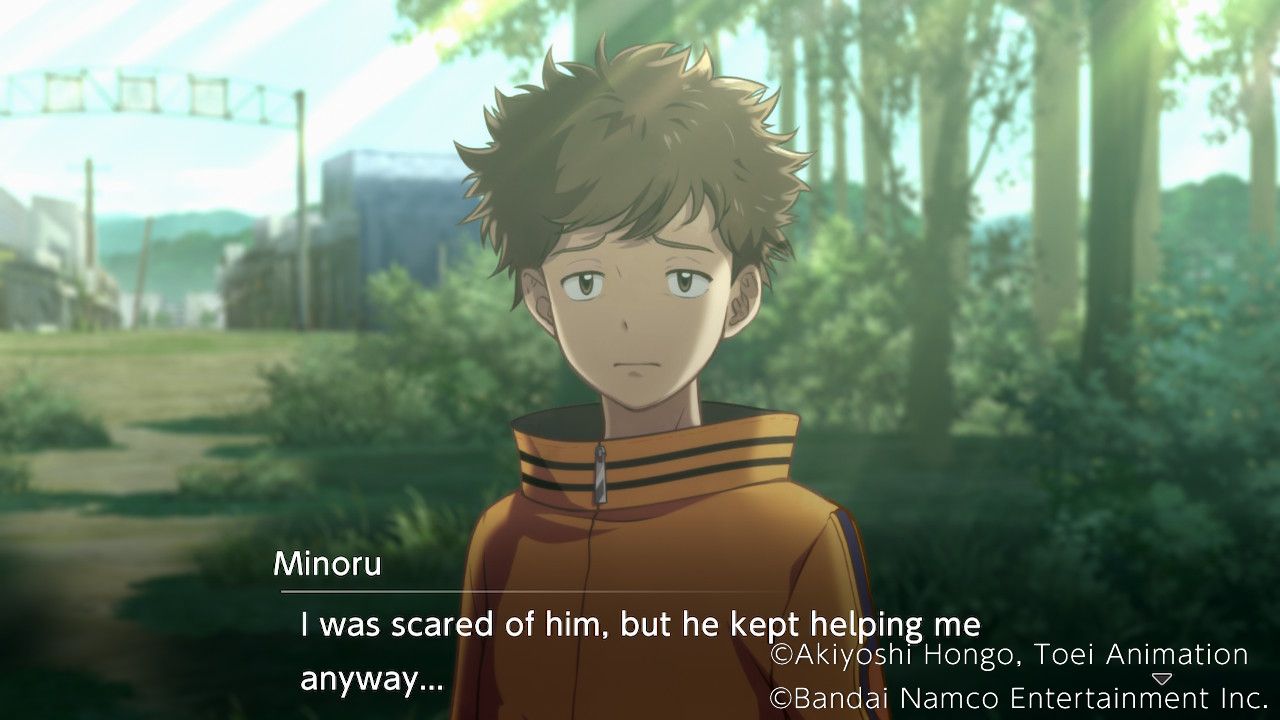
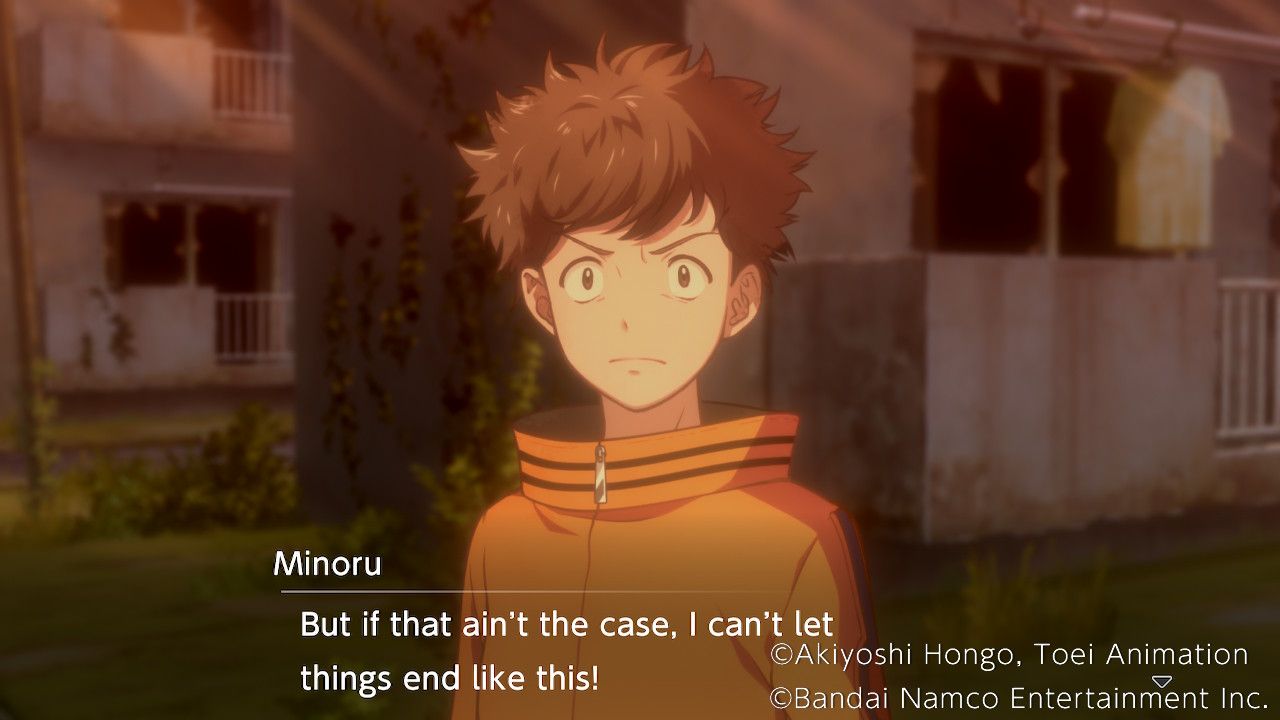
Minoru is still scared of Falcomon and the others after what happened in the Waterway, and seems to have convinced himself that they'll betray the group.
I want to be trusting. | Minoru Affinity Up! |
|---|---|
I trust Agumon. | No Effect. |
You're too worried. | No Effect. |
Waterway Plaza - 2
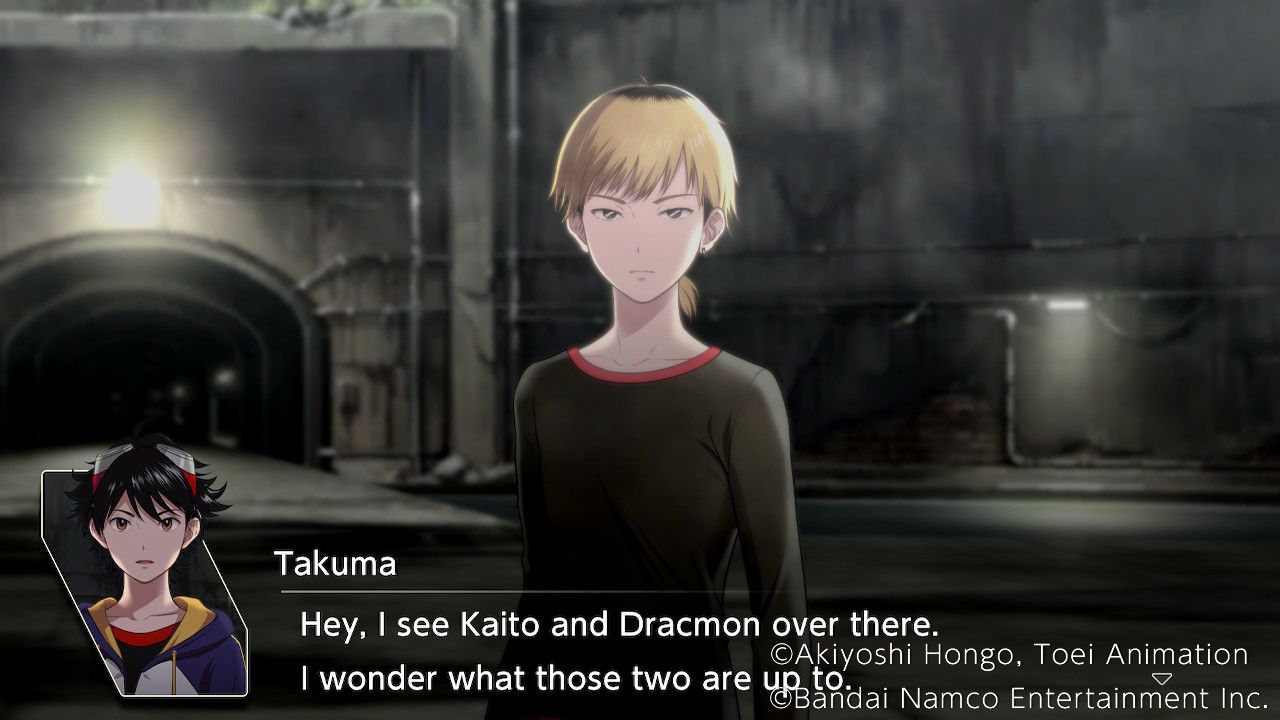
Kaito and Dracmon can be found at the Waterway Plaza after 4 moves have been spent. Kaito and Dracmon seem to be working well together, trying not to doubt each other despite the understandable fear, but Takuma accidentally brings it up again.
Double down... | Kaito Affinity Up! |
|---|---|
I'd better apologize. | No Effect. |
Change the subject! | No Effect. |
Beach by the Waterway - 2
Saki and Floramon can be found here after 4 moves have been spent. Takuma overhears parts of a conversation between Saki and Floramon, and wonders what Saki's attitude to the current situation is.
Nice and cheerful. | Saki Affinity Up! |
|---|---|
Totally relaxed. | No Effect. |
Pretty optimistic. | No Effect. |
Woods near City
The Professor can be found at the Woods near the City, where Agumon can also be spoken to. Speaking to the Professor causes him to ask how everyone is doing, and Takuma is given several choices on how to respond.
We'll be fine. | Moral+1 |
|---|---|
Not great. | Harmony +1 |
Everyone's on edge. | Wrathful +1 |
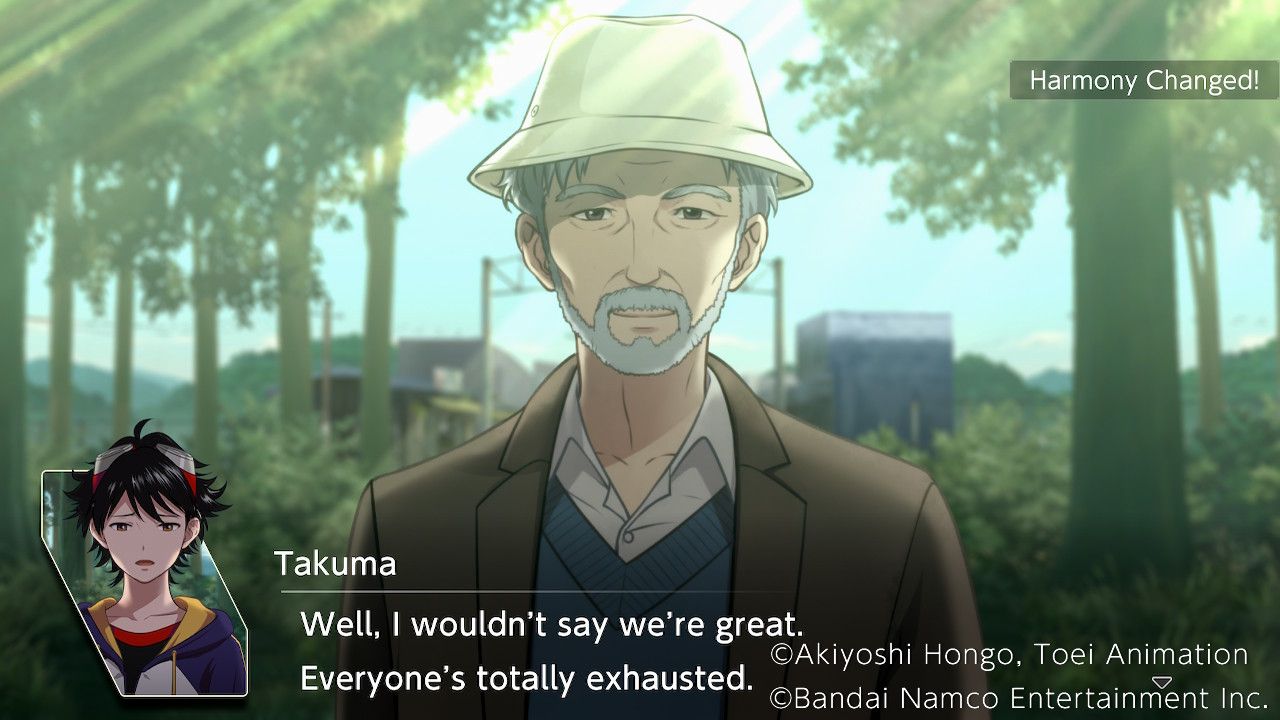
The Professor then reveals that he blames himself for what happened to Shuuji, and reveals that he believes the Kemonogami change based on the inner state of their partner. He gives Takuma a Crunchy Apple he found too.
Speaking to Agumon will reveal that recent events have him feeling uneasy too since he has no idea why he knew he was waiting for Takuma. He asks if Takuma can trust him.
Thanks for waiting. | Moral +1 |
|---|---|
You'll Evolve well! | Harmony +1 |
I choose who I trust. | Wrathful +1 |
Agumon also found a Large Sincerity Melon, which he gives to Takuma.
Woods near City - 2
Minoru and Falcomon appear at the Woods near the City once 4 moves have been spent. Agumon also has a conversation that can be triggered here.
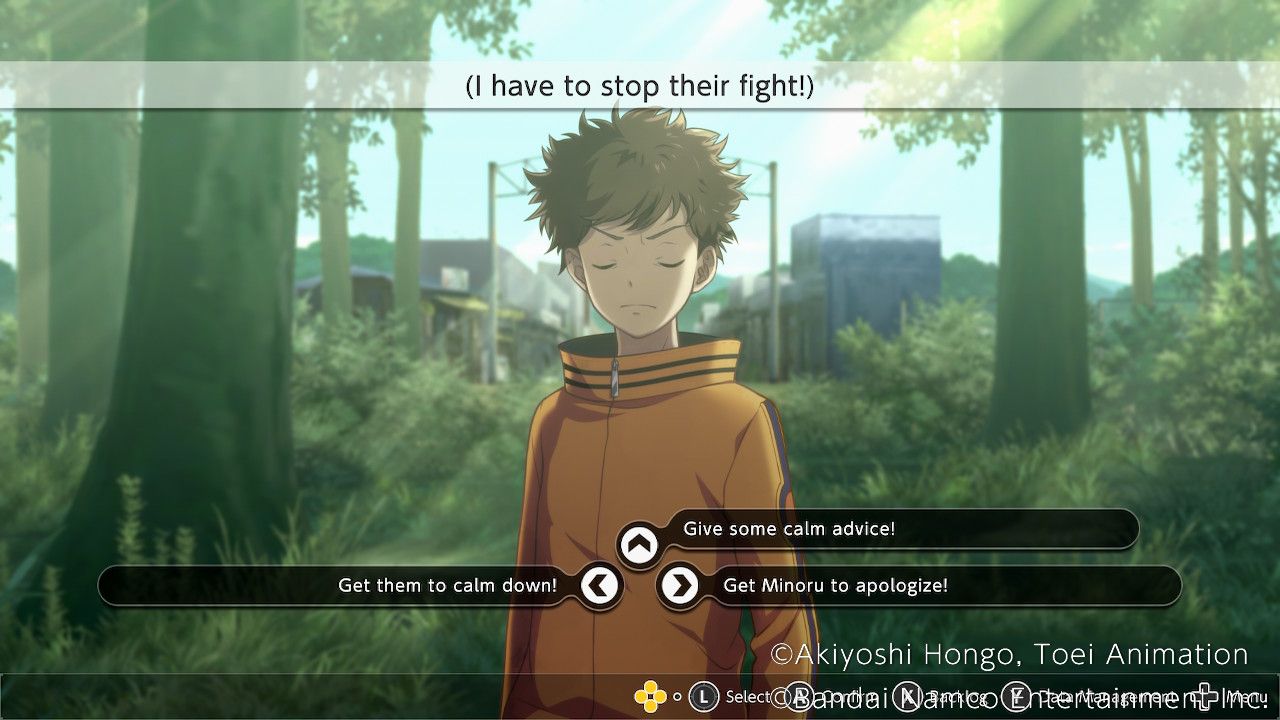
Takuma arrives to witness an argument between Minoru and Falcomon, which he does his best to stop.
Get them to calm down! | No Effect. |
|---|---|
Get Minoru to apologize! | No Effect. |
Give some calm advice! | Minoru Affinity Up! |
Speaking to Agumon will have him say he can sense something nearby, which Takuma can then locate using the camera. This reveals a Kemonogami has passed by here recently, but Takuma isn't able to find it. He also finds a Giant Odd Mushroom, which can greatly raise a Digimon's max HP.
Shopping District
Kaito and Dracmon can be found here with Haru, though players aren't able to select Haru here. Speaking to Kaito will cause Haru to ask how he is doing, but Kaito is clearly holding it in. Takuma is given several options to try to get Kaito to open up.
Surprise him. | No Effect. |
|---|---|
Ask a weird question. | No Effect. |
Be Direct. | Kaito Affinity Up! |
Shopping District - 2
Aoi and Miu can be found at the Shopping District after 4 actions have been spent. Aoi is taking a walk and searching for resources at the same time. Labramon finds 3 Boost Bushels, which get added to Takuma's inventory, and Aoi mentions she regrets doubting Labramon earlier.
Let's make up for it! | Aoi Affinity Up! |
|---|---|
Labramon doesn't care. | No Effect. |
What's past is past. | No Effect. |
The Story Continues
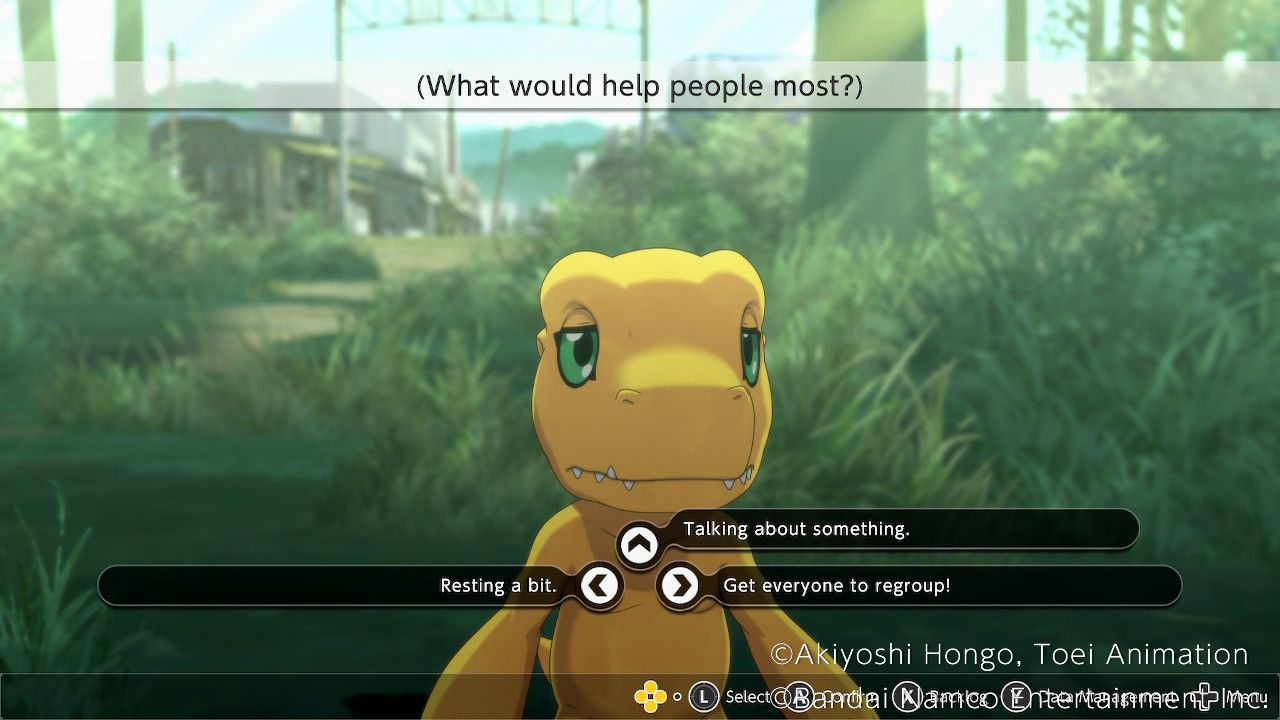
With the group rested up, Takuma heads to the shopping district to meet everyone. Everyone's looking a bit rough, but Takuma suggests meeting with the Professor to carry on. Unfortunately, Minoru and Falcomon are doing especially badly, and Takuma tries to find a way to improve everyone's mood.
Resting a bit. | Moral +1 |
Get everyone to regroup! | Harmony +1 |
Talking about something. | Wrathful +1 |
Takuma's attempt is interrupted by an enemy attack, which highlights Falcomon and Minoru's growing distrust of one another.
The Battle
This fight is against a veritable horde of Betamon, which shouldn't pose much of an issue to the group by this point. Deploy vaccine attribute Digimon to abuse their weakness and be sure to grab the chest in the middle of the map before finishing them off to get a Ripping Net equippable skill.
The Professor's Explanation
With the battle won, tension continues to grow between Falcomon and Minoru, resulting in Falcomon leaving the group. Once the Professor finds everyone he reveals that legends say Kemonogami reflect their partner's mental state and feelings, which explains what happened to Shuuji and Lopmon.
How about Agumon? | Moral +1 |
|---|---|
What is a "pure mind"? | Harmony +1 |
What is "instability"? | Wrathful +1 |
This leads to Minoru realizing his mistake in distrusting Falcomon, so the group sets out to investigate the town and find him.
Exploration
The game now gives players the opportunity to explore a larger part of the Second Island Area.
Free Battle
The Free Battle on the Second Island now offers access to Fangmon, Diatrymon, Gigadramon, Dokugumon, and Arukenimon.
Woods Near City
Miu and Syakomon can be found in the Woods near the City. Speaking to Miu offers Takuma a chance to raise his affinity with her.
This is my specialty. | No Effect. |
|---|---|
Believing is hard, isn't it? | Miu Affinity Up! |
It starts with you. | No Effect. |
After this, Miu and Syakomon will encounter an enemy, triggering a fight. The fight features two Birdramon, whose weakness to water coupled with Shellmon's data attribute should make it a fairly simple encounter. Bring along a Seadramon or Ikkakumon to take full advantage. The chest in the middle contains a Speed Charge.
Head straight back and speak to Miu again after the fight to get an Attack Charge+.
Ruined Apartment
Kaito and Dracmon are found here, and Takuma notes that Kaito is always harsh when speaking to Dracmon.
Ask Dracmon himself. | No Effect. |
|---|---|
Don't say anything... | Kaito Affinity Up! |
Keep lecturing him! | No Effect. |
After Takuma leaves, Dracmon and Kaito are attacked by the enemy, and a battle starts. This time the enemy is a pair of Togemon, who are weak against virus Digimon like Dracmon. Deploy two more Virus Digimon to assist with the fight, and it'll be no trouble at all. Crack open the chest by the starting point to get an Alacrity Crystal.
Head back and speak to Kaito again after the fight to get 3 All-Purpose Ointments.
A Certain Room
Aoi and Labramon are found in this mysterious apartment room. Speaking to Aoi has her musing about what she does for Labramon, since Labramon does so much for her.
What does Labramon want? | Aoi Affinity Up! |
|---|---|
You're so serious... | No Effect. |
You're overthinking. | No Effect. |
After Takuma leaves, Aoi and Labramon are attacked by the enemy and a battle starts. This fight is against Guardromon, whose Virus typing makes them vulnerable to Labramon's attacks. Deploy a couple more vaccine Digimon, and they'll pose no threat. The chest by the start contains a powerful attack skill, Grand Rock.
Return to Aoi and speak with her again after the fight to receive 3 Clean Dressings.
Complex Far Side
Saki and Floramon are found here, where speaking to Saki will reveal she's still a little scared of Floramon after everything that has happened.
I feel bad for Floramon. | Saki Affinity Up! |
|---|---|
You won't be killed! | No Effect. |
Her power protects you. | No Effect. |
Shortly after Takuma leaves, Saki and Floramon are attacked and a battle begins. The enemy here is a pair of Kiwimon, whose Data attribute makes them vulnerable to Veggiemon's attacks. A couple more virus Digimon deployed will make them easy pickings, and the nearby chest contains a Mature Enlightenment Slab.
Return to Saki after the fight to get a Guard Break+ from Floramon.
Shopping District
Minoru is looking for Falcomon in the Shopping District, where despite his apology Falcomon refuses to return. The Professor is also here, musing about something he doesn't share with Takuma and the others. Trying to speak to Falcomon again has him once again refuse to rejoin the group, running off somewhere.
Woods Near City - Falcomon
Speak to Minoru here, and he'll try to convince Falcomon again. This doesn't go well, but Takuma tries to convince Minoru to give it one more try.
Believe in yourself! | Moral +1 |
|---|---|
Trust your bond! | Harmony +1 |
Don't regret anything! | Wrathful +1 |
Ruined Apartment - Professor
The Professor can be spoken to again at the Ruined Apartment, where he seems to be remembering something to do with Haru and Miyuki.
If he's worried... | Moral +1 |
|---|---|
How he's doing! | Harmony +1 |
Miyuki and Haru. | Wrathful +1 |
He asks Takuma to give him some time before he explains.
A Certain Room - Agumon
Visiting A Certain Room after speaking with the Professor at the Ruined Apartment causes Takuma and Agumon to go looking for the Professor again. The Professor is met by Garurumon, who seems to recognize him. The Professor also recognizes Garurumon, but Garurumon leaves as Haru comes to speak with the Professor.
Complex Far Side - Minoru and Falcomon
Speak to Minoru here, and he'll make one last attempt to get through to Falcomon with his apology. Falcomon confirms he has a reason for refusing to return but doesn't seem upset with Minoru anymore.
The Story Continues - The Professor and Falcomon
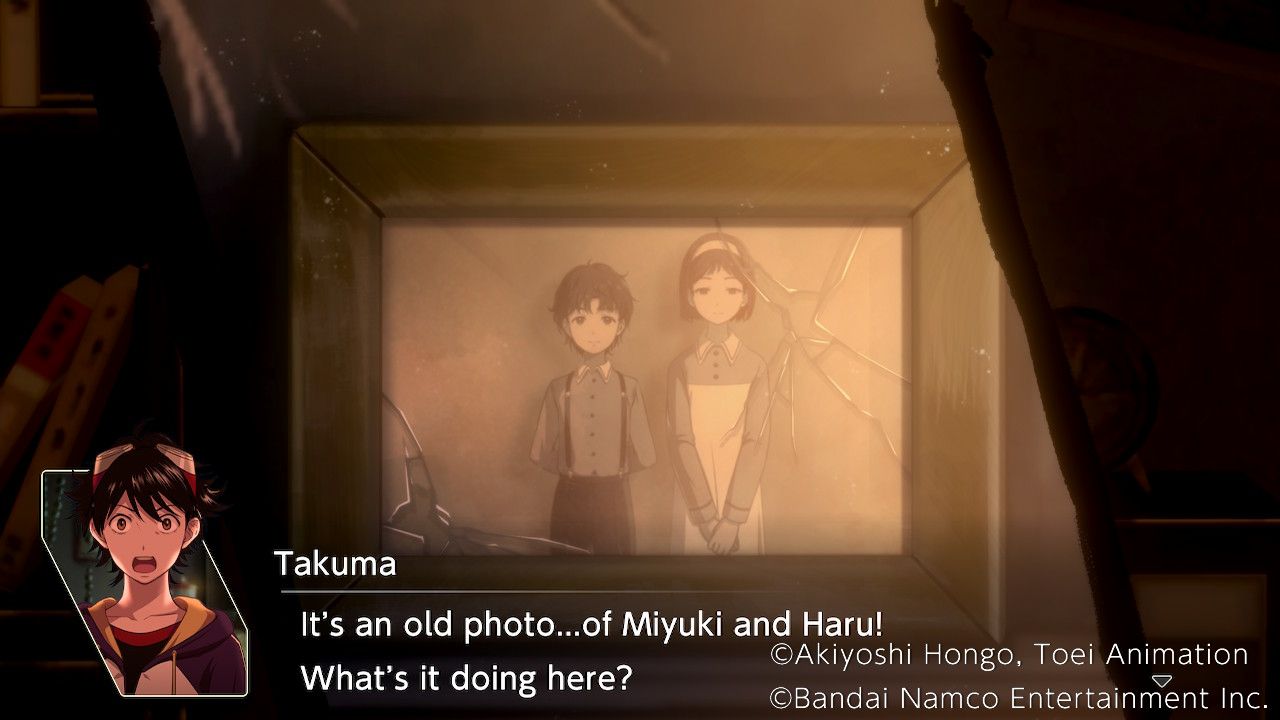
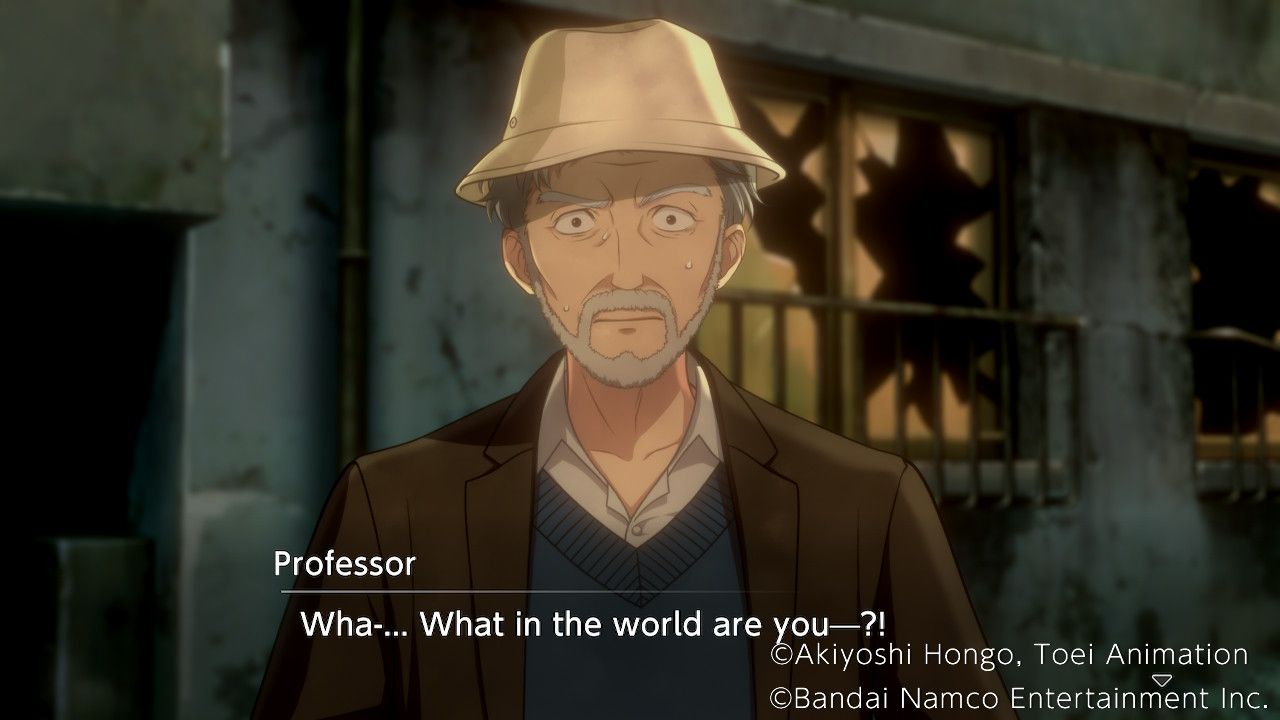
Minoru catches up with Falcomon again, and Falcomon seems to forgive him, but still refuses to return. Meanwhile, Takuma and Agumon uncover a photo of Haru and Miyuki in an abandoned apartment. Takuma and Agumon hide when they hear someone approaching, and end up overhearing a conversation between Haru and the Professor. Haru claims the Professor "isn't needed" and that he'll protect Miyuki, but their conversation is interrupted by the sound of a monster attack.
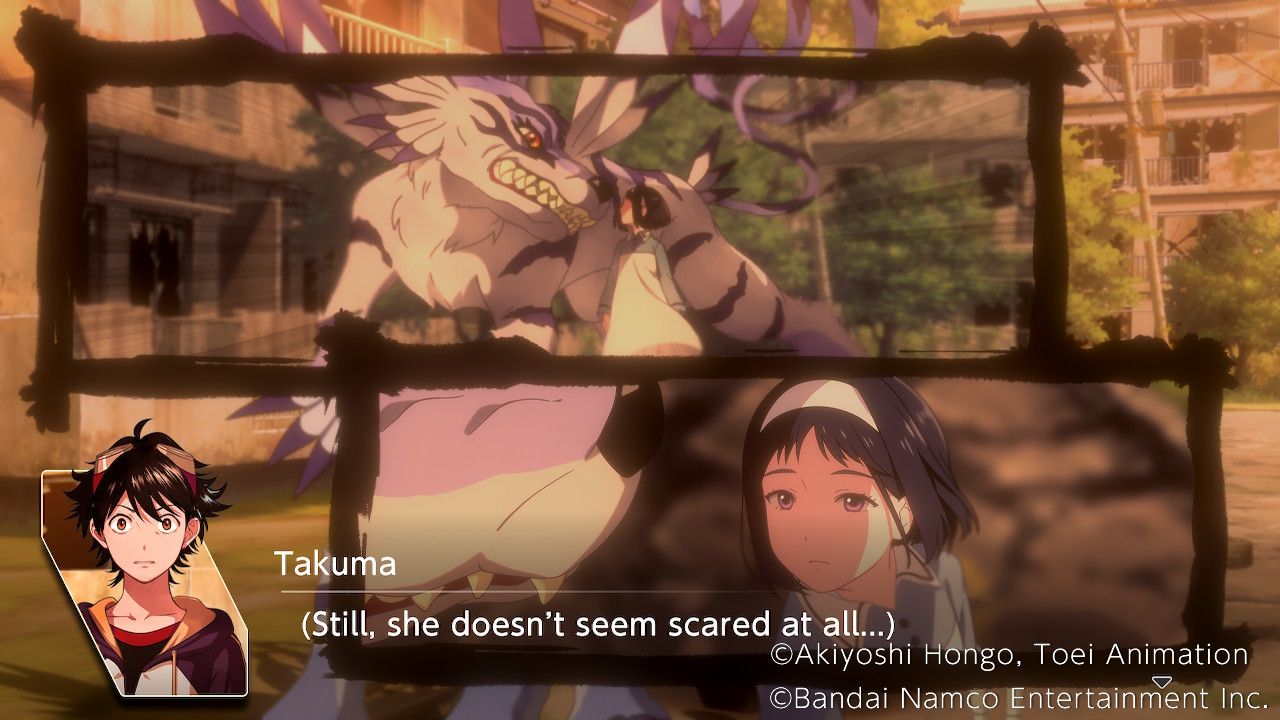
Outside, Miyuki is menaced by Garurumon, but doesn't seem frightened at all. Arukenimon arrives and supplies Garurumon with backup, despite their bickering.
Boss Fight - Vs Garurumon
This battle doesn't allow players to deploy any Free Digimon, and initially appears to be a solo battle of Agumon vs Garurumon and his Gazimon backup. At the end of each turn, however, a member of the main group will arrive to provide backup. Eventually, this will lead to the entire group taking the field, even Falcomon as he finally finds it in himself to come back.
The chest in the middle of the map contains an Alacrity Crystal.
The initial group of Gazimon will pose no threat by this point in the game, but once a Digimon gets close to Garurumon and Aoi joins the battle with Labramon, Arukenimon will start sending her stronger minions.
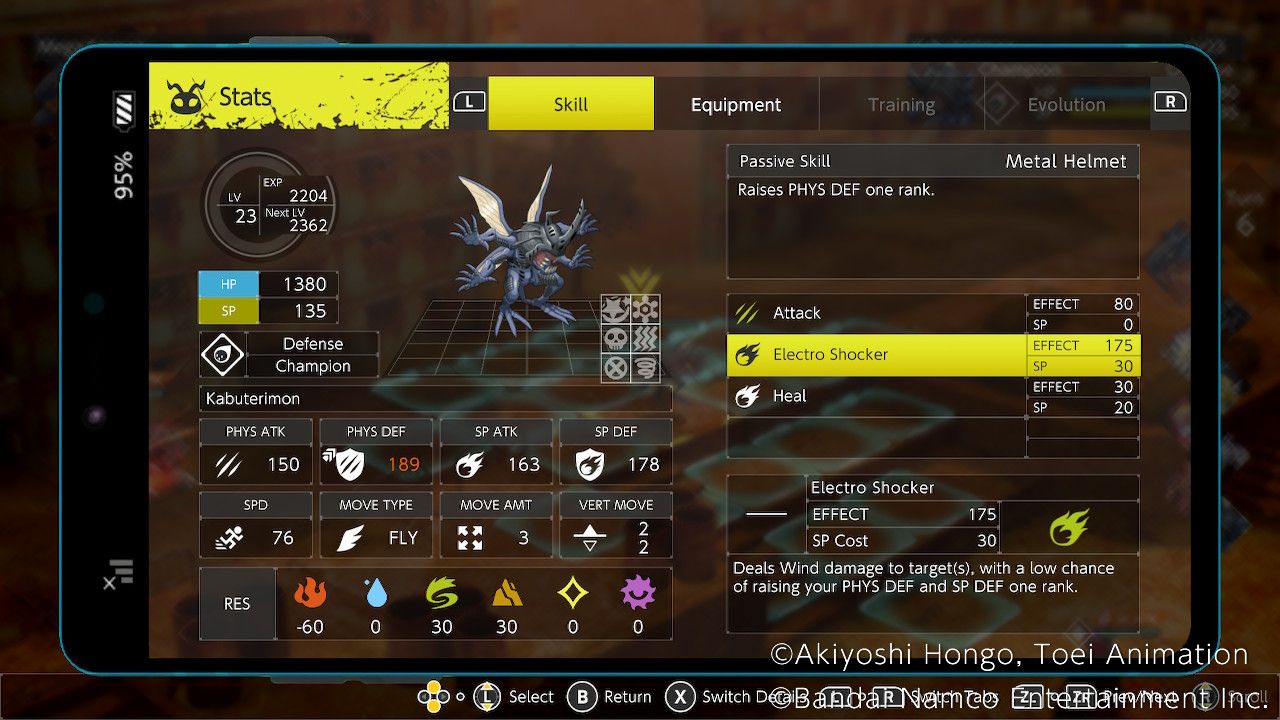
These consist of Kuwagamon and Kabuterimon. Kuwagamon is an attack Digimon that is weak to fire and can ignore stat boosts when dealing damage, along with having a healing skill. Kabuterimon is a defense Digimon who is weak to fire and can lower physical and special defense when attacking, while also having a healing skill.
Players will likely end up fighting Kuwagamon, Kabuterimon, and Garurumon at the same time, but that shouldn't be too much trouble if they keep the group close together and match up effective types and elements. Garurumon is a mobility Digimon with a powerful special attack that can increase its speed, while also having access to Attack Charge for buffing itself and its allies. It is weak to fire, water, and earth attacks.
With the fight won, the fleeing Garurumon and Arukenimon tip off the group to the location of their base, a Factory in the distance. Falcomon reveals he was also worried about the possibility of dark evolving like Lopmon did, and that was why he kept his distance. With their bond repaired, the group sets off for the School to rest up for their infiltration of the enemy base tomorrow.
Digimon Survive is available for PS4, PS5, PC, Xbox One, Xbox Series X/S, and Nintendo Switch.
