Should players build around a skill that doesn't officially exist? When Diablo Immortal offers the Crusaders so many other excellent skills, it may seem like a foolish move to try and invest a lot of points in Bombardment, a skill now tied with Draw and Quarter.
Rest assured, the move is a wise choice. It worked in previous versions and it works now in Diablo Immortal. The build might not be as easy to make as it is in Diablo 3, but once it is put together, the Crusader will be blowing up waves of enemies before they can get a single strike in.
Due to several factors, like gear, skills, reforging, and upgrades, it is impossible to list the exact quantities for many of the numbers detailed here. Any variable number has been replaced with an 'X' to signify its potential to change.
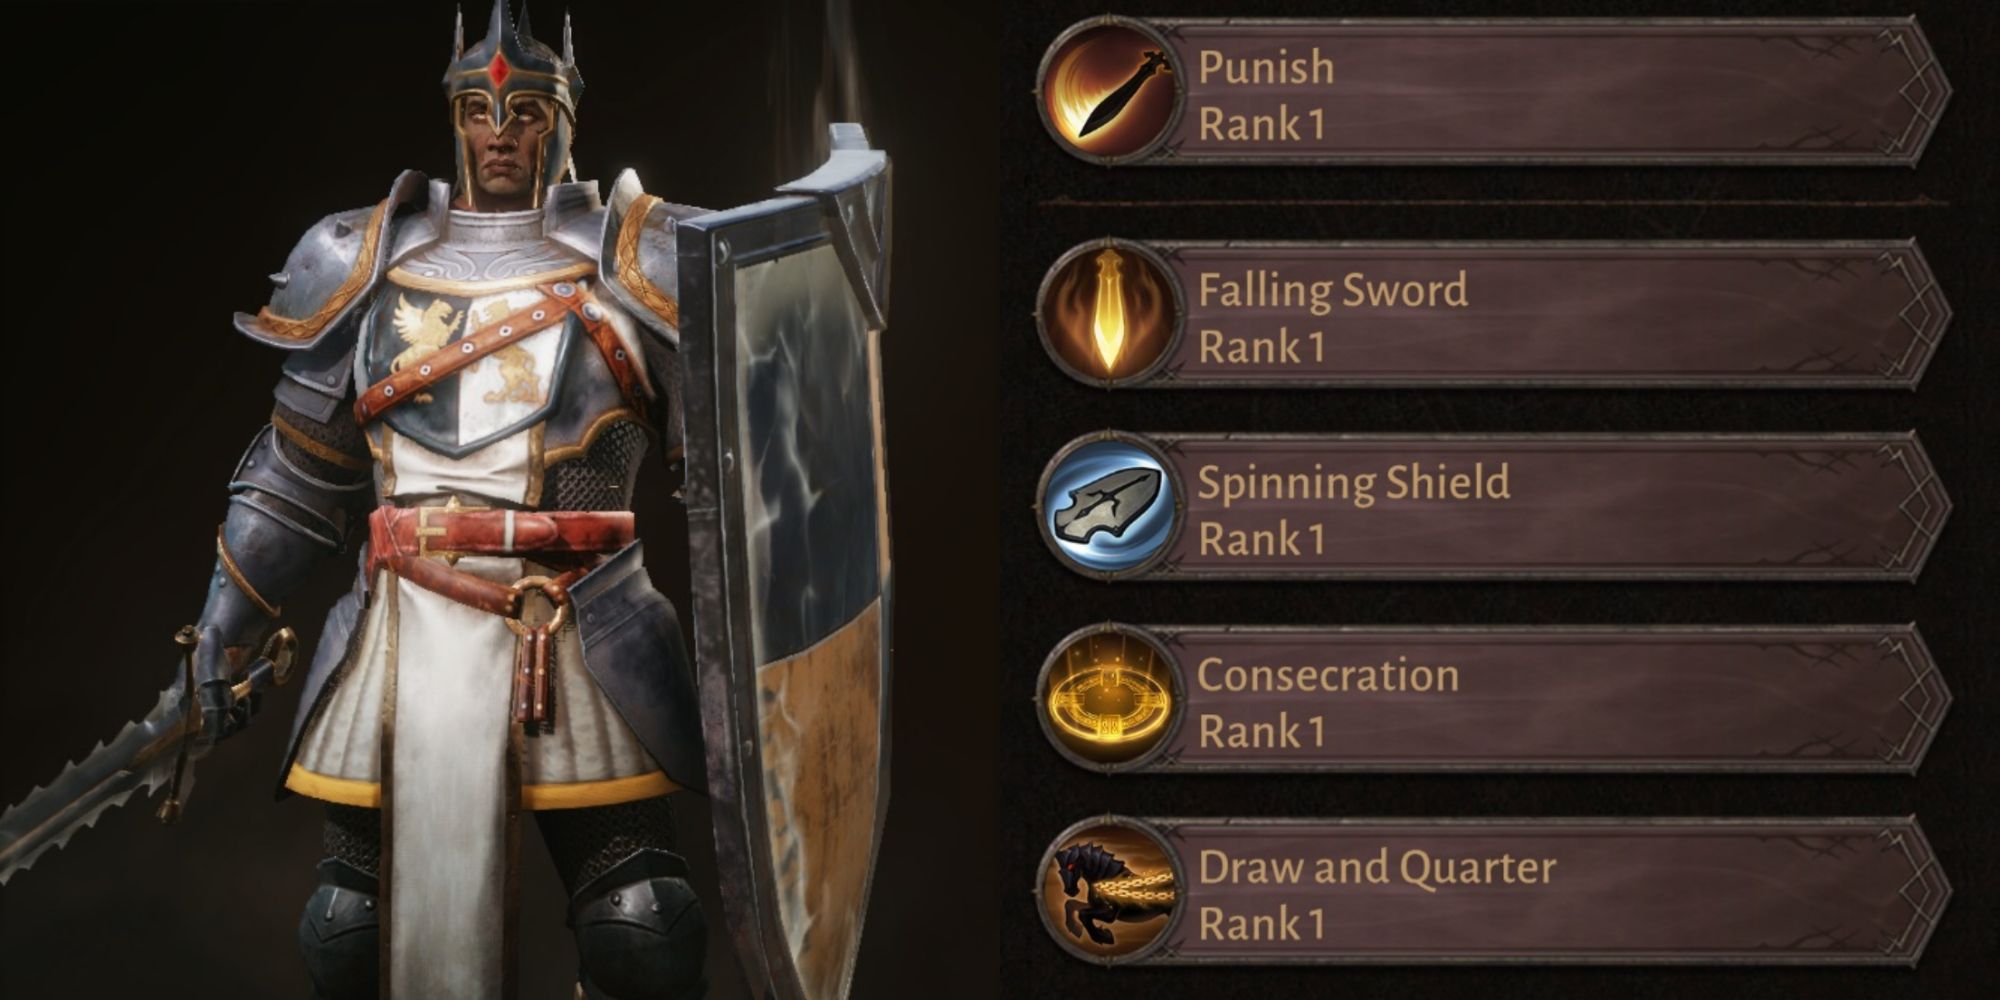
Skill Selection
Slot | Skill | Description |
Primary Skill | Punish | Strike an enemy for X to X damage and gain Hardened Senses, increasing your Block Chance by X% for X seconds. |
Skill | Falling Sword | Impale your holy sword at a location where it deals X damage over X seconds to all nearby enemies. Activate again to launch yourself into the heavens and come crashing down at the sword's location, dealing X damage to all nearby enemies and retrieving the sword. |
Skill | Spinning Shield | Hurl a spinning shield, inflicting X damage to all enemies in its path. The shield will return, pulling enemies in its path to you and dealing an additional X damage. Maximum X charges. Players can only be affected by Spinning Shield once every X seconds. |
Skill | Consecration | Consecrate the ground around you, dealing X damage to all nearby enemies over X seconds. |
Skill | Draw and Quarter | Mount a celestial war horse for X seconds, dispelling all movement impairing effects, increasing your movement speed by X%, and replacing your Primary Attack. Holy chains will bind up to X nearby monsters, dragging them as you ride and repeatedly dealing X damage. |
With four other skills that are designed to take out mobs, it becomes necessary to pick up Punish for the blocking and defense. There is loads of mobility packed into here, which is perfect for a Crusader that needs to set up Consecration and Spinning Shields.
Gear
The bulk of gamers will be hunting down their ideal pieces of legendary gear after taking the time to beat the game. But don't forget to track down the set bonus pieces after choosing them from the list. A complete set gives three additional effects, on par with the legendary bonuses from the regular gear.
Primary Gear
Slot | Piece | Legendary Effect |
Head | Many-Eyed Aegis | Your Consecration now moves with you. |
Chest | Besieger | Draw and Quarter periodically calls down a Bombardment for X damage to nearby enemies. |
Shoulders | Sivket's Advantage | Draw and Quarter duration increased by X%. |
Legs | Bladed Jambeau | Draw and Quarter's mount becomes a fiery steed that Burns the ground and enemies, but no longer drags enemies. |
Main Hand | Tumult | Falling Sword now summons a storm of blades around it, continually damaging all nearby enemies, but can no longer be activated again for movement. |
Off Hand | Pavise of Ten Wings | Spinning Shield now spirals around you and does not return. |
The two sacrifices here, giving up the movement on Falling Sword and the grabbing effect of Draw and Quarter, may seem significant, but they are not. Weak enemies will die well before grabbing them become relevant and Draw and Quarter gives the Crusader more than enough speed to not need additional mobility.
Please note that the Besieger is required to have the Bombardment ability, so it's a very mandatory part of this build.
Set Items
Set Bonus | 2/6 Effect | 4/6 Effect | 6/6 Effect |
Untouchable Mountebank | Each time you take damage, you have a X% chance to gain a shield that absorbs damage equal to X% of your maximum Life. Cannot occur more often than once every X seconds. | Shield's damage absorption increased to X% of your maximum Life, and you can move unhindered through enemies while this shield is active. | Your shield has a X% chance when it expires to explode for X% of your maximum Life in damage to all nearby enemies. |
There is a sharp divide among players that use this build. Those who make it higher up in the CHallenge Rifts seem to favor Untouchable Mountebank for the extra tanking. Still, have some license to experiment with the set bonuses.
Reforge Bonuses
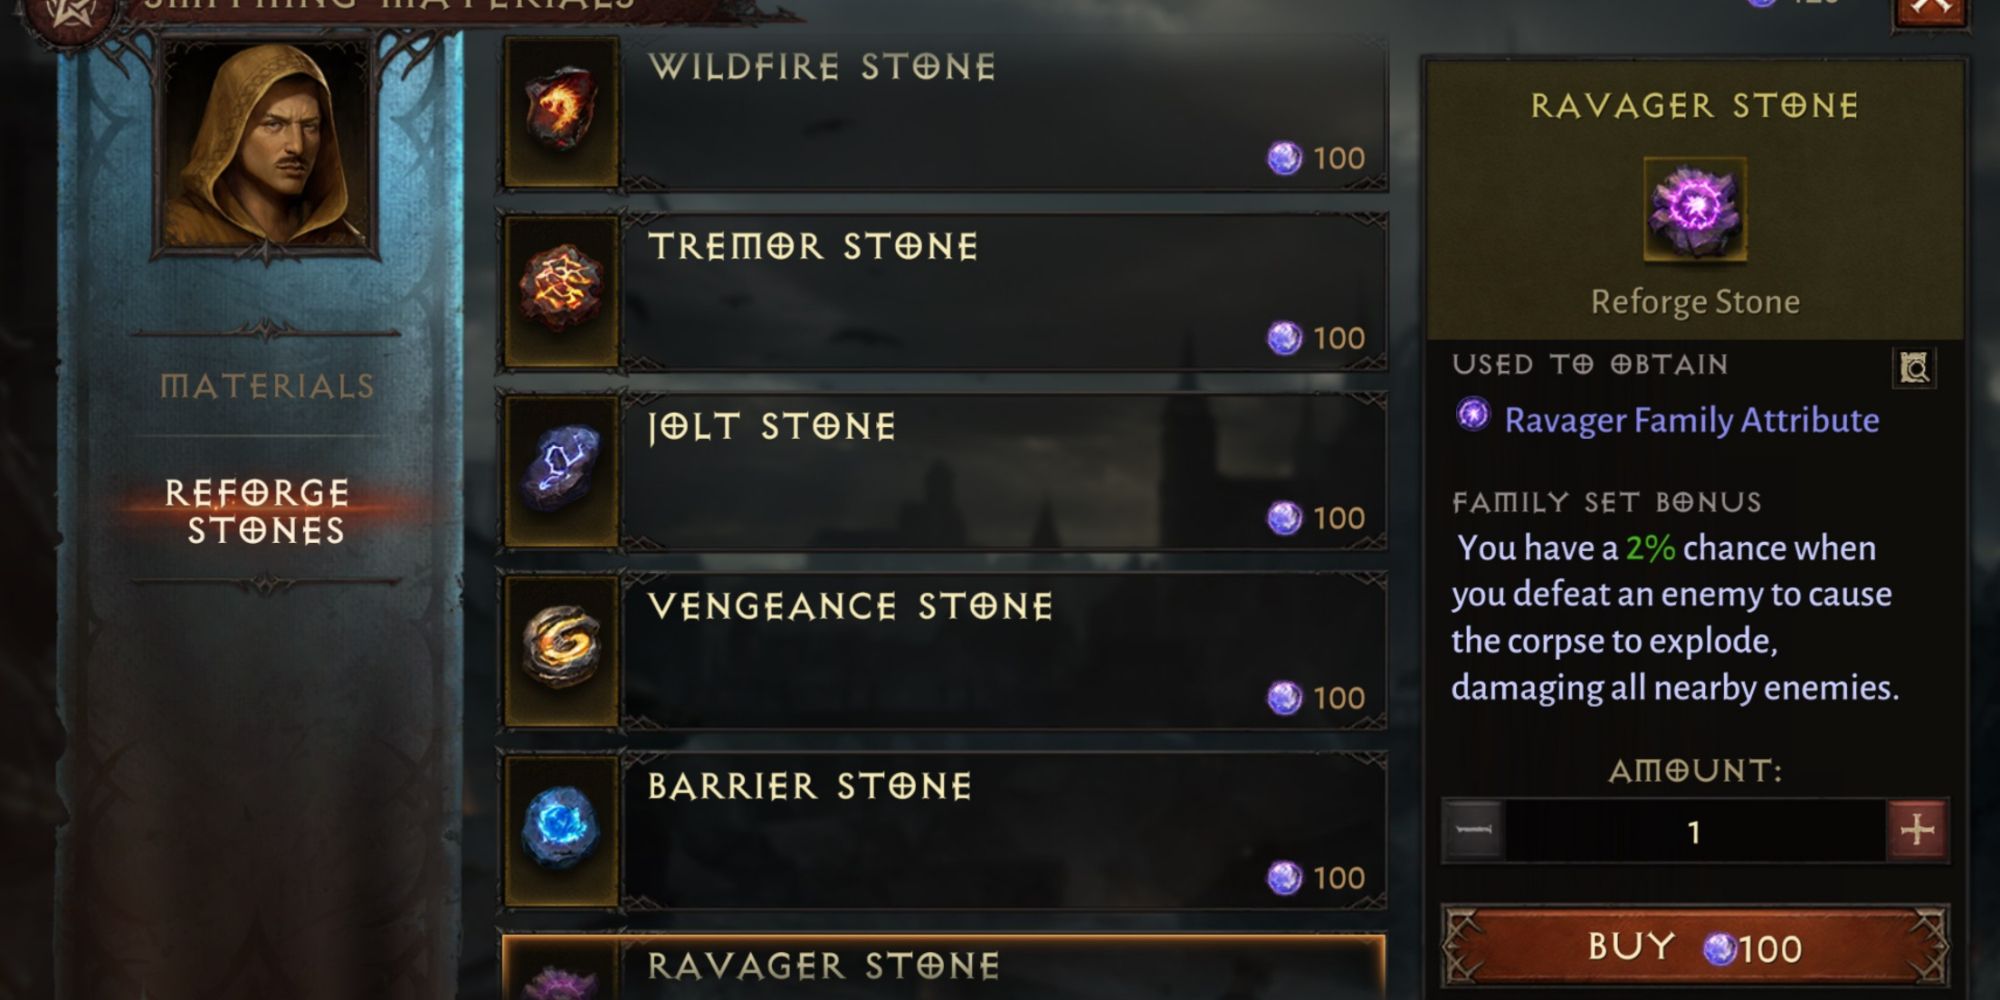
Even for paid players, reforge attribute bonuses can be guided, but are not guaranteed completely. With enough rerolls, any player can eventually get the exact attribute they want, but this will take time and luck, even for those who have the money. Therefore, several different attributes have been listed within the same family, in order of preference.
Family Bonus
Family | Family Attribute |
Wildfire | You have a X% chance when you defeat an enemy to summon a fireball-spitting Hydra. |
As a build responsible for dealing massive damage to groups, mobs have a moderate chance to spawn a Hydra as they die in droves. Count on a few appearing in each rift.
Attributes
Preference | Attribute |
First | All skill damage increased by X%. |
Second | Primary attack damage increased by X%. |
Third | Critical Hit damage increased by X%. |
Although skill damage is the focus of this build as it boosts the Bombardment ability, there will be a point where the final boss is a bigger challenge than the rest of the rift combined. When that happens, prioritize primary attack damage instead.
Gems
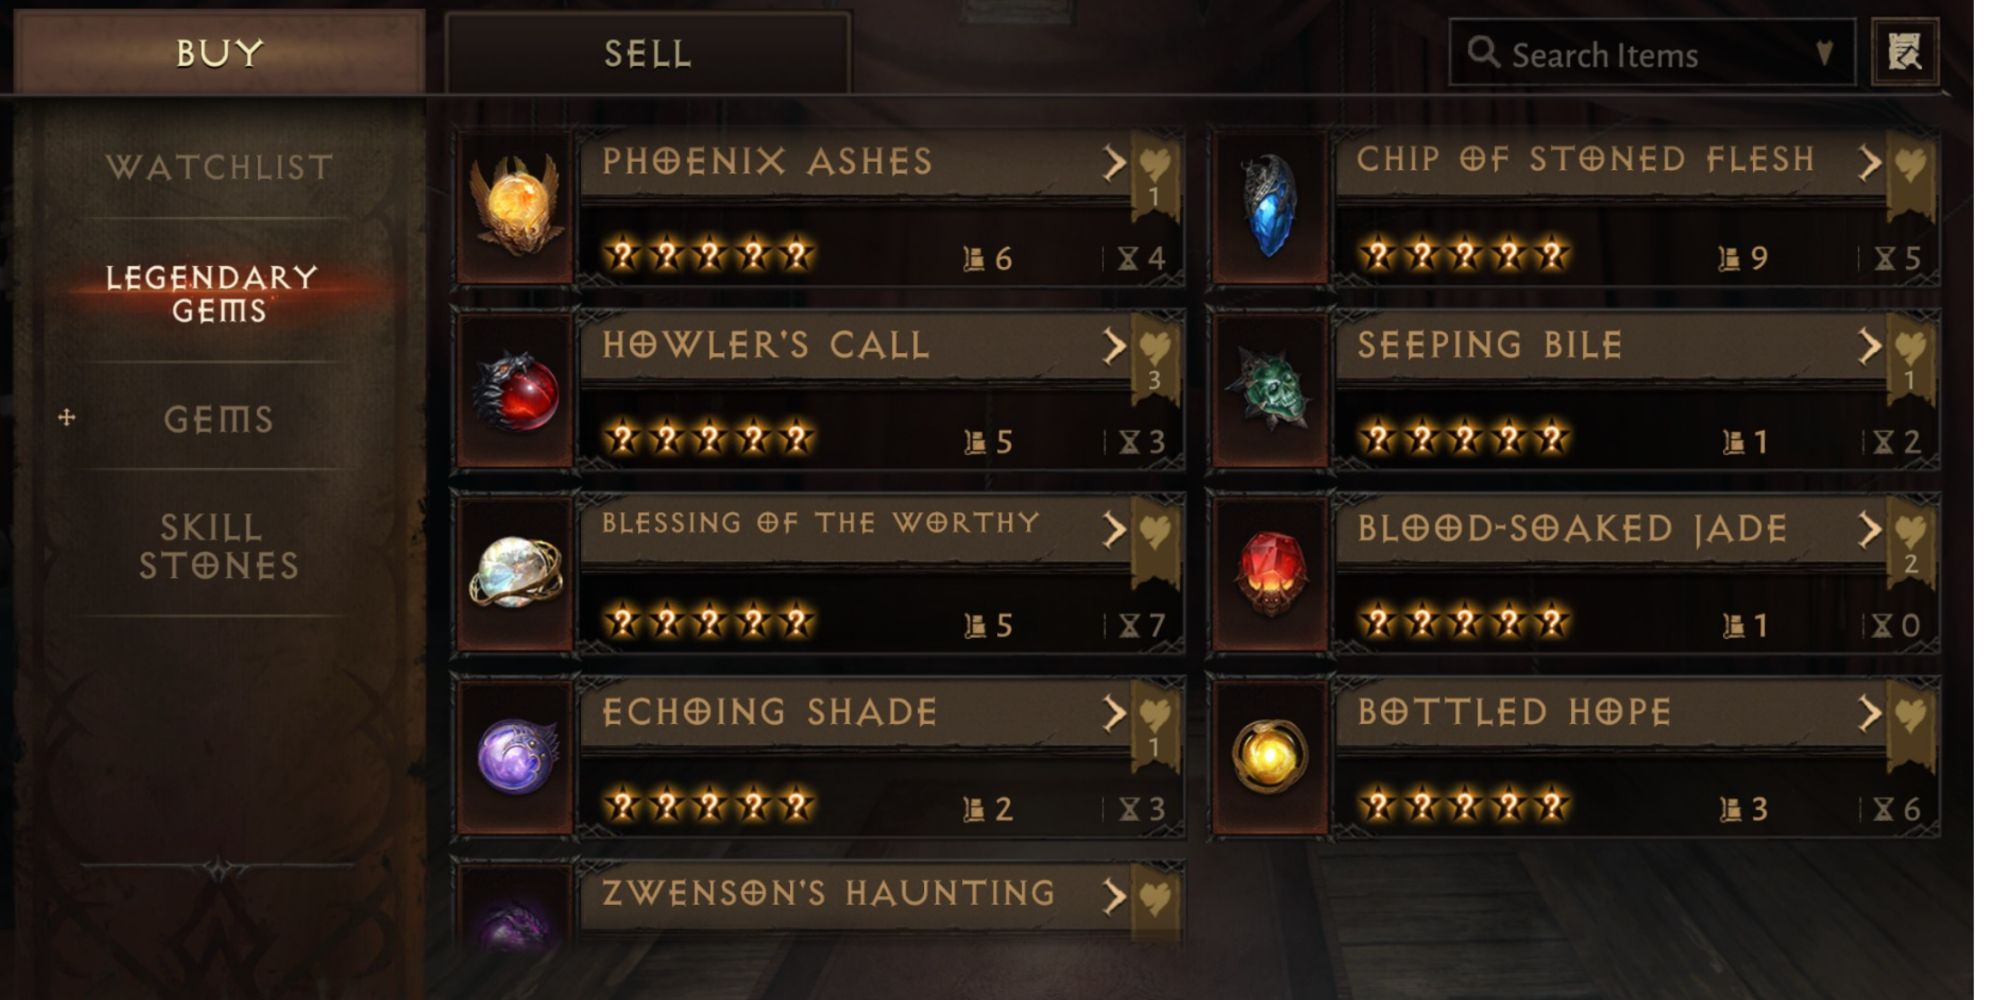
There are two kinds of gems to consider for this build: the legendary gems and the regular gems. Players of all income levels will be using this guide, so there are three charts for legendary gems to choose from. Probability demands that even paying for an advantage will still make it tough to get the right gems, so feel free to mix and match from the charts based on the character's most valuable stats.
Legendary Gems
5-Star Gem | Effect |
Blessing of the Worthy | When you take damage, you have X% chance to unleash retribution on all nearby enemies, dealing damage equal to X% of your maximum Life. Cannot occur more often than once every X seconds. |
Blood-Soaked Jade | Increases all damage you deal by up to X% and your Movement Speed by X%, with less damage bonus the lower your Life, to a minimum of X%. |
Howler's Call | Your Primary Attack has a X% chance to summon a charging spirit wolf that inflicts X% base damage +X to all enemies in its path. Cannot occur more often than once every X seconds. |
Echoing Shade | Your attacks have a X% chance to summon a shadow clone for X seconds that gains some of your abilities. |
Seeping Bile | Your attacks have a X% chance to poison enemies, inflicting X% base damage +X every second for X seconds. This poison spreads to nearby enemies if the victim dies. Cannot affect the same target more often than once every X seconds. |
Zwenson's Haunting | When you defeat an enemy, summon a dark beast to attack nearby enemies, dealing X% base damage +X to all nearby enemies. Cannot occur more than once every X seconds. |
There is some variety permitted for the Bombardment build, especially regarding the 5-Star gems. It all comes back to the final boss balance. Equip more tanking and primary attack gems if it's a problem. If not, go for mobility and skill damage.
2-Star Gem | Effect |
Battleguard | Decreases all melee damage you take by X% from enemies within X yards. |
Fervent Fang | Each time you deal damage to an enemy, that enemy now takes X% increased from your attacks, up to a maximum increase of X% at X stacks. |
Lightning Core | Your Primary Attacks and movement slowly charge you up with electricity. When fully charged, your next Primary Attack will release chain lightning, dealing X% base damage +X to nearby enemies. Cannot occur more often than once every X seconds. |
Power and Command | Power and Command alternate states every X seconds. Power increases your Primary Attack damage by X%. Command increases all other skill damage by X%. |
The Hunger | Heal X% base damage +X Life each time you defeat an enemy. Cannot occur more often than once every X seconds. |
Cutthroat's Grin | Gain X% increase Critical Hit Chance when attacking from behind. |
The effects of the 2-Star gems are about as good as the 5-Star gems, even if their Resonance rating is less. Once again, a combination of longevity and DPS should be struck given the selection the 2-Star gems afford.
1-Star Gem | Effect |
Berserker's Eye | Increases all damage you deal by X%, but increases all damage you take by X%. |
Ca'arsen's Invigoration | Increases the speed of your Primary Attack by X%. |
Chained Death | Increases damage done by your attacks by X% per target hit, up to a maximum of X% with X targets. |
Defiant Soul | Each time you block an attack you deal X% base damage +X to all nearby enemies. Cannot occur more often than once every X seconds. |
Respite Stone | Decreases all damage you take by X% for every X% your Life is below maximum, up to maximum damage decrease of X%. |
The Black Rose | Each time you are attacked, you have a X% chance to summon vines that Immobilize the attacker for X seconds. Each enemy cannot be affected by this more than once every X seconds. |
Some of the best Crusaders on each server sometimes use Berserker's Eye, even if they have a higher-rated gem. Most builds can't handle trading in any defense for more offense, but with the blocks from Punish, the Crusader can survive such a tradeoff.
Regular Gem Preference
Color | Gem | Effect |
Red | Tourmaline | +Damage |
Yellow | Citrine | +Potency |
Blue | Sapphire | +Armor Penetration |
Given the choice between tanking and damage, elect for extra damage every time, allowing the best defense to be a good offense.
Diablo Immortal is available now for mobile and PC.

