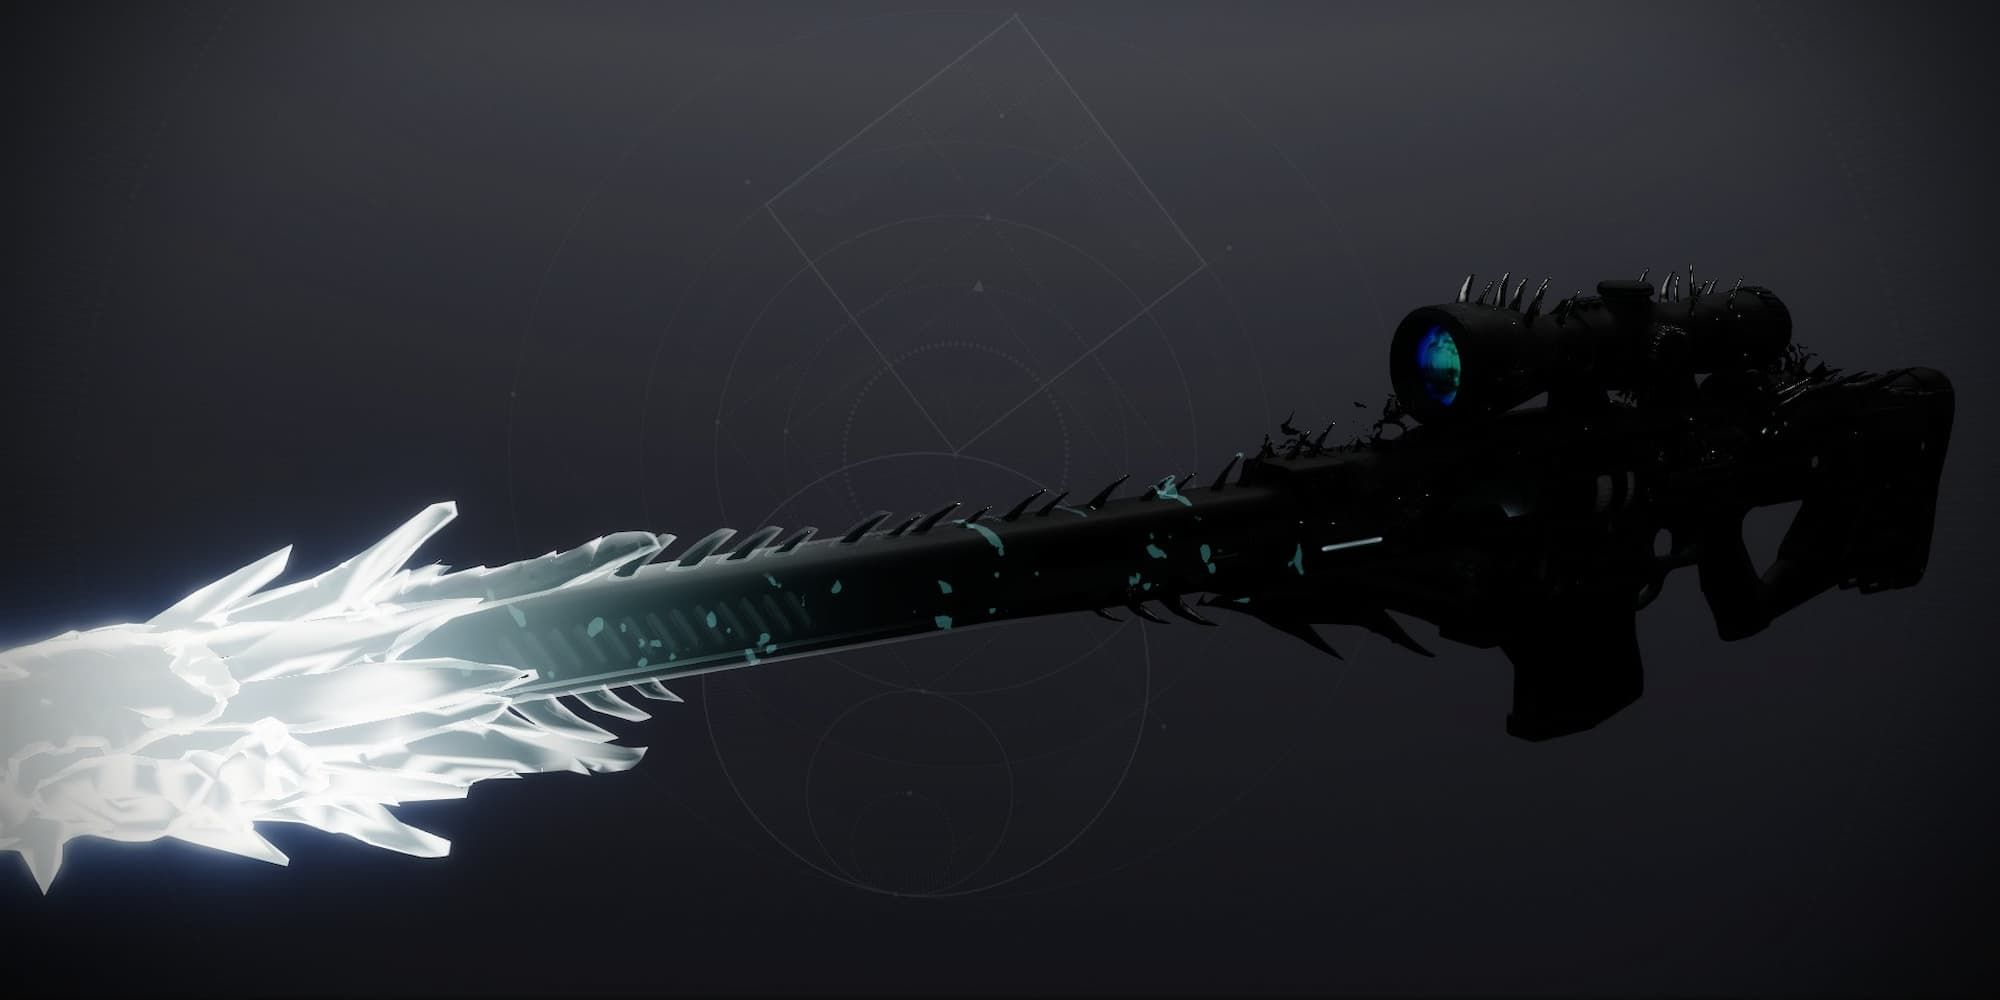
Whisper of the Worm was one of the first heavy Sniper Rifles in Destiny 2, and while it hasn't been part of the meta in a long time, that might change with the addition of the craftable version of the gun. With a slew of new perks to choose from and a number of buffs given to it from the previous seasons, this ominous rifle might just make it to the top of the DPS charts.
Destiny 2: Best Titan Builds for Onslaught Mode
Titans are just as good at attacking as they are at defending. Here are two builds you can use to beat back the hordes in Destiny 2's Onslaught mode.
While the weapon can be bought from the Tower's exotic kiosk, players now have the chance to get the crafted version of Whisper of the Worm from its original quest called The Whisper, which has been reintroduced as part of Destiny 2's Into The Light update. If you're a new player experiencing this quest for the first time or a veteran who needs to brush up on the mechanics, here's a walkthrough covering the entire quest.
Destiny 2: The Whisper — Traversal Section
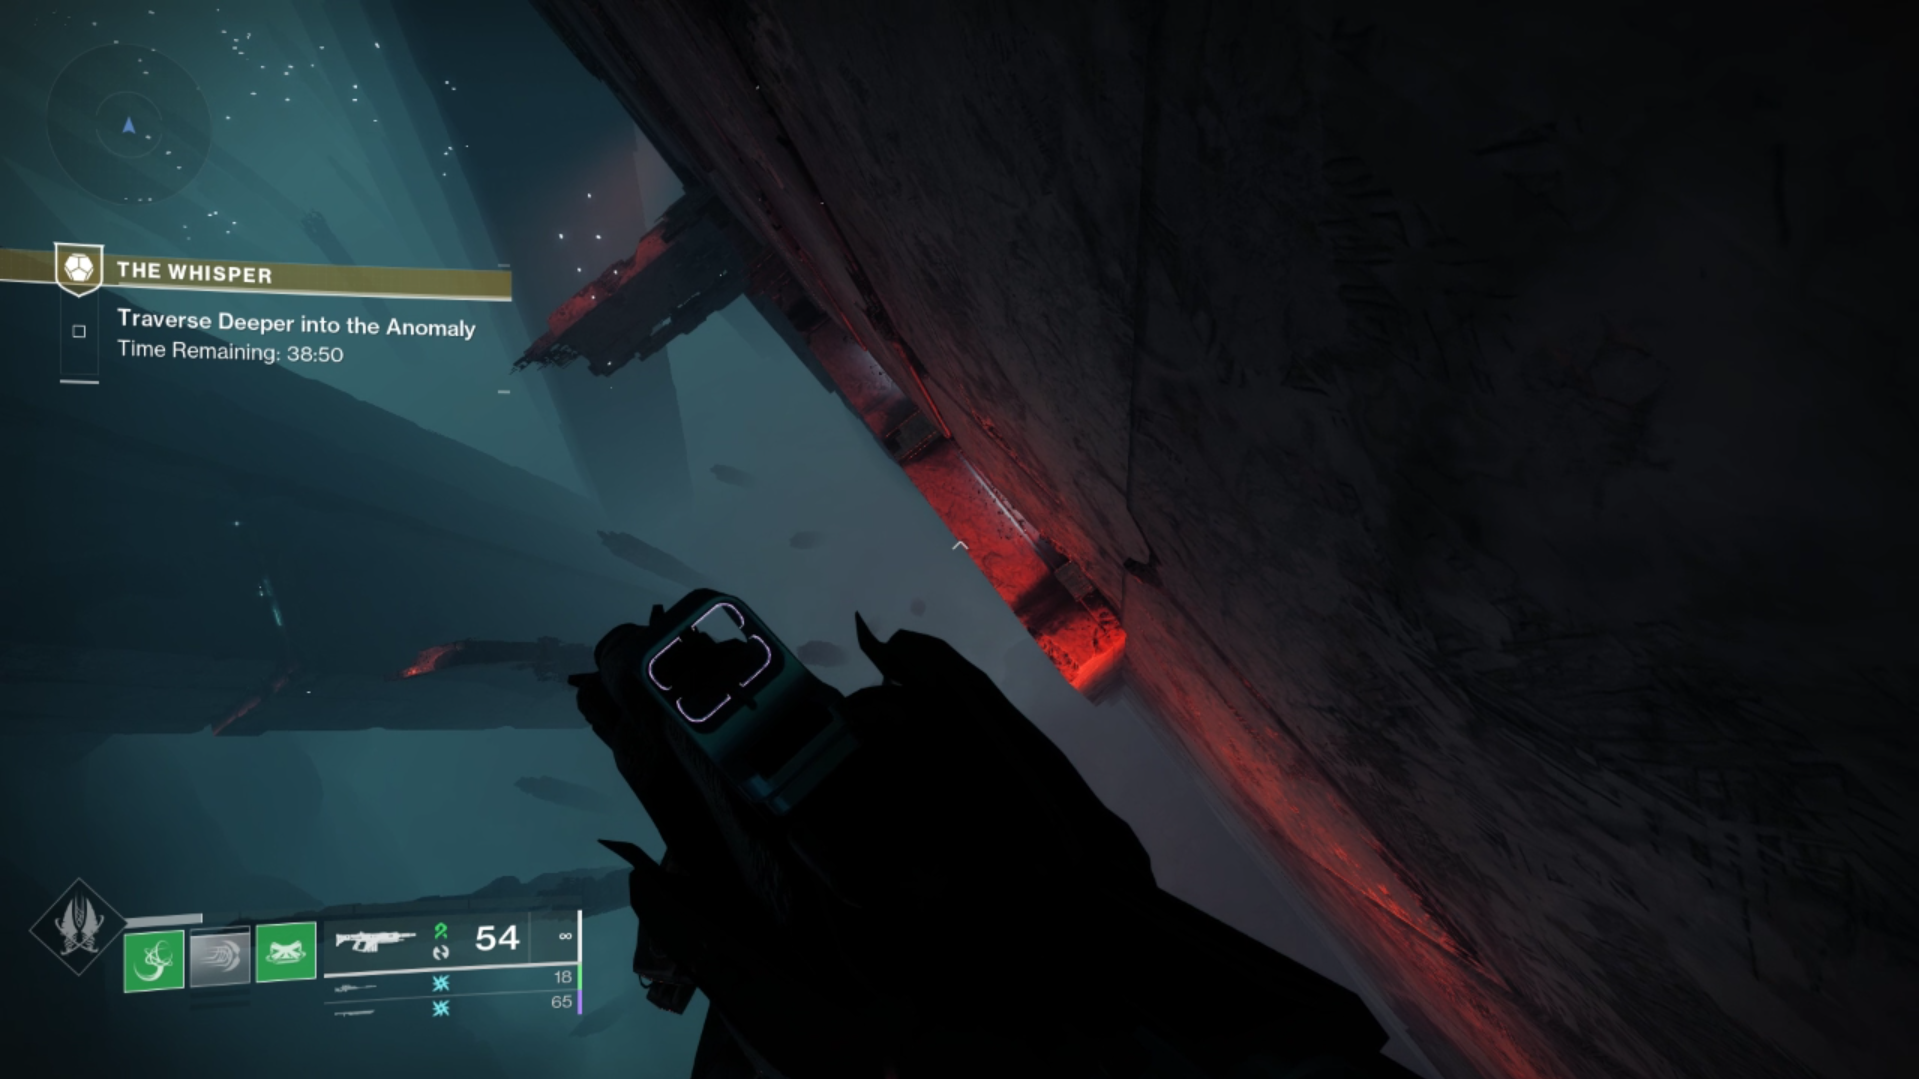
The first half of the quest will have players traversing through an enormous chasm. This is the most confusing part of the quest, as the labyrinthine pathways can easily throw players out for a loop. The path starts out simple at first, but there are many twists along the way. Note that this guide doesn't cover how to get Whisper of the Worm's catalyst in Destiny 2.
We highly recommend using a Strand subclass here. The Grappling Hook will save you from plenty of unfortunate accidents and make traversal much easier.
Entrance and the First Chasm
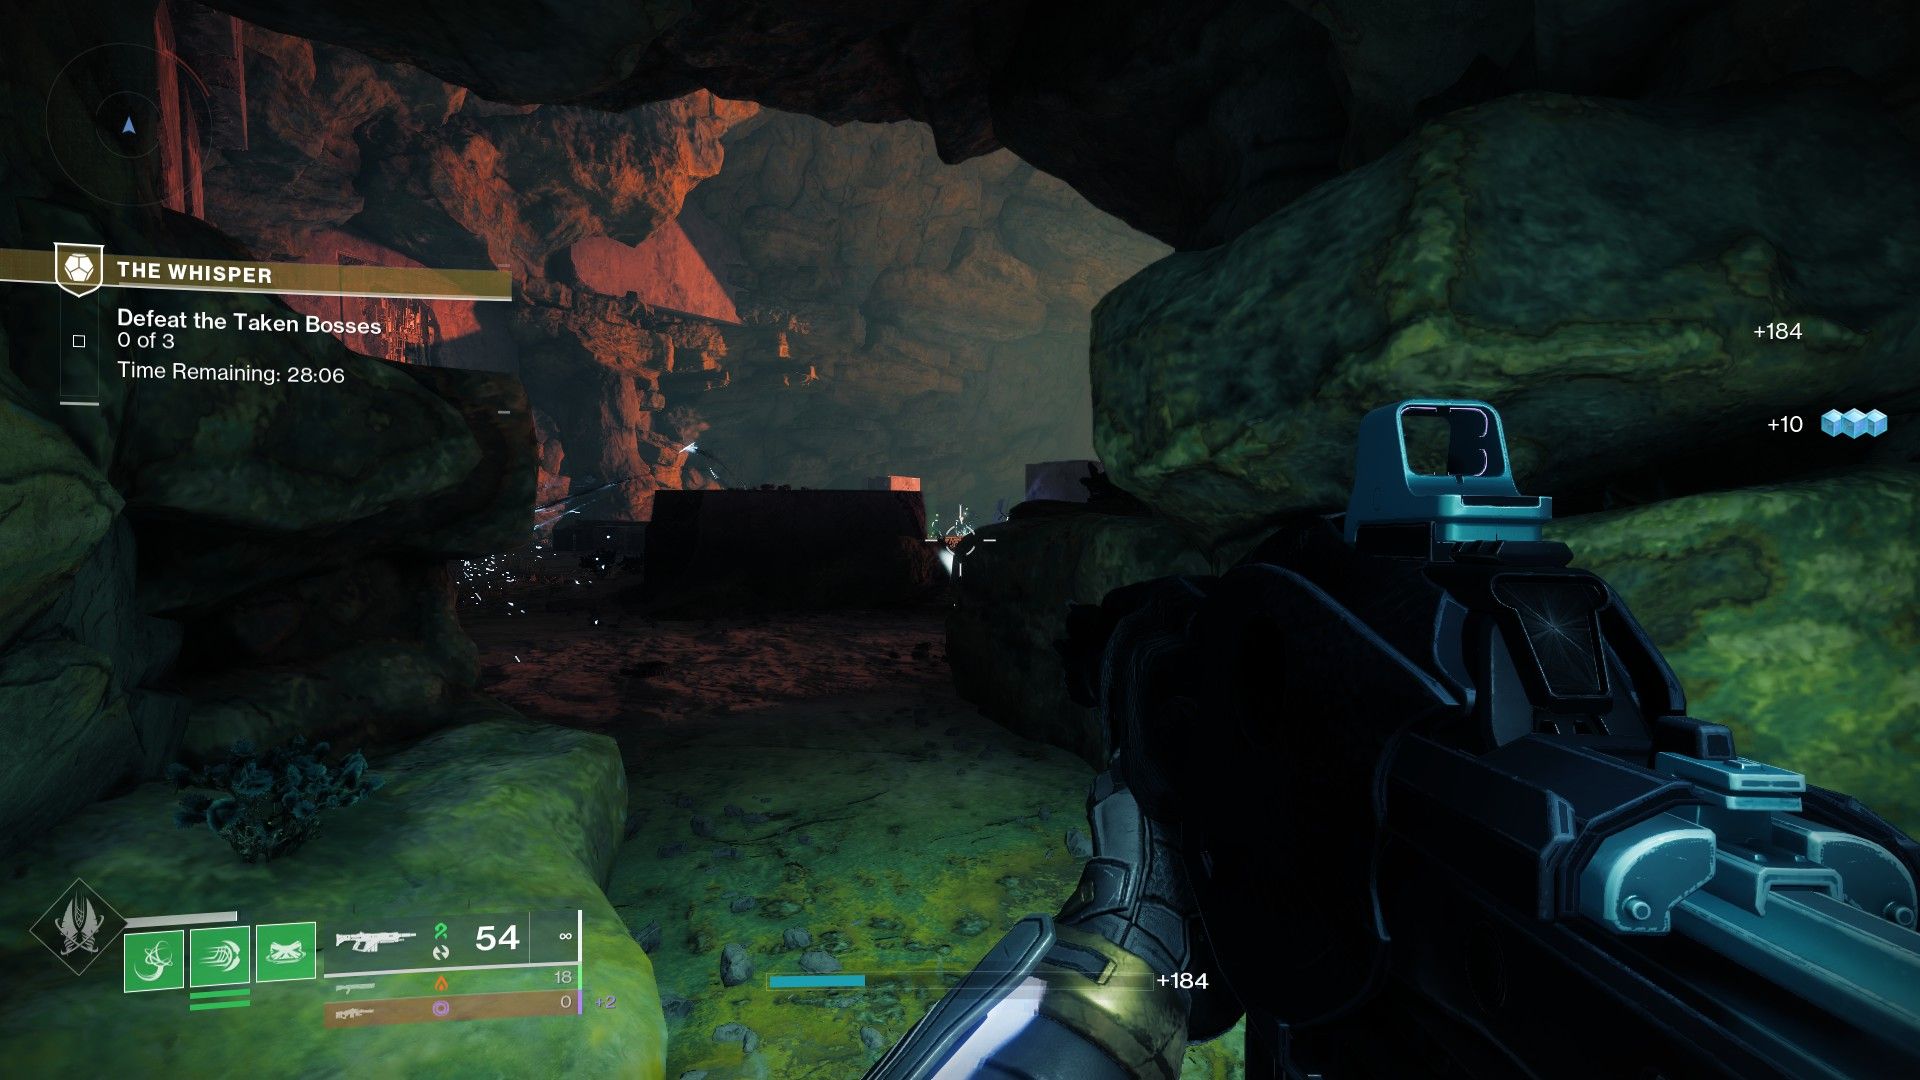
In the beginning, make your way through the cave until you reach the ledge, taking care of the Thralls that spawn. On the opposite side, you'll spot a Vex cube — shoot it, and platforms will materialize before you. Get rid of the Knight on the ledge to the left, and pop the Blight. Jump down to enter the chasm.
In this first area, hug the wall to the right, then jump across. Slide through the small gap in front, then drop down the ledge and onto another ledge below. Make your way across while avoiding the moving walls, then jump across the chasm, using the platforms to secure your footing. Once you reach the ledge on the large pillar, go to the corner, jump off, then land on the other ledge to the right. From here, move through the crawlspace, but be careful of the walls that will push you down to the abyss. You can fly by this section much quicker if you know how to do Destiny 2's Sword Skating technique.
Jump onto the ledge to the left, and make your way up using the elevator. Hop onto the next ledge and move forward — once you reach the corner, turn left, then proceed through the tunnel.
Second and Third Chasms
You'll eventually enter another chasm with Taken snipers and even more ledges. Make your way to the end to enter yet another chasm. Make your way to the row of stone globes and holes to the right, then enter the entryway at the very end. Pay attention to the Knight that spawns in the middle of the chasm so you don't get killed. Grab any good sniper rifle or just ignore it.
Once you pass through the glowing entryway, you'll eventually reach a large hall with moss-covered stone floors. Hop down from the entrance, then immediately turn around. There's a hidden hole in the left corner of the ramp leading back to the entryway — enter it to reach a series of tunnels. From here, it's smooth sailing to the second half of the quest. Follow the tunnels, avoid the pitfalls, and you'll eventually reach the end of the parkour section
Destiny 2: The Whisper — Combat Section
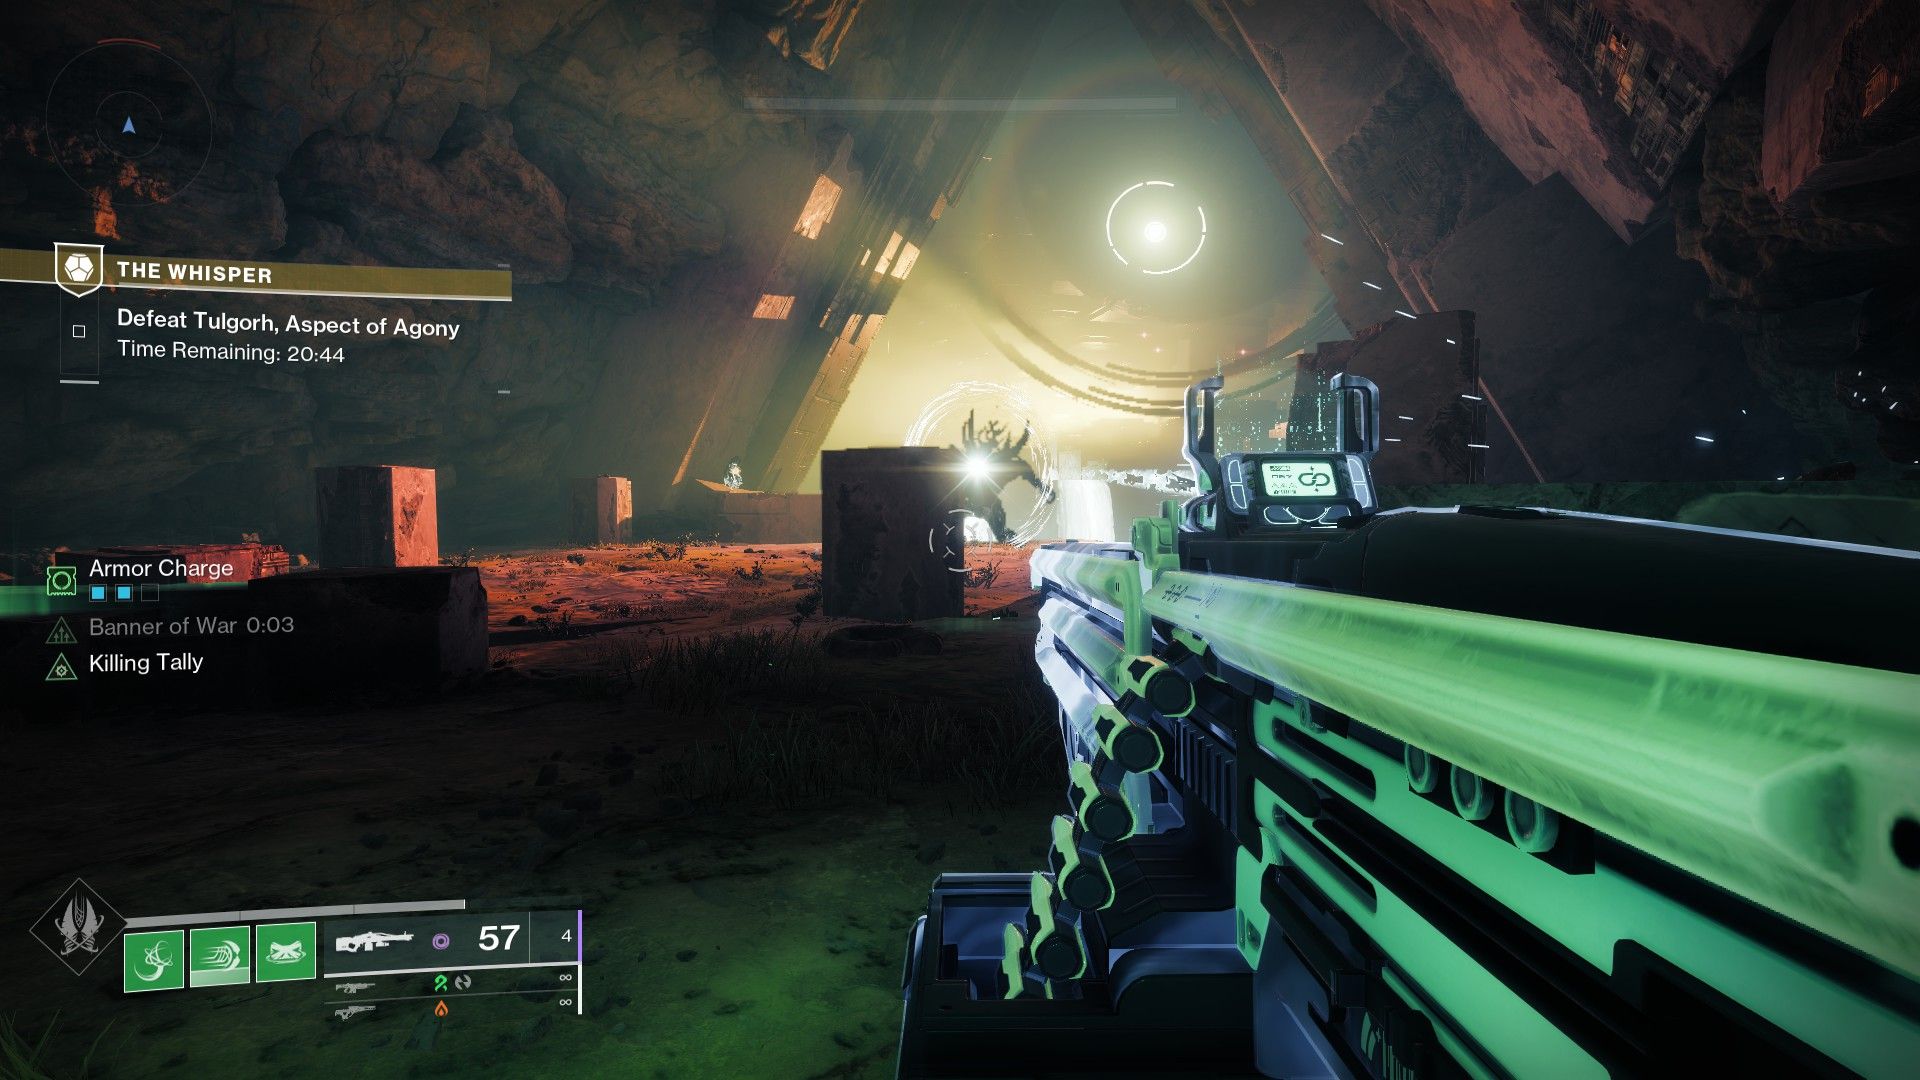
Th quest is much less confusing. Simply shoot your way through the large arenas while taking out the Taken Blights dotted around each area. There will be Taken all over the place, and some will take potshots at you from afar. We highly recommend bringing one of Destiny 2's best PVE scout rifles here just so you can plink safely from a distance.
Move through each arena, and you'll eventually reach the boss room. Here, you'll first need to fight three minibosses before you can fight the actual boss. It can get quite hectic in this arena, especially if you summon all three minibosses at once — shoot only one Vex cube at a time if you want the breathing space.
The actual boss of the Whisper quest is a giant Taken Ogre. There aren't any fancy gimmicks here; just shoot the Wizards to get rid of the boss' shields, then nuke the Ogre with everything you got. If you get overwhelmed, use the side tunnels to get a breather from the boss' attacks. Thralls will constantly swarm you, though, so stay on your toes.
Once the boss is dead, you'll be able to claim the schematic for the craftable Whisper of the Worm. Return to Eris on the Moon to get the actual gun. So far, visiting The Enclave is the only way to craft weapons in Destiny 2, so if you want to customize your rifle, head straight there after completing the quest.

