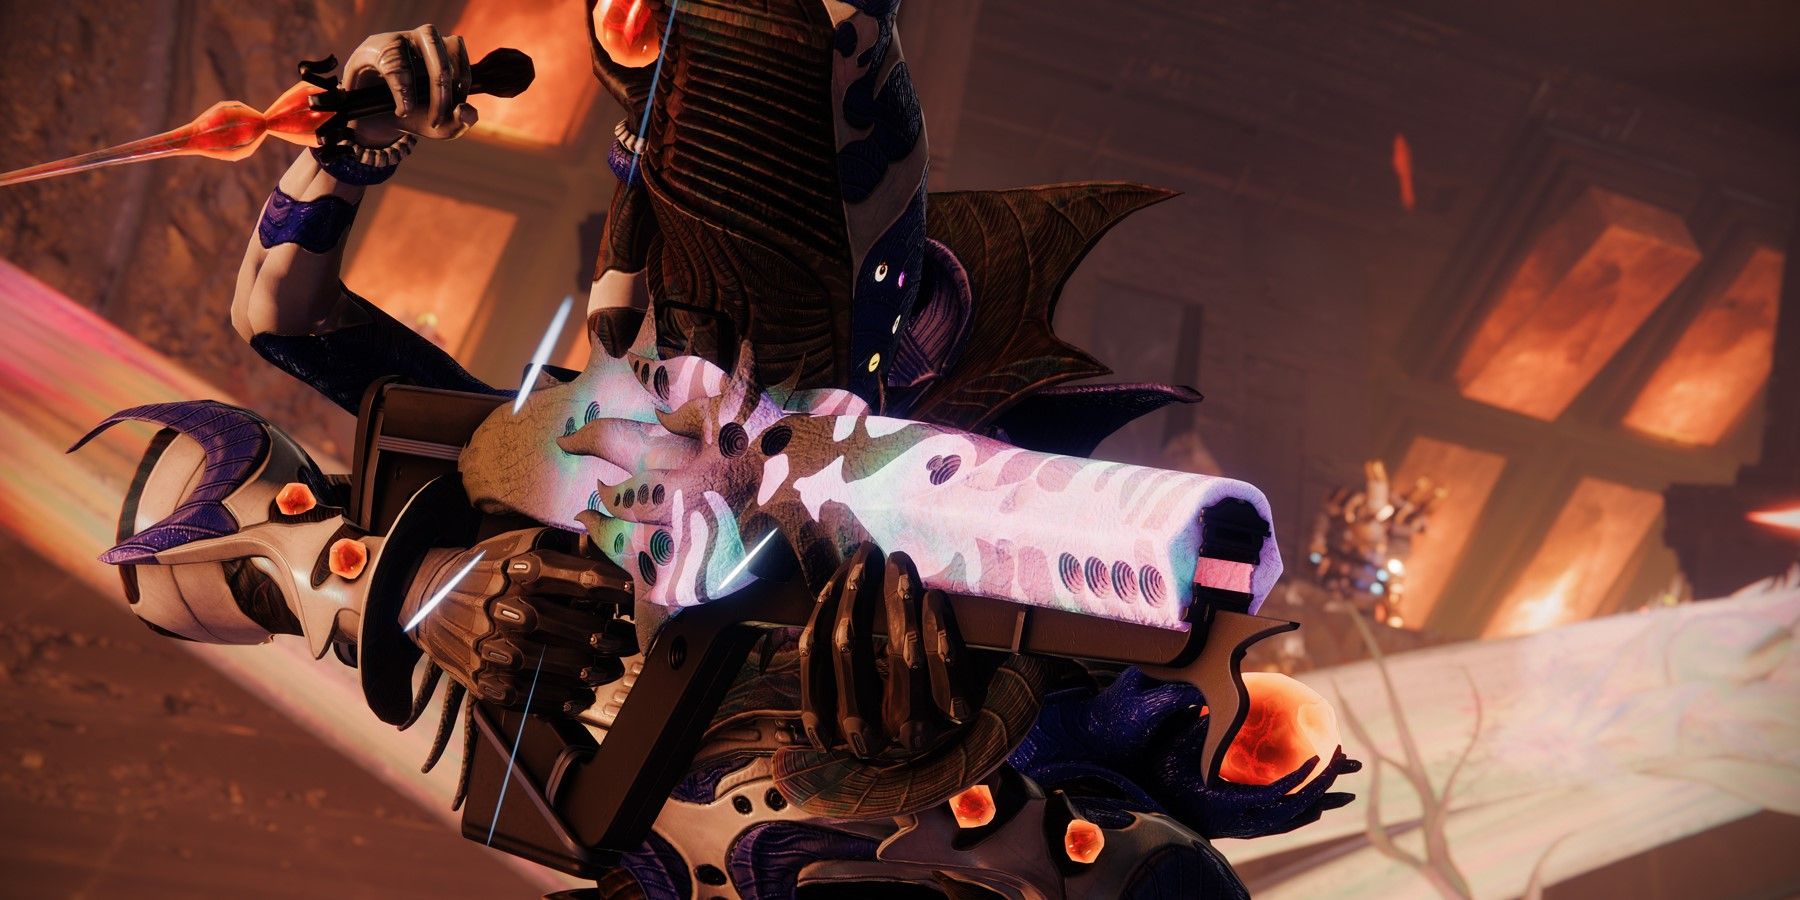
When it comes to raids in Destiny 2, they always have some sort of mechanic that is completely unique and found nowhere else in the game. As such, the first encounter of any given raid will typically teach players the mechanic that they will see throughout the rest of the activity. While the Cataclysm encounter could be considered a tutorial, the second encounter will demand players to have a strong understanding of the node and buff mechanic of Root of Nightmares.
The second encounter in Scission will require Destiny 2 players to take what they have learned and apply it to a situation where there are now two different kinds of nodes. This guide will explain the second encounter and how to beat the Scission encounter.
How to Beat the Scission Encounter
Just like in the first encounter, players will need to activate nodes via the buff they get from the first node. The big difference in this encounter is that there are now two different nodes and two different buffs. While the Light nodes and the Field of Light buff are back, the second encounter introduces the Dark nodes and the Flux of Darkness buff. Dark nodes can only be activated if players have the Flux of Darkness buff.
Once again, players will want to have add clear weapons for this encounter. Barrier Champions will spawn periodically through the fight, so players should be ready to deal with them. There are two sides in this encounter with a giant hole between them. Three players will go to the right side and three players will go to the left side. On each team, two players will handle add clear while the other player grabs the buff and activates nodes. It is up to the two node activating players to decide if they want to focus on just one kind of node each, or alternate between the two kinds of nodes. Regardless, communication before and during the encounter are critical here.
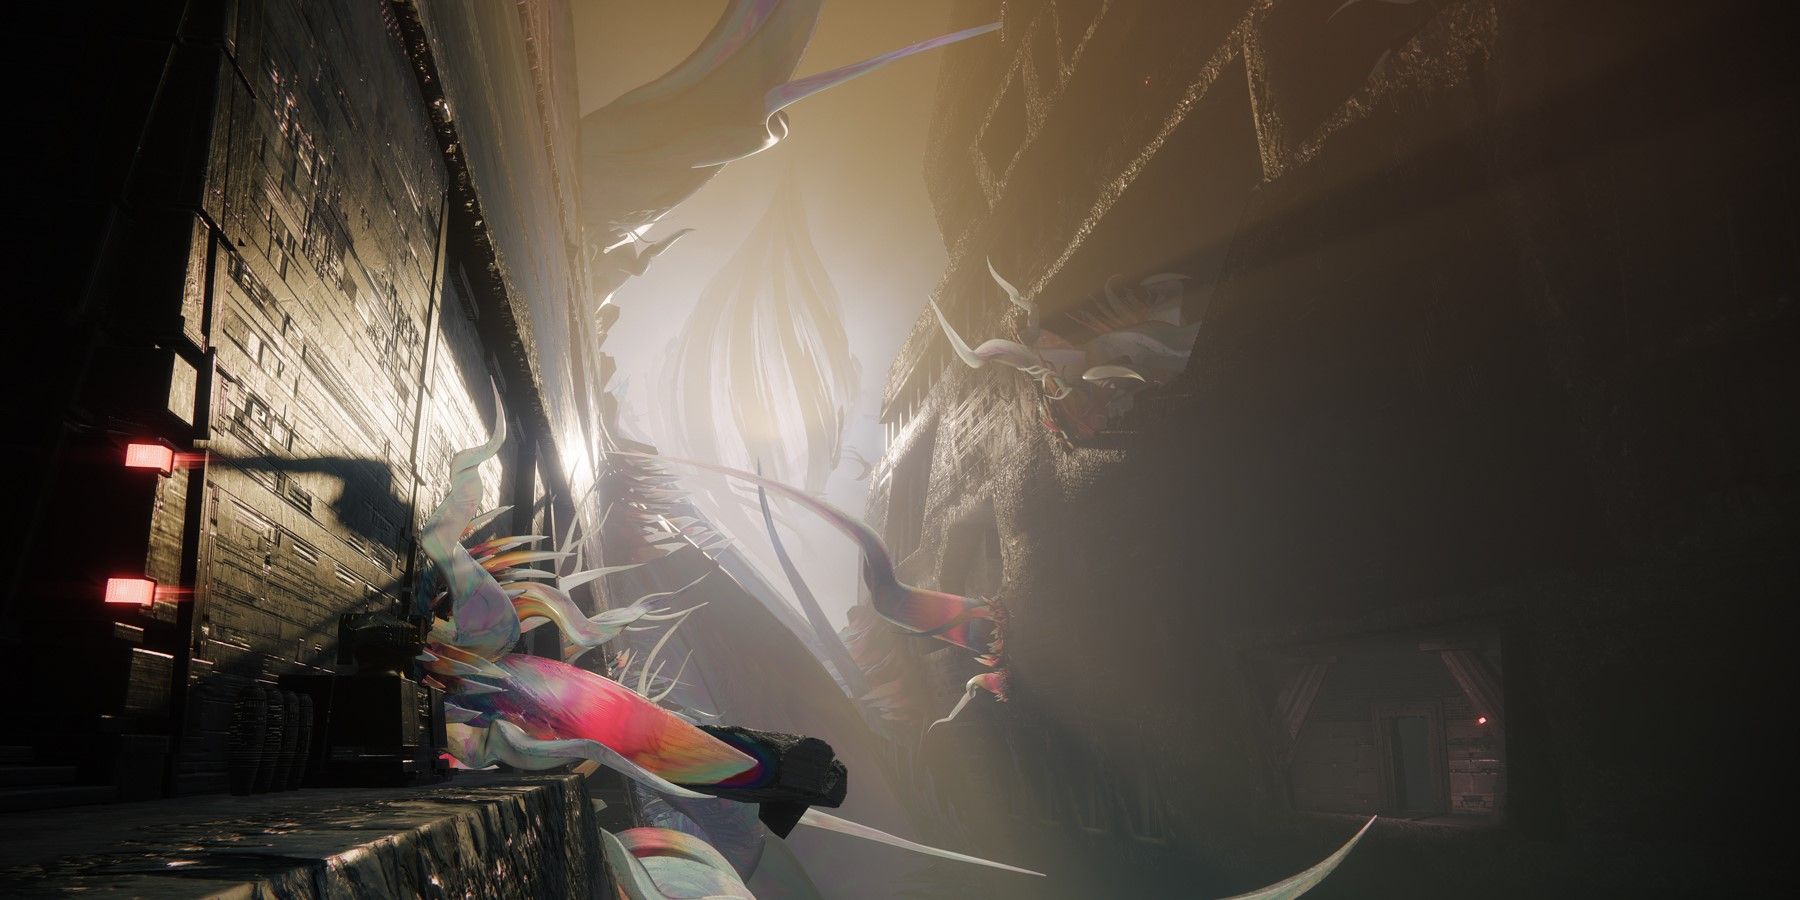
Once the encounter begins, a debuff will appear that lasts for two minutes. When the debuff expires, everyone dies (as is standard when it comes to wipe mechanics in a raid). To stop this debuff from killing everyone, players must activate all the nodes scattered across both sides of the arena. The players activating nodes will need to go from side to side as there is both Light and Dark nodes on both sides. The chasm between sides is far too big to cross with normal jumping. Luckily there are jumping platforms that allow players to cross.
Players going across must position themselves so that they are directly in front of the jumping platform. Next, they must look for a floating objecting in the chasm. Shoot it, and the platform will send players flying toward the other side.
Be vigilant when using these jumping platforms, as it is very easy to either not get launched far enough or get launched too far and smash into a wall.
While the two players are activating the nodes, everyone else will focus on killing adds. When the other two players are going to regain the buff, they should let everyone else know so that all the other players can get the buff as well. The reason for this is that there are shielded enemies that show up that can only be killed by someone who has one of the buffs. Since the other two players will be busy activating nodes before the timer expires, it is up to everyone else to handle these shielded adds.
Once all the nodes have been activated, the timer will stop and the debuff will disappear. At this time, two mini-bosses will show up on both sides. These enemies can only be damaged if players have the buff. Once the two mini-bosses are dead, players can proceed up to the next floor where they will repeat the process of killing adds and activating nodes. There are three floors in total, and once players have activated the nodes they will complete the encounter and get to go further into this new raid with their brand-new loot.
Destiny 2 is available now on Epic Games Store, PS4, PS5, Steam, Xbox One, and Xbox Series X/S.

