Quick Links
Season of the Witch in Destiny 2 is all about secrets for players to uncover. This certain makes sense, as deception, cunning, and obfuscated information are Savathun's specialty even after her worm was removed. At one point in the story for this season, Destiny 2 players unlock a new activity that appears, at first, to not have anything all that important in it.
Yet surprisingly, this new mission helps shed some light on what will happen in Season 23, along with providing an explanation for how Savathun would help Guardians go through the portal created by the Witness. This activity, The Imbaru Engine, is full of mind-bending puzzles, and here is how players can solve them and uncover the secrets within. If players want to experience the fourth and final puzzle for themselves, they must do so before the launch of Season 23, as this is a limited-time event.
This guide contains spoilers, so players should proceed with caution.
How to Access The Imbaru Engine
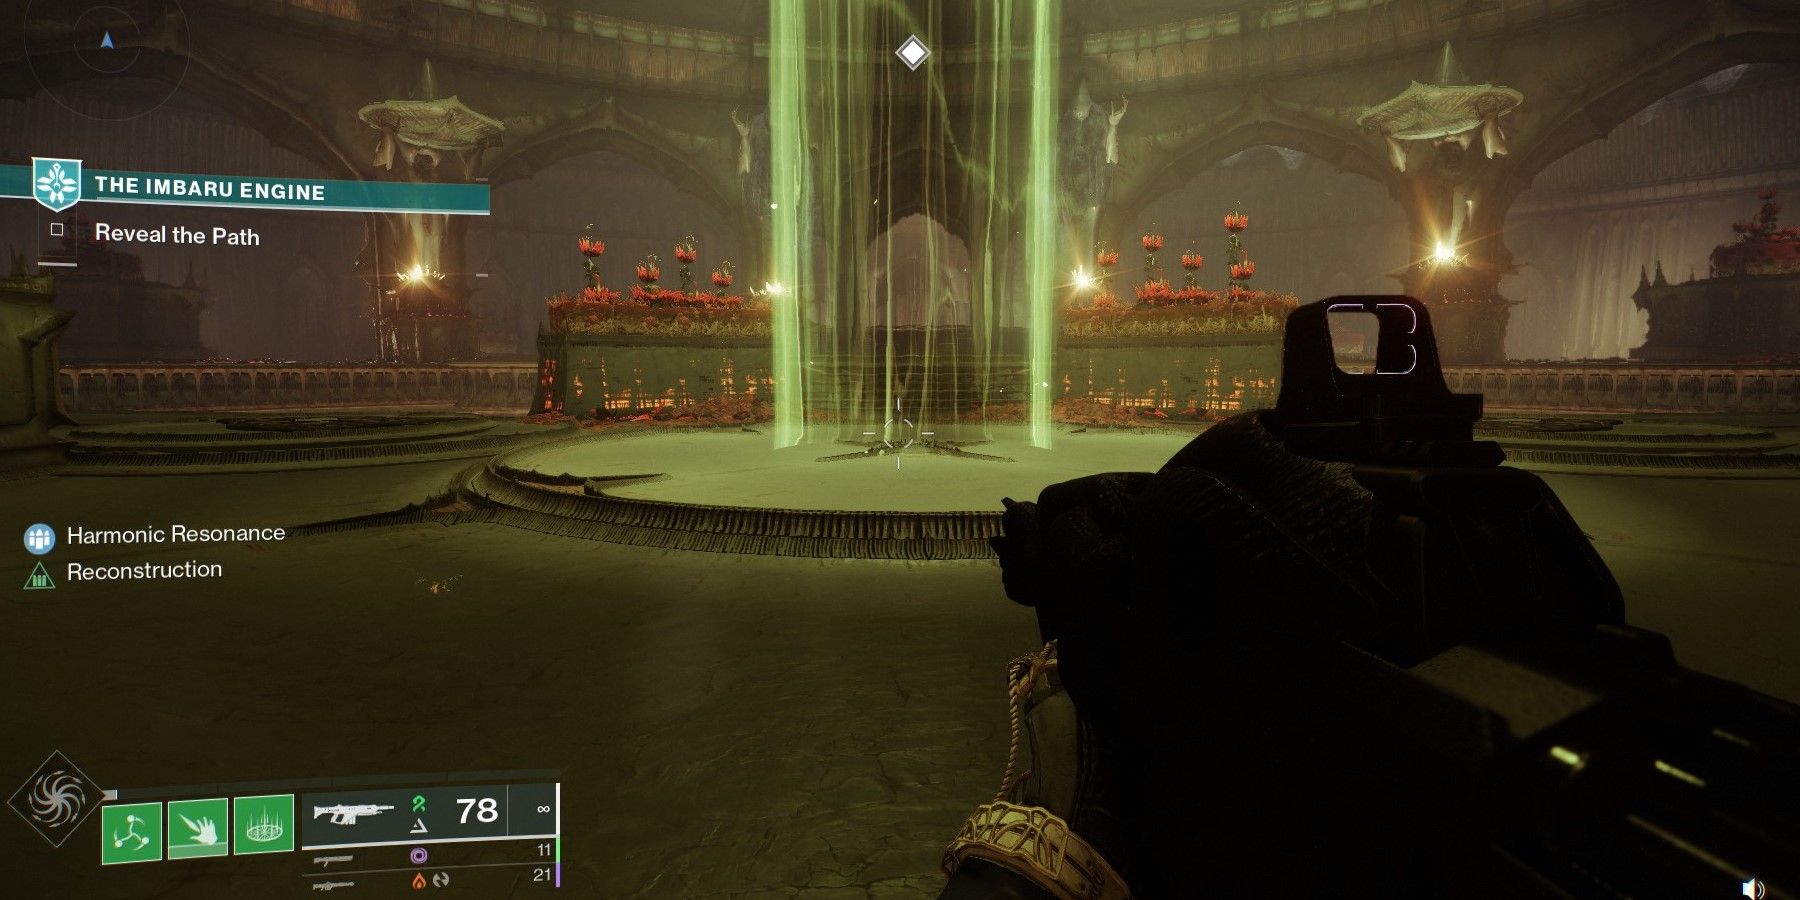
The Imbaru Engine is an activity that can only be accessed once players have made it through the fifth week of the Season of the Witch story quest. As part of the story, players will unlock the Imbaru Engine. The Imbaru Engine does not have any combat and consists of a bunch of puzzles instead. There are four puzzles, or "Tests", and they are all covered below.
None of these puzzles are timed, so players can take as long as they want. Even if players make a mistake and die, they can simply revive and try again.
Test of Cunning
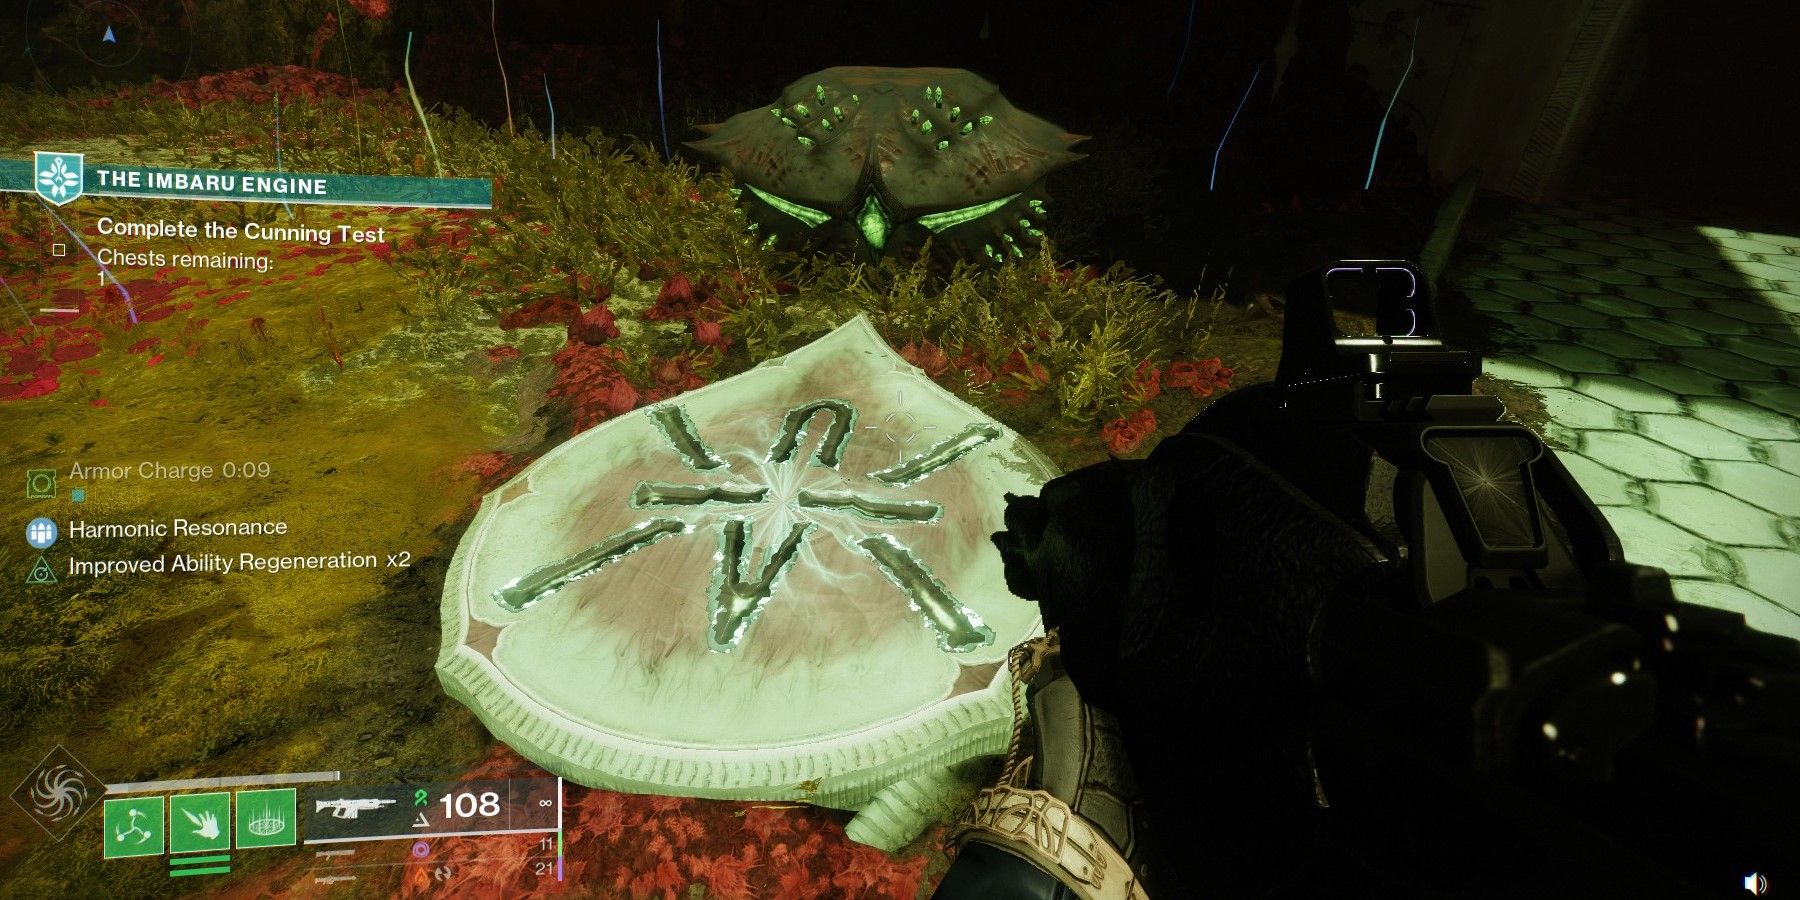
This test requires players to loot the right chest, marked by the symbol shown above. The tricky part about this test is that the chests are not always in the same place, which makes it difficult to describe where to go during this puzzle. Just look for the above symbol. Be wary of where the symbols point, as there are some chests that will look right but are actually the wrong chest.
Test of Strength
The Test of Strength can only be started once players have completed the previous test. In addition, Destiny 2 players will also have to find the Opaque Card hidden in the Savathun's Spire activity. Near the end, players will find a room with a portal surrounded by statues. Look to the right and there will be a card that can be picked up. Claim this card at the HELM to unlock the next trial.
Once a test is complete, players do not have to do it again. They simply have to approach the door that leads to the next puzzle, and they will have a button prompt to proceed further.
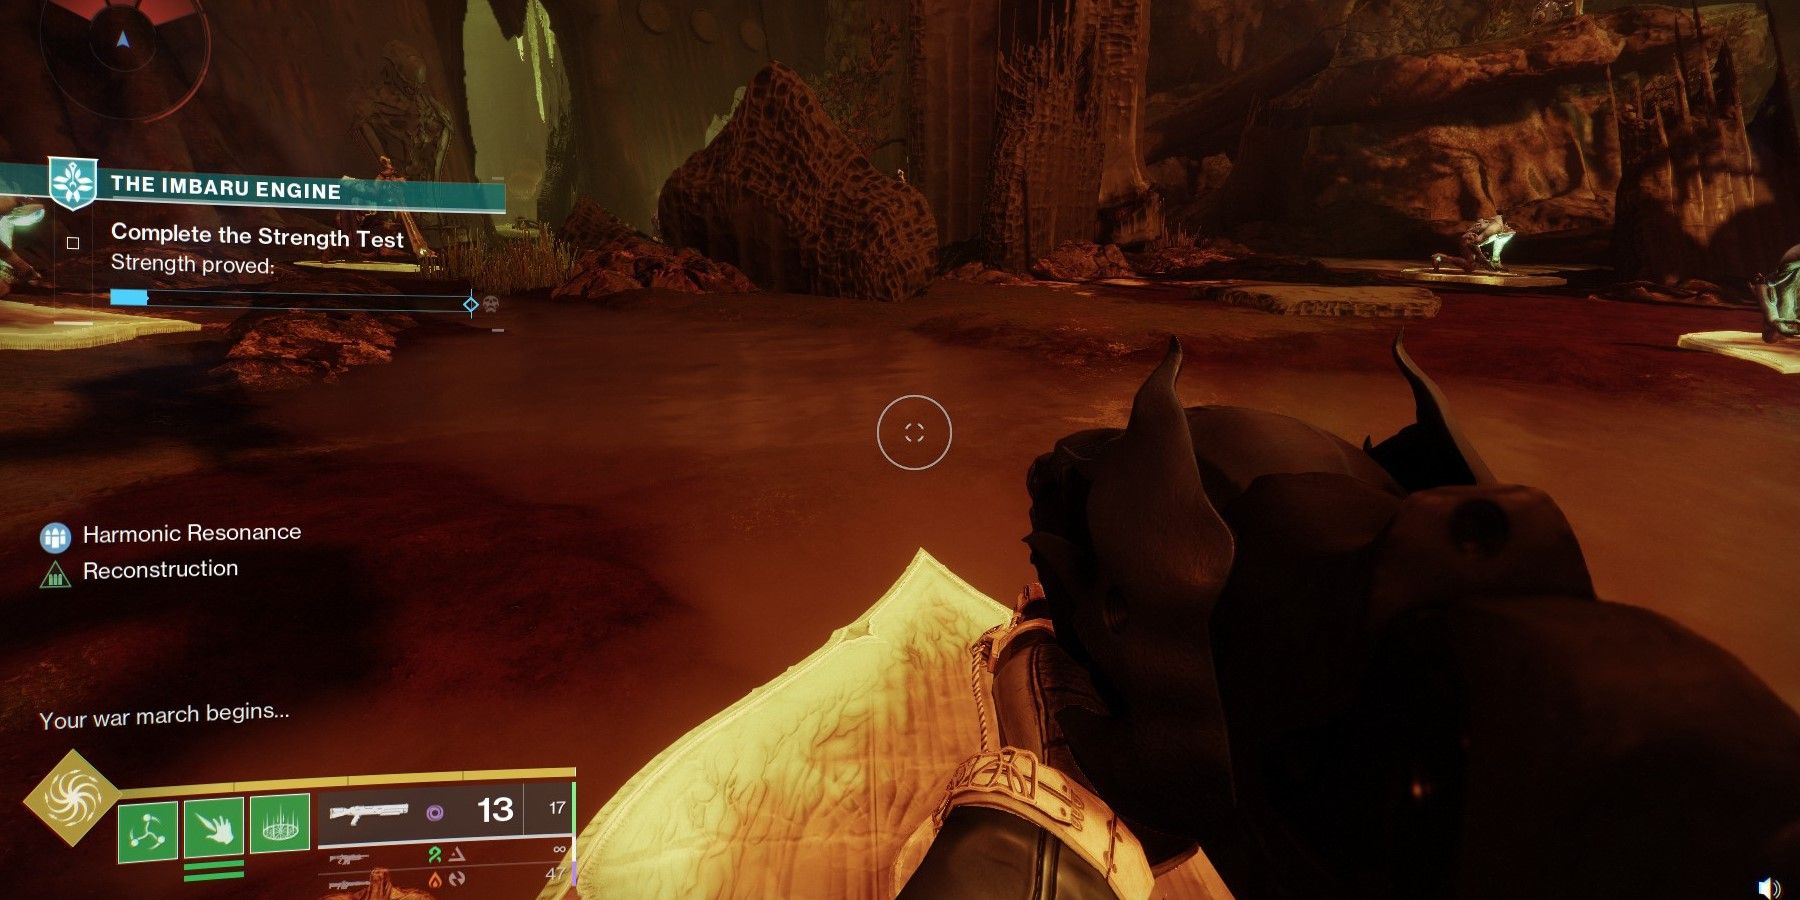
While this test does require players to kill some Hive, none of the Hive actually fight back. Activate the Deepsight in the back of the room, and it will reveal tracks that lead to the first Hive that needs to be killed. Kill this enemy and then pay attention to where the platform (and the enemy) are facing. This shows which enemy needs to be killed next. If the correct enemy is killed, the bar will progress. If the wrong enemy is killed, players die and have to start all over.
Eventually, the trail will take players into another room where there are more enemies on plates that need to be killed. After killing the first enemy in this second room, players will have to kill every other enemy. To make this easier, here is the order of enemies that need to be killed. It doesn't appear to change, but if it does, this guide will be updated.
- Order of Kills: Knight, Knight, Knight, Thrall, Thrall, Thrall (this one points to the first room, which leads to a Knight that points to a smaller third room), Thrall, Thrall, Thrall, Thrall.
Upon killing the last enemy, players will have successfully completed the second puzzle.
Test of Navigation
This next test will require players to have a way of using all three types of Light damage (Arc, Void, and Solar). Hardlight is a great Exotic to use here, as it is a primary weapon that can switch between all three damage types at the press of a button. Once players have completed both the Test of Cunning and Test of Strength, the Test of Navigation will be open to them. However, in order to gain access to this third puzzle, players must find the Opaque Card hidden in Altars of Summoning. In the middle area with the three paths, look for the arena that has a statue holding a crystal. Shoot the crystal and jump up to claim an Opaque Card.
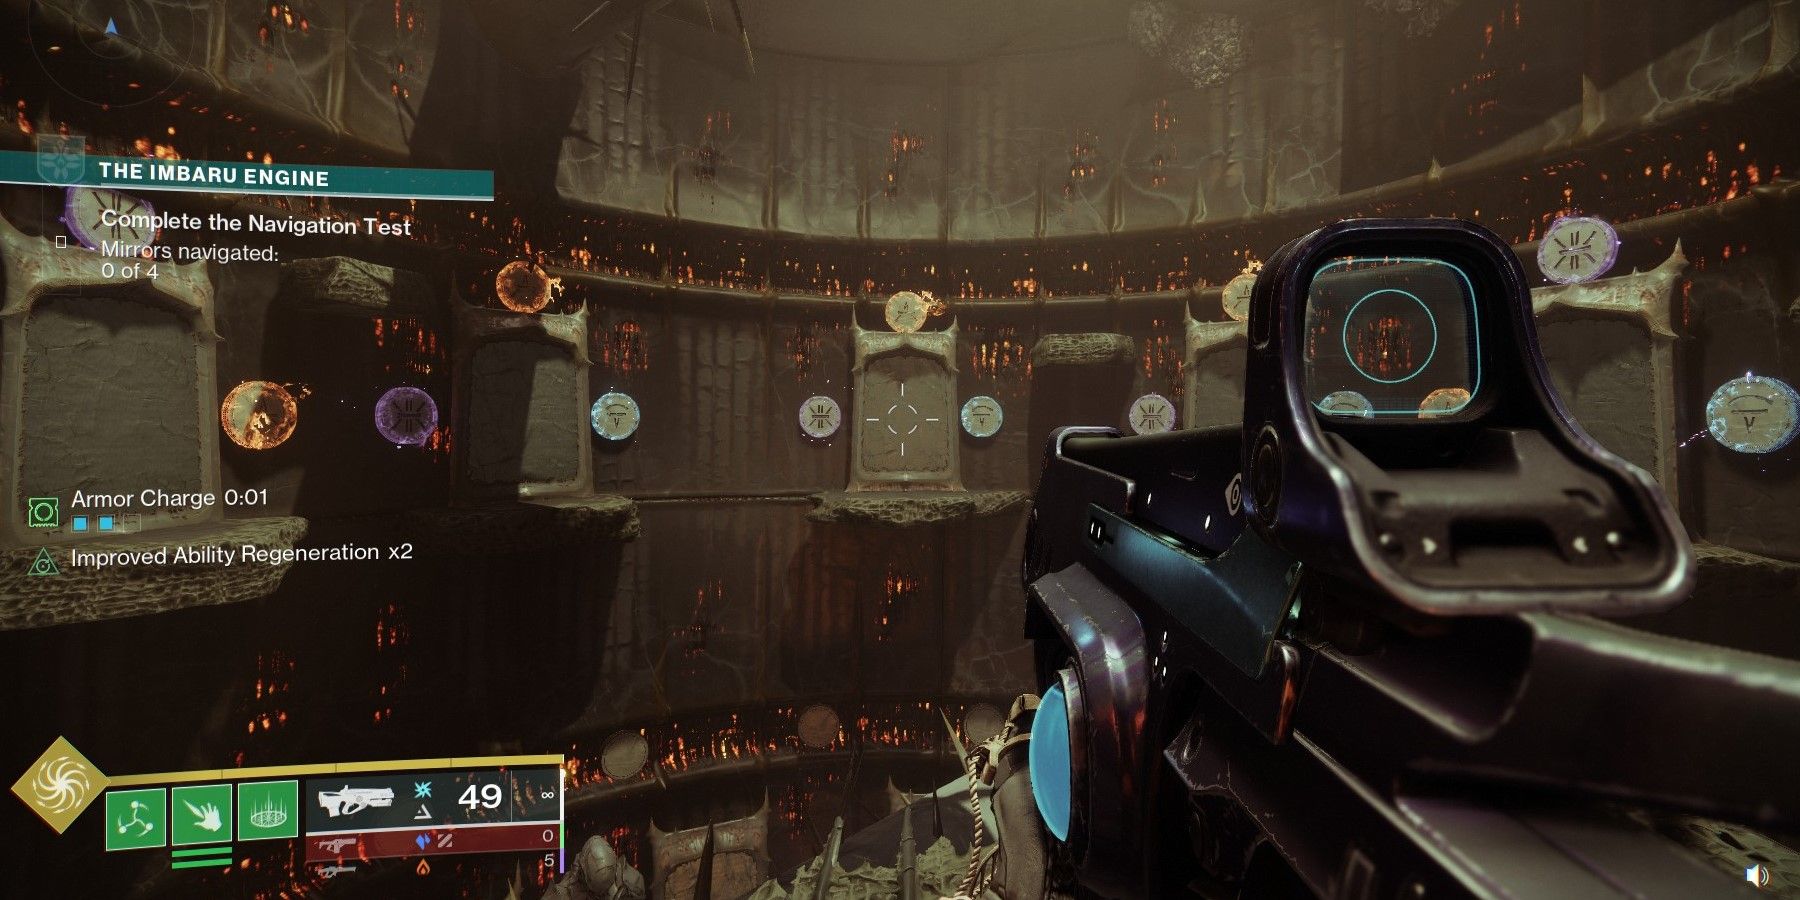
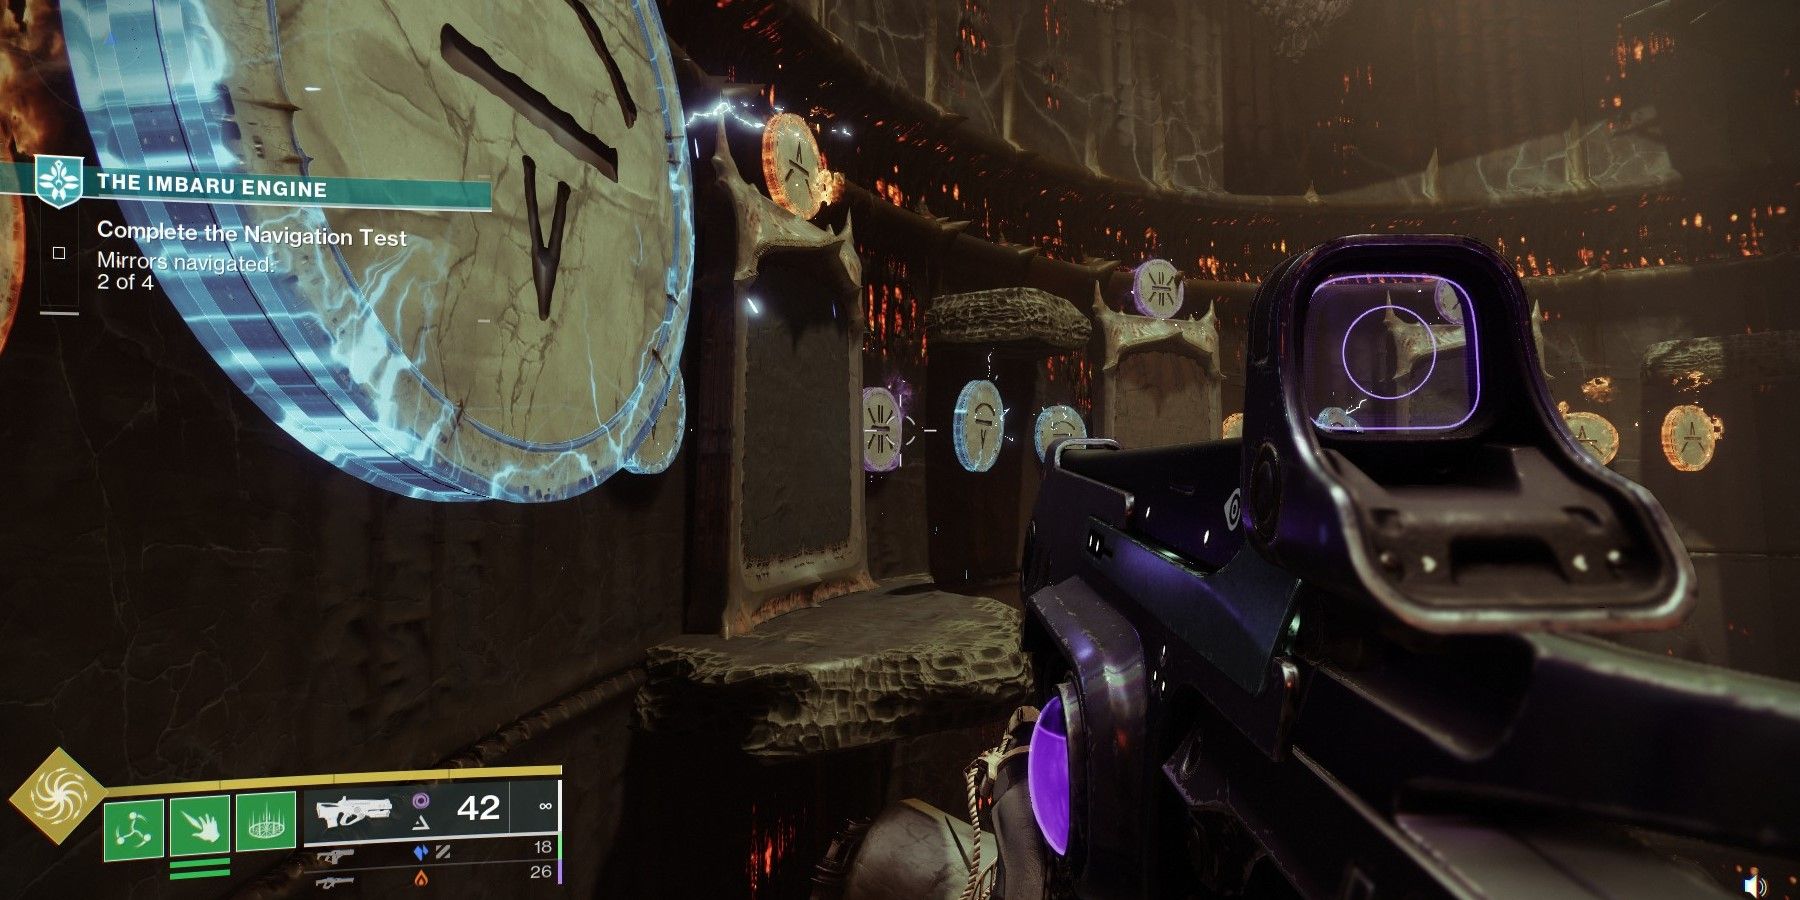
Start the test and shoot the rune depicted in the image above with Arc damage. If done correctly, the portal will open. For the second rune, look for a Solar rune that is on top of a portal frame.
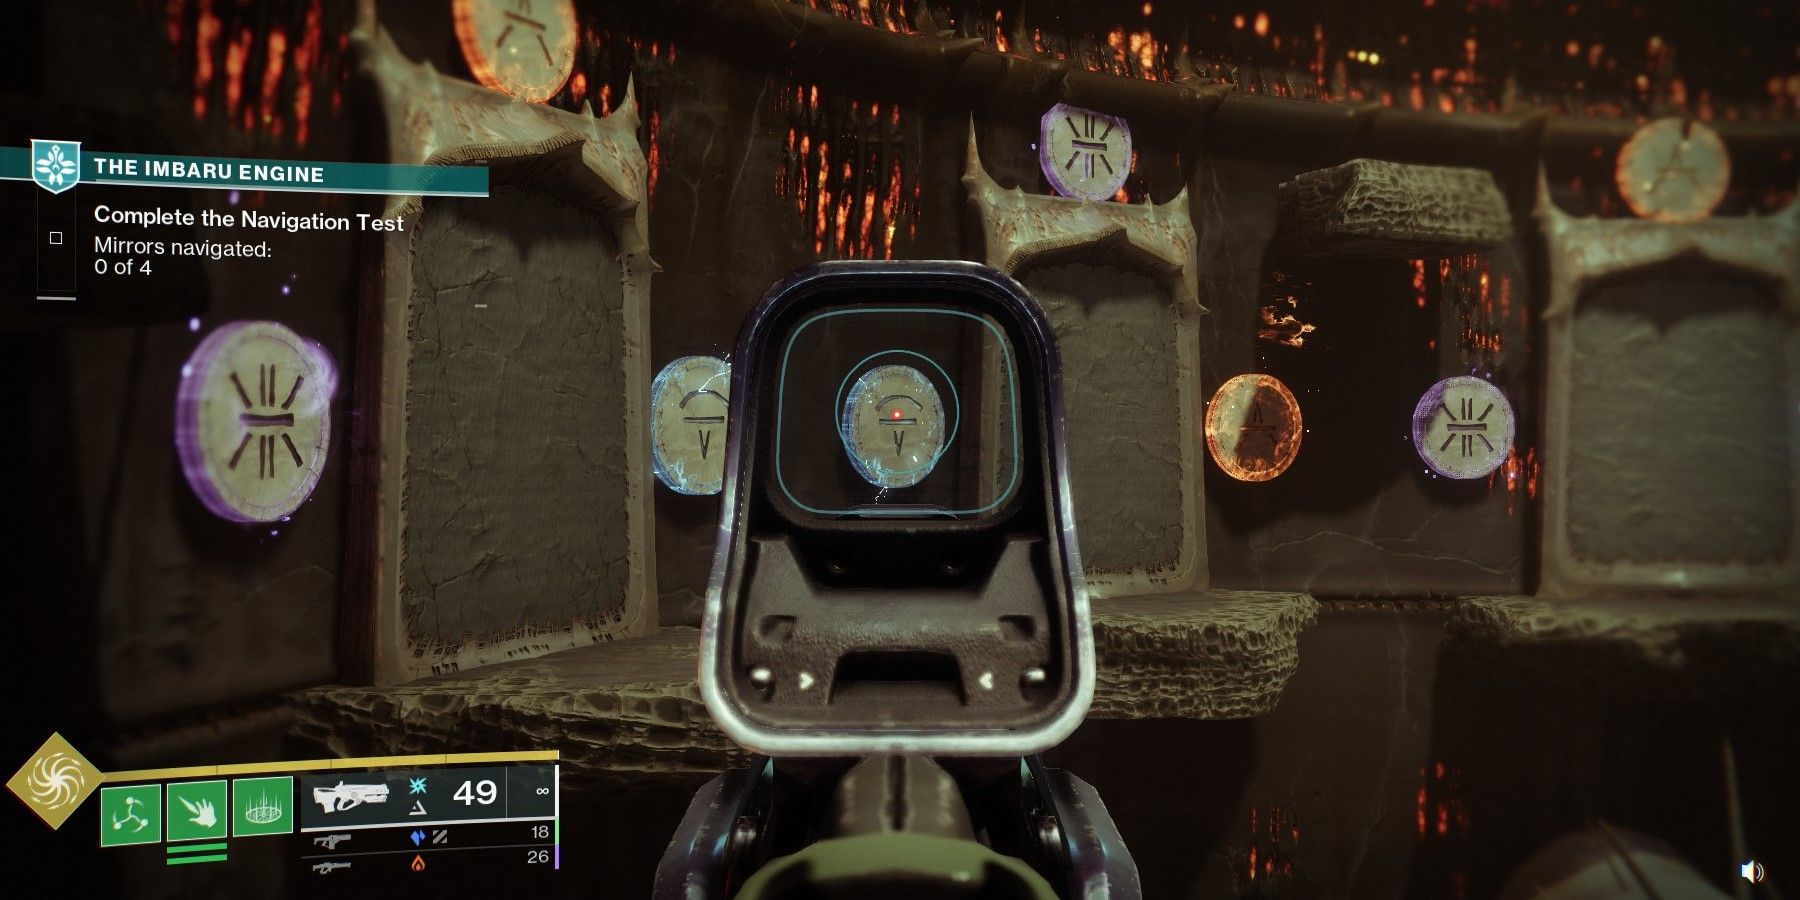
The third rune is a little trickier, as Savathun attempts to deceive Guardians by using perspective to hide runes behind other runes. Move to the location depicted above and shoot the Void rune that is to the right of the portal frame.
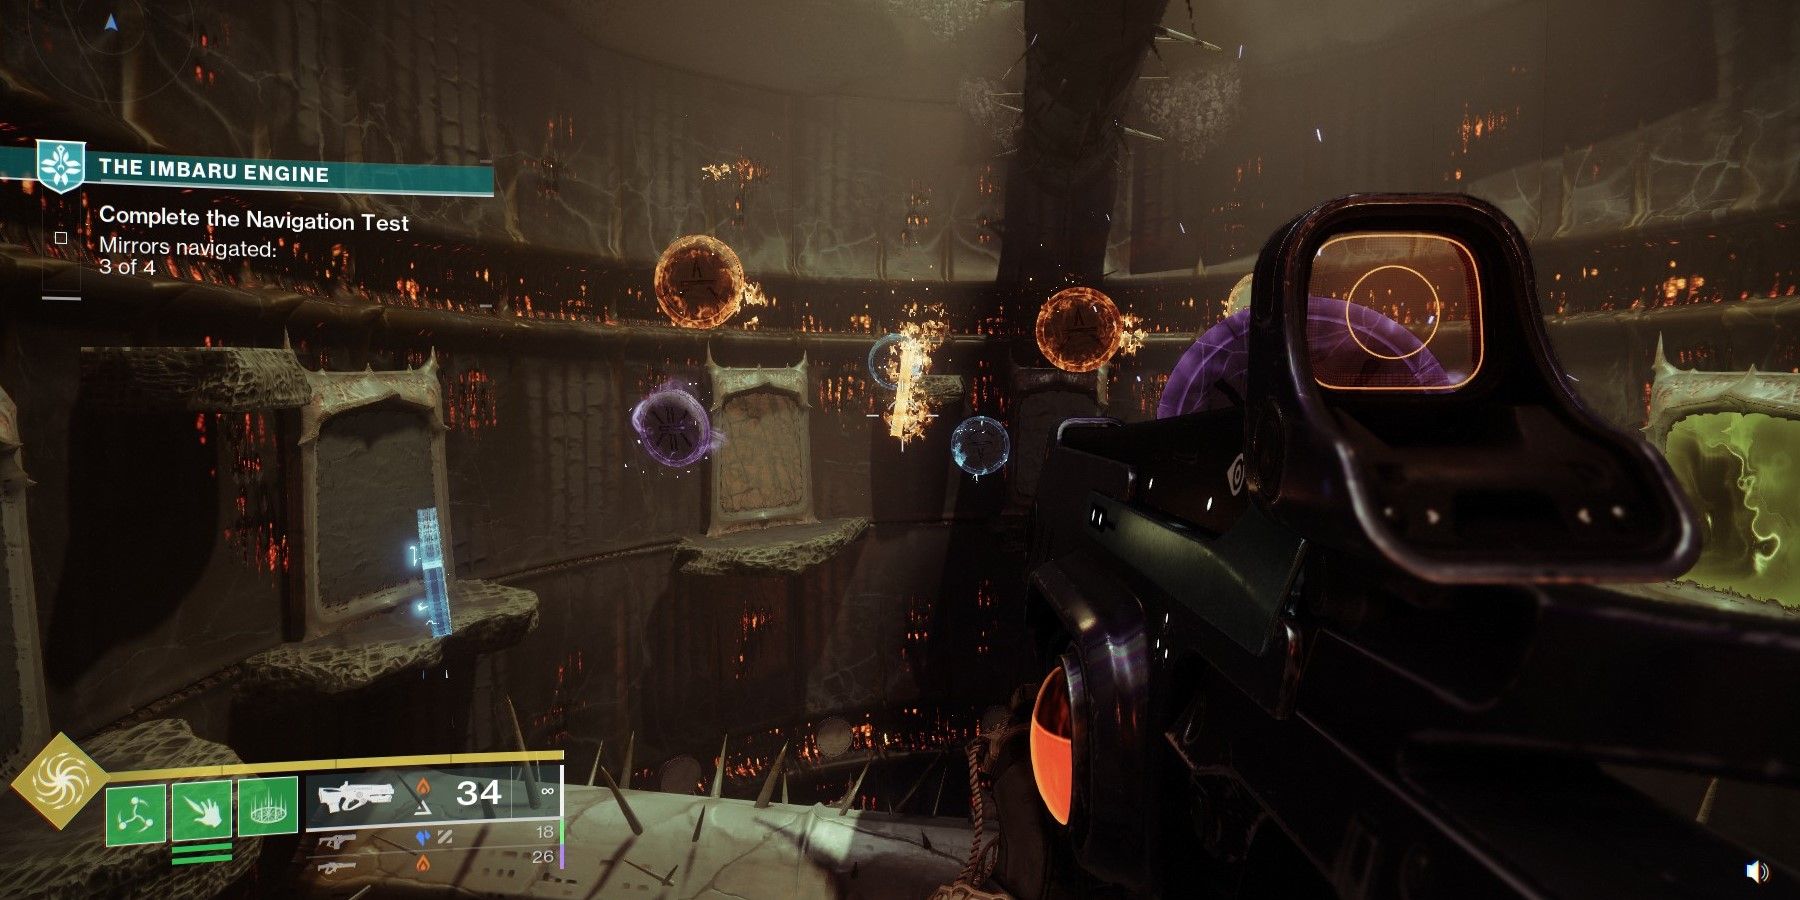
For the fourth and final rune, switch to Solar. Jump to the small ledge to the left and shoot the Solar rune on its side as depicted in the image. This will open the final portal. Go through it to complete the test and receive some generous rewards.
Test of Truth and Lies
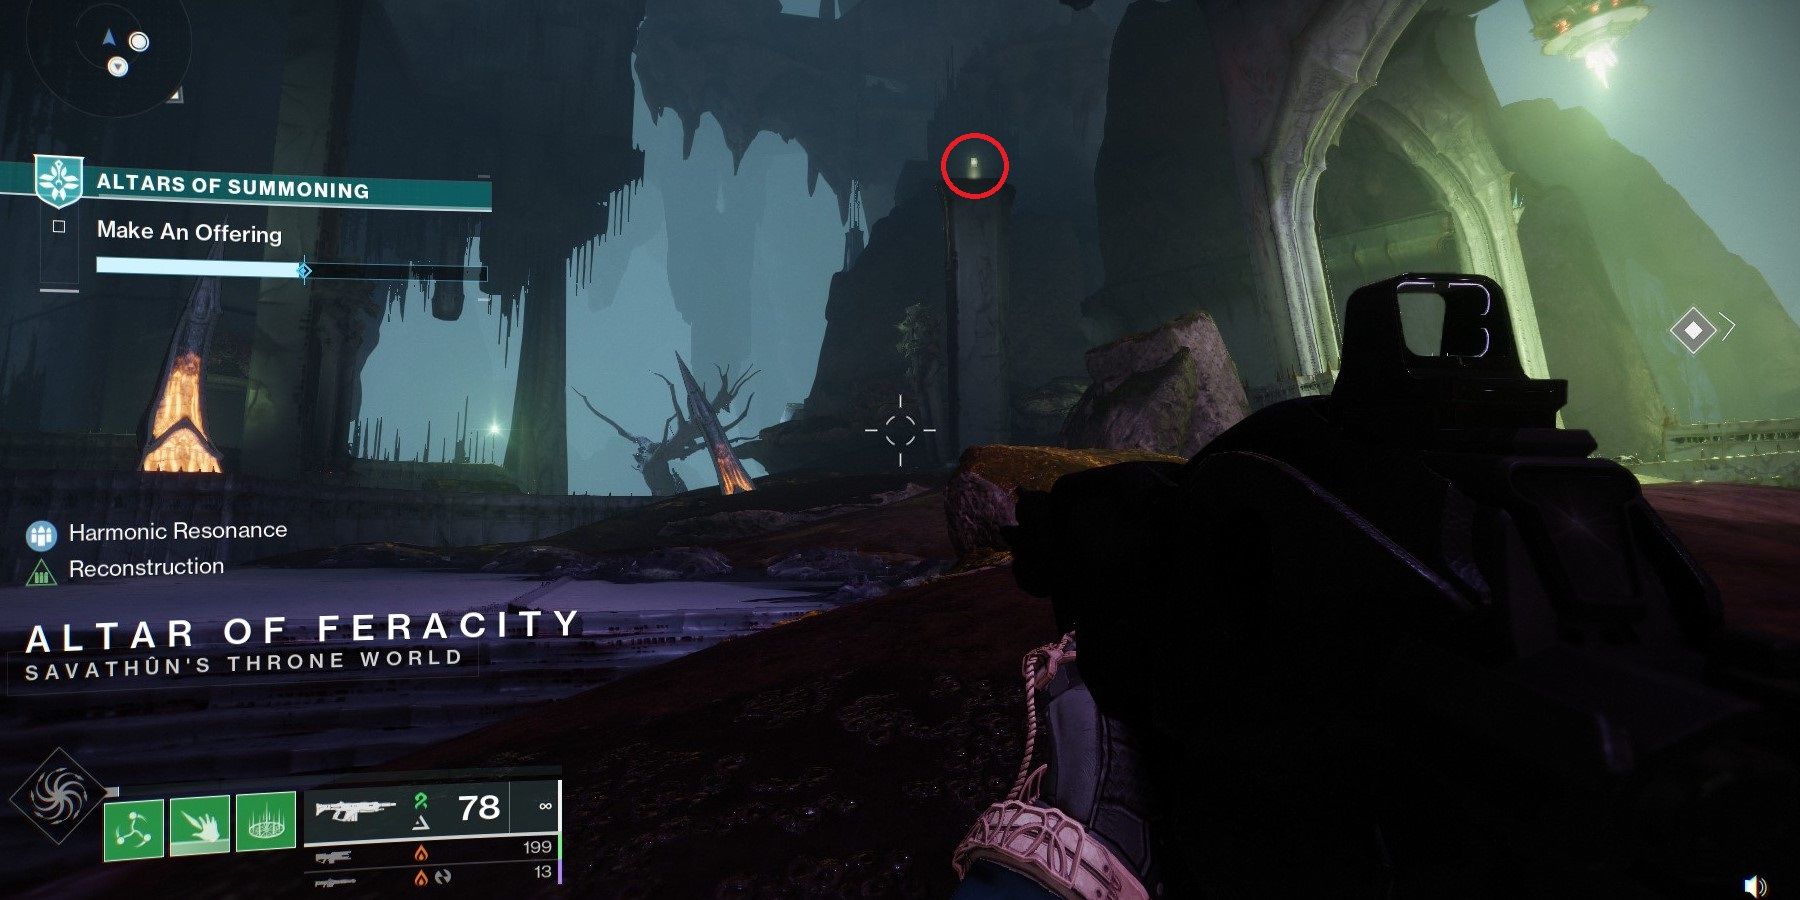
In order to unlock the final test within the Imbaru Engine, players must complete the other three tests and then claim the Opaque Card hidden in Altars of Summoning activity at the Altar of Feracity. Jump onto the ledge that is circled in the image above. Once the card has been found and claimed at the HELM, return to the Imbaru Engine and skip all the way to where the Test of Navigation concluded. Go through the portal in this area.
Don't use the circular portal, go through the square portal. The circular portal will take players down to the previous section instead of advancing them.
Interact with the object in the middle of the room to spawn three braziers. Go back through the portal and all the way down to the Test of Cunning area in the Imbaru Engine. Activate the Deepsight in the middle of the arena. Follow the glowing white footprints to find a flame along the wall that can be "grasped". Unfortunately, the other two flames are in other activities, so players will have to leave Imbaru Engine for now.
The second flame can be found near the start of Altars of Summoning. Once in the spot where there are three paths toward arenas, go directly forward and activate the Deepsight. Follow this path to reach the flame. The third flame is in Savathun's Spire. Near the end of the activity, players go through a labyrinth. Look for a Deepsight on one of the pillars. Activate it and turn around to see platforms that can be jumped on. On the second platform, jump toward the right to see the third and final flame hidden in a corner.
Once all of that is done, return to the Imbaru Engine and back to the room where the three braziers appeared. Activate the test again and light all three braziers. Doing so opens the way to where the test officially begins. Interact with the object in the middle of the room and then activate the runes.
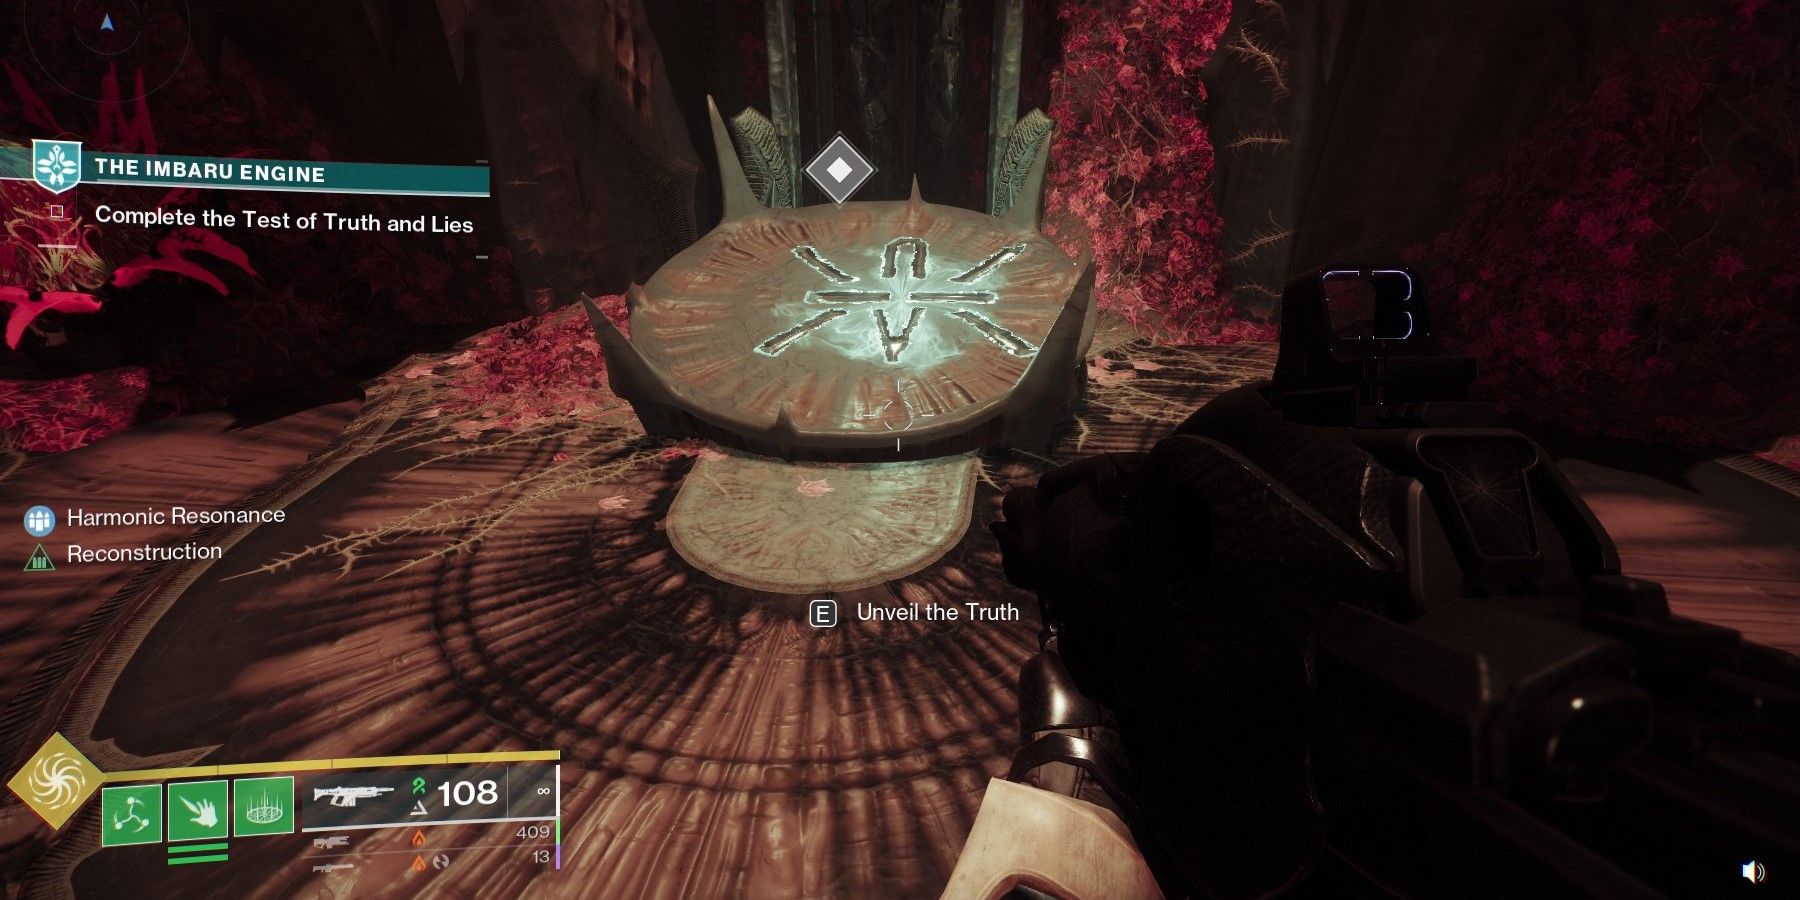
Grab this rune first and then grab the other rune from a similar looking pillar. There are only two of these in the room, and they grant the Truth and Lie buffs which are needed to solve this puzzle. Once this is done, activate the runes in the room in this exact order.
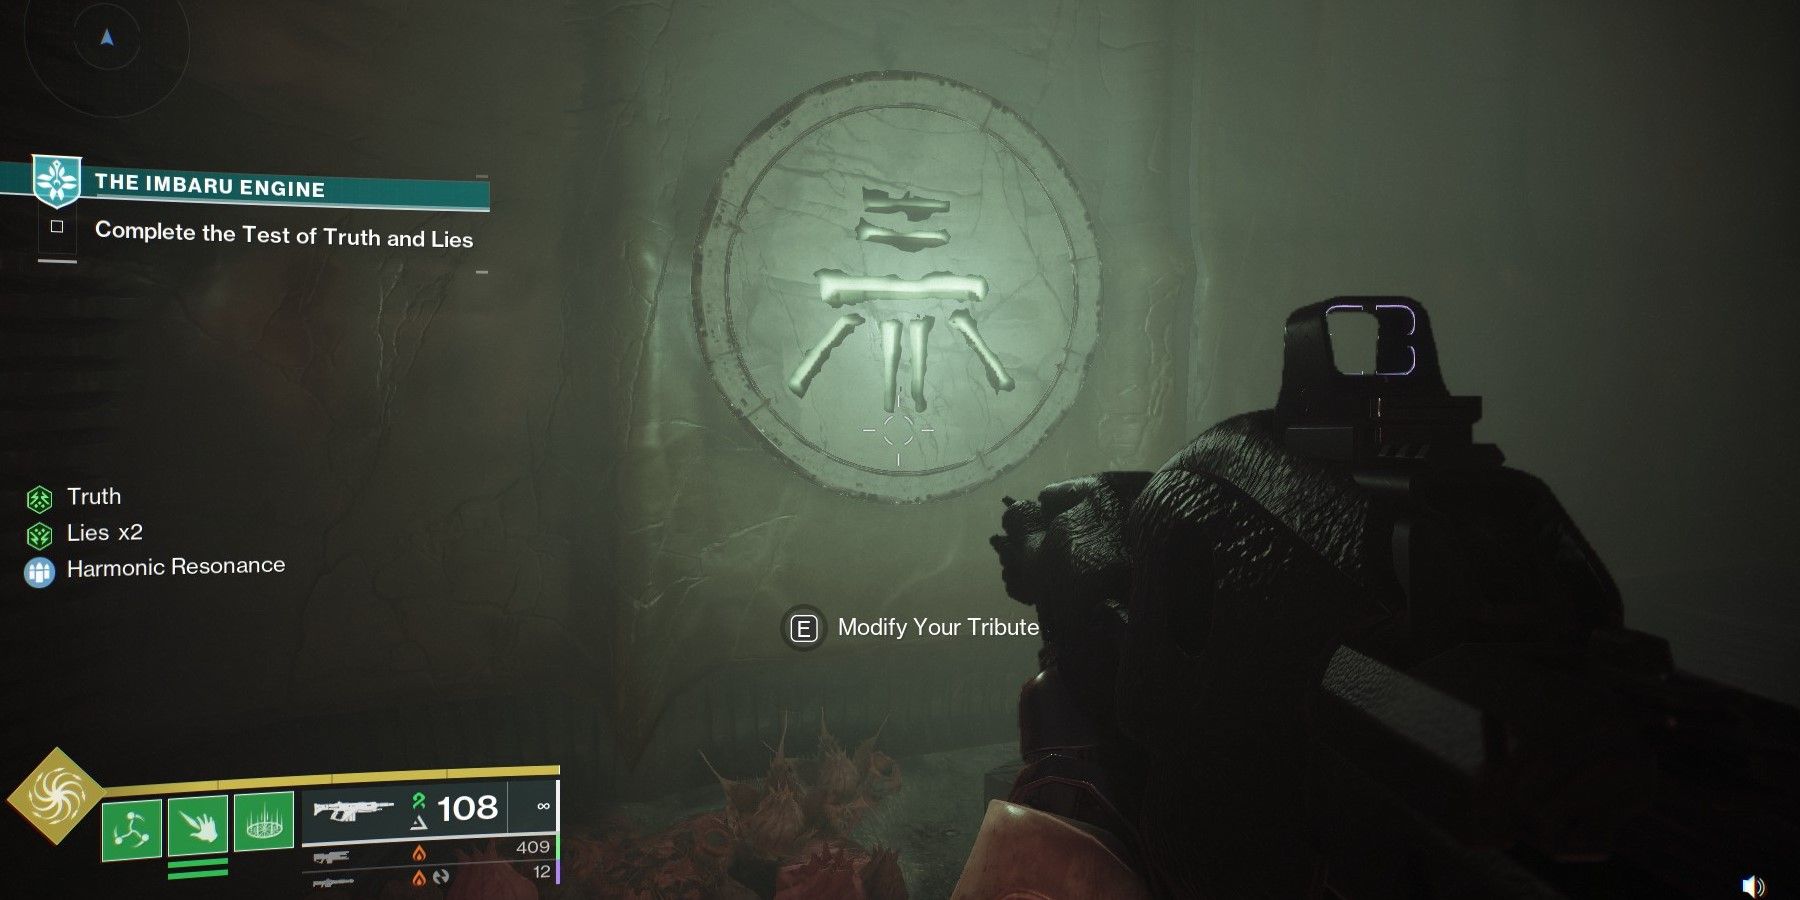
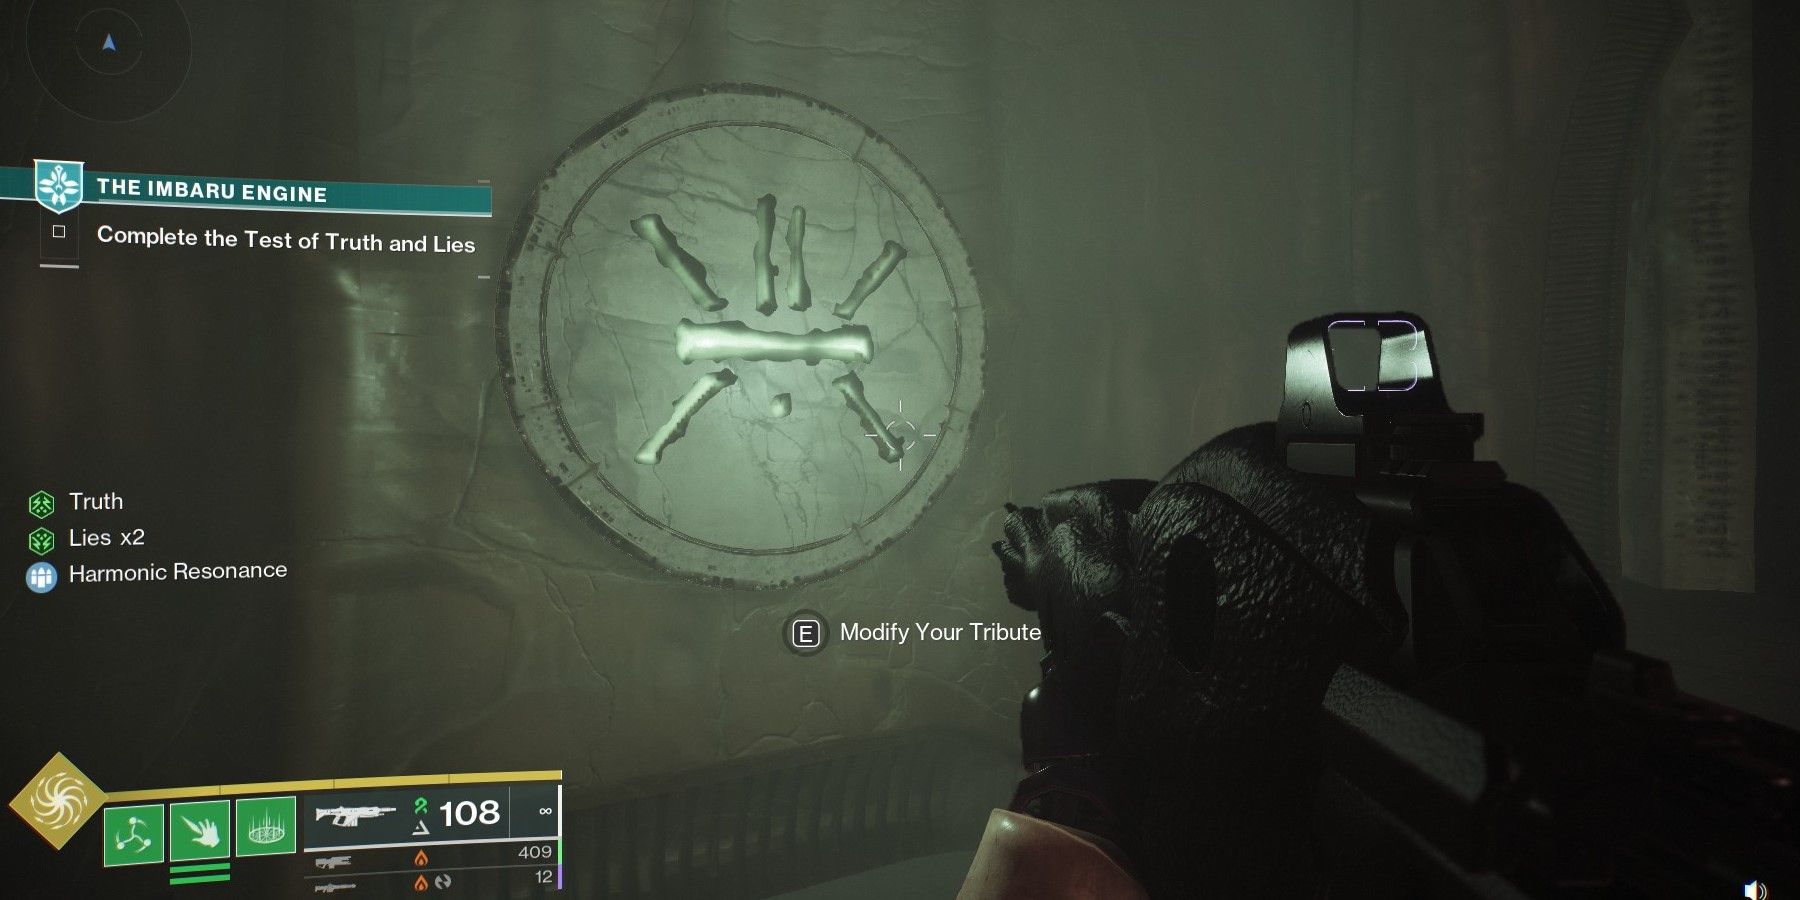
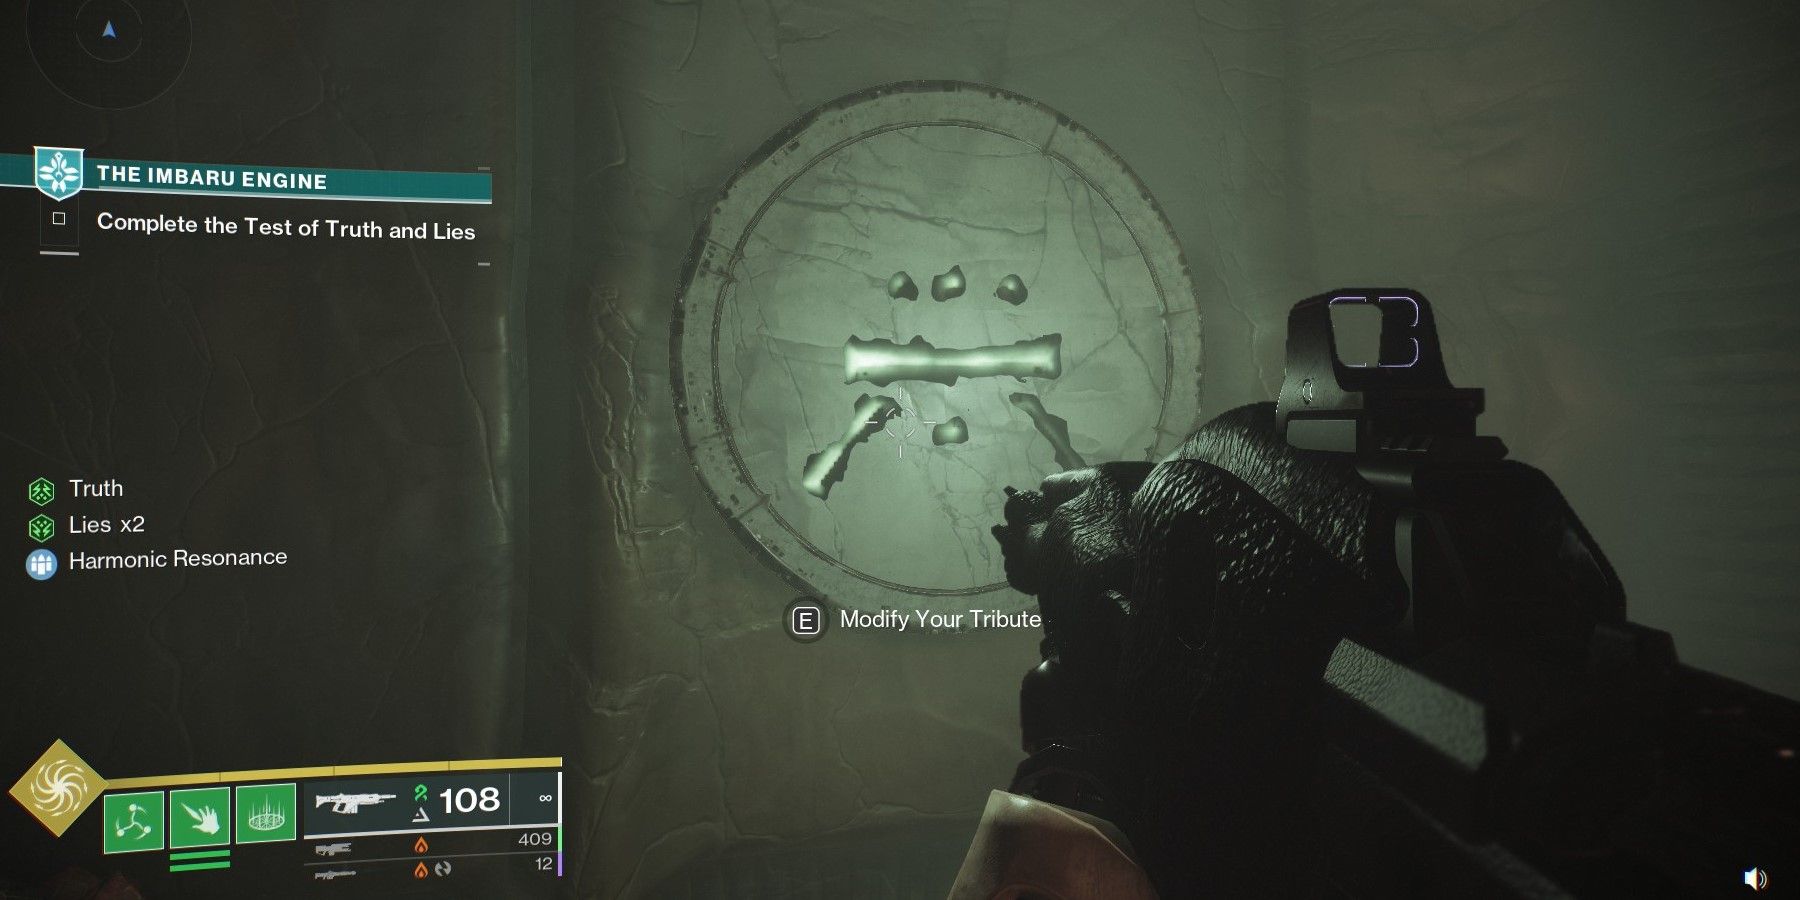
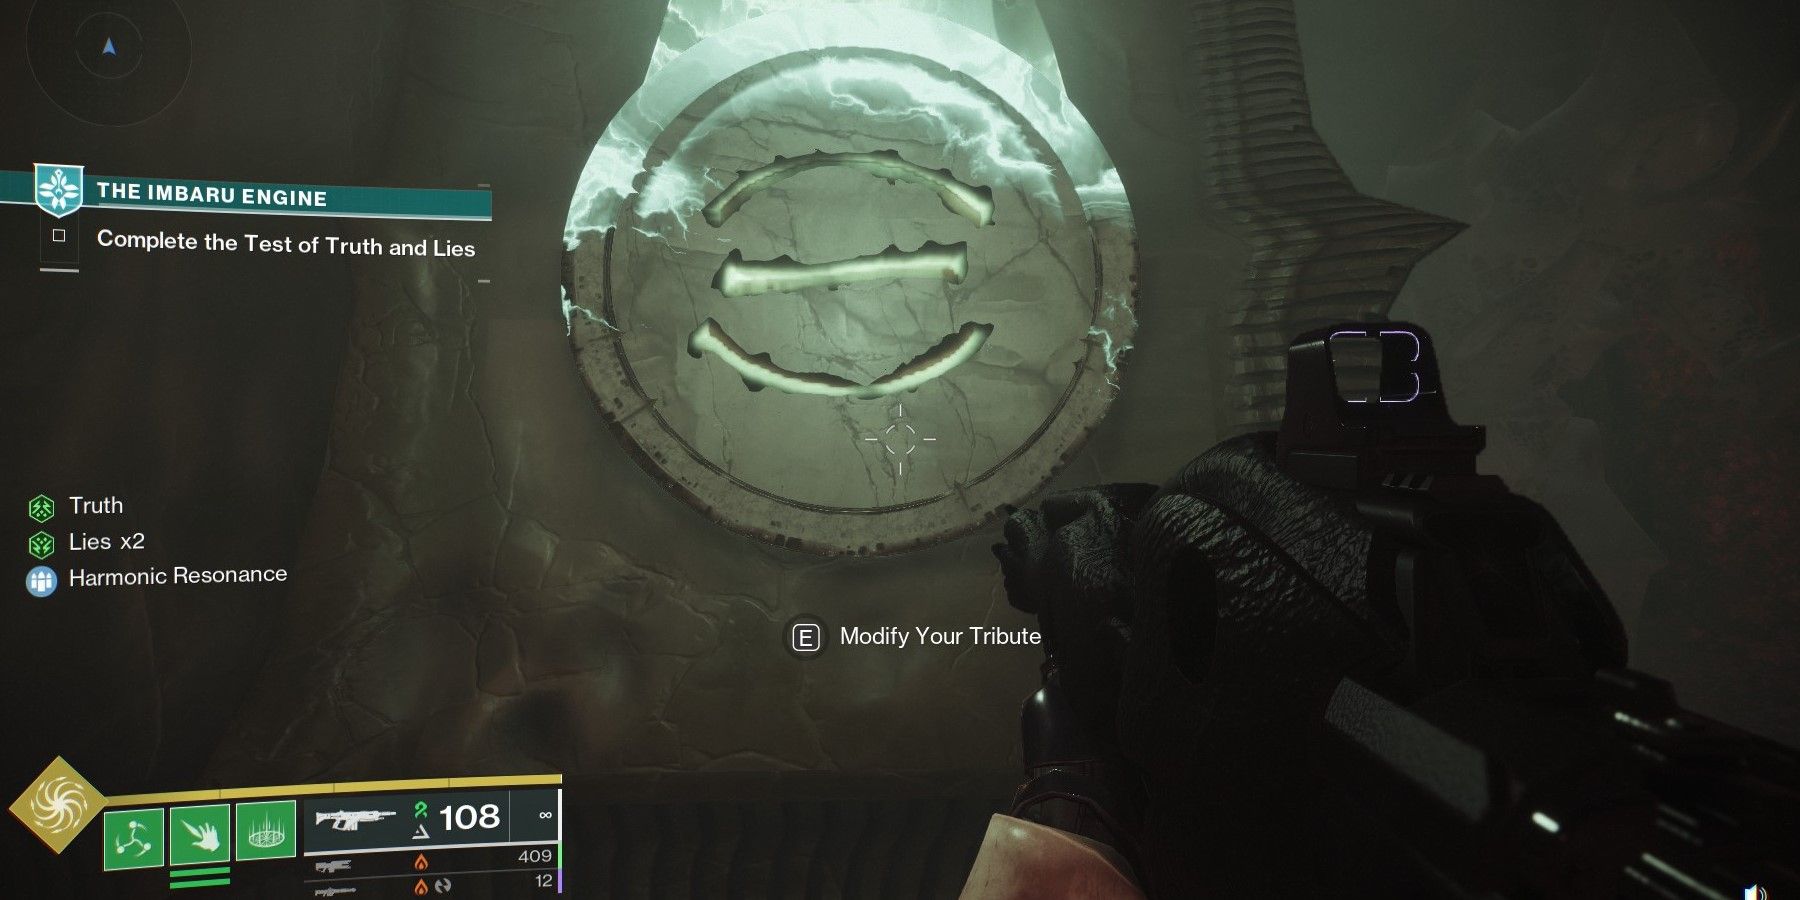
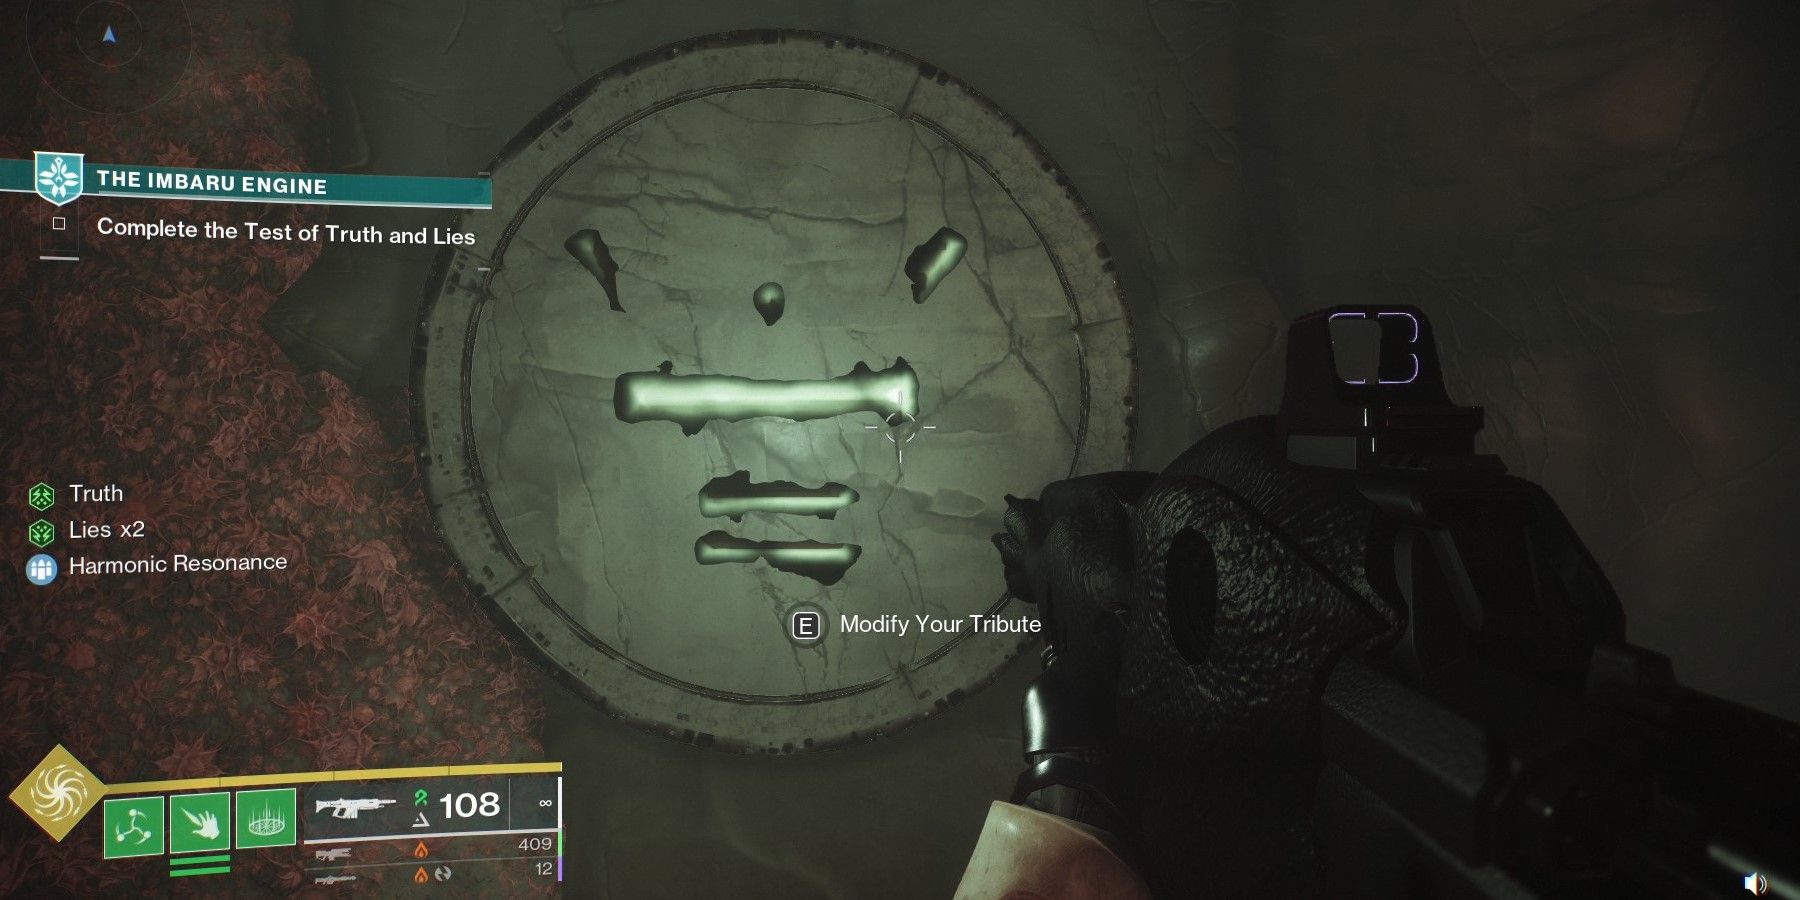
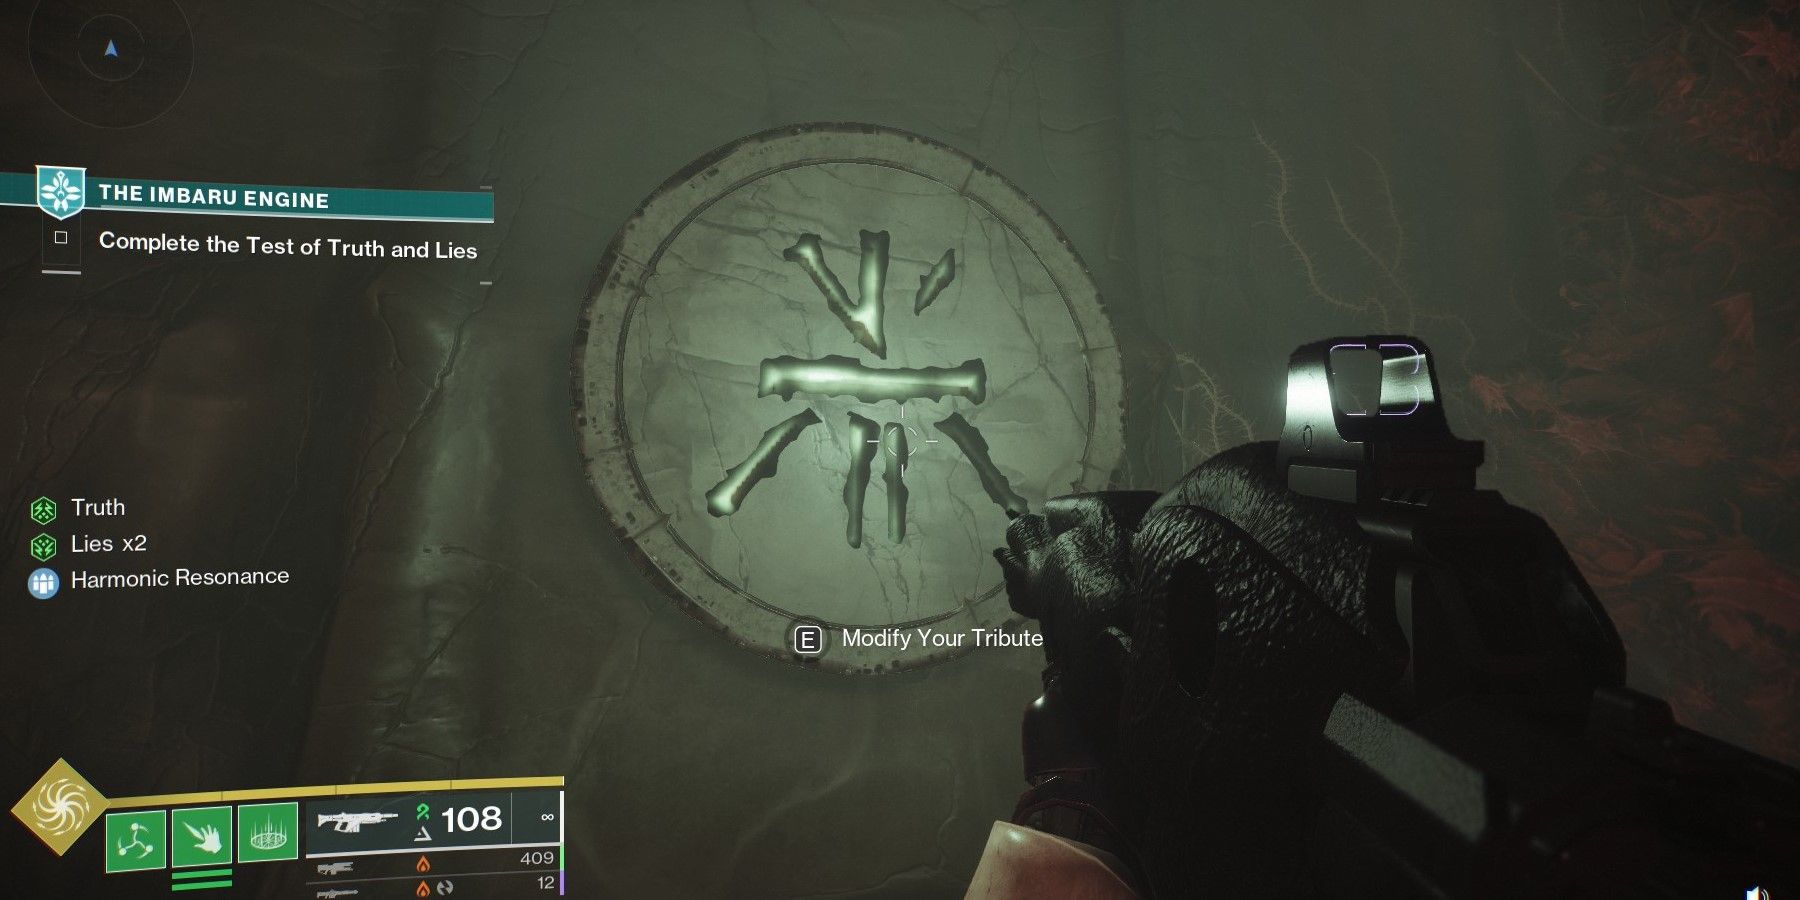
After that, go to the device that looks eerily similar to the Traveler with the portal in it and offer the final tribute. If the correct runes were activated and in the right order, the door will open. Claim the Ahamkara egg after the dialogue ends to receive some unique rewards and end the mission.

Destiny 2
- Platform(s)
- PS5 , PS4 , Xbox Series X , Xbox Series S , Xbox One , PC , Stadia
- Released
- August 28, 2017
- Developer(s)
- Bungie
- Genre(s)
- FPS

