Destiny 2's The Witch Queen expansion comes with a new range of Exotic items for players to discover, and one of such items that caught the attention of players before the expansion's release was the Parasite Exotic Grenade Launcher.
This worm-launching weapon is not only unique in design but also fitting considering the campaign story and the theme of the expansion centering around the Hive and Darkness. Moreover, the Parasite is one of the few weapons capable of speaking and packs quite a big punch in terms of damage. Here's how players can get the Parasite Grenade Launcher in Destiny 2.
Complete The Witch Queen Campaign
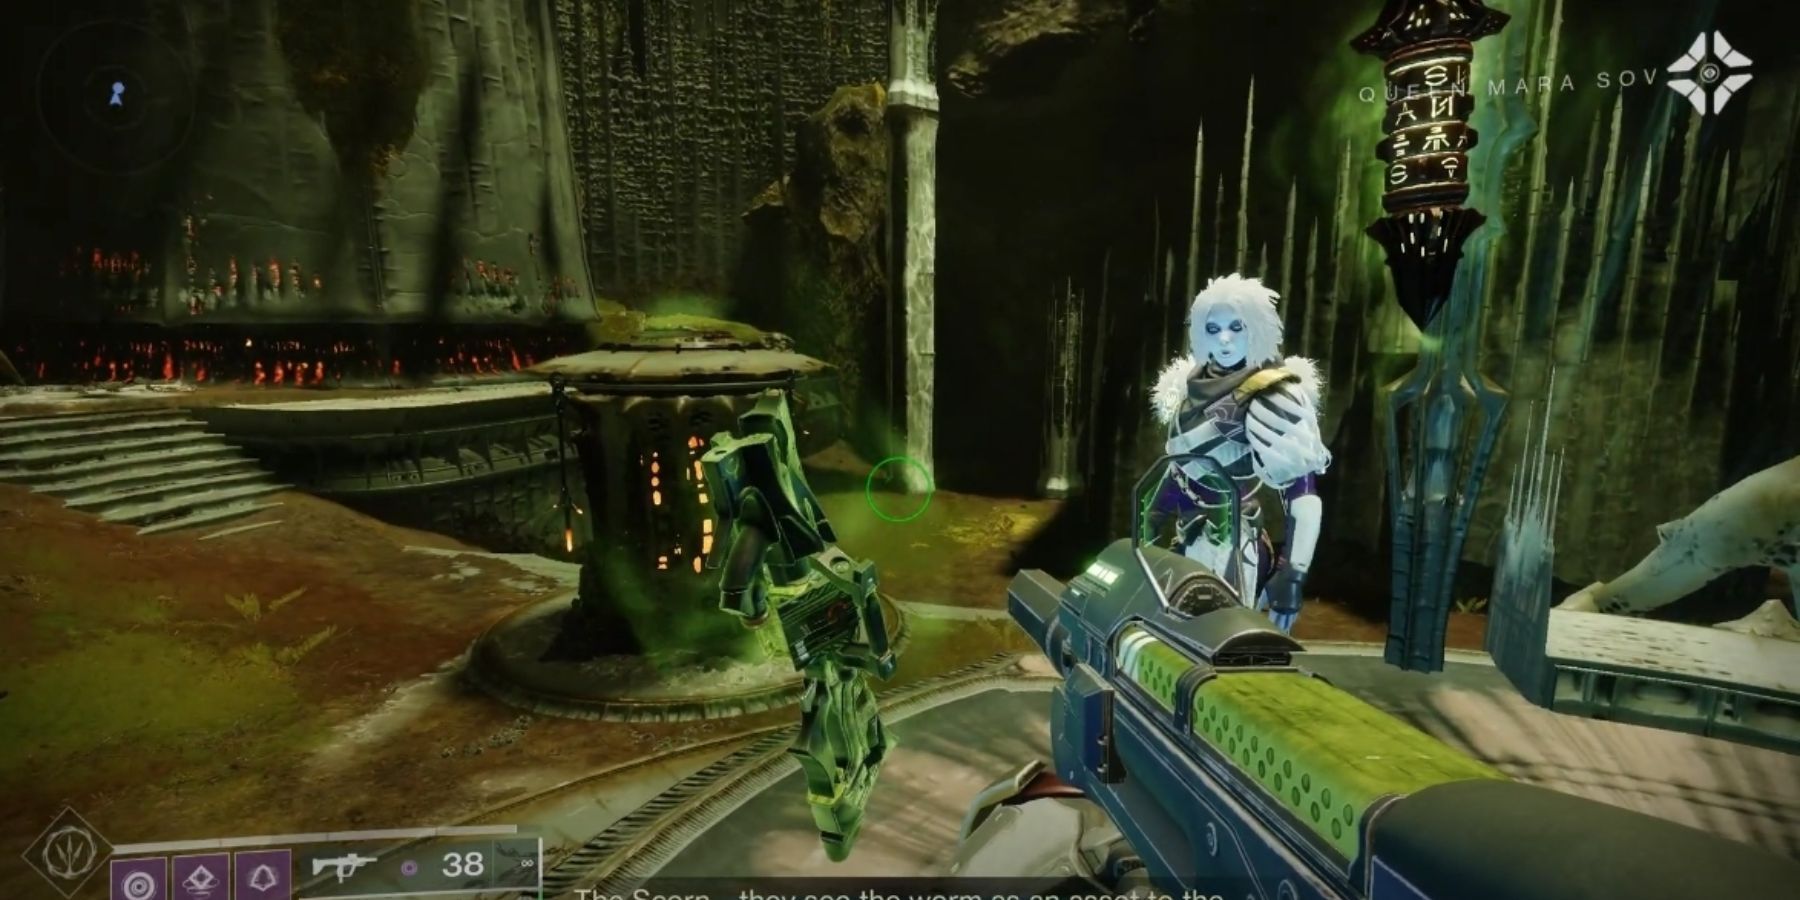
Before players can even dream of getting their hands on this Exotic Grenade Launcher, they will need to complete The Witch Queen campaign on any difficulty. Once the campaign is finished, speak with Ikora Rey on Mars at the Enclave. Ikora will prompt the player to go and meet Mara Sov, found in the weapon testing range behind the weapon crafting Relic.
Speak with Mara Sov and a cutscene will ensue, where the Queen of the Awoken enlists the help of the guardian in figuring out what should be done about Savathun's worm.
Complete The Quest: Of Queens And Worms
Speaking with Mara Sov is only the first step in a somewhat lengthy Exotic quest. This list shows in order what players will need to do after speaking with Ikora Rey at the end of the campaign:
- Speak with Mara Sov at the Enclave.
- Complete the strike Birthplace of the Vile. At the end of the strike, place the worm on an altar in the back of the room.
- Speak with Fynch, found at his usual spot in the Throne World.
- Head to the Temple of the Cunning to locate a Cryptoglyph Rune. The place can be accessed from Quagmire.
- Defeat the Fanatic's Chosen inside the Temple of Cunning to collect the Rune.
- To charge the Rune, defeat 100 Scorn in the Throne World.
- Discover and complete the Sepulcher Lost Sector at the Florescent Canal. Use the Deepsight node after defeating all enemies in the final room to find the Larvae Incubator.
- Complete 3 patrols in the Florescent Canal to gather 3 leads.
- Find the Cryptoglyph Rune located in the Queen's Bailey.
- Defeat the Lightbearers to collect the Rune.
- Discover and complete the Metamorphosis Lost Sector in the Miasma area of the Throne World. Use the Deepsight node next to the final chest to gain access to the blocked-off room.
- Head to the Alluring Curtain to locate a Cryptoglyph Rune. Defeat the Lightbearers and use the Deepsight node to reveal floating platforms. Shoot the torches to complete the puzzle and loot the chest.
- Discover and complete the Extraction Lost Sector in the Quagmire area of the Throne World. Use the Deepsight node to get access to the area hidden behind the statue.
- Speak with Fynch to receive a Hive Casing, and to begin the final quest.
How To Complete The Mission: Parasitic Pilgrimage
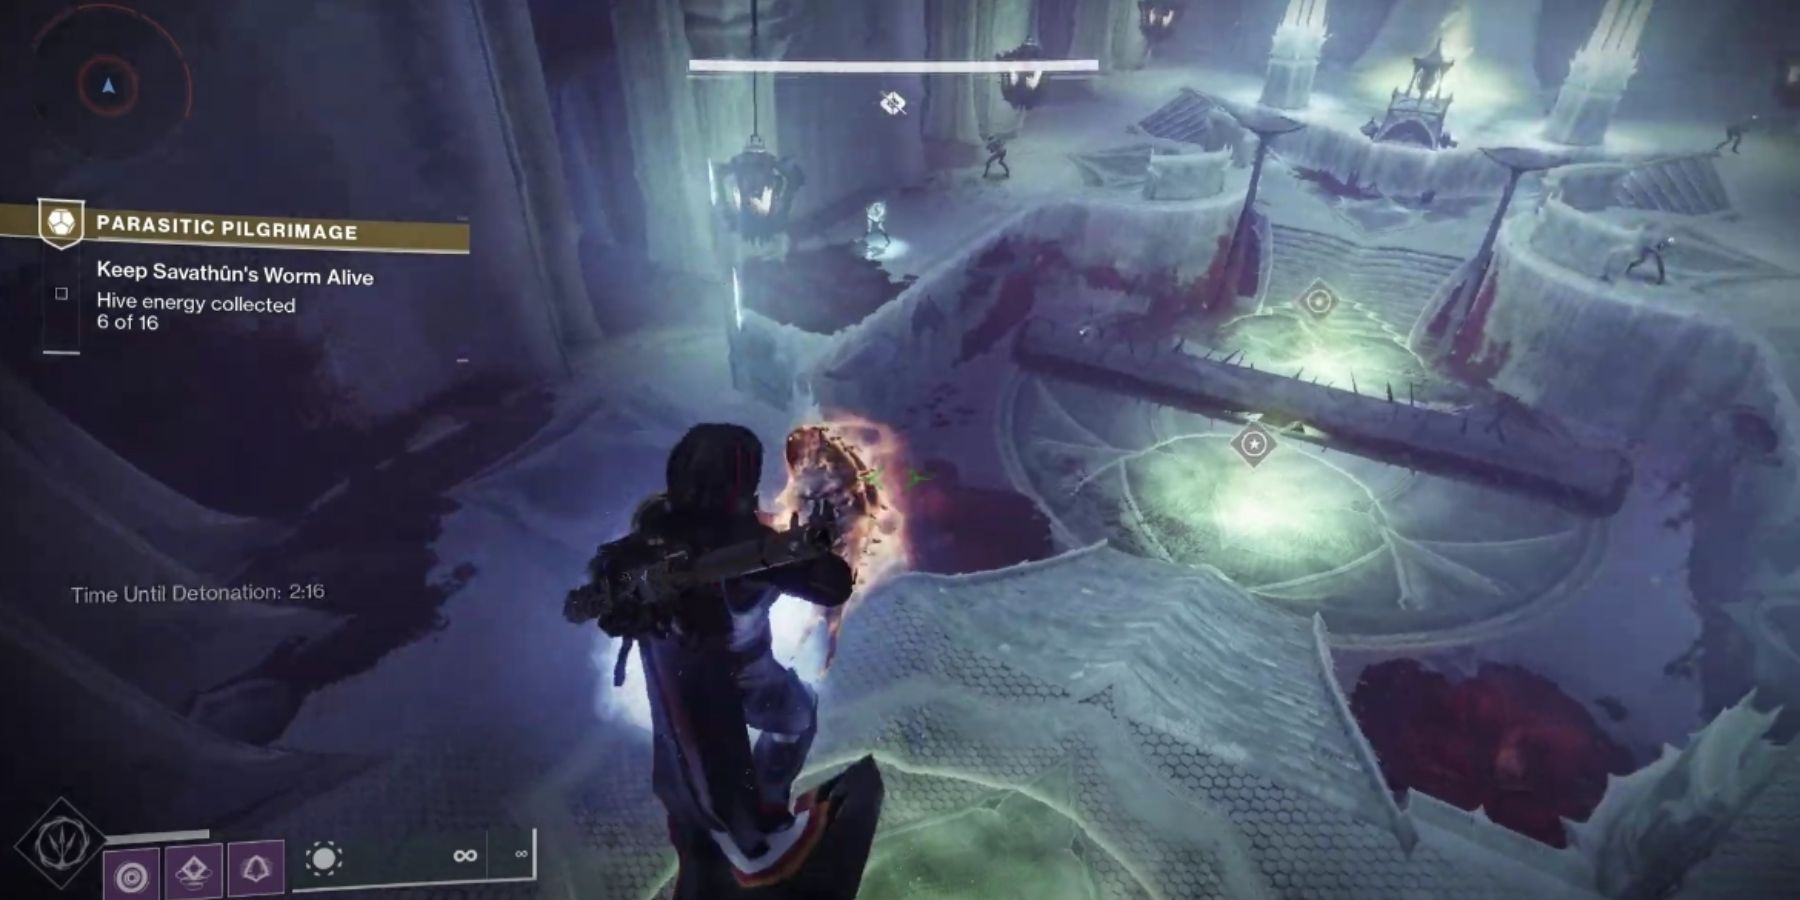
Players will have to take Savathun's worm through a wave of enemies while standing inside green areas to collect Hive energy. All the while, a timer on the left shows how long players have until the worm detonates. Once the worm has been satiated, players will need to collect 3 more Concentrated Hive Lights from the following area by interacting with Hive floor traps after killing surrounding enemies.
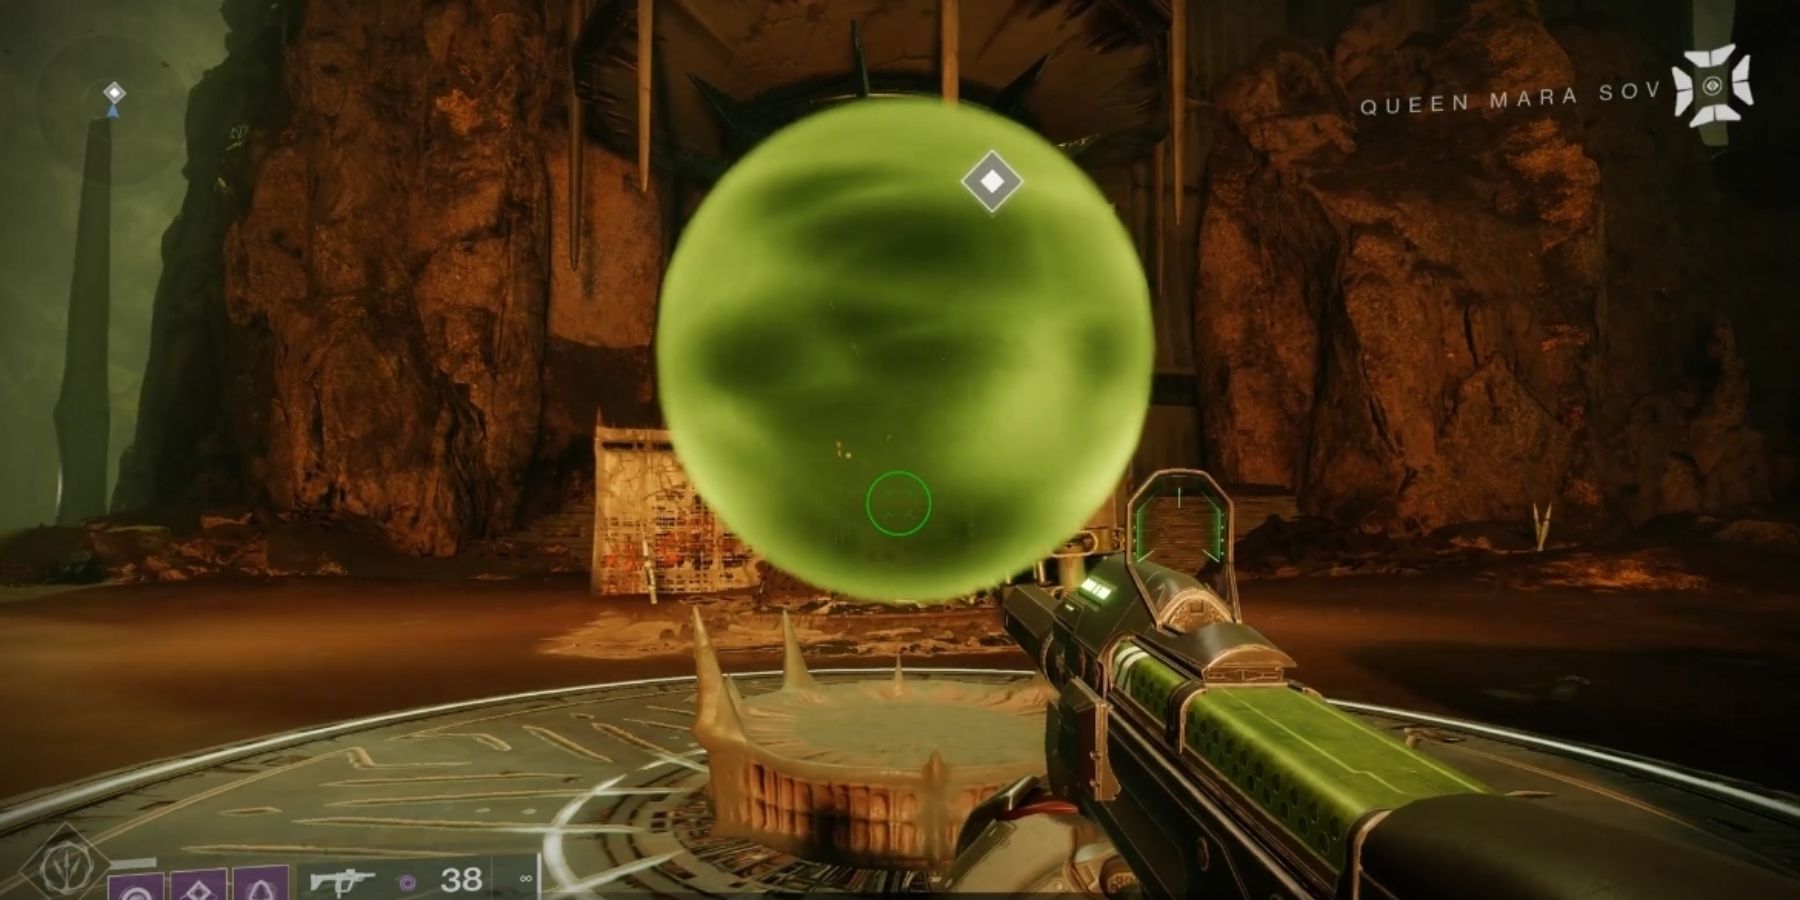
After all Light has been stolen, the player needs to escape the area using a nearby portal that will take them straight into the Temple of the Wrathful, where Mara Sov is preparing the final ritual of the mission. Place the worm inside the green bubble, and don't let any enemies enter the ritual circle around it.
The next step is to deliver the worm to Mara Sov deeper inside the temple. Once again, a timer is found at the left of the screen, so players need to be fast when moving forward. At the final destination, Mara will give players the Parasite Grenade Launcher, and the final task begins. While Mara completes the ritual, players must protect her by killing the attacking Scorn using their new grenade launcher.
Standing in the green Hive energy spots will replenish Heavy ammo, making the final fight more bearable.
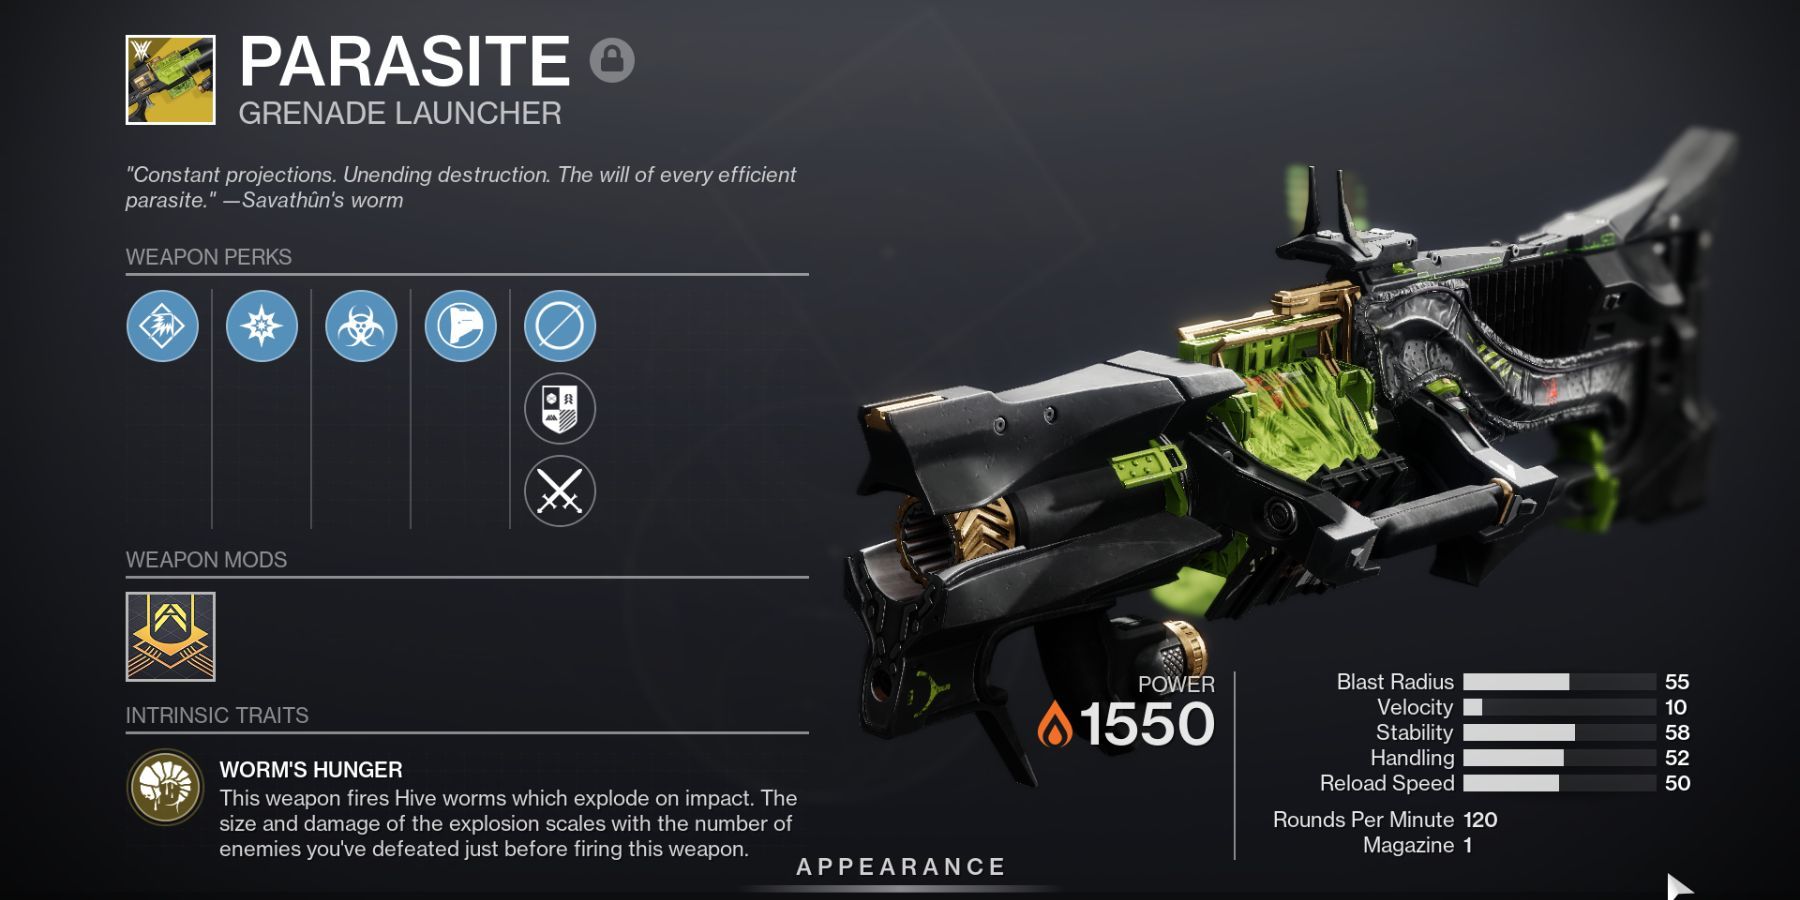
The Parasite Exotic Grenade Launcher
- Volatile Launch: The weapon has an explosive payload.
- High-Explosive Ordnance: Projectiles are larger and travel faster.
- Worm Byproduct: Damage inflicted on self with the grenade launcher boosts the damage of the weapon.
- Composite Stock: Better stability and handling.
- Worm's Hunger: Earning kills before using this weapon up to a stack of 20 kills significantly increases the damage of the next projectile.
The Parasite Exotic Grenade Launcher is a Solar weapon with a unique projectile: a worm. The explosion has a pretty big radius, which makes it easy to splash on the player themselves. This triggers one of its perks, the Worm Byproduct, which boosts the player's damage while using the grenade launcher.
The Worm's Hunger intrinsic trait allows players to get kills with other weapons and build a stack of maximum 20 points. When the grenade launcher is fired at this maximum stack, it deals incredible amounts of damage and can be lethal when splashed on the player themselves.
Once this weapon is unlocked, the worm can be heard making comments during certain activities, such as Wellspring.
Destiny 2: The Witch Queen is available on PC, PlayStation 4, Xbox One, PlayStation 5, and Xbox Series X/S.




.jpg)
