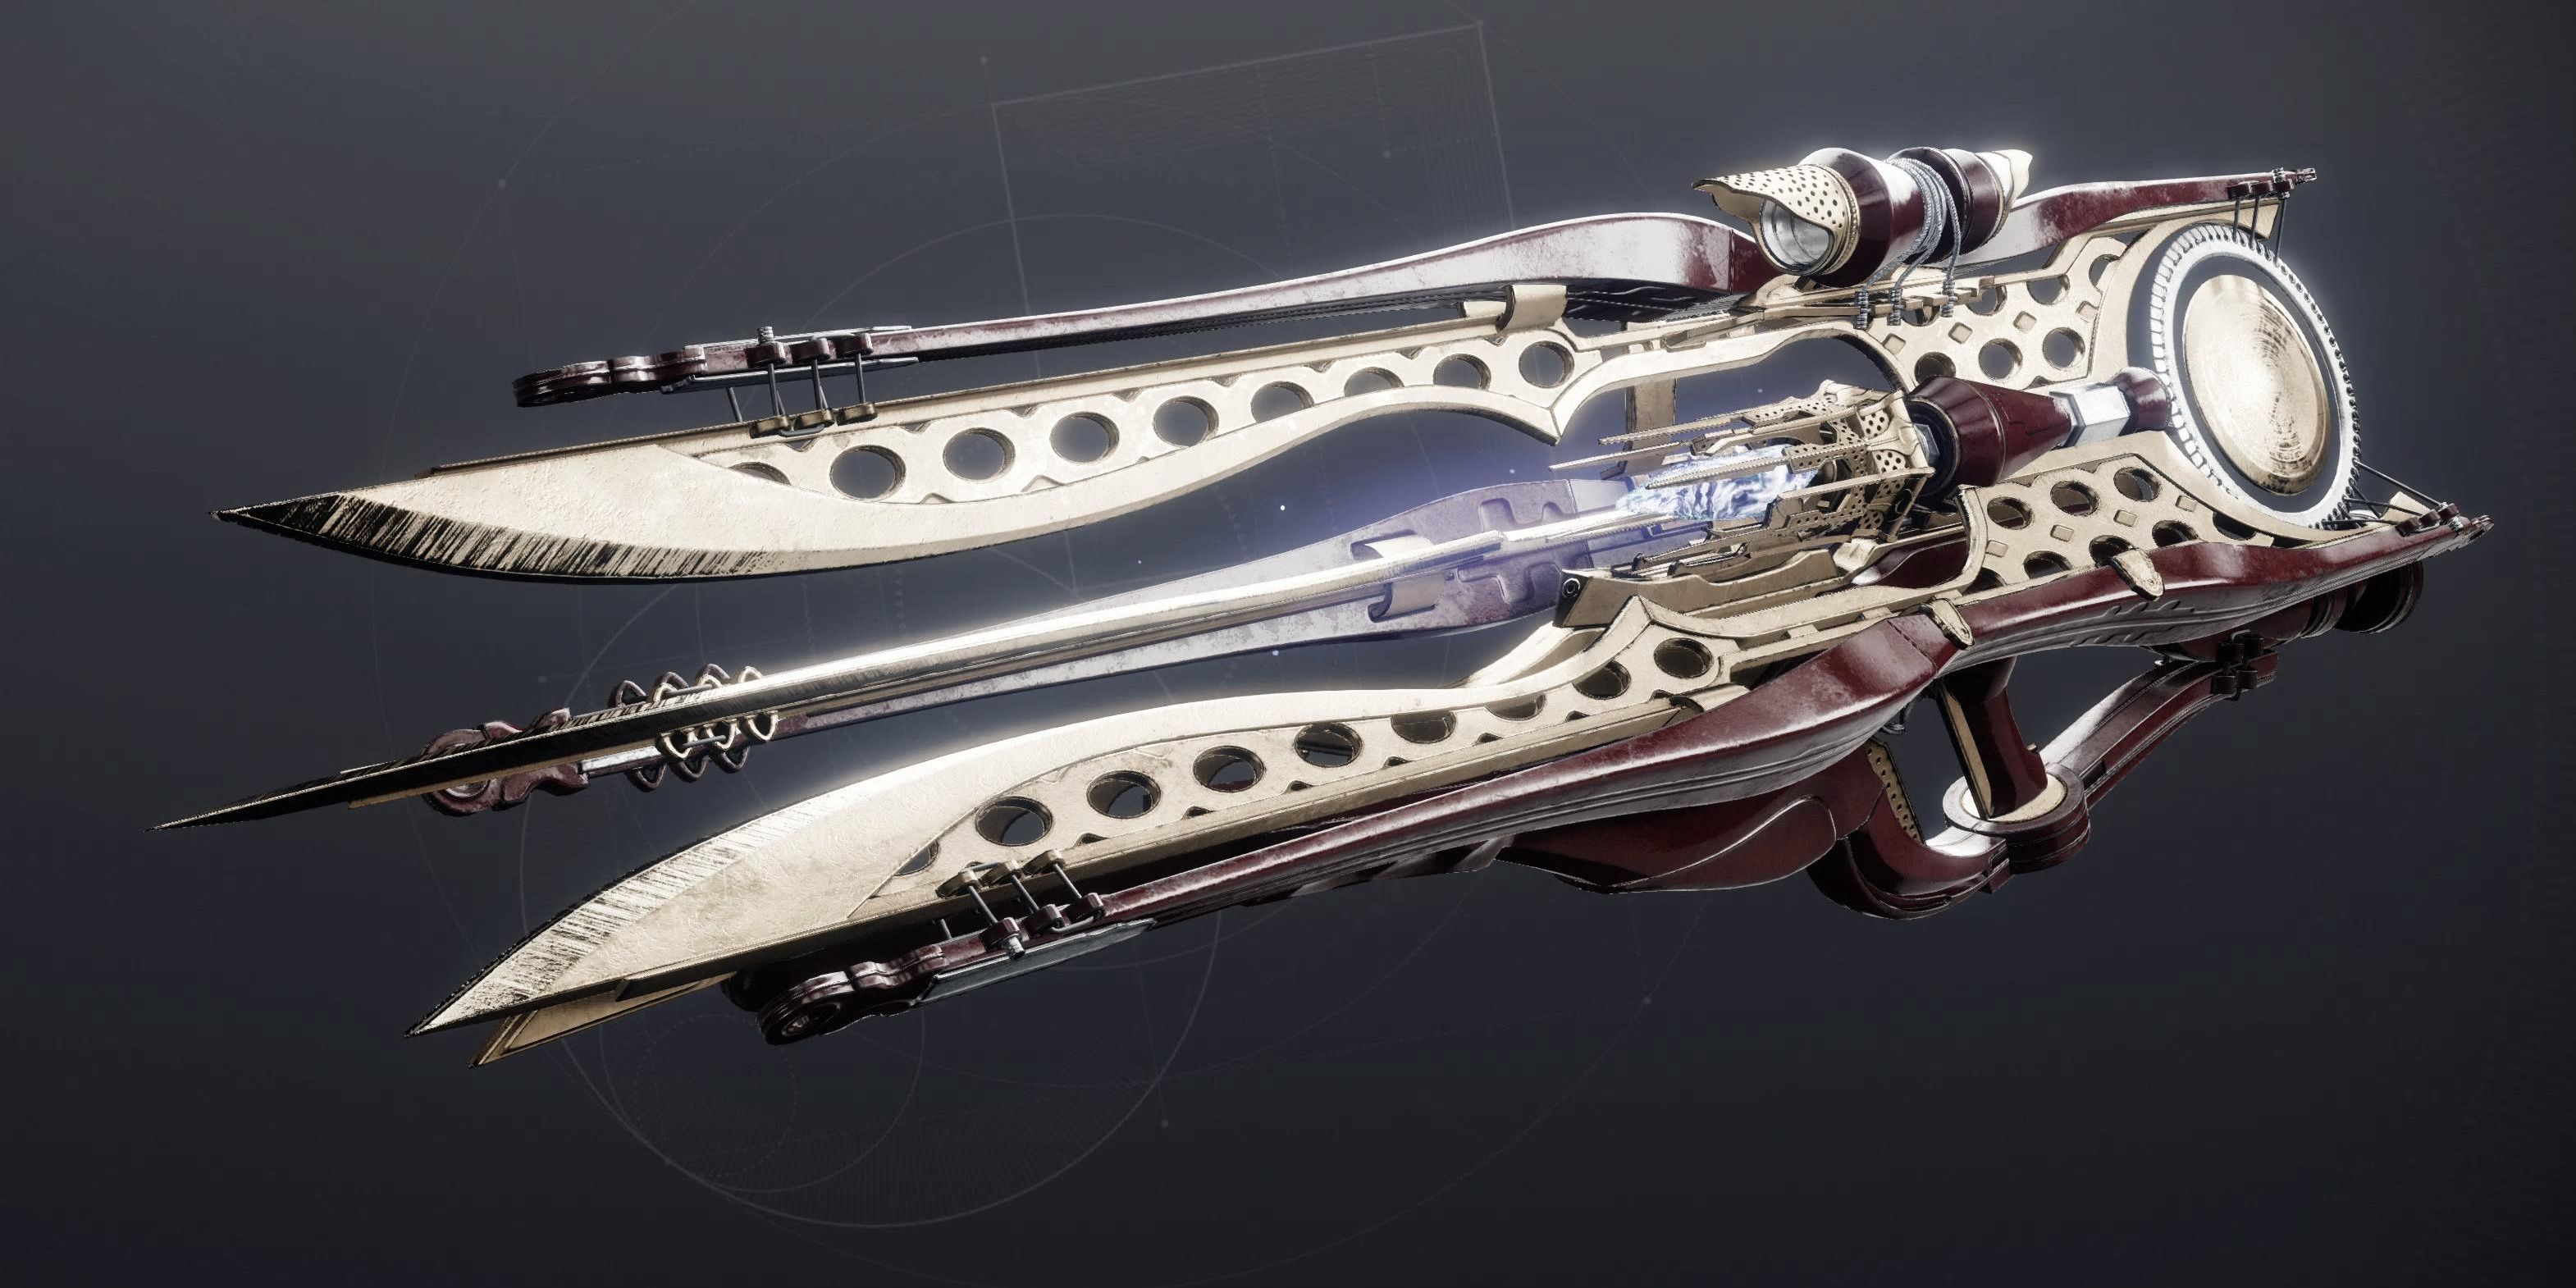
Microcosm is the first of its kind, an Exotic Heavy Trace Rifle that certainly has the potential to be a meta game-changer, especially in PvE content with the right builds. As part of Destiny 2’s expansion, The Final Shape, players can acquire Microcosm and experience its power for themselves, but first, they are going to have to battle it out against some challenging PvE quests post-The Final Shape.
Destiny 2: All Prismatic Fragments
Destiny 2's expansion, The Final Shape, brings more power to the hands of Guardians, and Prismatic Fragments are the key to unlocking greatness.
In Destiny 2, Microcosm joins the list of highly sought-after Exotic weapons, and if players want to add it to their arsenal, then they will need to follow this step-by-step guide that takes players through the post-campaign content of The Finale Shape in order to obtain the great prize that awaits.
Complete The Final Shape Campaign
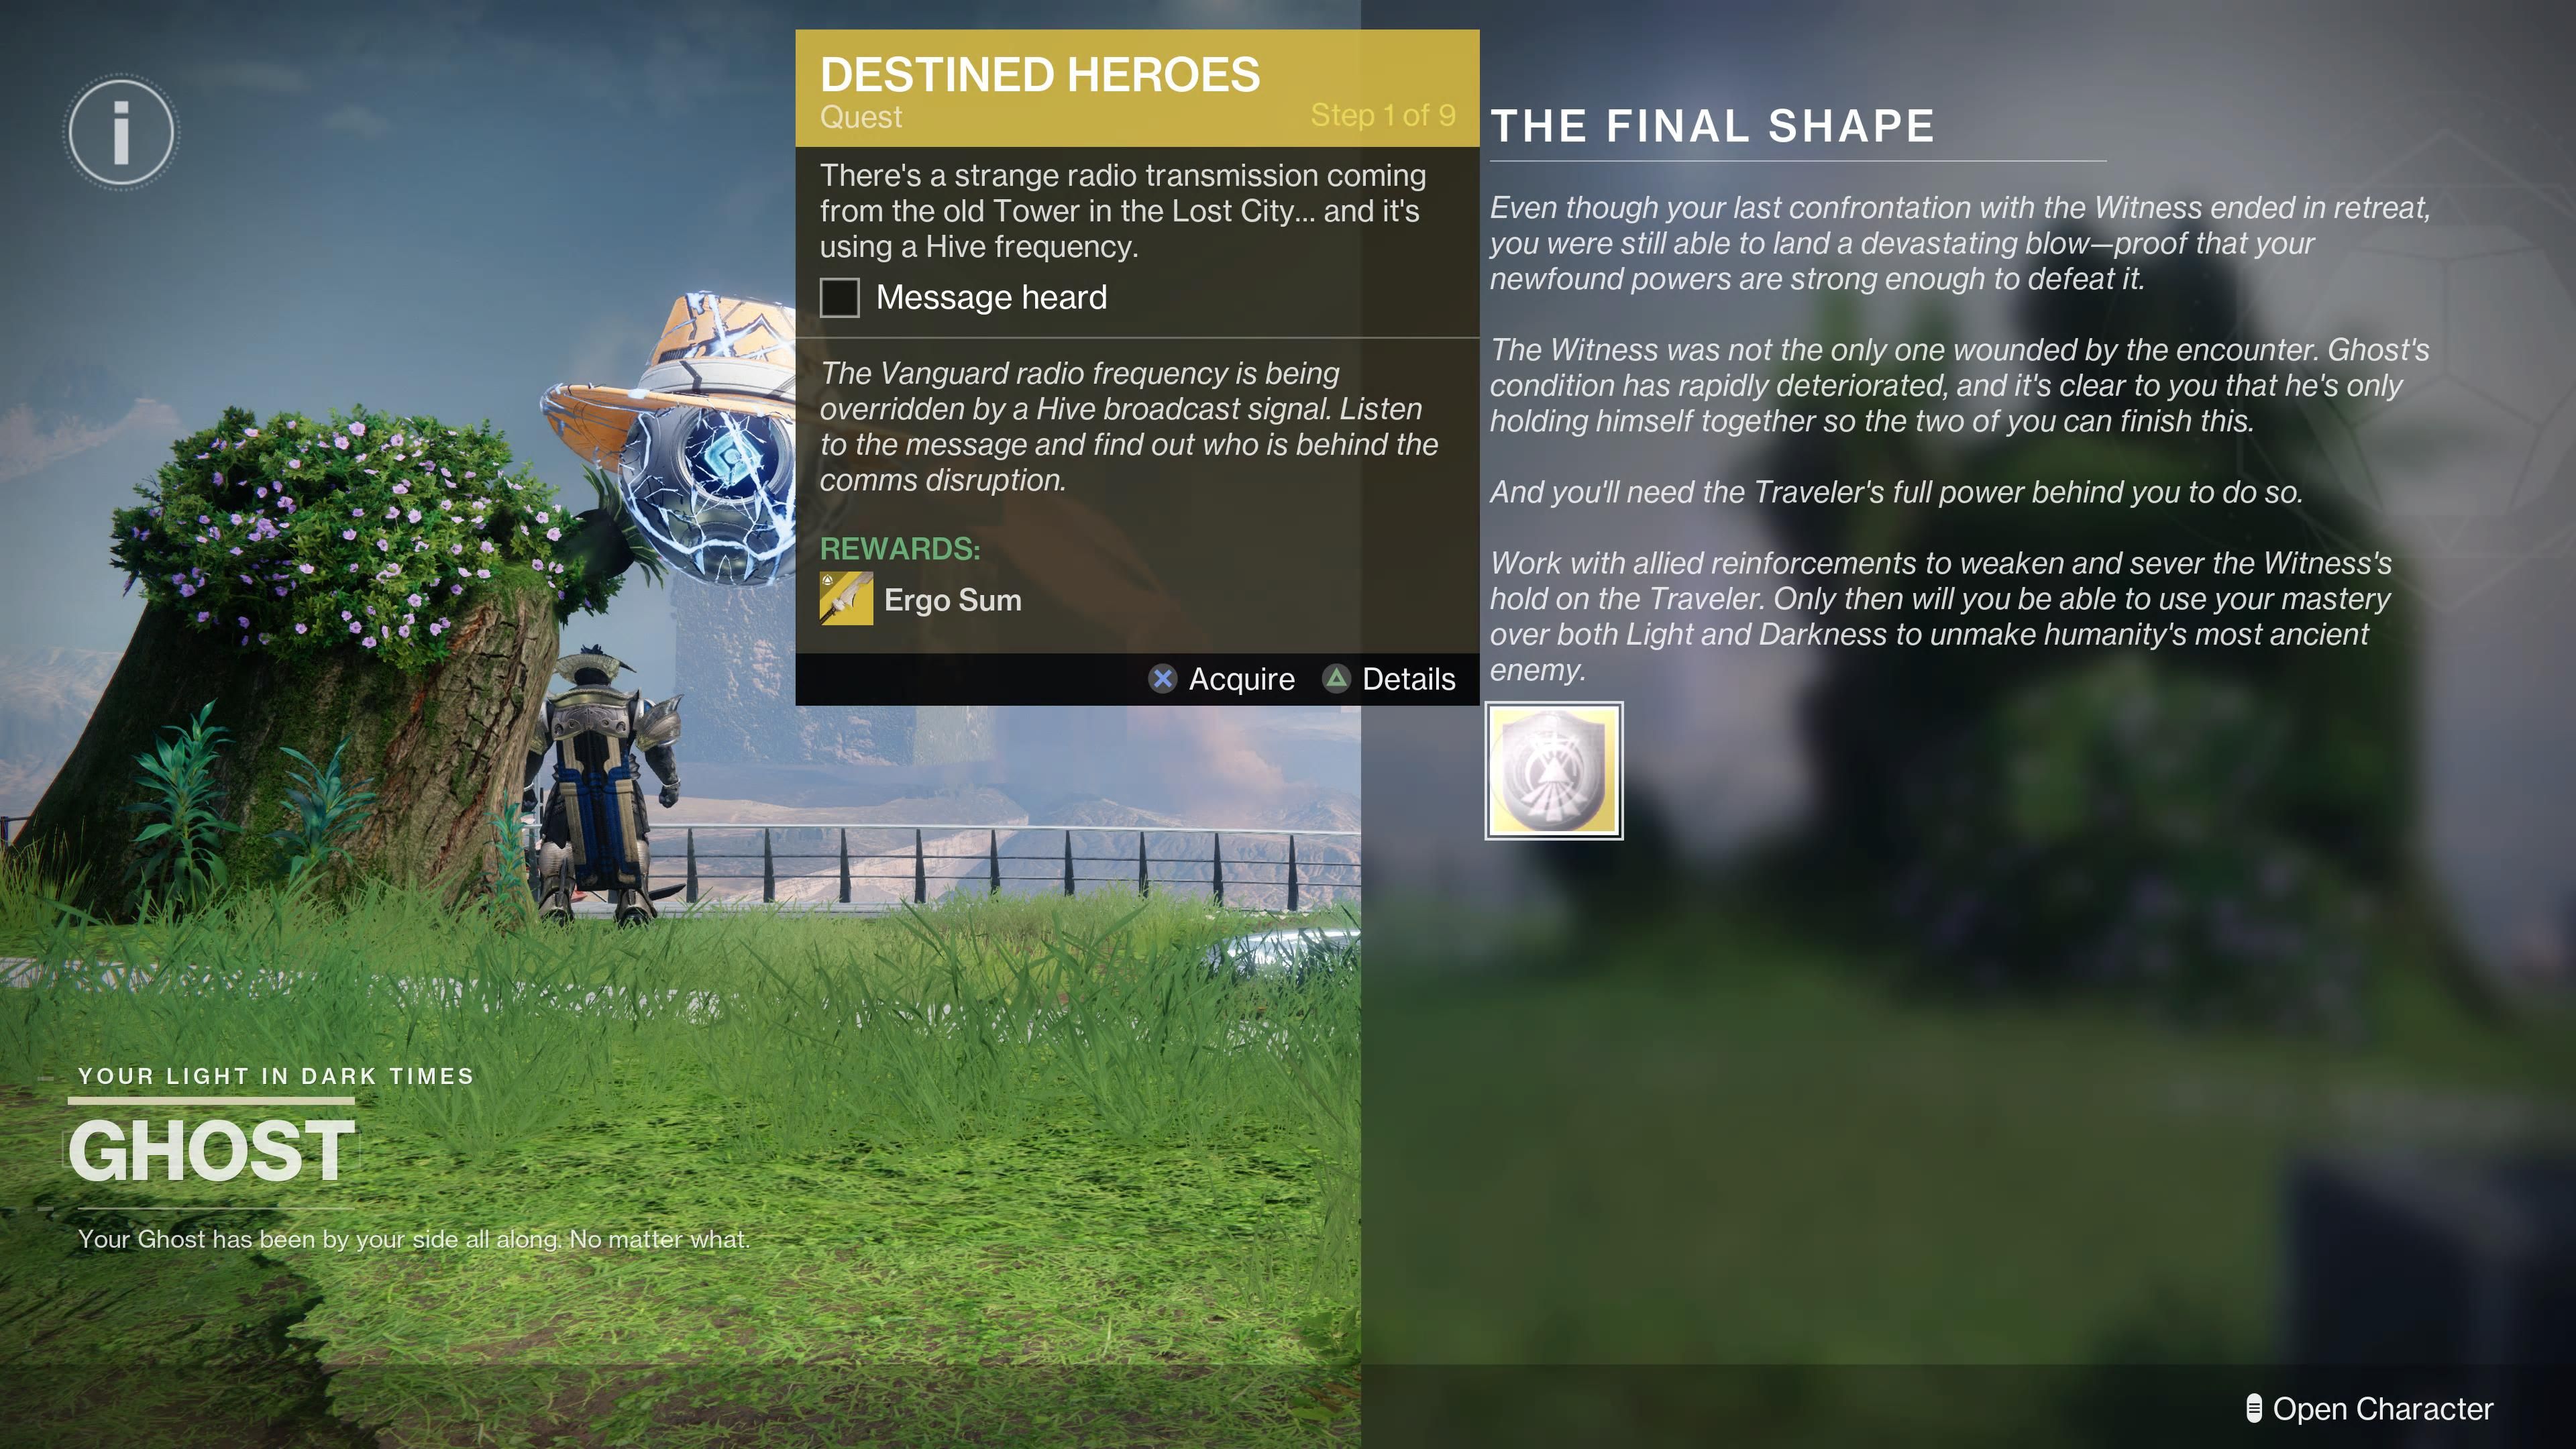
Upon completion of The Final Shape, players will want to head to the Lost City and speak with their Ghost to acquire the Destined Heroes Exotic Quest. Whilst this quest is related to Ergo Sum, they will still need to pick it up and follow it through, reaching the Queens, Part 1 step, and completing that specific part. Once Queens, Part 1 is completed, players can return to the Vanguard table of the Lost City and interact with the holotable, where they will see Micah’s Conduit, a Lost Ghost Analytics that players will need to approach and interact with.
Upon interacting with the hologram, players will receive a Legendary Quest titled Convalescence: Rootbound. Whilst the progress of Destined Heroes will resume, players can freely ignore this for now and instead select Convalescence: Rootbound as their primary quest if they seek Microcosm.
Complete Convalescence: Rootbound
When acquiring Convalescence: Rootbound, players will be tasked with locating a Lost Ghost. The search area is tagged on their Destination Map within the Pale Heart, but the exact location is the Lost Sector in The Forgotten Deep, found South of The Landing area of the Pale Heart. This is a familiar Lost Sector for those who completed the campaign, and players just need to progress as normal, eliminating enemies and standing into 3 green Hive lights to build a stack of Light Shield Breakers to destroy the Hive crystal that blocks the path forward.
Upon entering the final room of this Lost Sector, players will want to ignore the final boss and instead head towards the large tree, following to the right of it where they will see an inactive Ghost Shell hanging on the ledge. Simply interact with it to pick it up, and head back to the Lost City’s Vanguard room. From here, players will want to take a right in the Vanguard room to interact with a Ghost Shell found just next to the growing tree. After, players can head back to Micah’s Conduit hologram table, where they will receive a Red Border Someday Shotgun, and another quest, Convalescence: Underbrush.
Complete Convalescence: Underbrush
With Convalescence: Rootbound complete, players now have to finish Convalescence: Underbrush, which will require players to venture through the Pale Heart in search of random chests so that they can acquire a Flickering Blessing mod. By checking the Destinations map, players can see Pathfinder Objectives, which they can tag to add a waypoint. These will show players to combatant activities, where the reward will always be a chest. Players can also explore patrol zones in the Pale Heart with a Tracking Mod on their Ghost Shell, and simply keep opening chests until a Traveler Blessing mod is acquired.
The next step is to equip a new Flickering Blessing, a new type of mod that can only be used when in the Pale Heart. To equip these, enter the Traveler's Blessing menu found on the Pale Heart’s map, just above The Blooming section. Players can then equip any of the discovered Flickering Blessings they have found, but they are limited-time mods, and will expire in 26 hours of activation.
Now that players have equipped a Traveler’s Blessing mod, they might have a glitch where Convalescence: Underbrush is completed, but the next step does not occur. Simply fast travel back to the Lost City, head to the Vanguard room, and interact with the Ghost Shell at the tree, and head back to Micah’s Conduit to receive Pro Memoria, a Red Border Machine Gun, and the next quest, Convalescence: Greenery.
Complete Convalescence: Greenery
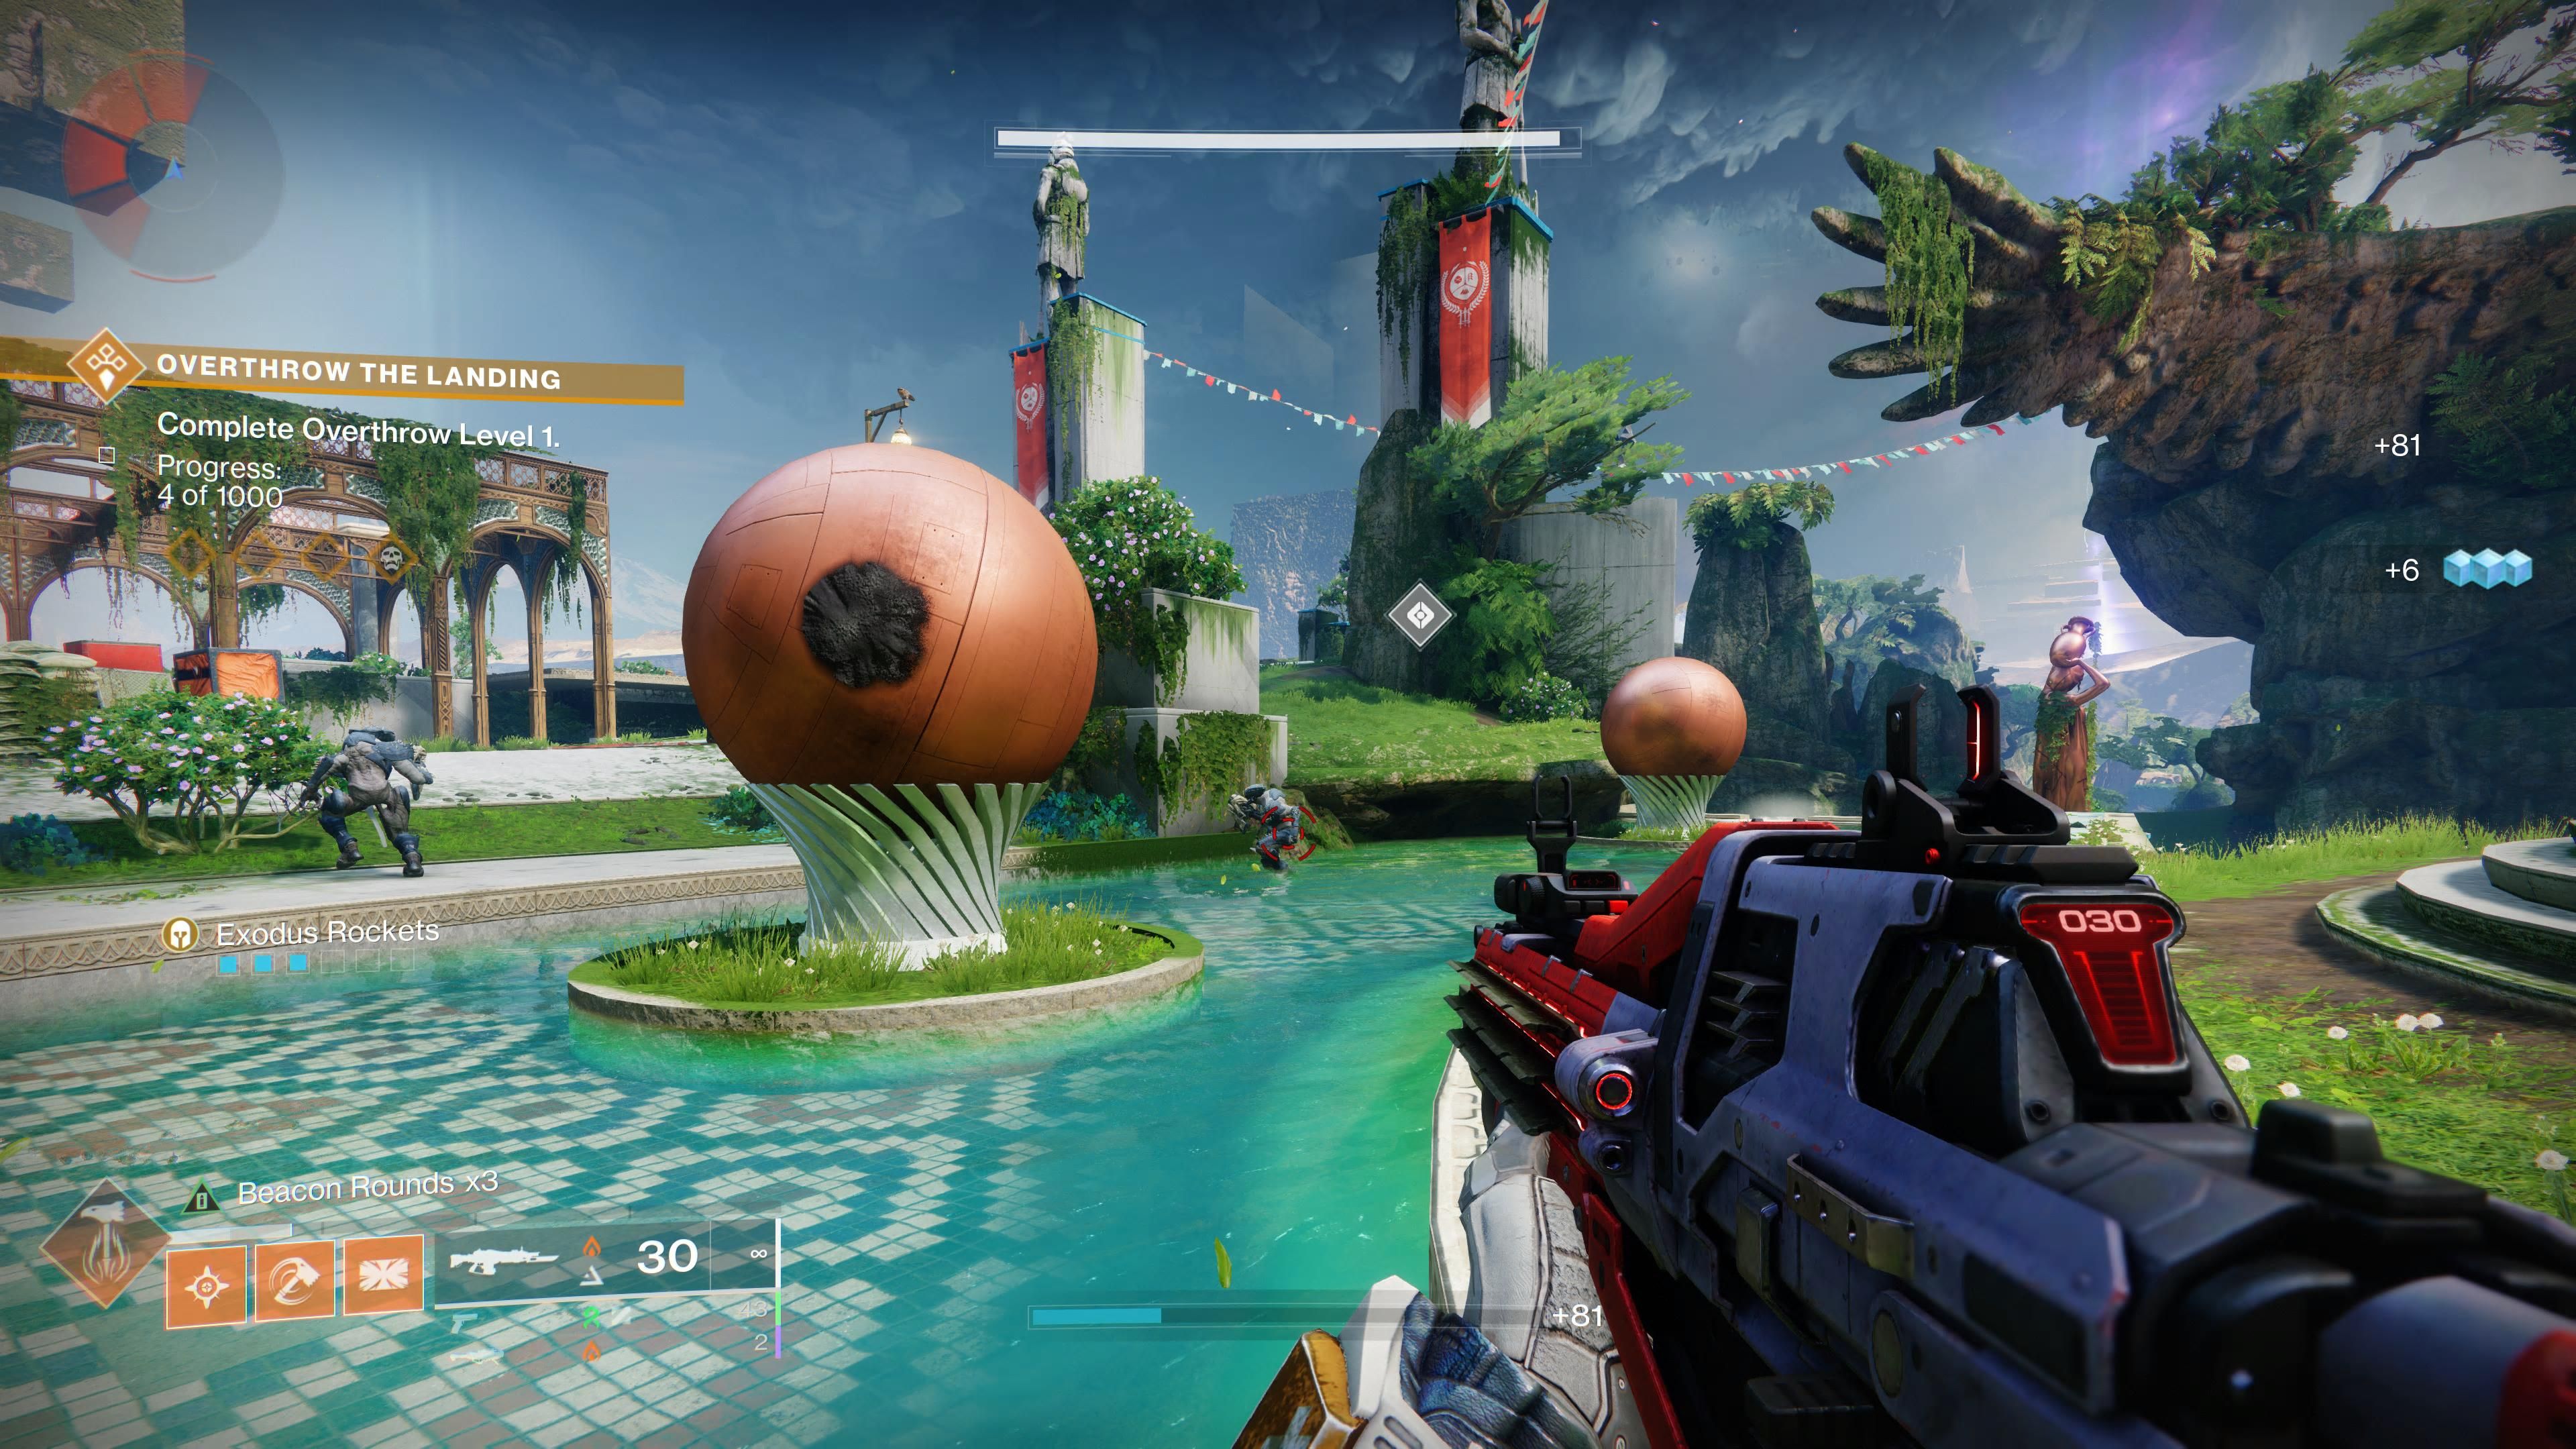
With Convalescence: Greenery acquired, players must open Overthrow chests in The Landing. Players will need to enter into the patrol section The Landing and wait for Overthrow events, which will see Hive spawn. Players must destroy Hive crystals and destroy Hive enemies to progress through Overthrow Levels. For every event in the Level completed, a chest will appear, and once players open it, they will need to seek out the next Overthrow event in The Landing, often indicated by a Public Event symbol. It shouldn’t take too many Overthrow Levels to acquire enough chests to proceed, but the next step will require the completion of the Cyst Trial, Sword Dance.
Just North of The Refraction, players will see a Convalescence: Greenery icon on the map, where players can follow the objective marker to discover one of the eagles made of light. Follow this eagle through the cave, where it will disappear and a new bird will guide players through. It’s a lengthy run, but it will end when players reach a high-up cave past where players found Ikora’s crashed ship in the campaign. Once in this cave, players will find a door locked with Hive magic. Simply shoot the corresponding Hive runes found around the door to unlock it.
Now inside, players will find a Hive Altar where they can interact with to summon a sword. With this sword, players can destroy Hive-shielded enemies and Hive crystals, and then follow a waypoint to destroyable Hive rocks, which will lead to other Hive Altars. Simply follow through the paths of destroying enemies and crystals with the sword until they reach an abyss area with three Lucent Hive Lieutenants. Players need to kill all three of them, remembering to use a finisher on their Hive Ghosts to stop enemy revives. Once all three are defeated, players can return to the Lost City and interact with the cracked Light and Ghost Shell, and then finally, Micah’s Conduit. For this, players will receive Embraced Identity, a Red Border Sniper Rifle, and finally, Convalescence: Budding, the final mission they need to reward themselves with Microcosm.
Complete Convalescence: Budding
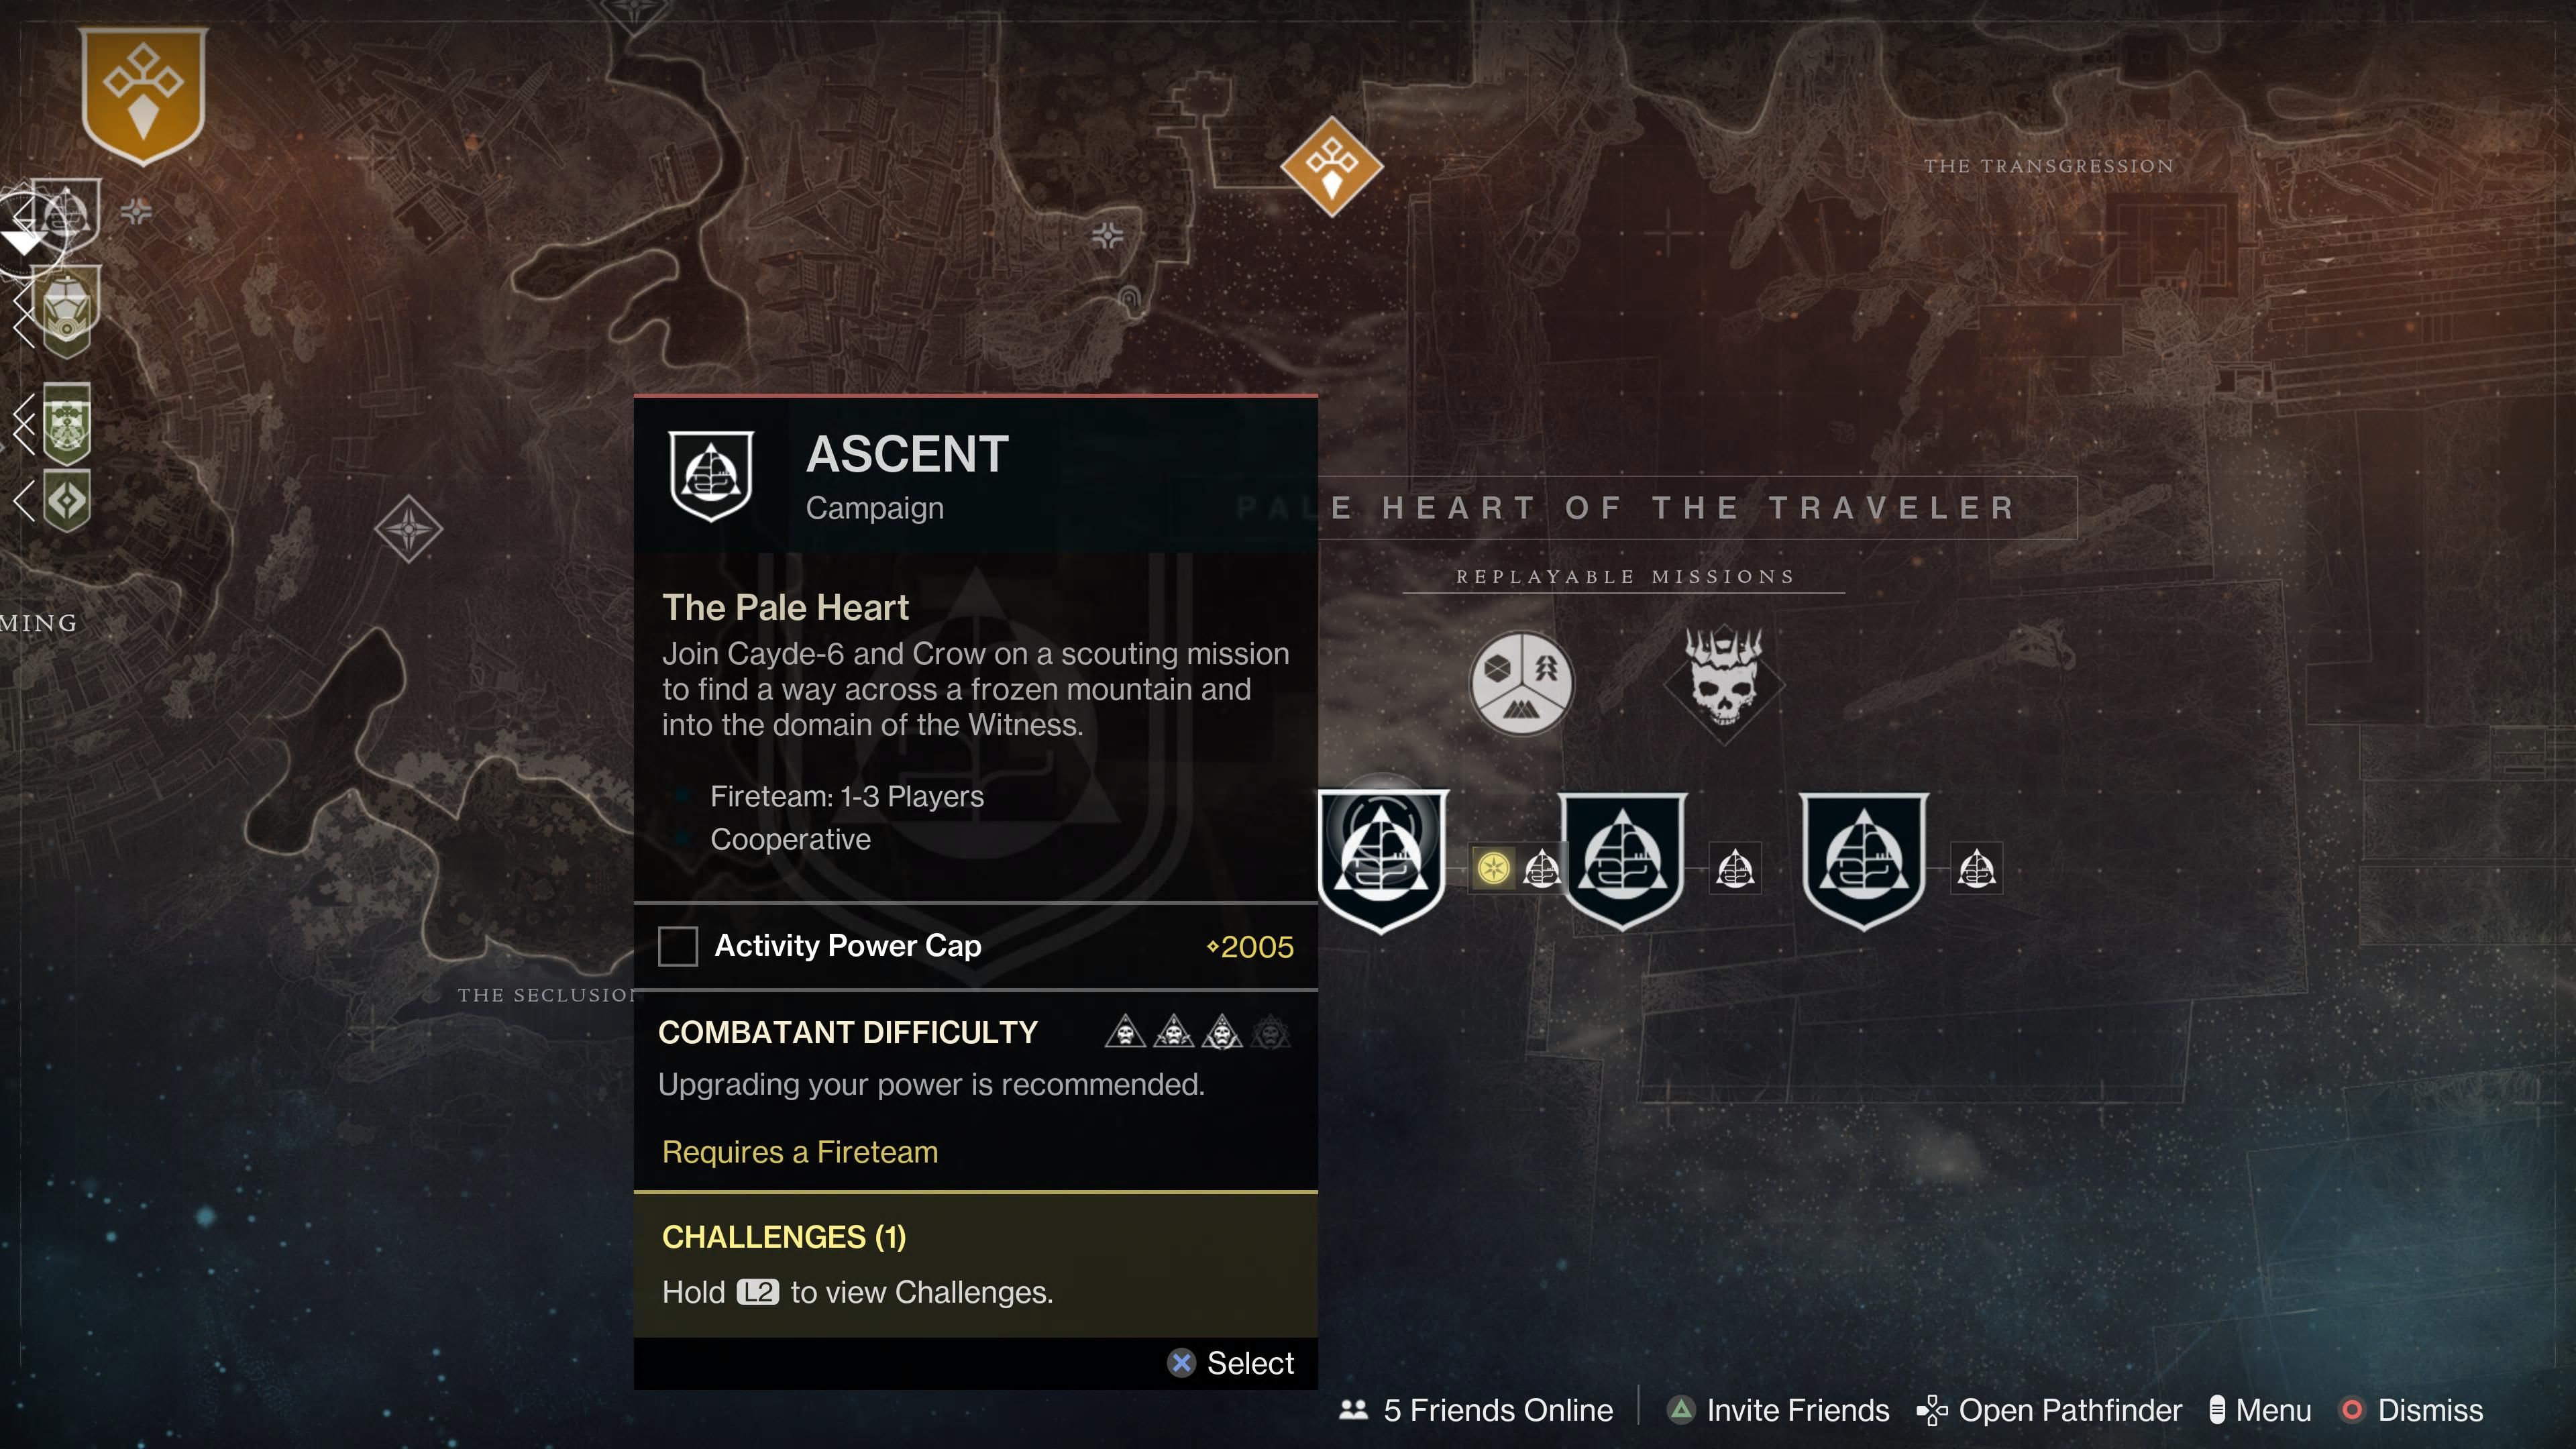
After all the prior Convalescence quests, players will finally have the one they want, Convalescence: Blessing, which is the Exotic Quest needed for Microcosm. For this to complete, players must complete campaign missions on Cooperative Focus mode, specifically these three missions:
- Ascent
- Dissent
- Iconoclasm
To enter Cooperative Focus Mode, players will need to look at the Pale Heart destinations map and look at the bottom right, underneath Replyable Missions. From here, they will see all three of the missions they need to complete within this mode. All players have to do is play through the three of them, but be warned, they are as difficult as Legendary Campaign missions due to the enemy modifiers, and the fact that the activity is buffed at 2005 Power, which for new players in The Final Shape, is pretty challenging, but still possible. Players should not try to do this solo, and it's best to either use Fireteam Finder, LFGs, or friends, as teamwork is essential for the new mechanics found within.
There are three mechanics to look out for in these missions:
- Fractured by the Witness - The Witness will stack a Fracture debuff on a player at random, and if it builds to x7, said player has their movement hindered, so another player must interact with them to take the debuff. All three Guardians need to juggle the debuff until they reach the next objective, and if it reaches x10, the Guardian with said debuff will die.
- Berserkers - Getting close to these Berserkers will see the Suppressed debuff, but one player must shoot the chest and the other must shoot the back at the same time to do damage. Upon killing the Berserker, players must shoot the two Darkness Cruxes at the same time to synergize their shots and progress through the mission. These Cruxes are usually found high up, and are noted by the orange glow. Failing to synergize will simply mean players must kill the Berserker again.
- Glyphtouched - One player can interact with Gylphs, but cannot see the Glyph symbols, so players must communicate where the Glyphtouched must stand.
Once all three of these Cooperative Focus Mode campaign quests have been completed, players can once more head back to the Lost City and interact with Micah’s Conduit, where they will be instantly rewarded with Microcosm, the Exotic Heavy Trace Rifle that they have sought. It’s a long and hard journey, but worth it, and players can find more info and the stats of the Microcosm below.
Microcosm Stats
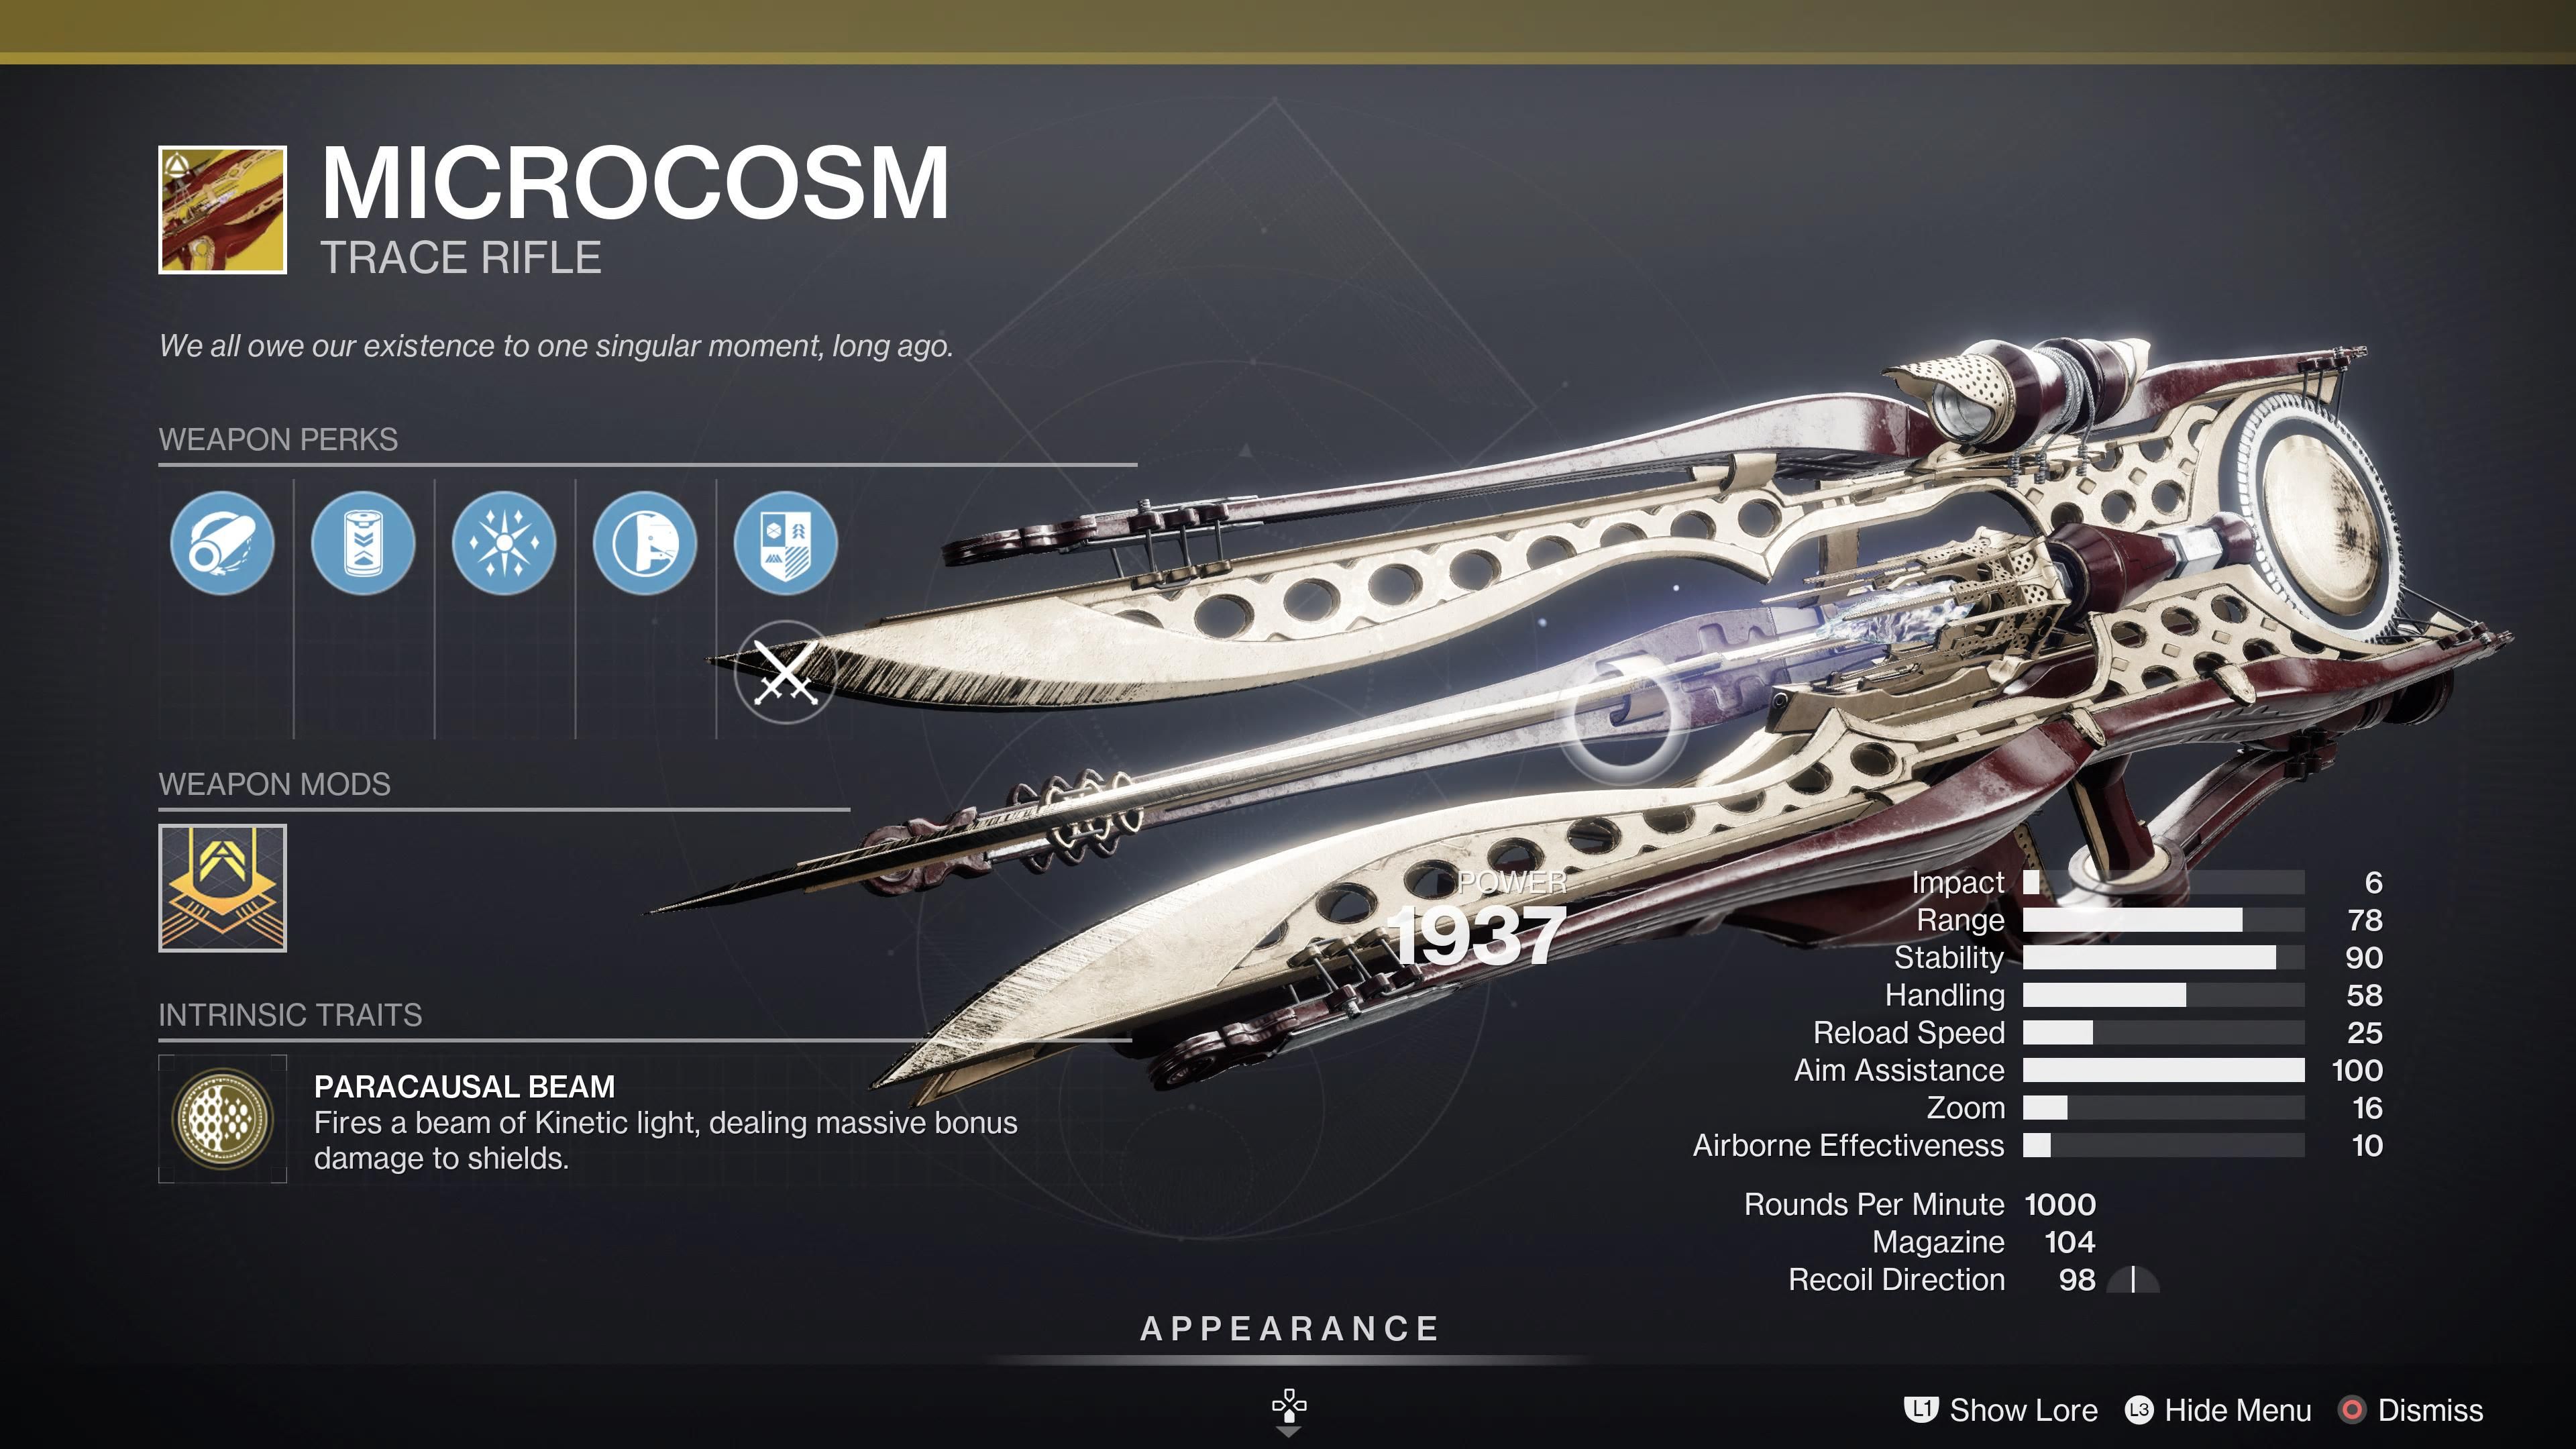
Microcosm is an impressive beast of a weapon, and here's a closer look at its stats and exotic perks:
Weapon Type | Trace Rifle |
Weapon Slot | Kinetic |
Elemental Damage | Kinetic |
Impact | 6 |
Range | 78 |
Stability | 90 |
Handling | 58 |
Reload Speed | 25 |
Aim Assistance | 100 |
Zoom | 16 |
Airborne Effectiveness | 10 |
Rounds Per Minute | 1000 |
Magazine | 104 |
Recoil Direction | 98 |
Intrinsic Traits |
|
Microcosm is a lot of fun to use in Destiny 2 due to its ammo count and ability to build damage over time. It might not have the consistent bursts of damage like a Grenade Launcher and Rocket Launcher, but it can certainly get the job done when dealing with plenty of minor enemies, or when popping a Super and unleashing all Heavy Ammo from Microcosm, which builds bonus damage against enemies. The fact it has no elemental advantage and is still extremely effective against shields makes it a great contender for Nightfalls and Raids, but its true power remains to be seen.

Destiny 2
- Platform(s)
- PS5 , PS4 , Xbox Series X , Xbox Series S , Xbox One , PC , Stadia
- Released
- August 28, 2017
- Developer(s)
- Bungie
- Genre(s)
- FPS

