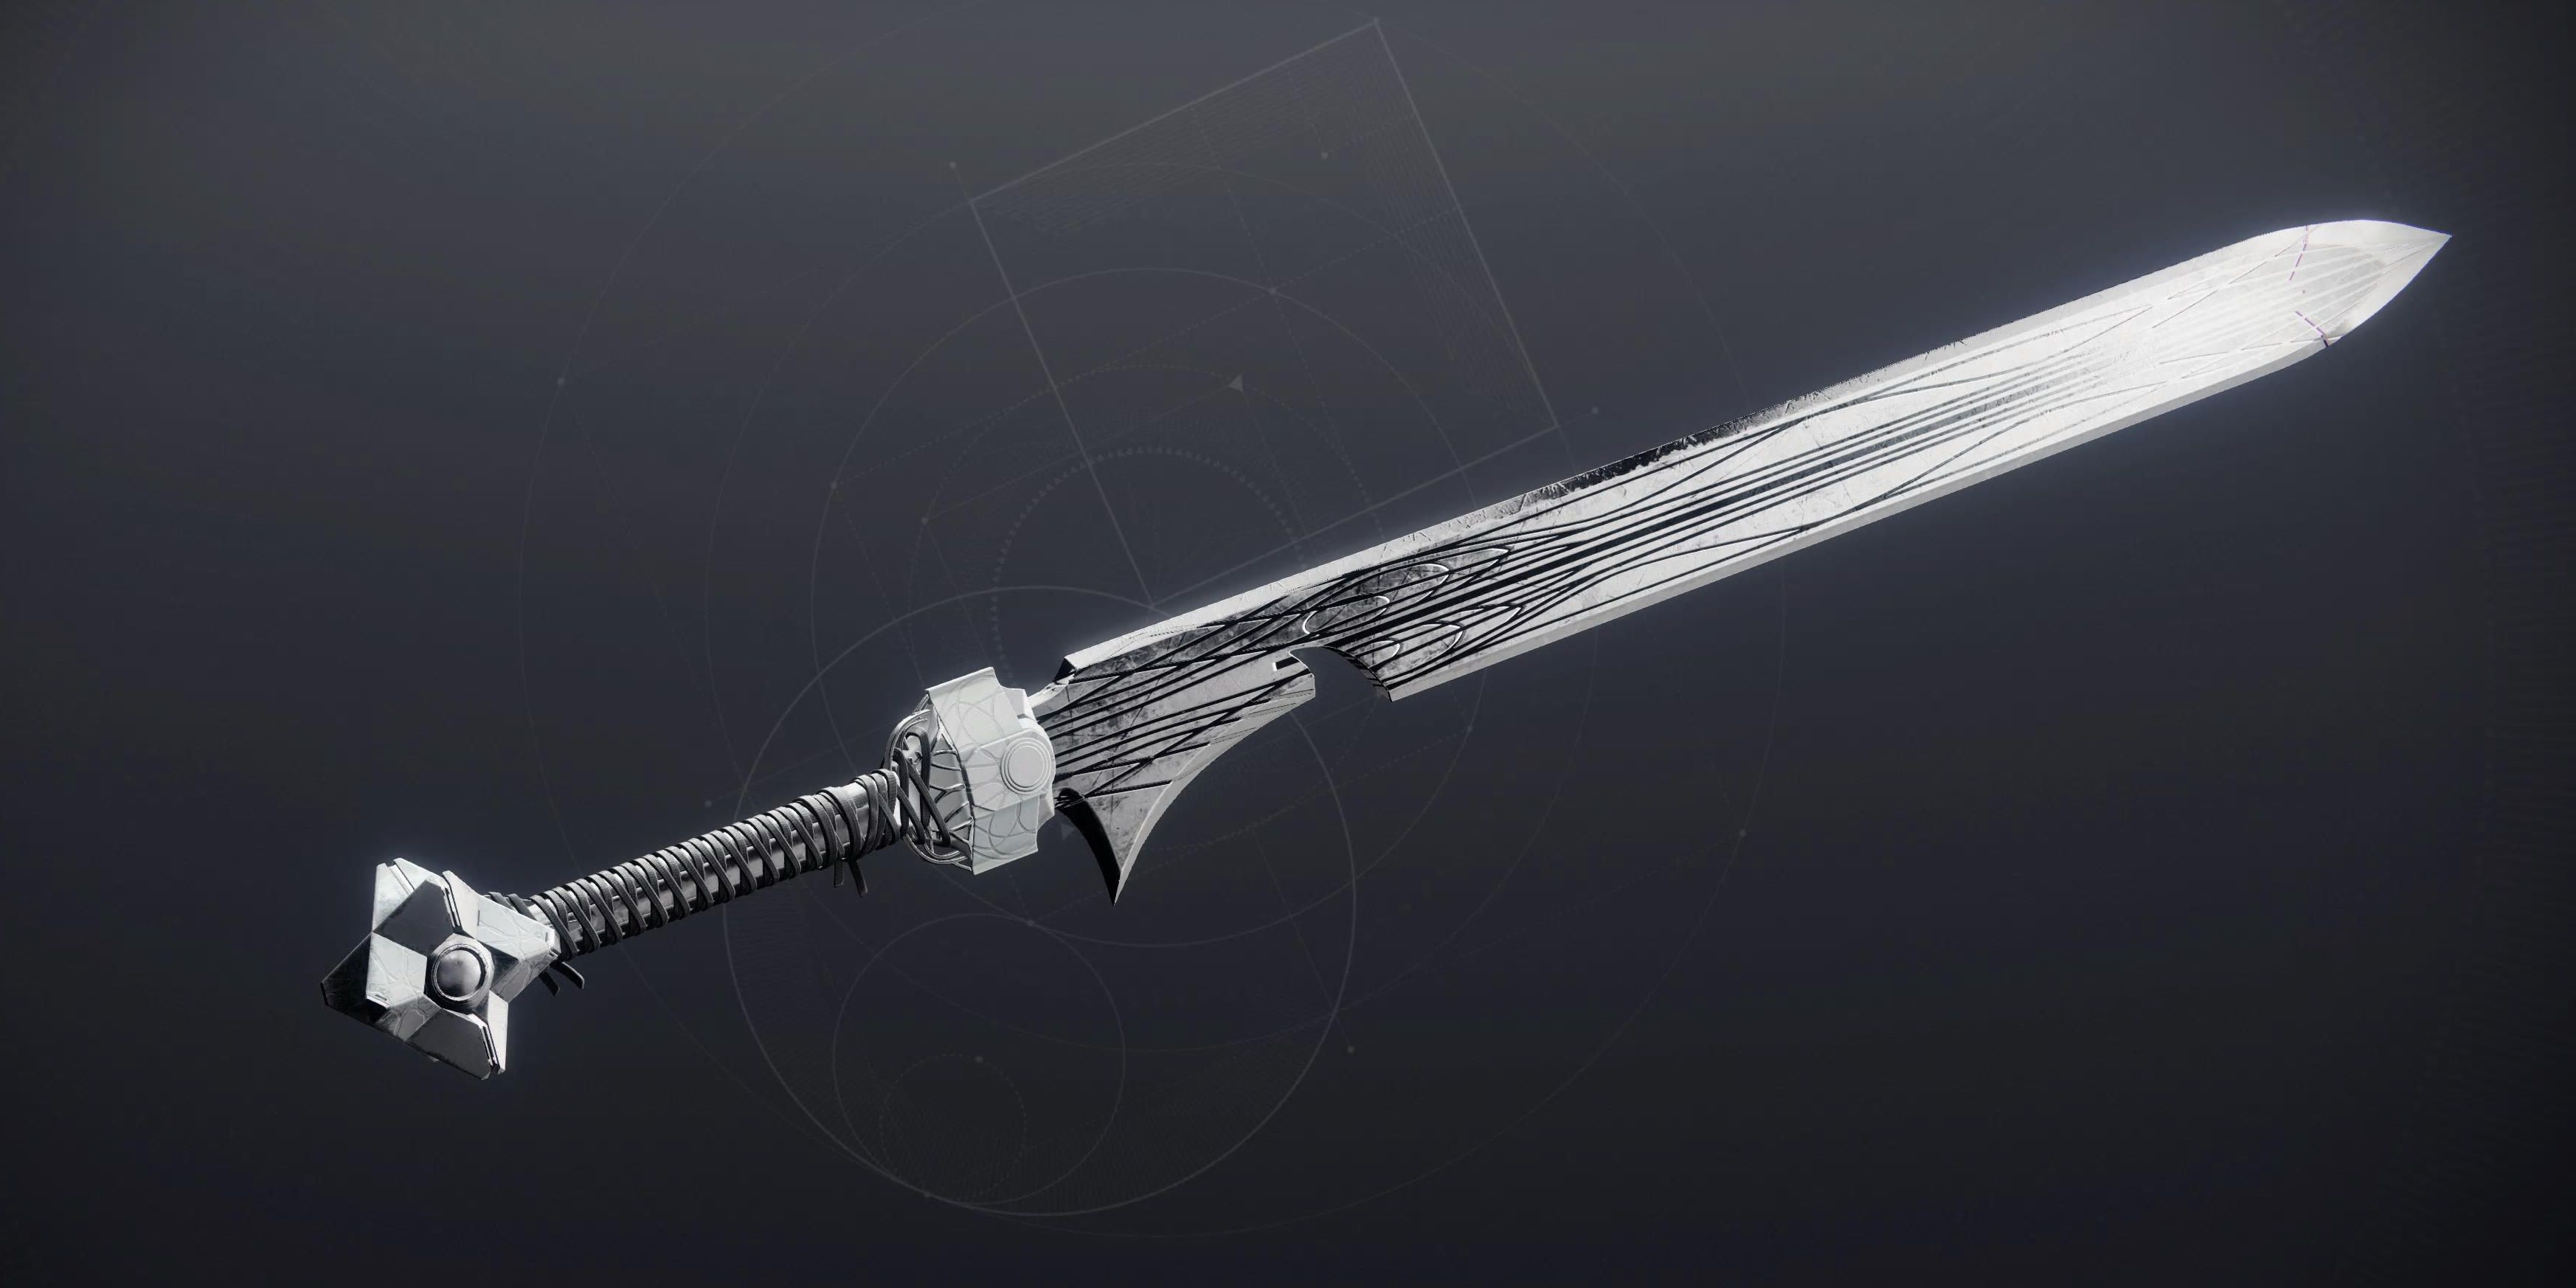
With the conclusion of The Final Shape campaign, there is still much to do in The Pale Heart of the Traveler, all whilst the threat of the Witness looms. In Destiny 2, players can finally acquire a sword that they have had their eyes on for quite some time, the sword that forges destinies which was once seen on the Guardian’s tomb in a distant and possible future. This sword in Destiny 2 can now be held in players’ hands after all this time.
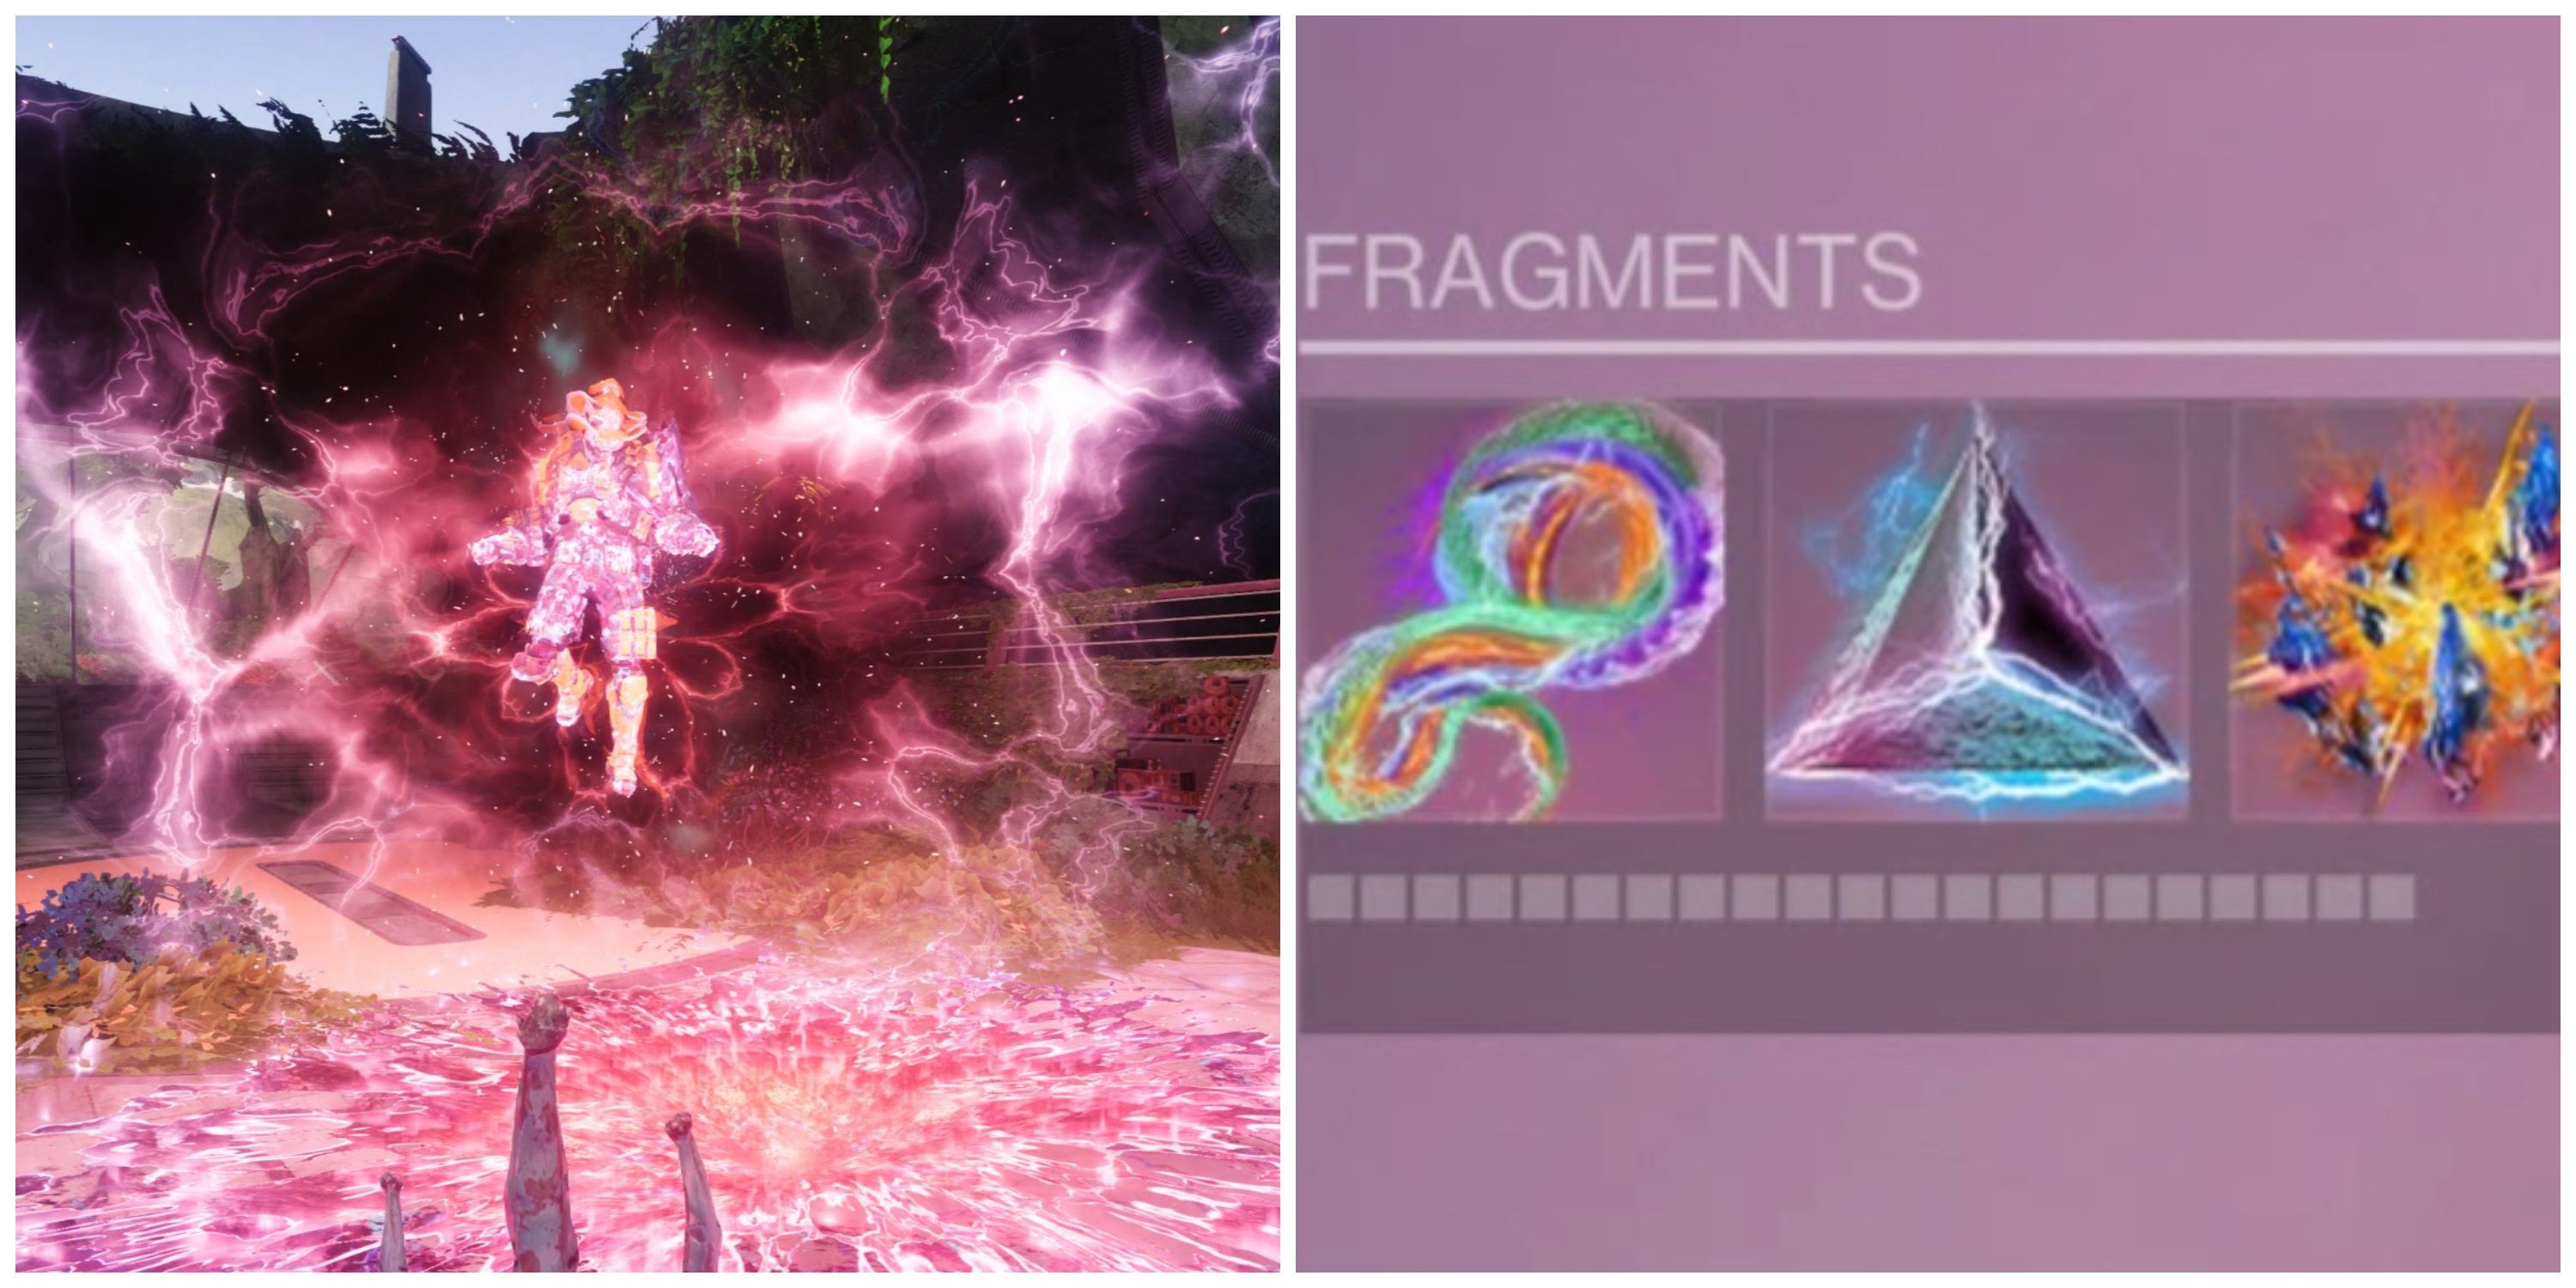
Destiny 2: All Prismatic Fragments
Destiny 2's expansion, The Final Shape, brings more power to the hands of Guardians, and Prismatic Fragments are the key to unlocking greatness.
To get Ergo Sum in Destiny 2, players will need to own The Final Shape and complete the campaign. Then, the process to acquiring this interesting Exotic begins, and it’s definitely one to get, not only to progress further into the Pale Heart’s content but because Ergo Sum can have different intrinsic perks as an Exotic sword in the Energy slot.
Beat The Finale Shape Campaign
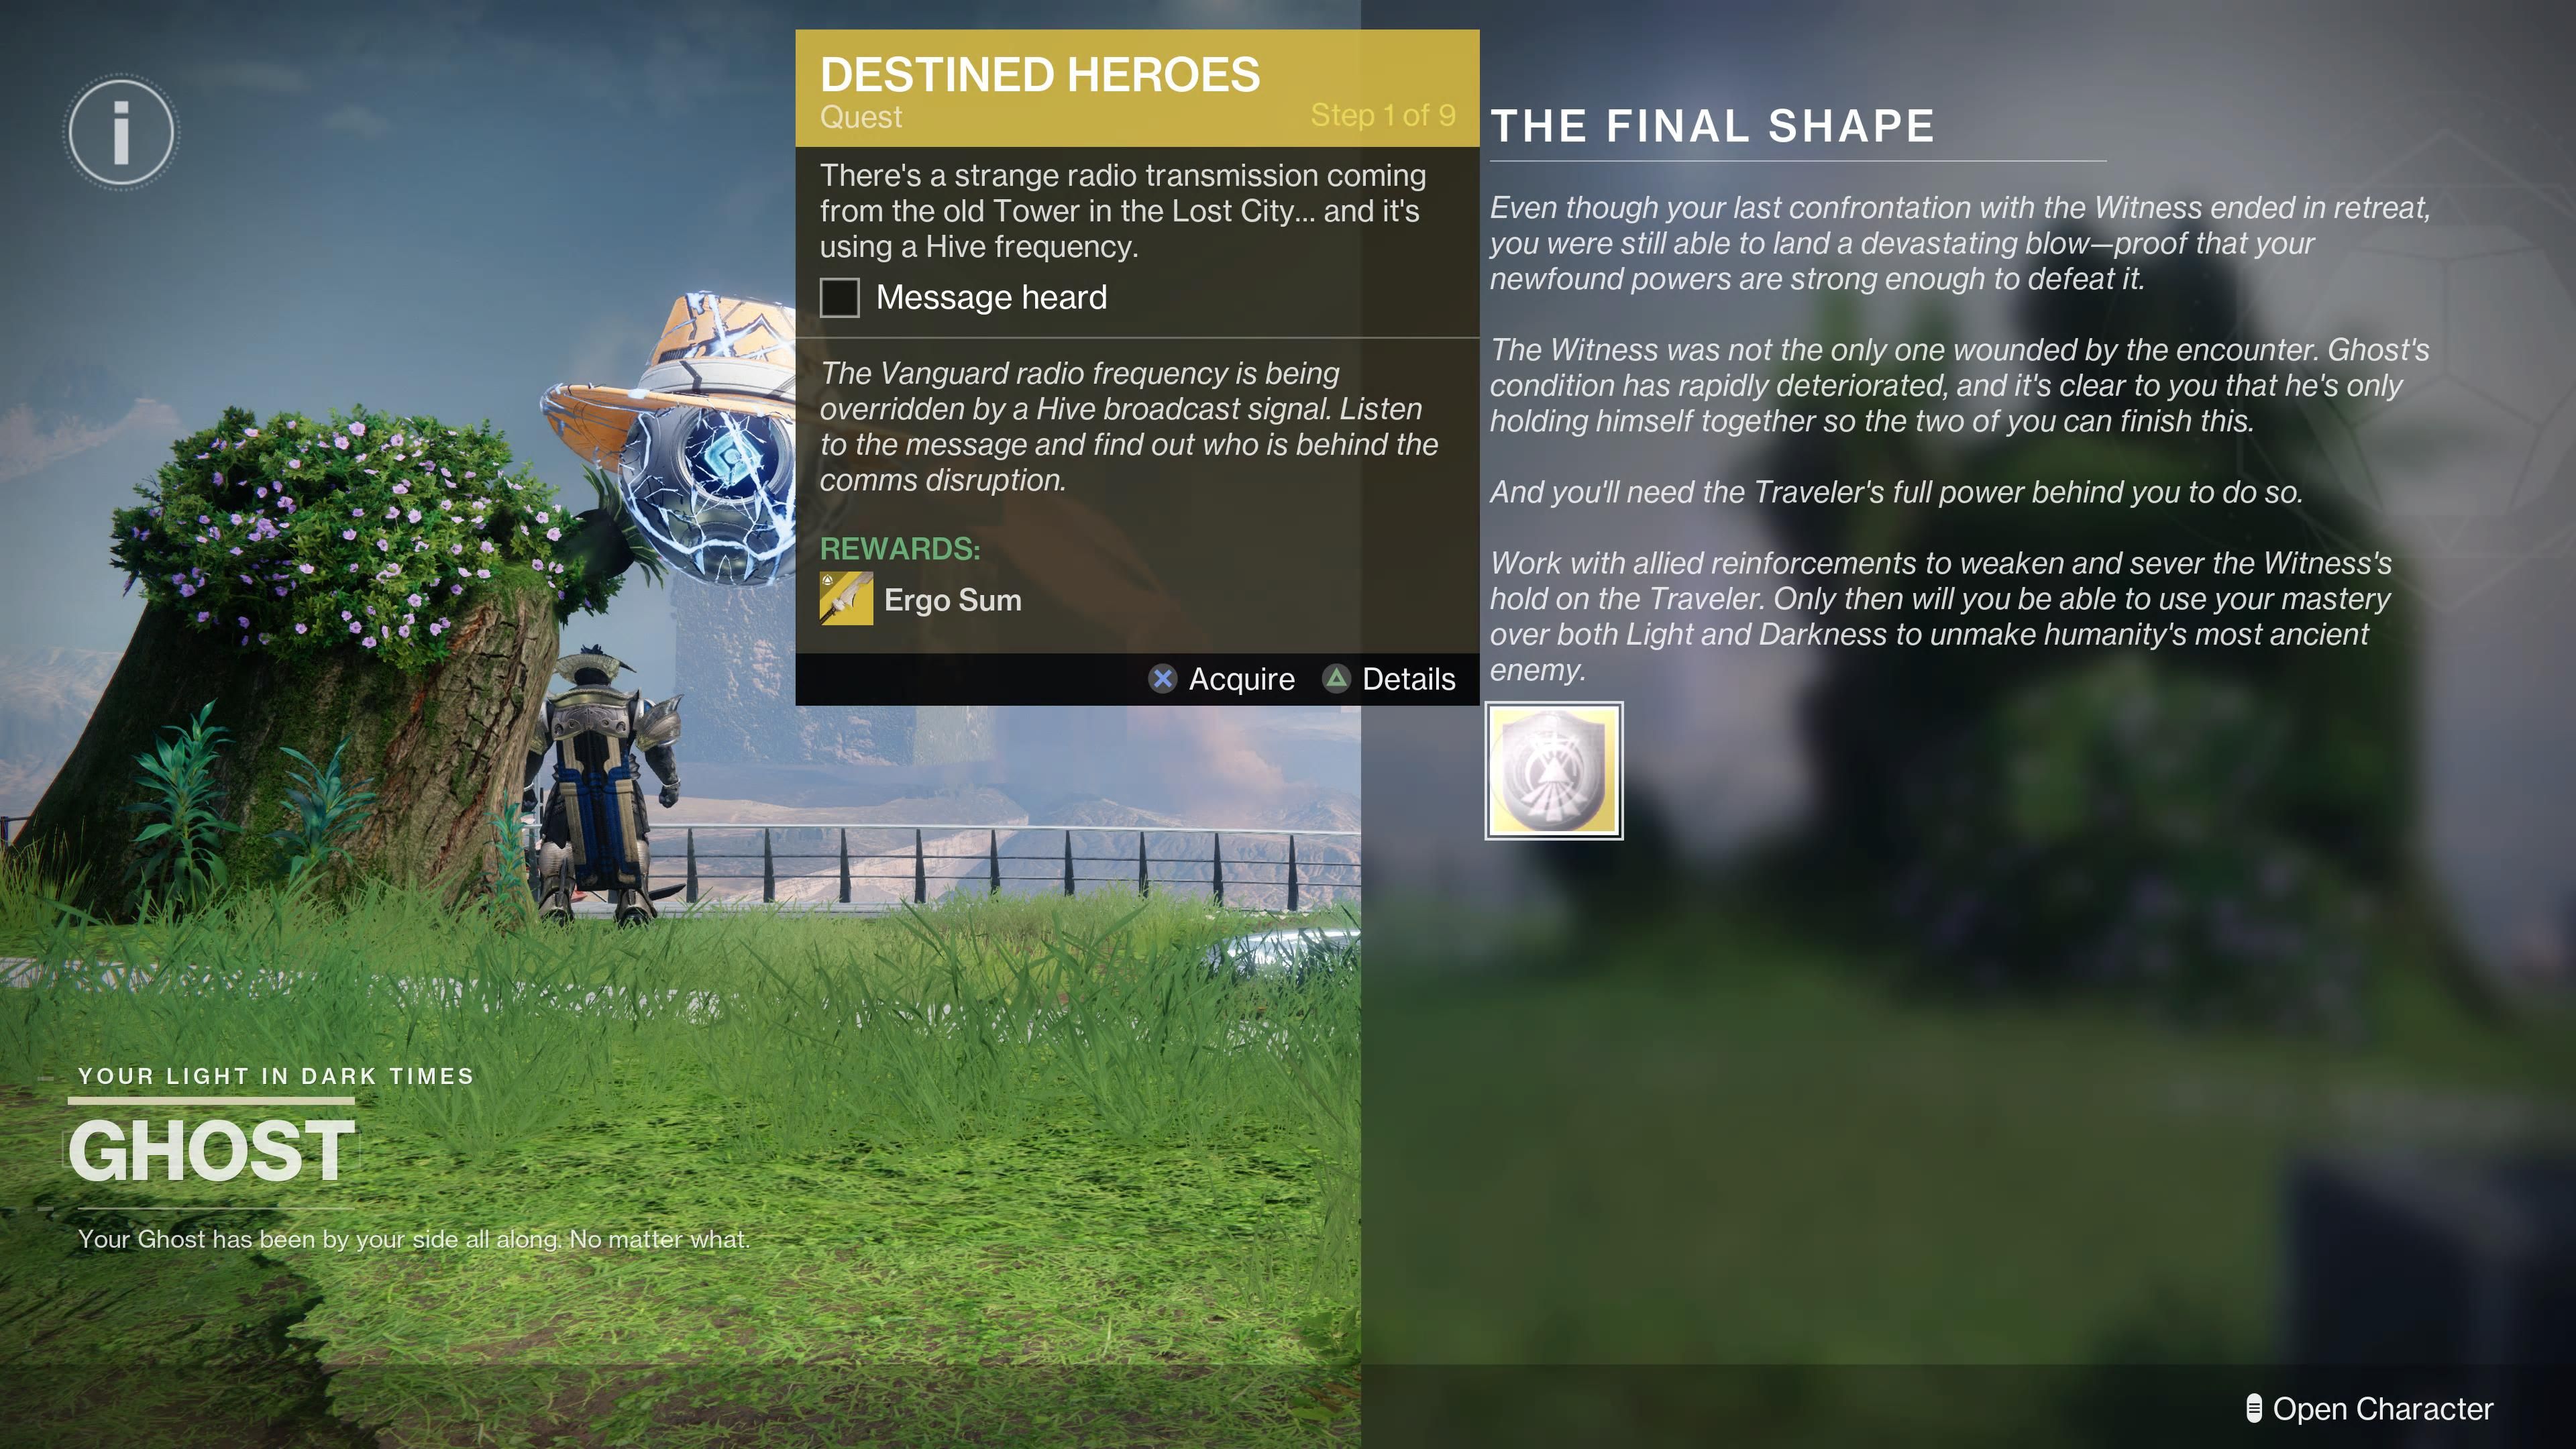
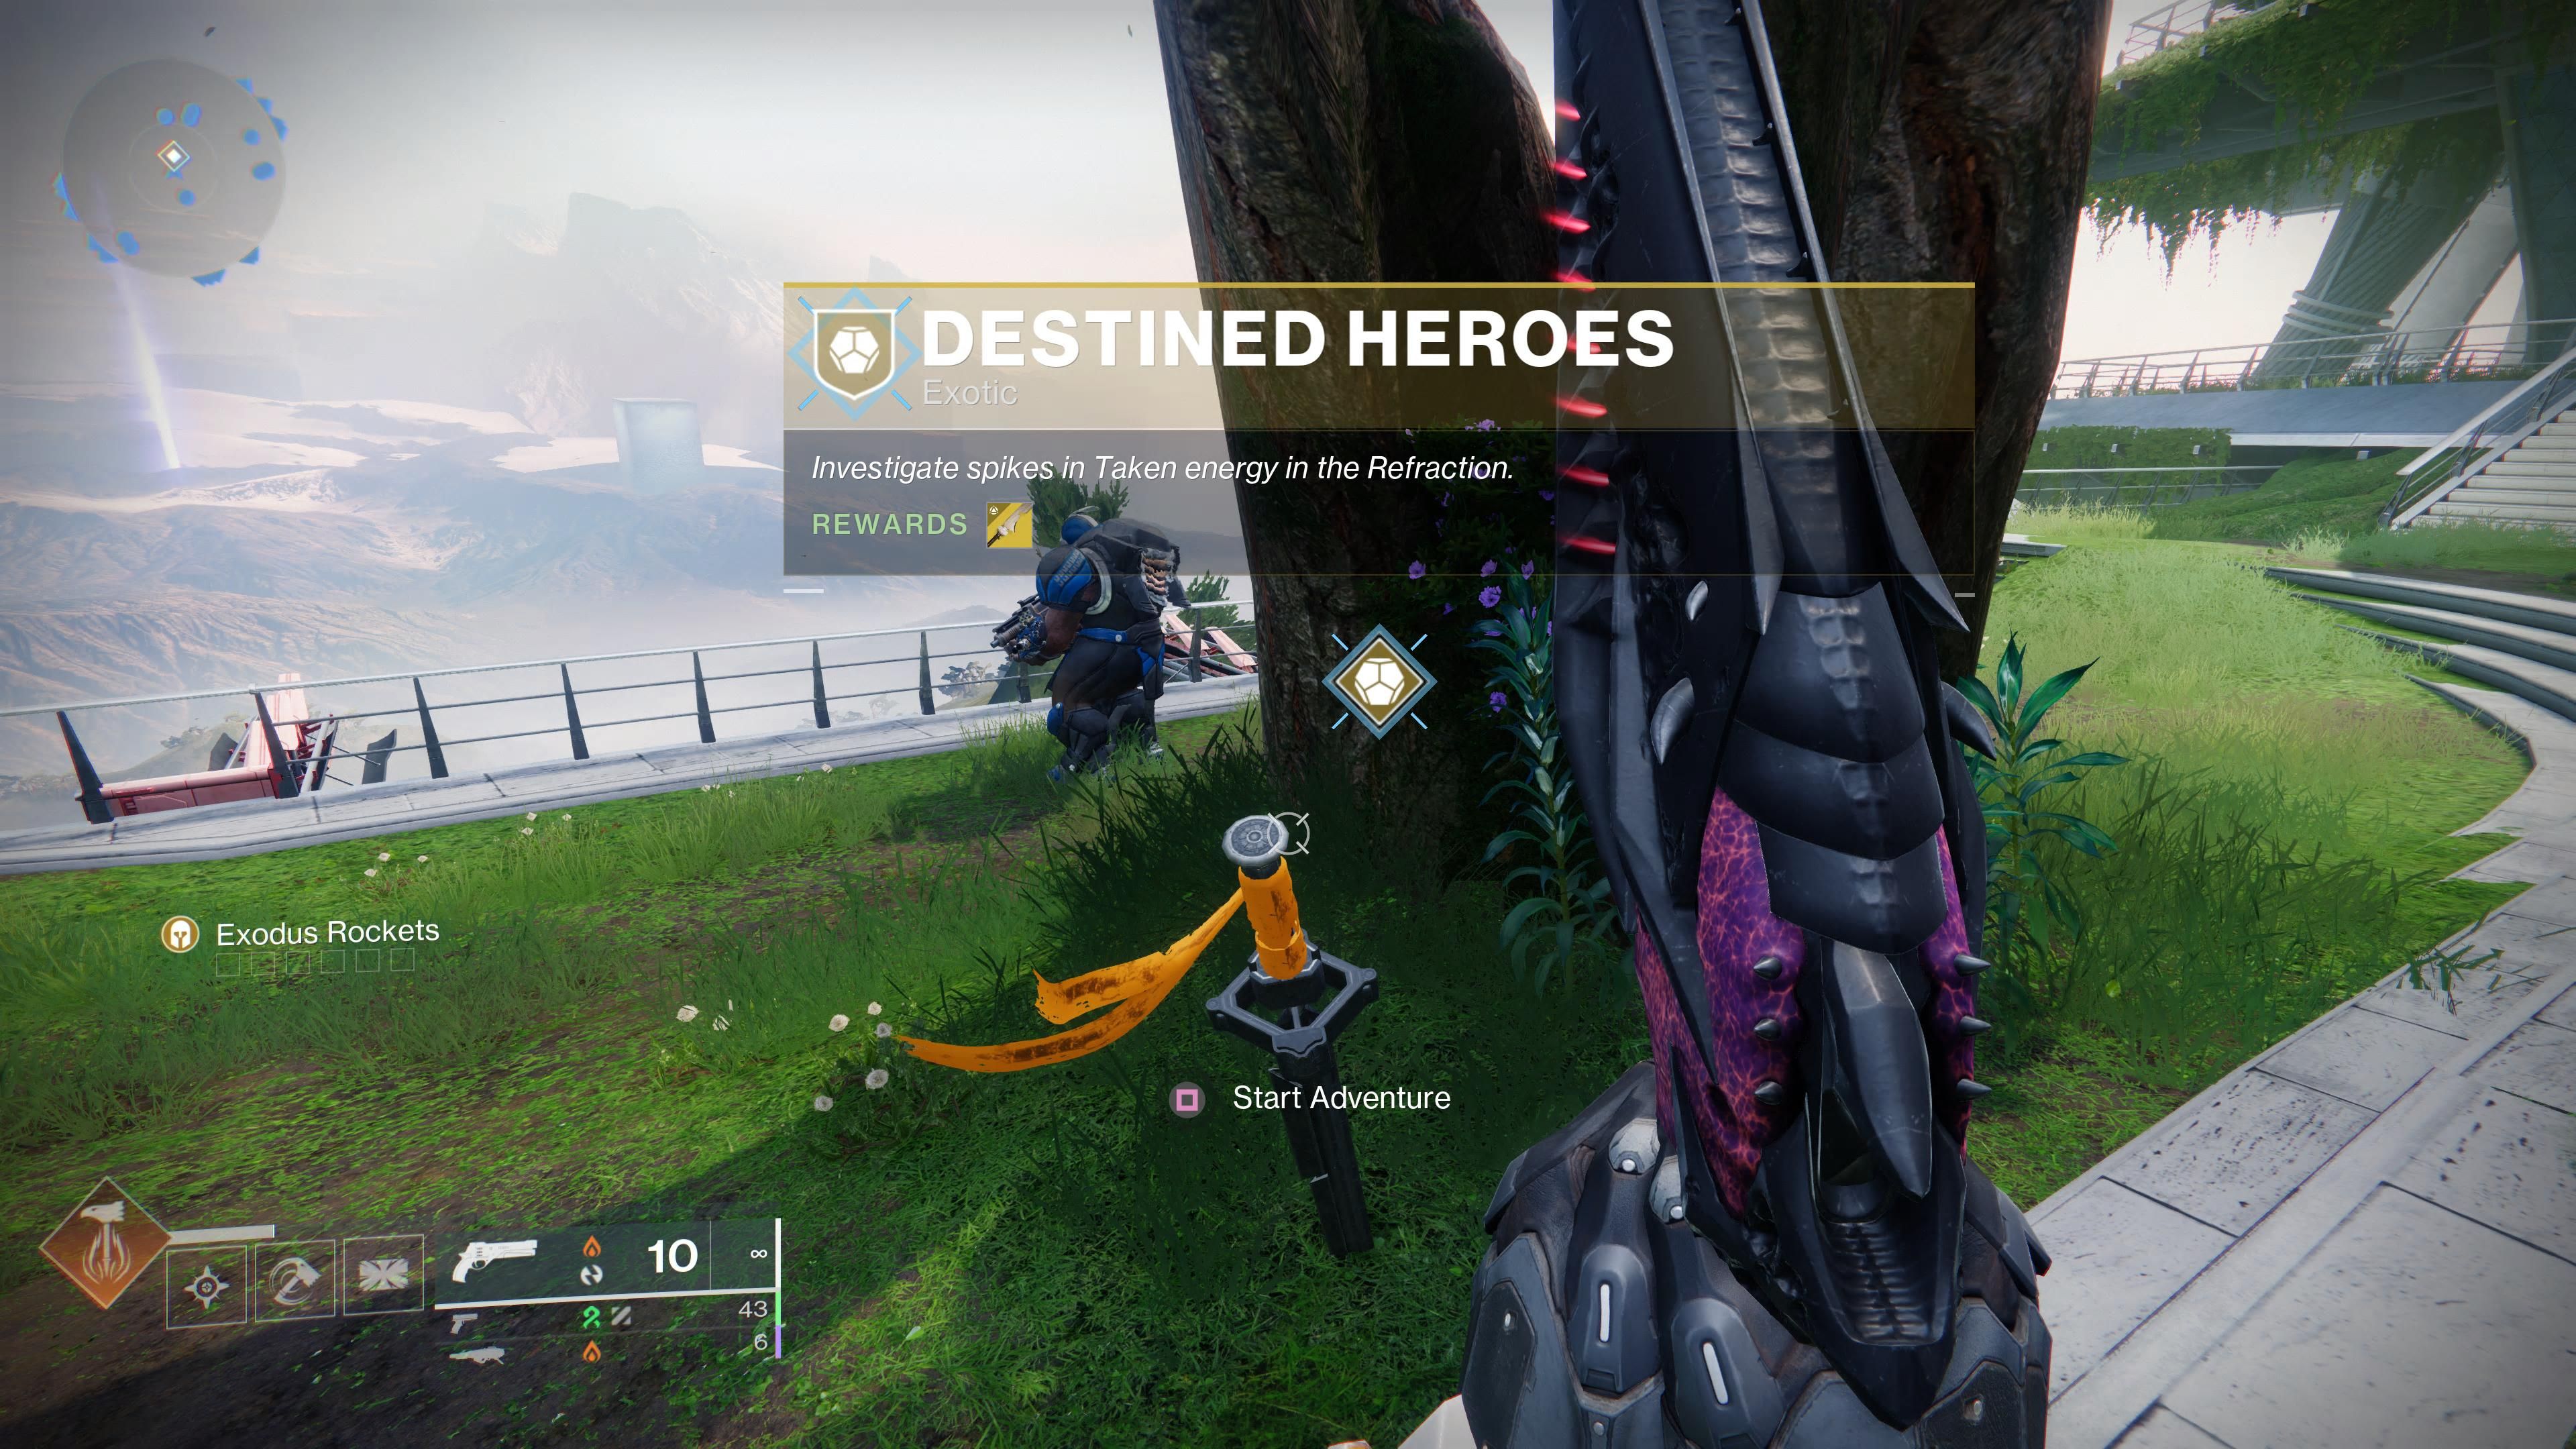
After The Final Shape’s campaign has been completed, players will have unlocked the Pale Heart as an explorable destination. Players will want to load into the Lost City and then speak to their Ghost, who acts as the Pale Heart’s vendor. The Ghost will provide players with Destined Heroes, a 9-step quest that will see players rewarded with Ergo Sum, but there are quite a few necessities to get through first, starting with interacting with the radio beside the Ghost.
Complete Queens, Part 1
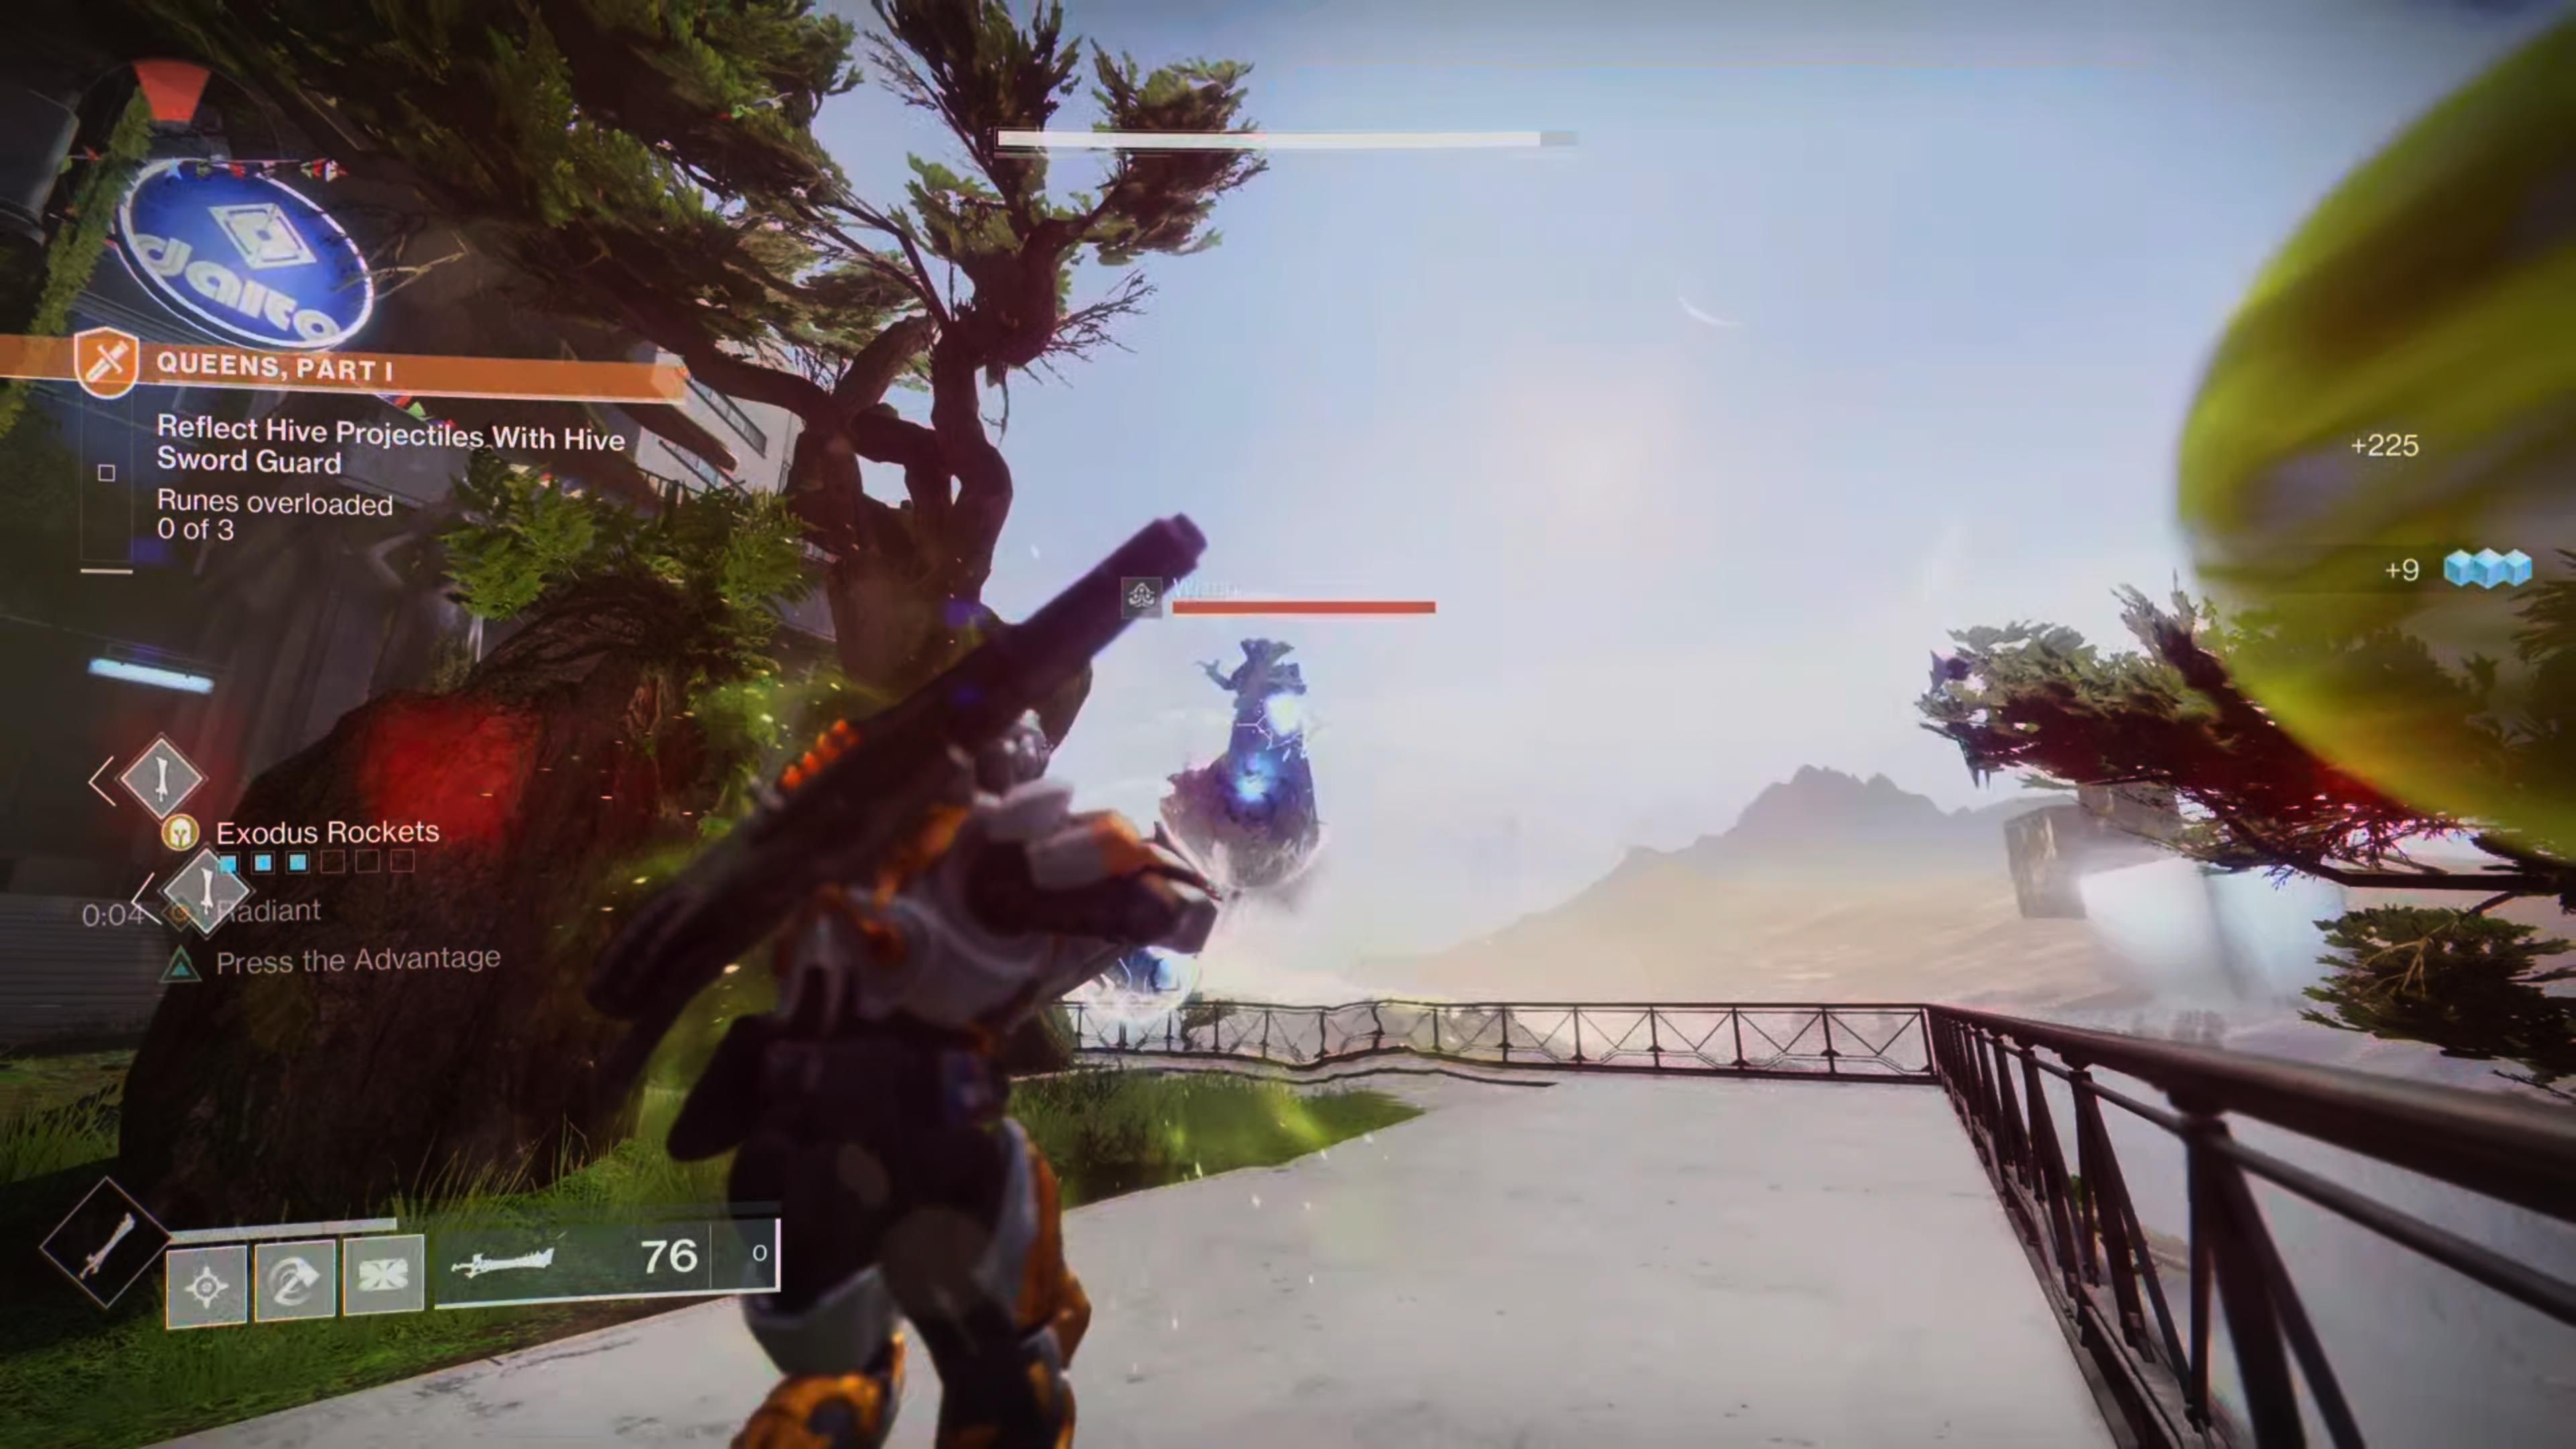
Now that the radio has been interacted with, players can find an Adventure activity within the Lost City. Loading into Queens, Part 1 will see players fight a Hive Knight to claim their sword. With this sword in hand, players are going to want to find Hive Runes, to which they can deflect enemy attacks into said Runes to activate them and proceed forward. Each Hive Rune will have a color, either blue, purple, or orange. Each of these colors corresponds with an elemental type found below:
- Orange – Solar
- Blue – Arc
- Purple – Void
By using L2/LT/Right Click, players are able to block damage and reflect it back towards where they are aiming, so players will need to hold this button and reflect the damage being dealt to them into the corresponding Hive Rune. Here’s each Hive enemy and the damage they deal so players can correctly reflect damage:
- Solar – Knights, Lightbearer Acolyte
- Arc – Wizards
- Void – Ogres, Shriekers, Acolytes
Players can progress through these ritual sites, but upon reaching the second site, they might realize that the Hive Runes are blocked by a green orb. Players need to use R2/RT/Left Click to summon a blast from the Hive sword they carry in order to damage this green orb and unlock the Hive Rune.
There are a total of 3 ritual sites that must be destroyed, with the third acting as a boss fight against Savathun involving Hive Altars, each with their own elemental orb that needs to be thrown at Hive Runes to break Savathun’s shield. Upon dealing enough damage to her at two ritual sites, she will retreat, and the mission will conclude, sending players back to the Lost City.
Speak To Micah’s Conduit, Cayde-6, And The Ghost
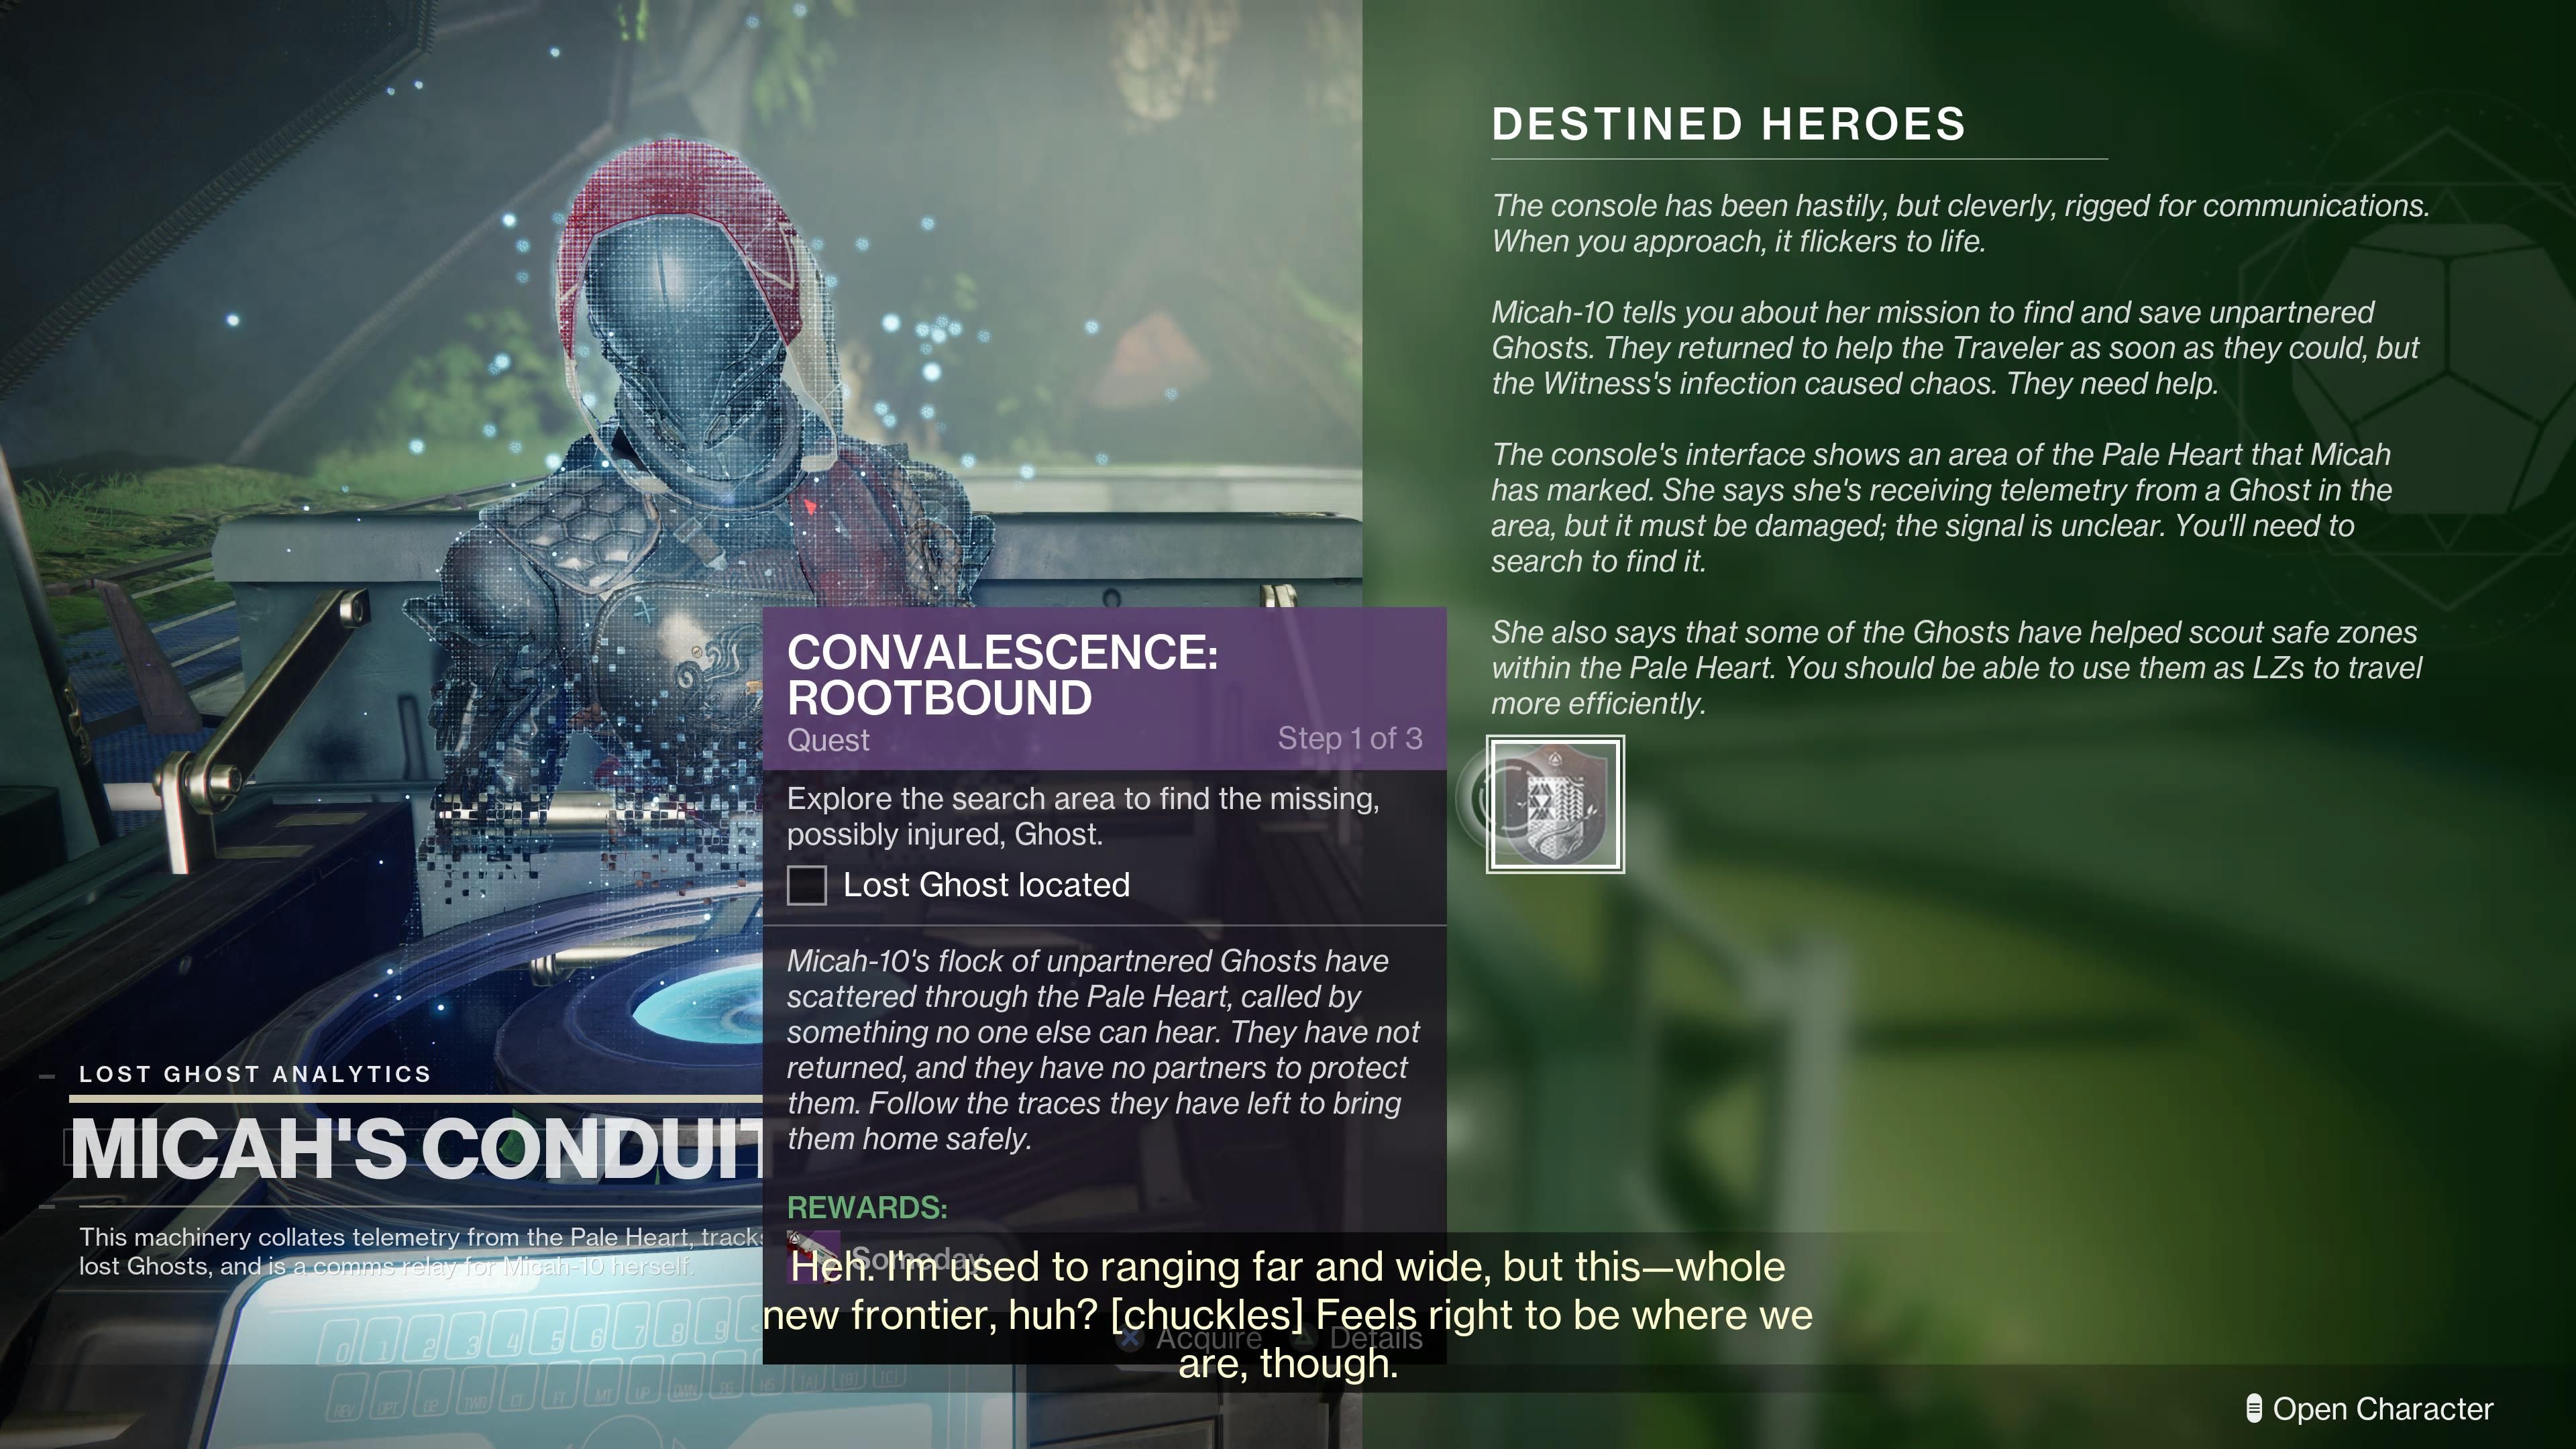
In the Lost City, players will need to head into the Vanguard War Room where they can find a terminal with Micah’s Conduit. Interacting with this will grant them the Convalescence: Rootbound quest, which is vital for the Microcosm exotic. With this acquired, players then need to head up the stairs to Cayde-6, where they will receive the Wild Card quest for the Still Hunt exotic. Once both these characters have been spoken to, players need to head to their Ghost in the Lost City and pick up two quests:
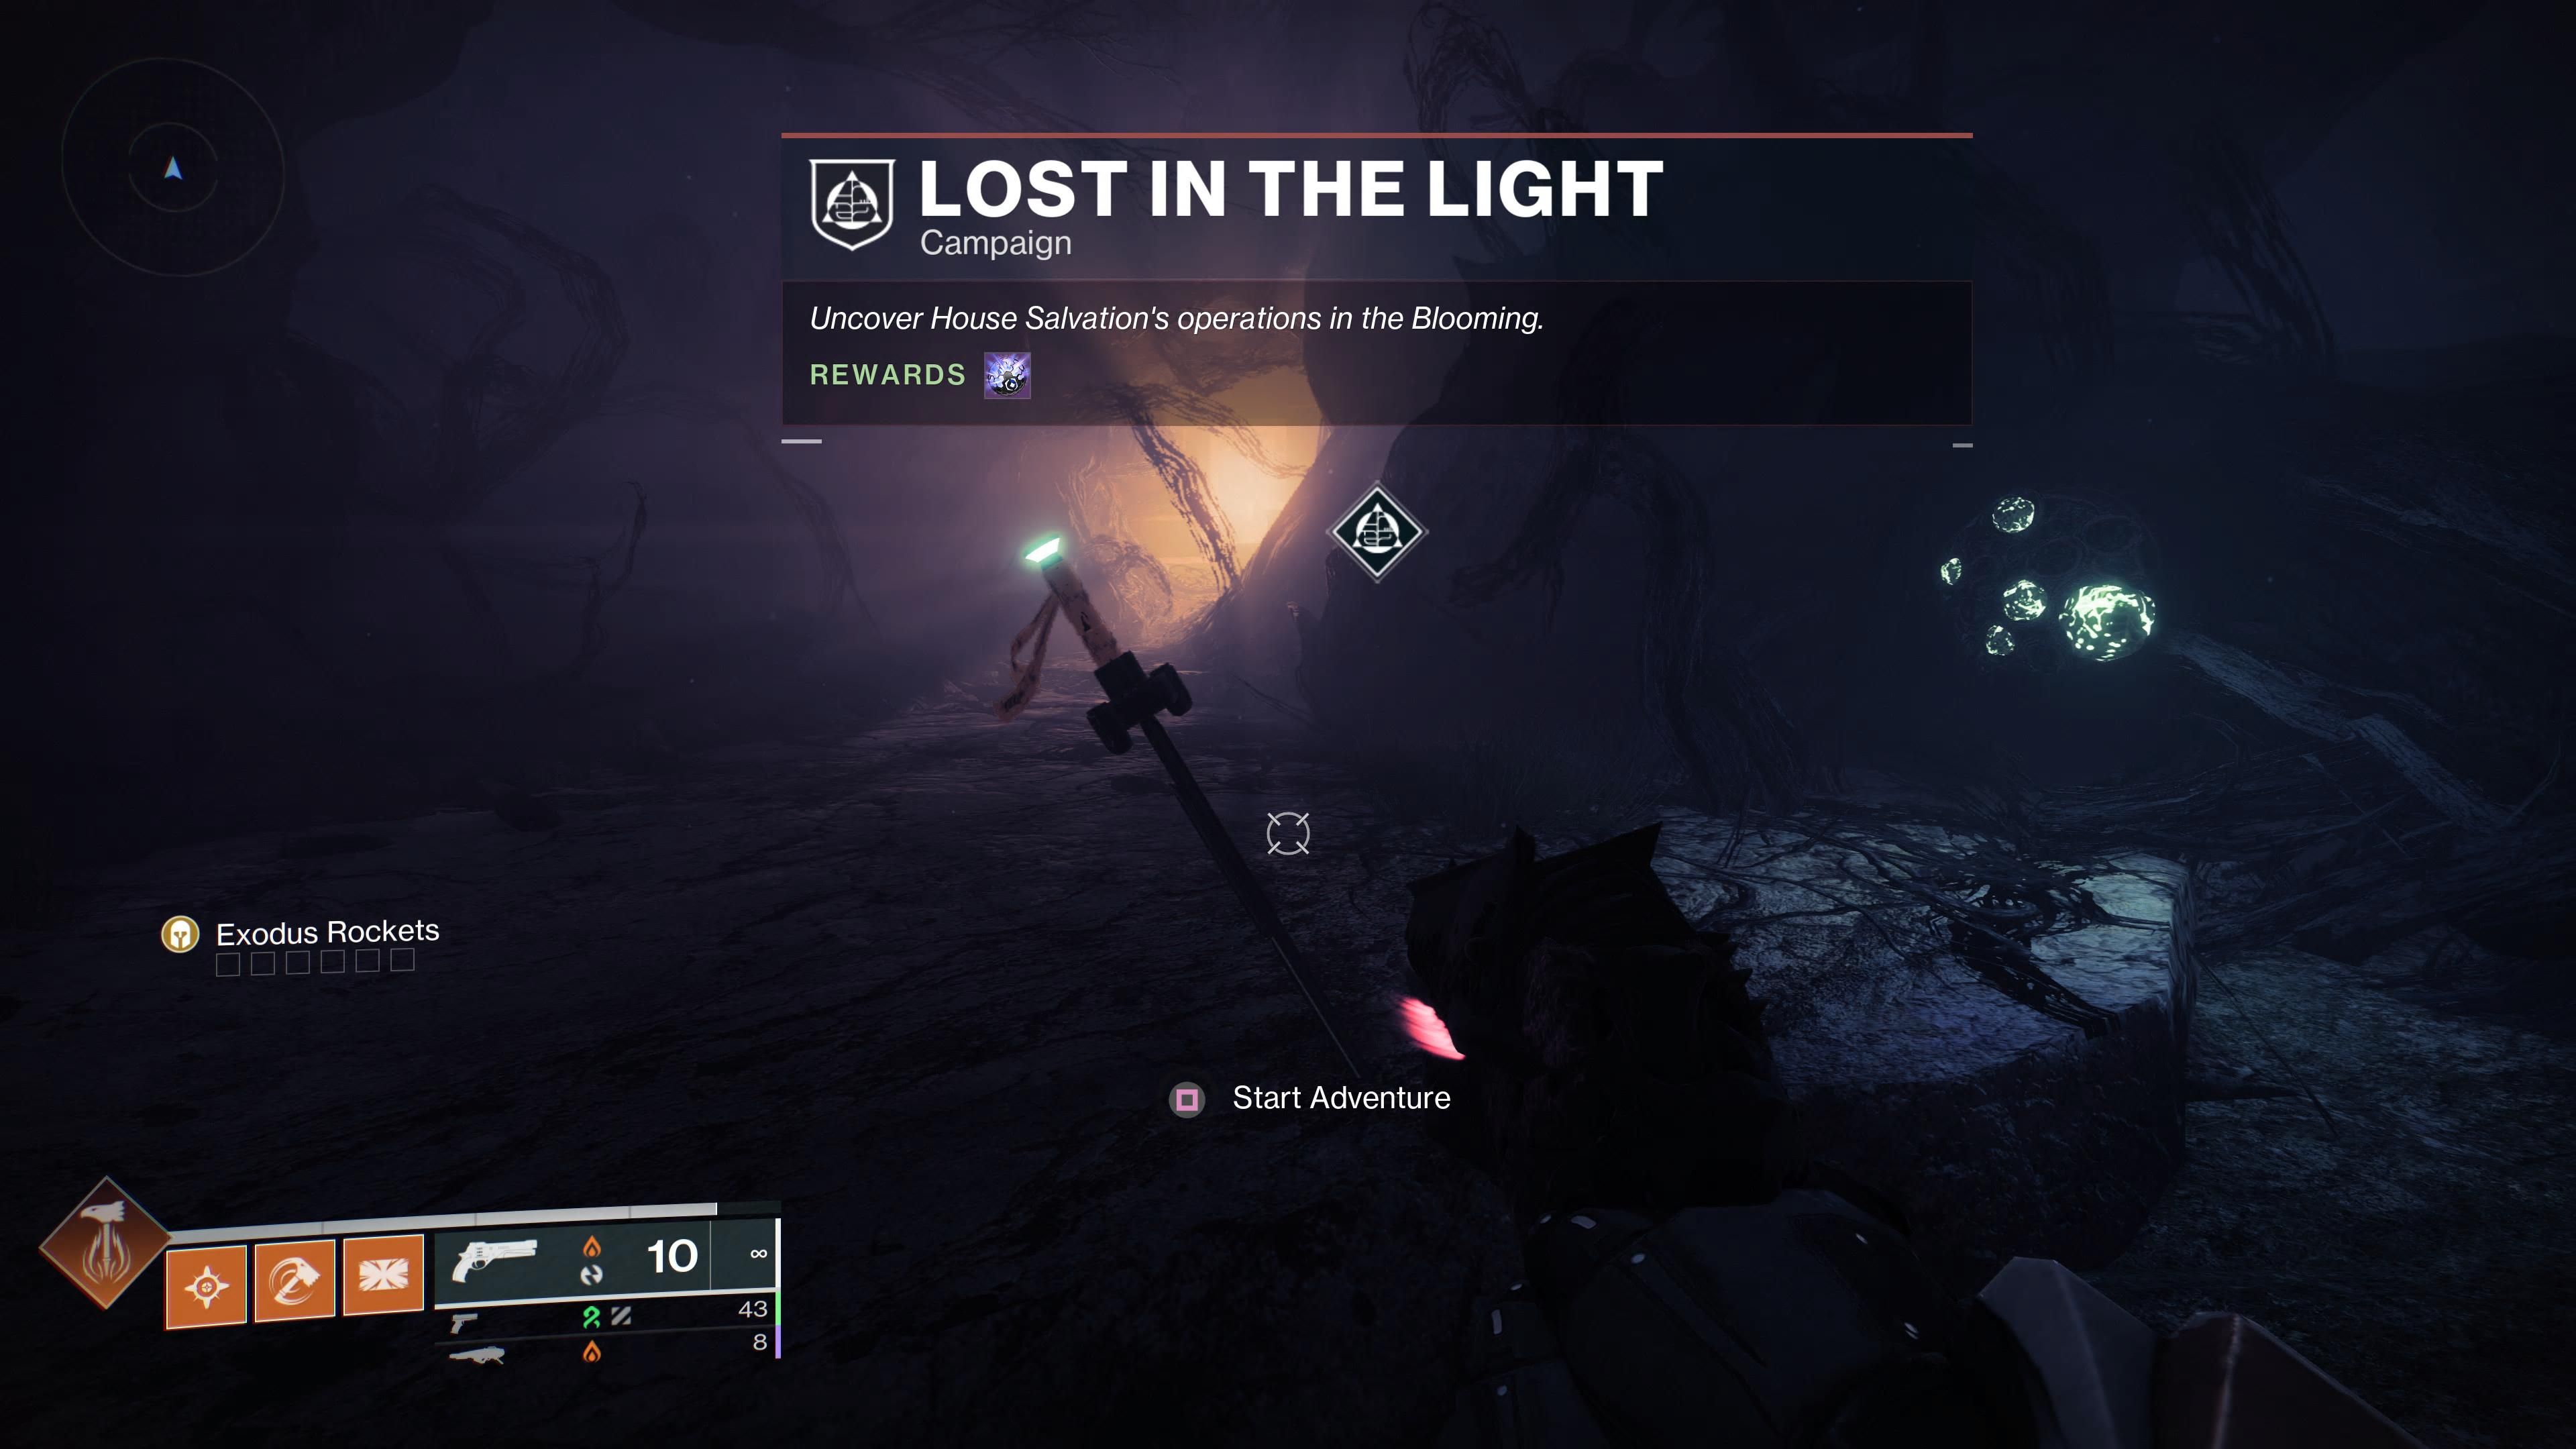
- Lost in the Light
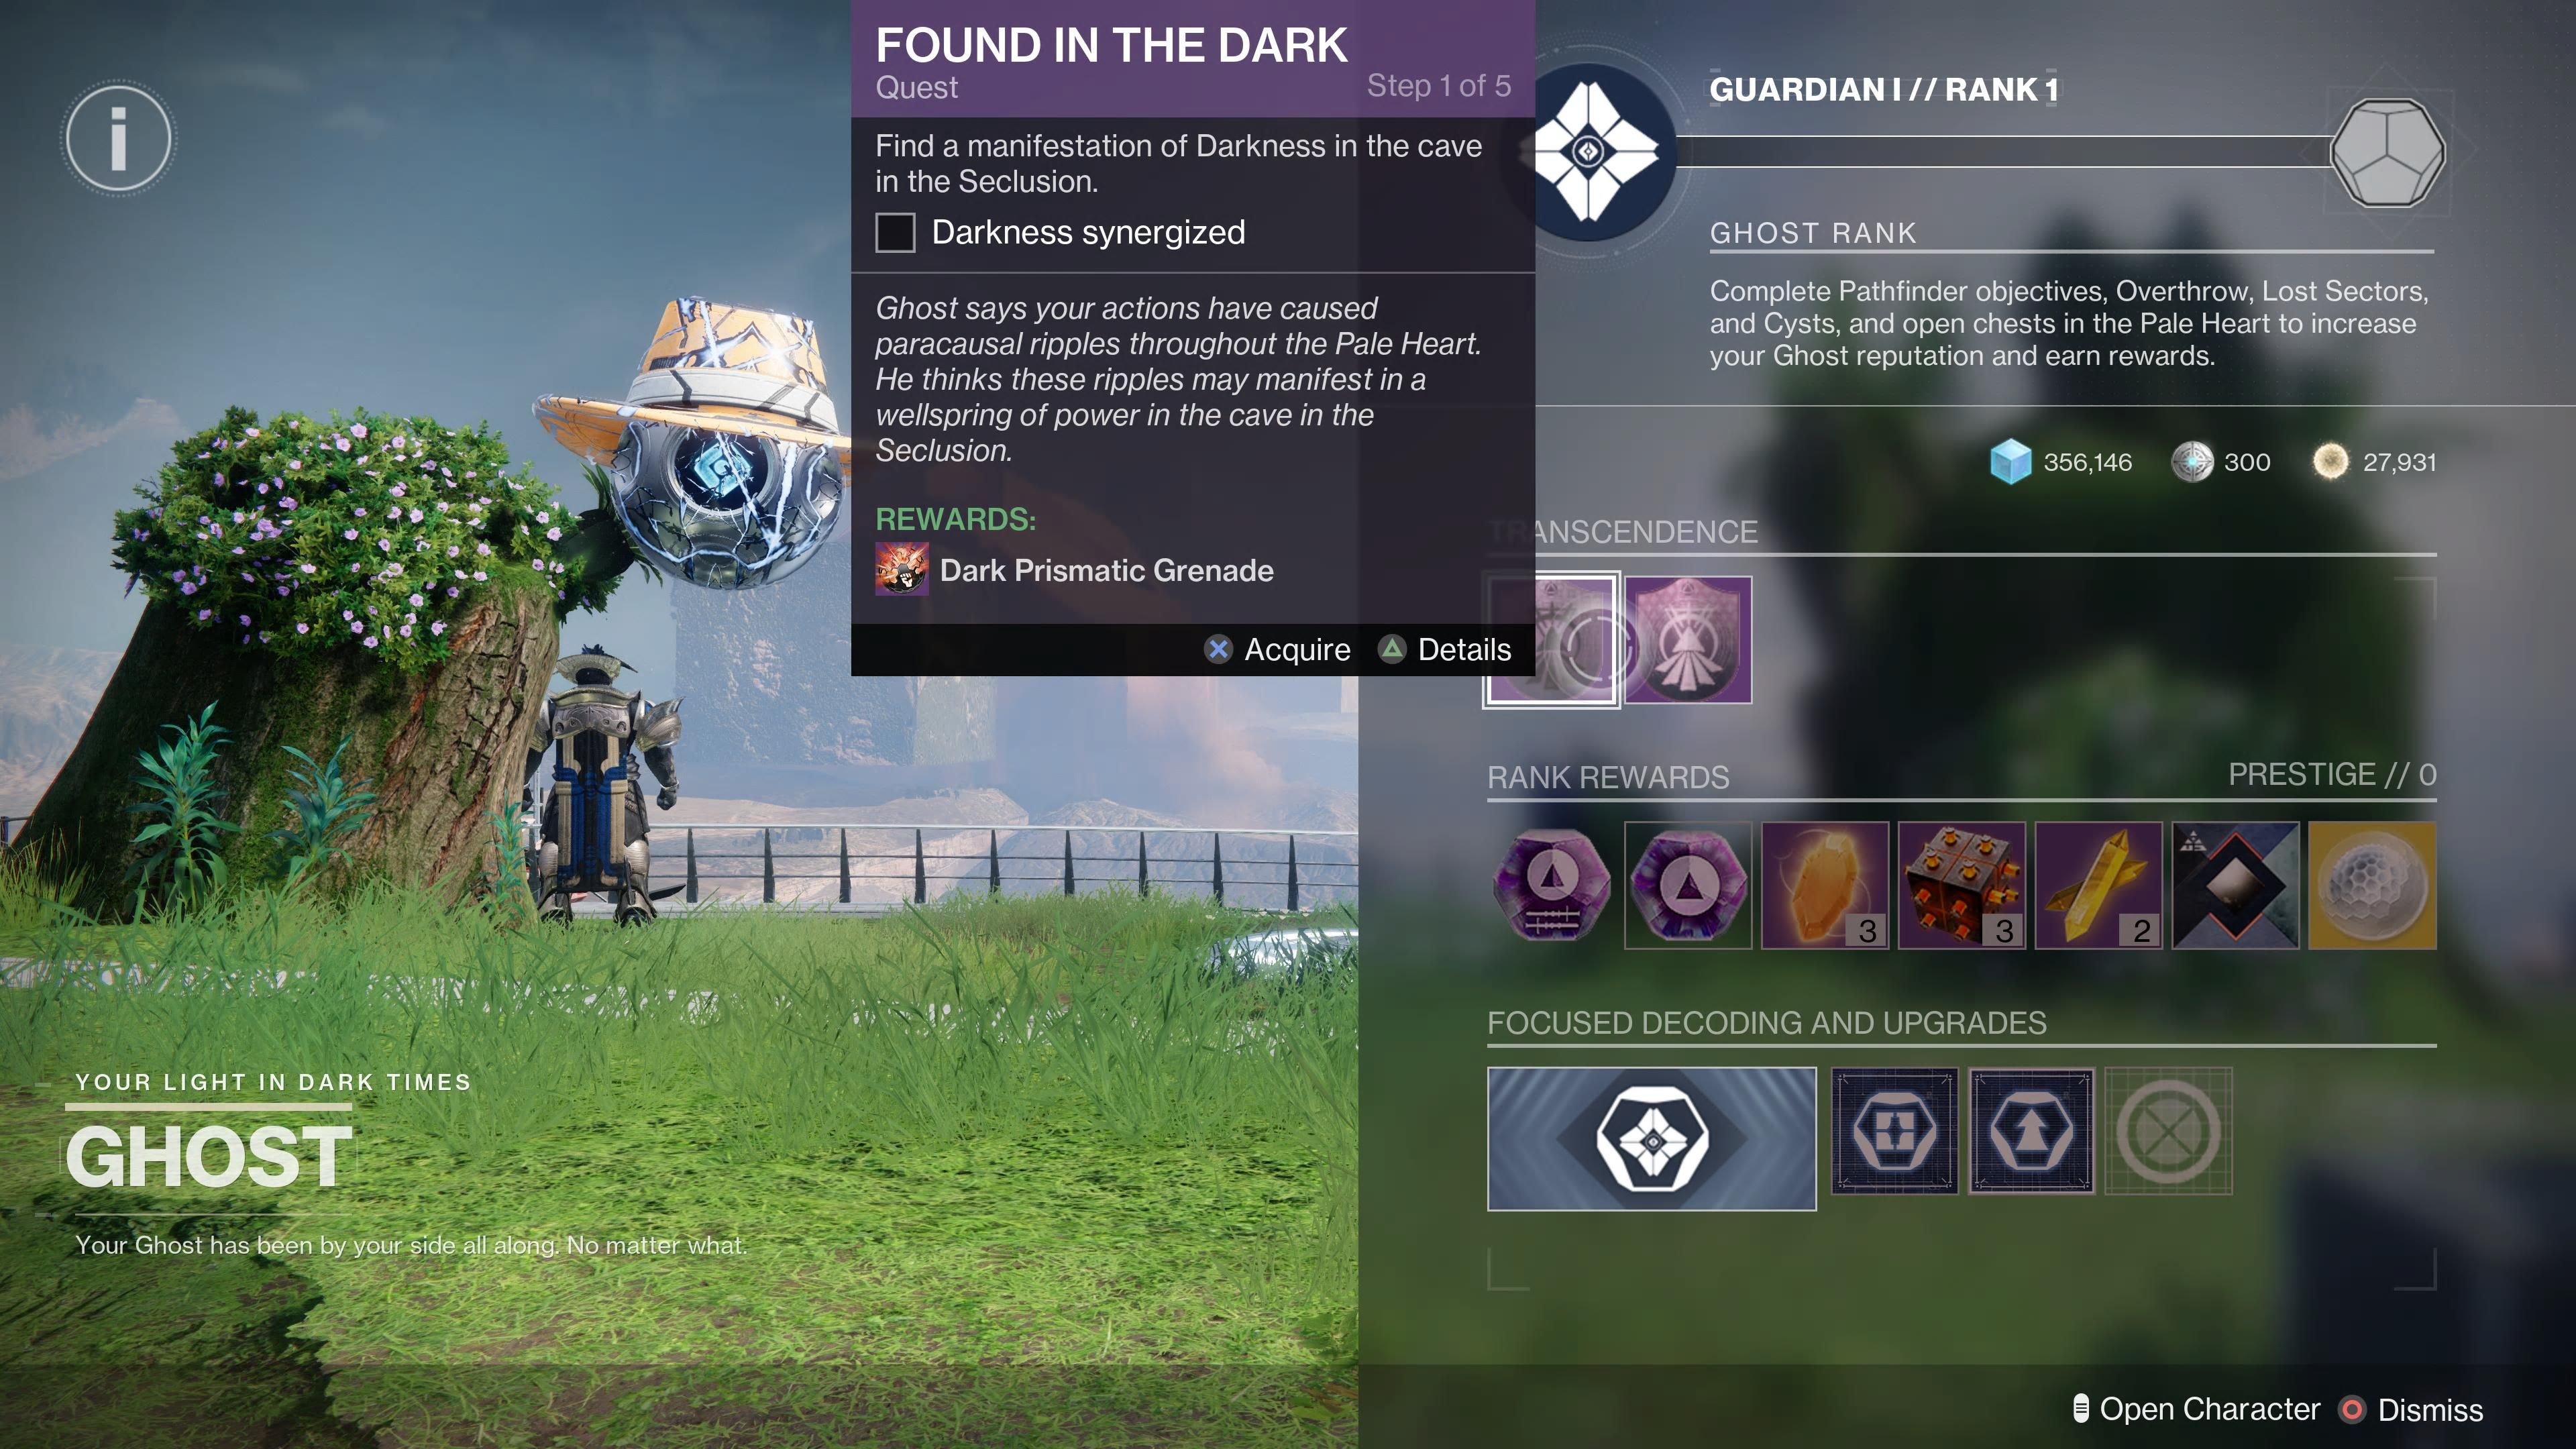
- Found in the Dark
Complete Lost in the Light
With both these quests acquired, players need to head North of The Landing patrol zone into The Refraction, where they will progress through and discover a Prismatic Chest with a new Light Ability. Once this chest is opened, they will see a new Adventure, and load into The Hollow, Part 1. This quest has a few mechanics to learn, starting with the hacking of a Fallen terminal, where players must defend their Ghost at this terminal until it reaches 100%. There are endless Fallen that spawn, so try to keep them away from the Ghost, if they get too close, players must reestablish a link between the terminal and their Ghost.
The next step has players enter a new area where they are tasked with destroying shield generators. To do so, players must seek out Eater of Light enemies to acquire 5 Light Motes, and then deposit them upon the shield generator that has a Darkness aura, noted by the black and orange field. This step must be repeated at the shield generator with the Light aura by killing Eater of Darkness enemies for 5 Dark Motes. Upon destroying these shield generators, players will have to fight Korha the Hollow in a Darkness Zone, utilizing the shield generator mechanic they have just learned to lower his shield and take him down. Upon completion, players will be sent back to the cave where they can proceed deeper to another Prismatic Chest, and then another Adventure for The Hollow, Part 2.
The Hollow, Part 2 has players traveling to Europa, where they will utilize Demolition Shanks to destroy locked doors. This mechanic is seen throughout the mission, and players need to kill enemies that are in the way of the Demolition Shank, and then shoot the Shank once it has reached its destination. The second mechanic of this Adventure has players destroy Servitors to receive an orb, which they then deposit in generators to summon a squad of Demolition Shanks that will explode on shielded enemies, allowing players to kill them. The latter mechanic features as part of the final boss for this mission, where players will fight Korha the Hollow in a Darkness Zone, along with plenty of Dread and Fallen enemies. Nevertheless, completing this quest will grant players a new Light Ability, and the completion of Lost in the Light.
Complete Found in the Dark
Heading East of The Blooming patrol zone, players will enter The Seclusion, where they will find yet another Prismatic Chest, this time with a Dark Ability. After opening it, a new Adventure appears, and players can start Home, Part 1. This step of the quest has players seek out Dread enemies who act as Artillery Officers, where players can pick up an Artillery Antenna and plant it on a shield generator to stop the Shadow Legion. Completing this step a few times will see players face off against the Artillery Commander, who is shielded by two Prismatic-shielded Dread Omen enemies that need to be eliminated first. Once these enemies have been defeated, players will spawn back into the cave for another Prismatic Chest, and then The Hollow, Part 2.
The Hollow, Part 2 takes place on a snowy mountain in the Pale Heart, and players will have to deal with the Biting Cold debuff. With this debuff, players have 45 seconds to seek out pyres to reset the timer, if the timer gets to zero, they will freeze and die. In this mission, players are seeking out Psions that remain in floating bubbles. Simply punch them out of it to kill them, and then spawn in Honor Centurions that will drop Unstable Power Units, which can then be thrown at shield generators to proceed. The end of this quest has players face off against a Goliath Tank, where shooting its 4 legs acts as the crit spots. Upon its defeat, players acquire another Darkness Ability, and they can head back to the Lost City to start the Adventure titled Queens, Part 2.
Complete Queens, Part 2
A relatively straightforward quest, players need to follow onwards with their waypoint and kill enough Taken enemies to receive the Taken Empowered buff, which will see them enter into the ascendant plane. Players need to repeat this step in a small room where they will enter a Darkness Zone, and they will have to kill Taken enemies to receive the Taken Empowered buff to collect Fissures of Light, and repeat until 2 Tormentor Mini-Boss enemies spawn. It’s best to use Linear Fusion Rifles here to destroy the Tormentor crit spots on their shoulders and chests, but once they are defeated, players will be able to end the mission and head back to the Lost City to speak to their Ghost and acquire a Dyadic Prism.
Enter The Sacrarium and Make Your Fate
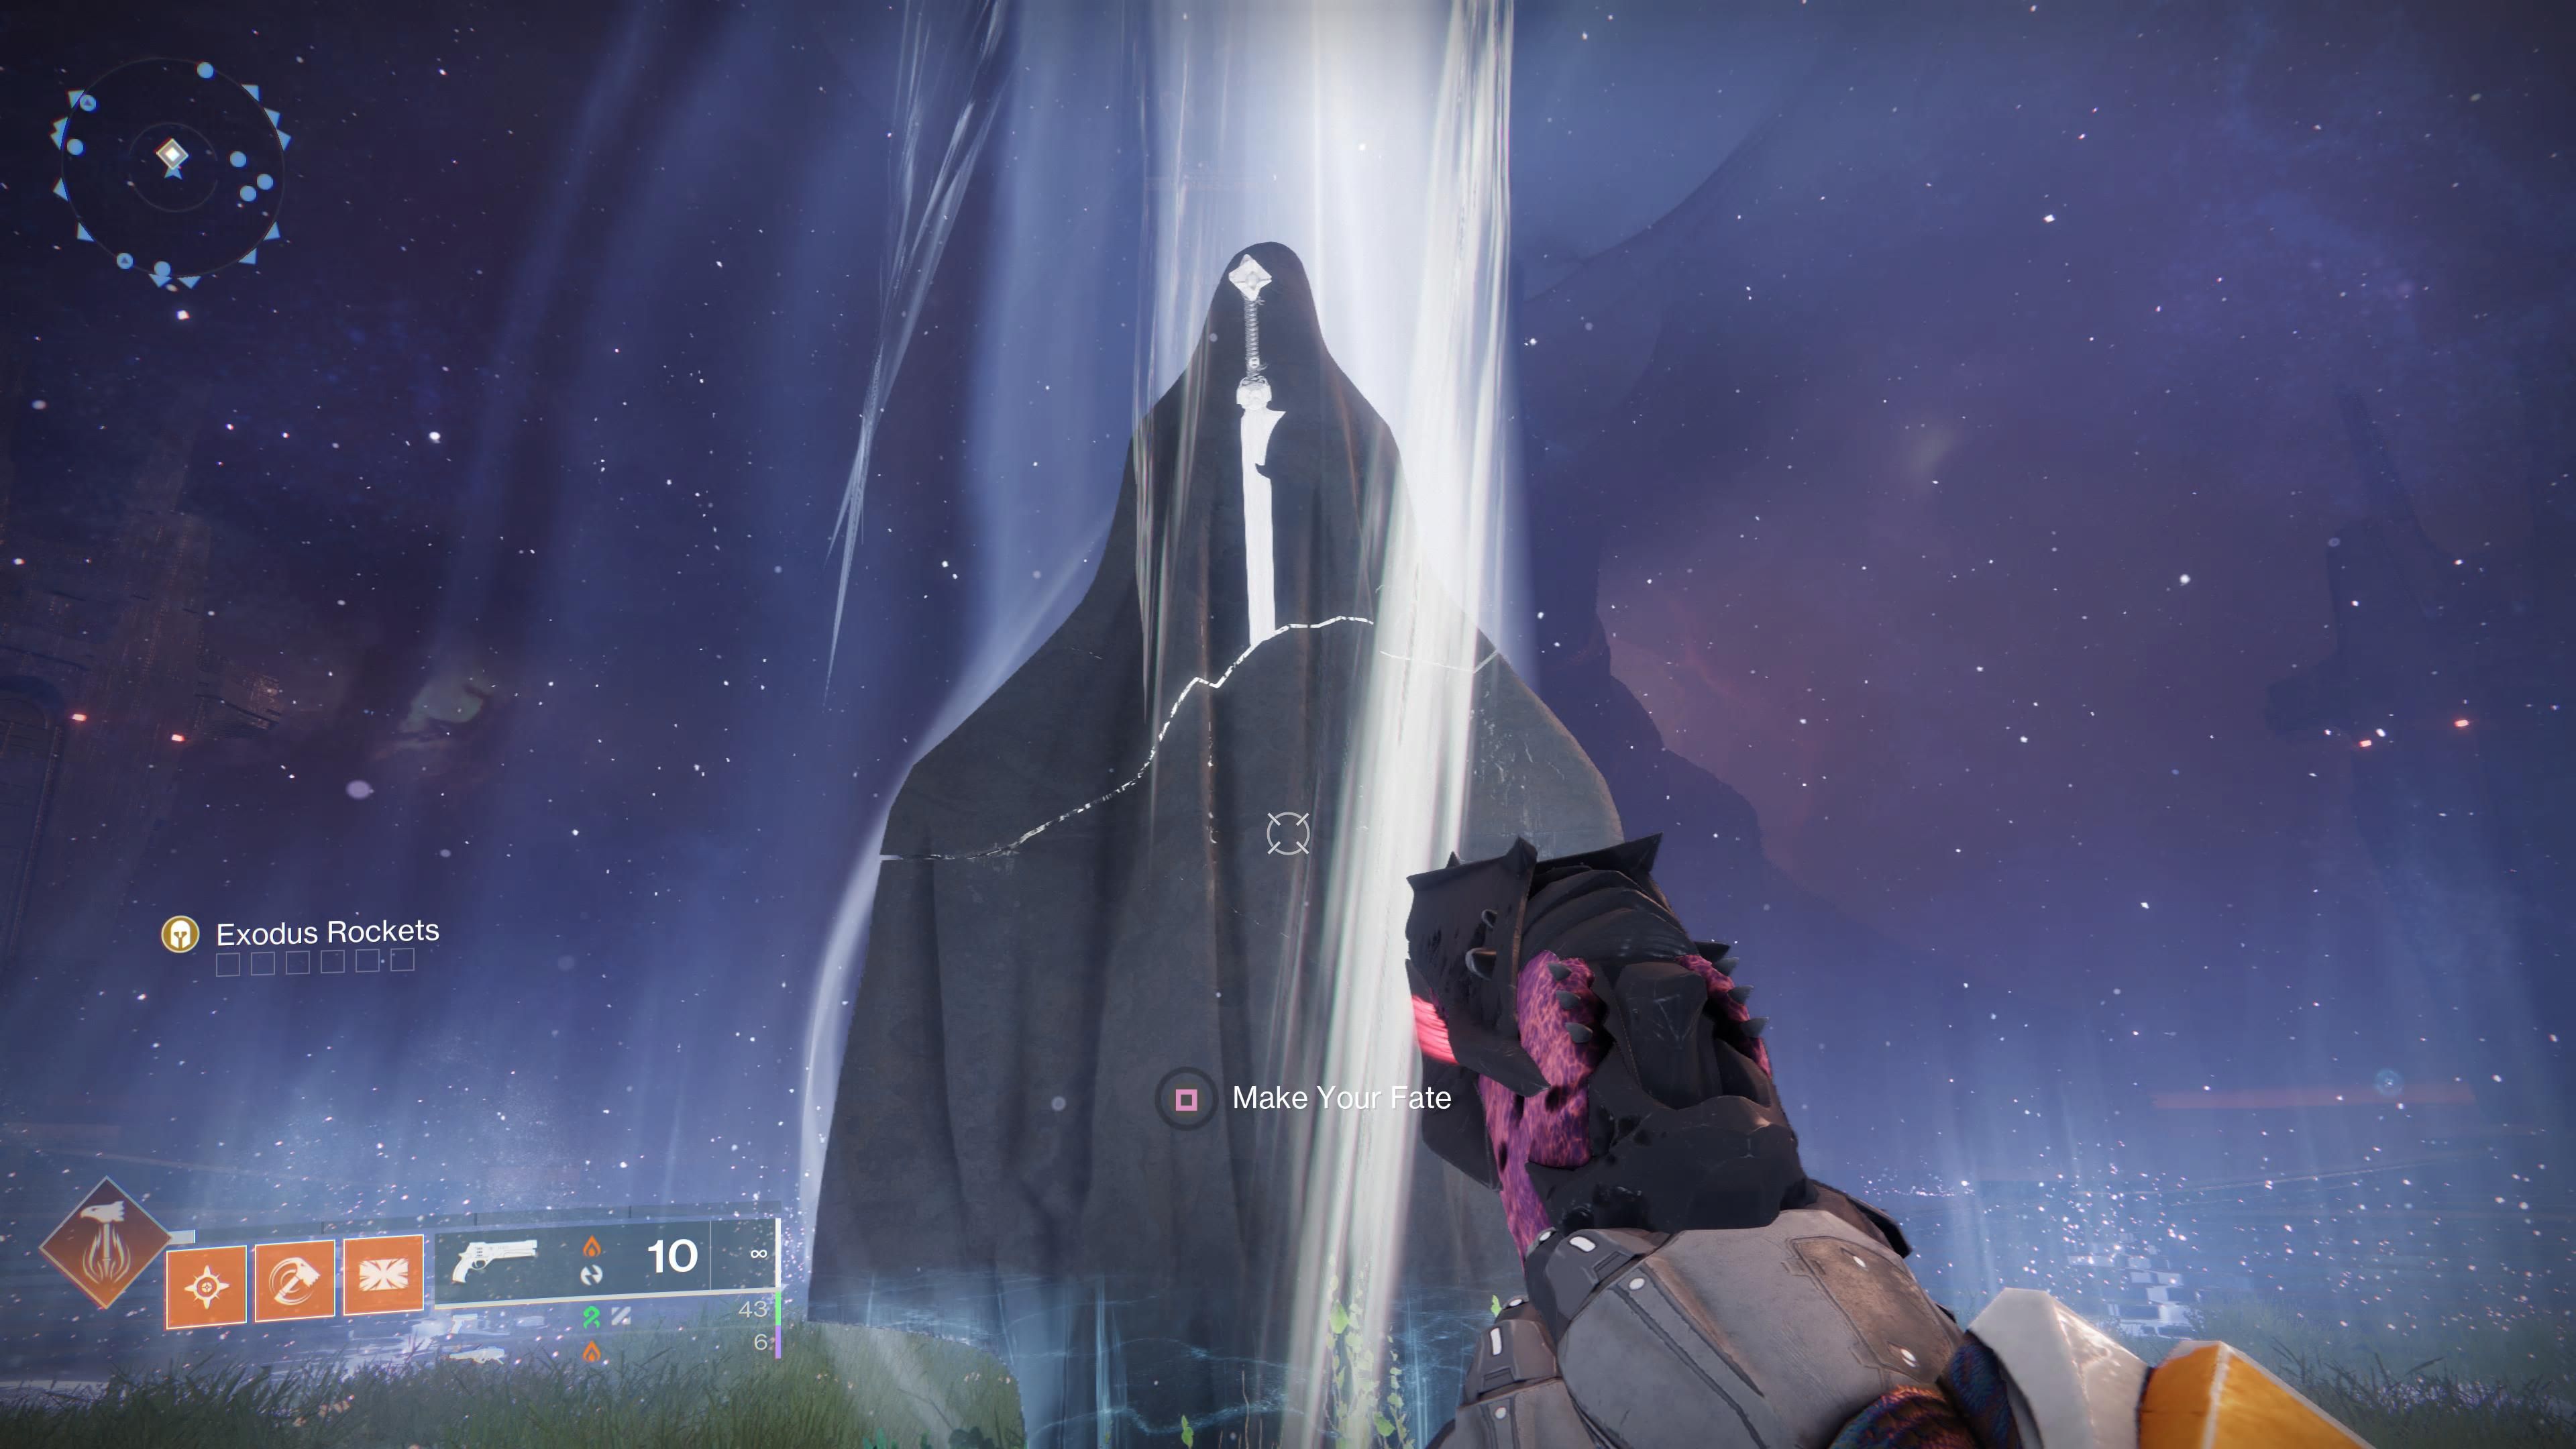
With the Dyadic Prism acquired, players can enter the Destinations Map of the Pale Heart to find a new landing zone, The Sacrarium. Upon activating the Adventure here, players will head back into the arena where they first weakened the Witness, and they will then need to interact with the Veiled Statue in the center, to which they will unsheathe Ergo Sum, claiming their first Exotic Sword of the Energy slot.
How To Get More Ergo Sum
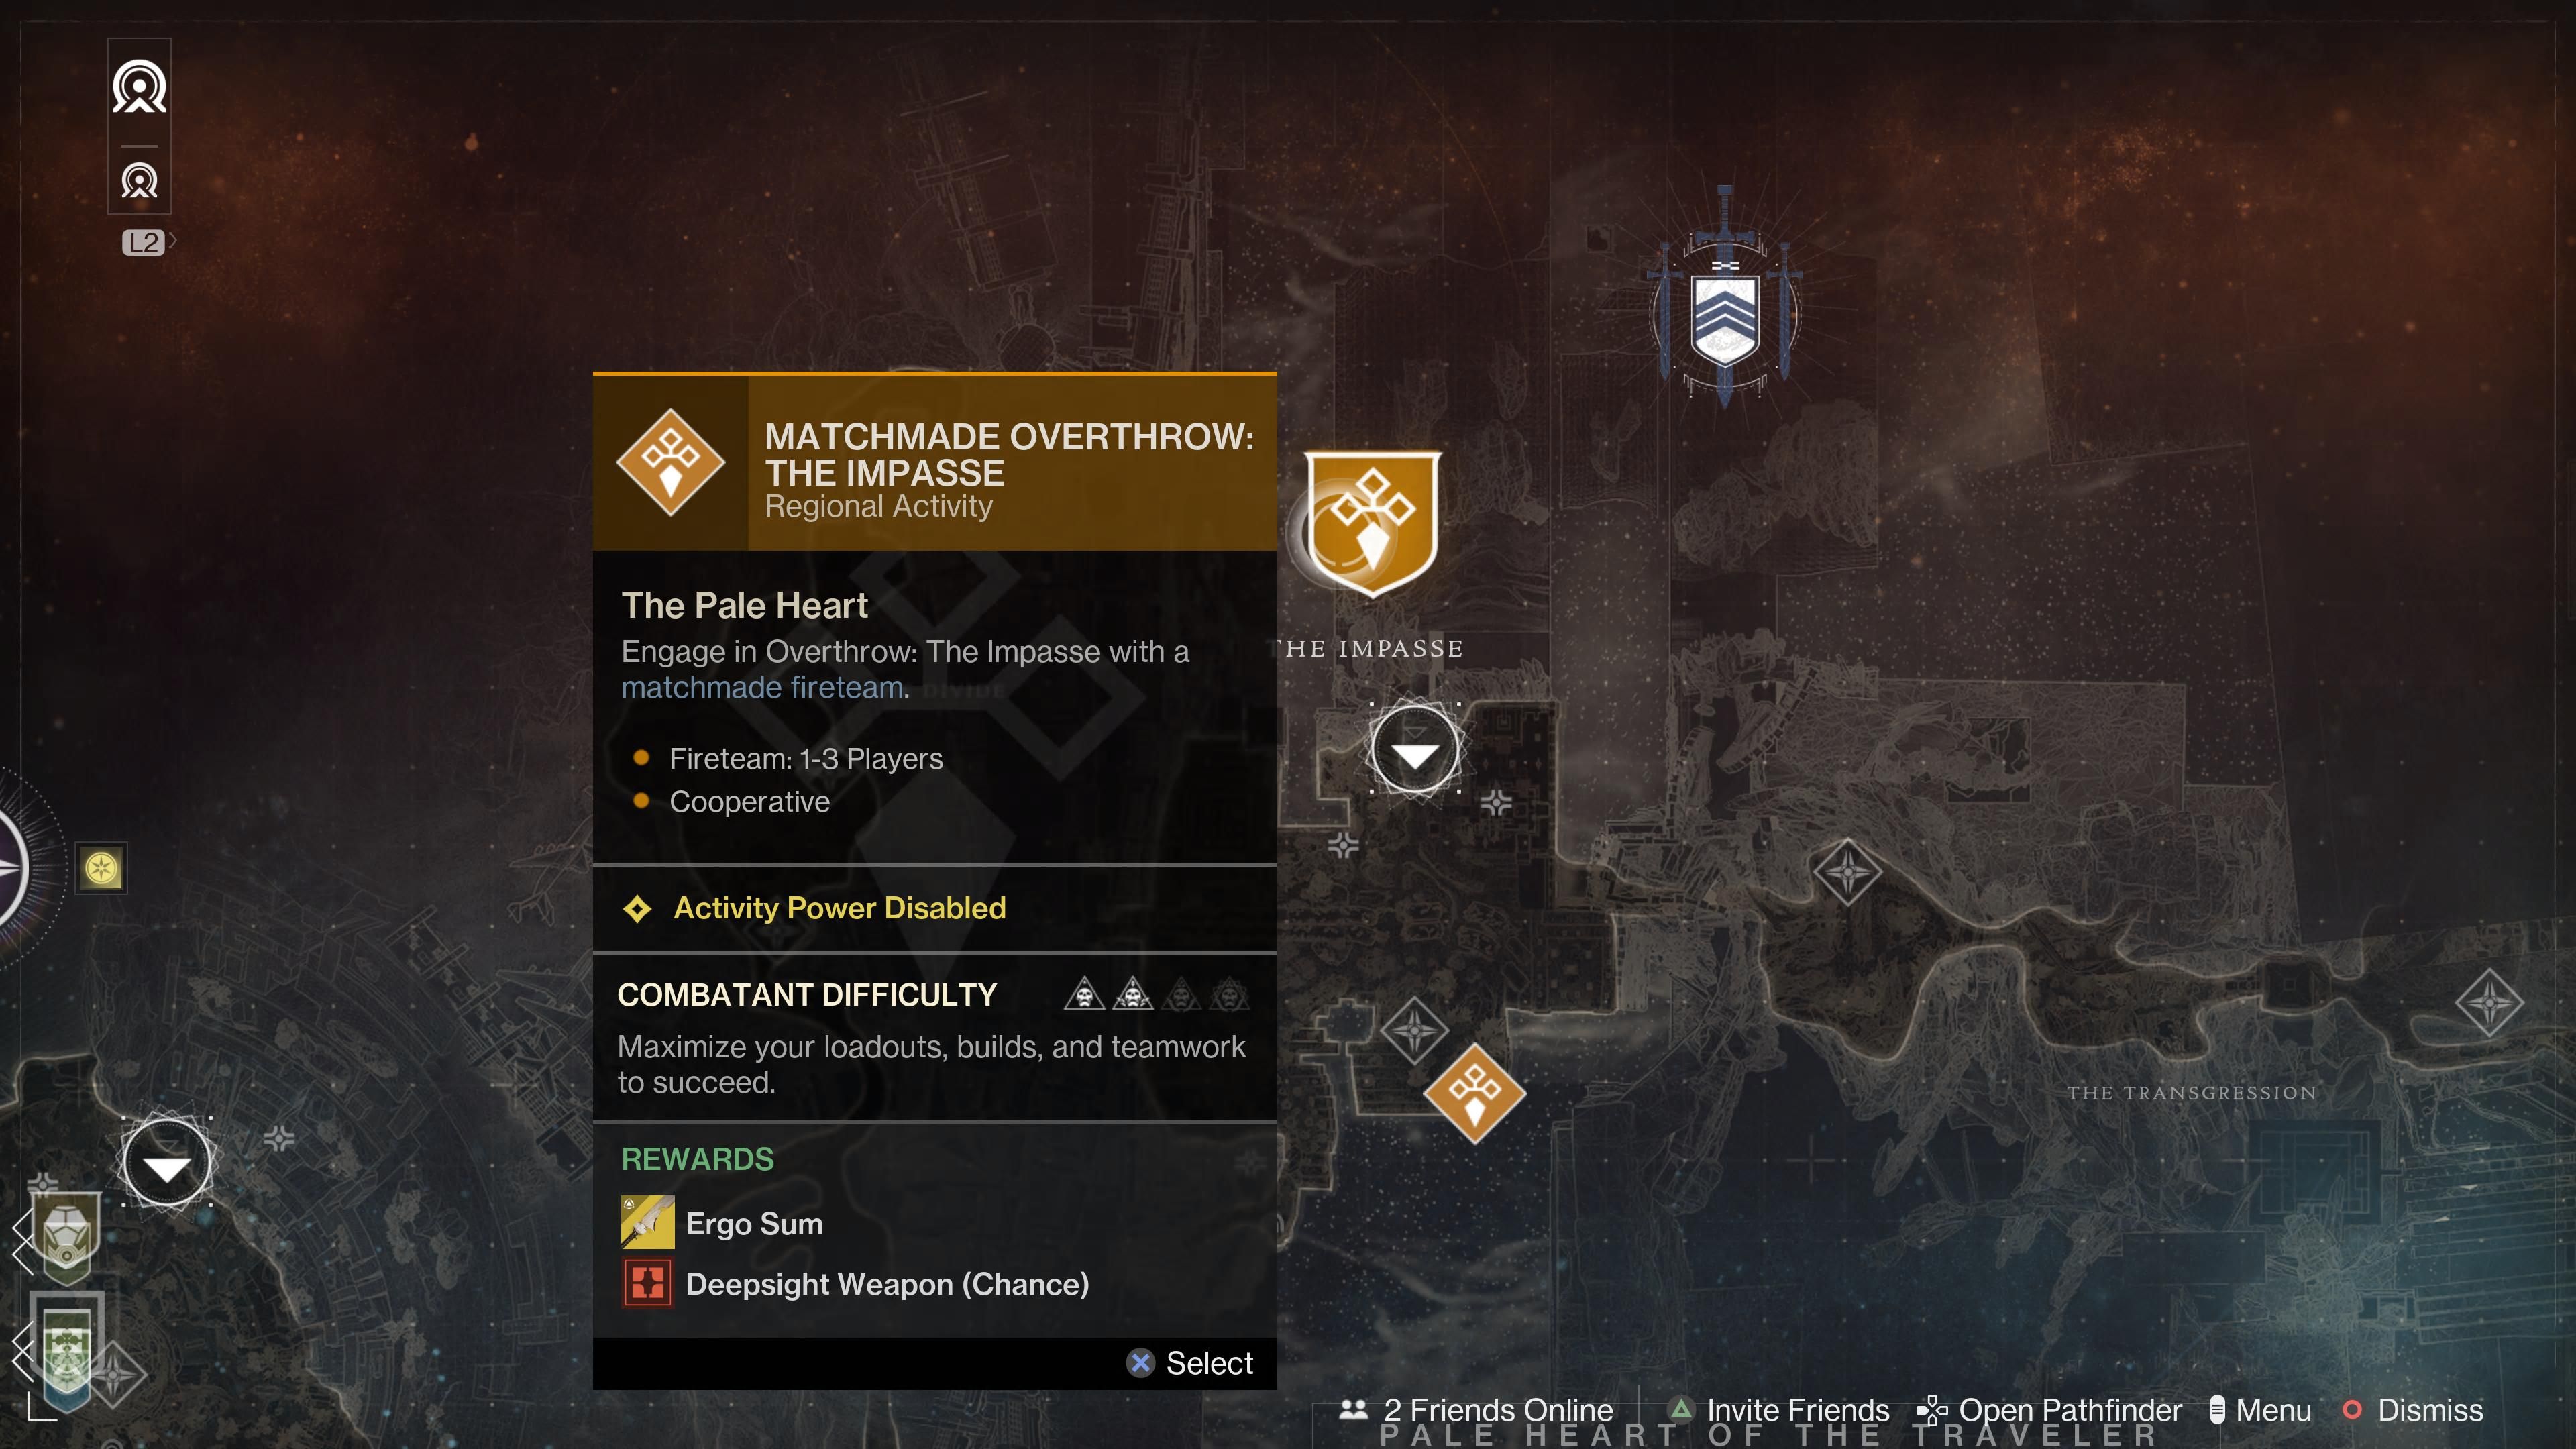
Now that players have unlocked Ergo Sum, they can actually play activities to earn different variants of the sword at random. Players can earn additional rolls of the Exotci Sword through the first two Pathfinder completions each week, or by completing Overthrow in the daily target zone.
Ergo Sum Stats
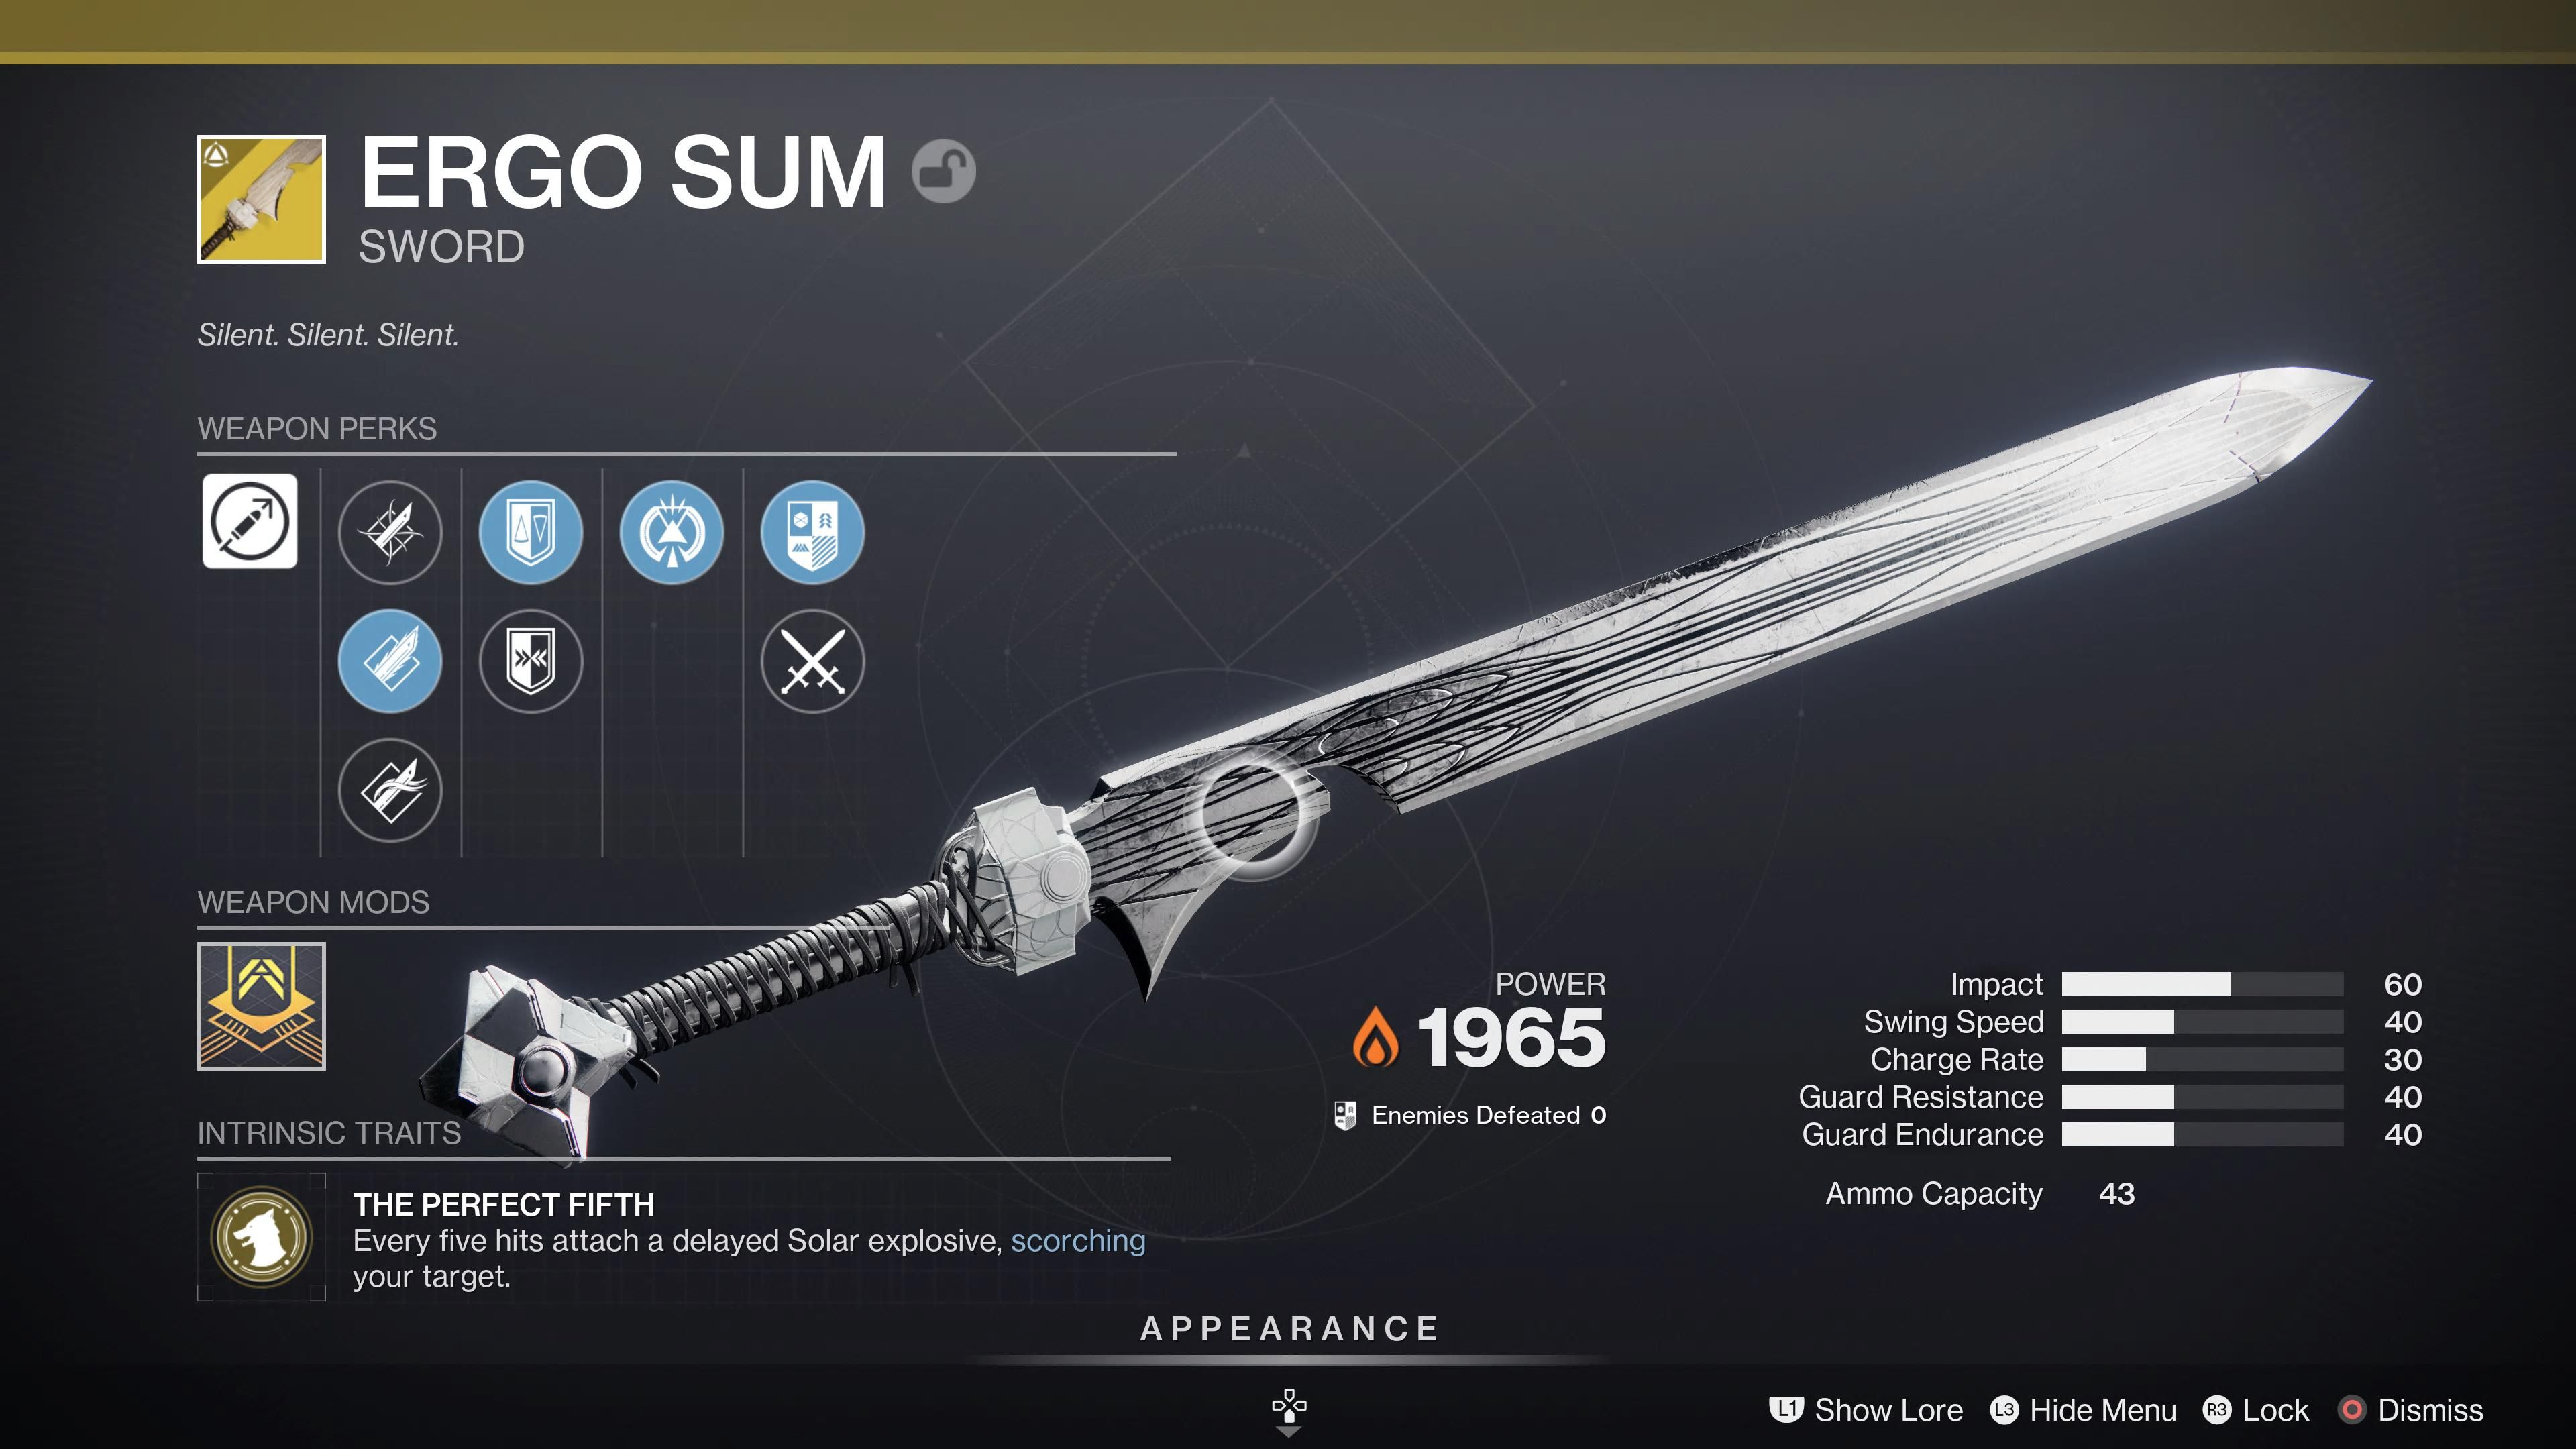
Ergo Sum is a unique Exotic Sword, as it can be acquired with completely random rolls. However, the stats of the sword are always static, but the Weapon Perks and Intrinsic Traits are not. Here’s a look at every possible Exotic Perk for the Ergo Sum:
Exotic Perk | Description |
Wolfpack Rounds | Powered heavy attacks cause nearby Sword-wielders to emit tracking missiles with every attack. |
Gathering Light | Final blows with this weapon grant stacks of Gathering Light, improving guard stats and lunge range. Stowing this weapon consumes all stacks, granting melee, grenade, and class ability energy. |
Sacred Flame | Powered heavy attacks mark nearby targets, causing them to explode upon death. Striking marked targets with a Light attack detonates them. |
The Perfect Fifth | Every five hits attaches a delayed Solar explosive, scorching your target. |
Arc Conductor | Powered heavy attacks charge the wielder, enabling them to resist Arc damage and chain lightning to nearby targets. |
Stormbringer | Rapid final blows create a lightning storm at the target’s location. |
Unplanned Reprieve | Powered heavy attacks emit projectiles that detonate with a delayed Void blast. |
Insectoid Robot Grenades | Defeated targets drop insectoid robots that chase and explode close to other targets. |

Destiny 2
- Platform(s)
- PS5 , PS4 , Xbox Series X , Xbox Series S , Xbox One , PC , Stadia
- Released
- August 28, 2017
- Developer(s)
- Bungie
- Genre(s)
- FPS

