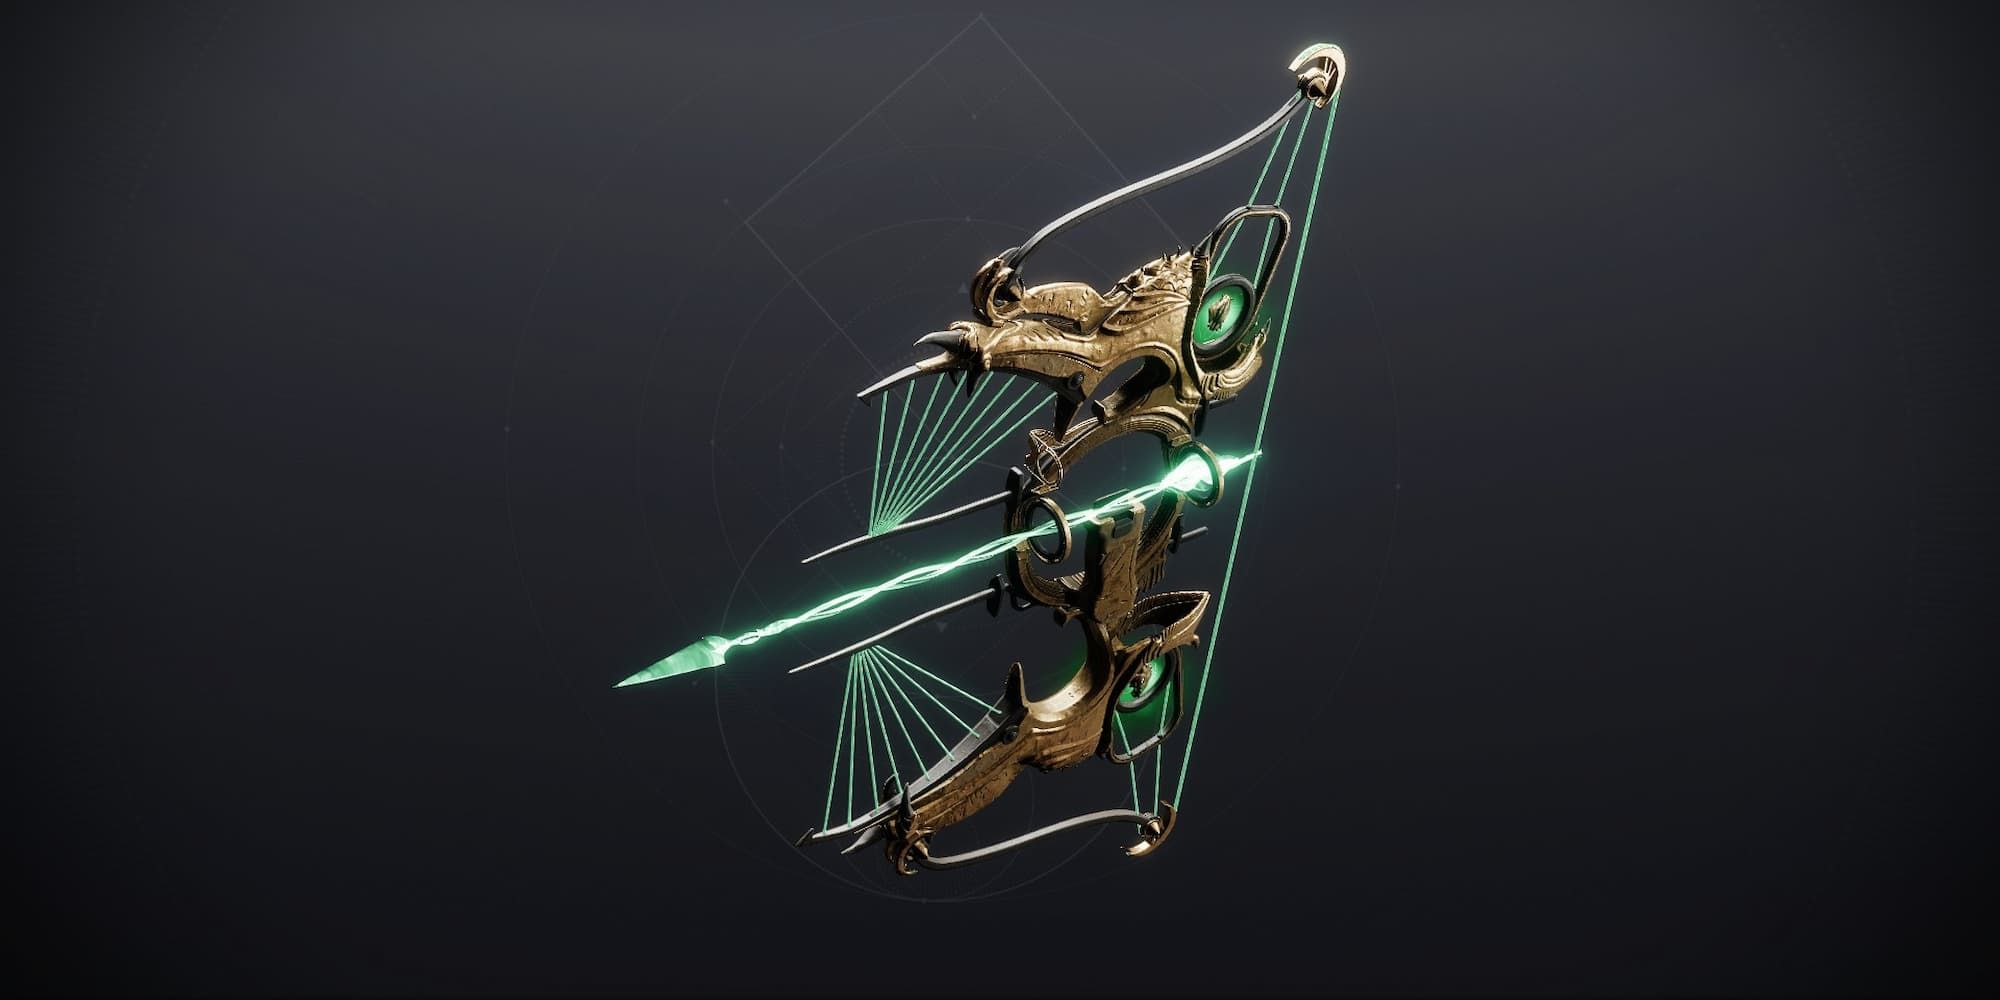
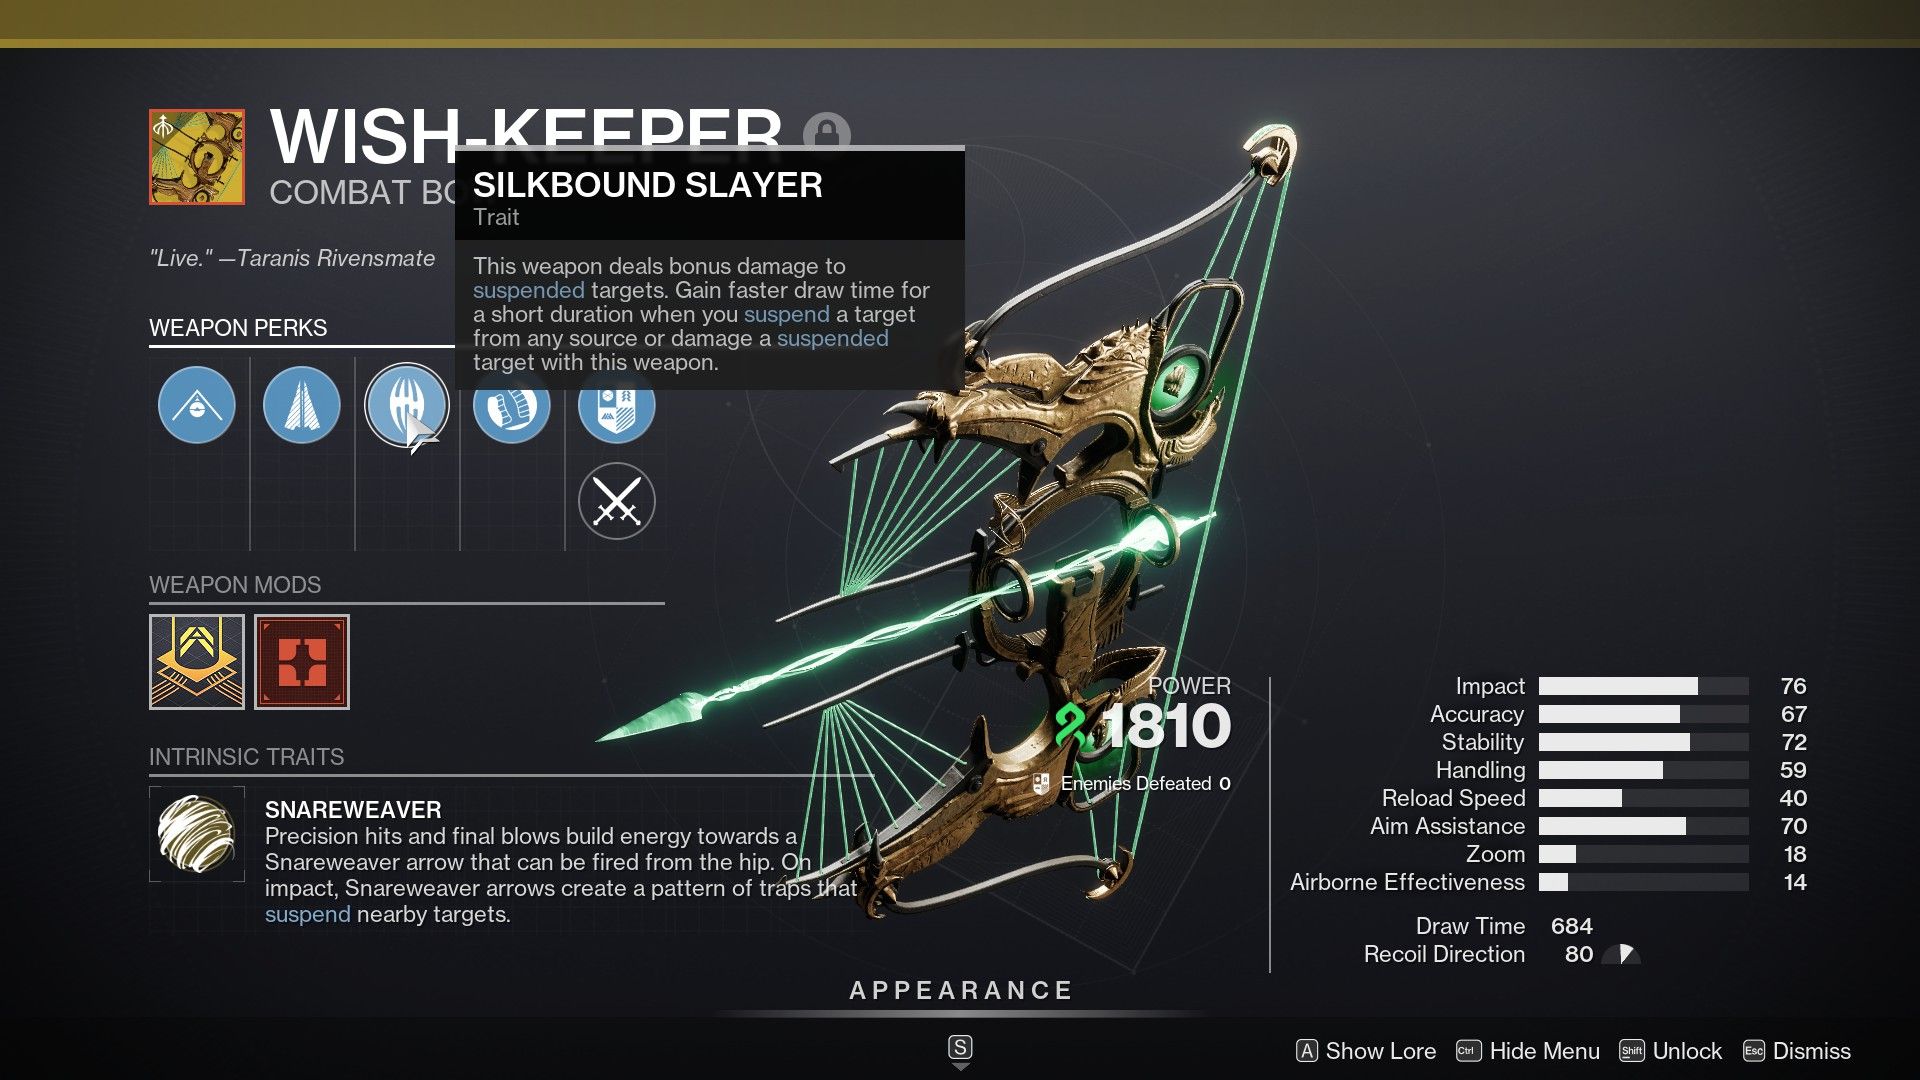
The Wish-Keeper is an Exotic Strand Bow introduced in Destiny 2 Season of the Wish. It focuses on Strand's Suspend mechanic, giving players a different means of inflicting it on enemies while also giving them a boost against anyone affected by it.
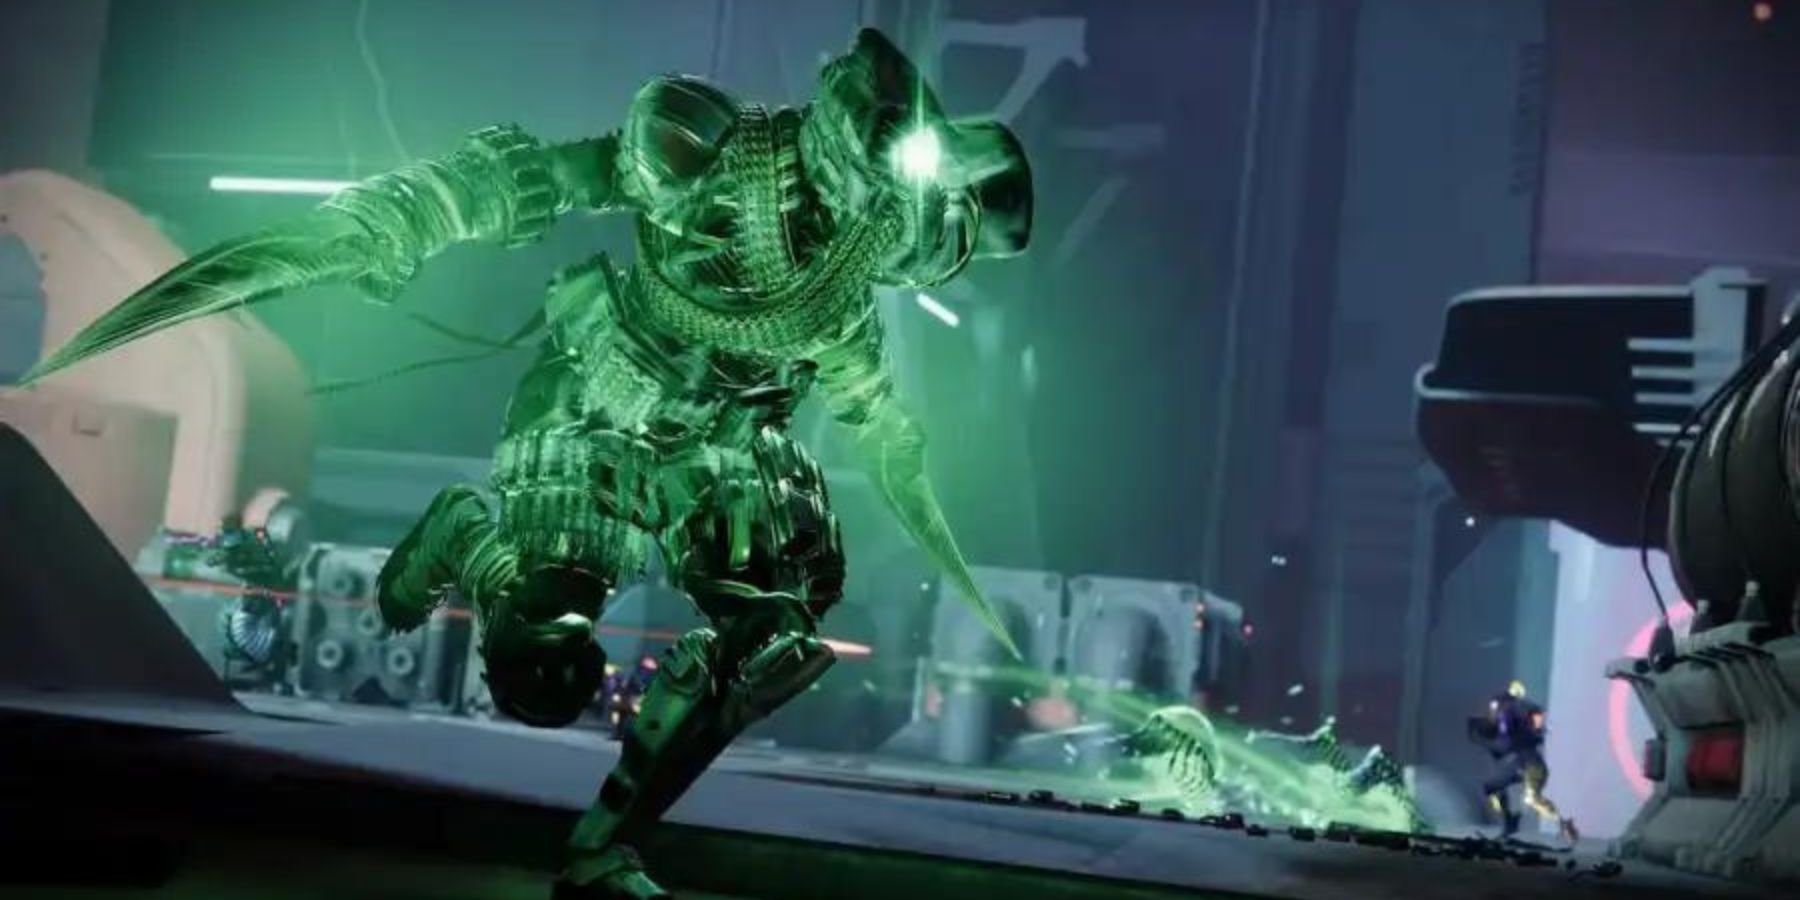
Destiny 2 Player Showcases Overpowered Titan Build for The Coil Activity
A Destiny 2 player shows a broken Titan Build that can be used in The Coil activity, thanks to the buffs that can be acquired from Riven.
There are plenty of good things to say about the Wish-Keeper, but none of it matters if players can't get their hands on the weapon. This guide covers everything you need to do to get this new exotic bow in Destiny 2.
How to Get Wish-Keeper
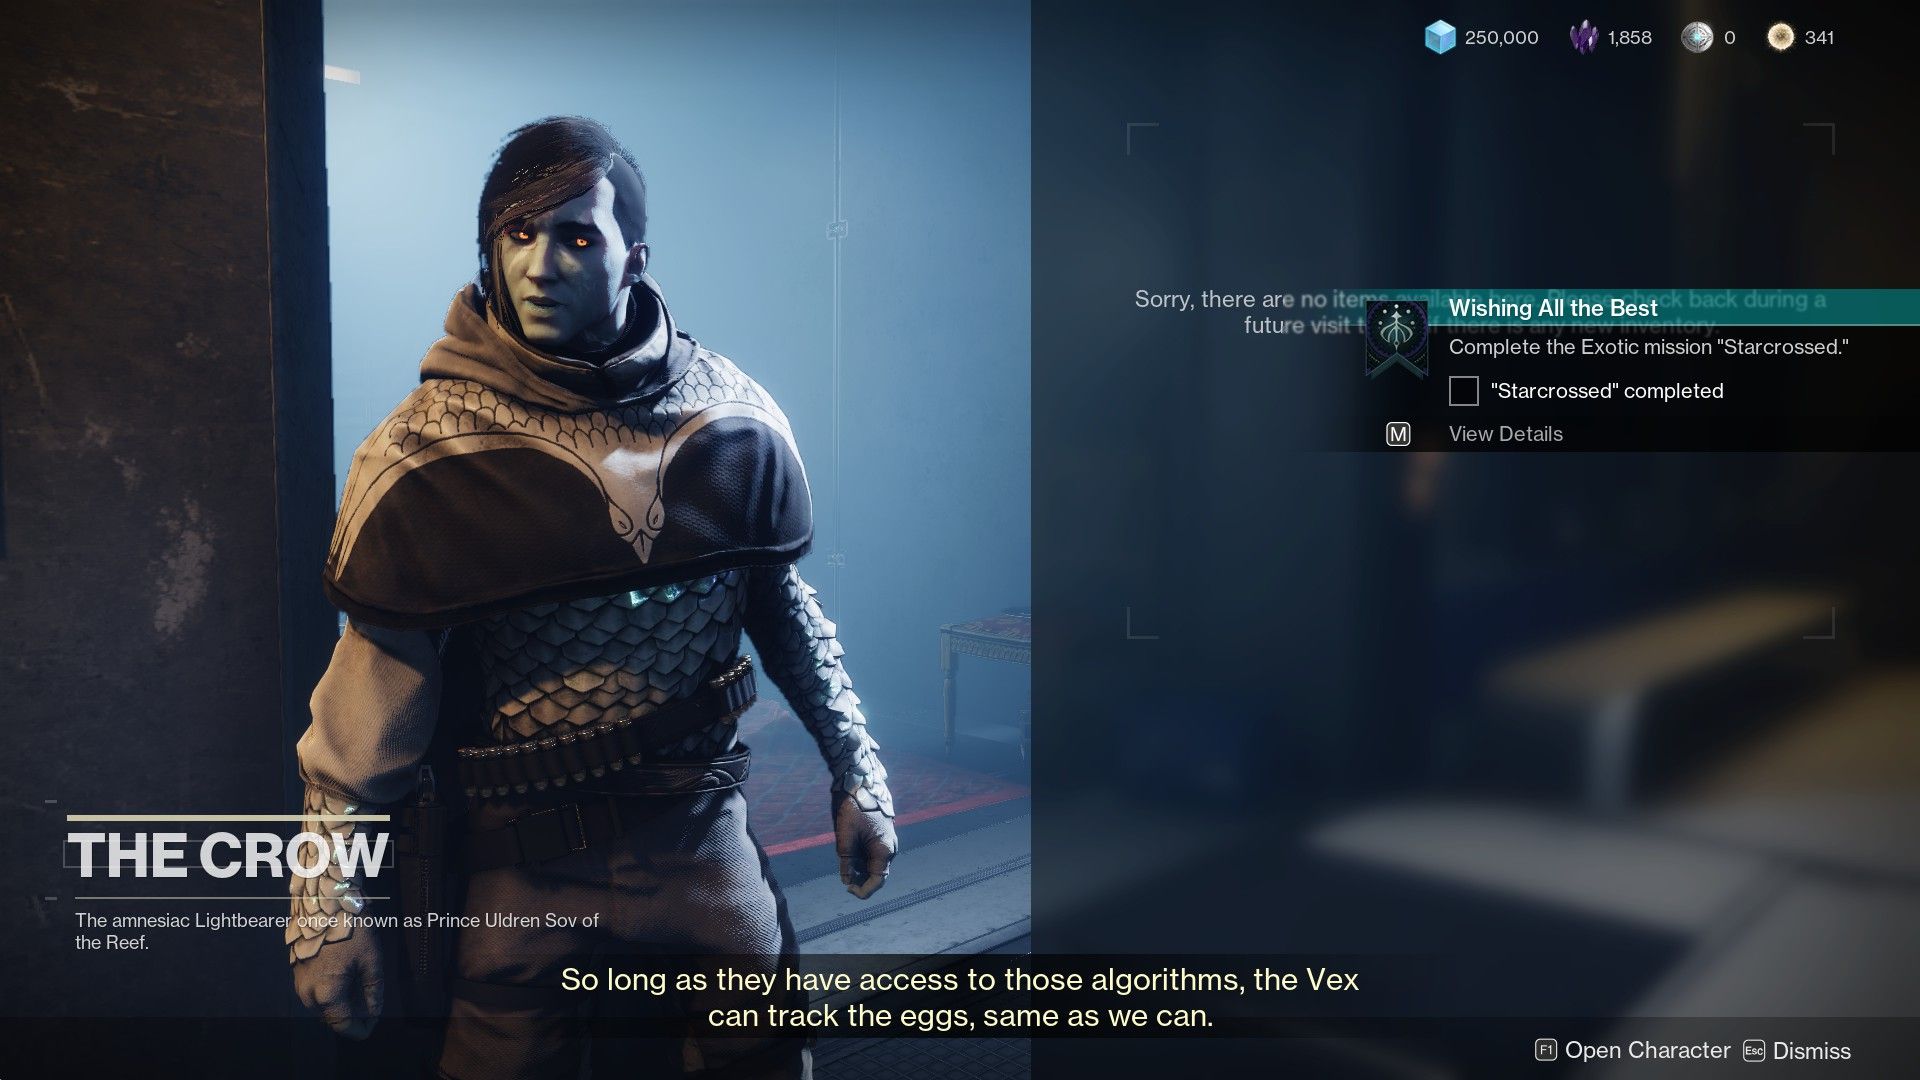
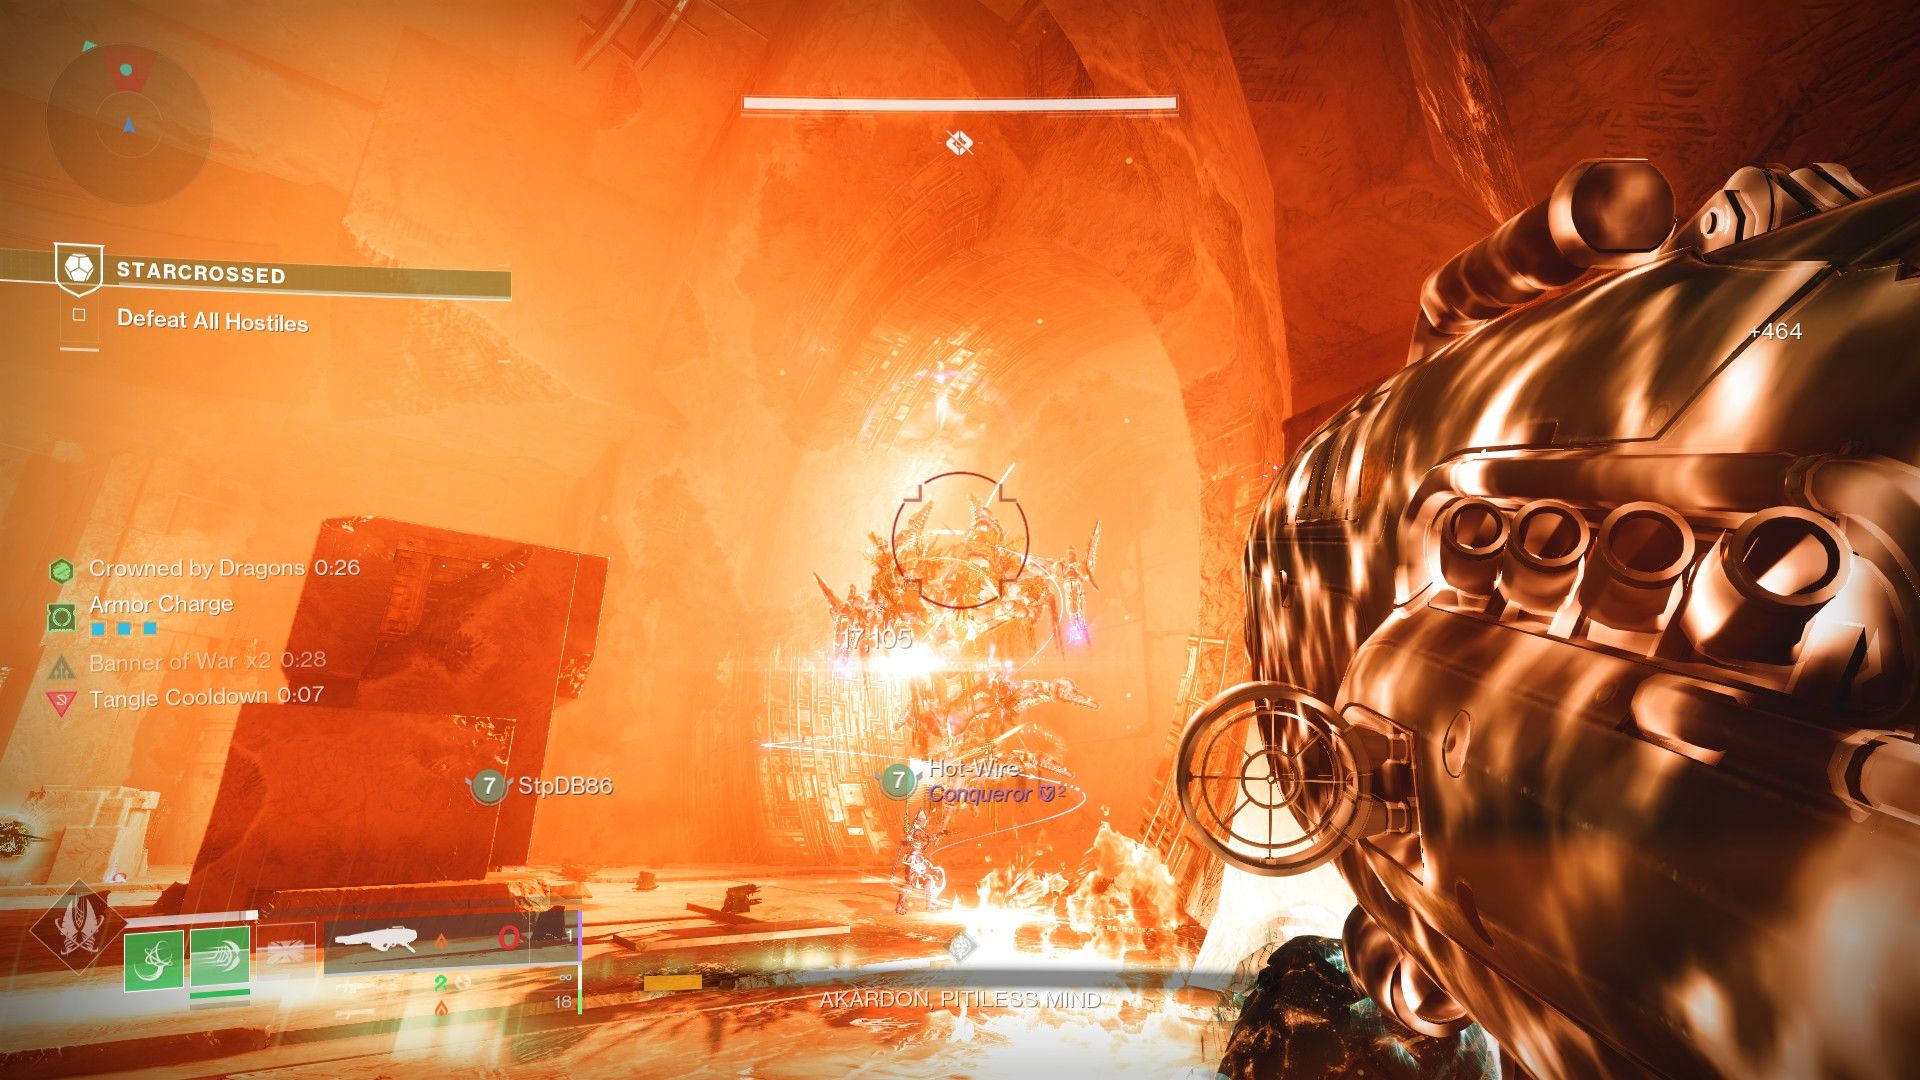
The first thing you need to do is reach the 27th step of the seasonal quest. Finish the Apophasis mission, then speak with Crow at the HELM to unlock the Starcrossed Exotic quest, which drops the Wish-Keeper Exotic Bow.
The quest itself is very lengthy, though it shouldn't be too hard with a team full of experienced Guardians. Additionally, it's likely that this quest will be added to the Exotic Quest weekly rotator once The Final Shape is released. If it does, then players will still be able to collect the Wish-Keeper even after Season of the Wish ends, just like the previous seasonal exotics.
Destiny 2 Starcrossed Mission Guide
There are three encounters in this mission and a final boss fight at the end. The recommended power level for the regular version of this mission is 1810, though players should be able to clear it even without meeting that level, albeit with some added difficulty. There are going to be plenty of enemies in each of these encounters, so make sure to bring strong weapons for add-clearing and boss-killing.
Intro Area: The Cave
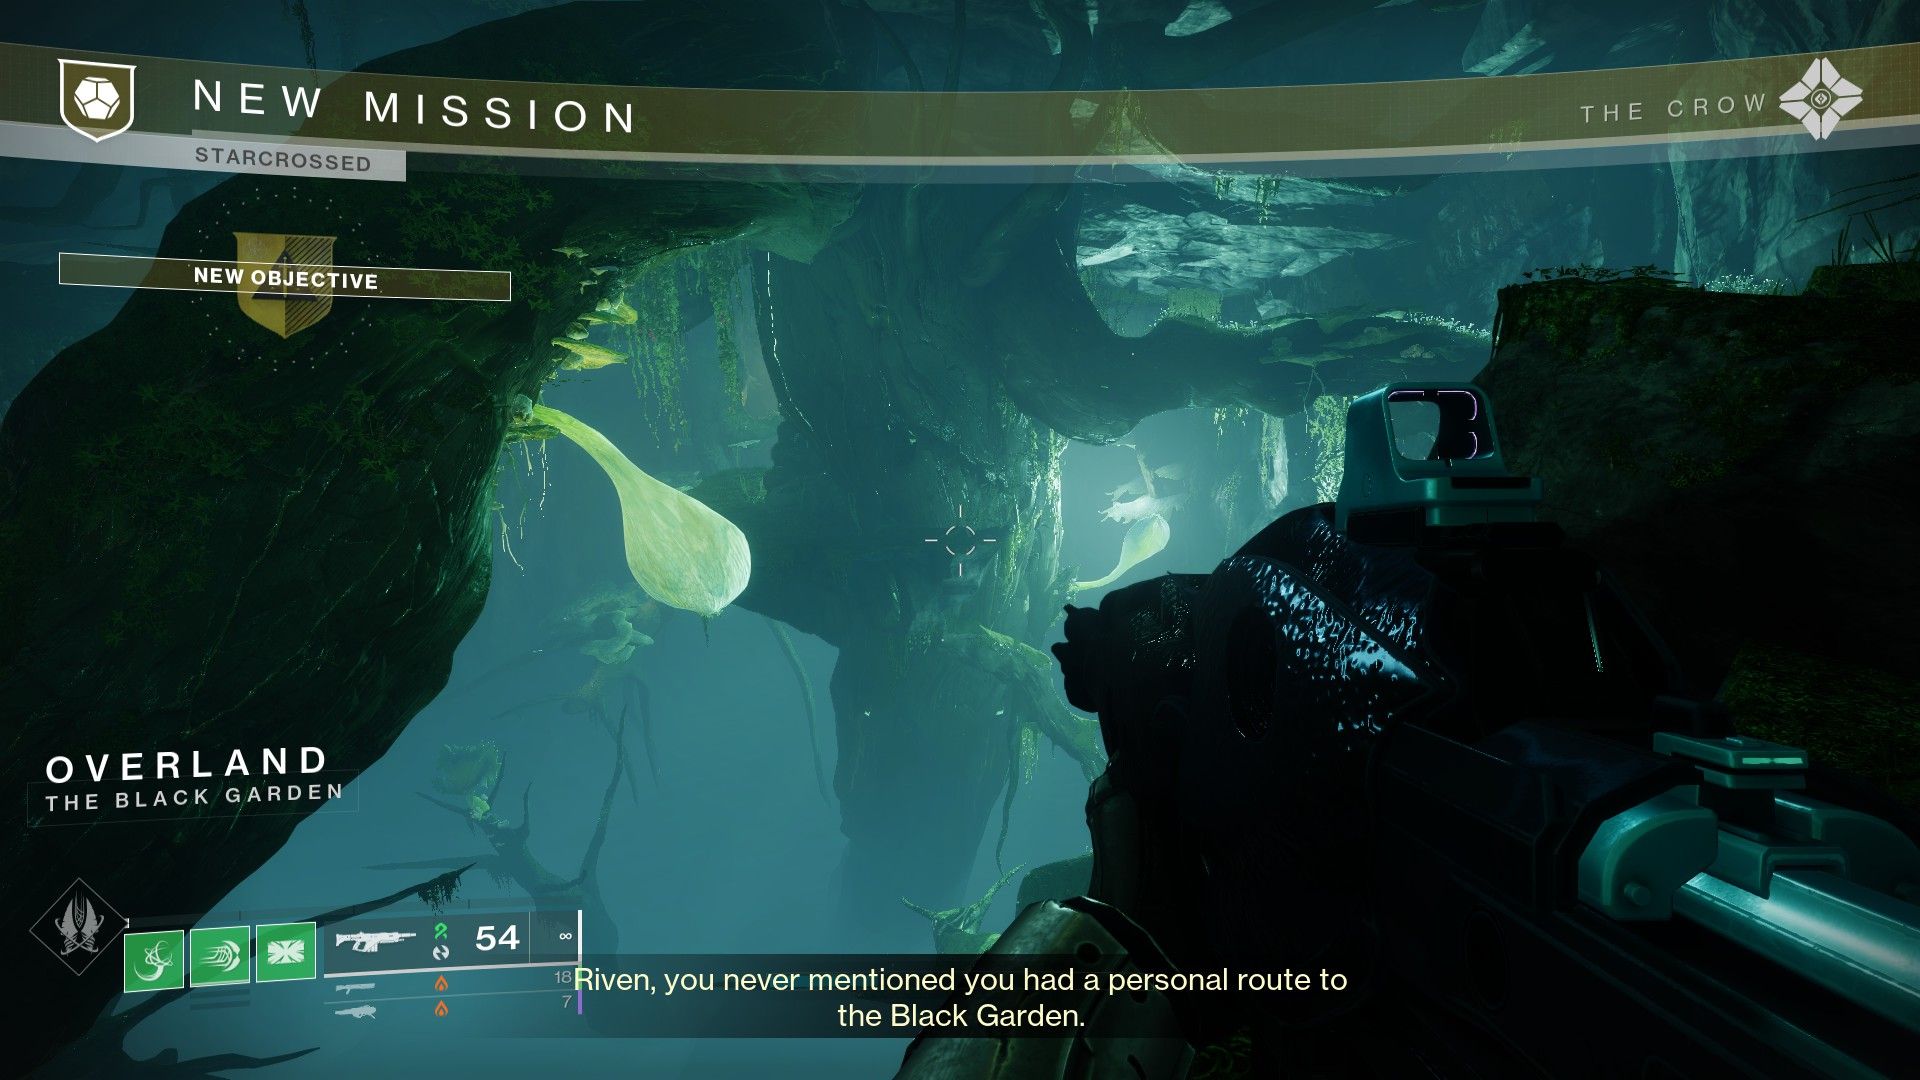
This initial area is a long jumping puzzle where Guardians have to jump all the way to the end. Shoot at the glowing bulbs to cause giant flowers to bloom, which can then be used as platforms. The exit is located to the right of the caverns, so just head over in that general direction, and you'll find yourself out of here in no time.
First Encounter: Taken Gates
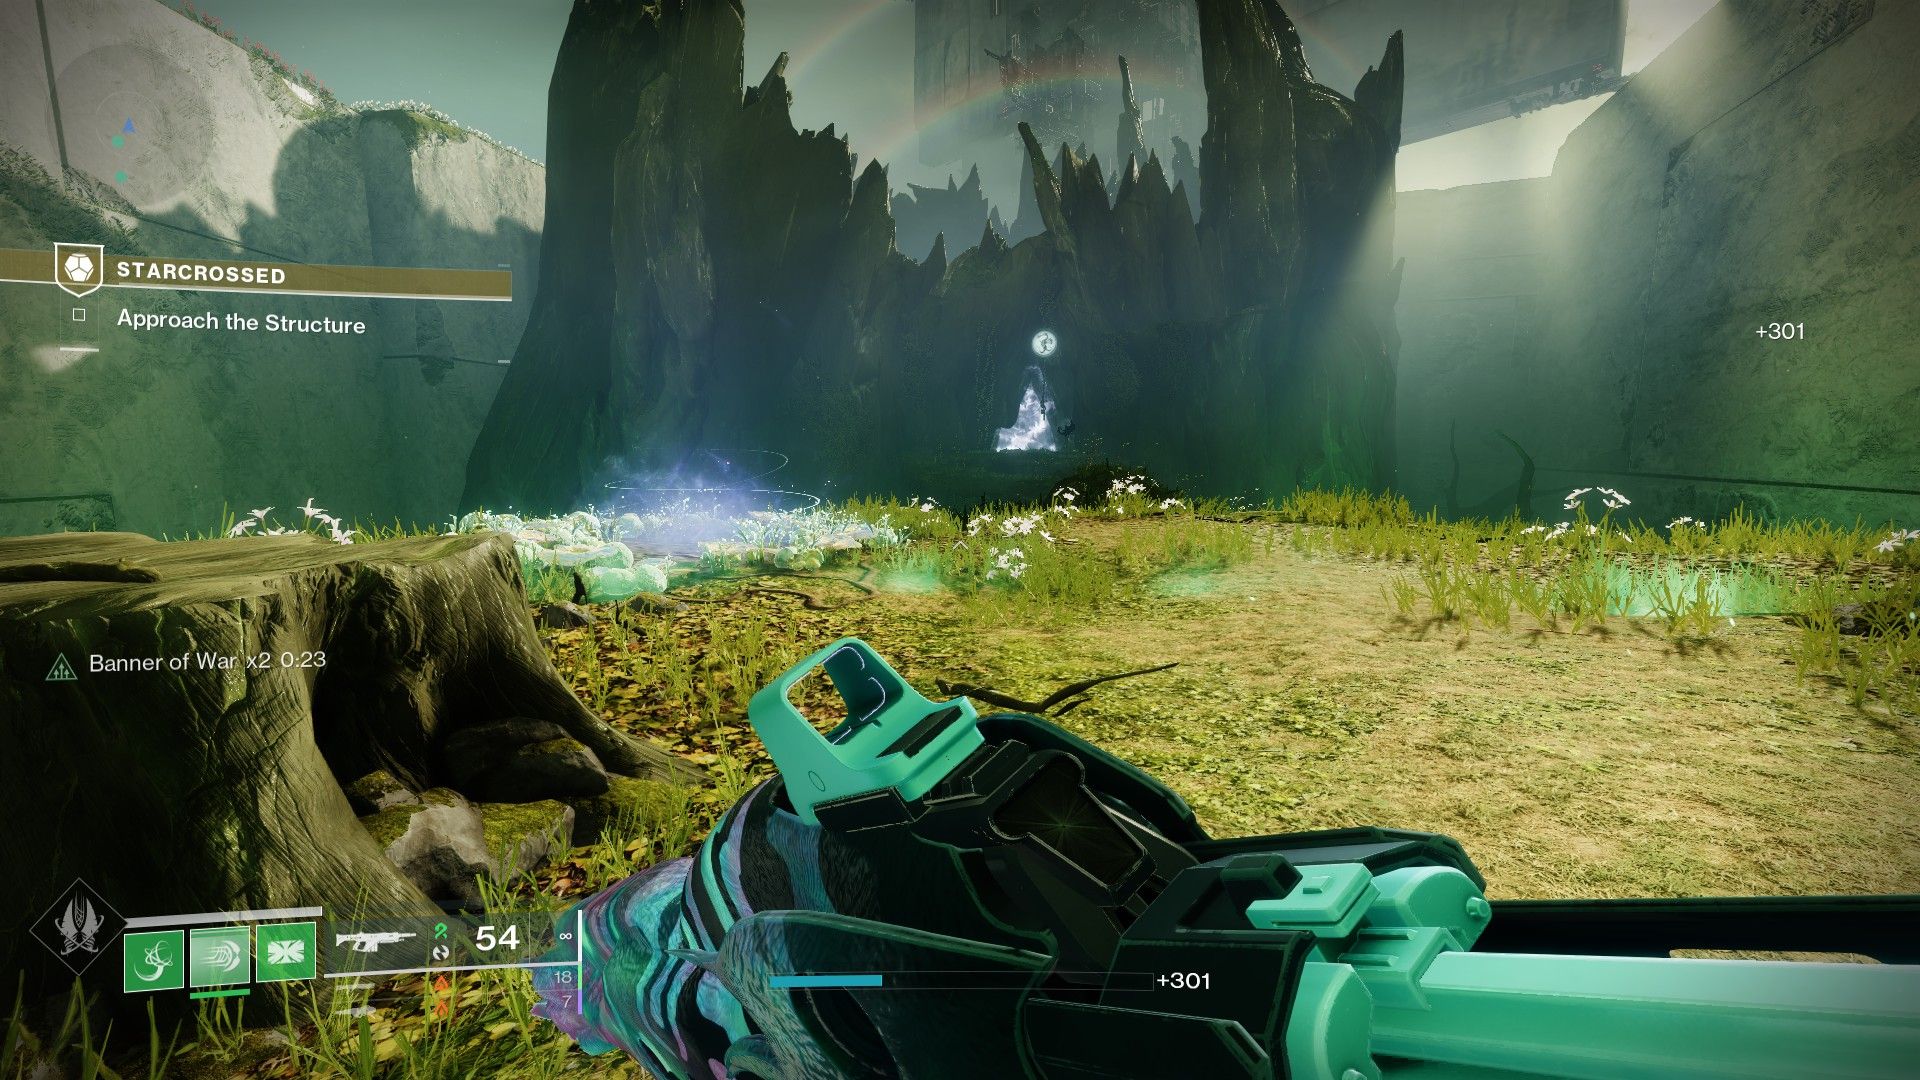
In this encounter, you'll see blocked gates with Awoken symbols hovering over them. To open the gates, you must kill the Taken minibosses guarding them. These enemies will be shielded at first, and you'll need to find glowing wells of light in the map in order to melt them down.
In the next room, you'll encounter more than one symbol on the blocked gate. Defeat the Taken minibosses that correspond with each symbol, but make sure to take them down in descending order. Start with the symbol at the top, then work your way down. Kill all the bosses to unlock the way to the next encounter. Use weapons like Dragon's Breath or a well-rolled Fusion Rifle to quickly kill the minibosses.
Second Encounter: Fog Rooms
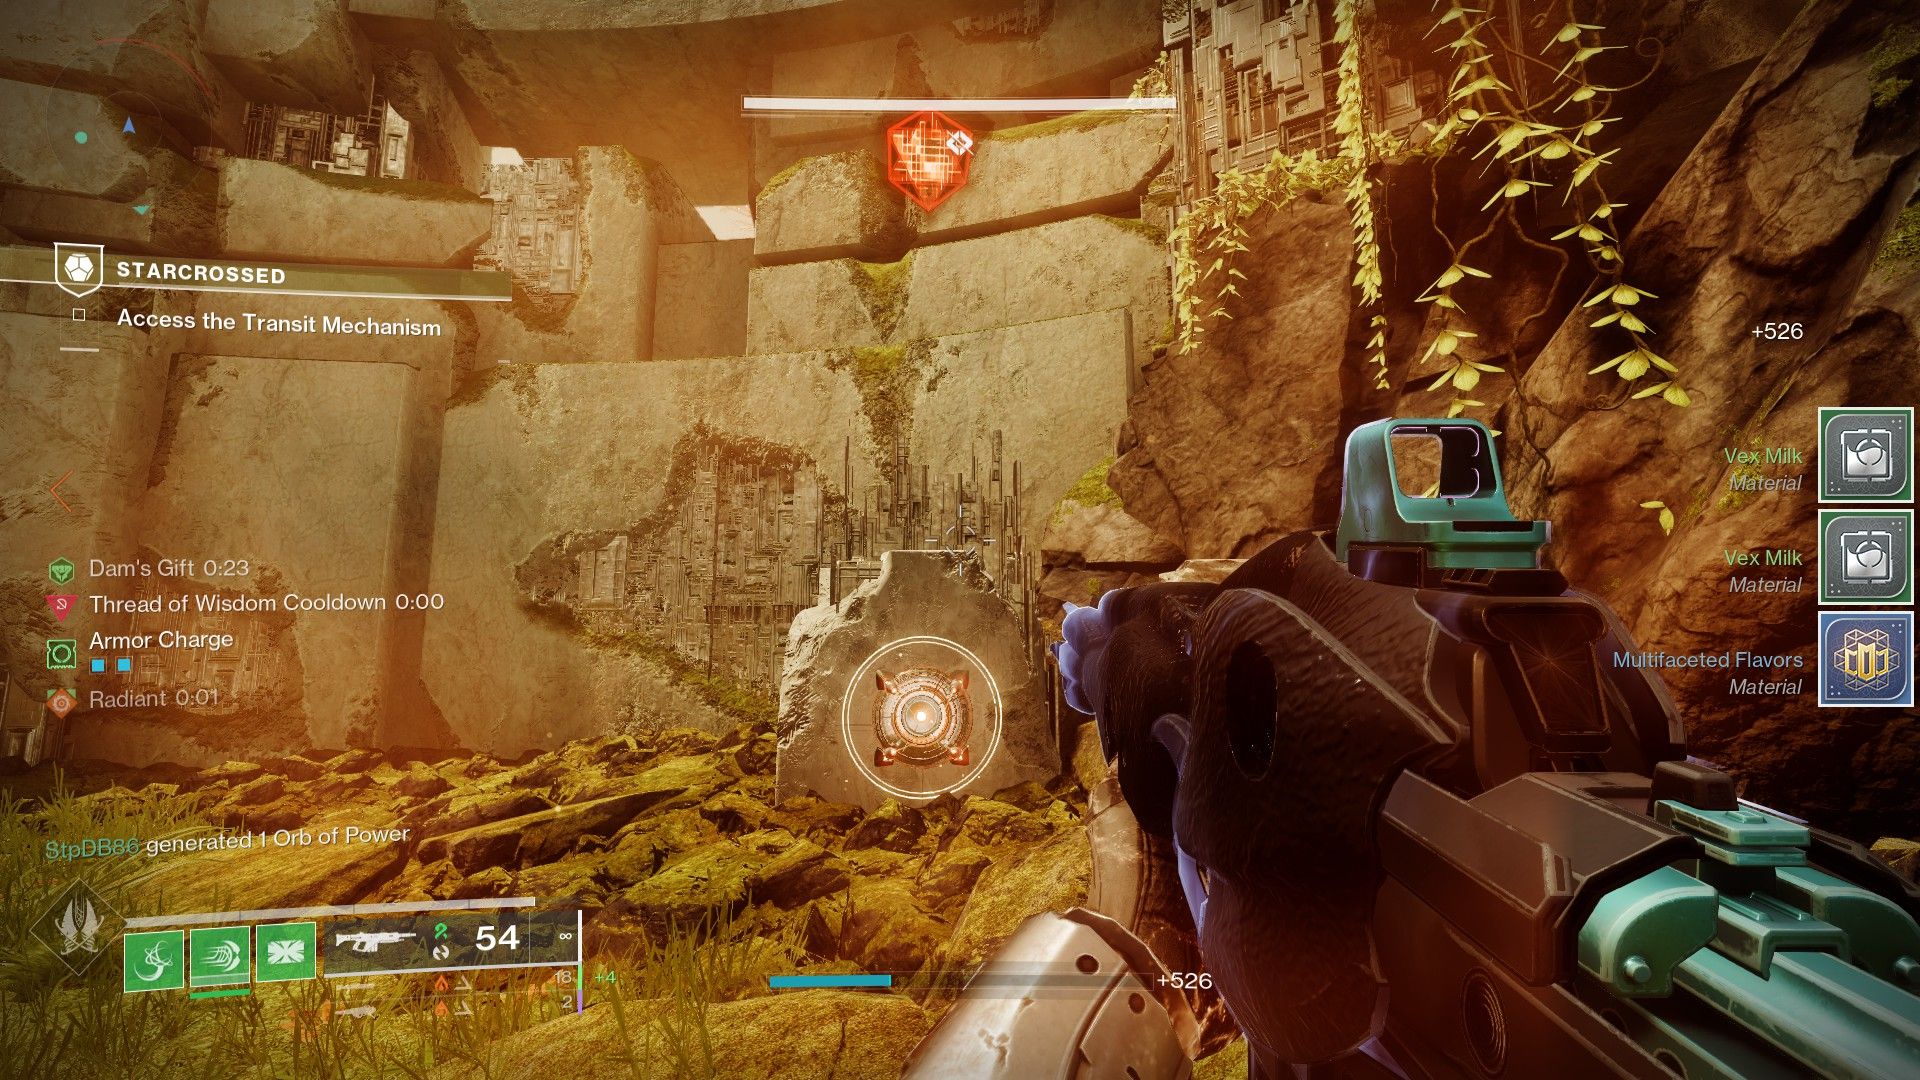
Here, sections of the map will be filled with toxic orange gas. To safely pass through, you need to use the orange well of light surrounded by flowers. Step inside to gain the Dam's Gift buff, which will let you through the rest of the encounter.
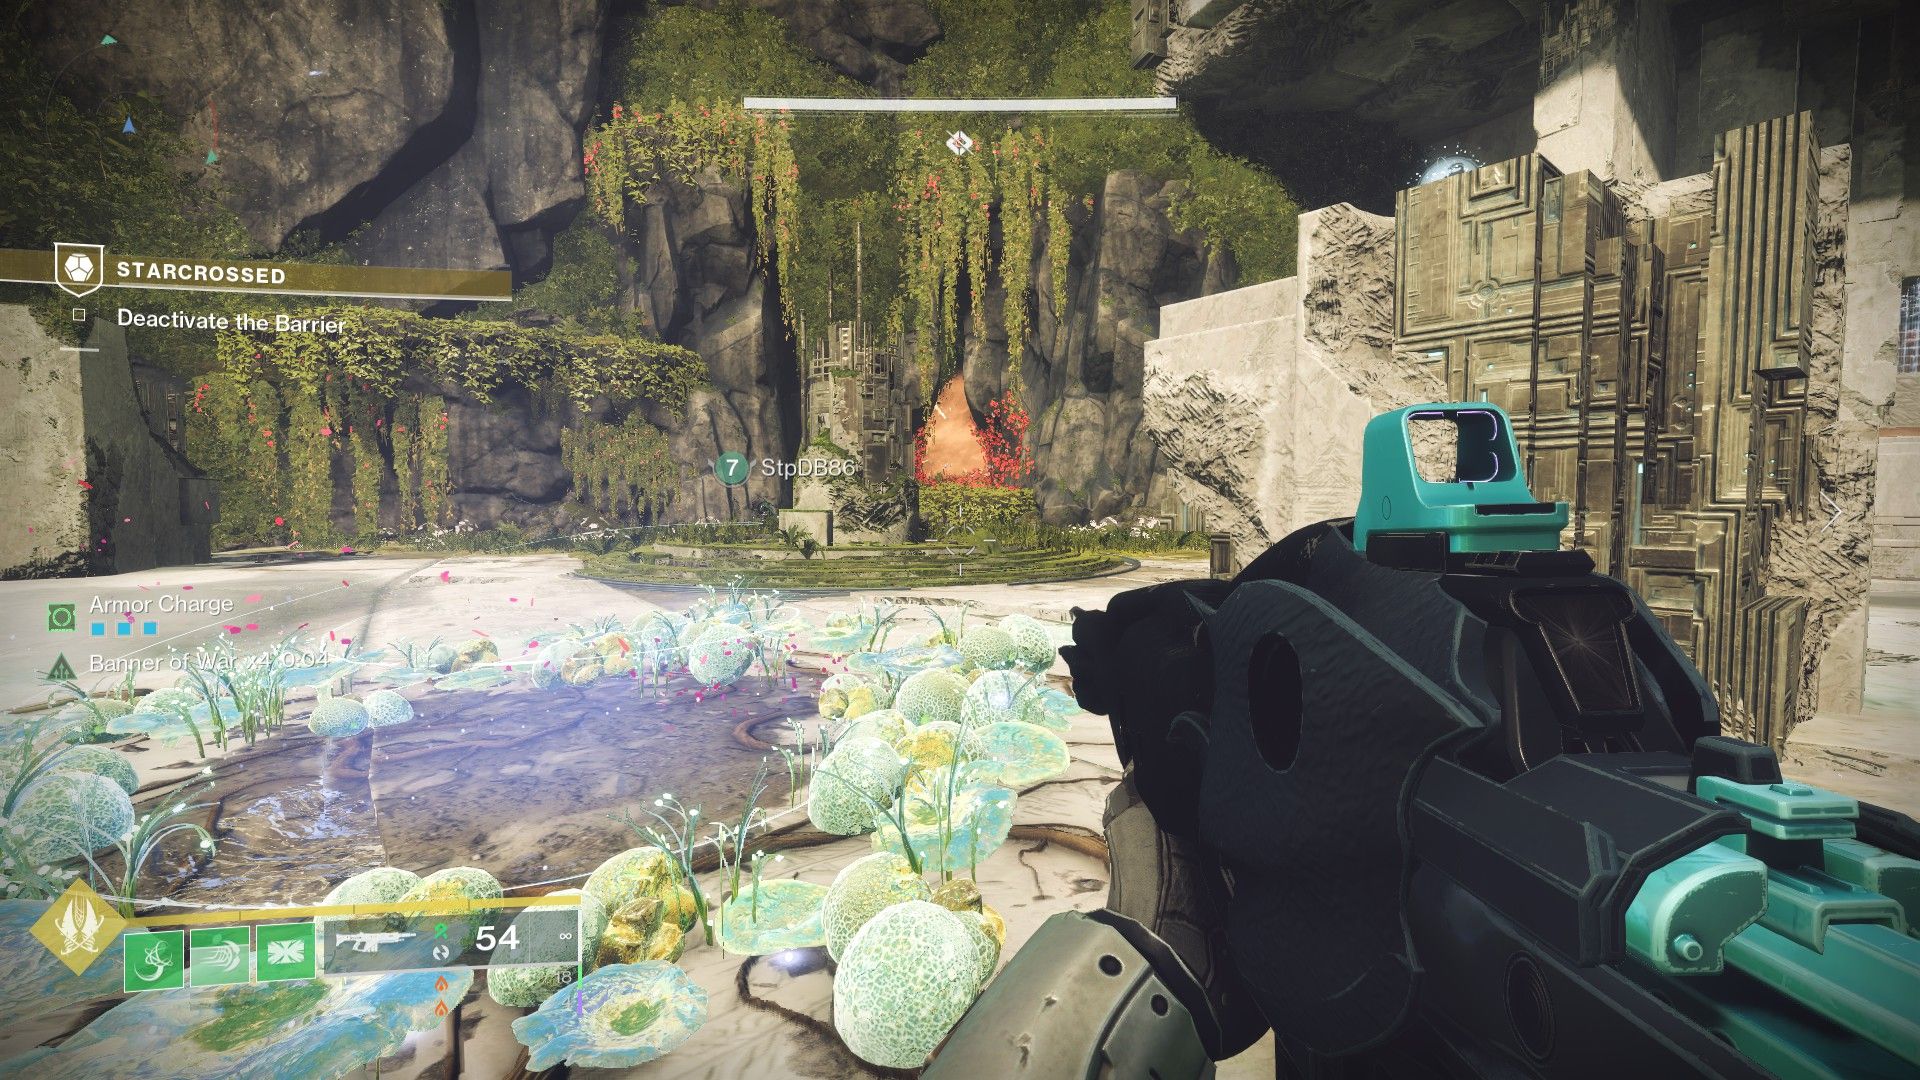
You need to navigate the maze and get rid of the toxic haze in three different rooms in order to progress. To do so, enter a foggy area with the orange buff, then look for a round terminal of sorts marked by a glowing orange shape above it. Deposit the buff into the terminal once the terminal is accessible. Repeat this step for all foggy rooms, kill the boss that appears behind the orange well of light, and then pass through the portal to continue to the next area.
Third Encounter: Both Mechanics Combined
After finishing another jumping section, you'll arrive at an arena involving both Taken Gates and orange fog mechanics. The idea is simple: open the gates by defeating the minibosses inside the foggy rooms while making sure they are taken down in the correct order. If the symbols don't appear over the foggy miniboss rooms, try grabbing both white and orange buffs at the same time.
Grabbing both buffs grants you the Crowned By Dragons buff, which is basically both orange and white buffs combined, except now you can refresh both effects by just standing on one well of light. This has a timer of roughly 40 seconds, so try to melt the minibosses as quickly as possible so you don't get caught in the fog.
Boss Fight
Like the previous encounter, players will need to deal with both Taken Gate and poison fog mechanics while also dealing with a large number of adds and the boss itself. Start by grabbing both buffs, then hit the boss with everything you have right off the bat. If you're lucky, you should be able to burn the boss without having to worry about the mechanics. Add density here is going to be thick, so weapons with AOE-perks like Dragonfly, Voltshot, Incandescent, and Destabilizing Rounds are going to be helpful here.
If you're going solo, then you'll want to kill the two Taken minibosses in the arena to get rid of the giant Hydra's floating shields. This should make the battle simpler — spam Supers and Heavy Ammo at the boss until it dies, but make sure that the Crowned By Dragons buff is active at all times by taking both orange and white buffs. After the fight, go to the reward chest and claim the Wish-Keeper.

Destiny 2
- Platform(s)
- PS5 , PS4 , Xbox Series X , Xbox Series S , Xbox One , PC , Stadia
- Released
- August 28, 2017
- Developer(s)
- Bungie
- Genre(s)
- FPS
- Metascore
- 85

