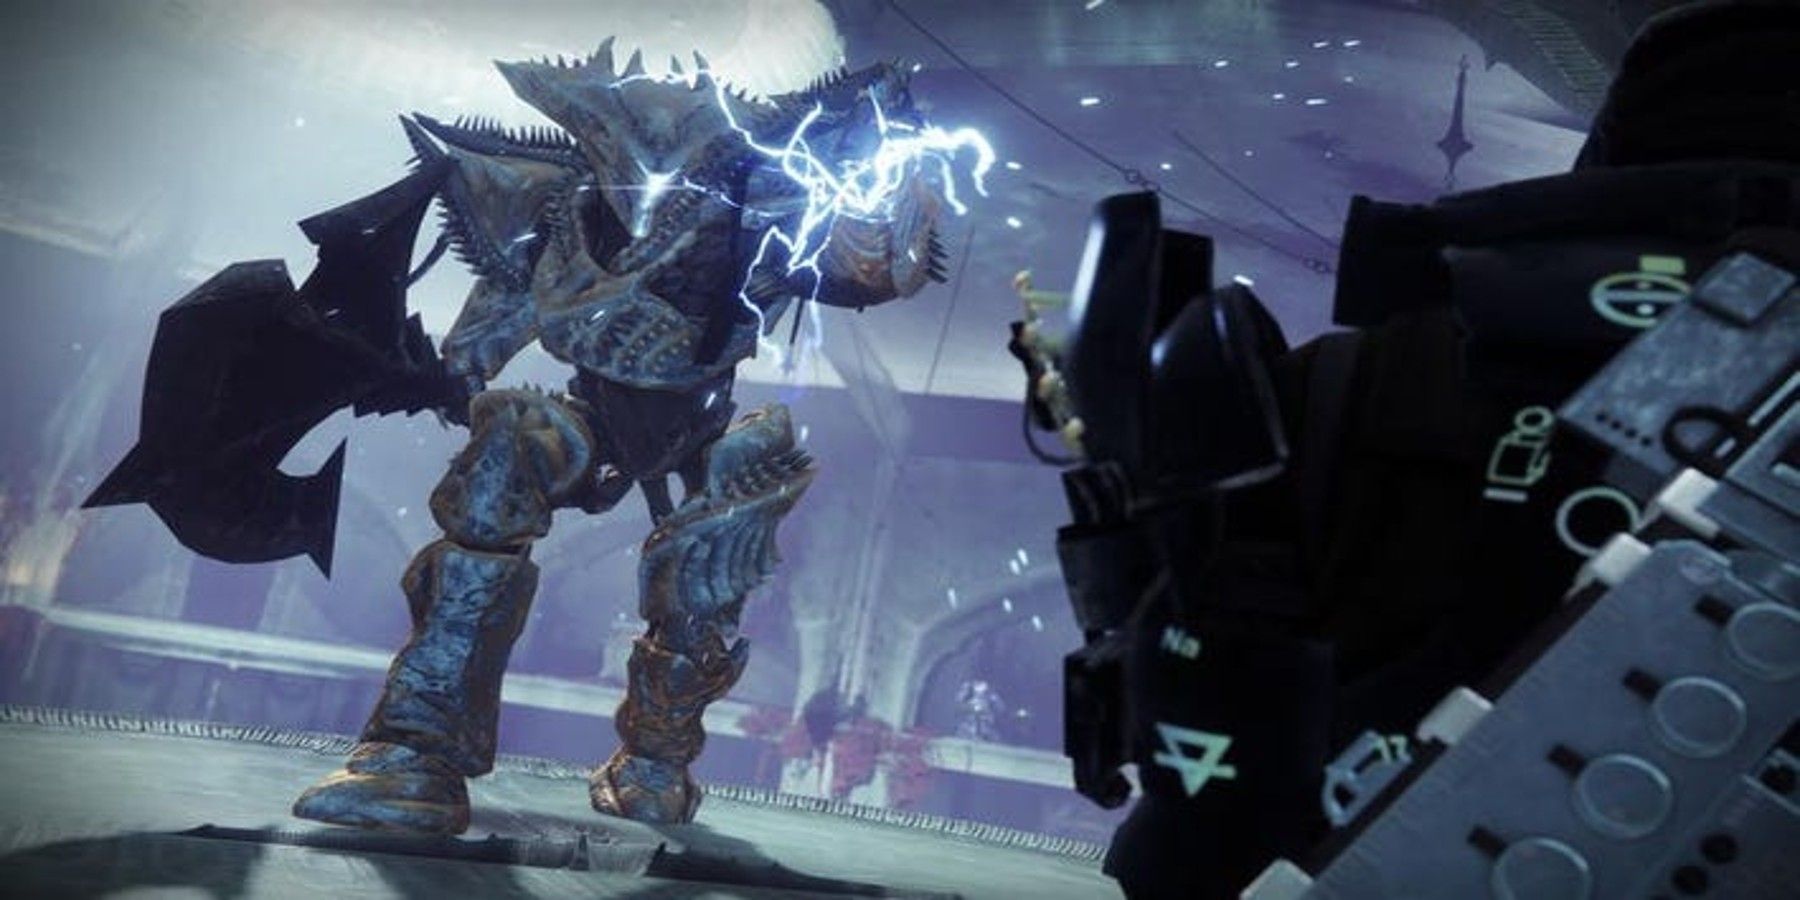
The Grandmaster edition of the Lightblade Nightfall Strike has returned for the Season of Plunder in Destiny 2. Undoubtedly, it's still the most challenging Grandmaster Nightfall currently in the game.
However, with the new changes made to the Arc subclass, things have taken a drastic turn for the better. This guide will help Destiny 2 players defeat the Grandmaster Lightblade Strike in the Season of Plunder.
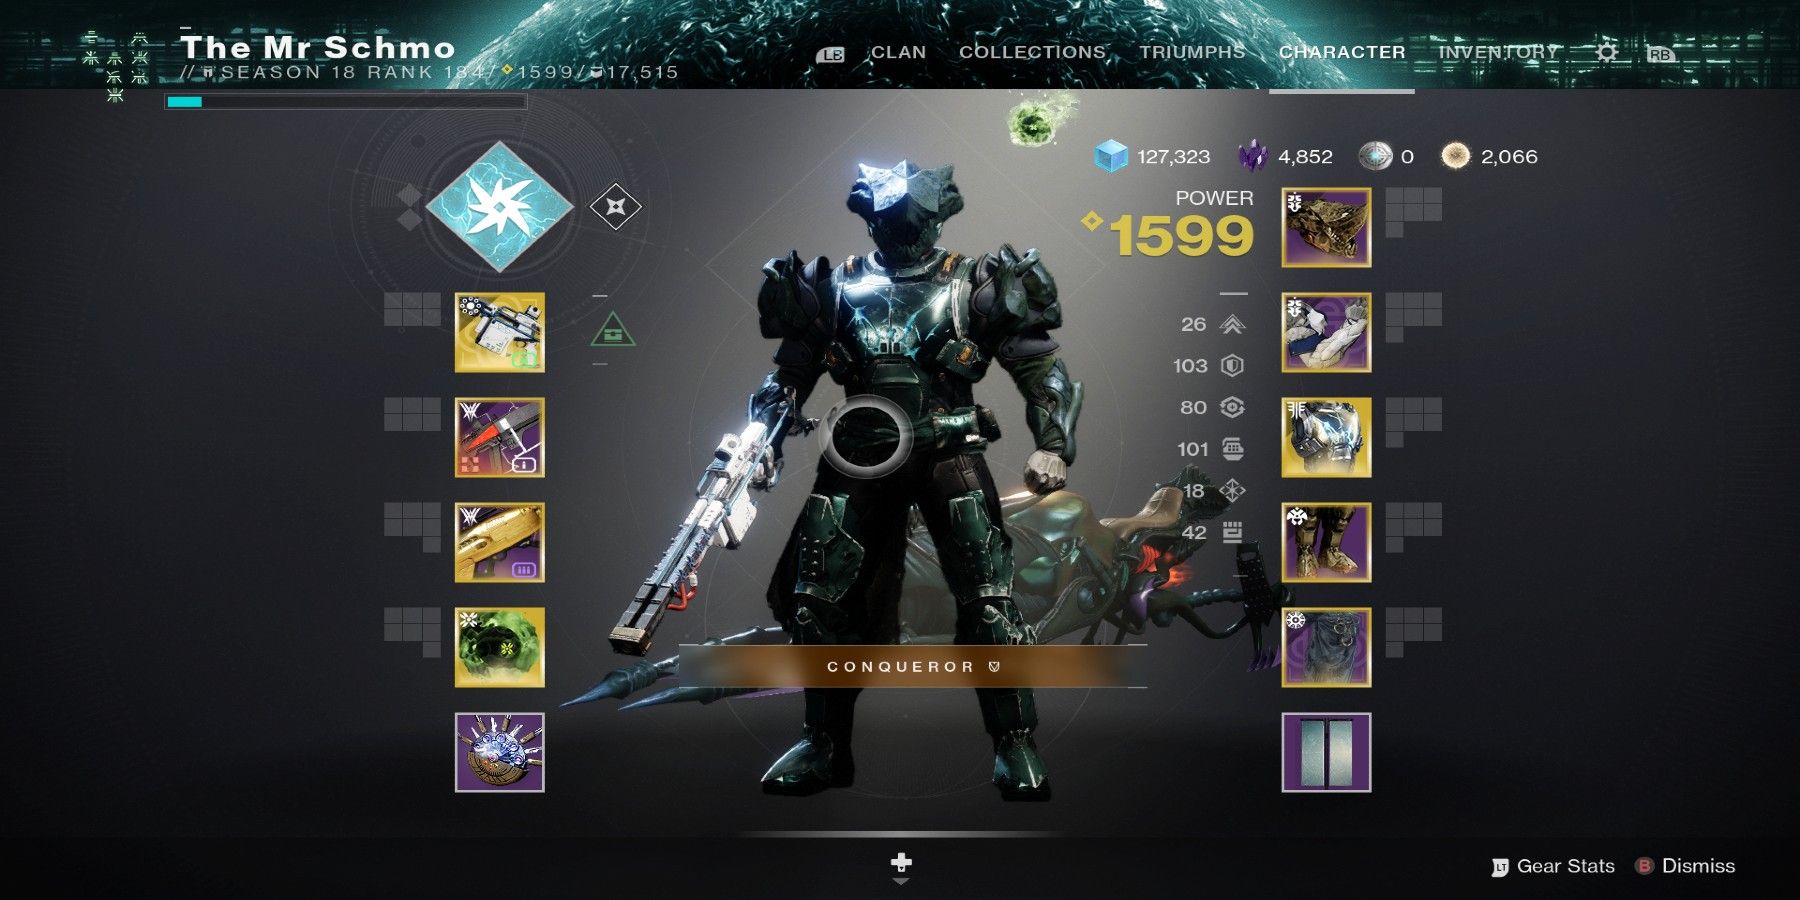
The Loadout
To beat the Grandmaster Lightblade Strike, players must first understand what loadouts they should use and what mods they should equip to best survive. First and foremost, the Lightblade Strike features Anti-Barrier and Unstoppable Champion enemies. Therefore, proficient weapons against those Champions will be necessary, especially Anti-Barrier weapons, as Anti-Barrier Champions are extremely common throughout the Strike.
The recommended weapon loadout is the Exotic Linear Fusion Rifle, Arbalest, as the Kinetic weapon, a Pulse Rifle with an Unstoppable Mod equipped as the energy weapon, and lastly, either a Rocket Launcher or Linear Fusion Rifle as the Heavy weapon. Every player in the fireteam should have these weapons equipped if possible, as they will provide the most efficient results. Having a Gjallarhorn wouldn't be a bad idea, either.
Regarding the fireteam setup, the best recommendation would be two Arc Titans and one Void Hunter. Arc Titans, after the 3.0 subclass changes, have far and away become the best class for dealing with waves of enemies with ease. Given the sheer amount of enemies throughout the Lightblade Strike, running two Arc Titans is a great choice.
On the other hand, having a Void Hunter on standby is also a great option to have as a safety measure. If things go wrong, such as the Titans dying, the Void Hunter can go invisible to get to safety until it's ok to revive their teammates.
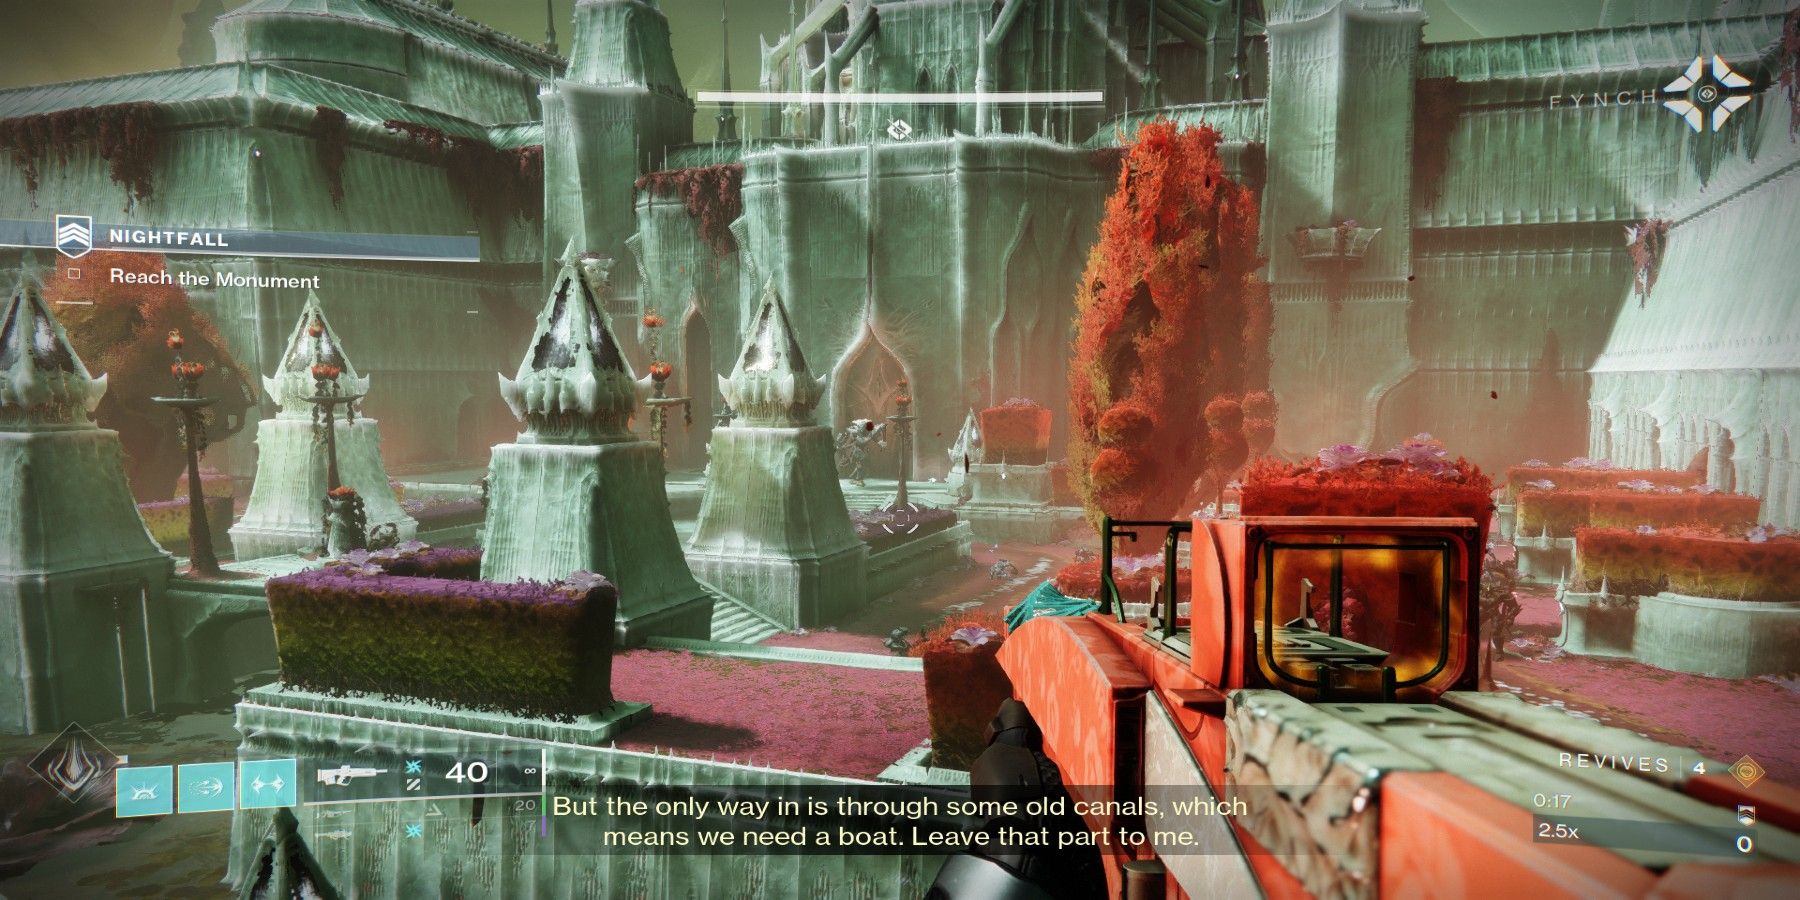
The Opening Area
Now it's time to break down each section of the Strike to improve the likelihood of defeating the Lightblade. The Lightblade will already be waiting for players in the opening area and shooting his Arc blasts at players from afar. The recommendation here for Destiny 2 players would be to keep a safe distance and hit him with the Heavy weapons mentioned above until he eventually retreats.
After that, have the Arc Titans throw some Storm Grenades to clear out some of the enemies blocking the door. The Void Hunter should make everyone invisible to run by the remaining enemies to move on to the next room.
The Lucent Hive Arena
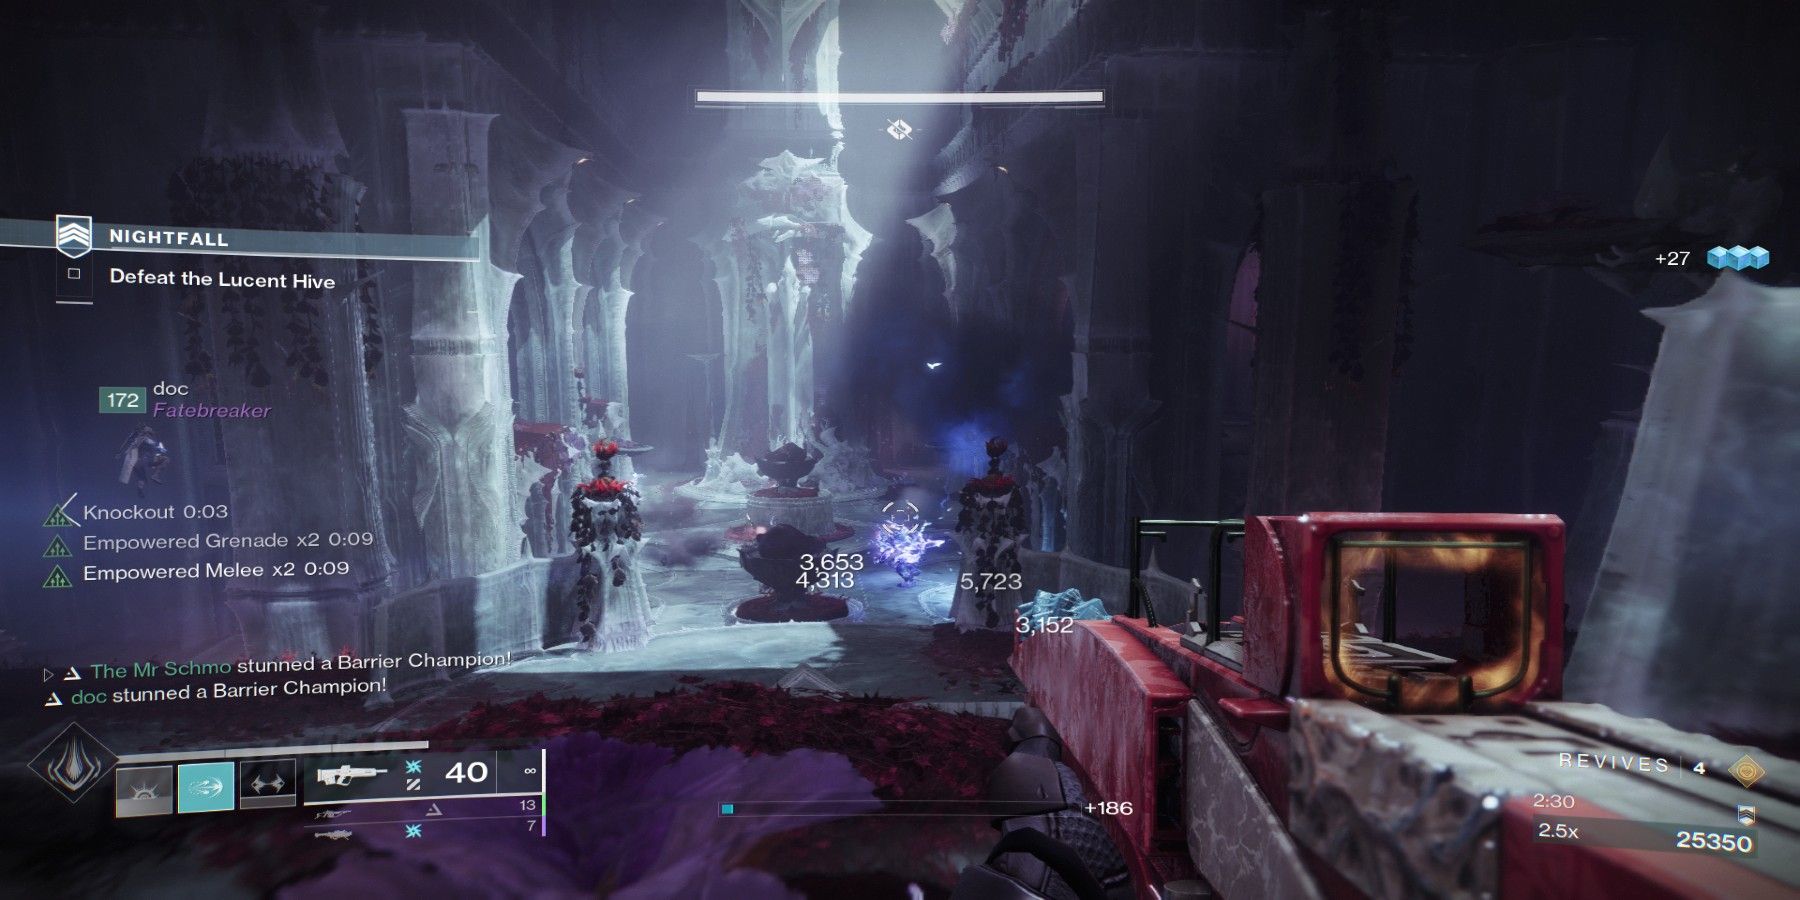
In the next area, players will encounter Lucent Hive and Anti-barrier Knights. For the first wave of enemies, stay in the back of the room and have the Arc Titans clear out the Thrall and Acolytes. Then, while carefully avoiding the Lucent Knight, the team should converge on the Anti-Barrier Knight and swiftly deal with it.
Lucent Knights are extremely dangerous and will one-shot players with ease. To deal with these powerful foes, players should keep a medium distance between themselves and the Knight, and playing the long-range will not work in most situations. All members of the fireteam should group up, and team shot these enemies before it becomes charged with light.
Three Lucent Knights will spawn in total in this room, one on each side of the room at a time. Players should take their time and coordinate each assault on these enemies before finally moving on.
The Swamp
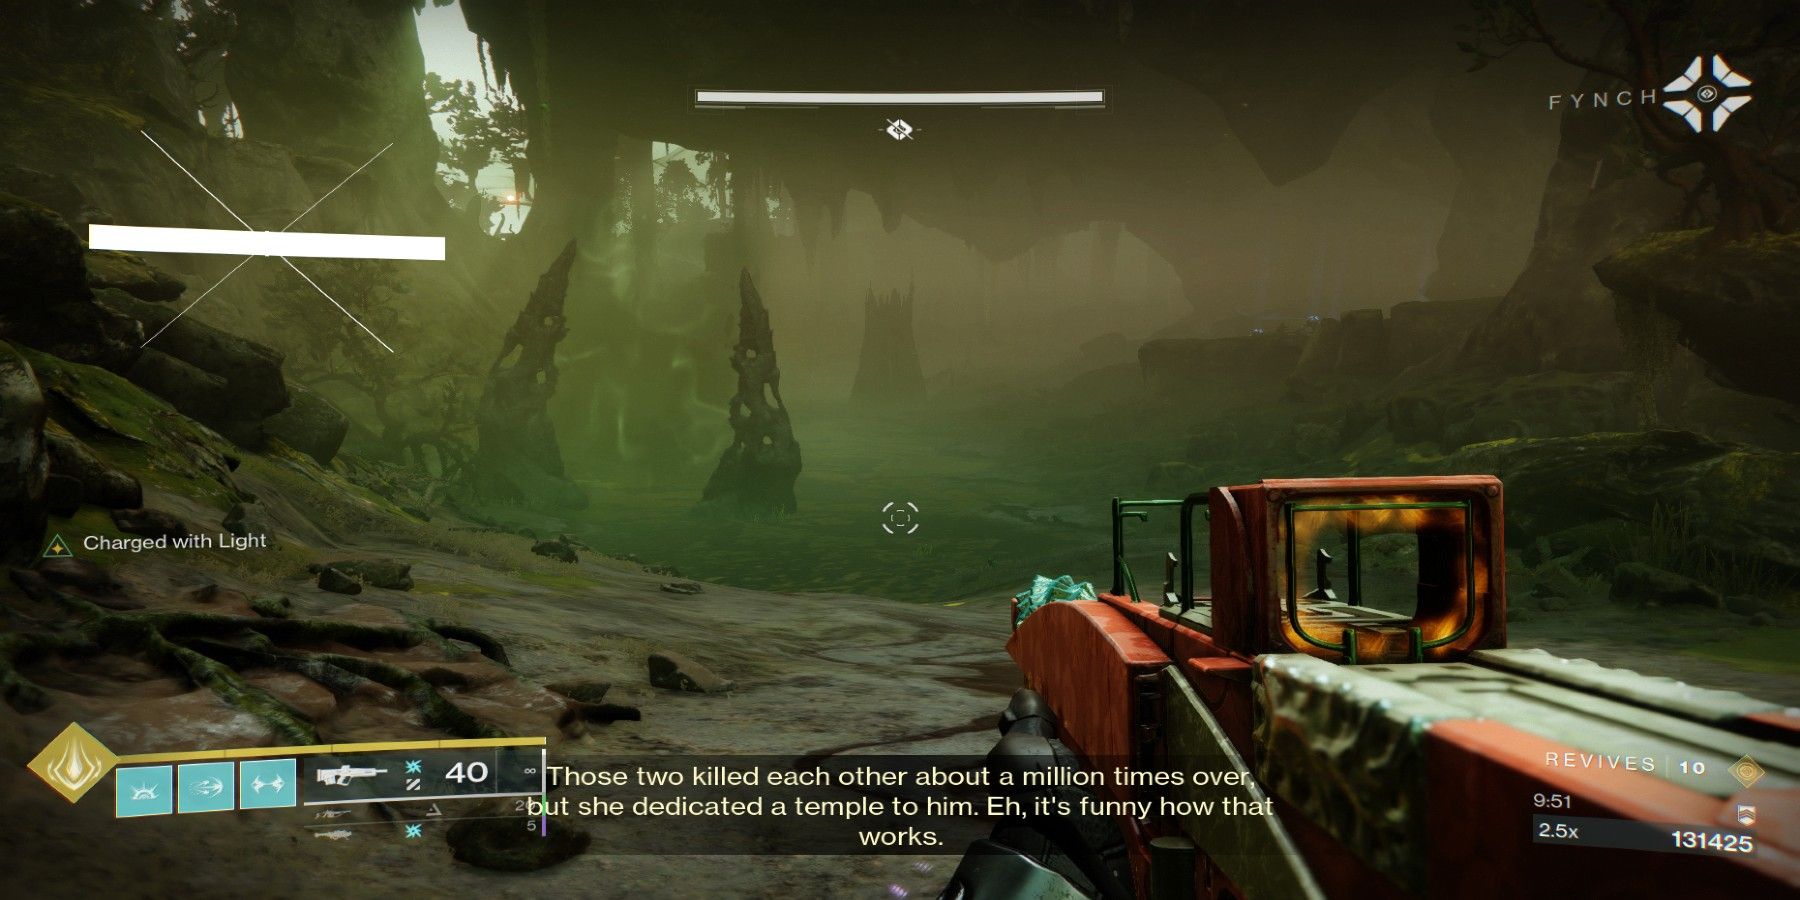
The following central area for players to venture through is the swamp. Destiny 1 players will remember this specific feature as they must traverse through the swamp while the Weight of Darkness will begin to slow them down. Only by standing near a lamp will the weight be lifted temporarily. However, swarms of Screebs, Scorn Raiders, and Lucent Moths will bombard players while they try and make it through the swamp.
The best method here is for players to take it slow. Trying to speed-run the swamp will make it more challenging to make it to the end. Have the Titans throw Storm Grenades at the groups of Screebs and Raiders, while the Hunter should begin shooting down the Lucent Moths. The Weight of Darkness will start to stack up, slowing players down, but it's safer to use this method rather than running at full speed with all the enemies chasing after you.
The Boss Room
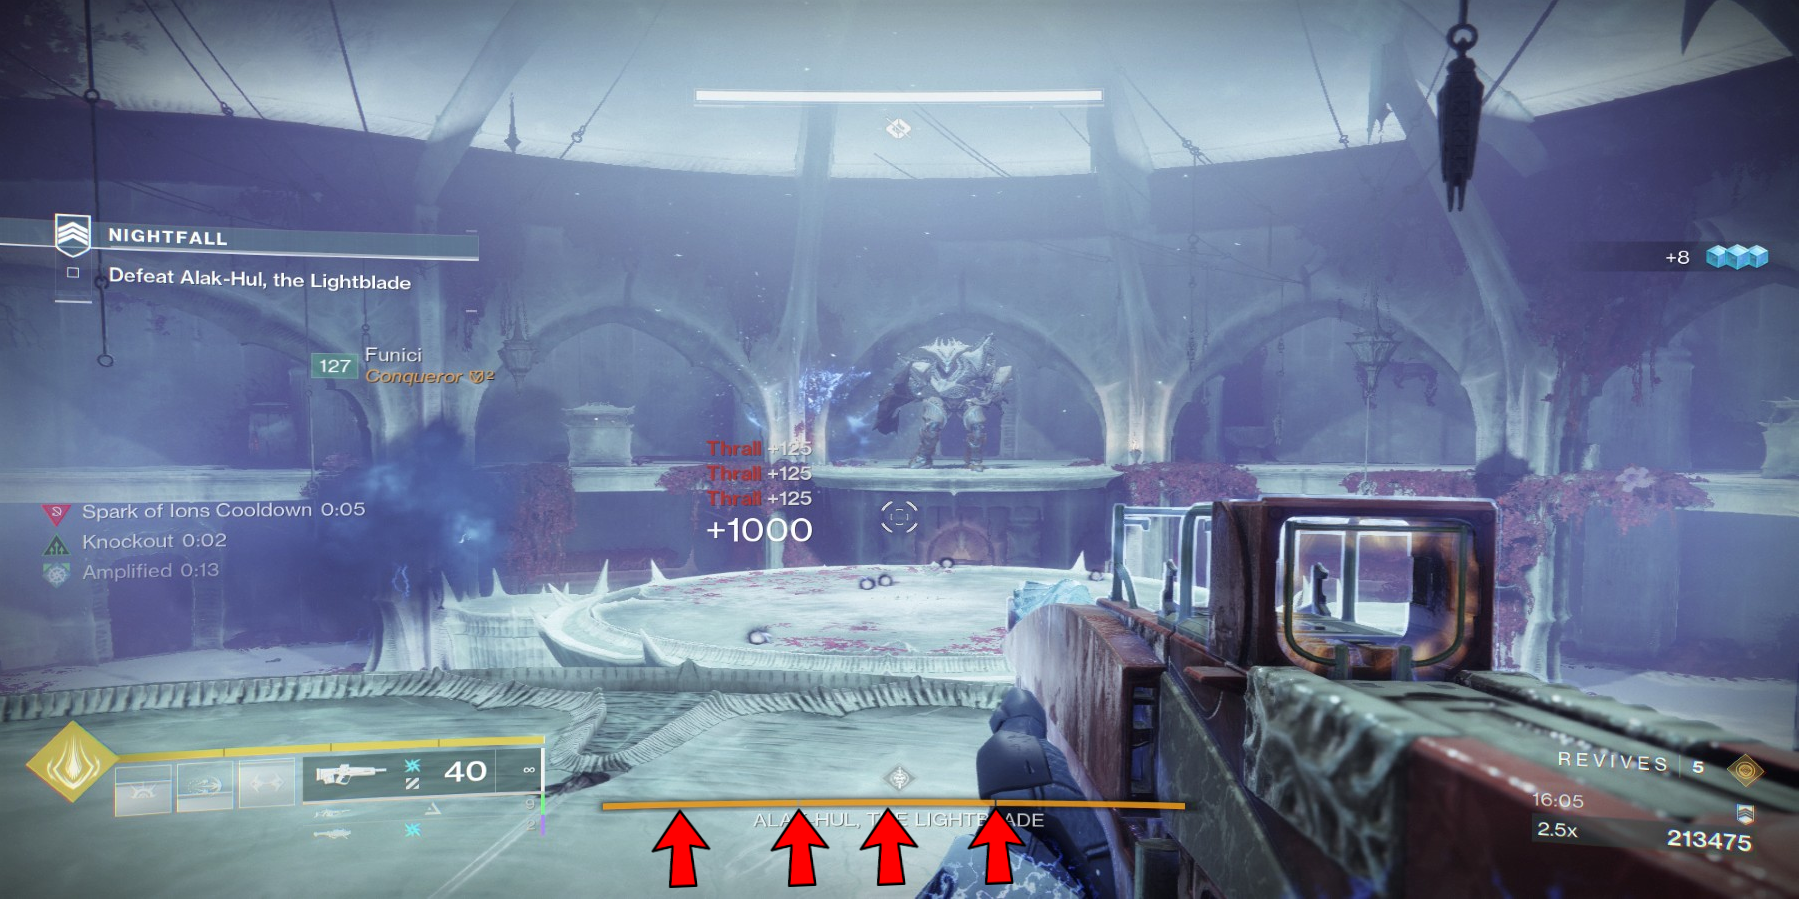
Last but certainly not least, the Lightblade himself. This boss fight must be done in a specific order; otherwise, it's game over. Notice the arrows in the picture above. These arrows indicate when groups of enemies will begin to spawn, including Lucent and Anti-Barrier Knights, after a certain amount of damage is dealt to the boss.
Players must keep tight coordination regarding when to deal damage to the boss and when to group together to defeat the Knights quickly. After the first health bar is depleted, the Lightblade will become increasingly aggressive and run after players.
The best recommendation (aside from running like crazy) would be to always remain on the opposite side of the boss. If the boss is on one side of the room, the fireteam should be on the other. Players cannot outrun the Lightblade, as he'll either swing his axe and kill them or shoot his Arc blasts and one-shot them.
Players must always be aware of its health bar to defeat the Lightblade with the most efficiency and safety. If they can coordinate and use proper teamwork with the above-mentioned strategies, they can beat the Grandmaster Lightblade Strike in the Season of Plunder of Destiny 2.
Destiny 2 is available on PC, PlayStation 4, Xbox One, PlayStation 5, Xbox Series X/S, and Stadia.

