Highlights
- Destiny 2's Final Shape campaign introduces challenging battles with new Dread enemies utilizing Darkness abilities.
- The final encounter against the Witness and its army in Destiny 2 is one of the toughest in any campaign.
- Players must juggle multiple mechanics in the final phase against the Witness, making it a multitasking nightmare or dream.
Destiny 2's Final Shape campaign is chock-full of exciting and intense encounters, and those battles only grow more challenging for those who enjoy the campaign on Legendary difficulty. With the introduction of the new Dread enemy faction in The Final Shape, players are pitted against foes they have never encountered before — foes who can very masterfully utilize the power of Darkness in the form of Strand and Stasis abilities. While players are required to hold their own throughout each fight in The Final Shape's campaign, the last encounter against the Witness and their army is arguably one of the toughest final bosses of any Destiny 2 campaign.
Although the Witness is technically the last boss in the campaign for Destiny 2's Final Shape expansion, players won't actually defeat them, as that battle is reserved for the new Salvation's Edge raid. Even so, the encounter is extremely challenging, and that is primarily due to the overwhelming number of mechanics players are required to keep track of throughout the fight. As such, the last encounter for Destiny 2's Final Shape campaign ends up being either a multitasking nightmare or a multitasker's dream.
Why Destiny 2: The Final Shape's Emphasis on the Guardian-Ghost Bond Matters More Than Ever
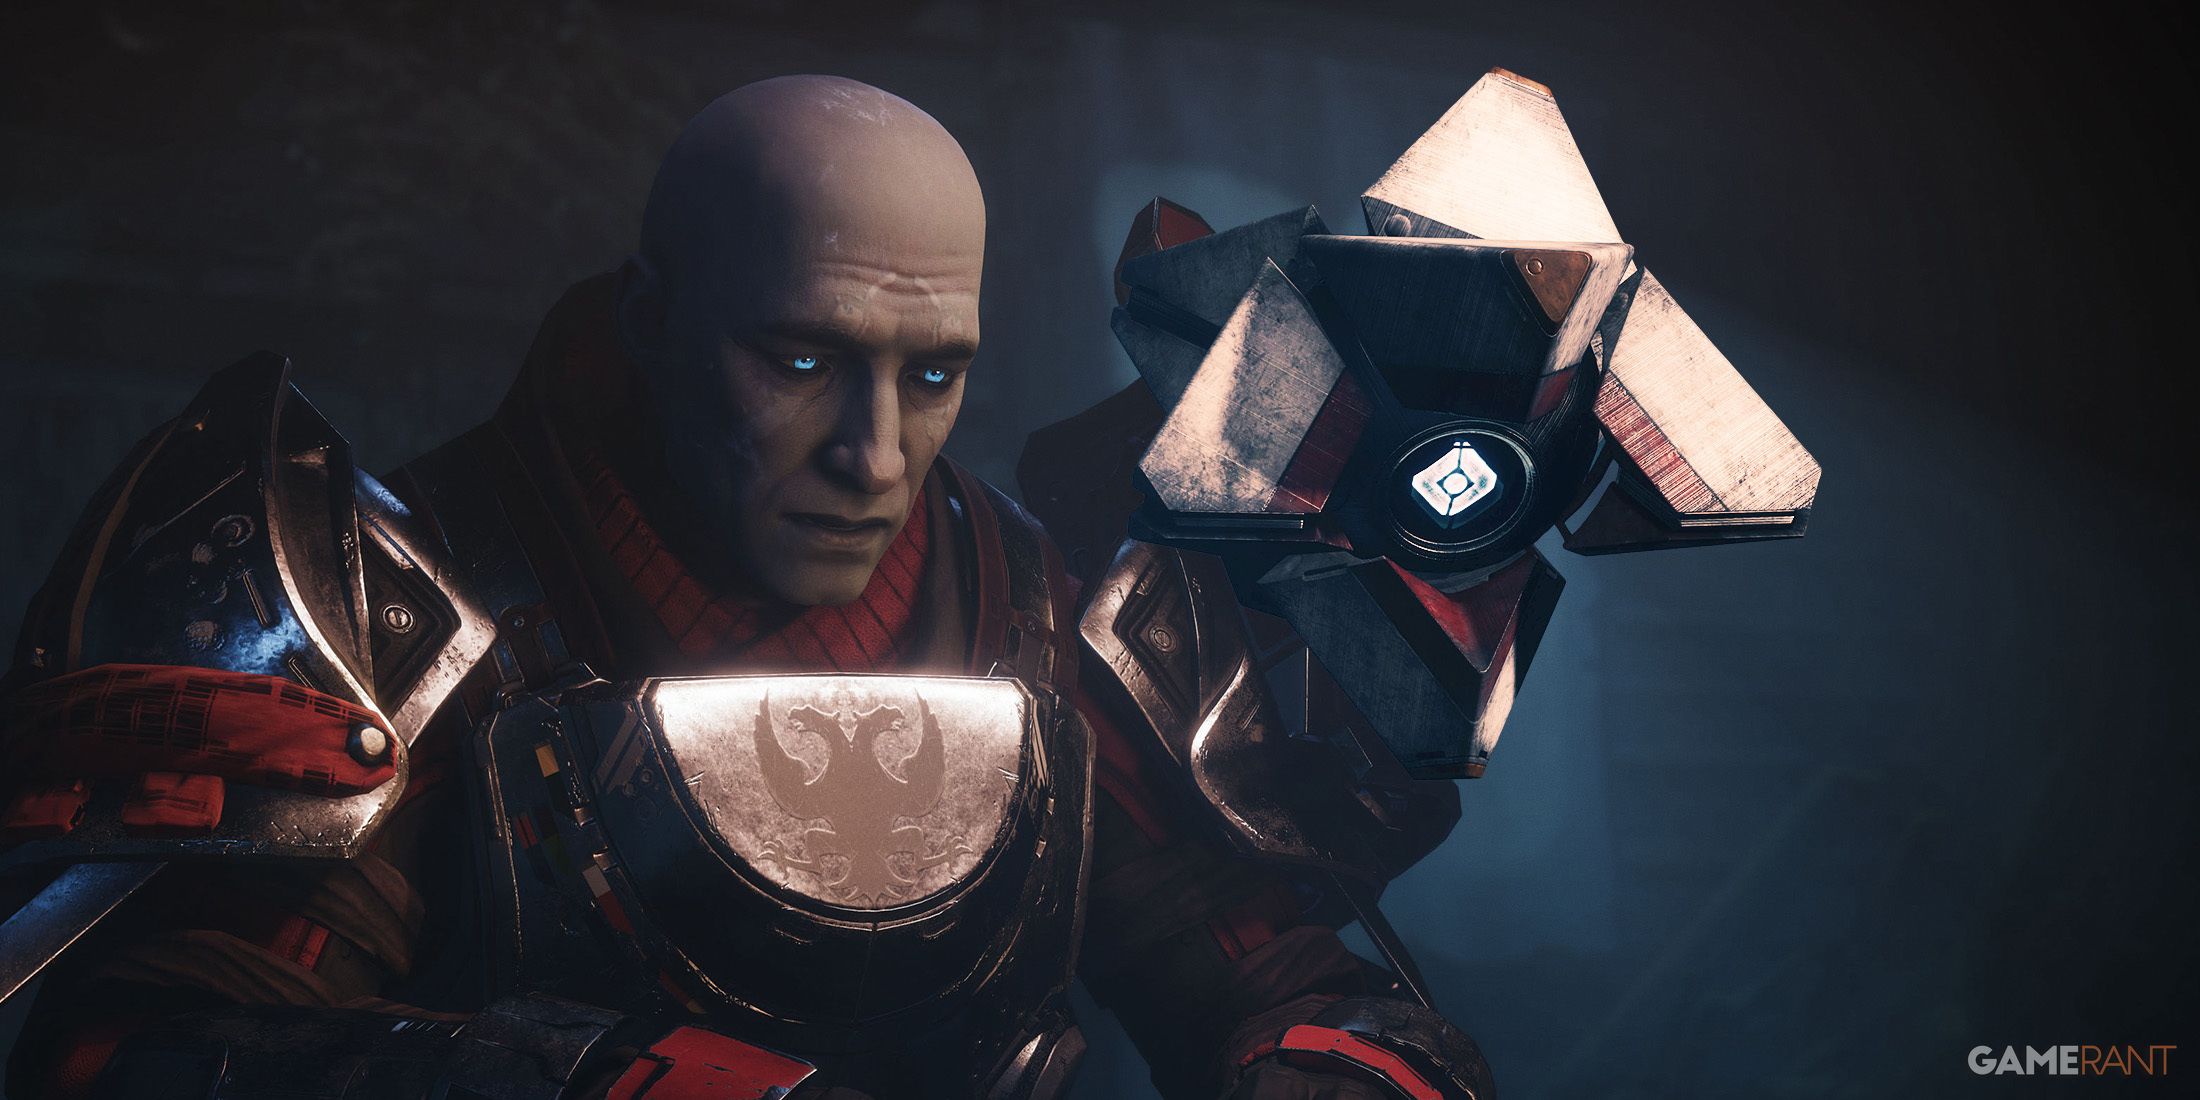
Destiny 2: The Final Shape brings Ghosts to an unprecedented role of prominence in its campaign, shedding light on the bond they share with Guardians.
The Last Encounter of Destiny 2: The Final Shape's Campaign Is a Juggling Act
The First Phase of the Fight Is Tough
Almost every major boss fight in Destiny 2 has unique mechanics for players to learn, but the encounter with The Witness at the end of The Final Shape's main story is on an entirely different level. During the first phase of the fight, players will learn right away that The Witness will regularly move around the arena and unleash a powerful attack that can one-shot them if they are exposed to it. This mechanic continues throughout both phases of the fight, making everything else players need to pay attention to all the more difficult to manage.
Shortly after the encounter begins, Dread enemies like Attendants and Grim spawn around the arena, frequently launching ranged attacks that can potentially damage, suppress, and immobilize players. Players can only deal damage to the Stasis-wielding Subjugator that eventually appears, which means that while players are attempting to deal damage to the Subjugator, they also have to evade attacks from The Witness, the Subjugator itself, Attendants, and Grim. After the Subjugator is brought down to half of its health, it becomes invulnerable. Players must then grab a nearby Aegis, use it to destroy the Subjugator's shield, then move to a Light fissure and use the Aegis to defend themselves against a brief whirlwind of darkness.
The Second Phase of the Fight Is Worse
As if the first phase of the fight against The Witness wasn't hard enough, the second phase is where things get irritatingly difficult. During this phase, Darkness now permanently swirls around the arena and will damage players if they don't get a temporary "Shielded from Darkness" buff from a nearby Darkness seed. In addition to regularly keeping this buff up, players are required to rinse and repeat what they did during the first phase, only things are much more chaotic now.
Another Subjugator appears, but this one can use Strand abilities to briefly suspend players. Alongside this Subjugator are Weavers, who can also use Strand to pull players toward them. All of this combined, players are required to deal damage to the Subjugator while maintaining the "Shielded from Darkness" buff at all times, evading attacks from the Witness, avoiding suspension and grabs from Weavers, using the Aegis to destroy the Subjugator's shield when it appears, and then shielding themselves from the Darkness in hopes that their "Shielded from Darkness" buff won't run out once the whirlwind is over.
All of these mechanics certainly make for an exciting last encounter in The Final Shape's campaign, although some will likely find it frustratingly difficult. Even so, rewards await players on the other side that are more than worth the effort.

