It was a big weekend for Destiny 2 Shadowkeep players as the newest raid called Garden of Salvation launched and kicked off a major race with the fanbase. Ultimately, it was Clan Ascend that came out on top, taking home the belt, rewards, and the title of World First. While not everyone will be able to partake in the raid, its completion benefits the entire community as it actually unlocked the first exotic quest this season.
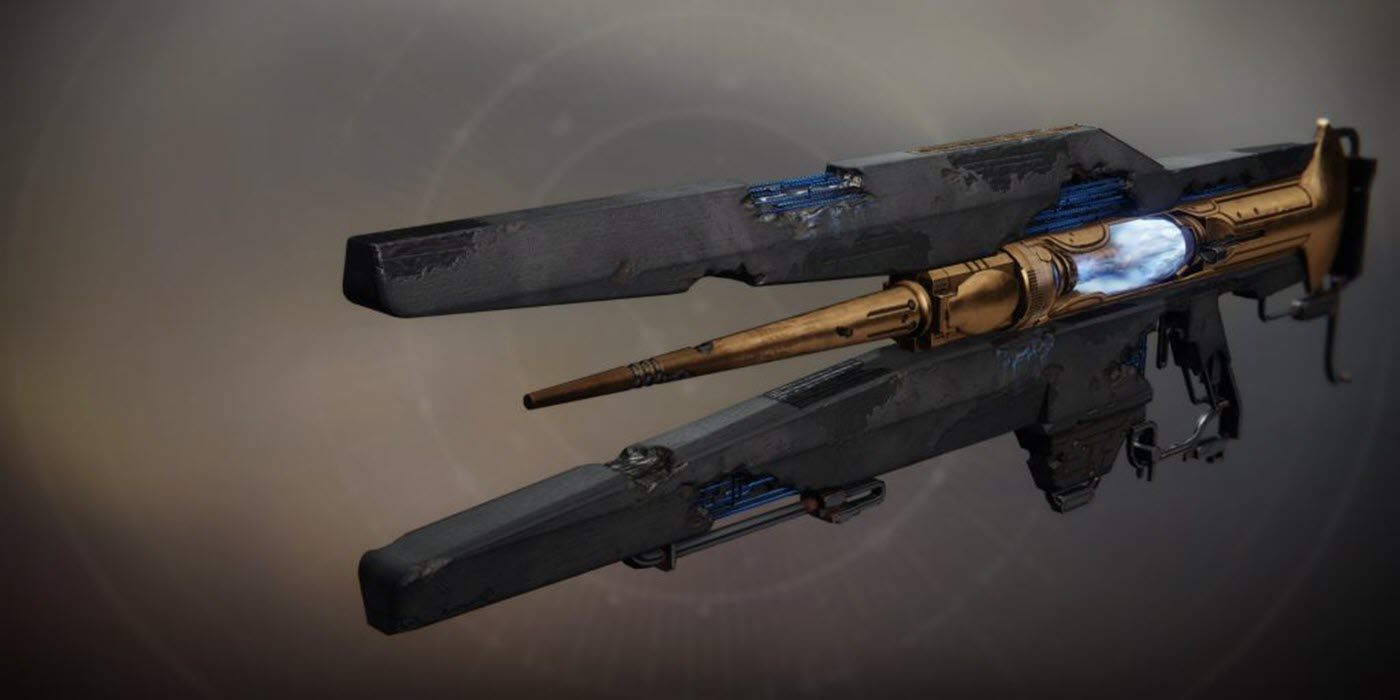
Players have started to find the Divine Fragmentation quest, which ultimately leads to the Divinity exotic trace rifle. As expected, the quest itself is a multi-step process that will eventually take players into the Garden of Salvation raid itself. Here's how to unlock the new exotic for Destiny 2: Shadowkeep.
Interested players should head to the Sorrow's Harbor spawn point on the Moon, and start heading to the southeastern corner of the zone towards the entrance of the new Vex-centric raid. On the minimap, the location looks like a little pathway on the southern part of Sorrow's Harbor. Follow the narrow cave path until eventually coming to the Vex gate where three waves of Vex enemies spawn in. The final wave also includes a boss fight against Zeteon, Redemptive Mind who drops the exotic quest once defeated.
It's at this point that the real grind begins. Here are the quest steps to follow:
What's This...What's This?
The first quest takes players to Nessus to find hidden objects inside of three Lost Sectors which ultimately fully analyze the core. The first is The Orrery in Artifact's Edge. Before going up the stairs to the main boss, players should jump up and into a small alcove on the left side, where some Vex are waiting and the first analyze point.
The second Lost Sector to visit is Ancient's Haunt on the western side of The Tangle. Near the mid point there's a small cave that appears on the left side of the level. Analyze the point and fight off a small wave of vex.
The final Lost Sector is The Conflux in the Cistern zone. The entrance is near the big Vex waterfall and the analyze beacon is in a room off to the right side of the level before heading to the back where the Cabal boss waits. Players will need to jump up to the middle structure and look for an opening on the wall to the right. Once again, analyze the point and kill Vex to finish this quest step.
Defragmentation
This step requires 120 decryption cores, though it unfortunately doesn't reveal how to get them. Thankfully, it's fairly easy as players simply need to kill Vex enemies to get these items to drop. This can be done on any destination, but for the most efficient progress, players may want to take part in the new Vex Offensive missions or find a Vex Invasion event on the Moon.
Core of Nightmares
Next, players will need to empower the core by obtaining 30 Phantasmal Fragments at the Lecturn of Enchantment near Eris at the Sanctuary fast travel point. Players can either find them from defeating Nightmare enemies or they can also be purchased directly from the Lecturn by spending Helium Filaments. Once 30 are gathered, the Empowered Decryption Core can be purchased.
Key to Divinity
The next step may be the breaking point for many players, as it requires them to head into the Garden of Salvation to essentially solve seven puzzles. All of them should be completed in the same run, so players won't be able to finish a couple and come back at a later date to do the rest. The first piece is to jump back off the initial spawn platform to find an opening under it. Inside is the node to begin th quest. Players should see a Security bypass protocol message if done correctly. Platforms then appear to take the fireteam back up to the spawn point.
Puzzle 1: Before the first encounter, after running up a long staircase, turn around to find two tiny alcoves on each side of the big Vex circular structure. Facing the staircase, the left side has the start point while the right is the finish. Drop to the lower ledge to find a device that needs to be tethered from each player to link to the other side. Players need to form a zigzag pattern so the orange tether can go through each player to the end point. The message Singular security bypass appears once successful.
Puzzle 2: After the first encounter and the loot chest, players should turn around and drop down onto the right side of the area on what appears to be flowered ledge. Look for a tree with pink leaves as there's a tiny cave next to it that holds the next puzzle. Again, players will need to chain a tether to get from one section to another. The area players fall into is the end point so leave one player there and take everyone through the hole to the starting location. This one is fairly tricky so consult the video for proper fireteam placement.
Puzzle 3: Found after the first encounter when players come across the platforming section. In the room there's a massive branch that's coming out of the ceiling on the right side. Climb up to it where the shootable pods appear to find the starting tether point. Six nodes appear in this area and the goal is to guide the tether to each one. Leave 1 player at the lower section next to the box and position 2 and 3 together with 4, 5, and 6, together away from the group towards the further nodes. Consult the video for the positioning from there.
Puzzle 4: After the third encounter, players will find a small hallway with a jumping puzzle that looks similar to the Whisper of the Worm quest. The node appears on the western side and activating it spawns another 6 nodes similar to Puzzle 3. The goal here is to tether all 6 players and then move as a group to the nearby nodes. Carefully position each player so that all nodes are lit up. One technique would be to make a ring around the pillar but be careful not to break line of sight.
Puzzle 5: Located in the same area, the fireteam will once again all need to be tethered and then get across to the other side of the jumping puzzle hallway. If line of sight is broken, the node will need to be activated again. Instead of jumping across, the easier method is to take the path next to it. At this point, exploding harpies appear in the path, so players will need to get them to self destruct without dying. Once defeated, the nodes can be lit up fairly easily.
Puzzle 6: This penultimate puzzle takes place after the third encounter and the Wall Climb section of the raid. While heading towards a bunch of waterfalls near the back of the area, players will need to enter a small cave between two of the waterfalls. The start node is down to the left side which needs to be shot in order to spawn the end node. This can be found near the start up on the wall. The trick here is to make the tethers about as long as they can be without actually breaking. Form a big line from one end to the other without breaking line of sight.
Puzzle 7: The final puzzle takes place in the same room where the fireteam began puzzle 6. Six plates appear on the ground and when the puzzle is started, players need to replicate the new pattern on the ground quickly. Datto's advice here is to assign everyone a number and have them move in the correct order as the pattern appeared. Repeat the process by matching the pattern seven times to finish the puzzle.
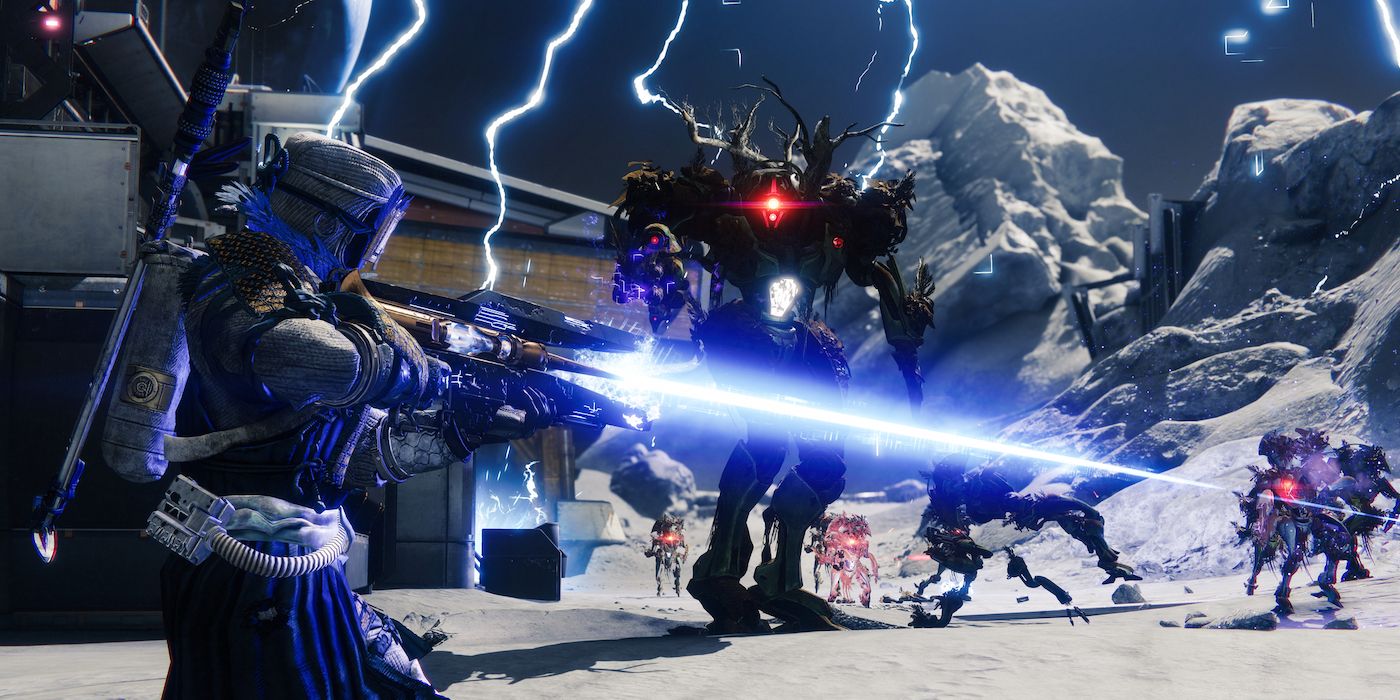
With all seven puzzles finished, a new message appears indicating that all security has been bypassed. The weapon can only be obtained after defeating the final boss of the Raid. The new message "The Unknown Artifact's signal ends here..." appears and opening the chest reveals the Divinity trace rifle. Its intrinsic perk is called Judgement, which essentially creates a giant critical hit spot with sustained damage.
Destiny 2: Shadowkeep is available now for PC, PS4, and Xbox One, with a Stadia version also in development.

