Quick Links
While Isaac was able to prevent the Ishimura from falling out of orbit in the third chapter of Dead Space, a new problem occurs in the fourth chapter. There is a significant amount of rocks and other debris floating around the Ishimura, and the ADS that would normally take care of it is offline. Just a few hits from some larger asteroids would be enough to destroy the Ishimura and kill any remaining survivors.
This chapter has seen some significant changes from the original version back in 2008, so here is what Dead Space players can expect as they go through the fourth chapter, Obliteration Imminent.
This walkthrough contains spoilers, so players should proceed with caution.
Backtracking With the Tram
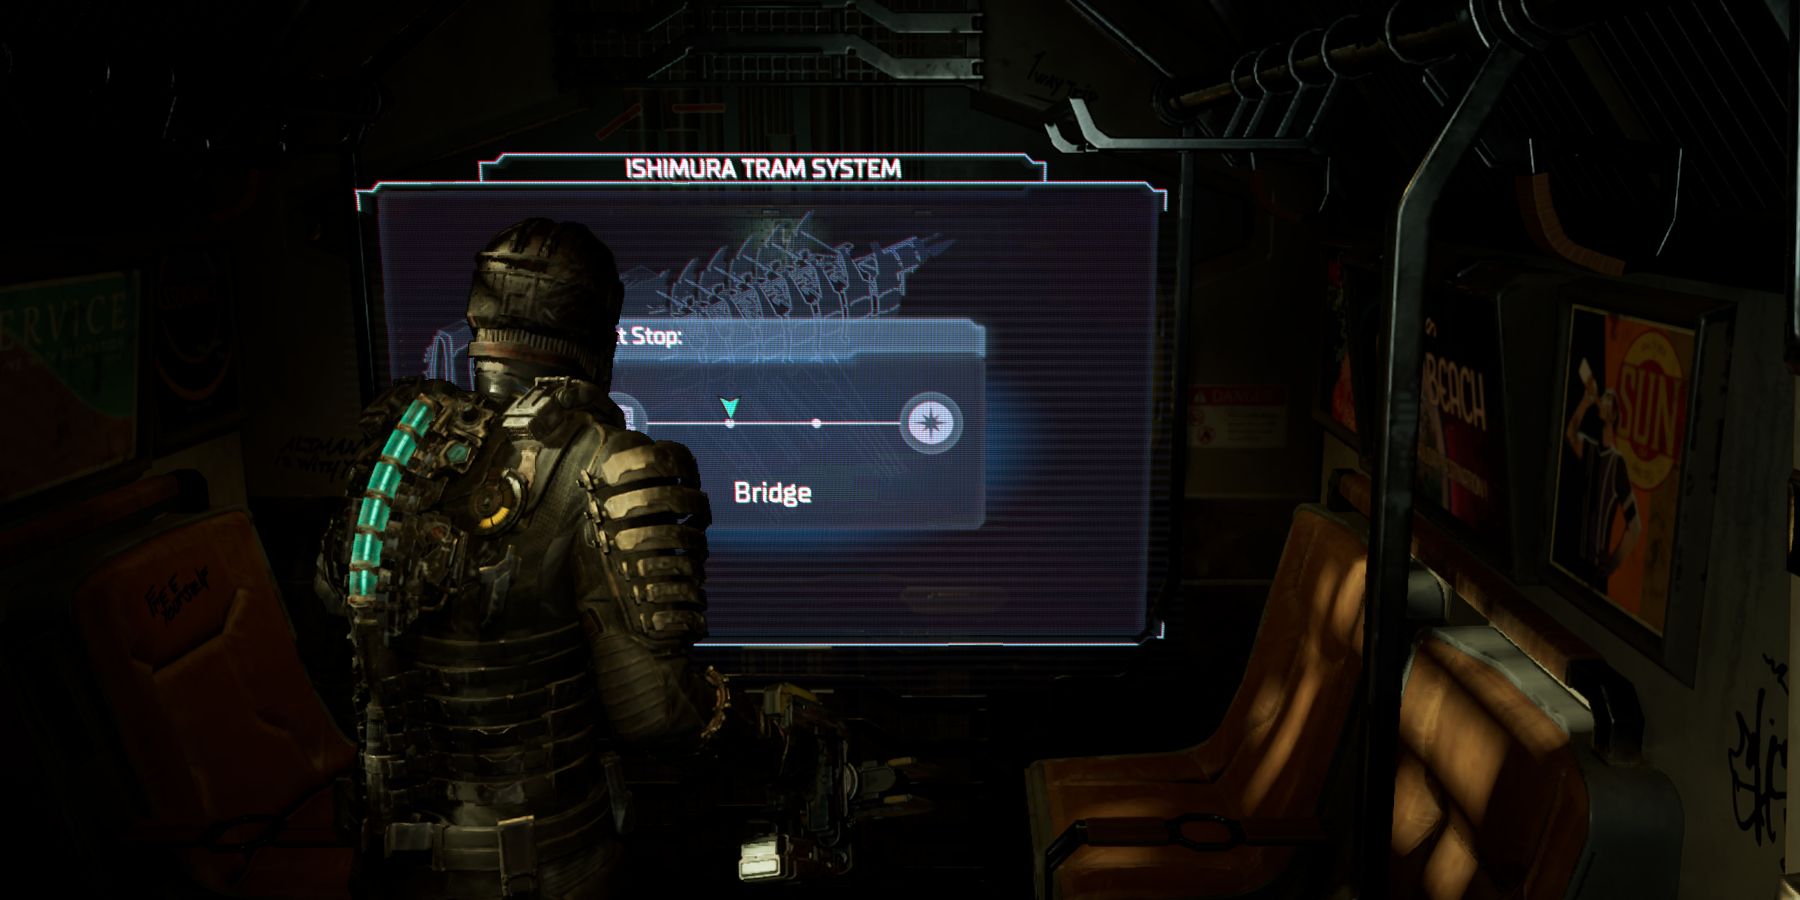
While the first objective of the fourth chapter is to meet with Hammond at the Captain's Nest. Before using the tram to go to the Bridge, players may want to take this time to back track and pick up anything they may have missed. When returning to previously explored areas, the Intensity Director will kick in. What this means is that the game will randomly adjust the environment, lighting, and enemy spawns when players backtrack. As a result, what players experience when backtracking may differ from what was encountered during this walkthrough.
Meet With Hammond
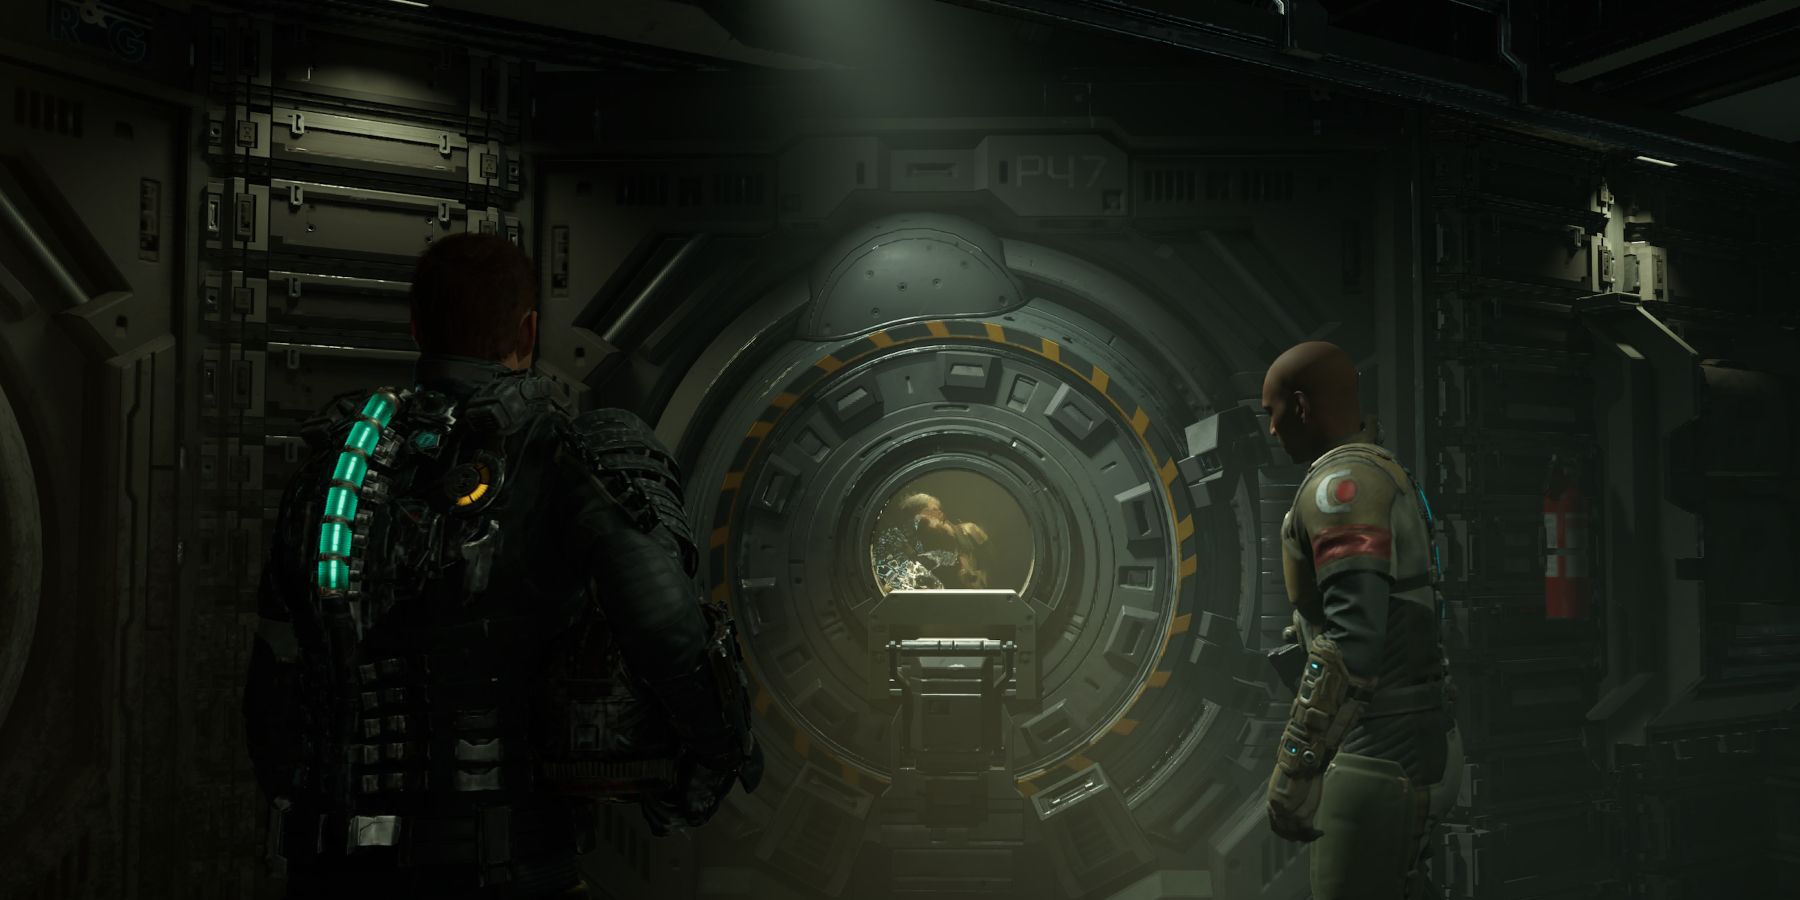
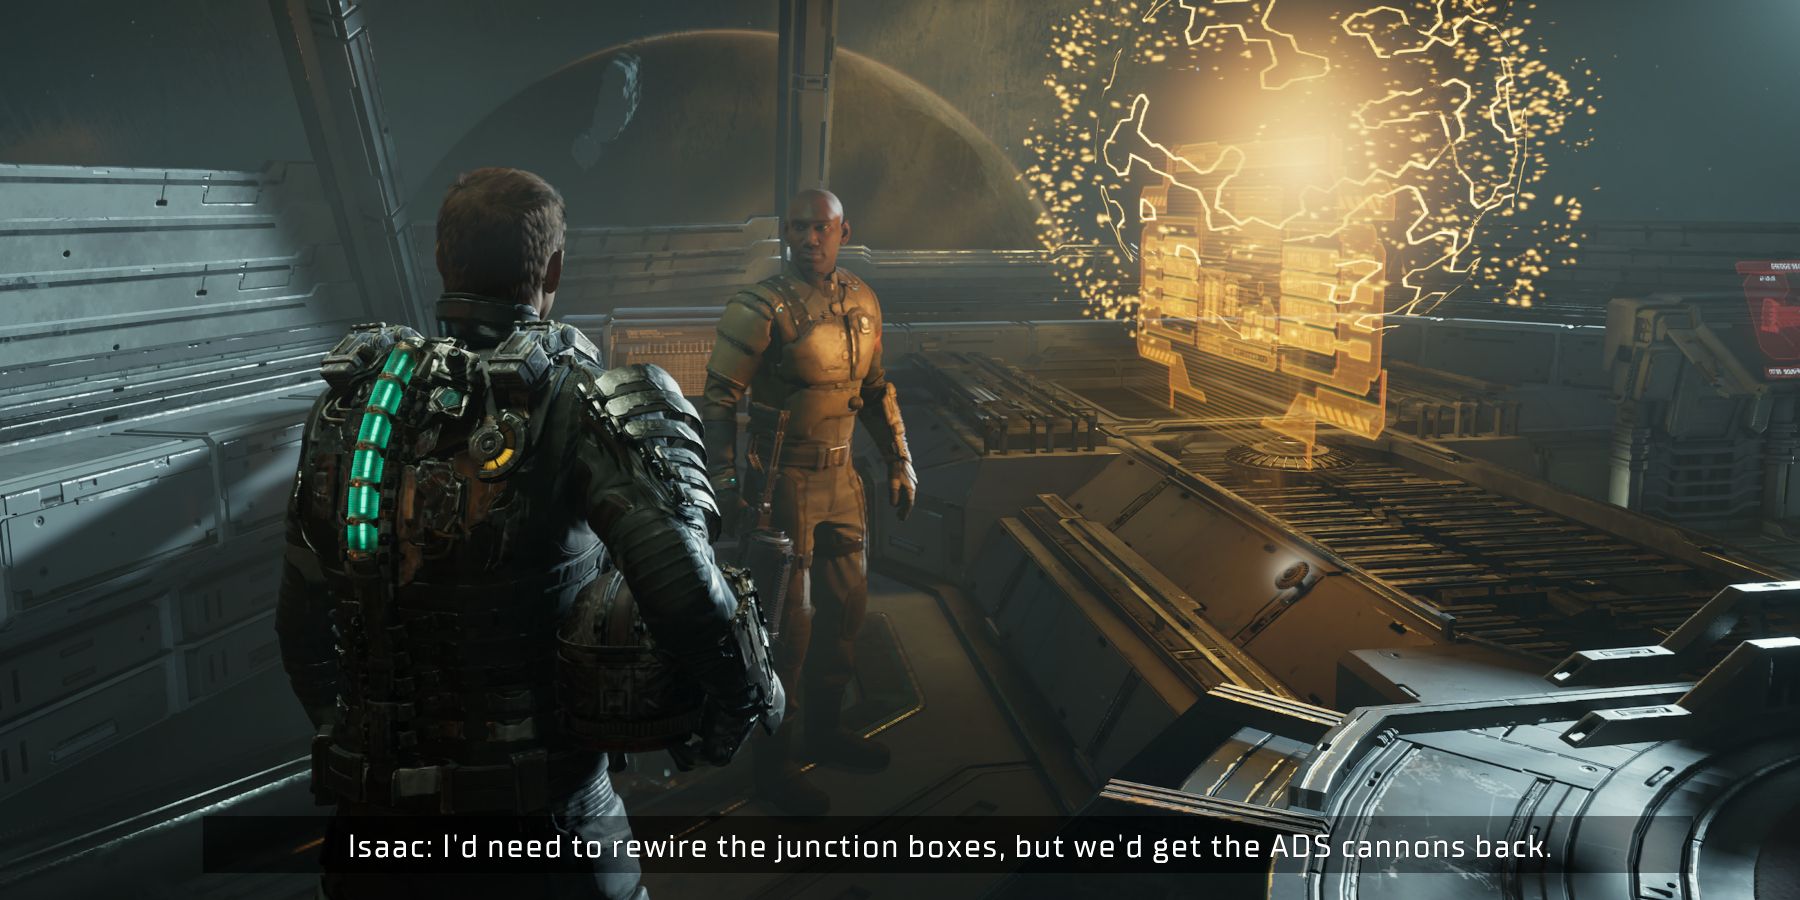
When ready, go to the Bridge and prepare for a jump scare along the way as a giant arm breaks through a window. Keep moving and go down the stairs near the save point to reach an elevator that leads to the Captain's Nest. A brief cutscene will play where Isaac takes off his helmet and talks to Hammond about how to fix the ADS. Isaac will need to find three separate junction boxes and reroute power to the ADS Cannons. As the cutscene ends, players will have their security clearance upgraded to Level 2.
How to Beat the Brute
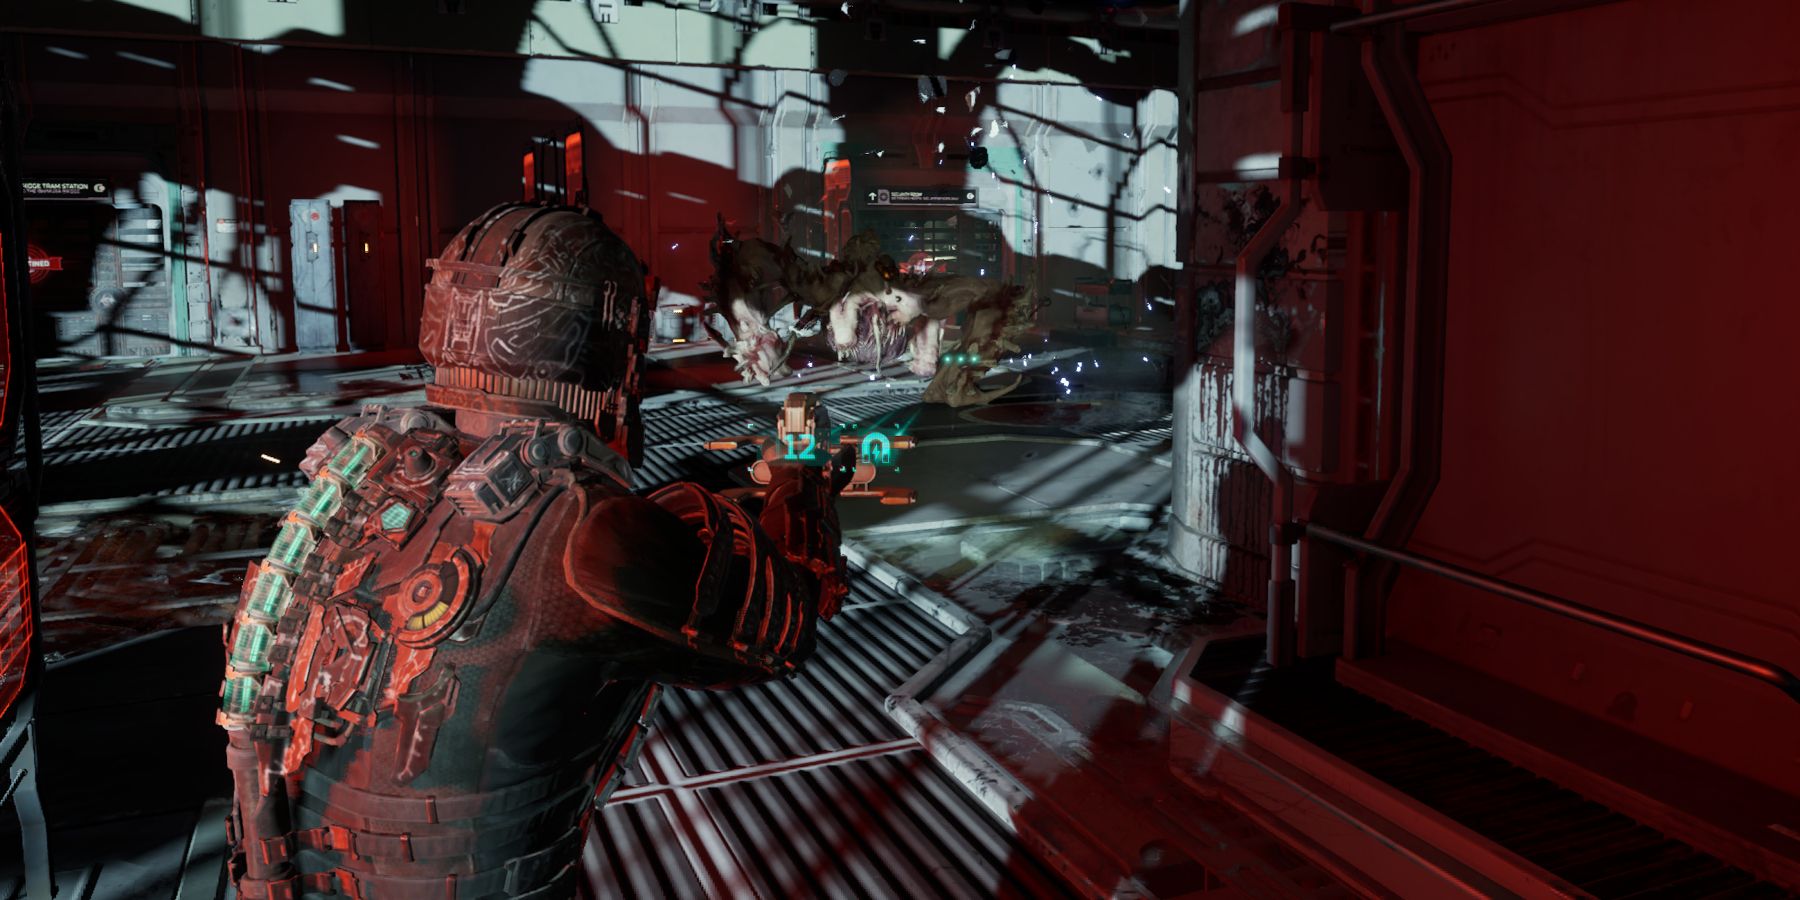
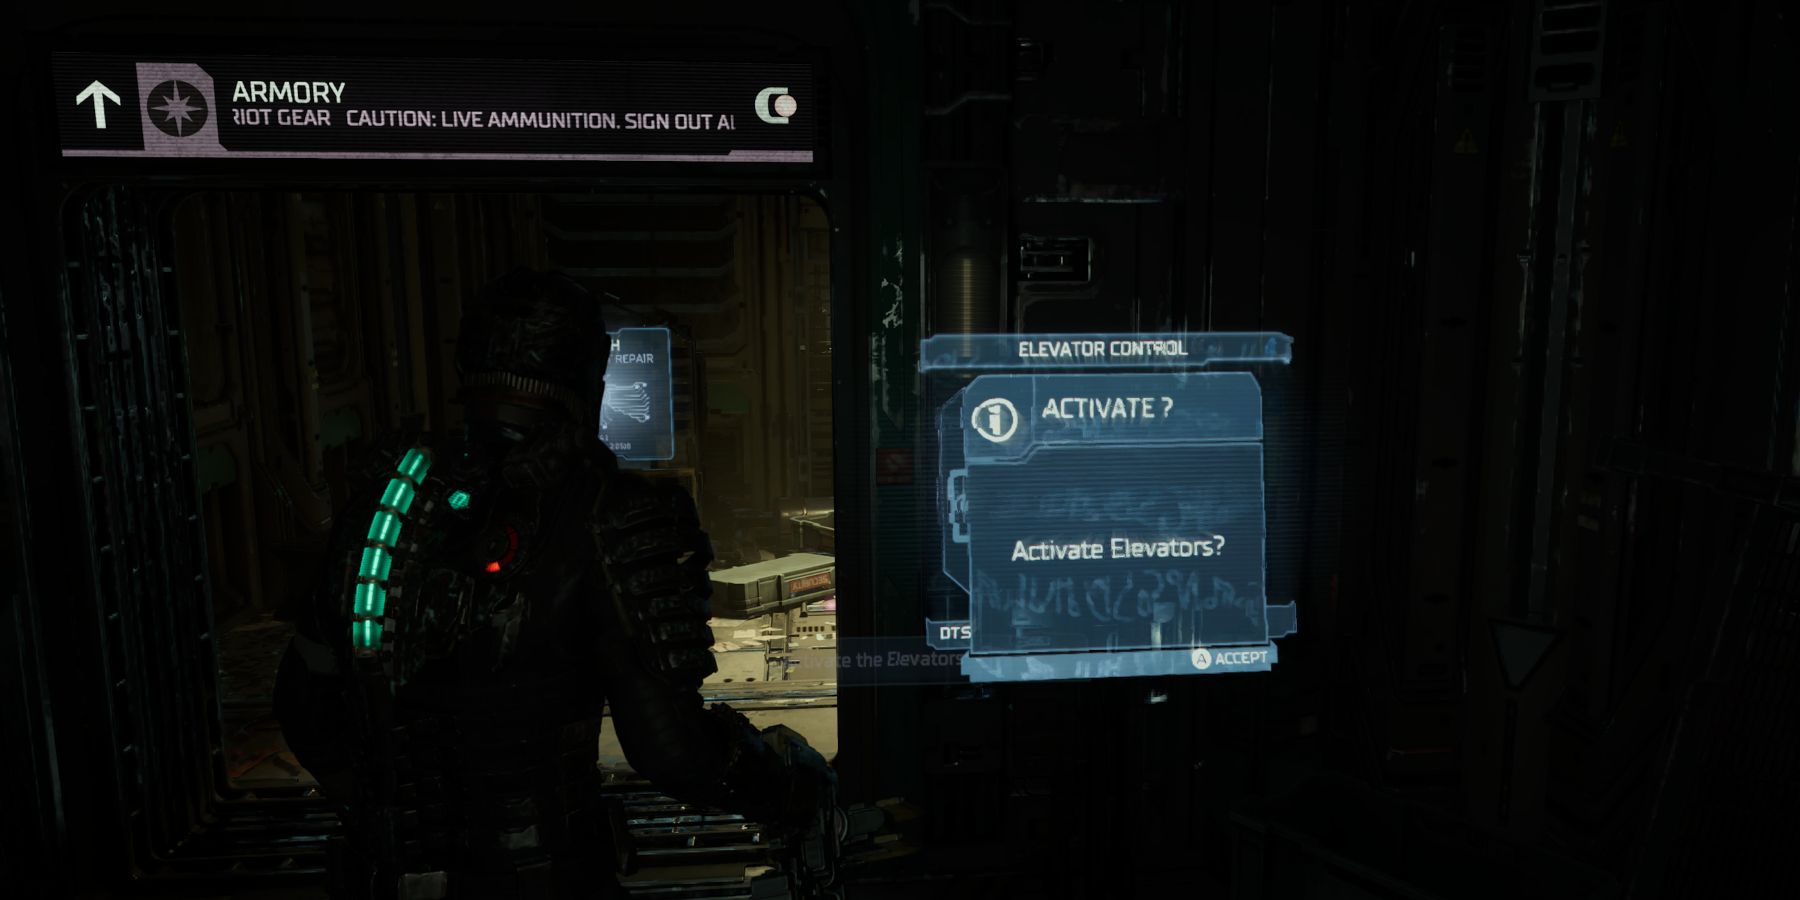
In order to reach the junction boxes, players will need to activate the elevator. Before players are able to do this, they get attacked by a large Necromorph known as the Brute. In order to defeat the Brute, players must slow them with stasis and then get behind the Brute. While it is still slowed, aim for where the long arms connect to the body and shoot at that spot. Depending on difficulty, this may need to be repeated several times. Avoid getting hit, as the Brute does a lot of damage. Upon killing the Brute, players will unlock an achievement/trophy.
After killing the Brute, go into the room that it emerged from. Inside this small room is the terminal that activates the elevator. Before leaving, enter the room next to the terminal to find a video log and a Bench. Use this Bench to upgrade weapons like the Plasma Cutter or Isaac's Suit as needed. Then go back out to the elevator and use it to go to Floor 2. While following the locator to the first junction box, Dead Space players will come across a door that requires Level 2 security clearance. Inside this room is a weapon called the Contact Beam.
Watch Out for Electrified Floors
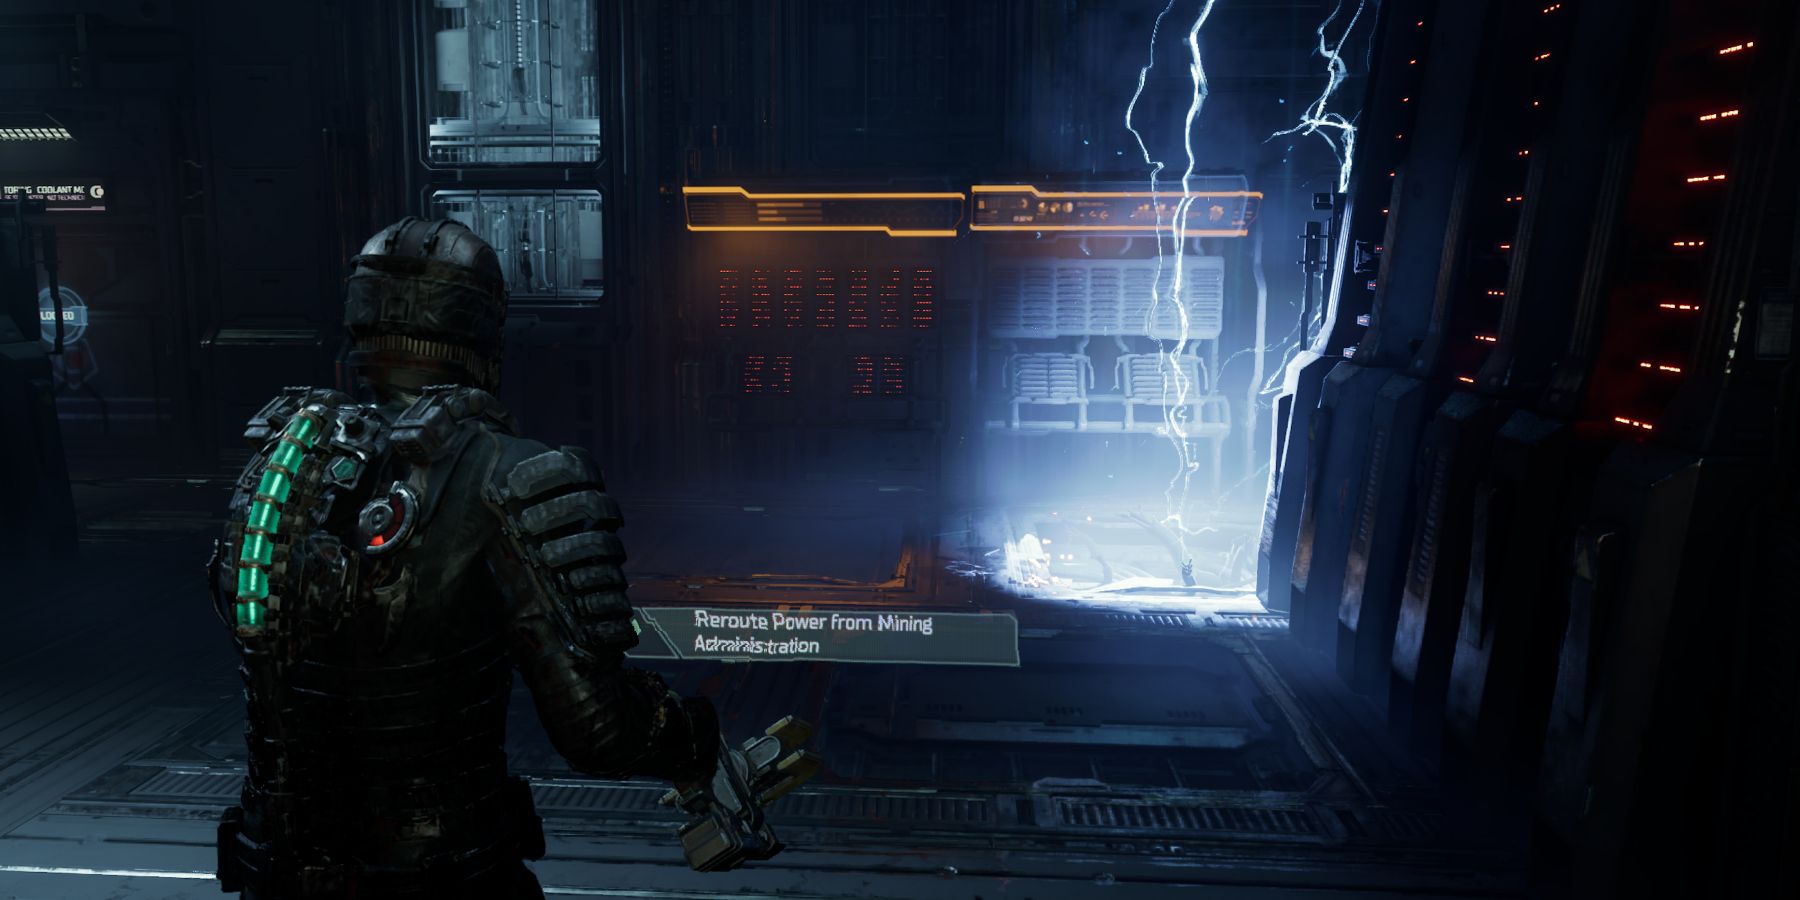
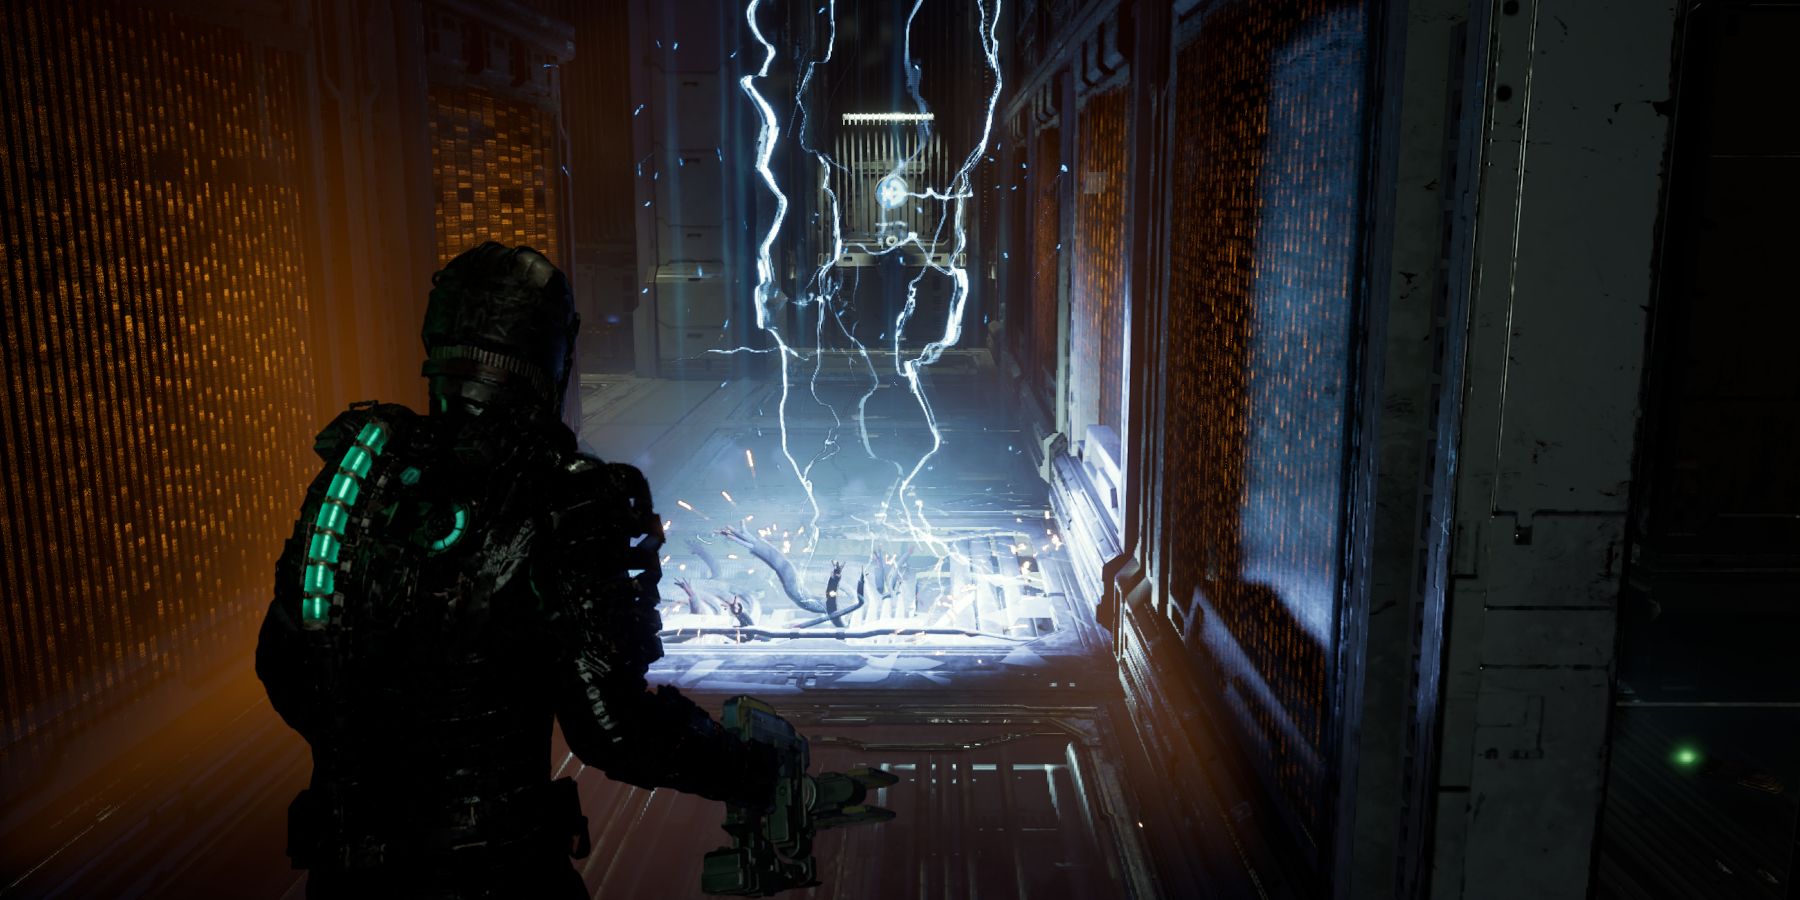
In the original game, players had to avoid stepping on parts of the floor, or they'd get launched up toward the ceiling and be killed instantly. In the remake, these hazards have been replaced with section of floor that periodically shoot out electricity. When electricity is arcing upward, do not stand on these floor tiles. If a Necromorph wanders across one of these floors when the electricity is active, they will get instantly killed.
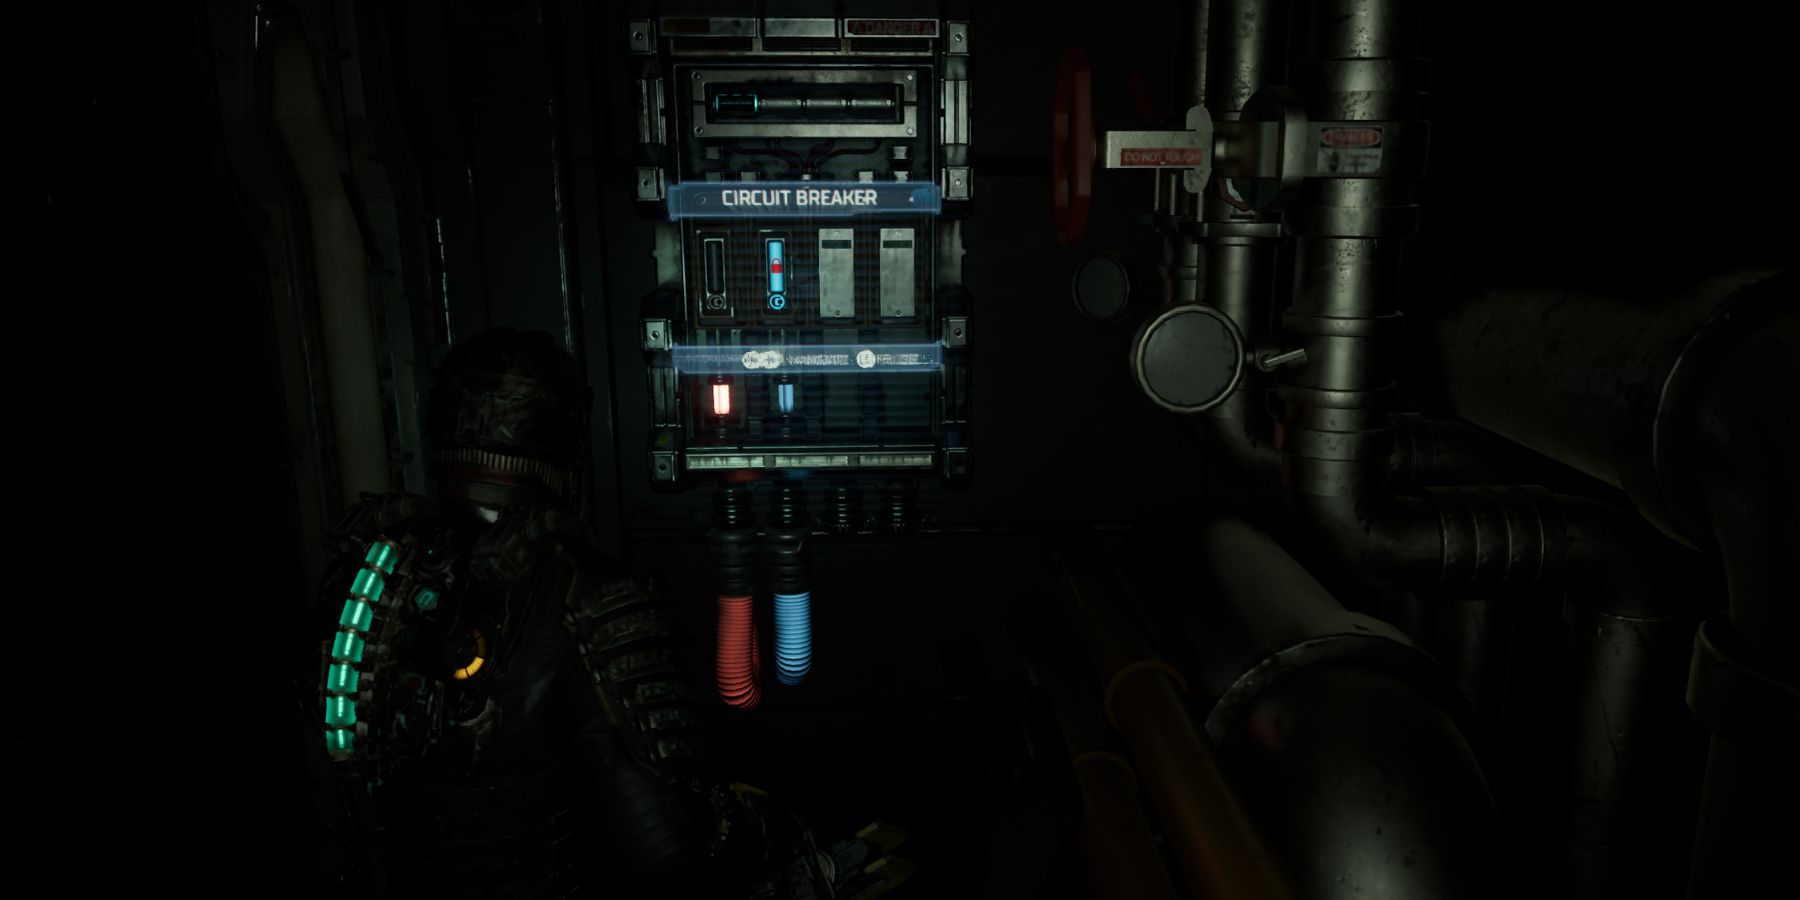
While this can help players save some ammo, they will need to be mindful of where these electrified floors are at all times. While fighting Necromorphs, it is very easy to forget about one of the electrified floor panels and accidentally back into one. To avoid this, players should be aware of their surroundings. Carefully navigate around the hazards and use the circuit breaker to redirect power to the ADS cannons.
Before going back to the elevator, look around for doors that require security clearance to open. Go inside one of these rooms and shoot the fuse. This will give players access to another room in the same area that contains a Power Node. When ready, go back to the elevator and head to the third floor.
Follow the locator until eventually coming to a room where the only way forward is by walking across the electrified floor panels. Wait until the electricity stops arcing, and then quickly run across. In this area, players will have to fight another Brute. Use the same strategy as last time to defeat it. Be very careful of positioning here, as trying to dodge the Brute without paying attention can result in accidentally wandering onto an electrified floor tile.
How to Get Past the Electrified Cables
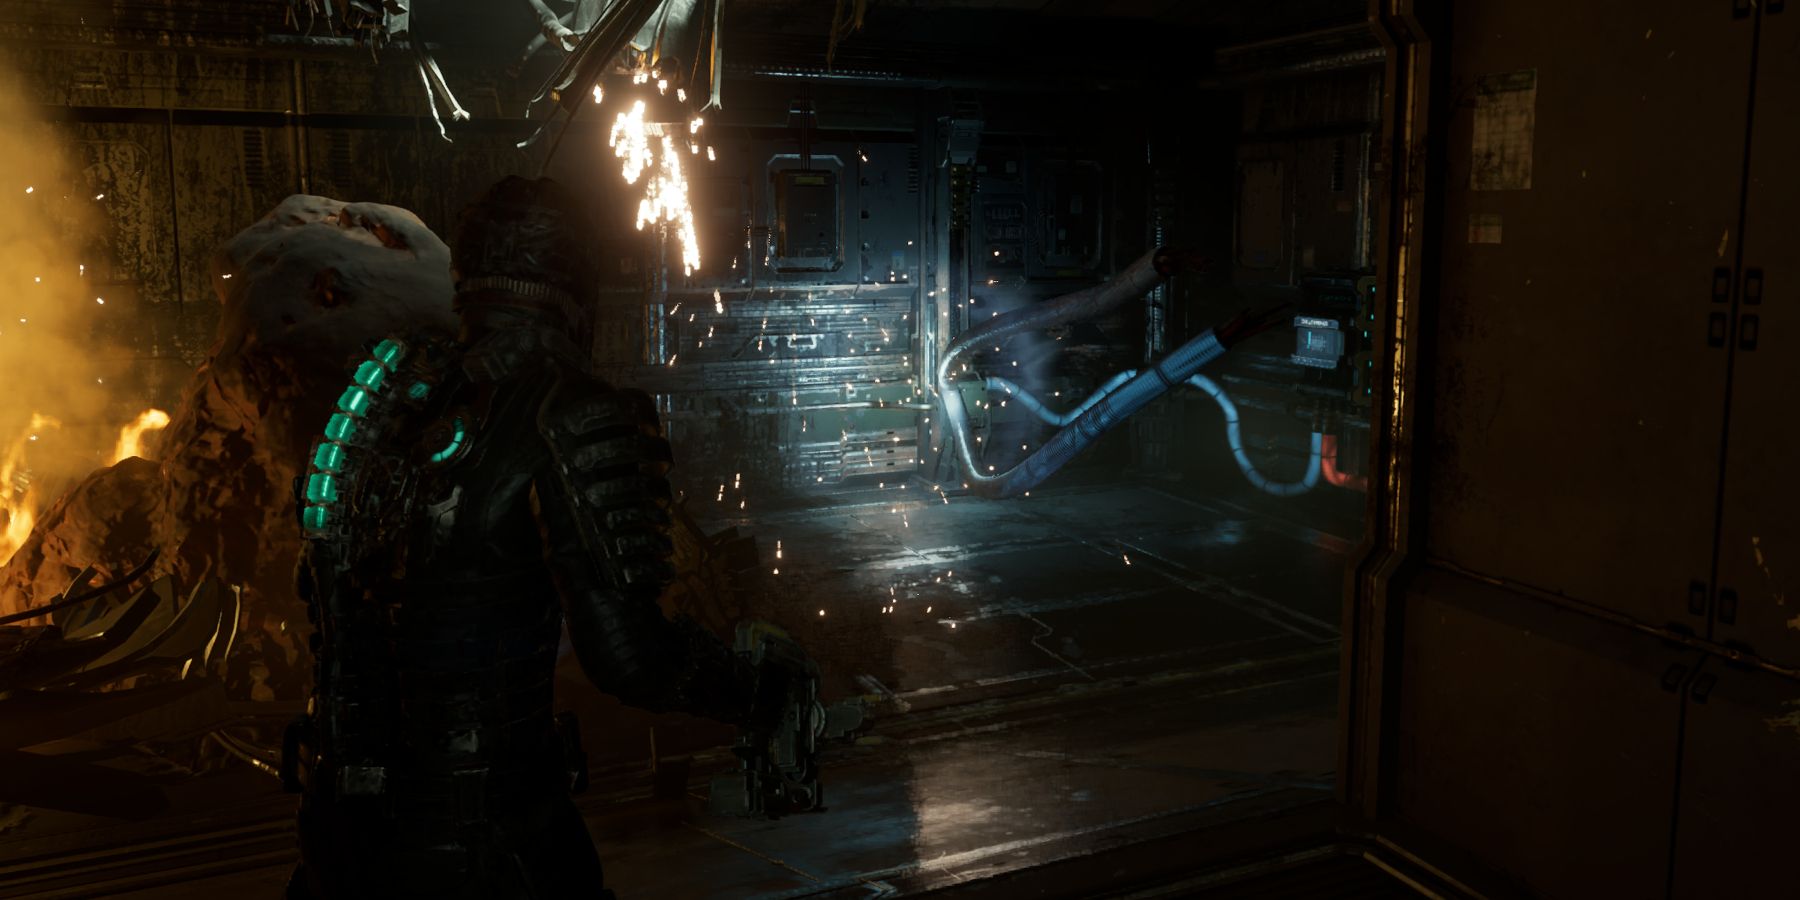
As players approach the next junction box, they will see electrified cables flailing around. In order to safely reach the junction box, players must use stasis on the cables and run toward the circuit breaker. Quickly turn off power to the cables and then divert that power to the ADS.
After this, return to the elevator and go back to the first floor. The elevator that leads to Water Purification is now unlocked, allowing access to the third and final junction box. Follow this path and deal with any Necromorphs that get in the way. Upon reaching the last junction box, divert power to the ADS.
Unfortunately, the ADS cannons have somehow lost auto-targeting. In order to fix this, Isaac will need to go outside and calibrate the cannons by linking them with one of his tools. Before going outside the ship, head to the EVA Prep Room. Inside this small room is a schematic for a Level 3 Suit. It costs 20,000 Credits, but the upgrade to armor and inventory space will make it worth it. When ready, go outside to calibrate the cannons.
How to Calibrate the ADS Cannons
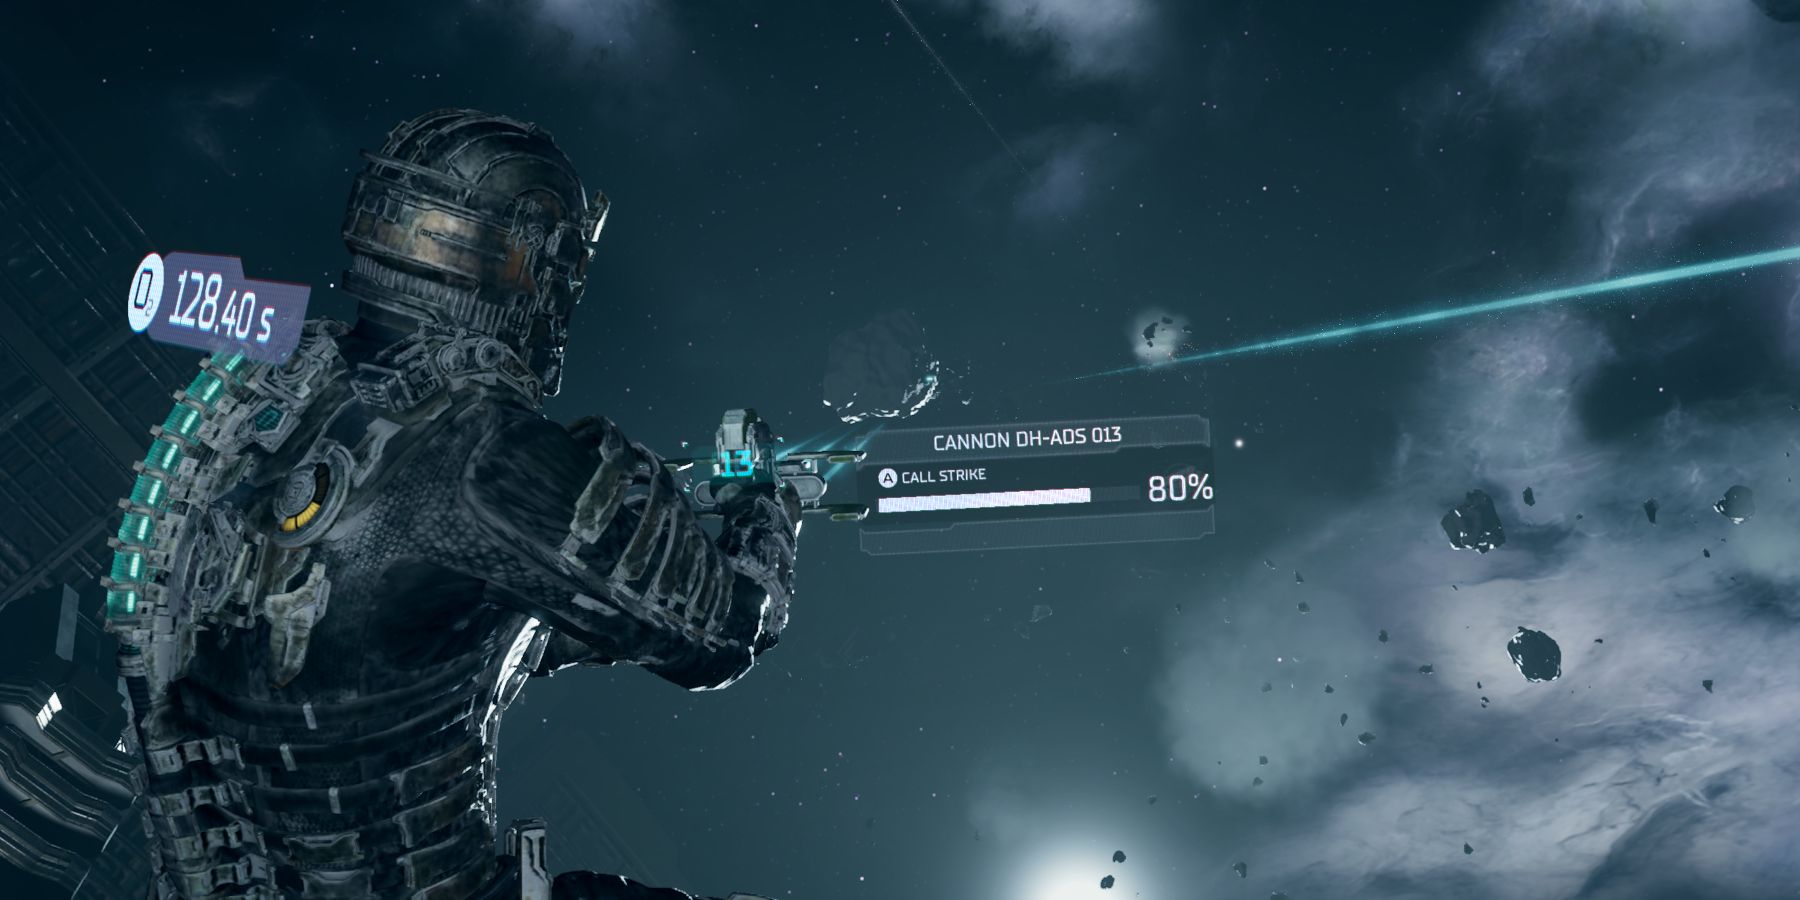
In the original Dead Space, the cannons were calibrated inside the ship. Players had to play a mini-game where they used the cannons to destroy incoming asteroids. This section has been completely reworked. There are three separate cannons that need to be calibrated. Activate one and then aim toward one of the large asteroids slowly moving toward the Ishimura. Rather than firing with the tool, use the button prompt to have the cannon fire instead.
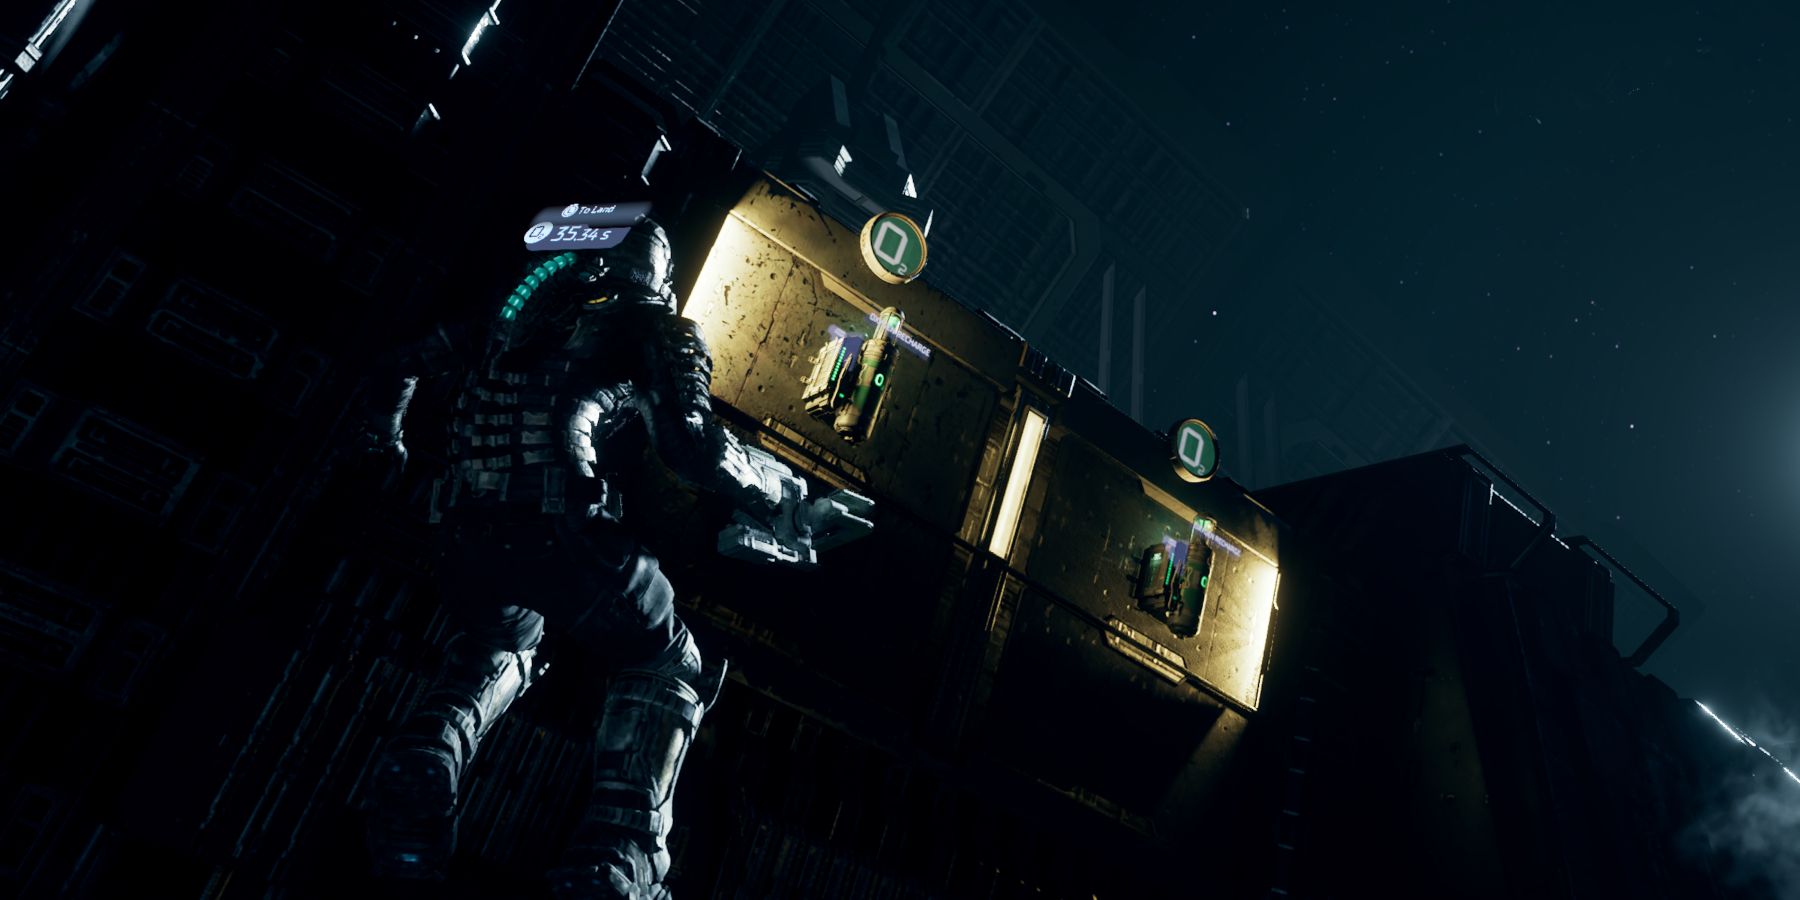
For each asteroid destroyed, the cannon gains 20% calibration data. Once one cannon has been fully calibrated, move on to the next one in the trench and repeat the process. There are some Oxygen Recharge Stations in the middle of the trench, so make sure to use them periodically to avoid dying. Also keep an eye out for Necromorphs that will attack between cannons calibrations.
Dead Space players will want to move quickly, as the hull of the Ishimura does take damage if any asteroids are missed. If too many asteroids get through before calibration can be completed, players will die. Once all cannons have been calibrated, go back inside the ship. Shortly after getting back inside, Isaac receives a transmission from Nicole telling all survivors to go to Medical, where the second chapter took place. This is where the fourth chapter ends, and the fifth chapter begins.
Dead Space is available now on PlayStation 5, Steam, and Xbox Series X/S.


