The Dead Space Remake challenges players to overcome an alien takeover and escape the famous USG Ishimura. While attempting this, players can earn multiple achievements and trophies by using certain weapons, fighting methods, finding collectibles, and more. For example, the Merchant Trophy is achieved by finding all the weapon upgrade schematics and is one of the more beneficial achievements to put effort into earning.
The schematics are placed all around Ishimura, and players will encounter them as they move through the storyline. It will take approximately ten chapters to locate all 13 of the schematics, but there is the option to backtrack and seek out schematics even after the end of the chapters. The only exception is chapter 9, where all the schematics are missable until players start the chapter in a New Game Plus save. Here's how to get all the schematics and earn the Merchant Trophy in the Dead Space Remake.
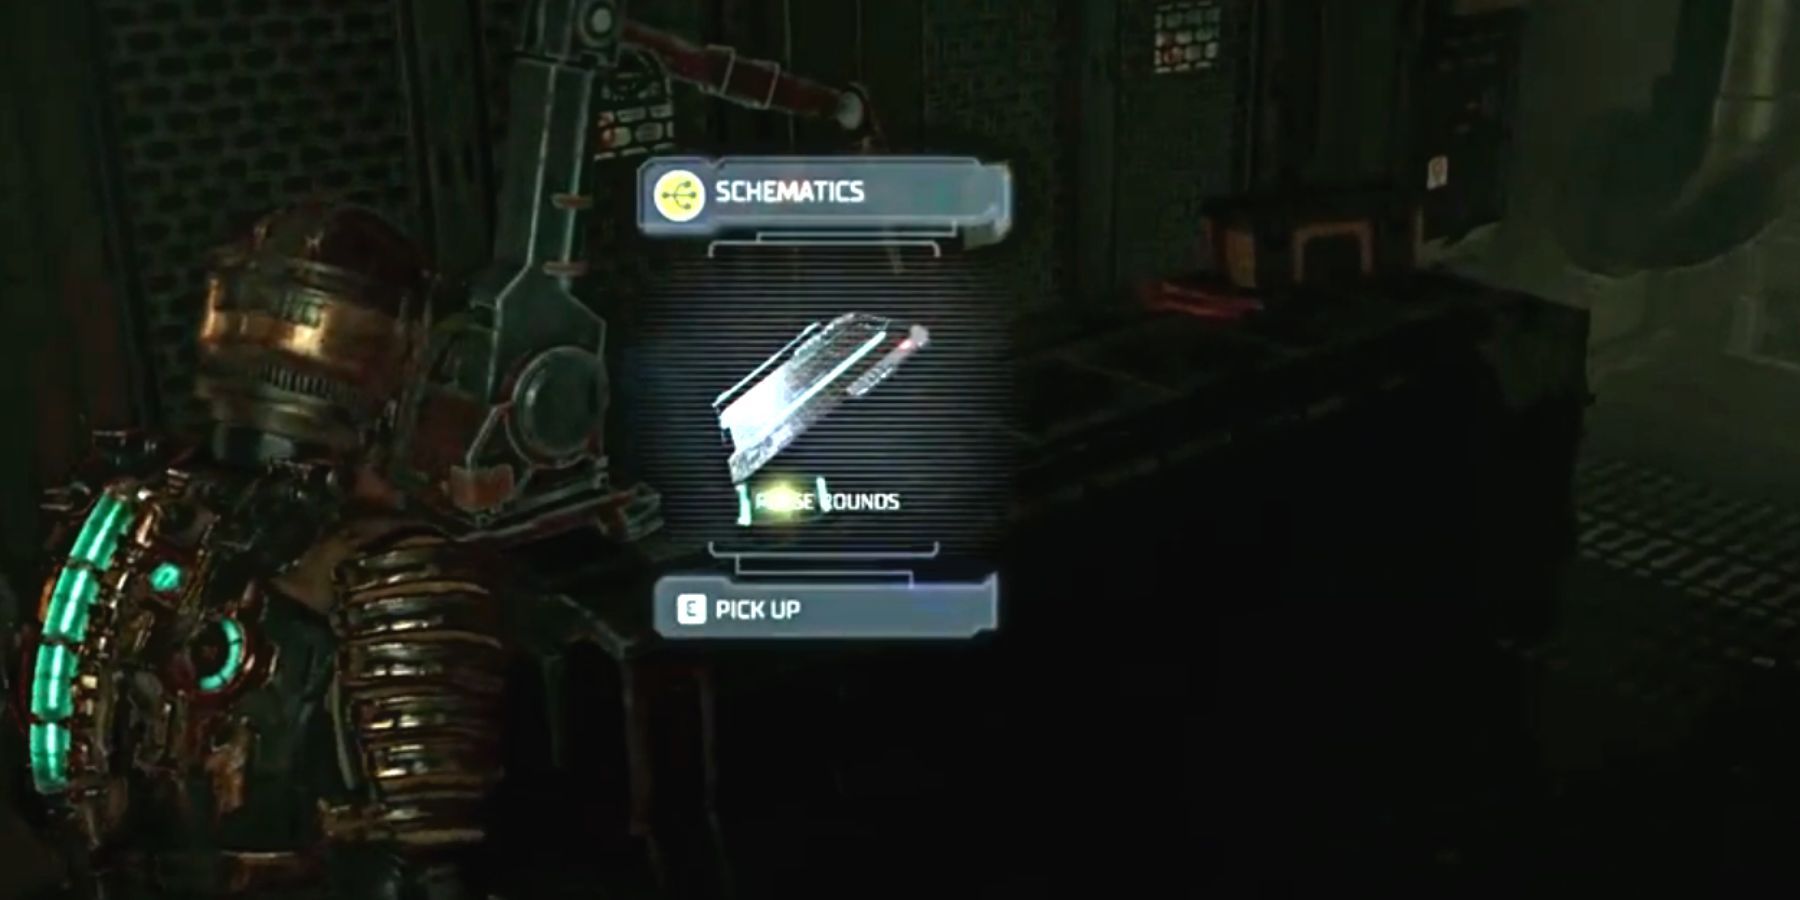
Schematics 1 – Pulse Rounds (Chapter 2)
After getting the main objective to "Find a Shock Pad," players must head to the Coolant Pipelines on Floor 4. This takes them through a space vacuum, so time is of the essence to maintain good oxygen. Once through the vacuum, players will approach a drop-off with the door at the bottom of the corridor. Then, since gravity is still inactive, fly down to the entrance of the Coolant Pipelines.
The Pulse Round schematics are sitting on a desk directly to the left after entering the Coolant Pipelines.
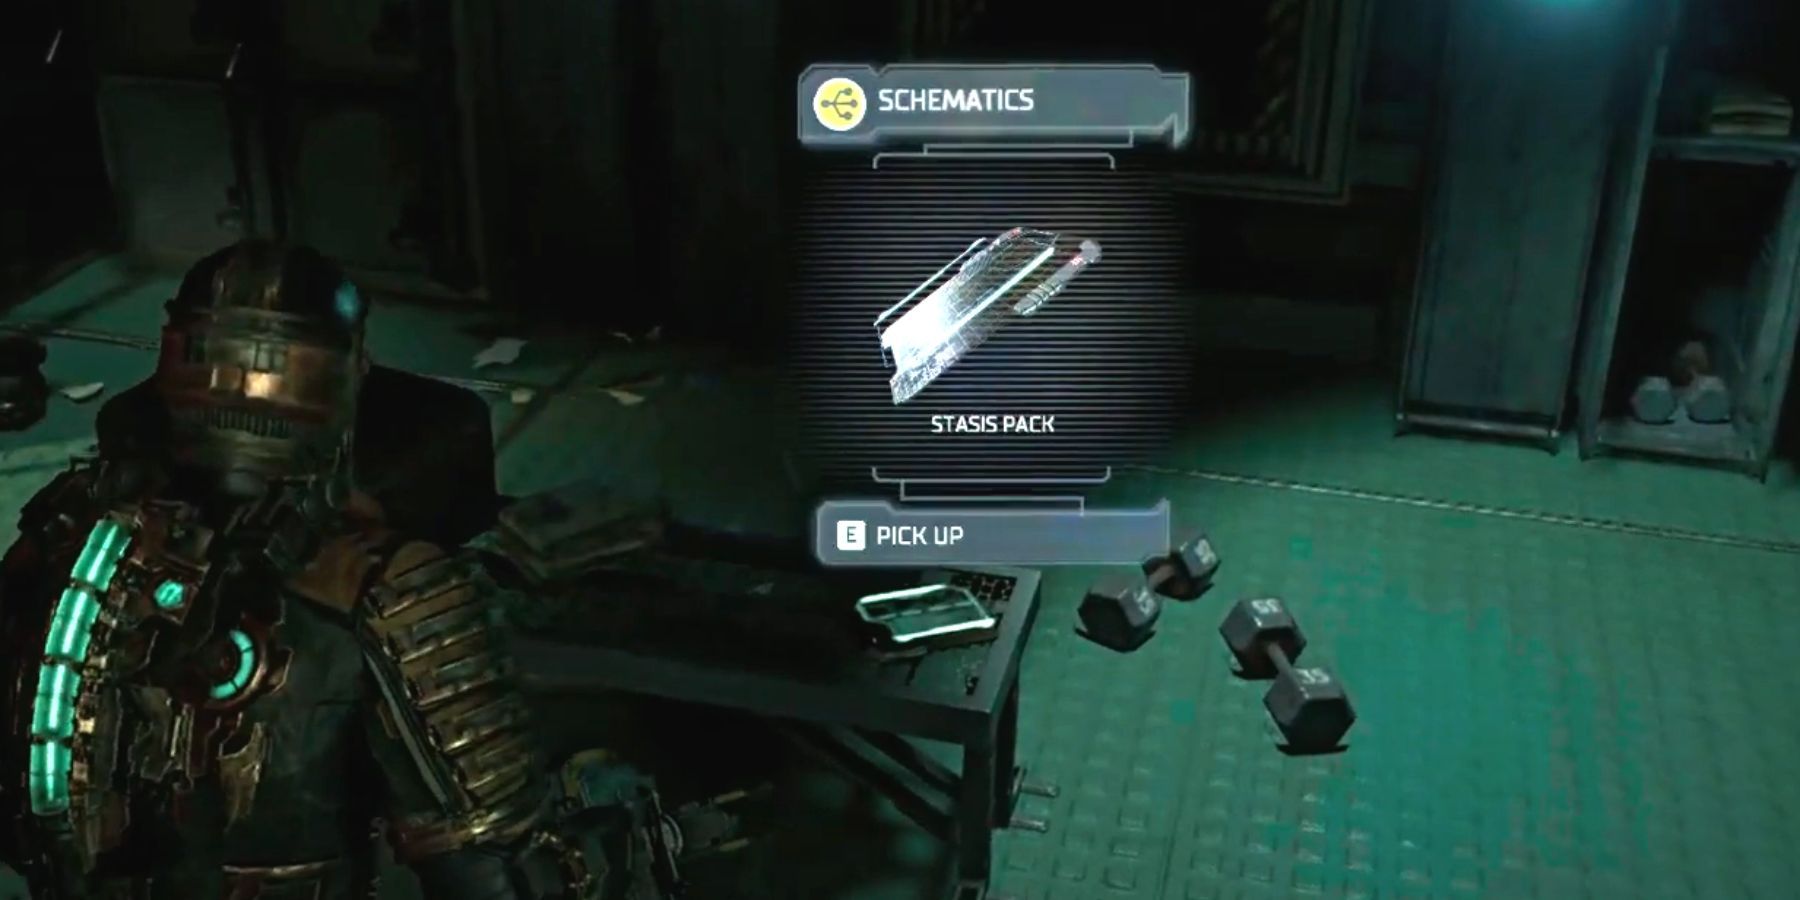
Schematics 2 – Stasis Pack (Chapter 2)
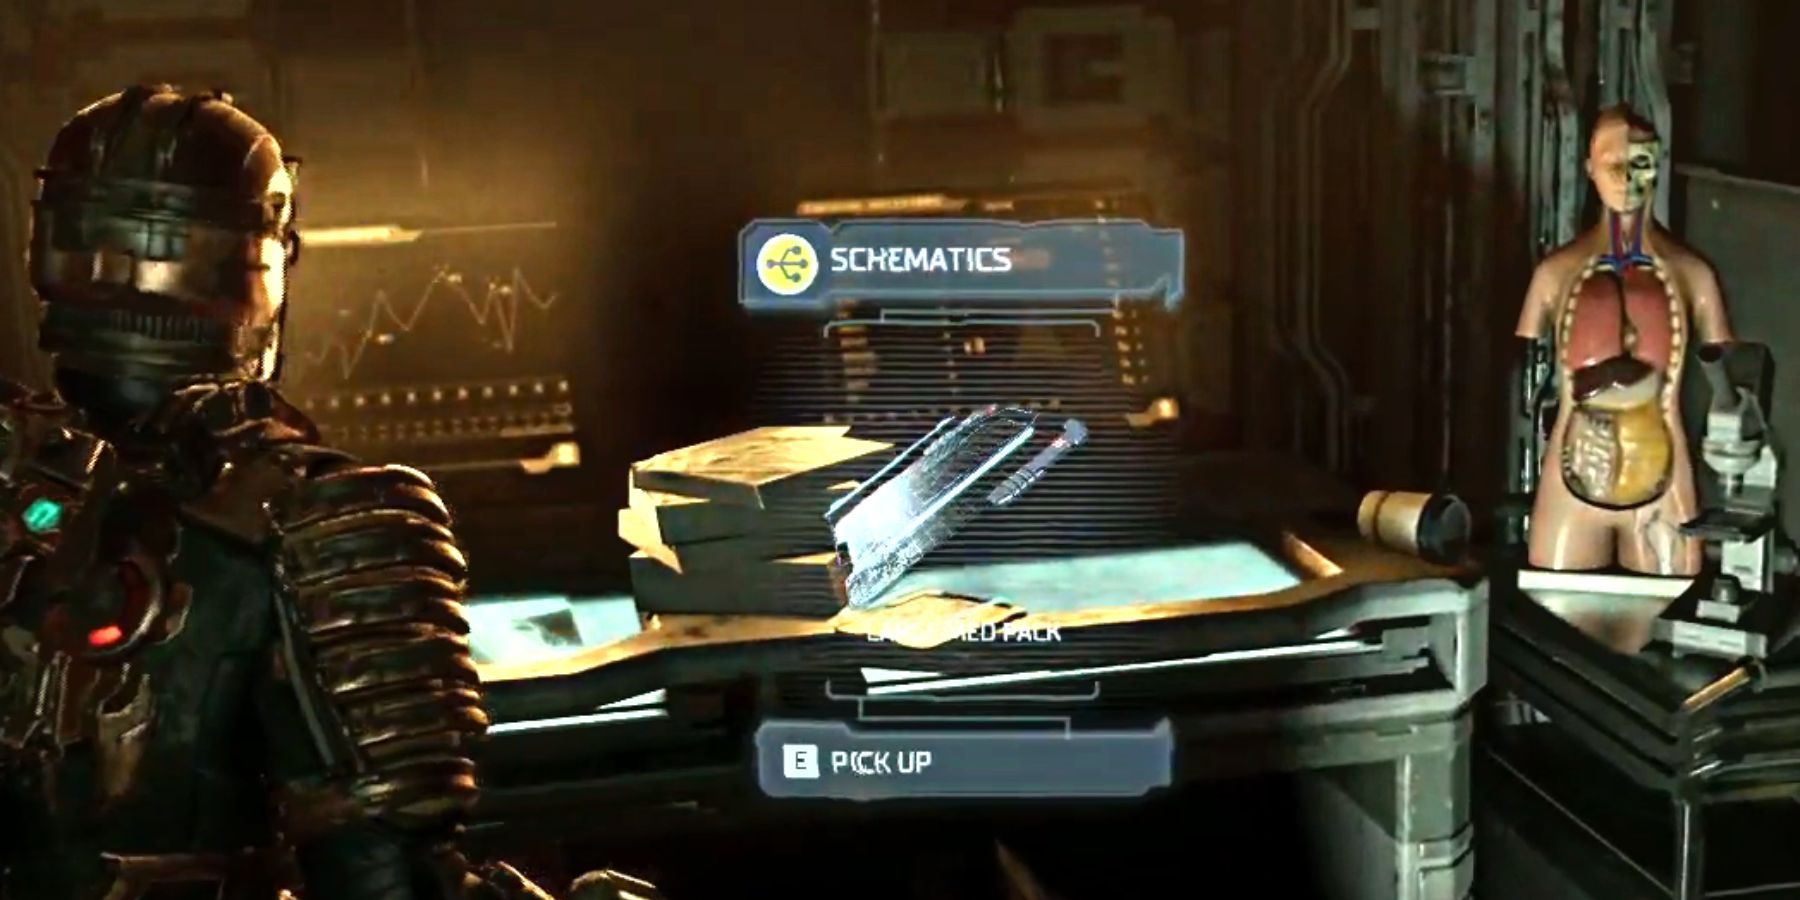
To find the Stasis Pack schematics, continue through the Coolant Pipelines and find the Medical Main Lab. There are quite a few Necromorphs along the way, so players can collect ammo continuously. After entering the Main Lab, a horde of Necromorphs will attack and have to be defeated before continuing.
The Stasis Pack is on a bench inside the Main Lab Changing Room to the right.
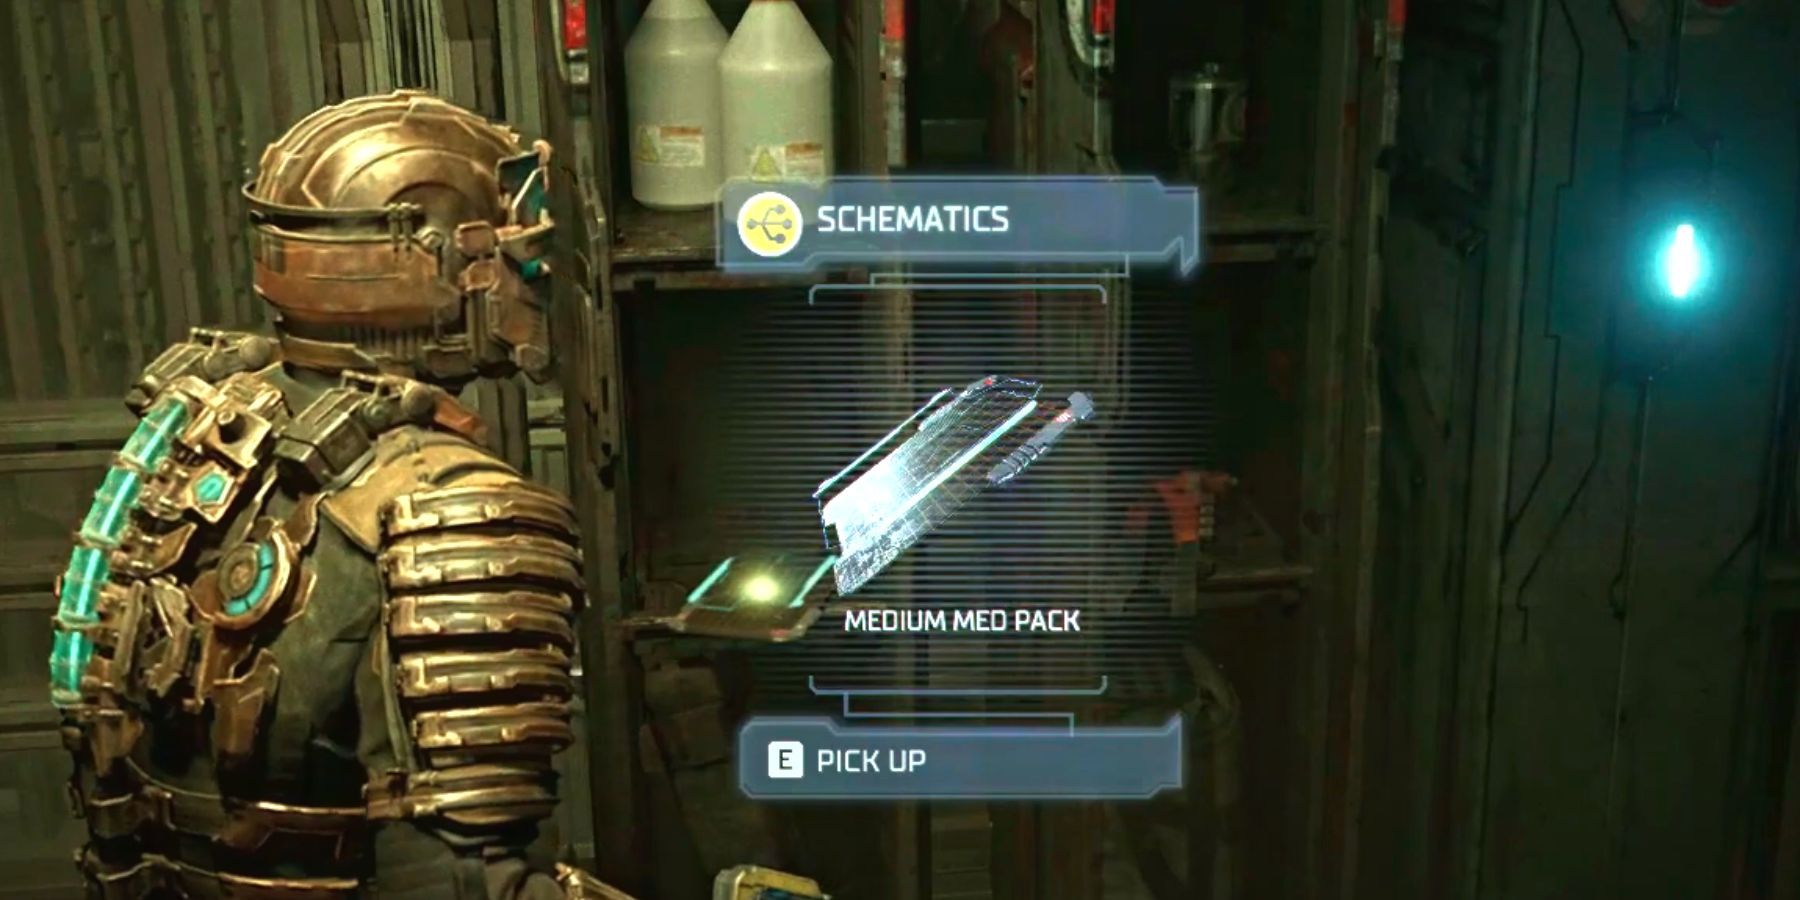
Schematics 3 – Medium Med Pack (Chapter 3)
With the objective to "Activate the Centrifuge" active, Isaac has to pass through the Decontamination Room on the Engineering Deck. After triggering the quarantine, players will have to defeat a small group of Necromorphs.
The Medium Med pack is inside a locker directly outside the Decontamination Room on the way to the Centrifuge.
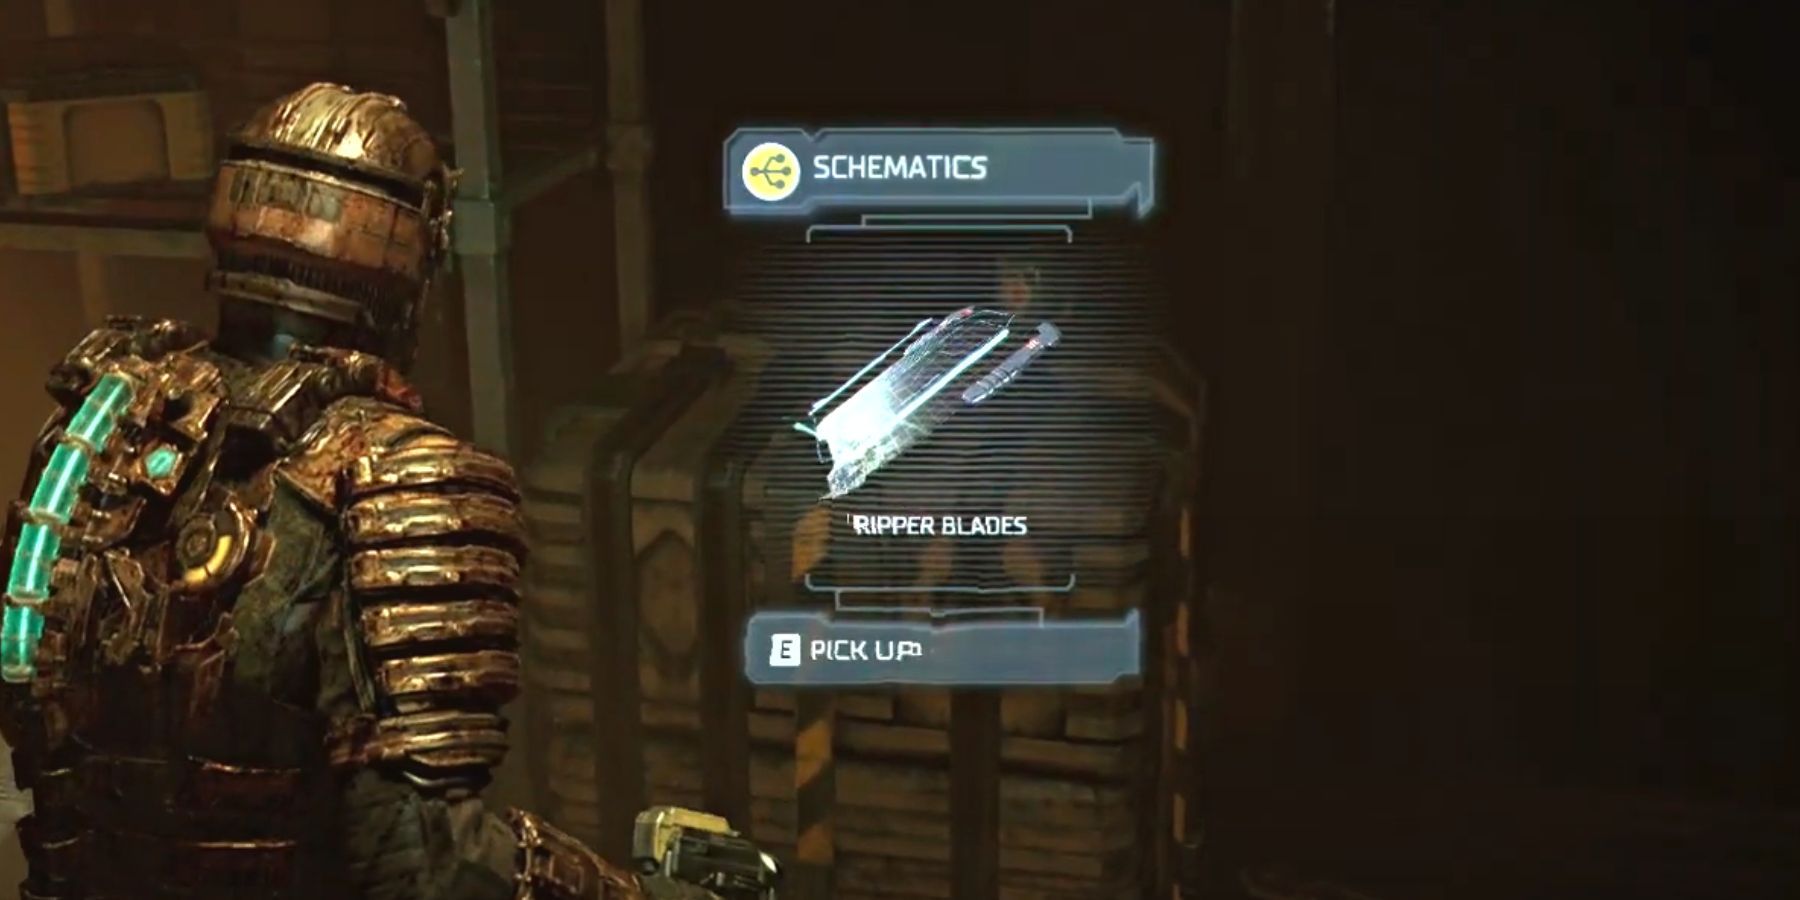
Schematics 4 – Ripper Blades (Chapter 3)
Players will need to continue to the Centrifuge for the Ripper Blade. After activating the Centrifuge, Isaac will need to fight his way to the Engine Room in Engineering to ignite the engines manually. This takes players through multiple combat levels with Necromorphs deep inside the ship.
Once inside Engineering, take the first elevator down. There's another elevator and a Fuel Storage room on the lower floor. The Ripper Blade schematics are on a box inside the Fuel Storage room.
.
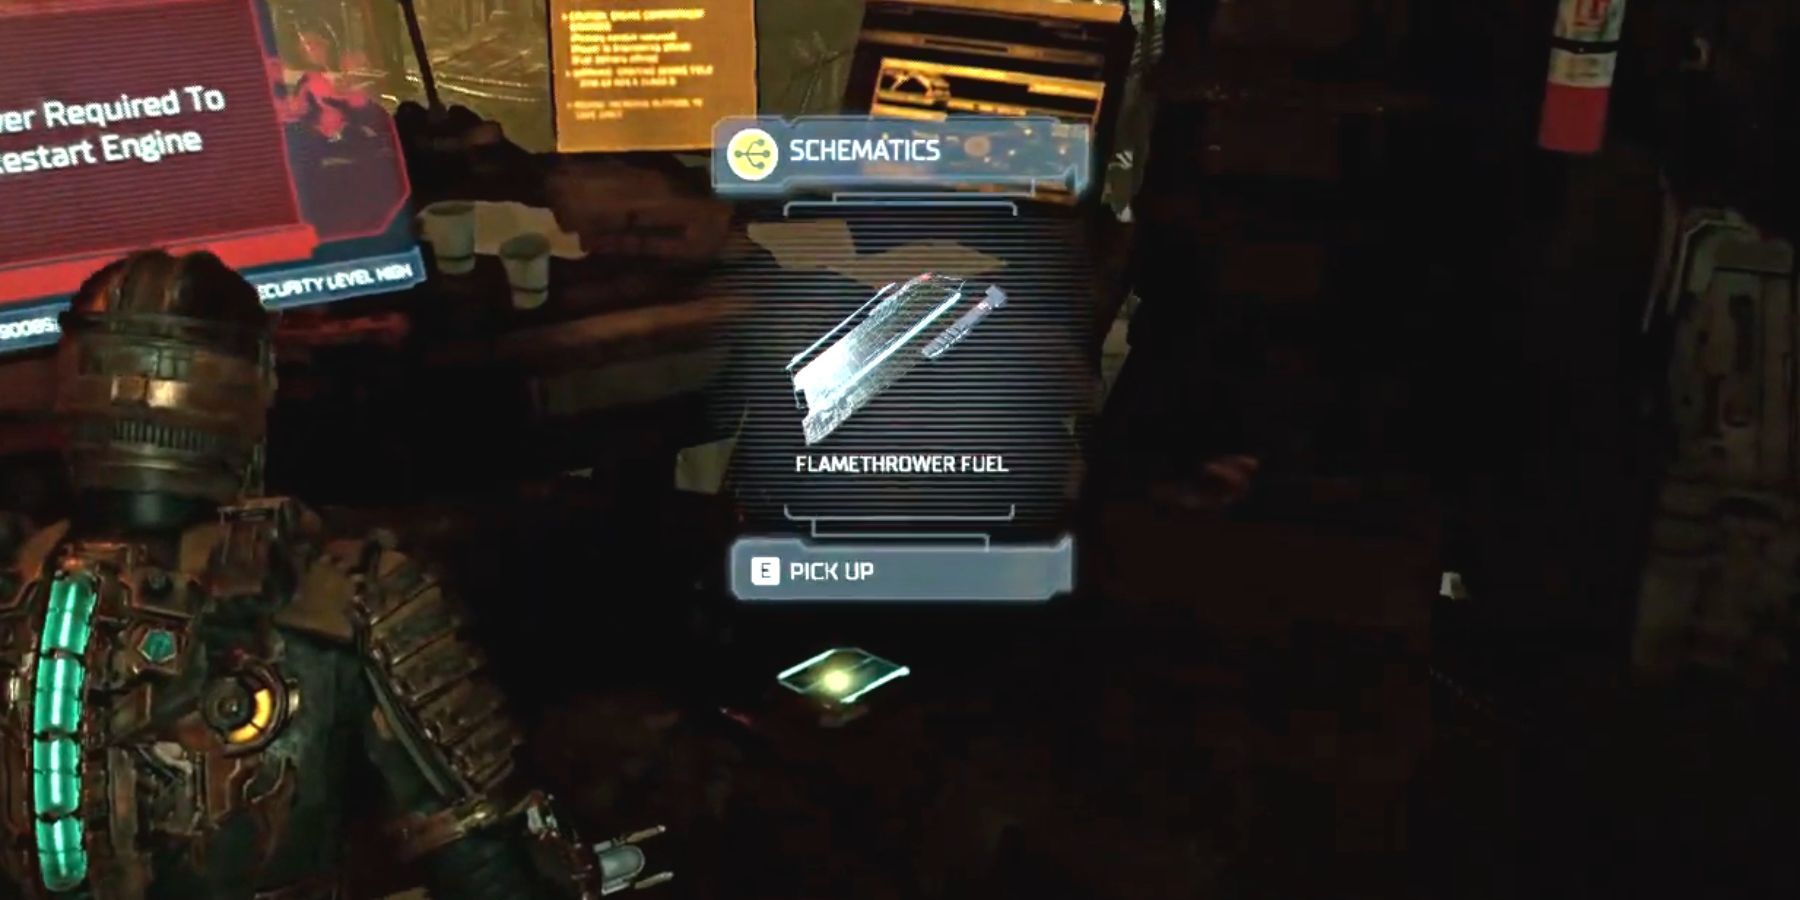
Schematics 5 – Flamethrower Fuel (Chapter 3)
The last schematic in chapter 3 is inside the Engine Room. Take the lift next to the Fuel Storage and go even further downstairs. Use Stasis to slow down the two giant malfunctioning doors and follow the corridor and signs to the Engine Room.
The Flamethrower Fuel schematic is next to the primary engine console on the Engine Room's balcony.
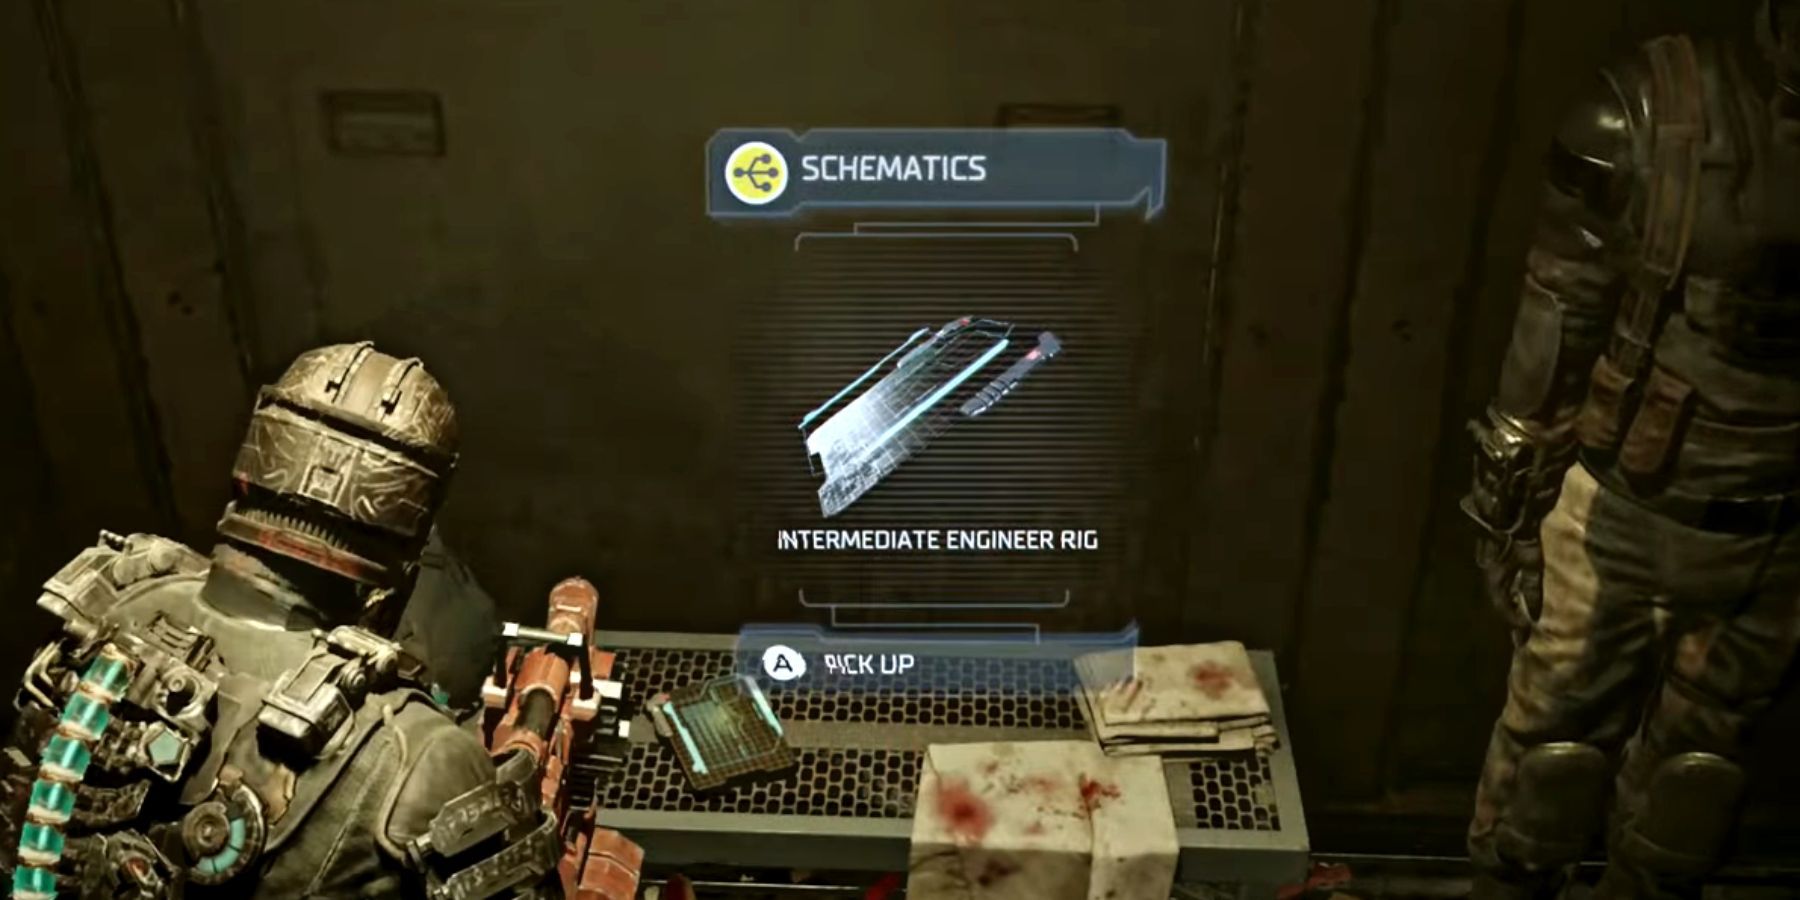
Schematics 6 – Intermediate Engineer Rig (Chapter 4)
In chapter 4, players will have the objective to Calibrate Three ADS Cannons after transferring power from Water Purification. During this objective, they can come across the Intermediate Engineer Rig schematics. Go through Exterior Access, and there's a room on the right side of the hallway labeled EVA Prep Room.
The Intermediate Engineer Rig schematics are sitting on a bench inside the EVA Prep Room.
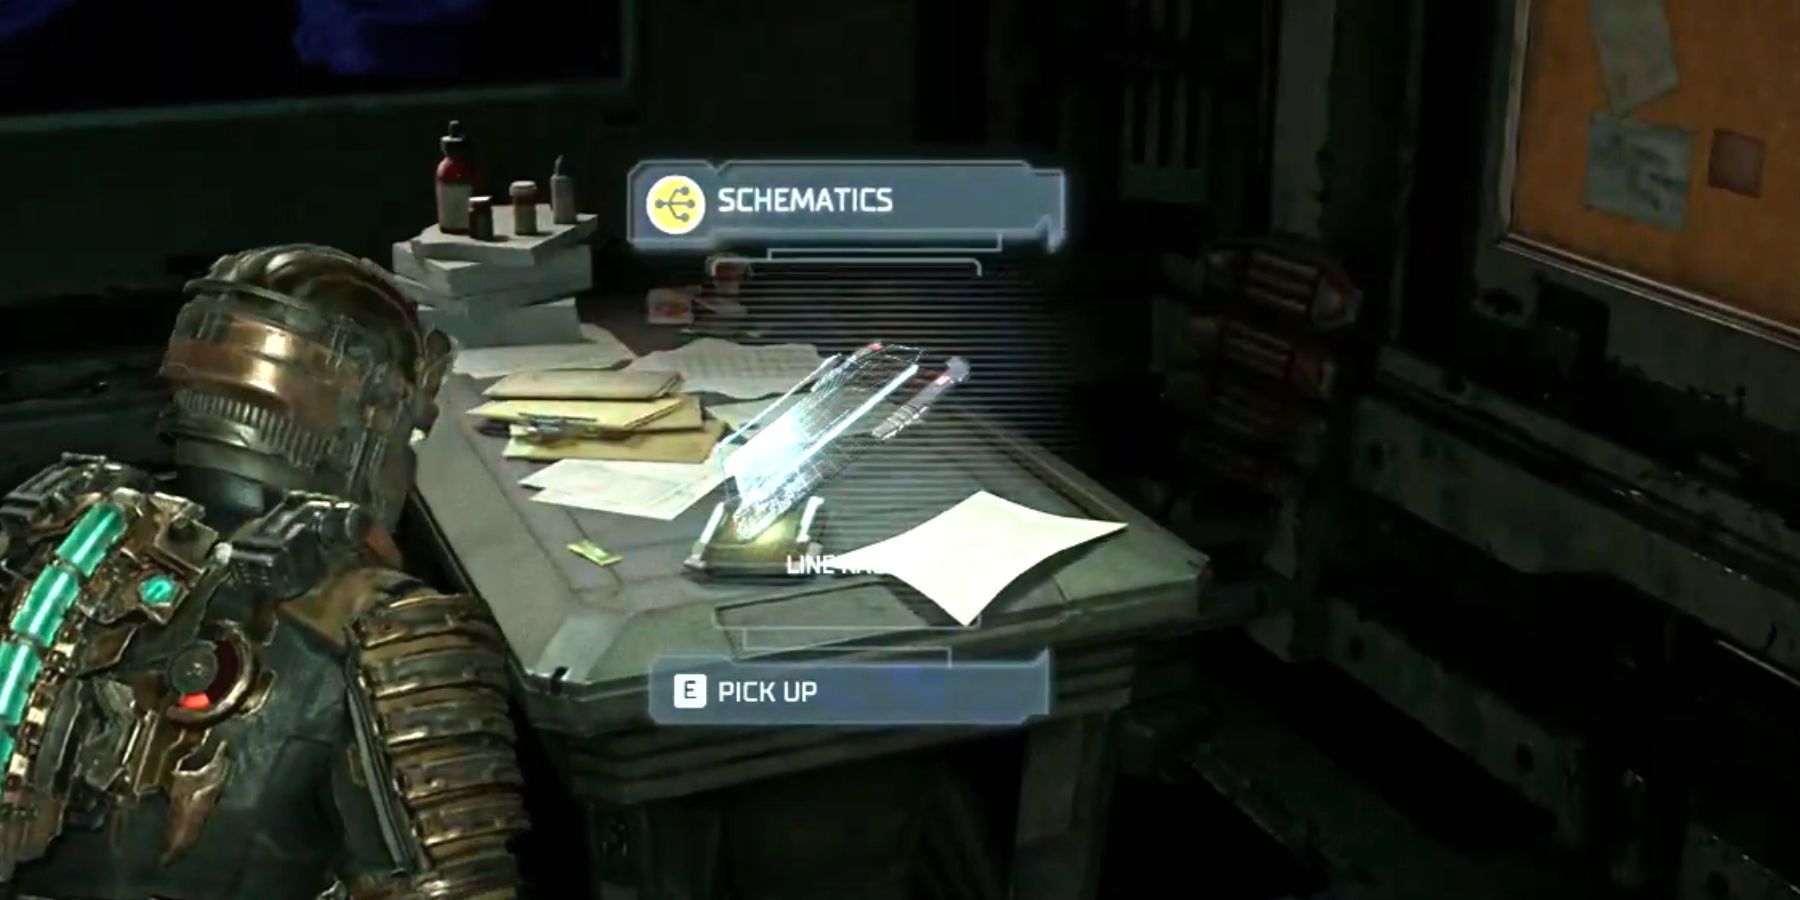
Schematics 7 – Line Racks (Chapter 5)
Players need Security Clearance Lvl. 2 to get ahold of the Line Rack schematics. In chapter 5, Isaac returns to Medical after getting a mysterious broadcast from his wife, Nicole. After entering Medical, players must make their way to Observation Room, go towards the Zero-G Therapy hallway, and pass the second door. In the hallway is Dr. B Warwick's office.
The office is locked with Security Lvl. 2 Clearance, and the Line Rack schematic can be found on the desk after unlocking it.
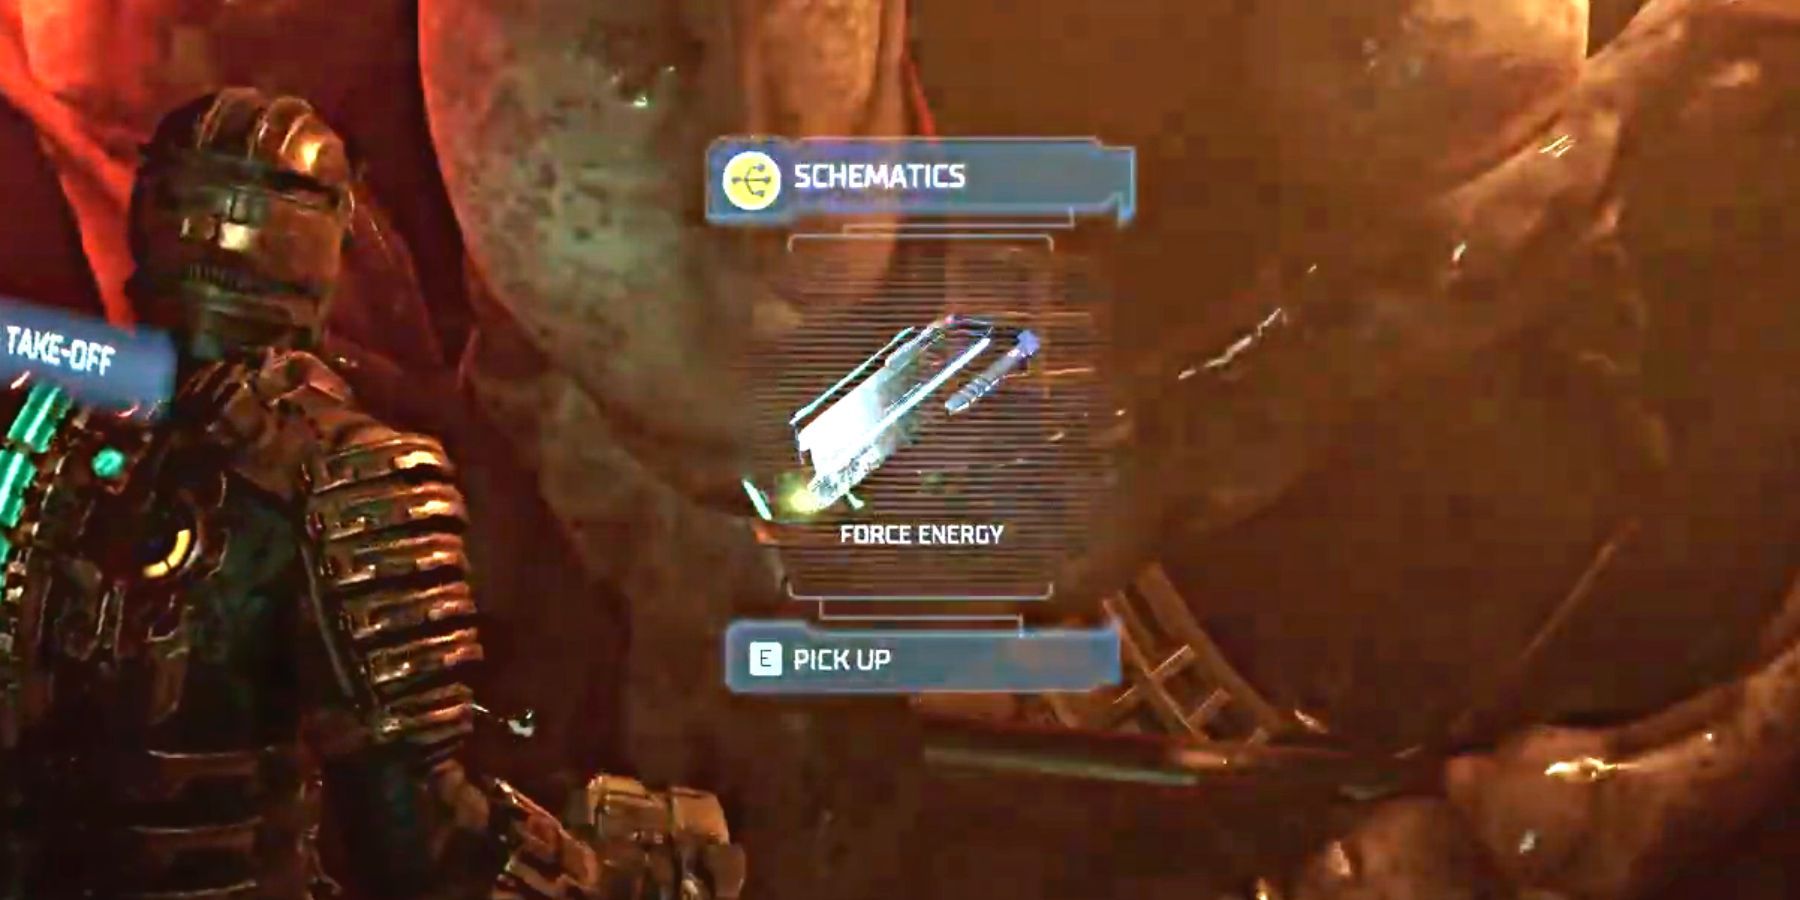
Schematics 8 – Force Energy (Chapter 6)
Players can get the Force Energy schematics in chapter 6. While injecting the wheezers, players must enter the Air Filtration Tower in Hydroponics. This happens right before injecting wheezer 07. The Air Filtration tower is a zero gravity area, so players can fly up and find it.
There's an electricity trap that can be stopped with Stasis, and before moving to the second trap, find a small room with the Force Energy schematics.
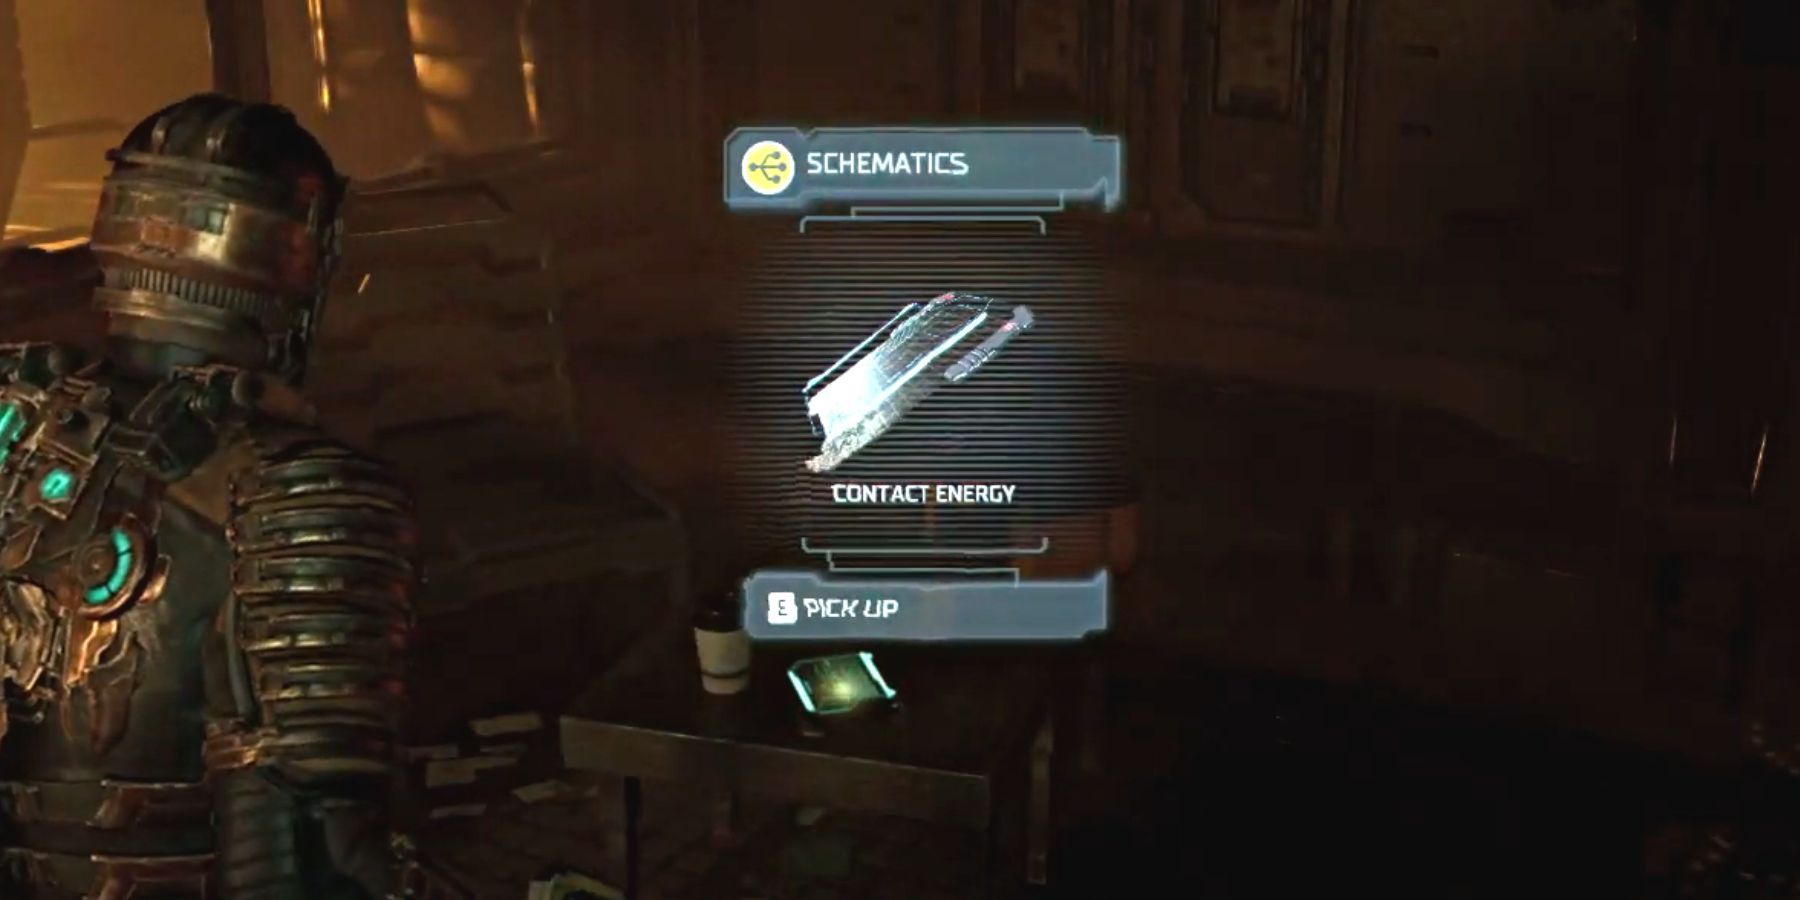
Schematics 9 – Contact Energy (Chapter 7)
While completing the "Find the Admin RIG," objective players must pass through Deck B Processing in Mining. Proceed with caution, as many Necromorphs are waiting to attack in the area. A short hallway leads to the Admin Rig with a save station. Before continuing down the hall, look directly across from the save station to find a locked room.
To get inside the room, go past it and take the first left. A little further down is a broken window to the locked room; players can shoot the lock from there. The Contact Energy schematic is sitting inside on a bench.
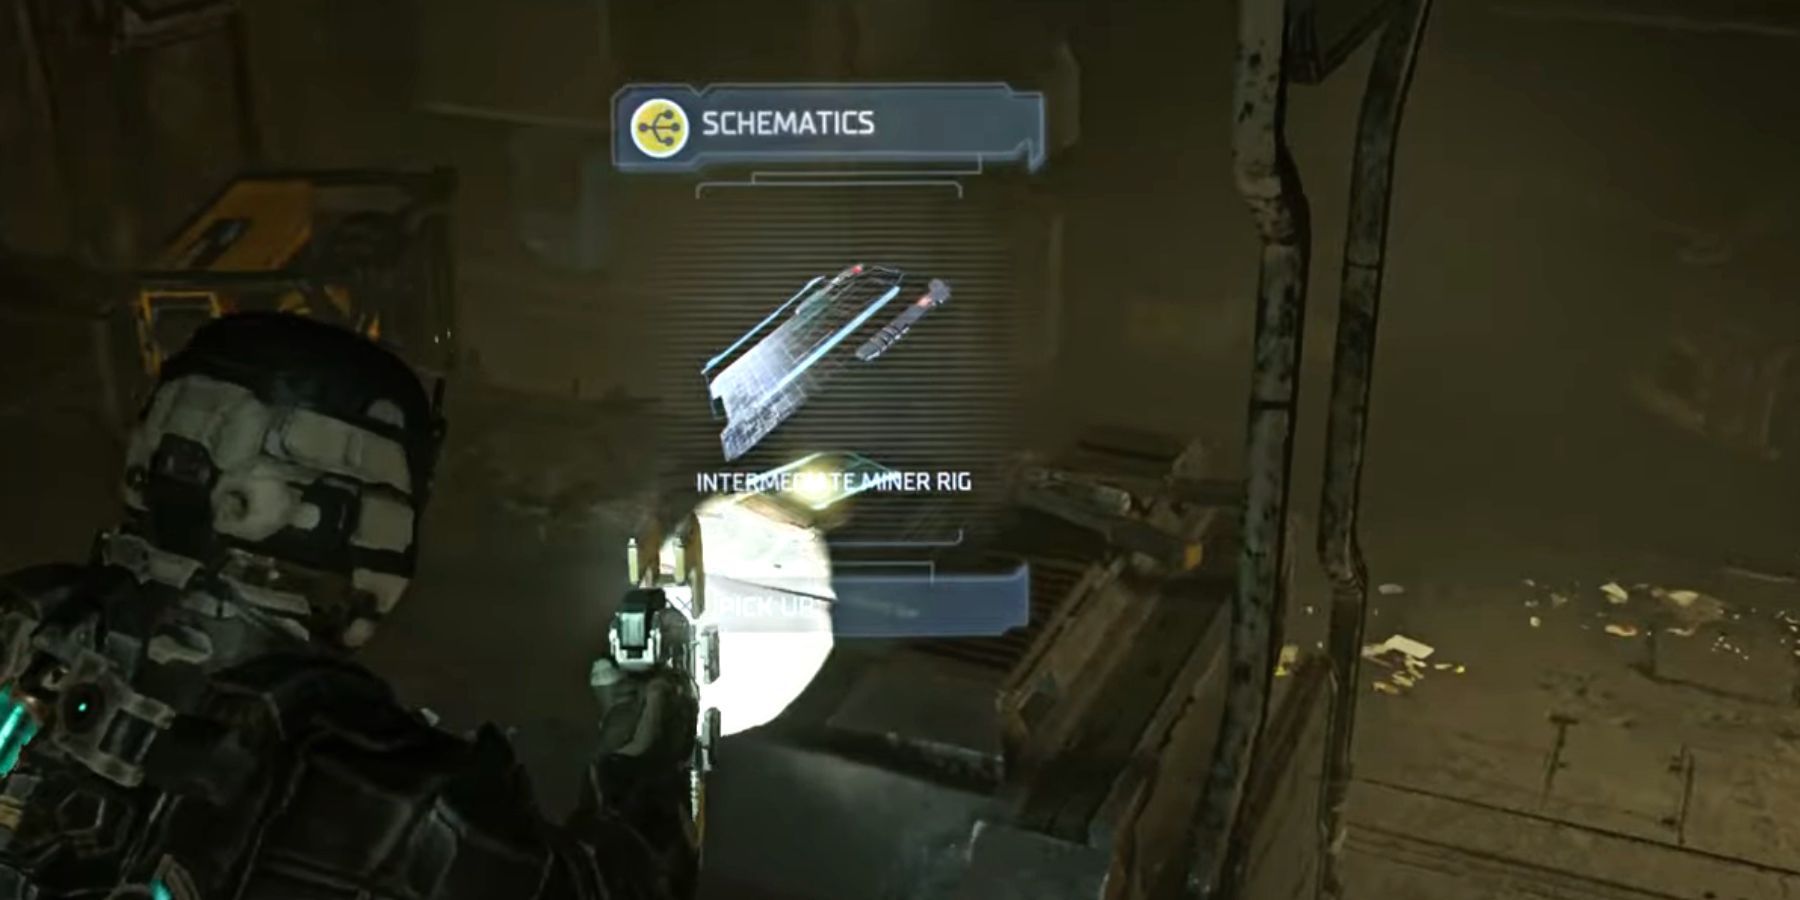
Schematics 10 – Intermediate Miner Rig (Chapter 7)
The second schematic in chapter 7 is found a little further. After Equipment Maintenance, players will encounter Nicole and must protect her from Necromorphs while she unlocks the Equipment Workshop.
The Intermediate Miner Rig schematic sits on a desk inside the Equipment Workshop next to the SOS Beacon.
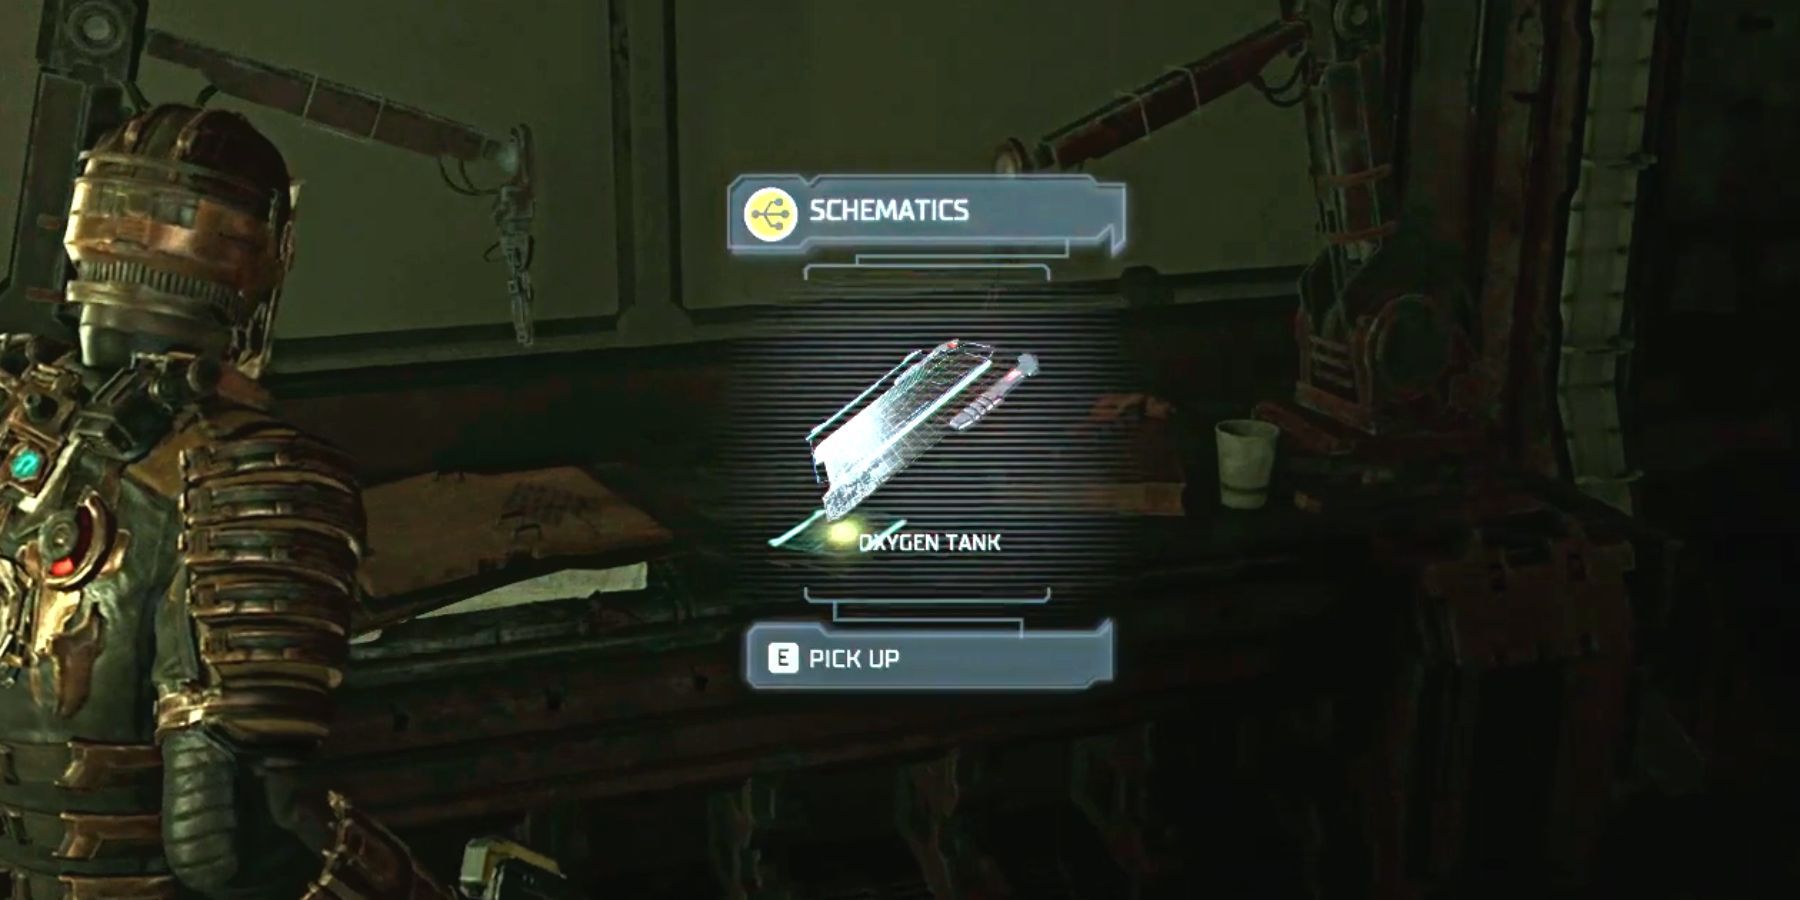
Schematics 11 – Oxygen Tank (Chapter 8)
The Oxygen Tank schematics require Security Lvl. 2 to access. After getting the object "Go to the Bridge," go to Engineering and head to the 4th floor through the Machine Shop. From there, find the door labeled Refueling Control Stations and go inside.
The Oxygen Tank schematics are inside the Platform Storage, locked behind Security Clearance Lvl. 2 in the Refueling Control Stations.
Schematics 12 – Large Med Pack (Chapter 9)
Players will only have one chance to get the Large Med Pack schematics in their first play-through of chapter 9. Go into the Armory and find the room with the Shooting Range and Infirmary. Necromorphs will attack once inside, so make sure to take all of them out.
Go inside the Infirmary, and the Large Med Pack is on the desk near the entrance.
Schematics 13 – Advanced Engineering Rig (Chapter 10)
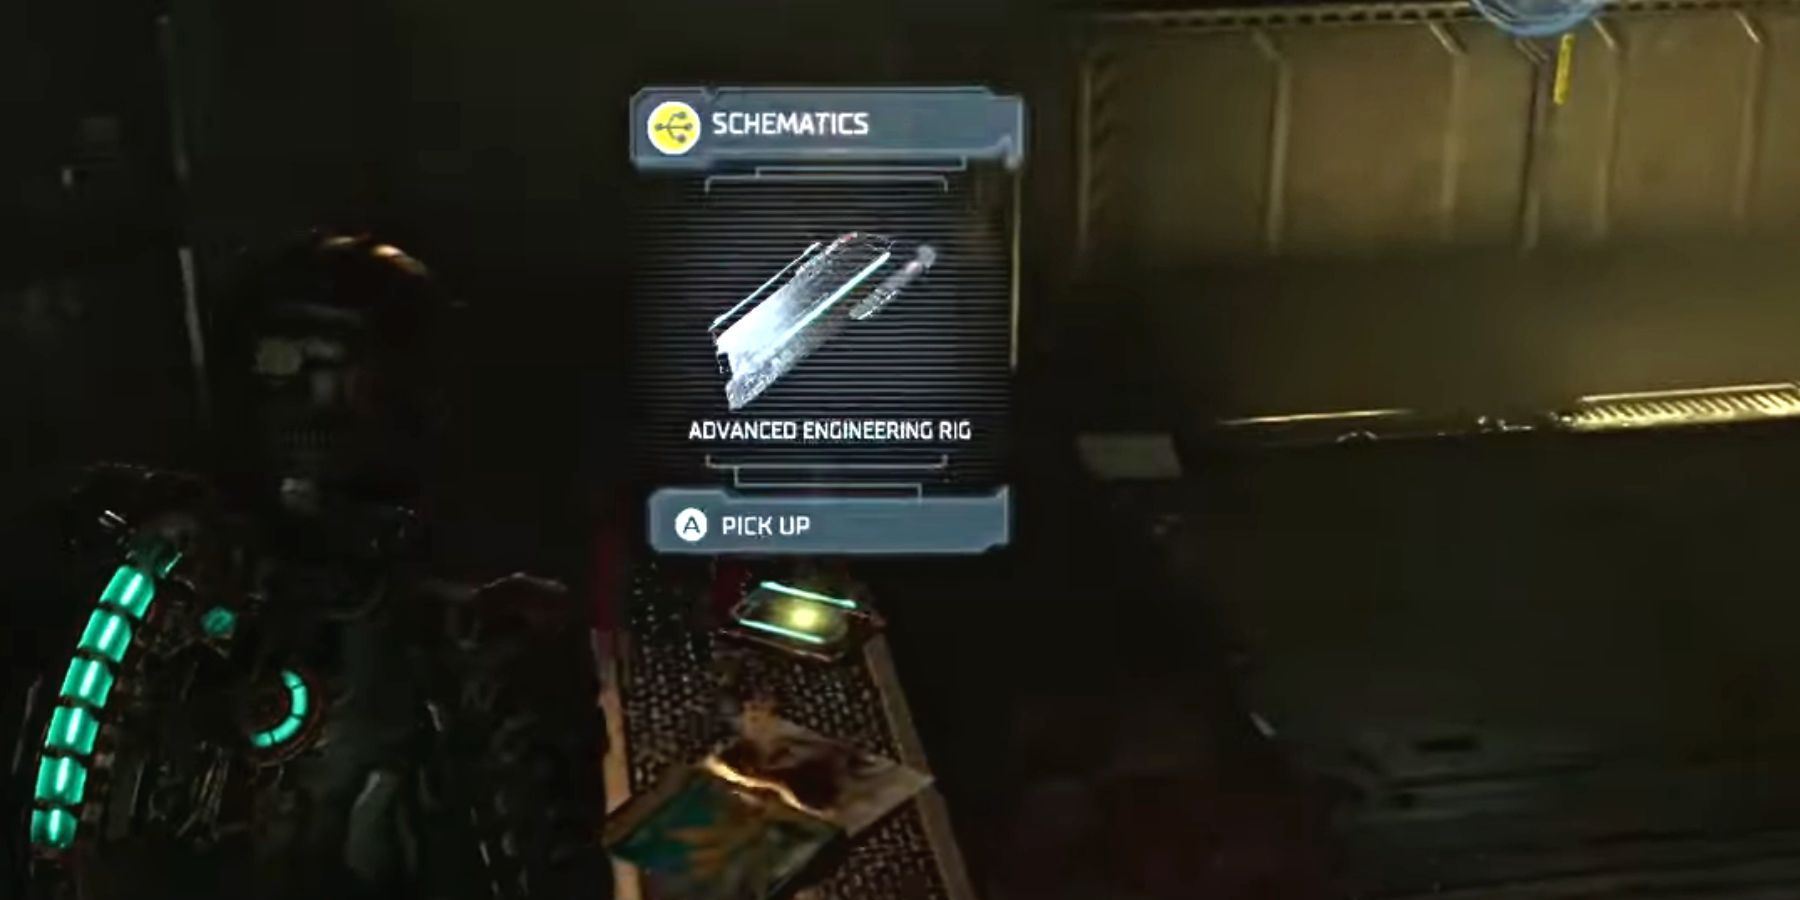
As players are coming up in the final chapters of the Dead Space Remake, there is one more schematic to find. Chapter 10 has Isaac focusing on finding the Executive Shuttle. However, he must locate the Crew Deck key first. So, players must make their way to the Crew Quarters.
The Advanced Engineering Rig is on a bench inside the Locker Room and Showers.
Dead Space is available now on PlayStation 5, Steam, and Xbox Series X/S.


