Dead by Daylight's Trapper was the first killer added to the game and has since become one of the most iconic horror icons in modern gaming. Playing The Trapper can be challenging, though, even for experienced killers. His ability has a tremendously high skill ceiling, meaning that a player's skill can really pay off when playing this particular killer. Experienced survivors know how to avoid most traps, too, often making it hard to use his ability effectively.
That said, it's not impossible to play The Trapper well. The best players can hide their traps and make great use of their killer ability throughout each trial to win. Learning how to play The Trapper well will make it easier for players to make survivors fall into their traps and, ultimately, easier to get subsequent downs in Dead by Daylight.
Trap Windows And Pallets
The Trapper doesn't have any extra abilities during chase like some other killers, so trapping out loops is crucial to winning the game. Pyramid Head may be able to hit players through walls, but The Trapper has to rely on his traps at all times unless he is able to win the chase with his basic attack, a feat that usually isn't viable against high-rank survivors.
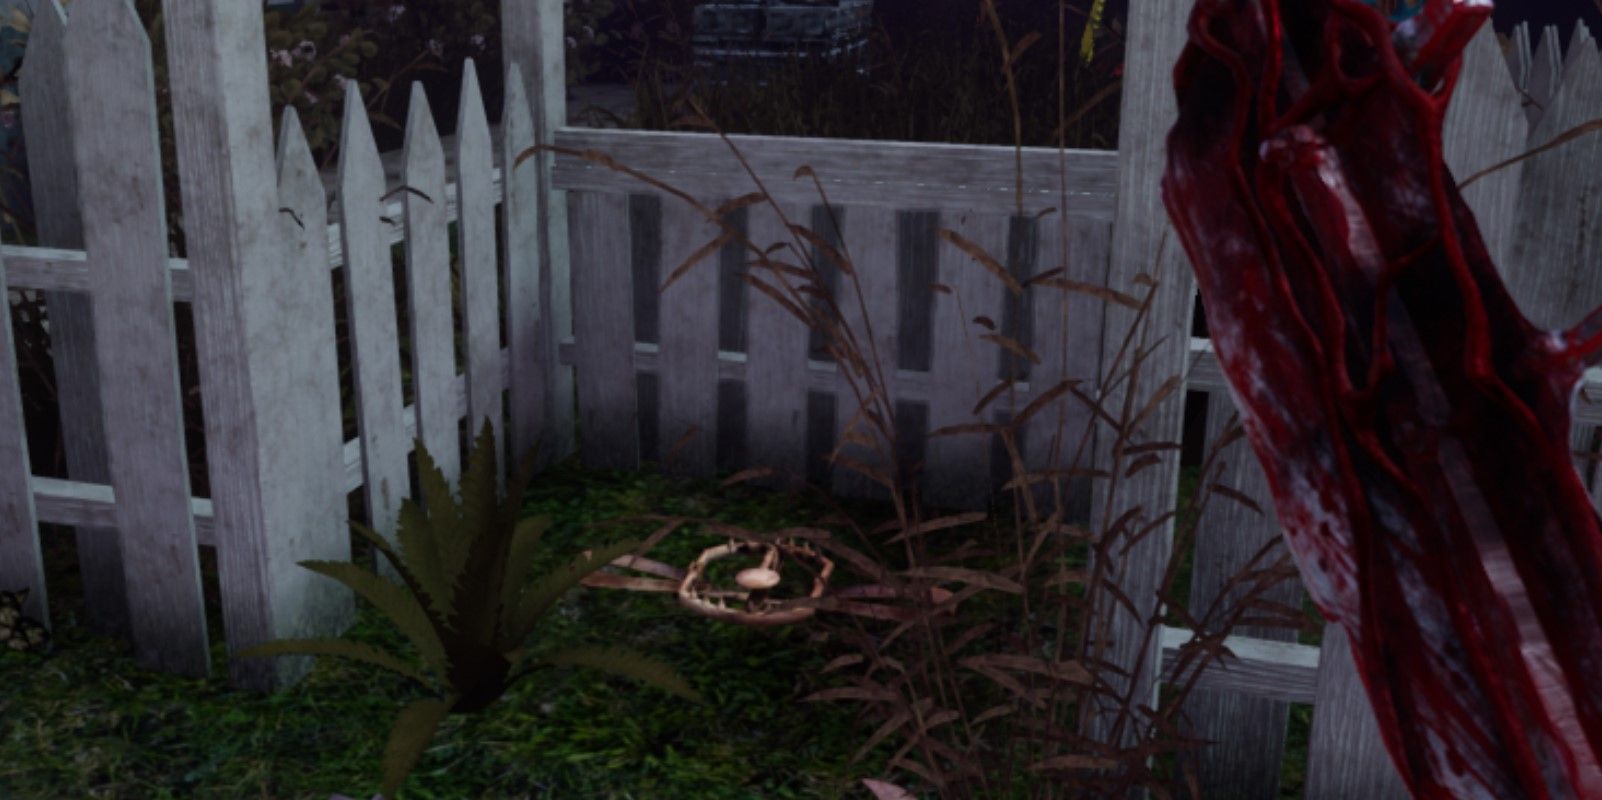
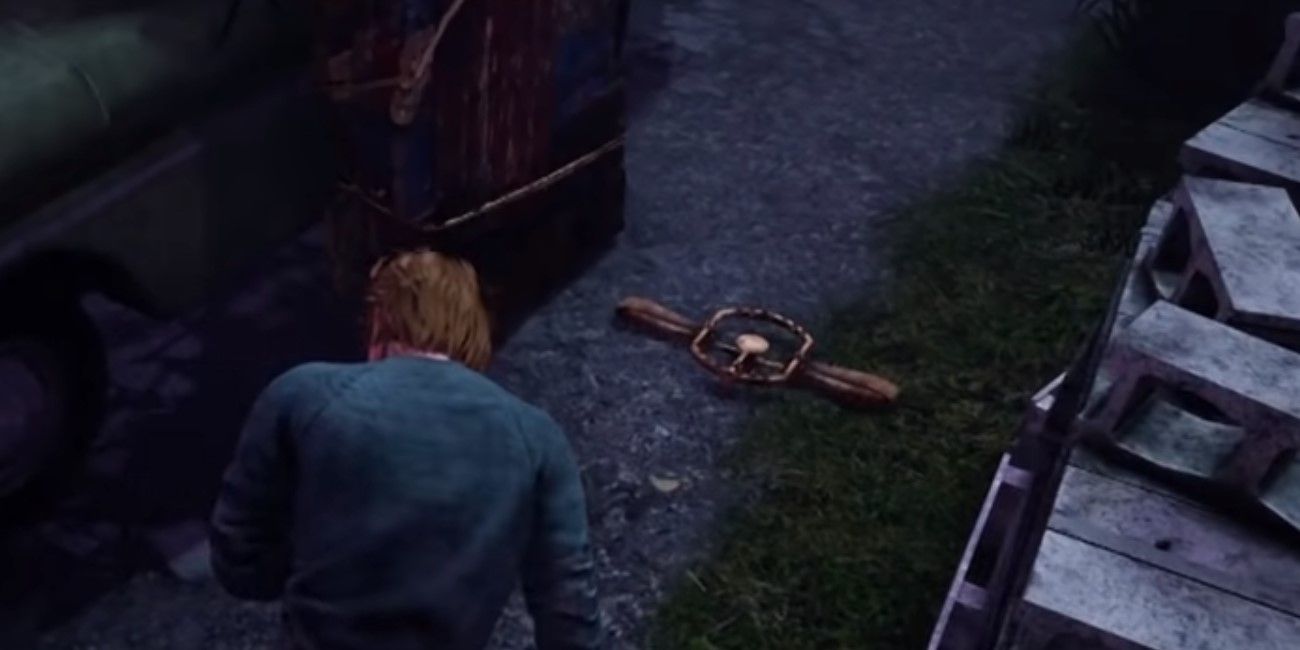
Players should trap out pallets and windows, then chase survivors into areas with traps. If The Trapper is lucky, players won't notice the traps and will right fall into them; otherwise, the survivor will be forced to avoid the windows and pallets, often resulting in a hit for the killer anyway.
The Trapper can also place traps during a chase to close off certain areas; for example, he can place a trap on one side of a pallet during the chase, forcing the survivor to run away from the pallet to an unsafe area or fall into the trap. Placing traps does take some time, though, so killers should be strategic about when and where they place them during a chase. Placing a trap at the wrong time or in a place that doesn't corner the survivor may give them time to put some distance between themselves and the killer.
Trap High-Traffic Locations
Even the most experienced survivors aren't able to predict all potential trap locations, so it's crucial to trap high-traffic locations around the map, even those areas without strong loops. Players should take care to hide their traps as well as possible, when it makes sense. Some of these locations may be in patches of grass that survivors will run toward to complete a generator, or tight corners that survivors will run around when the killer is chasing them. Doorways and the bottoms of stairwells are also smart locations. Basically, The Trapper should hide his traps as well as place them in locations where survivors will definitely run.
Survivors may expect traps in front of a hook, so trapping hooks is not generally a good idea except against already-struggling survivors. That said, survivors may miss even a seemingly obvious trap in the middle of the map if it's well-placed. Trapping high-traffic locations can result in players falling in traps when the killer needs it most, so players should experiment with which locations hide their traps the best and reap the best results.
Use Strong Add-Ons
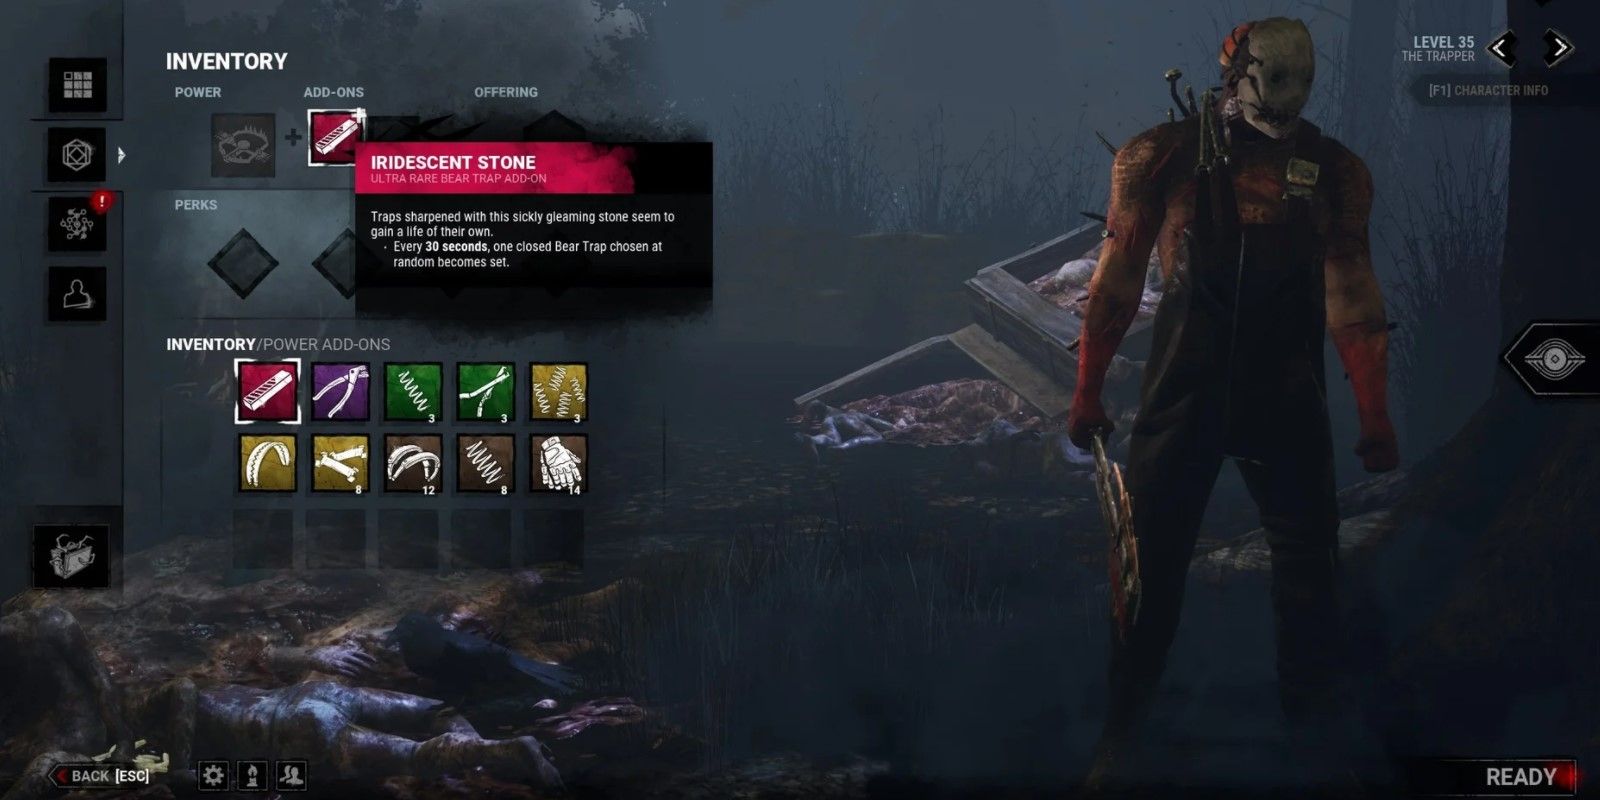
The Trapper isn't one of the strongest killers on his own, but add-ons can help his ability become stronger in a chase and otherwise. Some of The Trapper's Common add-ons benefit new players; for example, Makeshift Wrap prevents The Trapper from stepping into his own Bear Traps. For more experienced players and beginners alike, The Trapper's Ultra Rare add-ons are a good choice, helping him to injure survivors and making his traps more deadly. Players can mix and match The Trapper's add-ons to fit their play style and skill level.
The following add-ons are some of The Trapper's best, and are worth experimenting with:
- Iridescent Stone - Every 30 seconds, a randomly chosen disarmed Bear Trap becomes reset and armed.
- Bloody Coil – When a Trap is sabotaged or disarmed by a Healthy Survivor, the bloody coils exact their price and that Survivor becomes Injured.
- Honing Stone - Survivors caught in a Bear Trap, who free themselves, are inflicted with the dying state.
- Trapper Sack - All Bear Traps are carried at the beginning of the Trial instead of spawning throughout the Trial Grounds. The Trapper is unable to pick up Bear Traps once placed.
Use Perks That Compensate For Your Weaknesses
The Trapper suffers from some common killer weaknesses that only have a basic attack; he has very little map pressure most of the time, and he isn't able to regress generators effectively. He also has a weak early game, since he requires time to set up his traps around the map. The Trapper's strength is trapping out a corner of the map and putting survivors in tight situations; forcing them into a trap. Therefore,killers playing The Trapper should equip perks that compensate for their lack of map pressure.
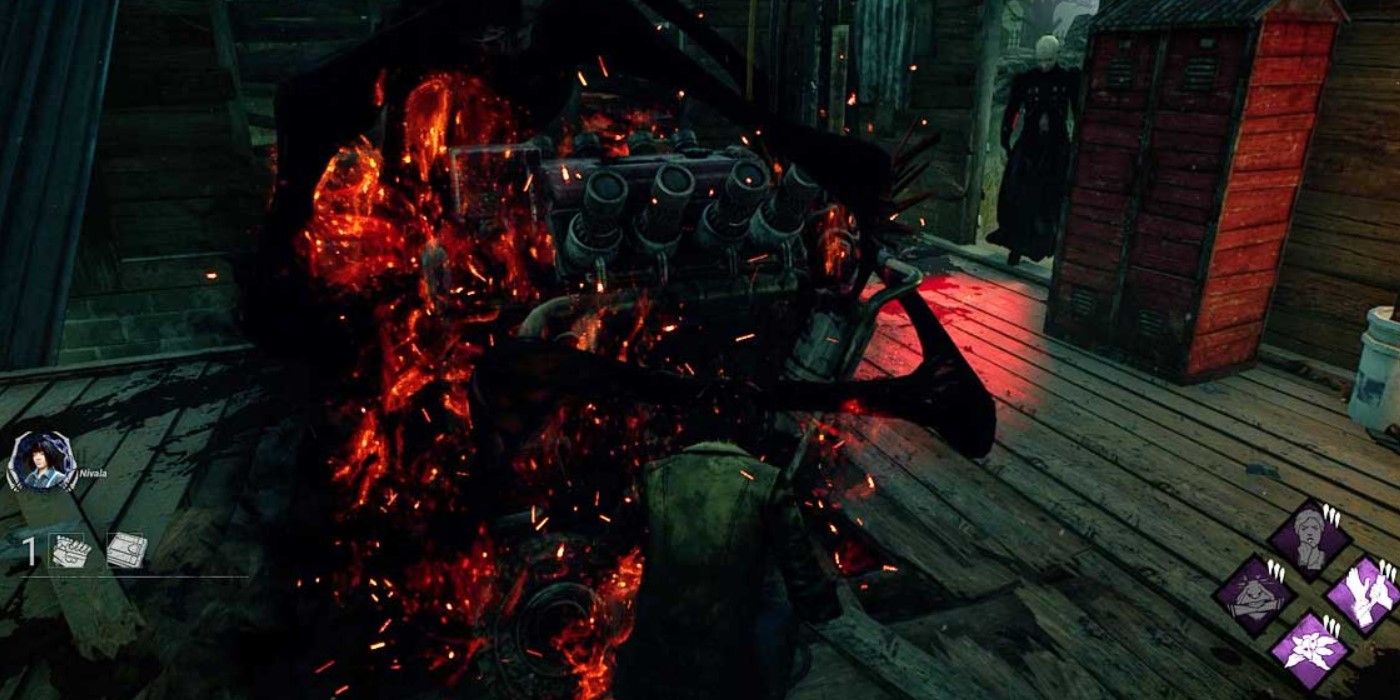
Corrupt Intervention, one of The Plague's perks, blocks off three generators at the beginning of the trial, helping players boost their early game when they're otherwise weakest. Because The Trapper is excellent at trapping out sections of the map, Corrupt Intervention is even stronger on him. Hex: Ruin is also a good choice, since it causes heavy generator regression when survivors are not working on generators and doesn't require The Trapper to manually kick a generator while it's active.
Dead By Daylight is available for Nintendo Switch, PC, PlayStation 4, PlayStation 5, Stadia, Xbox One, and Xbox Series X/S.


-1.jpg)
