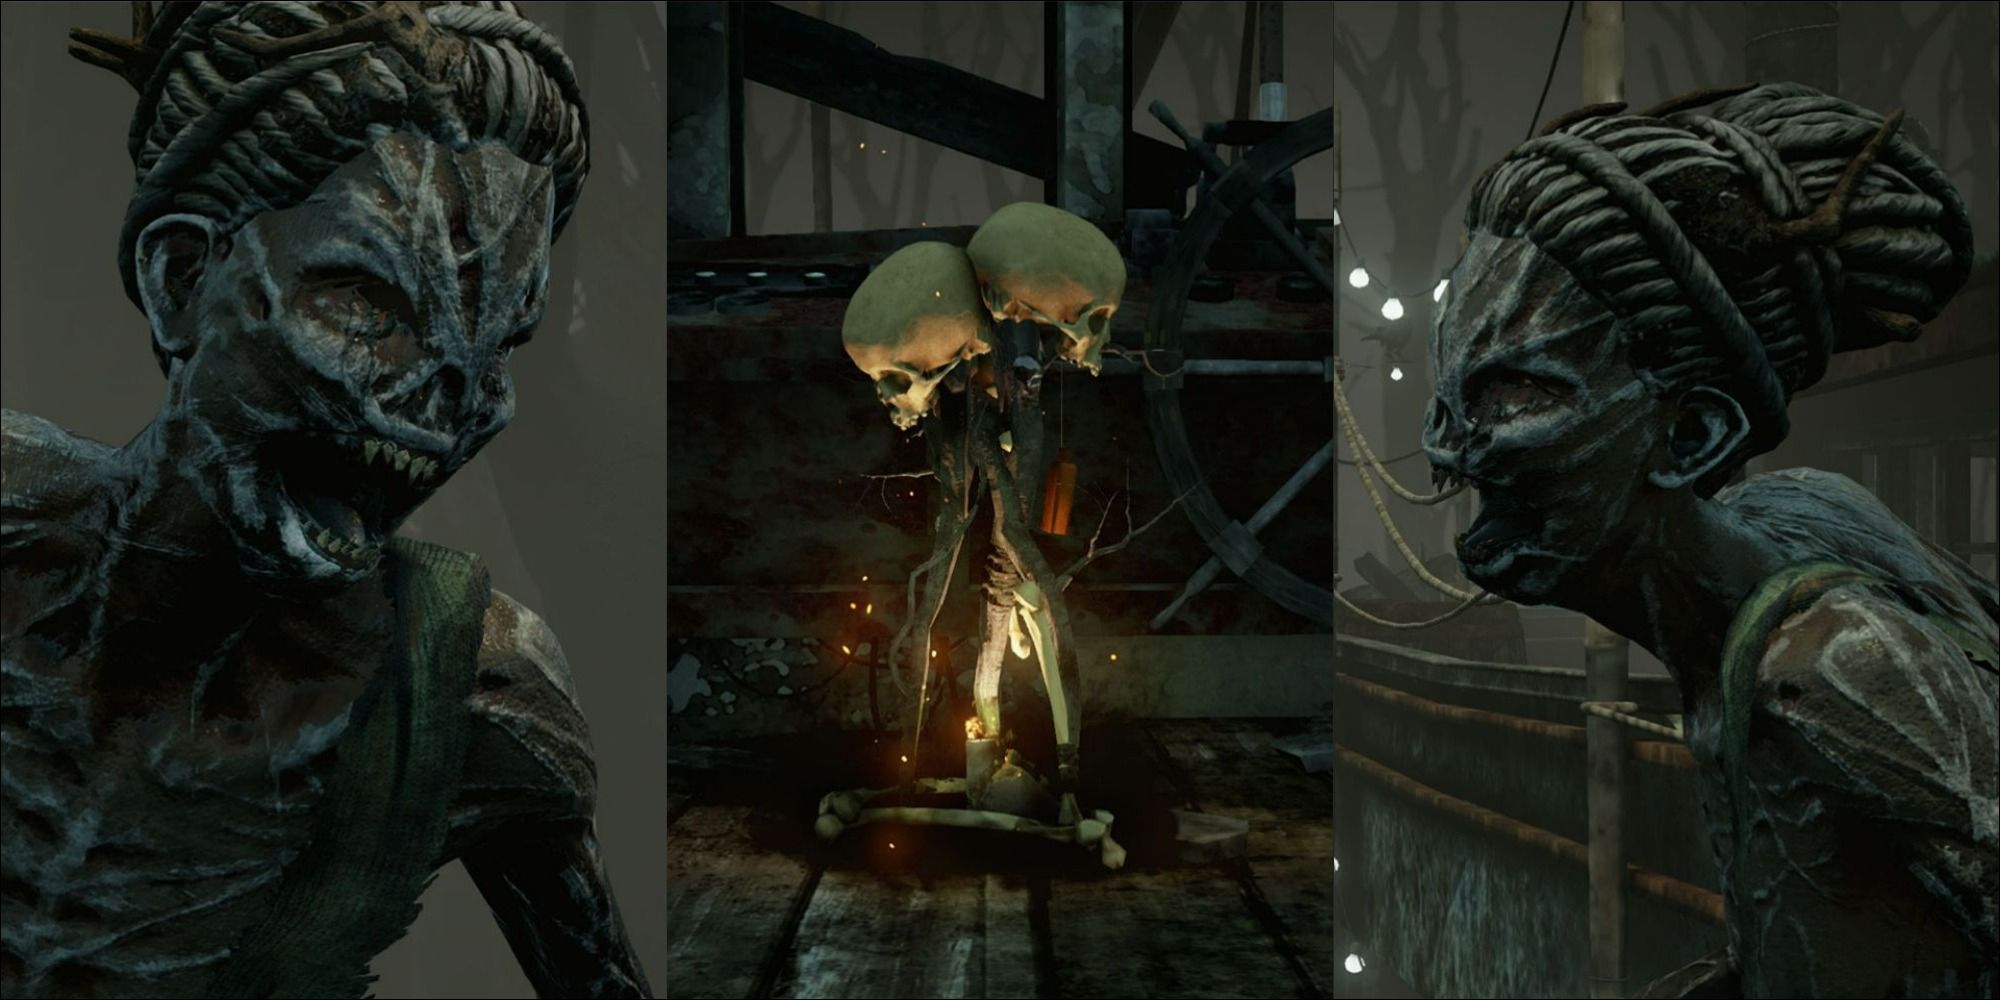
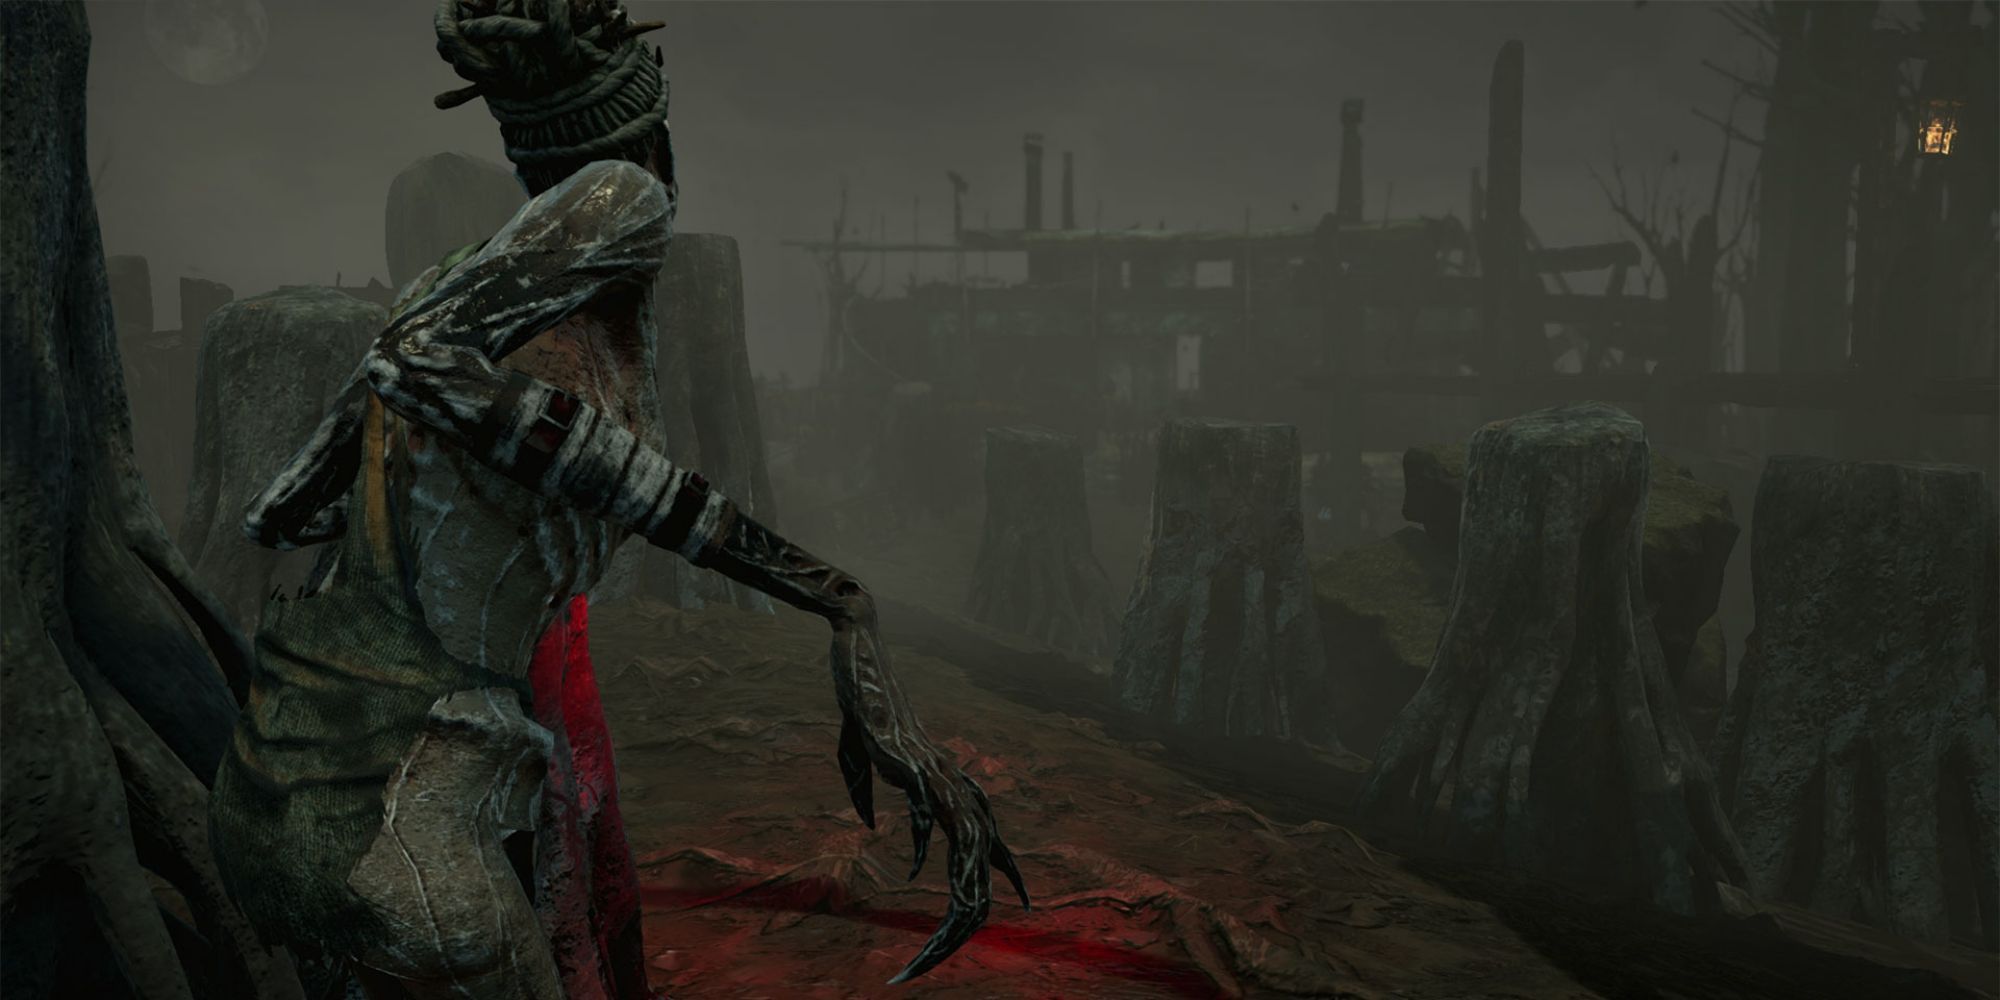
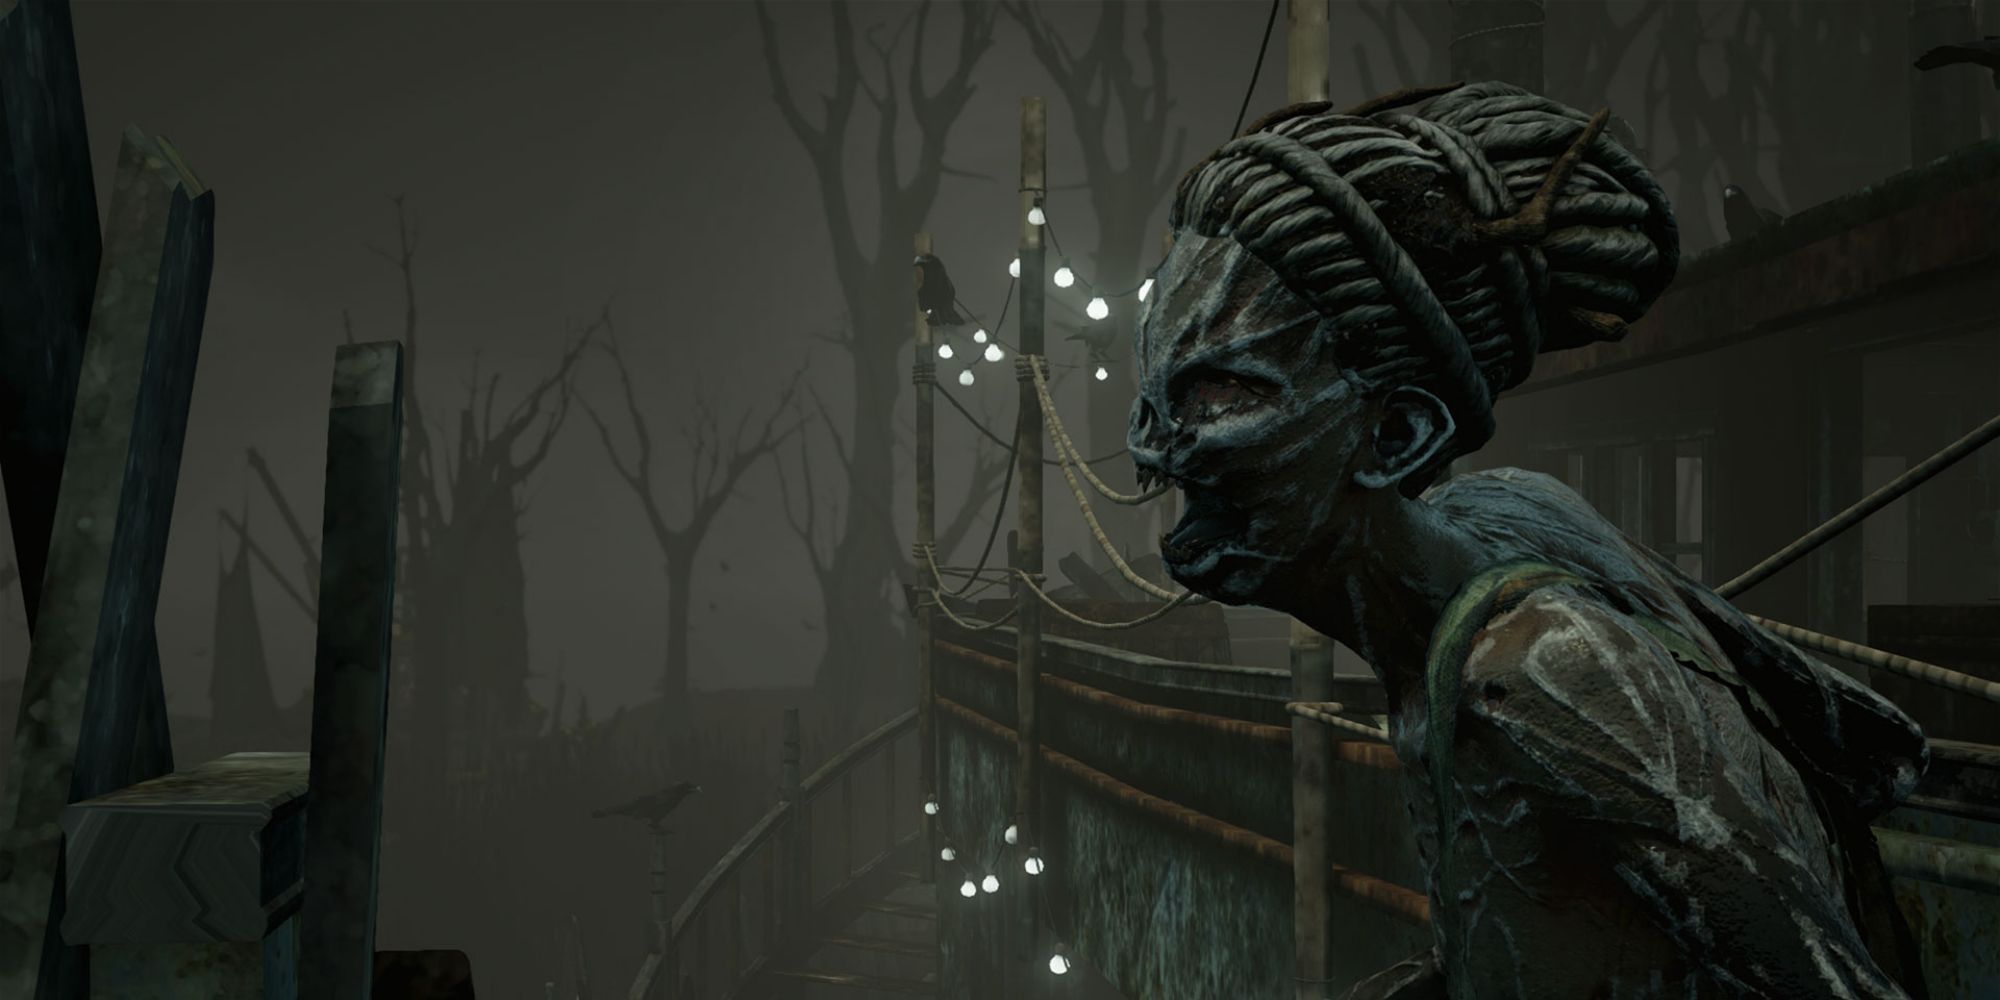
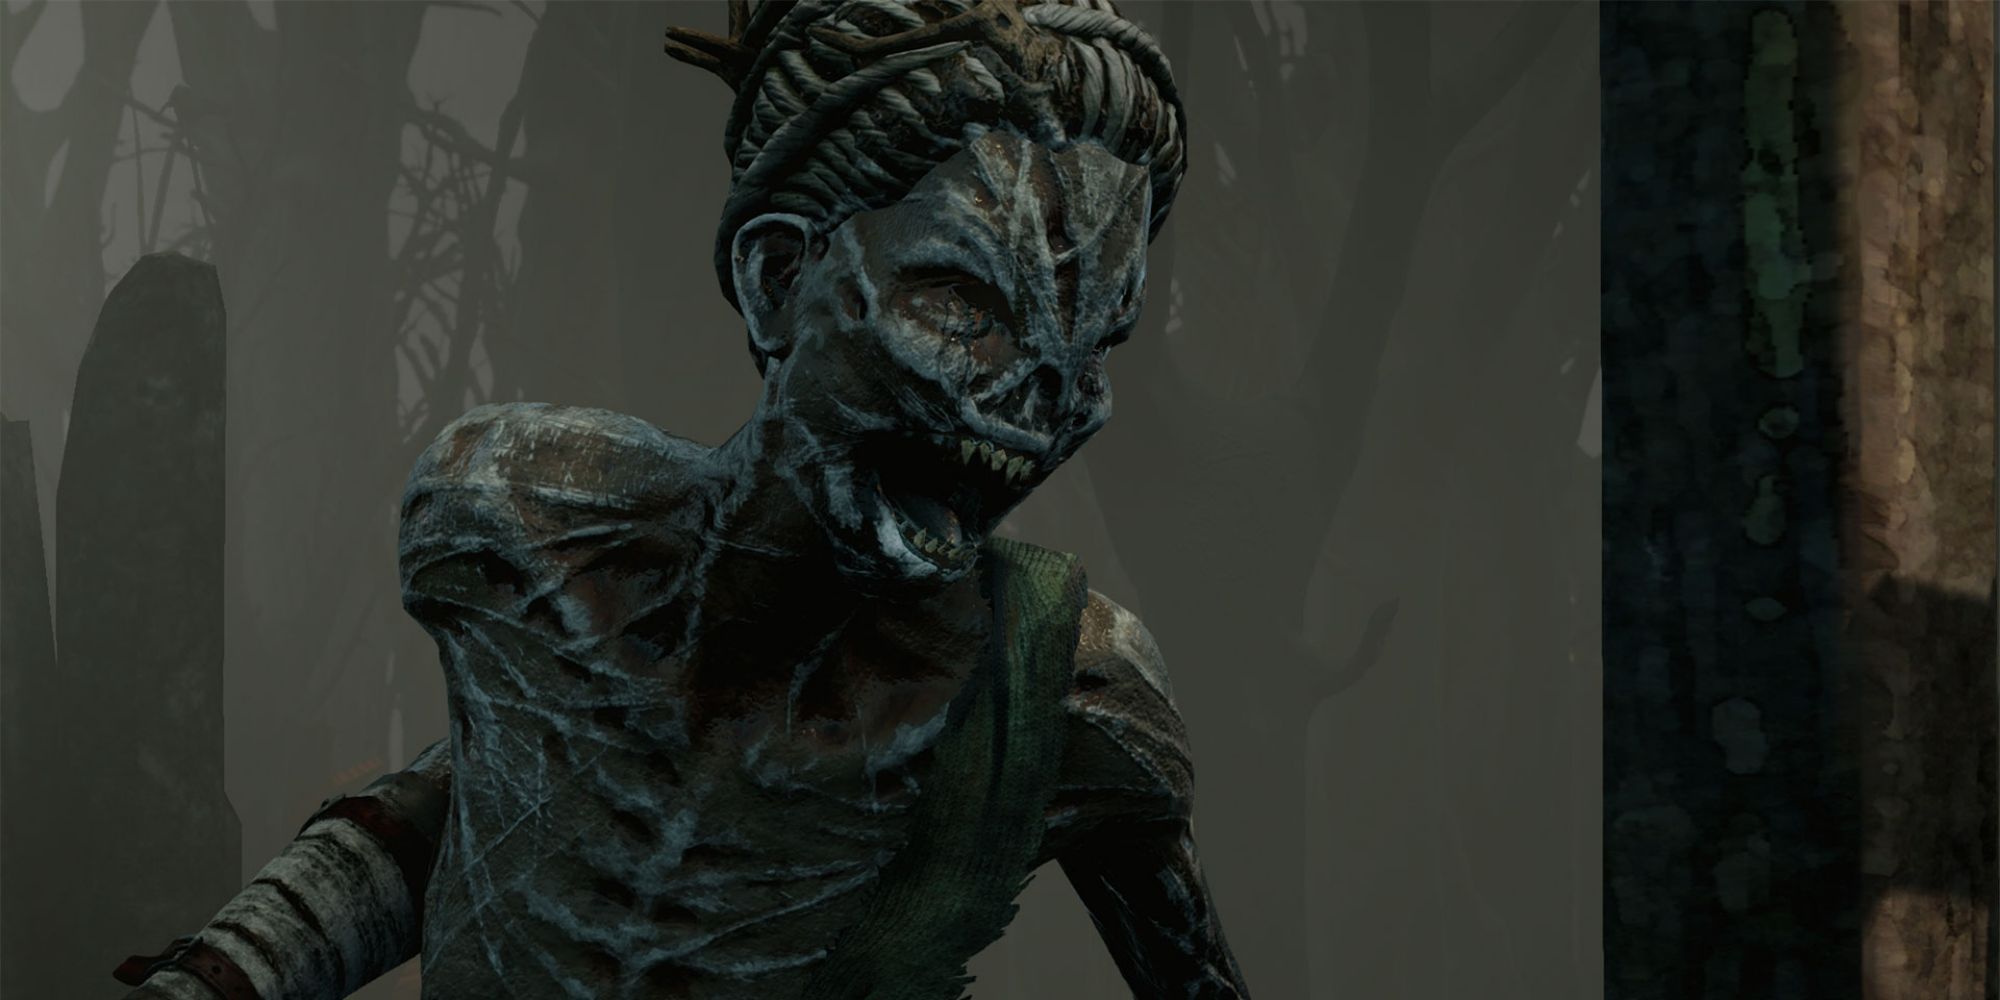
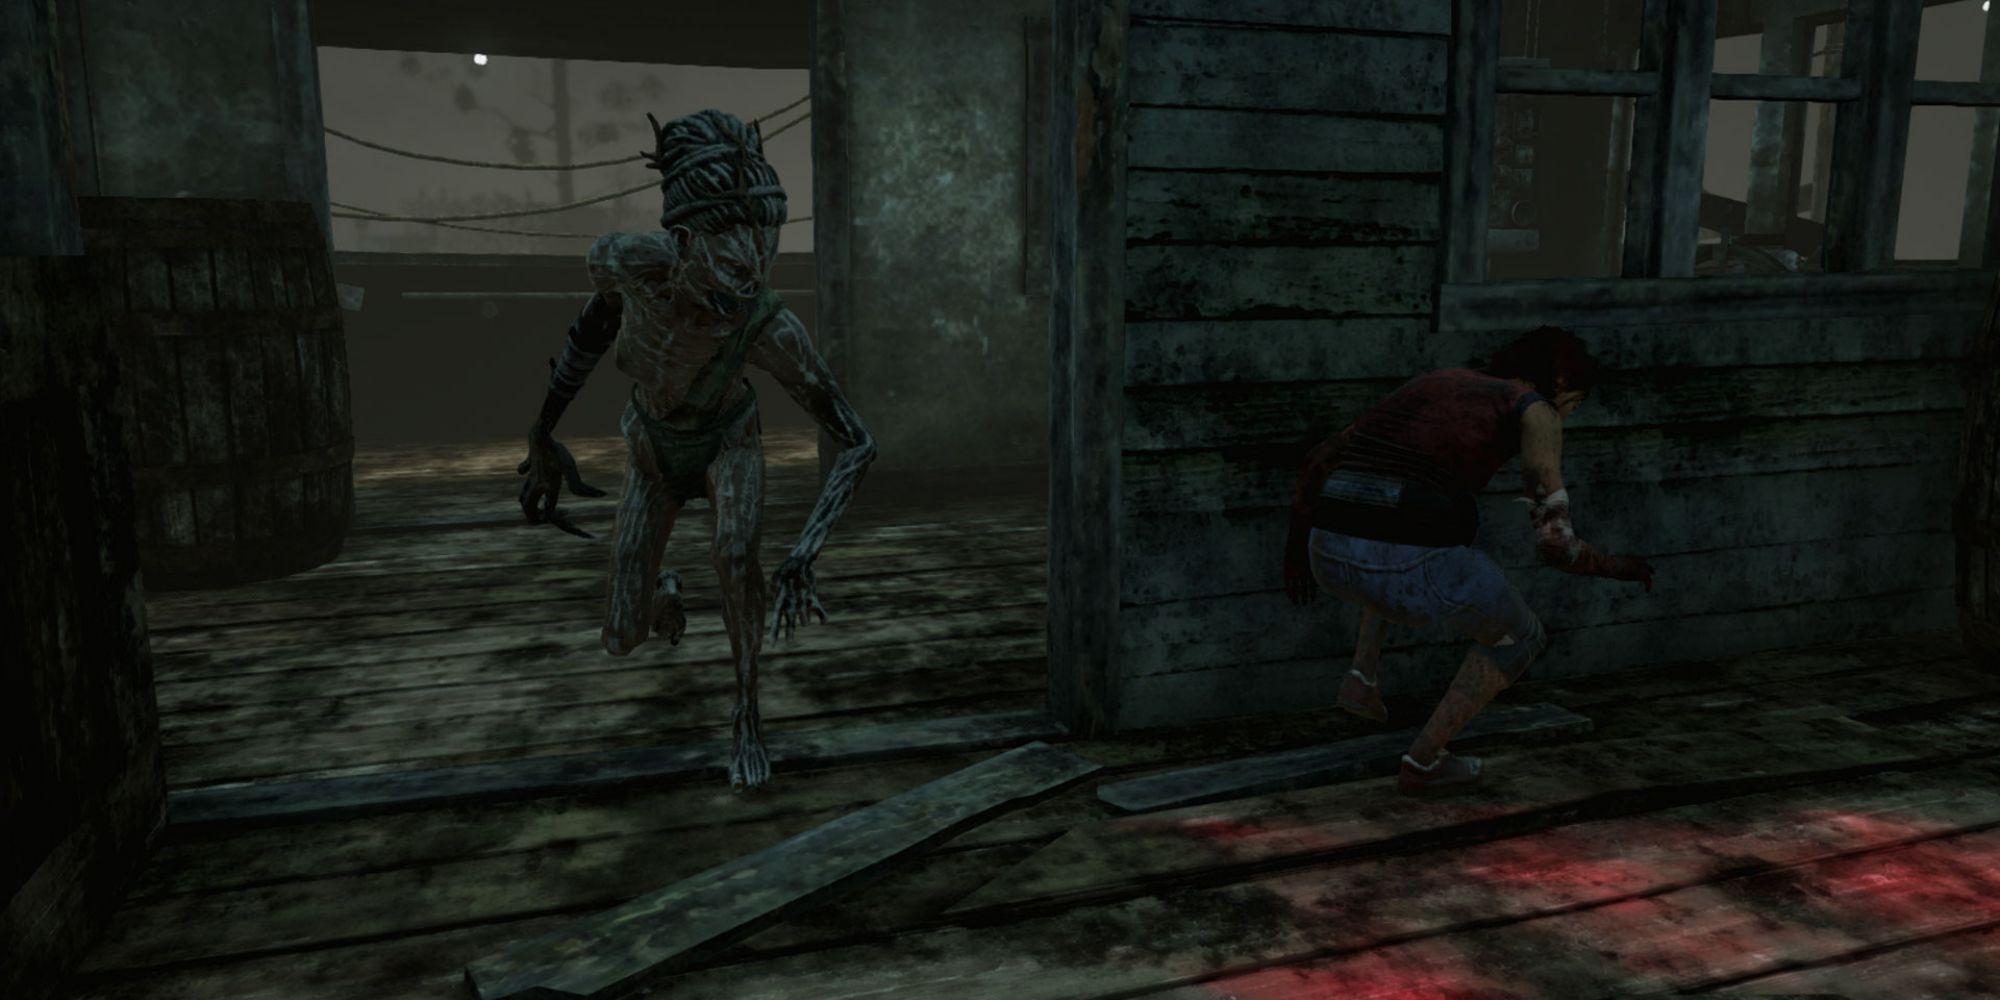
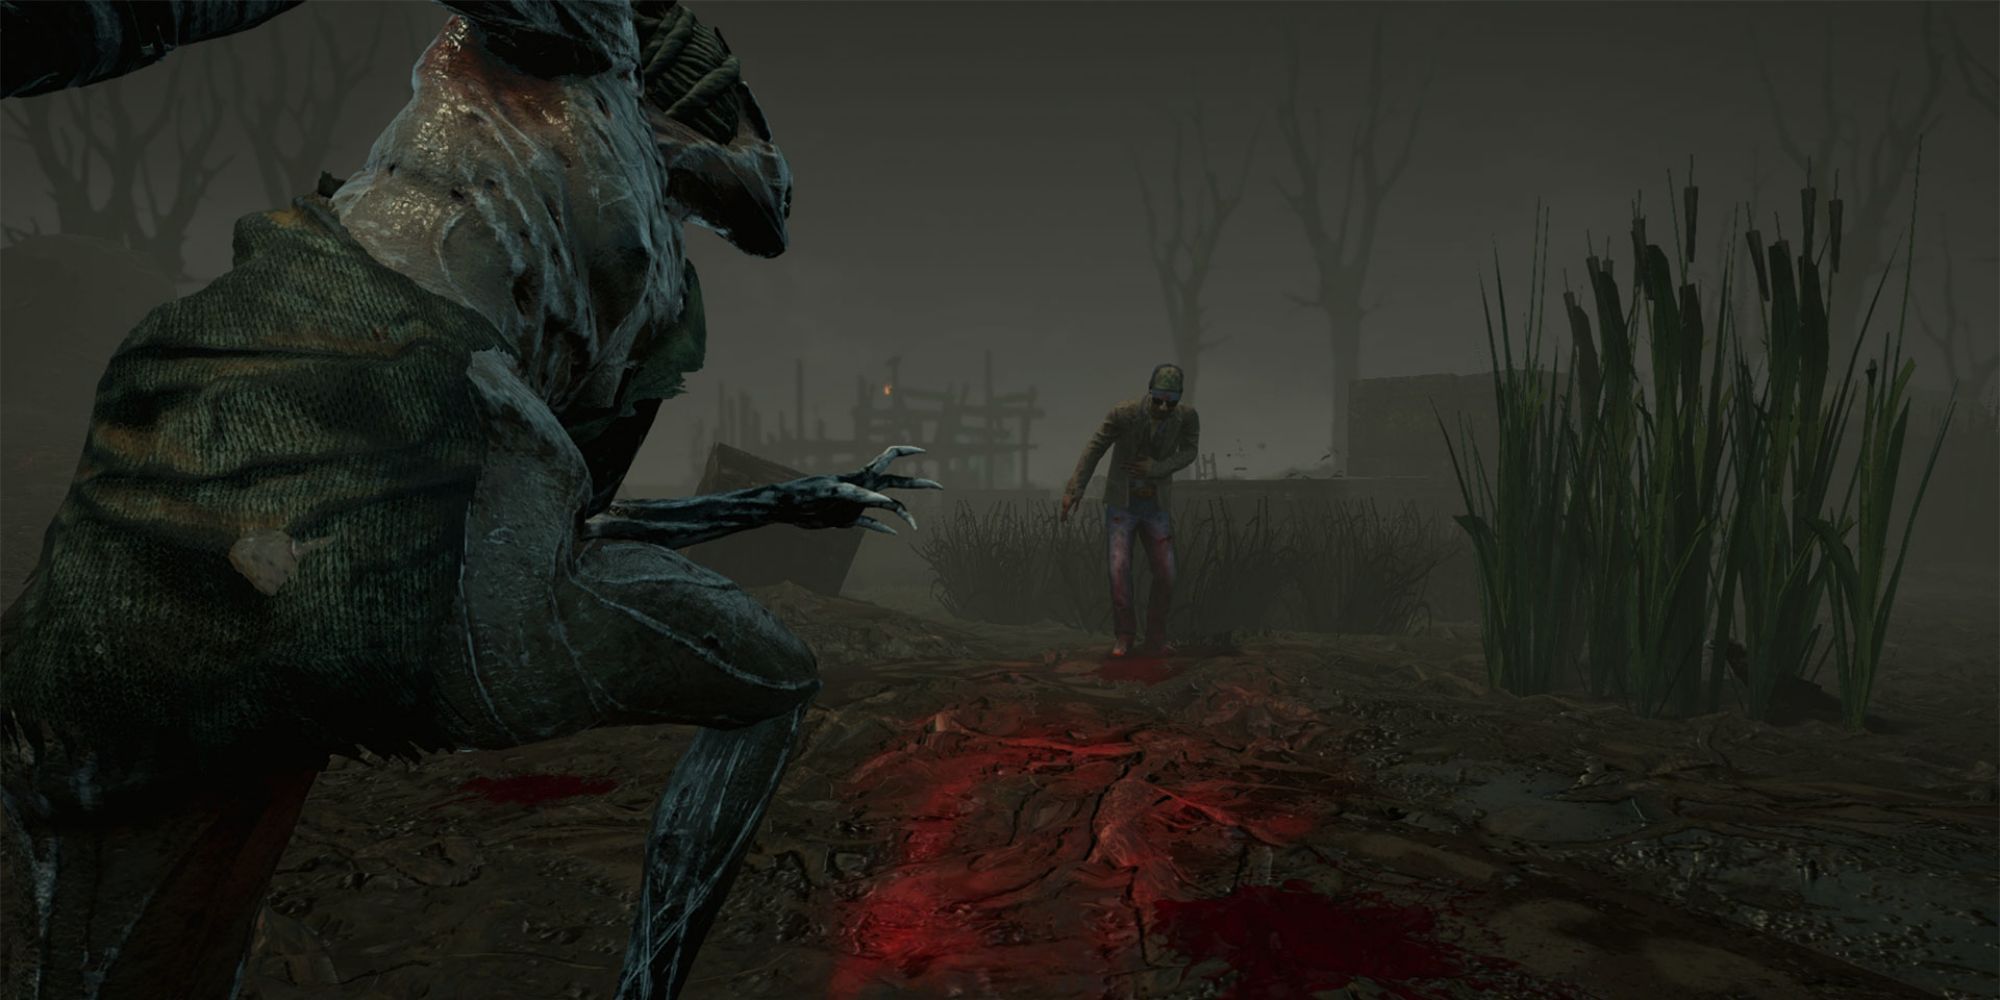
Though she may be small and frail, The Hag is one of the most terrifying killers in Dead by Daylight. Jump scaring survivors with her Mud Phantasms, The Hag can teleport around the map at will, seeming to be everywhere at once.
Her power is incredible, but takes significant skill to use. Those that wield it properly can spin a web as grand and lethal as any spider's, dotting the map with traps and waiting for an unprepared survivor to stumble into a den from which they will never emerge. Few things in the game are harder to escape in Dead by Daylight than a talented Hag, and this is why.
10 Set Multiple Traps Before Chasing
In Dead by Daylight, a killer's natural tendency is to want to chase survivors as soon as possible. Every second that isn't spent hot on their heels can feel wasted. As The Hag, it's important to ignore that feeling. A common mistake is to engage in chases before six or seven of her traps are set up.
The Hag isn't a chase killer. Like The Trapper, her matches are in large part won and lost before the first chase even begins. By taking the time to first establish a network of traps, The Hag makes sure that whenever she chases a survivor, it's right into her waiting jaws.
9 Her Traps Are Wide
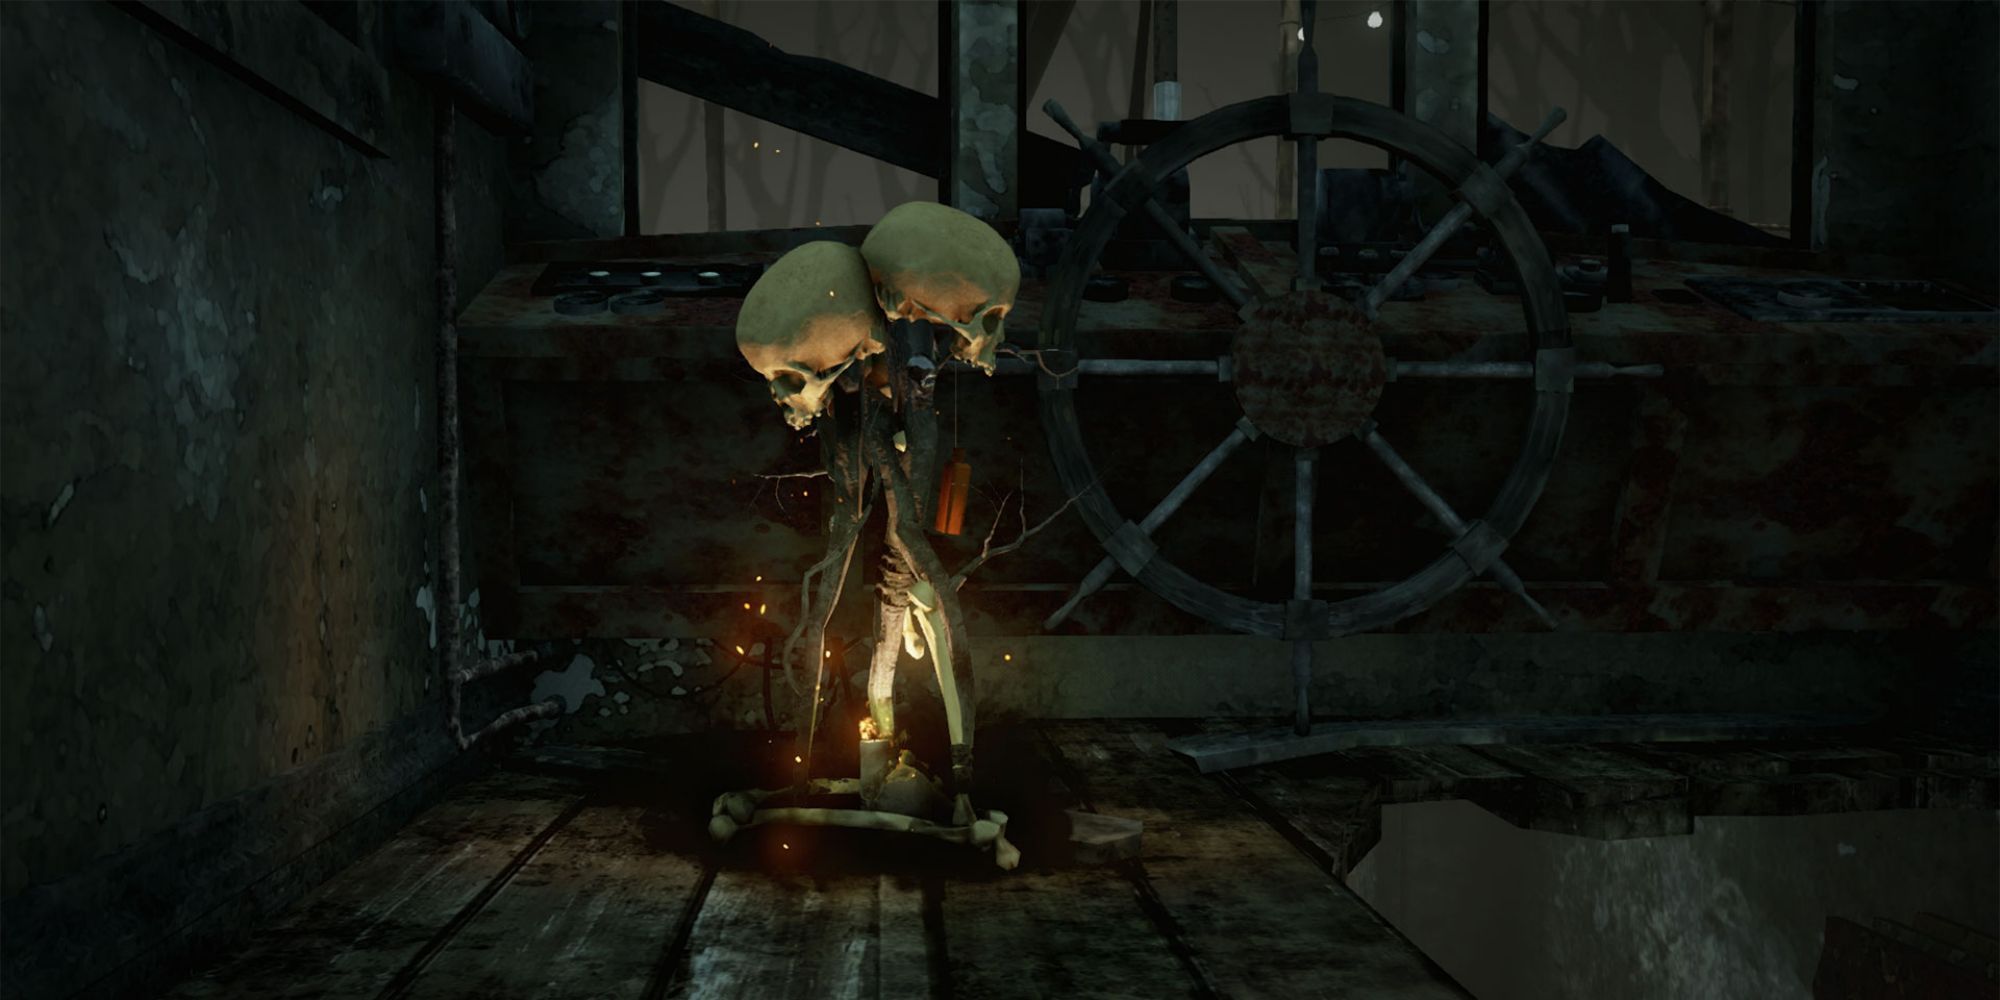
The Trapper is the killer to whom the Hag is most often compared, and in many ways, the comparison is apt. Both, after all, rely on their ability to compromise critical loops and transit points across the map. Yet where Trapper's bear traps require pixel-perfect placement, phantasm traps created by The Hag's Blackened Catalyst power are much more generous in their grasp.
Hag players don't need to waste time placing their traps exactly right. As long as it's in approximately the right place, the trap's wide reach will catch survivors. A Hag player can feel confident with on-the-fly placement.
8 Trap The Center
Shutting down high traffic areas is key to The Hag's victory. Central locations that survivors are likely to visit multiple times in a match make much better targets than isolated sites located on the fringes of the map. In general, it's better to trap from the center of the map outwards, rather than the edges where survivors are unlikely to go.
This strategy makes a hard killer much easier. Though survivors can dismantle traps with flashlights, it is often worth replacing a successful trap, even after survivors know about it. Once in a chase, it's unlikely that survivors will have time to disarm it. Even if they do, the time it takes is often enough for The Hag to catch them.
7 Phantasms Look At Survivors
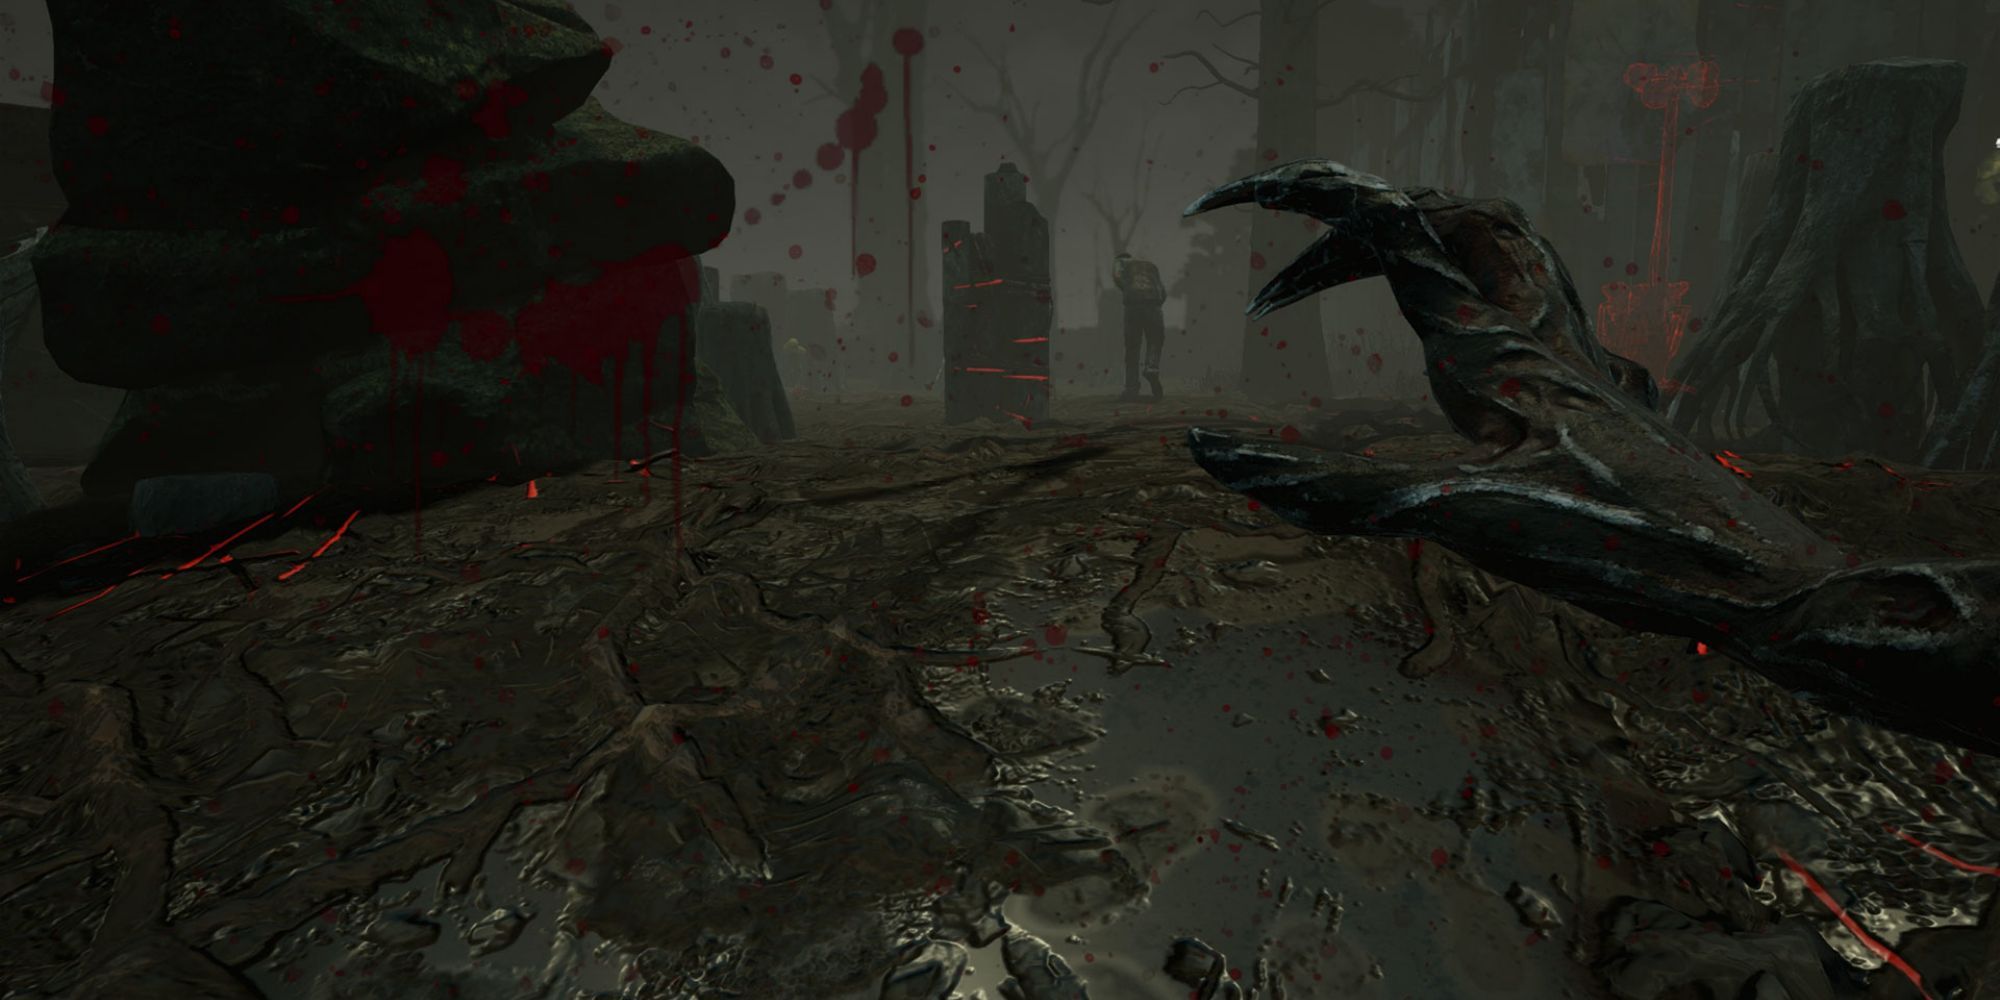
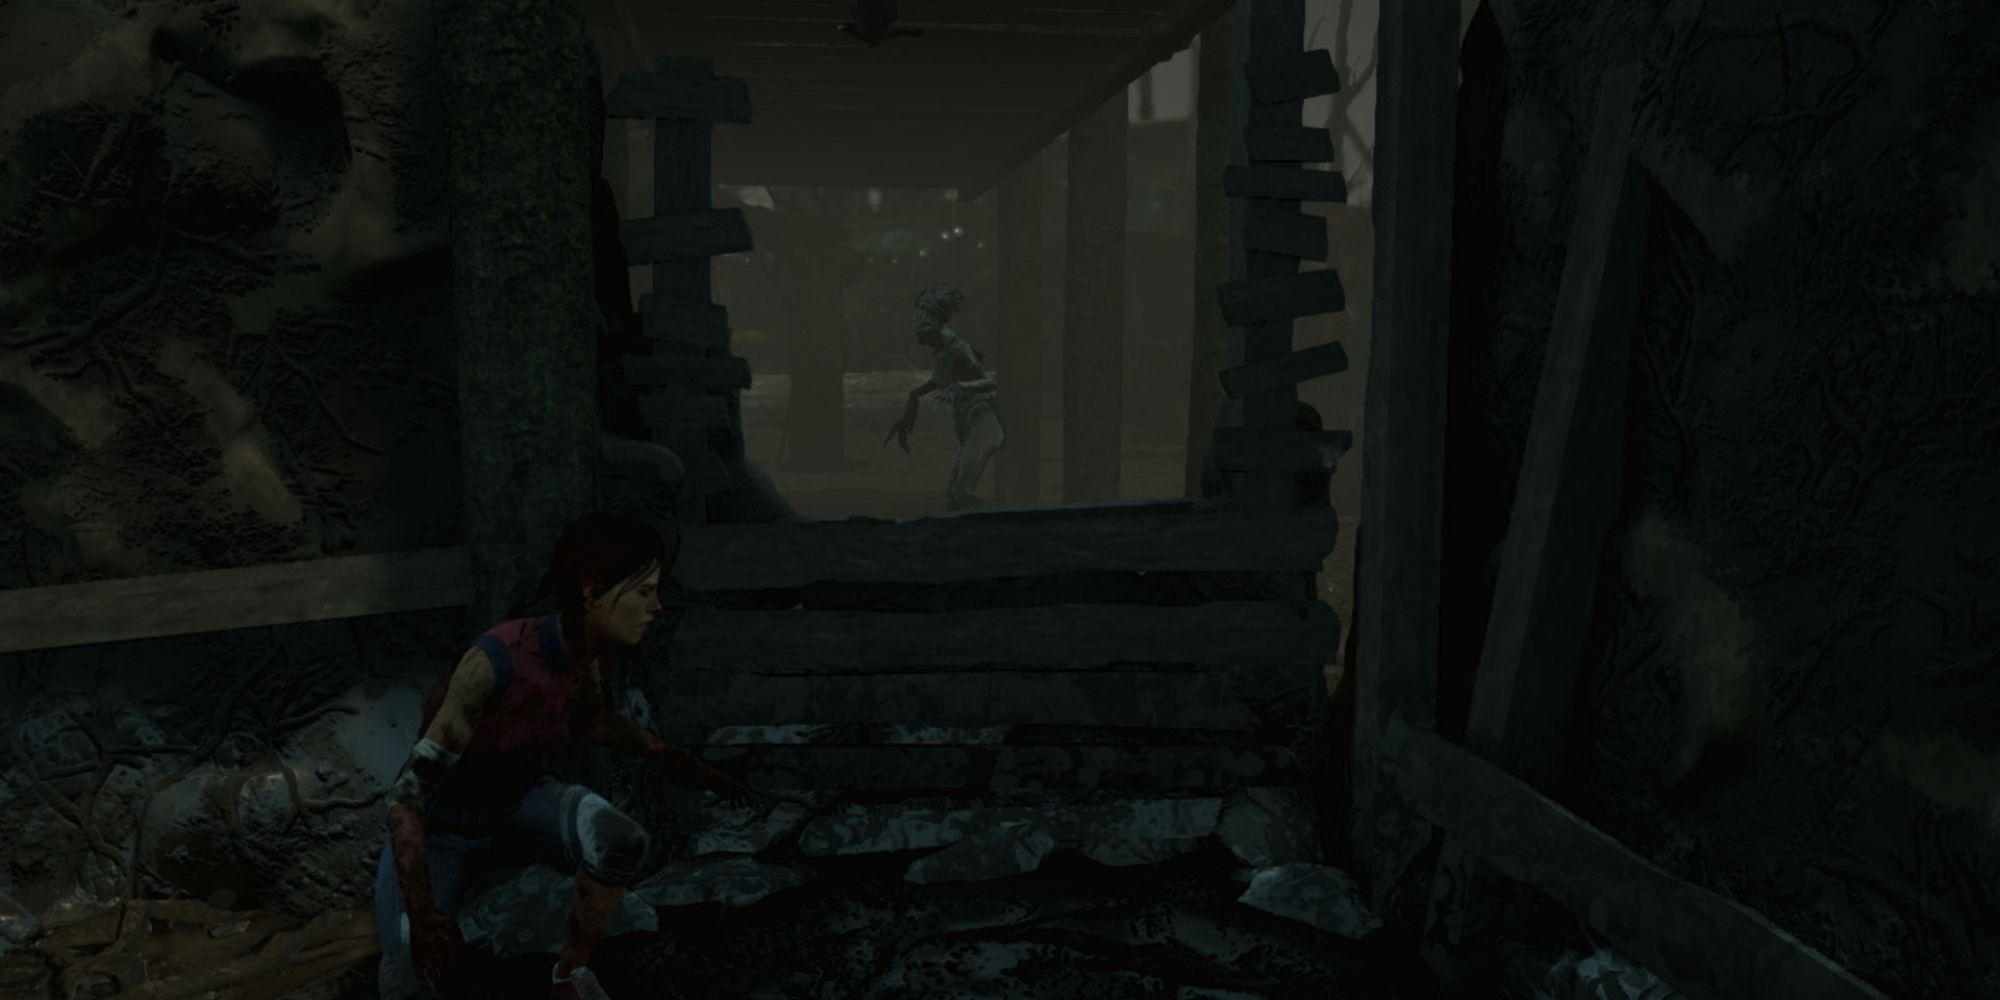
The most obvious use of The Hag's traps is to teleport around the map and hit survivors, but wily Hag players know the traps have other uses as well. The mud phantasms created by a triggered trap looks in the direction of the survivor that triggered it. Knowing this, even if The Hag teleports to a trap too late, they can use the facing of the phantasm to determine the runaway survivor's location.
Anything that increases the killer's map knowledge is a crucial resource in the Trial, and The Hag is fortunate to come with a built-in information perk. She can find her prey no matter what build they're running.
6 Don't Rely On Traps In Chase
The Hag, like The Trapper, The Nightmare, and The Artist, can use her traps in a chase to hit survivors or force them away from otherwise safe loops. Yet using traps in mid-chase should never be their primary use, as The Hag's trap placement is then determined by the survivor's movements rather than her own plan.
If setting a trap mid-chase means the survivor will take a hit, do so, but most traps should be laid down before any chases happen. That way, instead of losing ground by having to set up traps, The Hag can simply chase the survivor into her waiting web and down them that much faster.
5 Assess Surroundings
For many killers, the initial spawn position makes little difference. They simply enter the map, note where the farthest generators are, and trot off in that direction. For The Hag, that is not the case. As soon as the matches begin, a Hag player must take note of their surroundings.
Are there nearby totems that must be defended? What is the best three-gen? If that three-gen is on the far side of the map, how many traps should be used on the way, and how many preserved? As a setup killer, The Hag must begin planning for her late-game immediately. If early opportunities are lost, it will likely be too late to recover.
4 Weave A Web
Hag players often talk about her traps as forming a kind of spider's web, and the analogy is an apt one. Traps that are scattered about with no rhyme or reason will fail to catch their prey. The best traps work together, forming a lethal network that ensnares survivors and leaves them nowhere safe to turn once they've stumbled into it.
As The Hag, the main strategy is to establish such a web and then push survivors into it, steering every chase in that direction. That is the major reason a Hag player, more than almost any other, will want to identify and prepare for a three-gen. Given her ability to cover ground using teleportation, a Hag who has secured the final three generators is difficult to escape.
3 Experiment With Trap Placement
As a new Hag player, it's important to try experimenting with different trap placements. Some, like traps around generators, will turn out to be too predictable, others too easily detected. Until a player has experimented with all of them, there's no way of knowing which will be most effective.
It's this aspect of The Hag that most distinguishes her from M1 killers like Wraith and Legion: her ability to manipulate the map itself is paramount. The more a Hag player plays with trap placement, the more confident they will become in their ability to anticipate survivors' movements. Experimentation paves the way to success.
2 Trap Crossroads
Controlling intersections is a critical part of The Hag's ability to lockdown a map. Anytime multiple paths cross, trap their intersection. Paths from hooks, pallets, windows, and generators are all attractive targets, as are chokepoints.
If a survivor has multiple reasons to cross a certain point, that point is worth seizing control of. While trapping a single window or pallet can be worth it if it means ending a chase and hooking a survivor, most traps should have broader utility. Doing so will save The Hag time, which for a setup killer is a precious commodity.
1 Space Out Traps
A common mistake made by new Hag players is placing traps too tightly together. Though it makes sense in theory that tighter trap placement would increase the likelihood of a survivor triggering one, in practice, survivors trigger multiple traps faster than The Hag can teleport between them. This allows survivors to rip apart her web in an instant while taking few injuries as a consequence.
There's a delicate balance to be struck between traps that are so close they're easily dismantled and so far they have no synergy. Learning that balance is a key part of Hag's gameplay.
Dead By Daylight was released in June 2016 and is available on PC, PS4, Xbox One, Nintendo Switch, iOS, Android, and Stadia.

