Hexes are some of the most powerful tools Dead by Daylight killer players can utilize. Hexes typically affect the whole survivor team or inflict them with strong de-buffs. Using multiple hexes can create a powerhouse build that requires survivors to spend time cleansing totems or face huge debuffs. On the other hand, using one hex in a build full of other great perks can create slowdown or force survivors to deal with a myriad of status effects at once.
While all hexes can improve a killers' game when used correctly, not all of them have the same effects, and some are more useful than others. Picking the right hex - or hexes - for a build can make or break a trial for the killer. Here are the top 6 Dead by Daylight hex perks and how best to use them.
6 Hex: Undying
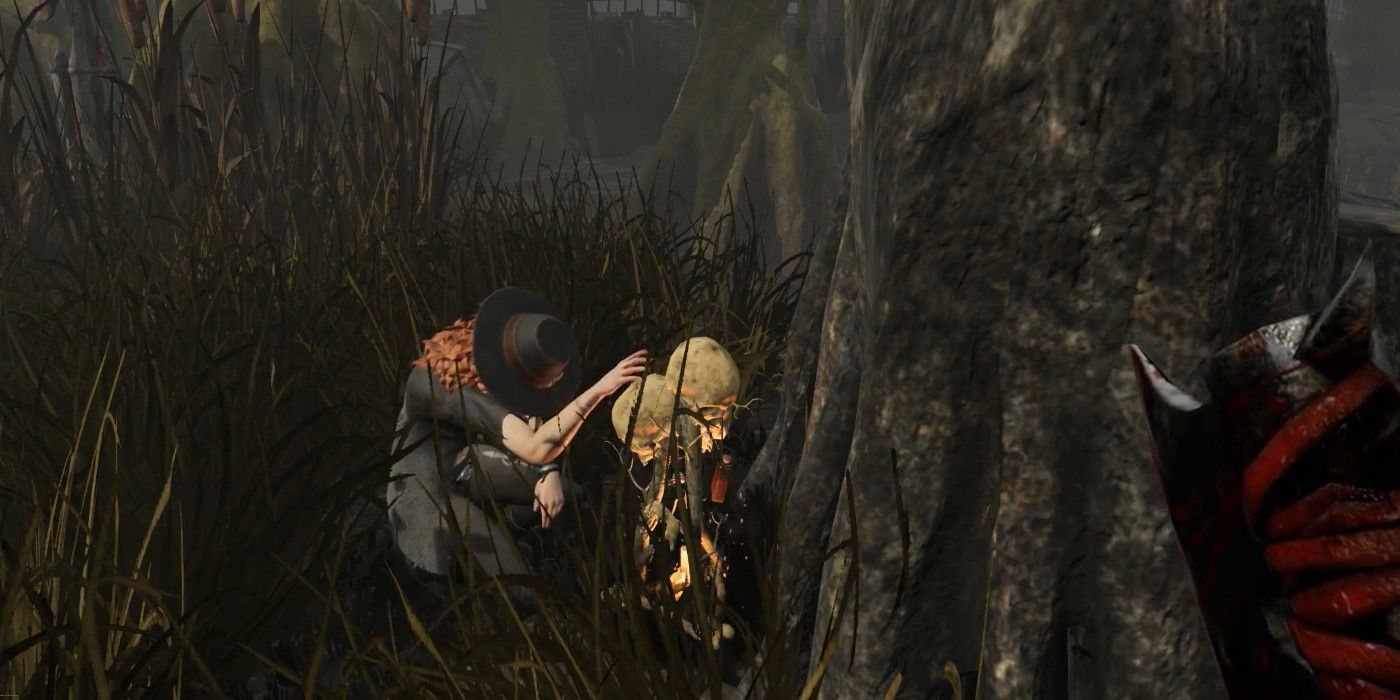
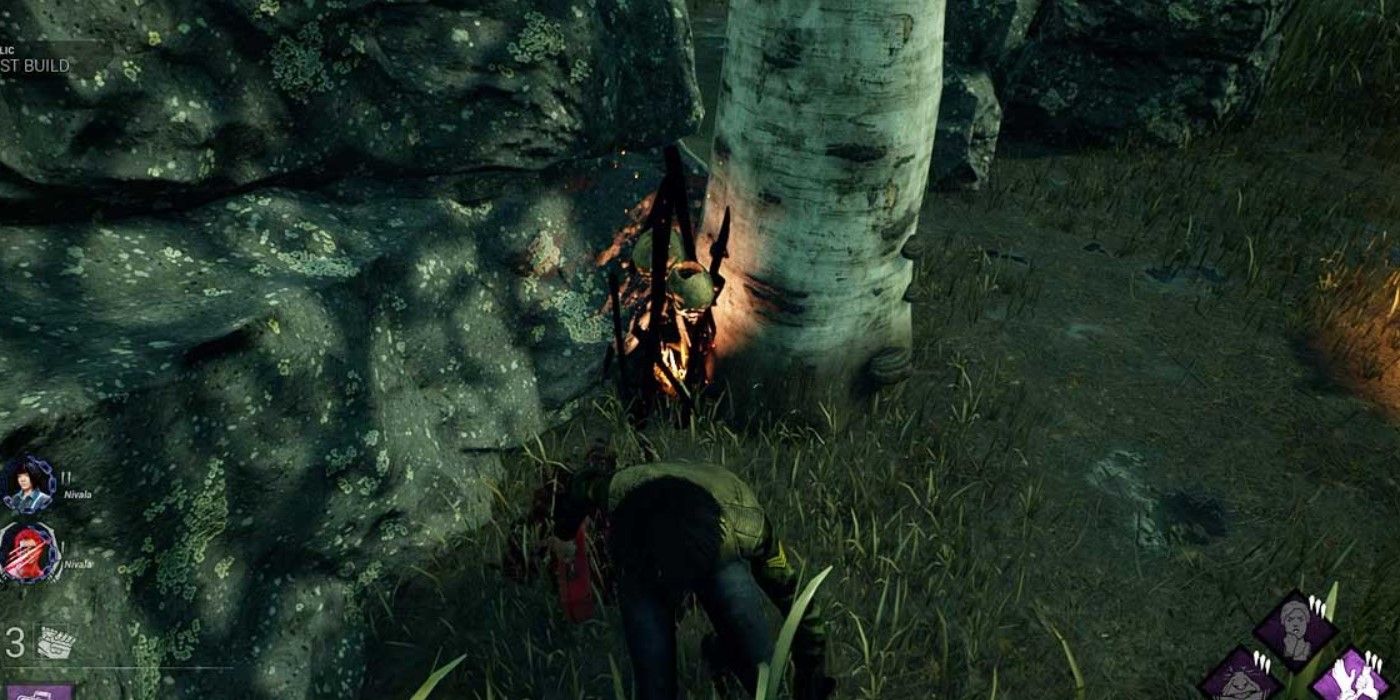
Hex: Undying isn't strong on its own, but it's a great companion to almost any other hex perk. On its own, this perk only allows the killer to see the auras of survivors who are near dull totems. Whenever another hex is cleansed, though, its powers will also transfer to Hex: Undying, requiring survivors to cleanse it again if they want to get rid of its buffs to the killer. This not only slows survivors down and forces them to cleanse totems rather than repair generators, but it boosts the power of other hexes.
For example, one could run Hex: Haunted Ground and Hex: Undying together. When the survivor cleanses Hex: Haunted Ground, everyone will become exposed for 60 seconds. Its power would then transfer to Hex: Undying and the survivor might confuse the second hex totem for a different hex, cleansing it again and therefore equipping the killer with another 60 seconds of insta-downs.
5 Hex: Haunted Ground
The Spirit's Hex: Haunted Ground is a single-use hex perk, so it may not benefit those looking for steady pressure throughout the match. That said, Haunted Ground is an incredibly useful perk that can turn the game around when it does trigger. When a survivor cleanses a totem with this hex on it, all survivors will be exposed for 60 seconds.
A strategically-minded killer could use this perk to snowball their success, downing not just one, but up to all four survivors in one hit each! For this reason, Haunted Ground works best on killers with high map mobility, like The Onryo or The Nurse.
4 Hex: Plaything
Hex: Plaything curses each survivor after their first hook, inflicting them with the Oblivious status effect until they cleanse their Plaything totem. For the first 90 seconds, after the cursed totem appears, only the survivor who is inflicted by the curse can cleanse the totem. When survivors are Oblivious, they can't hear the killer's terror radius, making it easier to sneak up on them.
Having one survivor Oblivious can help the killer land a sneak attack or two, but the real value from this perk comes when all survivors are Oblivious. Without knowledge of the killer's terror radius and location, even survive-with-friends teams will be confused about their next move, unable to effectively use stealth.
3 Hex: No One Escapes Death
Once the exit gates are powered, Hex: No One Escapes Death allows the killer to down any survivor in one hit, and the killer is granted a small speed boost. No One Escapes Death is a risky perk since survivors can simply cleanse all five totems before the exit gates are activated and rob the killer of its benefits. That said, survivors don't usually take the time to cleanse all the totems, ensuring that this perk activates a good portion of the time.
Even if survivors do decide to cleanse all the totems in fear of No One Escapes Death, they'll be wasting valuable time throughout the trial doing so. Because Hex: No One Escapes Death allows the killer to down any survivor in one hit and could turn a failed trial into a successful one, it's one of the most powerful perks in the game.
2 Hex: Devour Hope
All hex perks are risky, but Devour Hope is even more so; it relies on the killer gaining tokens through survivors unhooking one another away from the killer. Not only does the killer have to accumulate at least 3 tokens to get real value out of this perk (the ability to down survivors instantly), they also have to ensure that the survivors do not cleanse the totem before they earn those tokens.
That said, with 5 stacks, a killer can not only instantly down each survivor, but kill them regardless of how many times they've been hooked. This makes this one of the most powerful perks in the game under the right circumstances. Like many other hex perks, killers with high mobility will get the most value out of this perk; players won't earn tokens if they're too close when the survivor is unhooked. Because of this requirement, this perk is also somewhat map-dependent, favoring larger maps.
1 Hex: Ruin
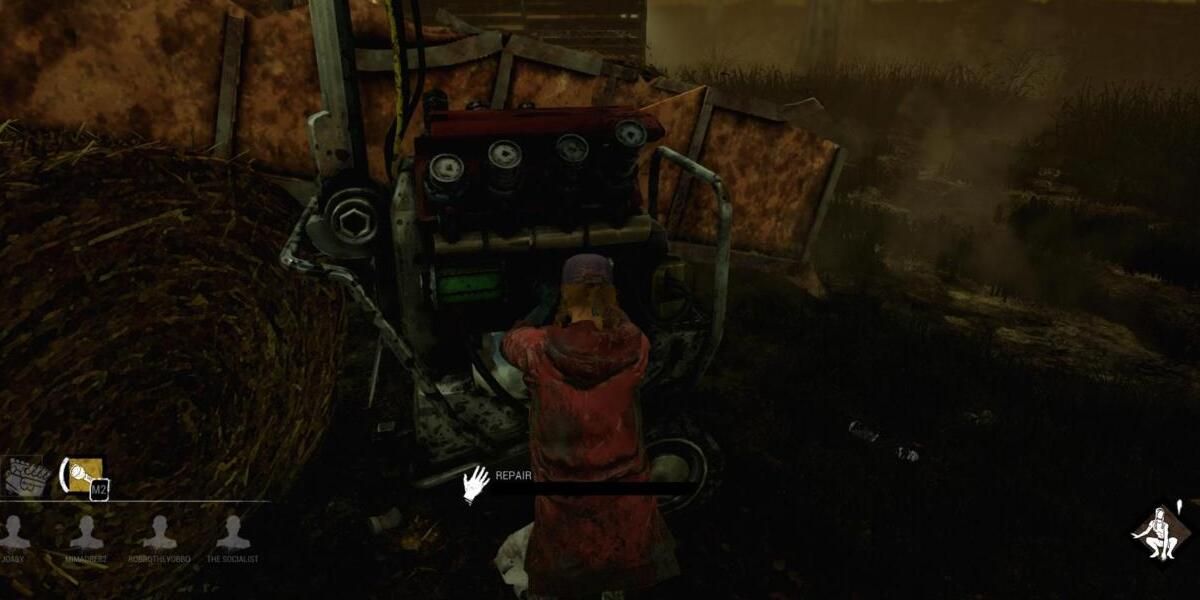
The Hag's Hex: Ruin has long been regarded as one of the best killer perks in Dead by Daylight and for good reason. This hex causes all generators to regress at double speed whenever a survivor is not repairing it. For killers who are able to frequently pressure survivors off of generators, this hex can cause their progress to deplete significantly.
A killer could chase a survivor off of a generator while the generator is nearly finished, and if no other survivor works on it, it could potentially be depleted to 0% when the survivor is able to return. Plus, the killer doesn't have to waste time kicking generators. When combined with other generator regression perks, too, Hex: Ruin can truly ruin a survivor team's hopes.
Dead by Daylight is available on PS5, PS4, Xbox Series X/S, Xbox One, Nintendo Switch, PC, Mobile, and Google Stadia.




.jpg)
