


The Darkest Dungeon series is well-known for being notoriously difficult, and players who find themselves struggling have nothing to be ashamed of. The game is unforgiving and will punish players for even the smallest of mistakes. Even when players think they're having a good run, the game will find something to throw their way and take them by surprise.
However, there are some bosses in Darkest Dungeon 2 that are harder to defeat than others that will leave players scratching their heads trying to figure out how to beat them. The game can be incredibly tough sometimes, but that also makes every triumph just that little bit more satisfying.
5 Dreaming General
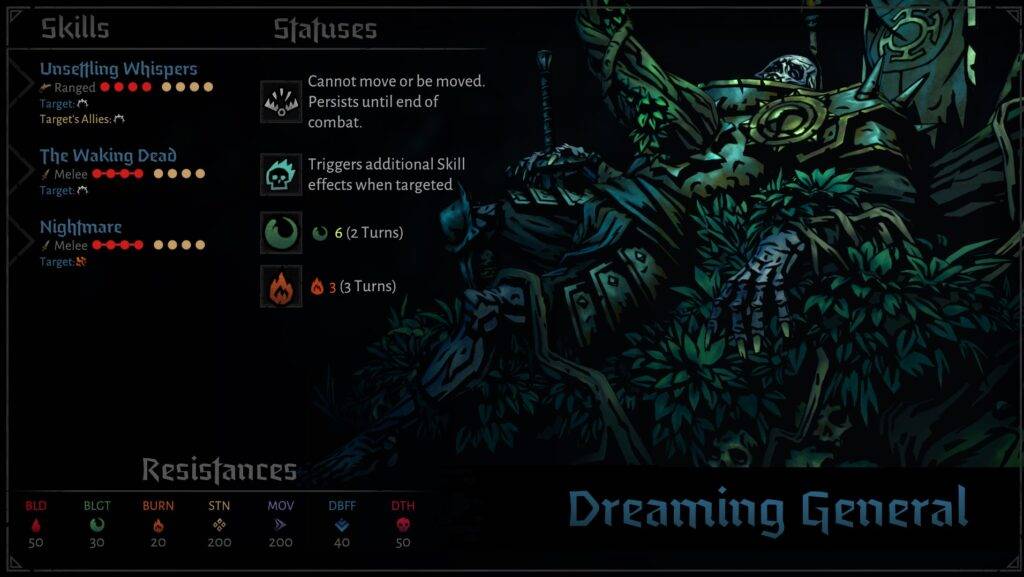
The Dreaming General can be a really steep learning curve for newer players and often takes some figuring out. The boss will summon roots in three consecutive phases, that will slow the party members down. Once it hits three stacks, players will be unable to move or use any abilities, and will only be able to take stress. If the whole party is immobilized, the boss will unleash a powerful attack, hitting the whole team. They will then be freed, and return to one stack of root. The boss will also cause bleed, so players should make sure they're equipped with Bleed Heals and Bleed Resist Trinkets.
Players should aim for the Tap Root - hitting it will remove two stacks of the root, and players should actively avoid allowing the root to build up in the first place. AoE attacks are especially useful in this fight - they will count as a hit on the Tap Root, even if they don't do any damage. Combat Items that target the Tap Root also count as a hit, so it's important to ensure the party is fully stocked up on them before beginning the battle.
4 Shambler
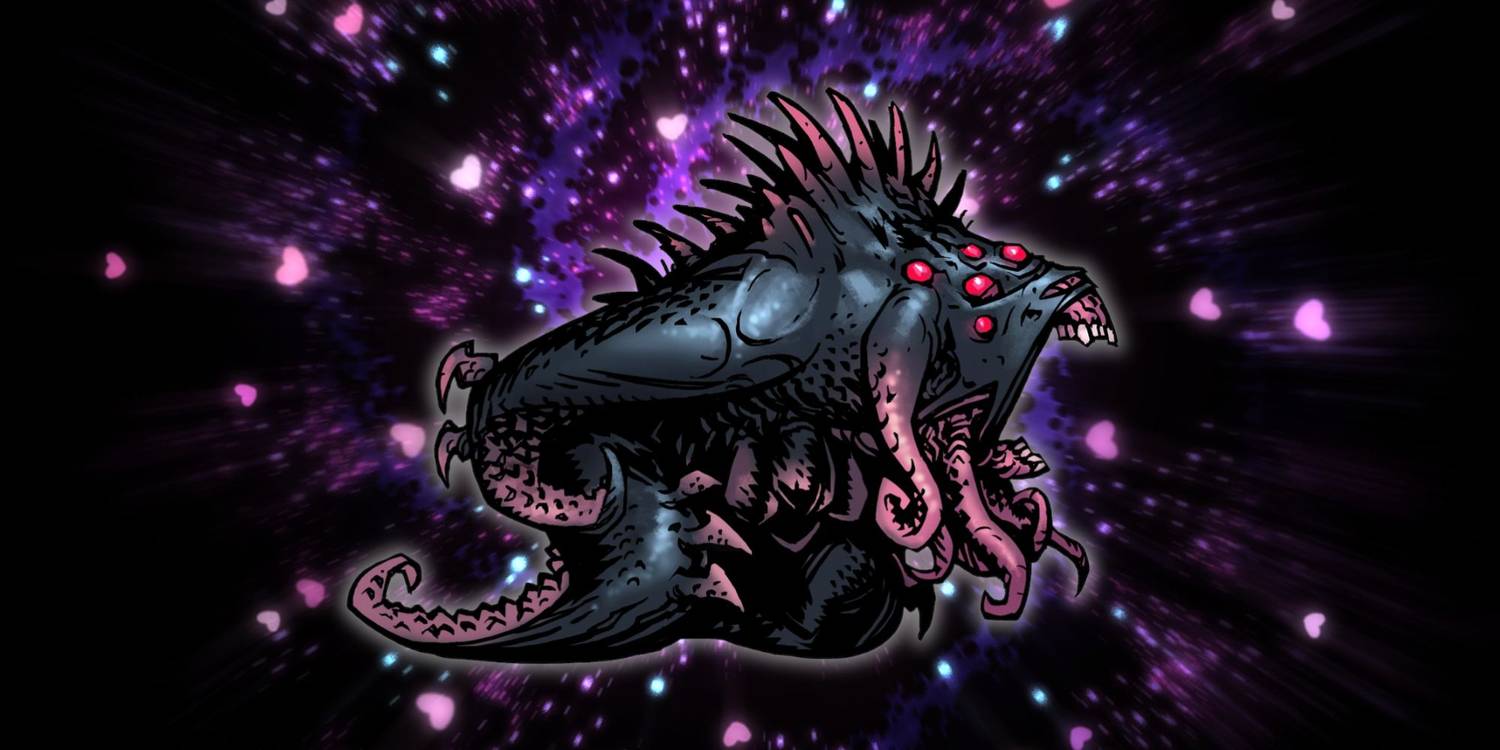
The Shambler is incredibly dangerous due to its unpredictability. It can be encountered in various ways, and can certainly ruin a run for players who aren't prepared for it. One way is through regular road battles if the player has a light level of less than 30. It can also be discovered by having a hero interact with a Shambler's Altar at an Academic's Study. They can also be encountered multiple times in a single run. The Shambler is particularly dangerous because if a player is already at a low light level, unintentionally, they're probably already in a bad spot, and the last thing they need is a boss fight.
One of the best strategies to beat this beast is to bring plenty of damage of time abilities. The Shambler will continuously spawn in Shambler Tentacles that can damage heroes and will resummon any defeated tentacles. This means that attacking them isn't worth the turn. Instead, players can apply effects such as Bleed, Blight and Burn to them, and focus the rest of their efforts on the Shambler. Whilst it's a risky encounter, the Shambler does offer players plenty of rewards that might just make it worth their while.
3 Leviathan
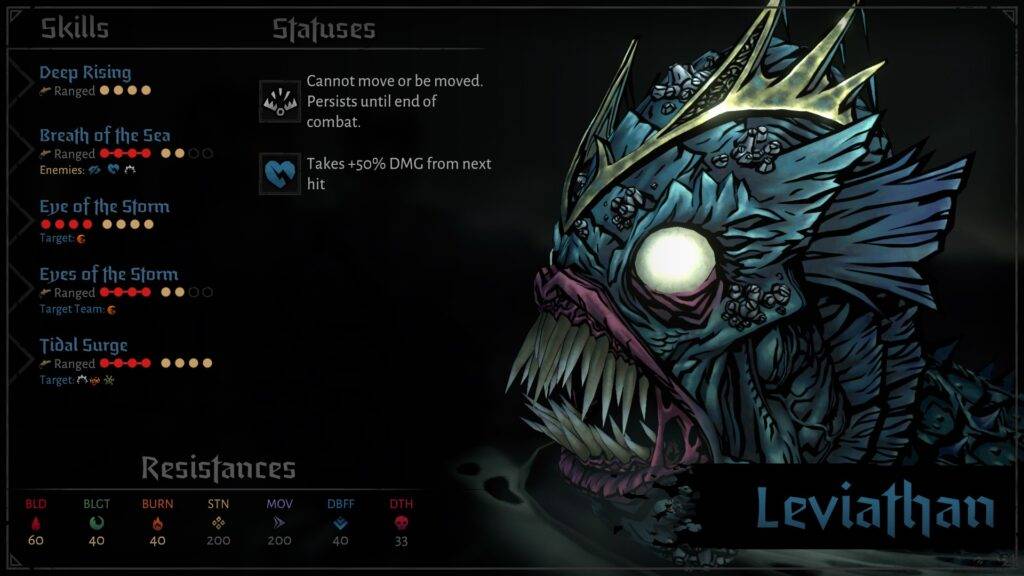
The Leviathan is arguably one of the most difficult lair bosses in Darkest Dungeon 2, and worth avoiding if possible. It will unleash a barrage of debuffs onto a party, followed up by an AoE powerful attack. If this wasn't enough, the boss can also grab one of the party members, rendering them useless until the rest of the party can defeat the hand. The hand will harass the party by pushing heroes around, pulling them underwater and damaging them.
However, players can prevent this from happening by ensuring they stack up plenty of Move and Debuff resists before the boss to prepare for its main gimmick. Unfortunately, it's difficult to acquire enough Move resists to make this a reliable method. Players should ensure they're bringing some high-damage dealers to destroy the hand in one or two shots, otherwise, they'll find their party falling behind.
2 Ravenous Reach
The Ravenous Reach is Darkest Dungeon 2's 4th final Mountain boss. It has multiple phases that can really mess up a team that isn't prepared. The first and second phases are relatively easy - it has low health and relatively low resistance, with three attacks per round. This means it can be taken down with damage over time effects pretty easily. However, its main ability is to move party members around, which can put some of them in a really dangerous situation if the player can't resolve it quickly.
The third phase is undoubtedly the most difficult. The boss' resistance drops to a more balanced state, but it can cause Horror and Bleed on party members, as well as removing any positive traits they have. It can also Riposte any incoming attacks. This is particularly dangerous, as this late on in the fight, many players will find themselves struggling to manage the health of their party - they must decide whether to risk the attacks, or heal up and give the boss more time to recover its own health. Man-at-Arms can be particularly useful here, as Bellow can remove Riposte.
Before entering this fight, players will want to make sure they have Bellow, some strong Death's Door resistance, Stress heals, and some Bleed/Blight. The boss itself is a glass cannon, with low health for each stage, but can really dish out some damage that can destroy parties that aren't prepared.
1 Body Of Work
The Body of Work is Darkest Dungeon 2's fifth and final Mountain boss, and undoubtedly the most complex. It has three unique phases that players must fight their way through to beat it, culminating in an incredibly difficult, but undeniably epic final battle.
First Phase
The first phase is the simplest, with 200 HP and Resistances that are pretty high across the board, and complete immunity to Blight. The boss can move heroes around and lock them into place, and afflict them with Gastric Juice, which applies 3 Blight per turn. Unfortunately, it can also apply horror on multiple targets at once, giving players a few different things to deal with. Luckily, the boss does have a slight weak spot, with its lowest resistances being fire and bleed, both at 40. This is still pretty high but if players can apply them, it's an effective way to start chipping away at its health.
Second Phase
The second phase brings players face-to-face with a truly unsightly eyeball-themed monster. It, too, has 200 HP, but it has a much lower resistance to Blight, which is back to 40. This boss can apply lots of Stress to heroes, but its main gimmick is being able to steal any buffs/positive traits heroes have and taking them for itself. To make this fight easier, players need to make sure they avoid applying buffs to their characters and manage their heroes' Stress effectively. Jester is a particularly good pick for Stress management.
Third Phase
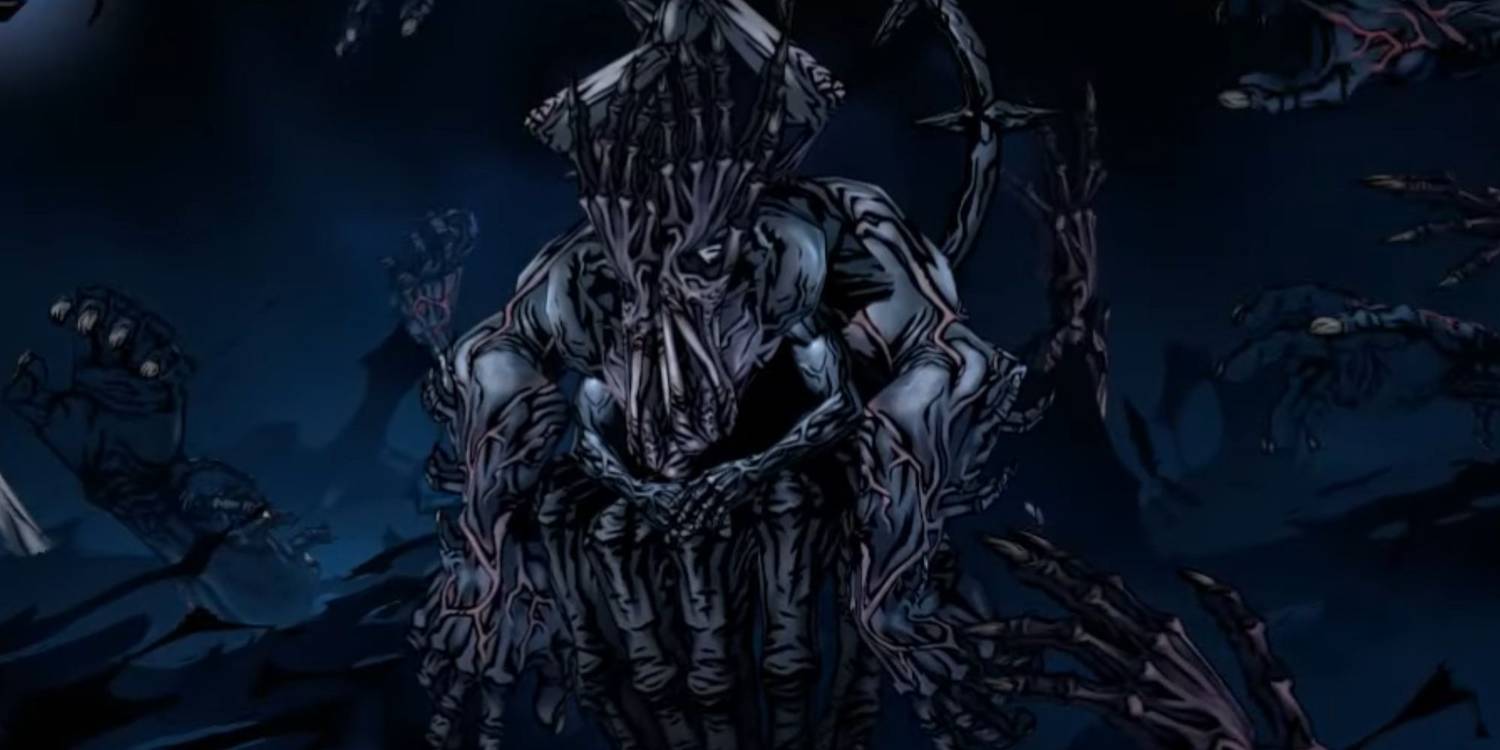
The third and final phase is easily the most difficult. The boss has a ridiculous 1000 HP and can apply various debuffs that will lock a player's heroes out of using certain skills, such as melee, ranged, stress heal, and heals. It also spawns with particularly powerful Cherubs, known as Proclaimers, that are in both the front and back ranks and can apply various damage over time effects. To advance to the next stage, these Proclaimers need to be defeated at the same time. Players may find themselves struggling if their heroes are hit by a debuff that directly stops them from using their abilities, and could prevent them from being able to take out the Proclaimers.
Once the Proclaimers have been defeated, players are then forced to select one of their heroes to Face Their Fears. The boss will then spawn the main enemy featured in the chosen hero's backstory, who will only attack the chosen hero and vice-versa. Players will have to do this four times, with each enemy defeated dealing 1/5 of the boss' HP. The final 200 HP will be chipped away by the other heroes during the 'Face Your Failure' sections. This boss has an overwhelming amount of requirements to prepare for and can overwhelm even the most composed players.
Darkest Dungeon 2 is available now for PC.