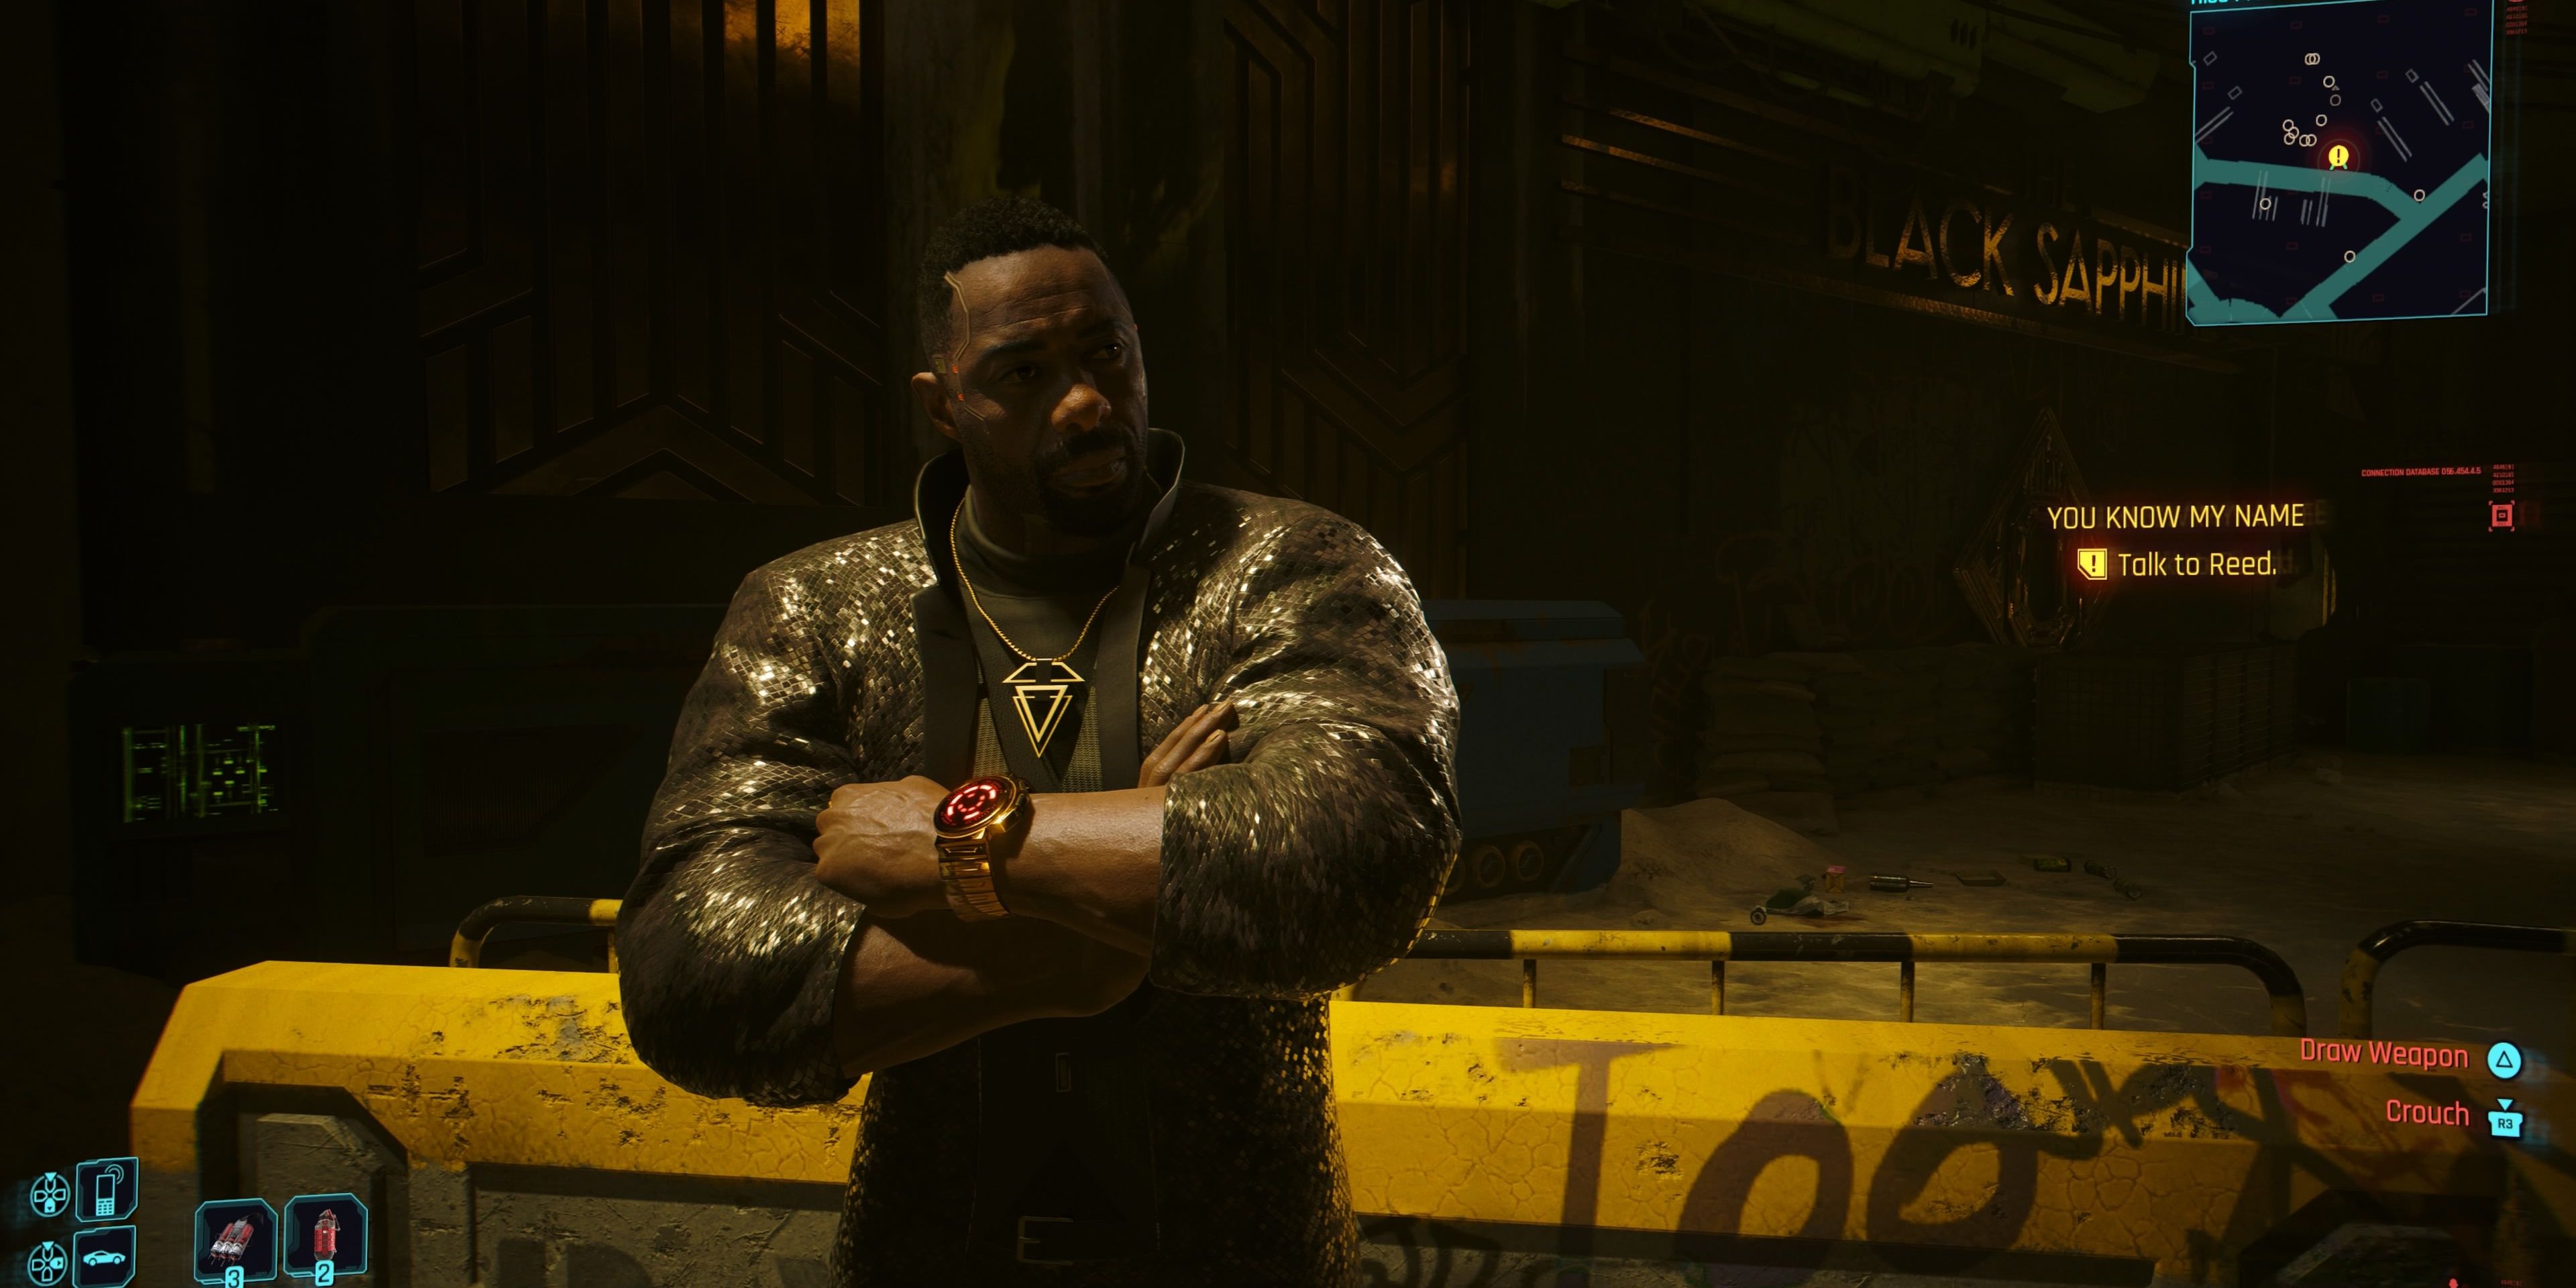
The FIA agents of Dogtown have a plan to infiltrate the Black Sapphire and get to Songbird, and it starts with V. Cyberpunk 2077: Phantom Liberty brings forth an exciting mission for players, where choice matters most. This Cyberpunk 2077 mission will have V feel like a special agent as they break into the most secure building in Dogtown in search of their target.
Now that Alex and Solomon Reed have assembled a grand plan, it’s time to put on a Diving Suit and get swimming, all so V can break into the most luxurious party Dogtown has ever seen. Players can mingle with guests, raise the stakes at roulette, and try and find the ticket to stopping the Relic from killing V.
Enter The Flooded Tunnels
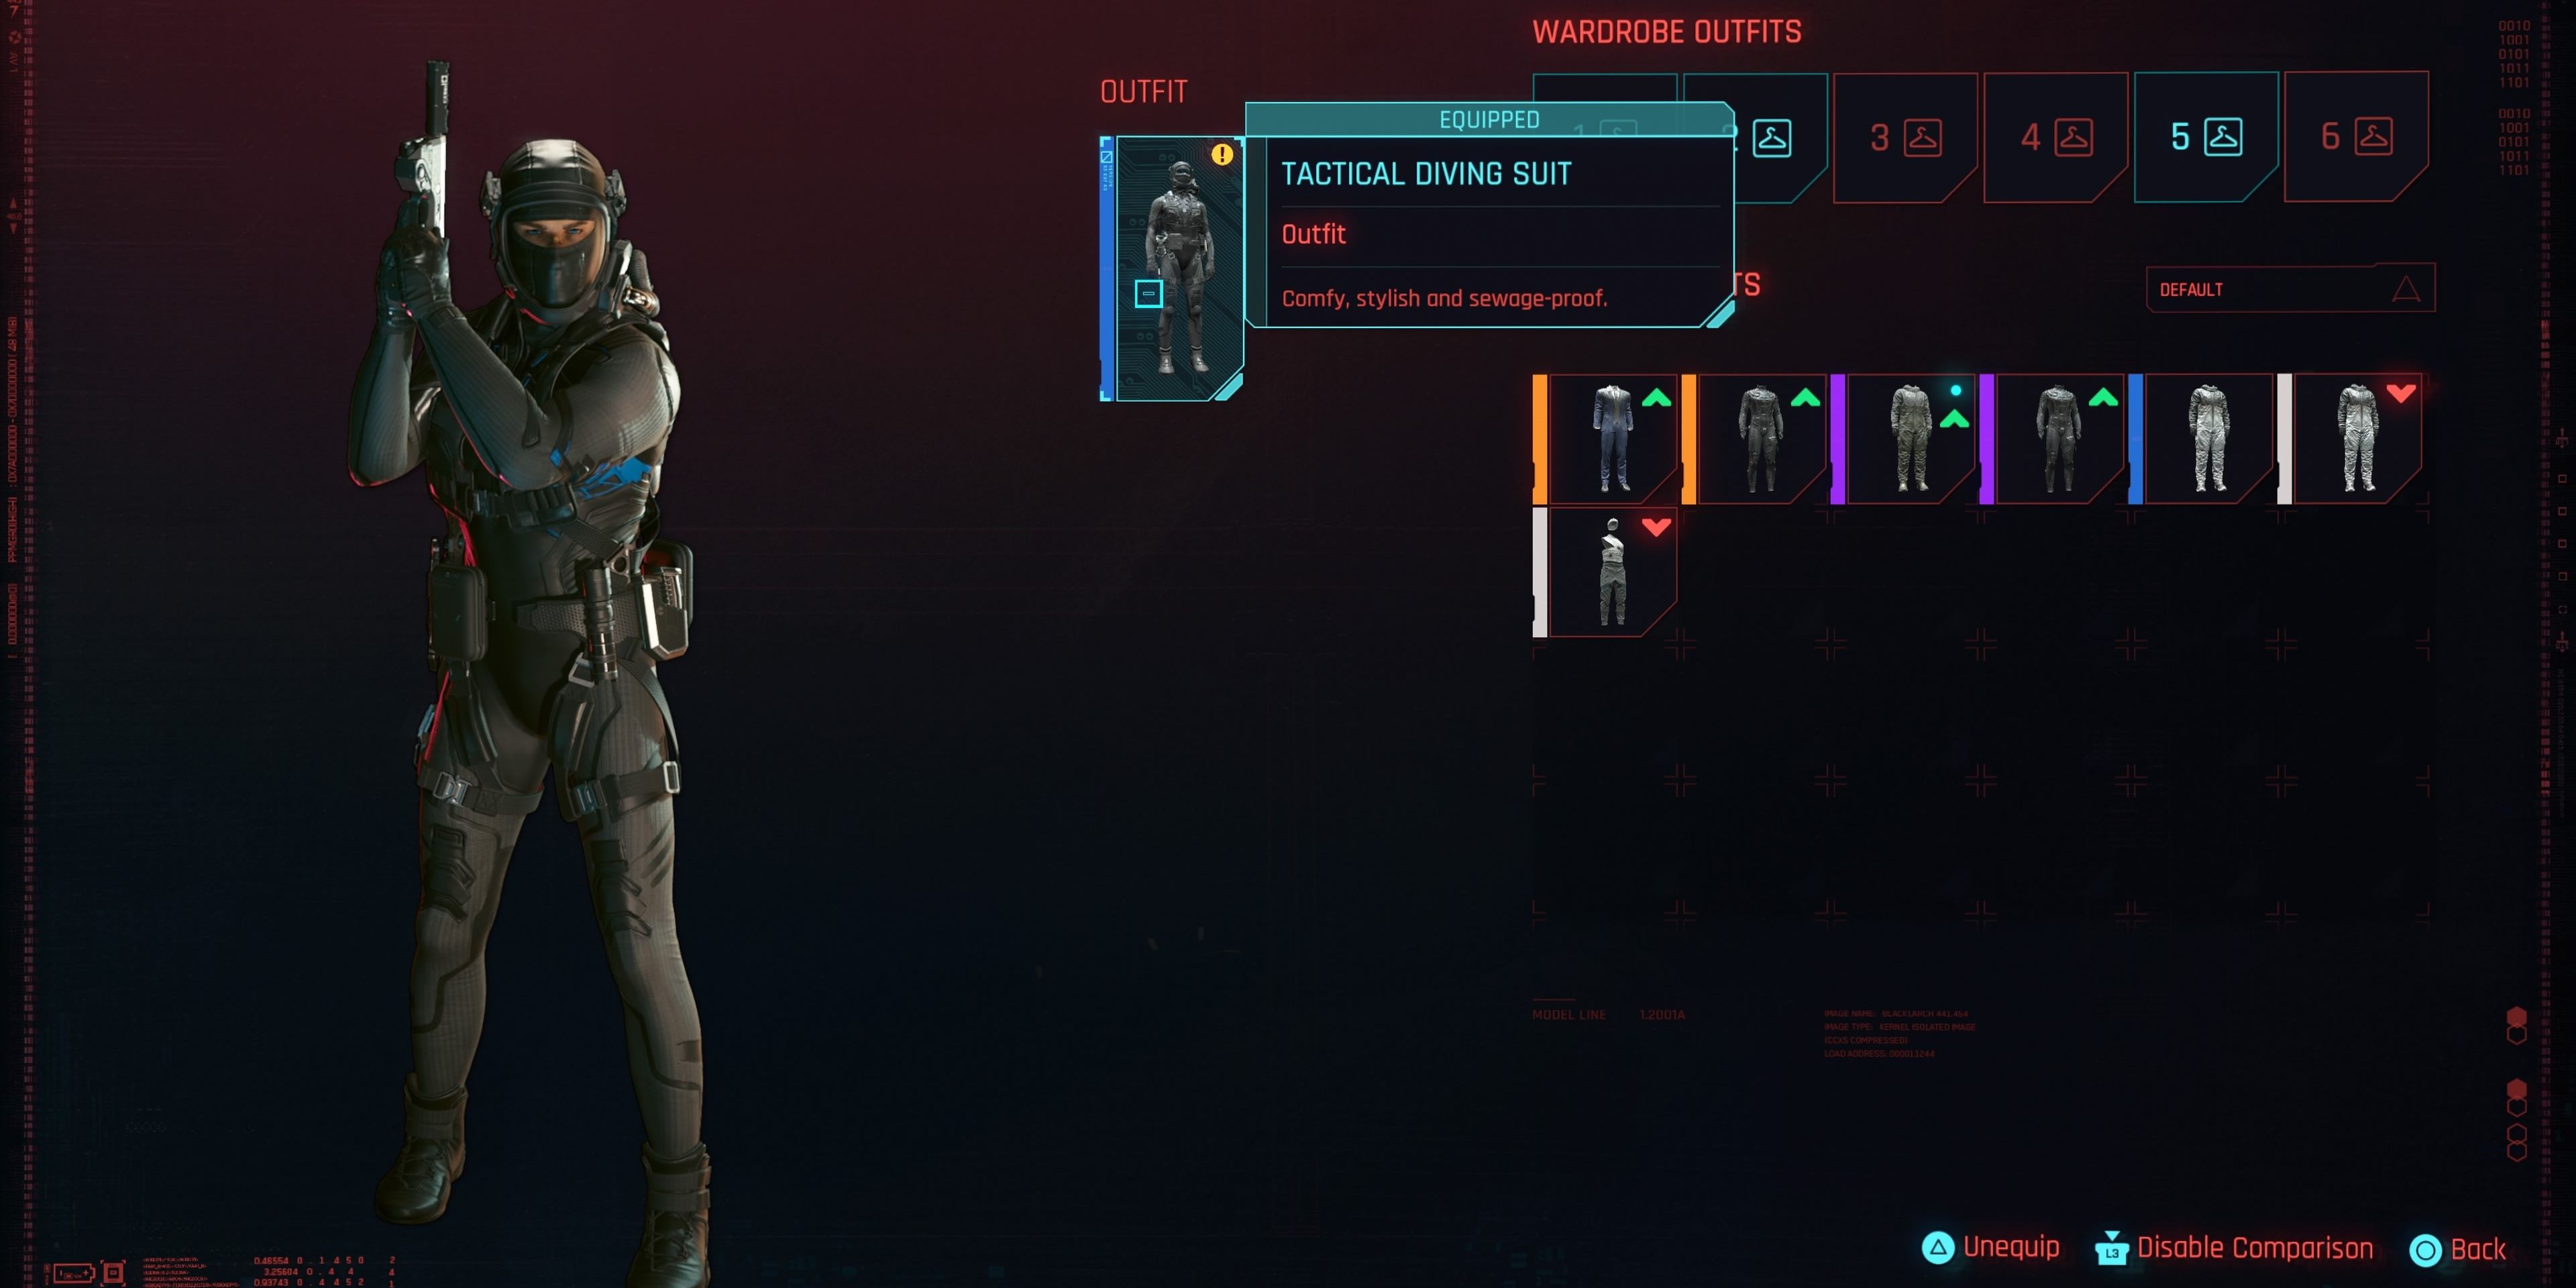
Following the waypoint, players will be directed to the lower levels of Dogtown, with a locked door behind some scaffolding. Johnny will comment about how not-so-nice the area is, and players can use 3 Strength to force the door open. Once inside, they will receive a call from Reed, and they will then need to go into their inventory to equip the Tactical Diving Suit.
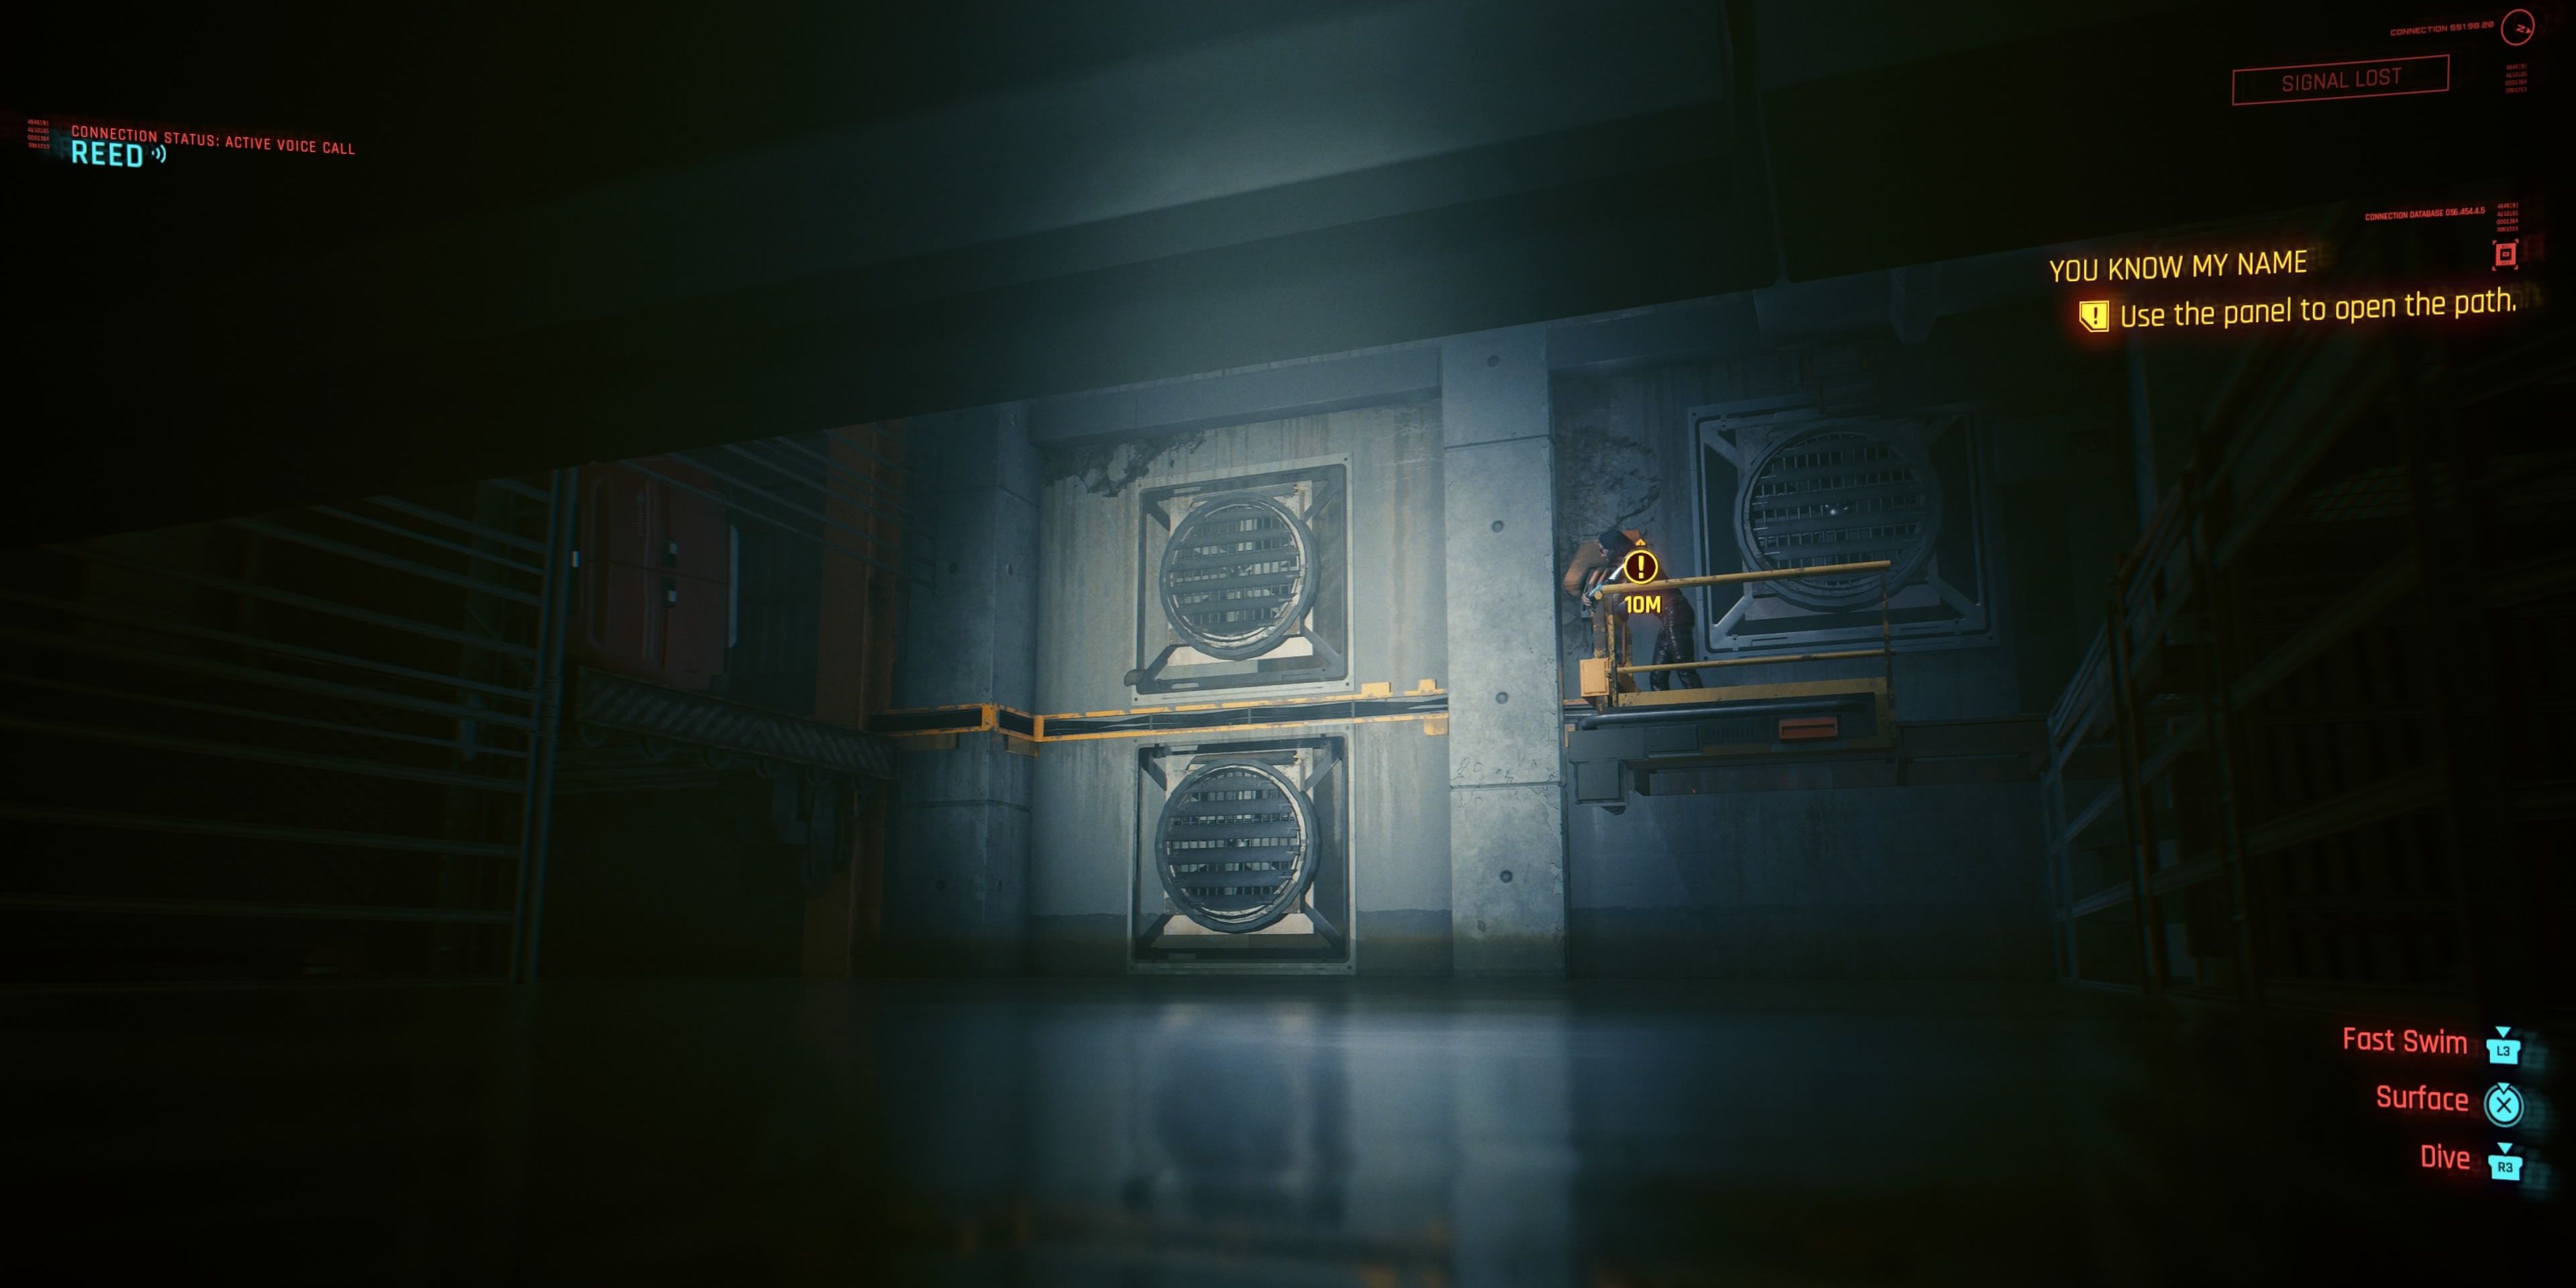
Once the suit is on, they need to head down to the tunnels and start swimming. There are a few mines in this area, but players can deactivate them with quickhacks or with 3 Technical Ability. Simply follow the path proceed through the sewers, and climb over any obstacles until players reach a boxed-in room.
Open the Path
Once players make their way into a room with seemingly no way up, they can use their Scanner feature to discover some points of interest. Players will find two yellow ladders. One just on their right, and one behind them on the left. These ladders can be lowered so that players can climb them and reach higher ground. Waiting for them where they need to go will be Johnny.
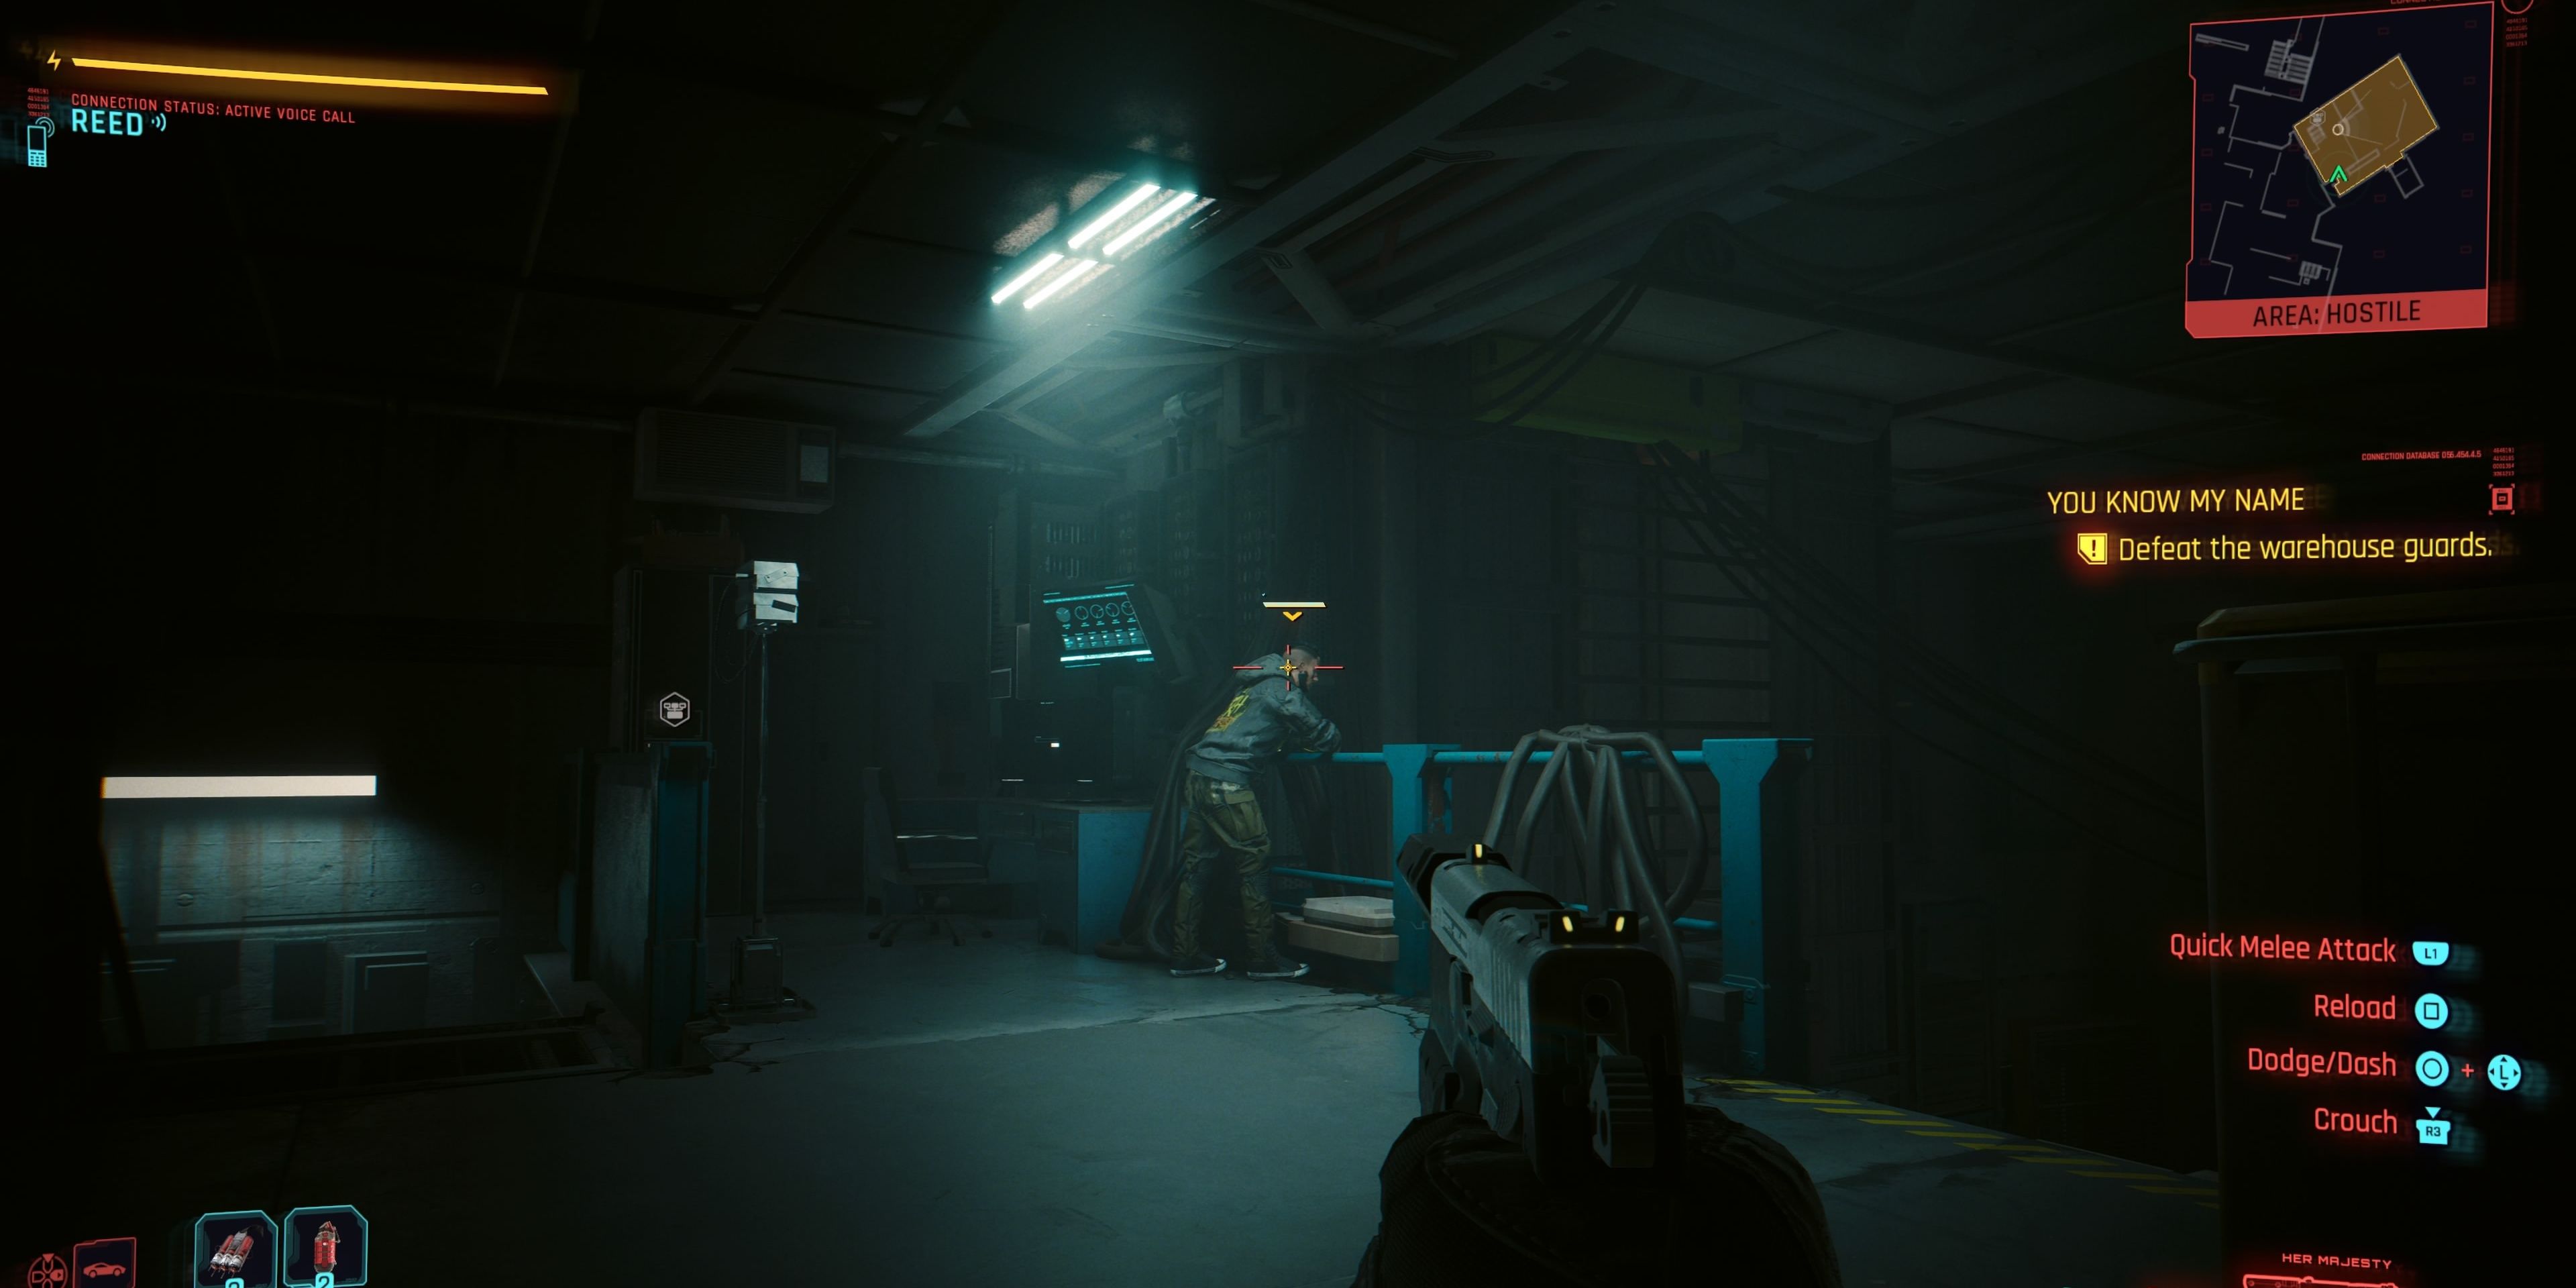
Players can press the button beside Johnny to lower the way forward, which is noted by the red van. Now it’s time to head up the ladders and climb the tower, reaching a room where 2 guards become obstacles that need to be eliminated.
Kill the Guards and Guide Reed
Players should try and stick to stealth for this mission, so it’s important to take the guards out carefully. Players can use the stealth weapon they received from Alex, Her Majesty, to shoot their enemies in the head and instantly kill them. Alternatively, they can get close and snap their necks. It’s vitally important that players hide the bodies of these 2 guards because 3 guards will appear later on and become alerted to these dead bodies. Luckily, there are plenty of places to hide the bodies.
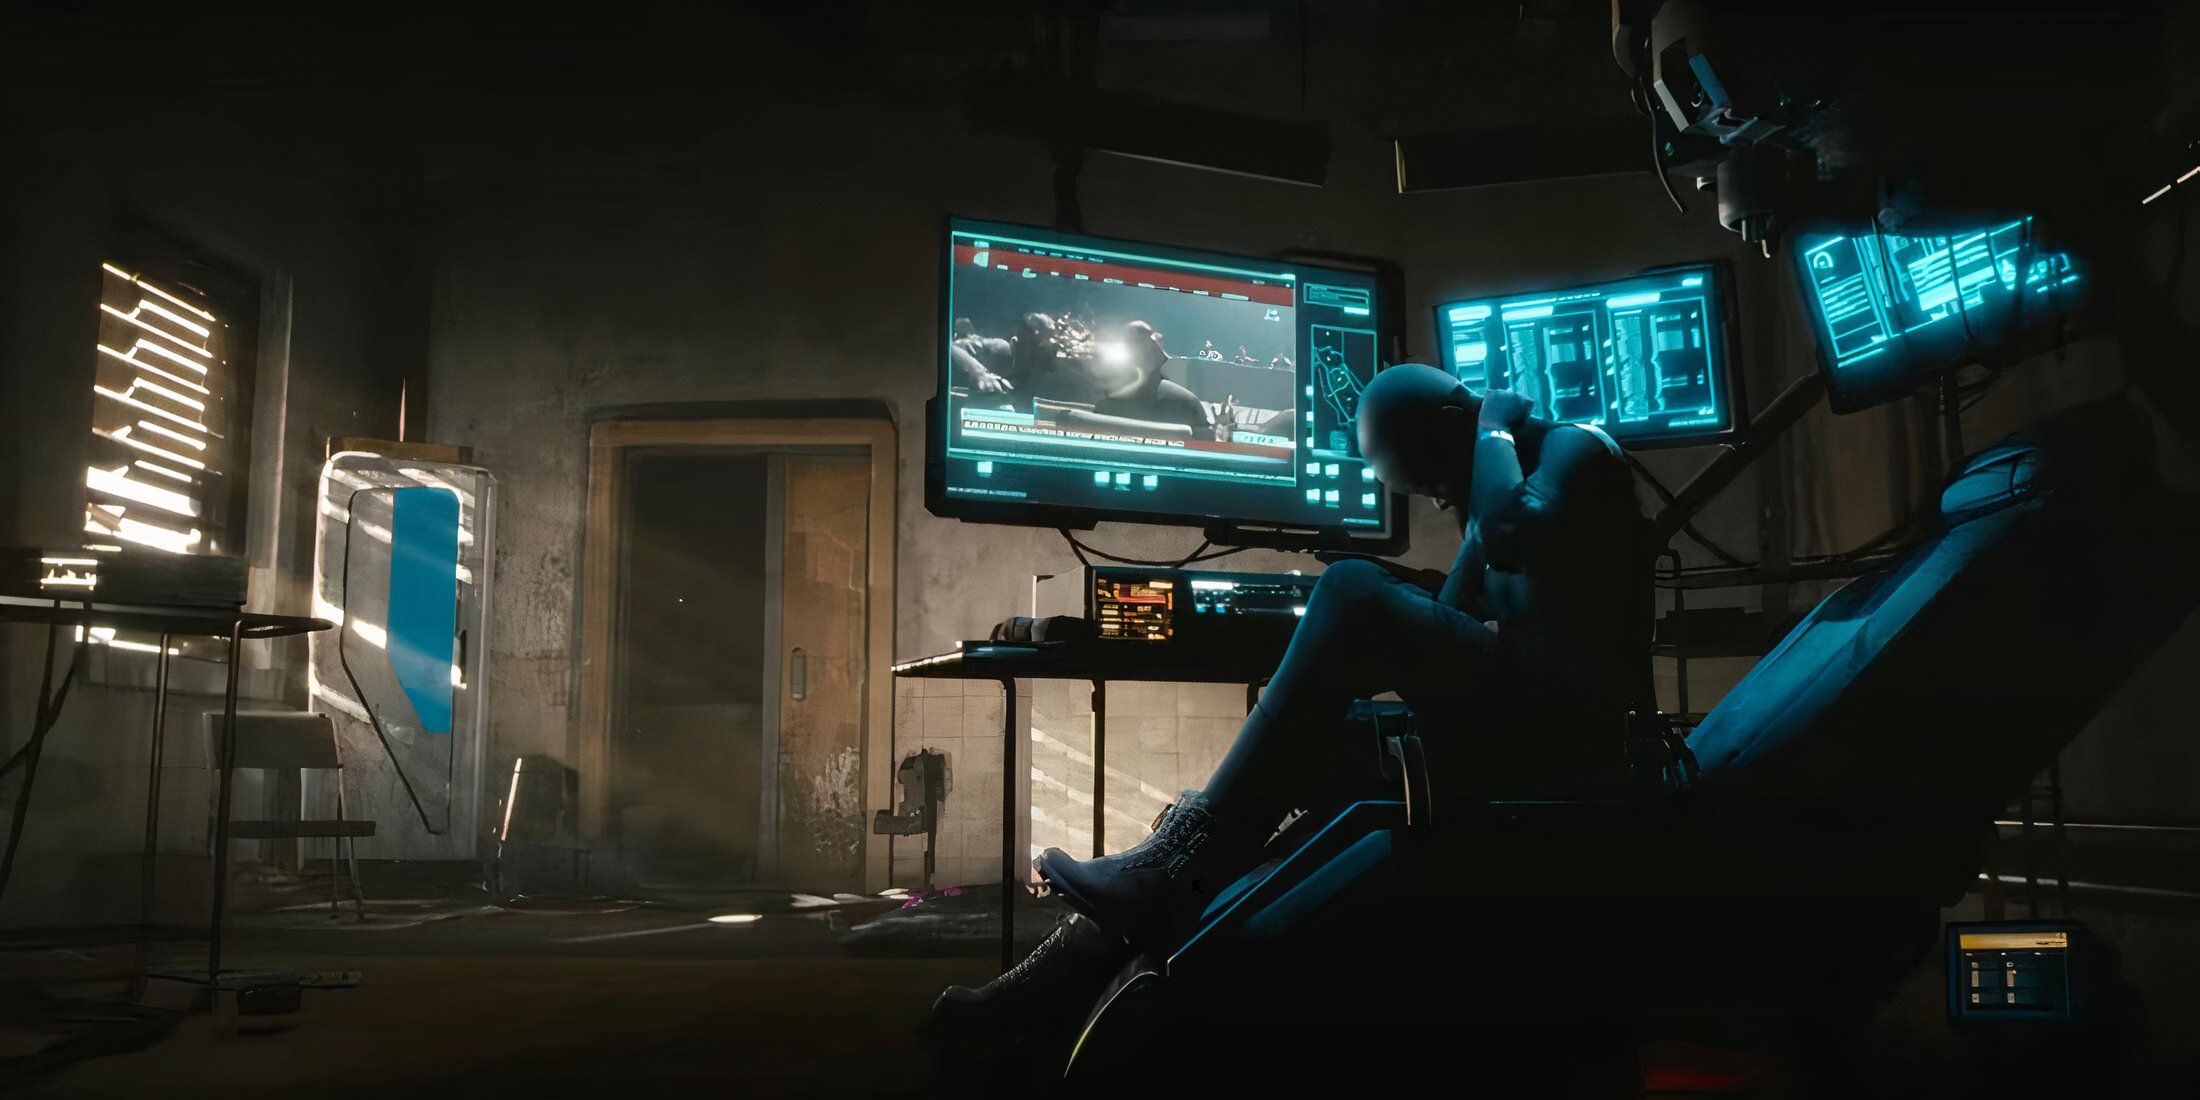
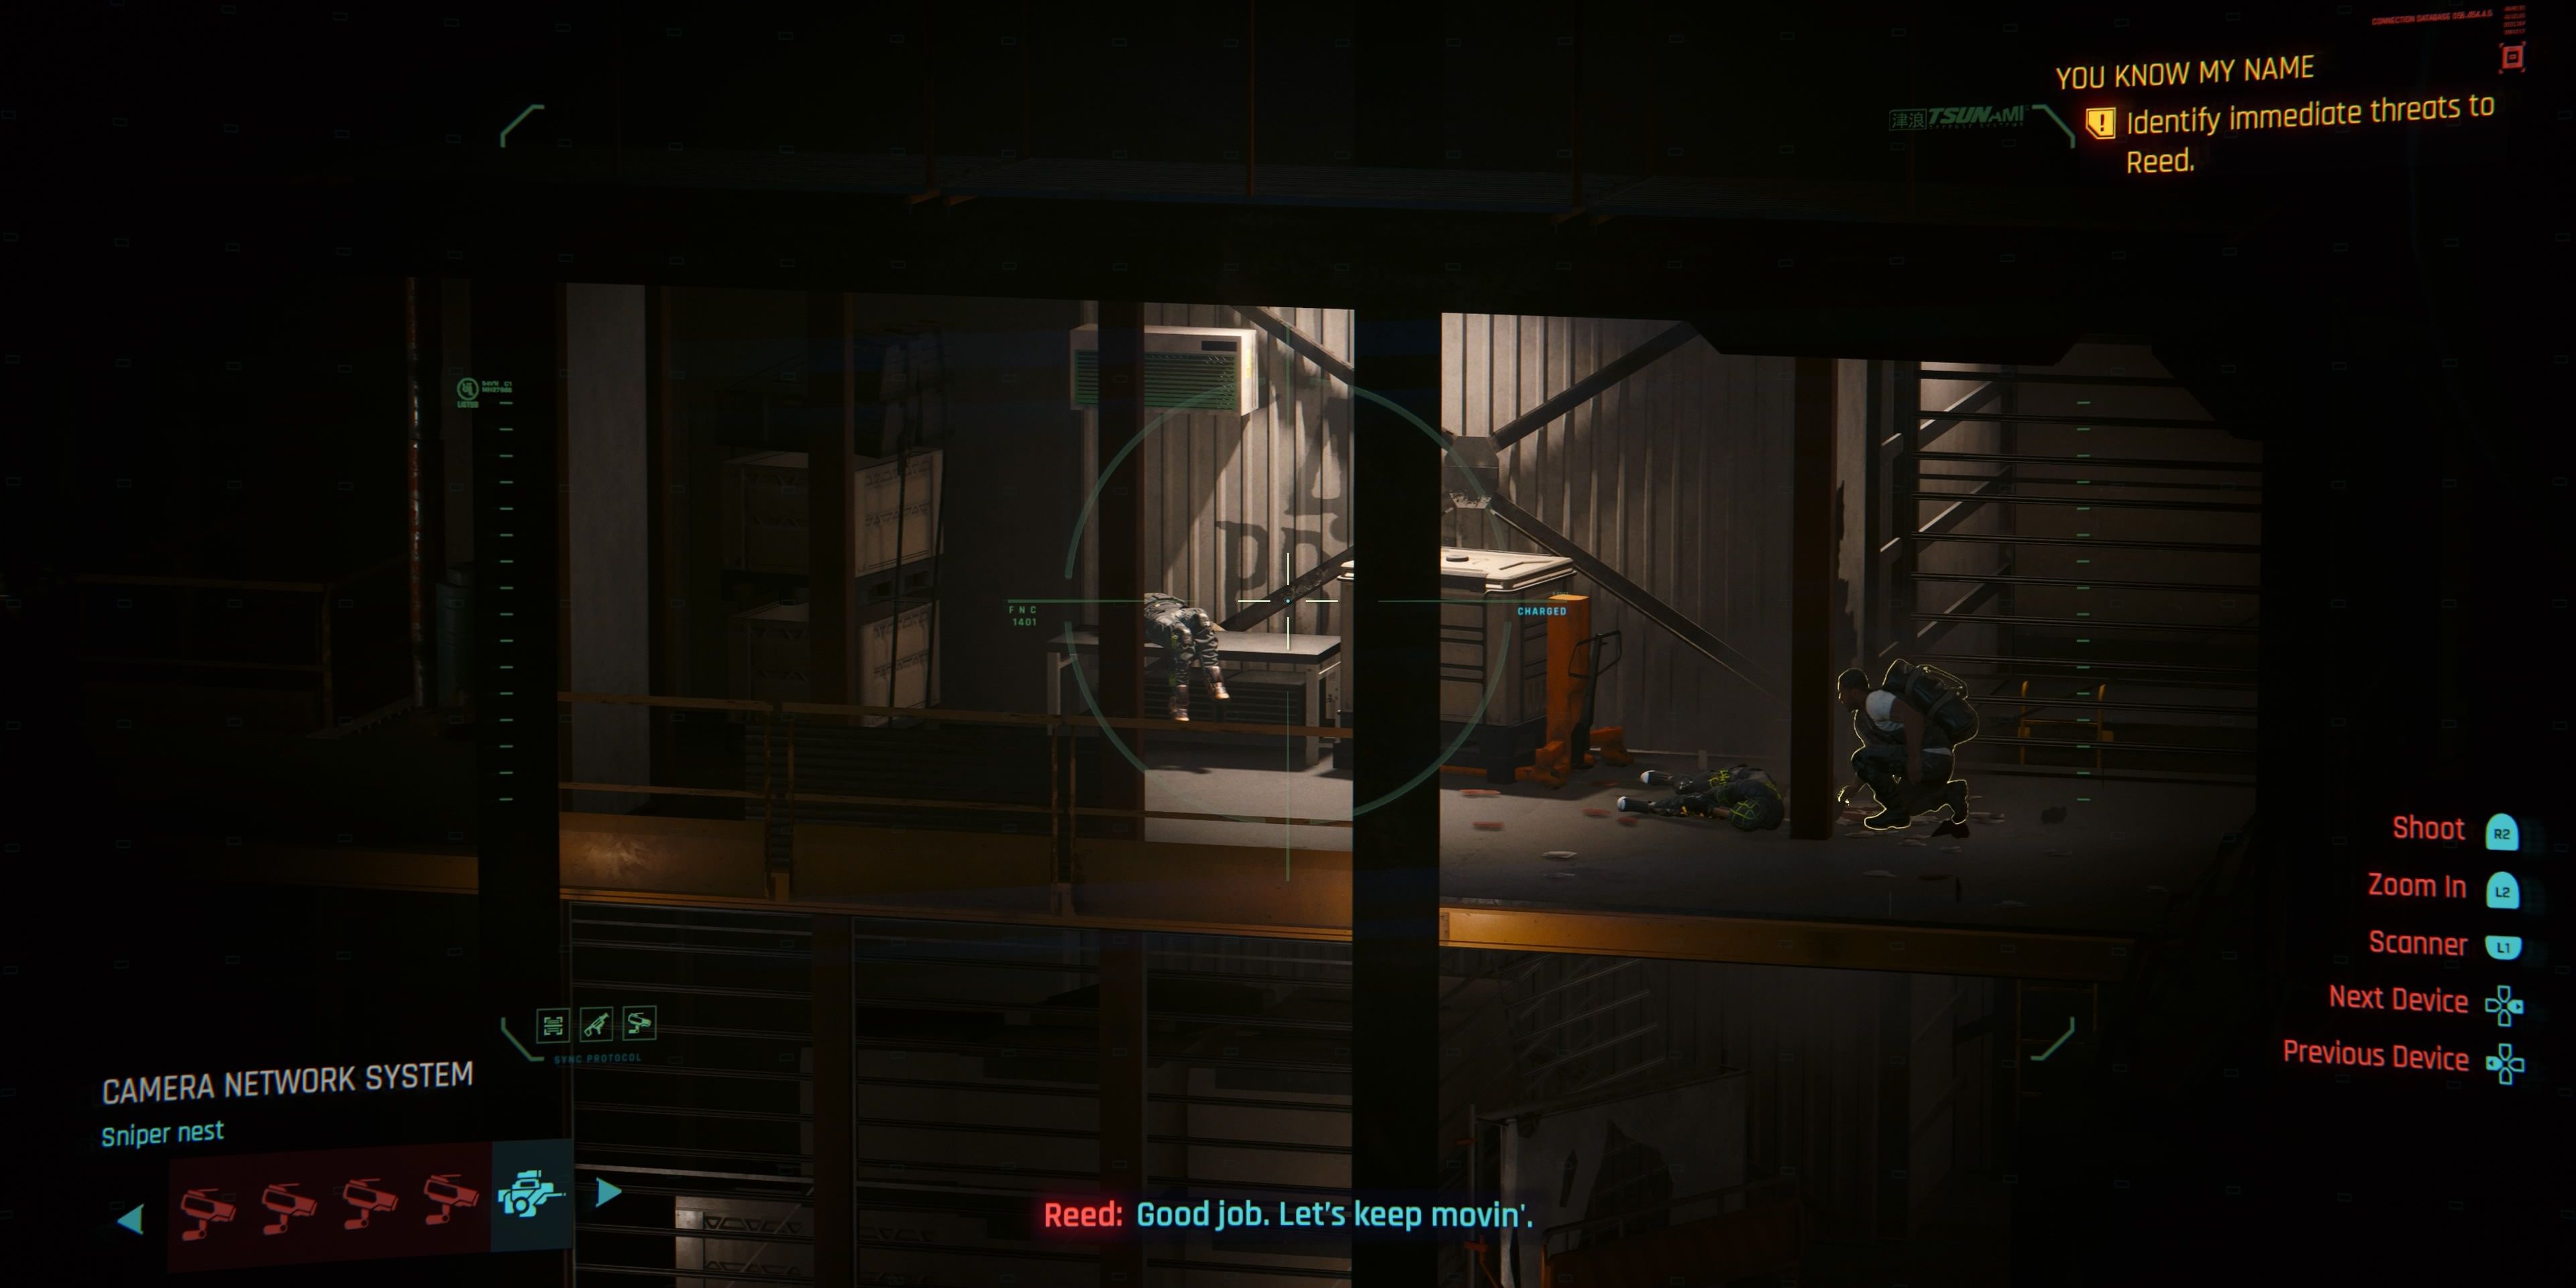
With the guards dead, players need to access the CCTV, which is found by using the Jack-In function on the computer to the left of the room on the upper floor. After accessing the computer, players need to access the fourth camera to locate Solomon Reed and guide him to the exit. There’s a closed gate that they will need to hack. After this, they will exit the CCTV, and 3 guards will emerge from the elevator that they need to get to. Simply kill all three to proceed into the elevator to Floor 67, Maintenance Area.
The Sniper’s Nest
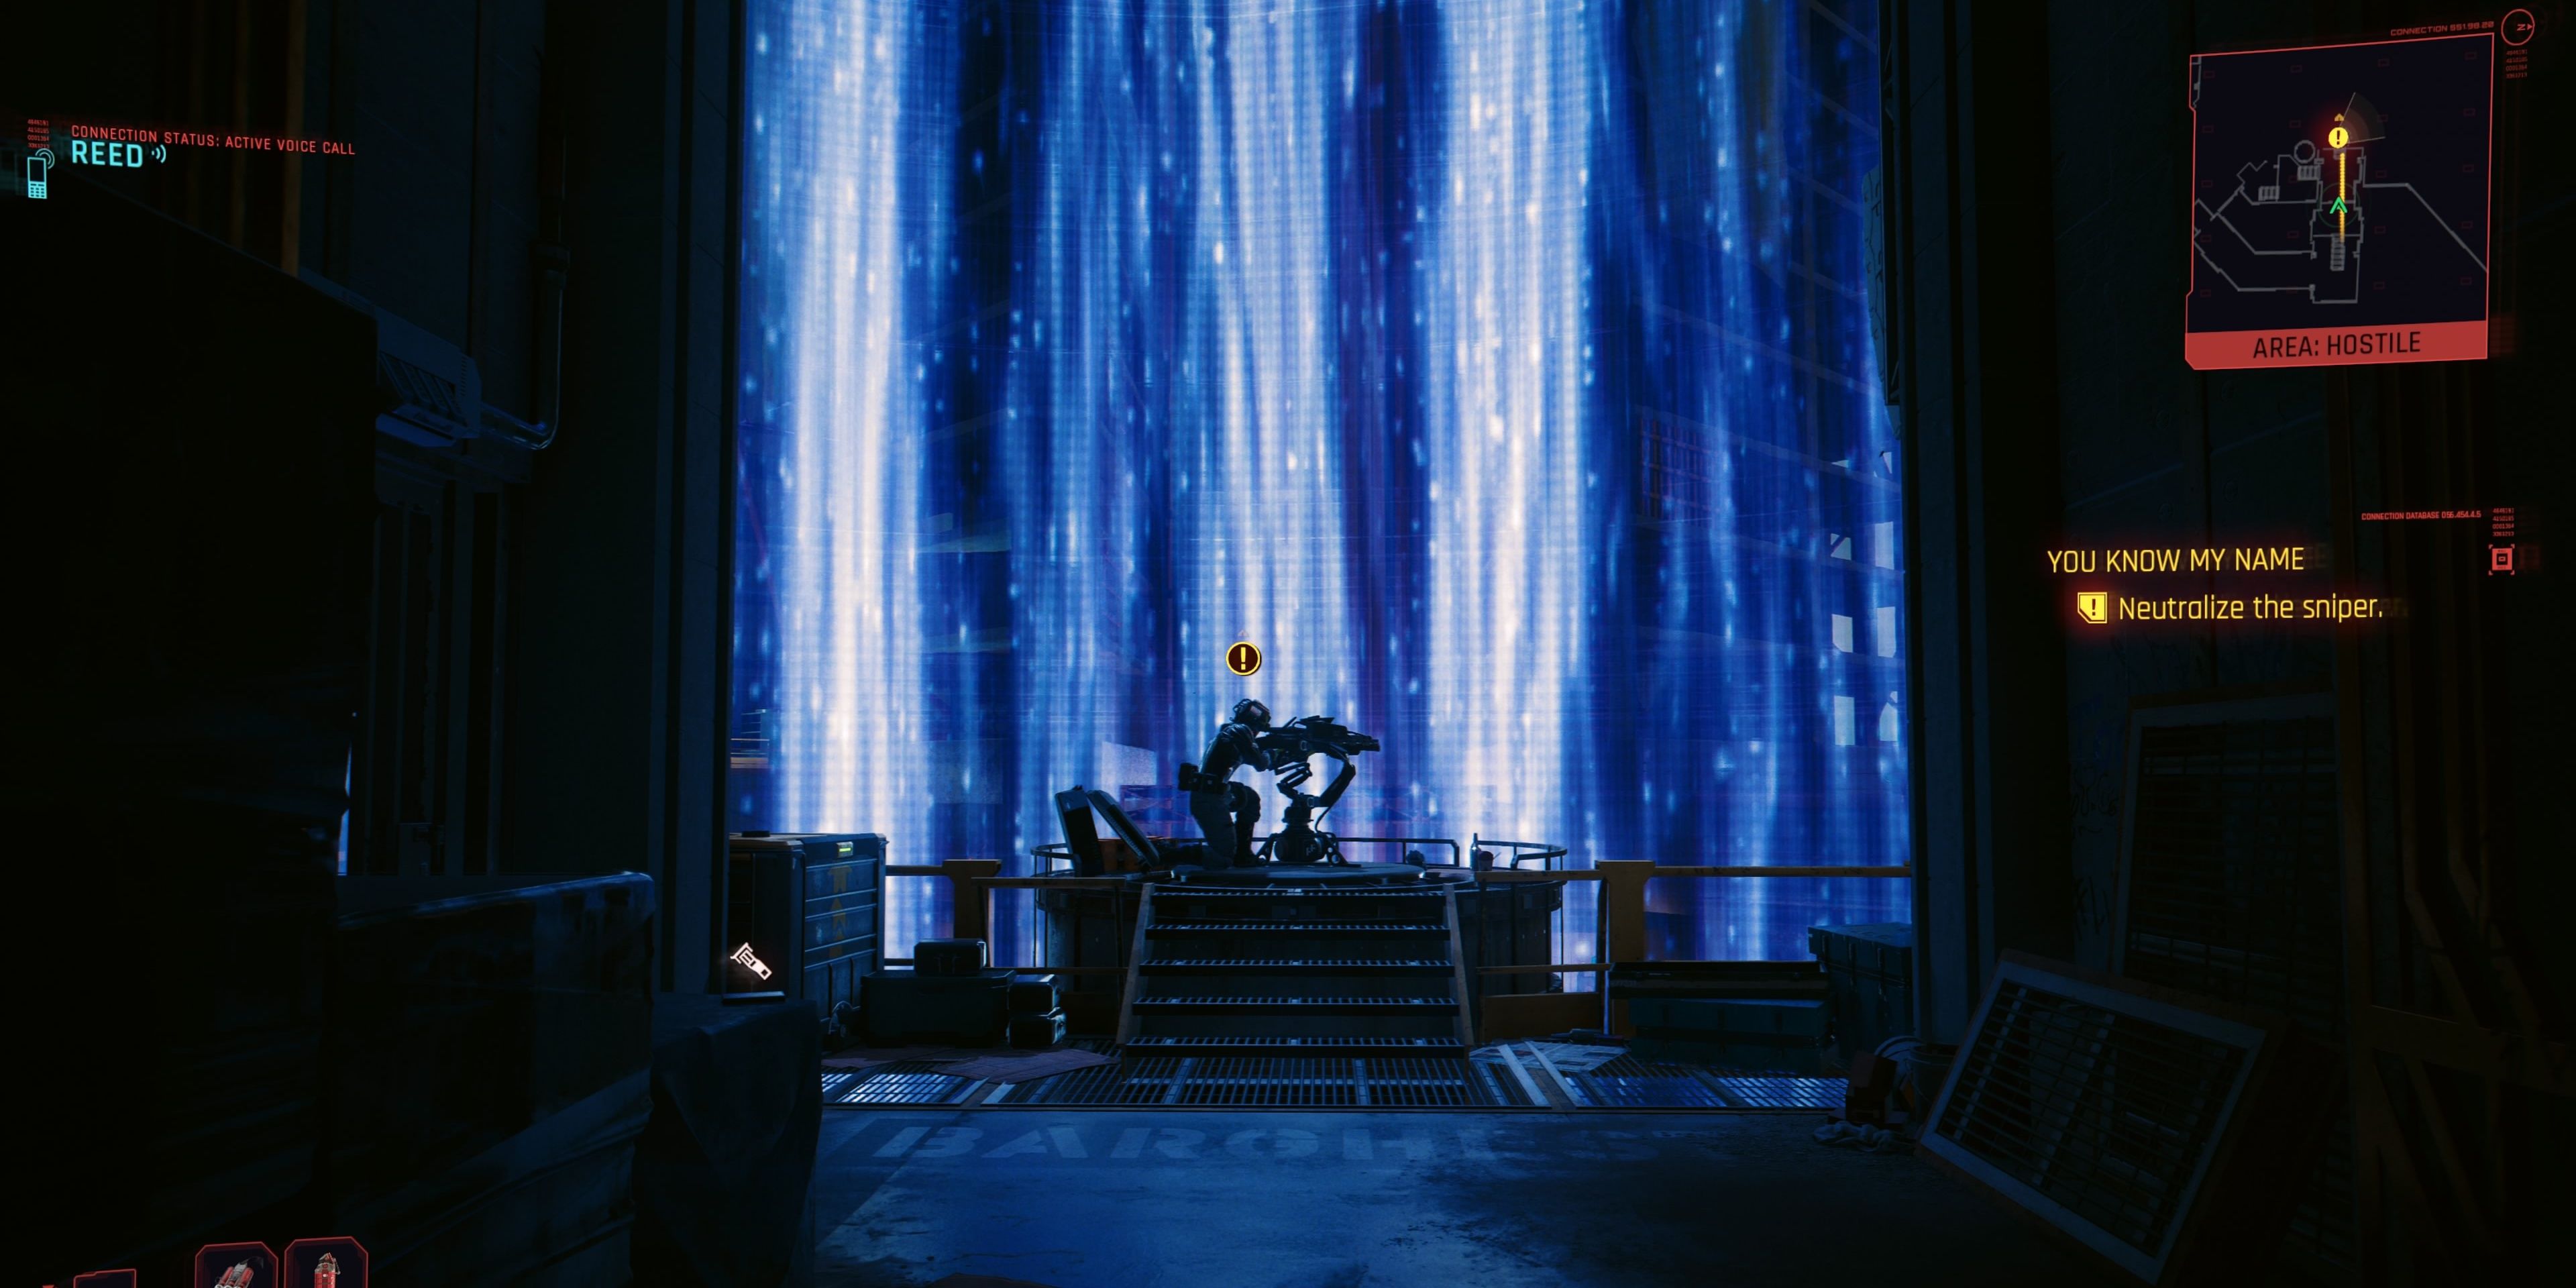
After heading through the Maintenance Level, players will want to neutralize the sniper. After they do this, they will Jack Into his sniper and use this vantage point to guide Reed through the area. Players will want to do this with 100% stealth so that they can achieve immersion and positive responses from the mission objectives.
After players check in with Reed from their sniper, they can tag three potential threats. These can be: a guard patrol group
- Surveillance cameras
- Elevator shaft
- Sniper
- Explosive mine
Players need to scan the shipping containers on the left and then give Reed the green light to proceed. It’s important that players use their Scanner to deactivate the mine or alert Reed of it, as that’s just next to his starting position.
To alert Reed of threats, players just need to use their Scanner function. There are many enemies that players are going to want to just let pass with Reed behind cover, but it’s best to keep a scope trained on them just in case one spots Reed and needs to be taken out. If guards spot Reed, then this objective needs to be completed loudly, which doesn’t have many negative effects other than a dangerous fight and Solomon Reed referring to V as a rookie.
The first threat comes from a patrol of two guards. Scan them so Reed can hide, and then let them pass. Players will then need to use their sniper rifle to shoot at the motion sensor security gate. They can find the power source they need to shoot by using their Scanner to follow the power cables.
The second threat comes from the two guards in the way. Reed will take the one behind the wall, leaving the guard on the left for V. Solomon will count down to ‘one’, so make sure there’s a clean shot aiming at the guard’s head on the left. When Solomon says ‘one’, take the shot, and he will take out the other guard.
The third threat comes from the elevator, as a patrol will descend. Players need to scan the elevator to alert Reed of this threat, and he will hide as he waits for them to pass. As soon as he does, aim the sniper to the upper left balcony, as a sniper will be watching. Players need to quickly shoot and kill the sniper to avoid Reed’s detection.
The fourth threat comes from a guard blocking Reed’s path. Players cannot get a clear shot, so they need to hack into the surveillance cameras and access the one just above Reed so they can see the guard. They can use a Distract Enemies quickhack on the forklift behind the guard, or tag him to shoot him. Either way, Reed can get past it.
The final threat comes from two guards who come up from the service elevator at the container bridge. Players can use a Distract Enemies quickhack to quickly kill them both, isolating each soldier so that they do not see their friend die and alert the BARGHEST soldiers.
Once Reed makes it past this final threat, he will activate the bridge, and players can leave the sniper’s nest. They will automatically disassemble the sniper, allowing for the Iconic Sniper, the Rasetsu, to sit in their inventory. Now, it’s time to join Solomon Reed and enjoy some high praise for completing the objective in stealth.
Go to the Party
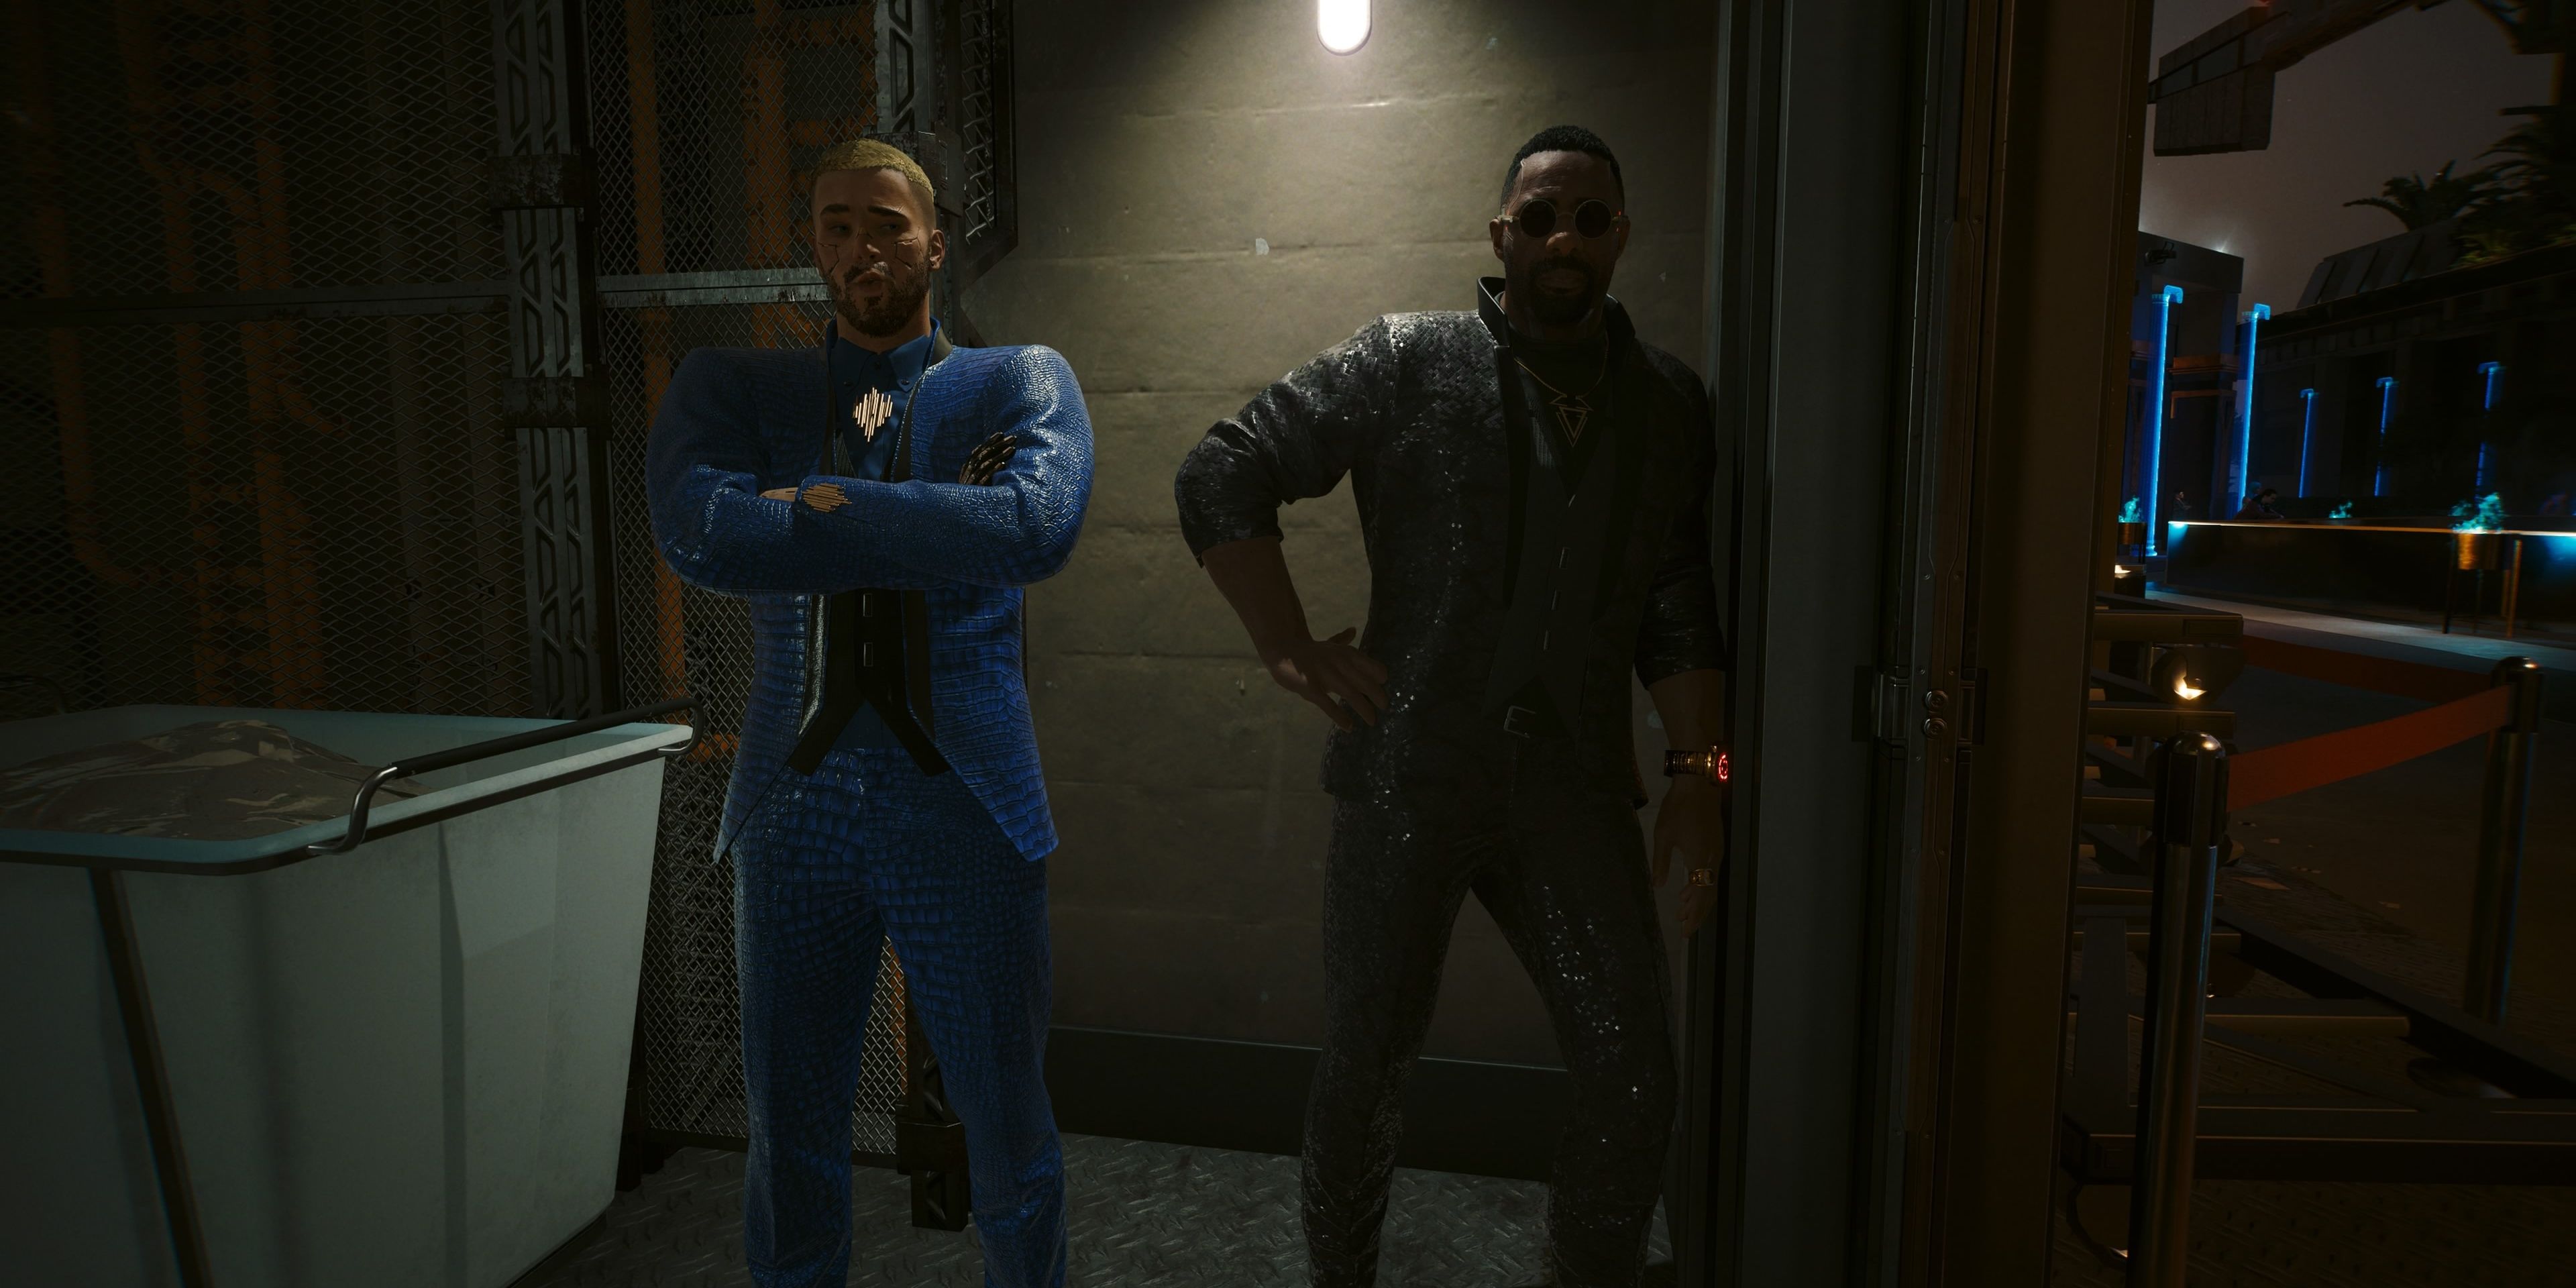
Now in the Laundry Room on Floor 99, players will be given a snazzy new suit. Once the Stylish Suit has been equipped, players can follow Reed through the Black Sapphire, where they will find an assortment of familiar and famous faces enjoying the party within. Players will need to meet Solomon at the bar, or they can mingle and have a few drinks. Mingling can be fun, as there are a few characters worth noting, such as Kurt Hansen, Deputy Mayor Holt, Mr. Hands, and some other famed media personalities whom players might have seen on the news or the Holo Net.
After meeting Solomon at the bar, players will wait for a text from Songbird. Just from the bar, look up, and she will be looking over the balcony. Players can go up the stairs and talk to her, where she will divulge that the Blackwall is killing her. Before the conversation with her and Reed can progress, Kurt Hansen introduces himself. Players can choose to shake his hand or not, it does not matter, as the plan is in place: players need to impersonate two famed Netrunners and take the data shard that Songbird left in an empty champagne glass at the table they were talking at. Players can either enjoy the Lizzy Wizzy show, or head straight to Reed with this information.
Play Roulette With The Cassel Twins
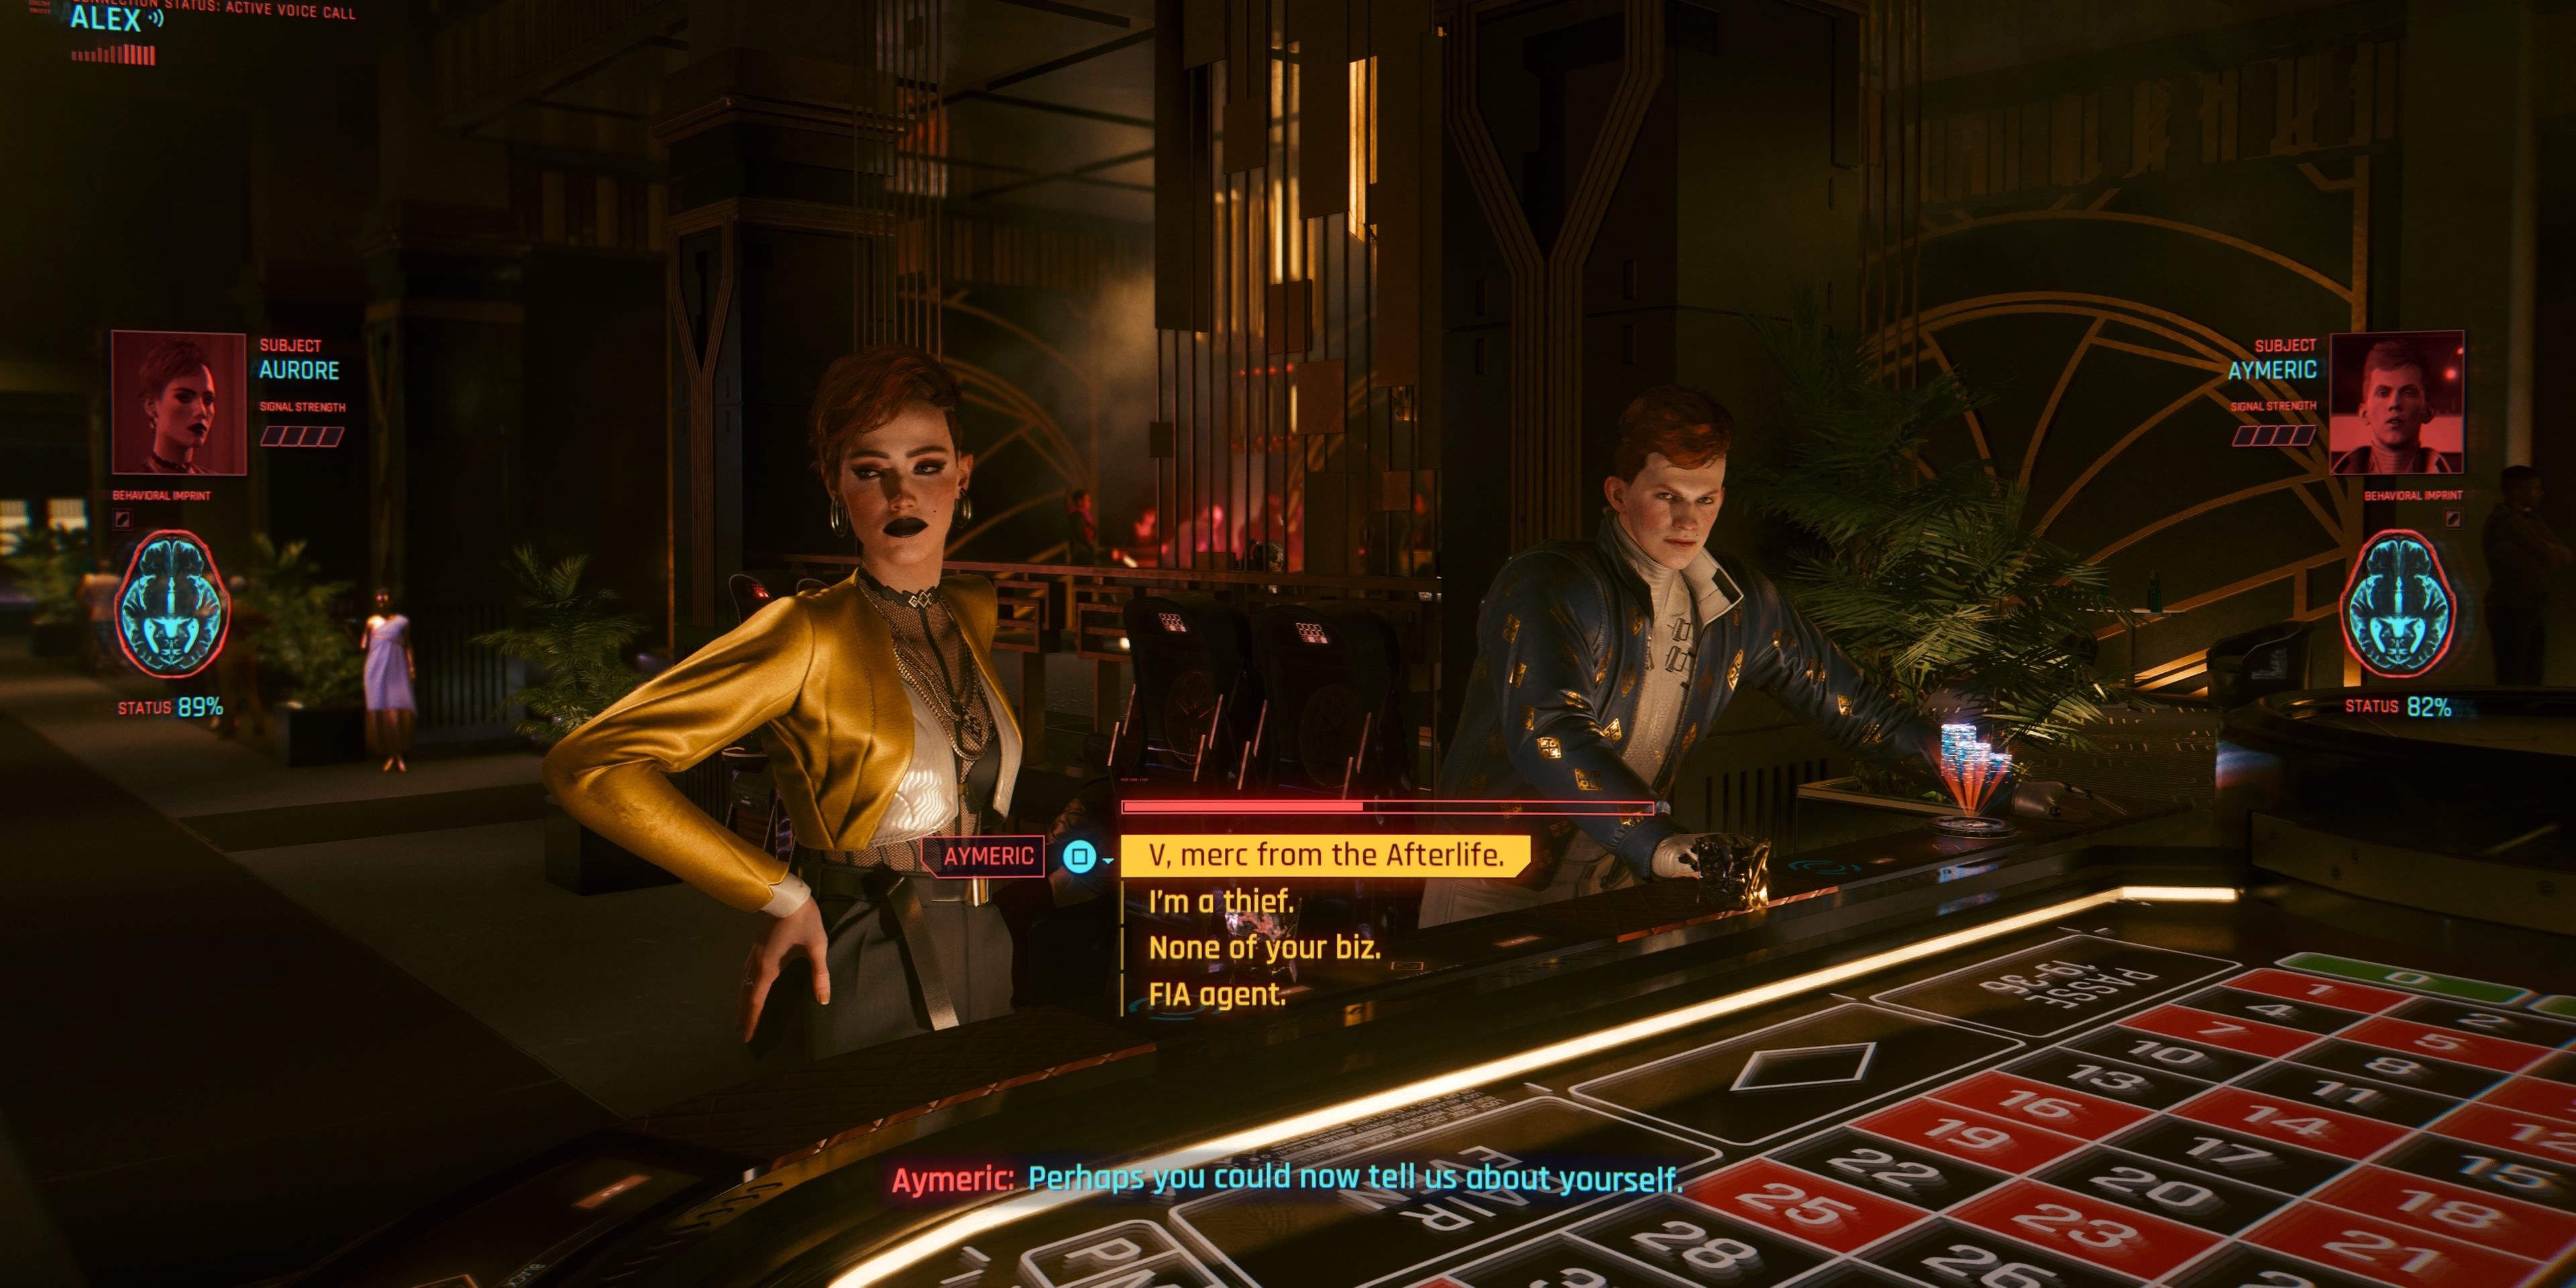
After finding Reed at the bar in the casino area, players will receive 80,000 Eurodollars to spend on casino chips for roulette. Players shouldn’t spend more than 80,000 as there’s no actual way to make money from this. Now with the chips ready, players need to head to the roulette wheel where they can find Aymeric and Aurore Cassel. Throughout this conversation, players should bet on either red or black. It truly does not matter.
As players order drinks for their targets, they will receive word from Alex that she cannot find Solomon, meaning V will have to scan both targets alone. Claiming the Behavioral Implant scans is easy, players just need to follow these conversation outcomes for each twin. The rest are optional and do not matter:
- Ain’t no upstanding citizen, that’s for sure.
- Owning Dogtown’s one helluva bargaining tool.
One of the reasons betting does not matter is that regardless of their choice of red or black on the ‘all in’ round, they will lose to the twins, and Kurt Hansen will appear at the table to tell V that he knows who they are and that if they want to leave alive, they best do so now. Hansen has Songbird willingly, confirming Reed’s assessment of Songbird and her allegiance to him over the NUS President.
Leave The Black Sapphire
On the way out, players can find Lizzy Wizzy at the bar. If they have completed her sidequest, then she will give them the Amikiri Sound Cutter headgear. After this conversation, players should head to the exit, where they will go down the elevator and meet Reed, who is waiting to be escorted outside by some guards.
Although players can kill their way out of the Black Sapphire, it’s entirely unnecessary and just needless combat. Players should just head outside so that they can have a conversation with Solomon, which will then end the mission.
Cyberpunk 2077: Phantom Liberty is out now for PC, PlayStation 5, and Xbox Series X|S.

