Dogtown has been less than inviting to V so far in the Cyberpunk 2077: Phantom Liberty campaign. Not only have they had to break into the district, but they’ve already added countless bodies to their impressive collection of dead. The fourth Cyberpunk 2077: Phantom Liberty mission is no different, and players can expect even more challenges with Spider and the Fly.
The mission to save the President of the New United States of America isn’t over, not by a long shot, and players won’t have long to catch their breath after the chaotic battle they just had at the Air Force One crash site. Spider and the Fly continues through the quest chain directly after Hole in the Sky.
Talk To Songbird
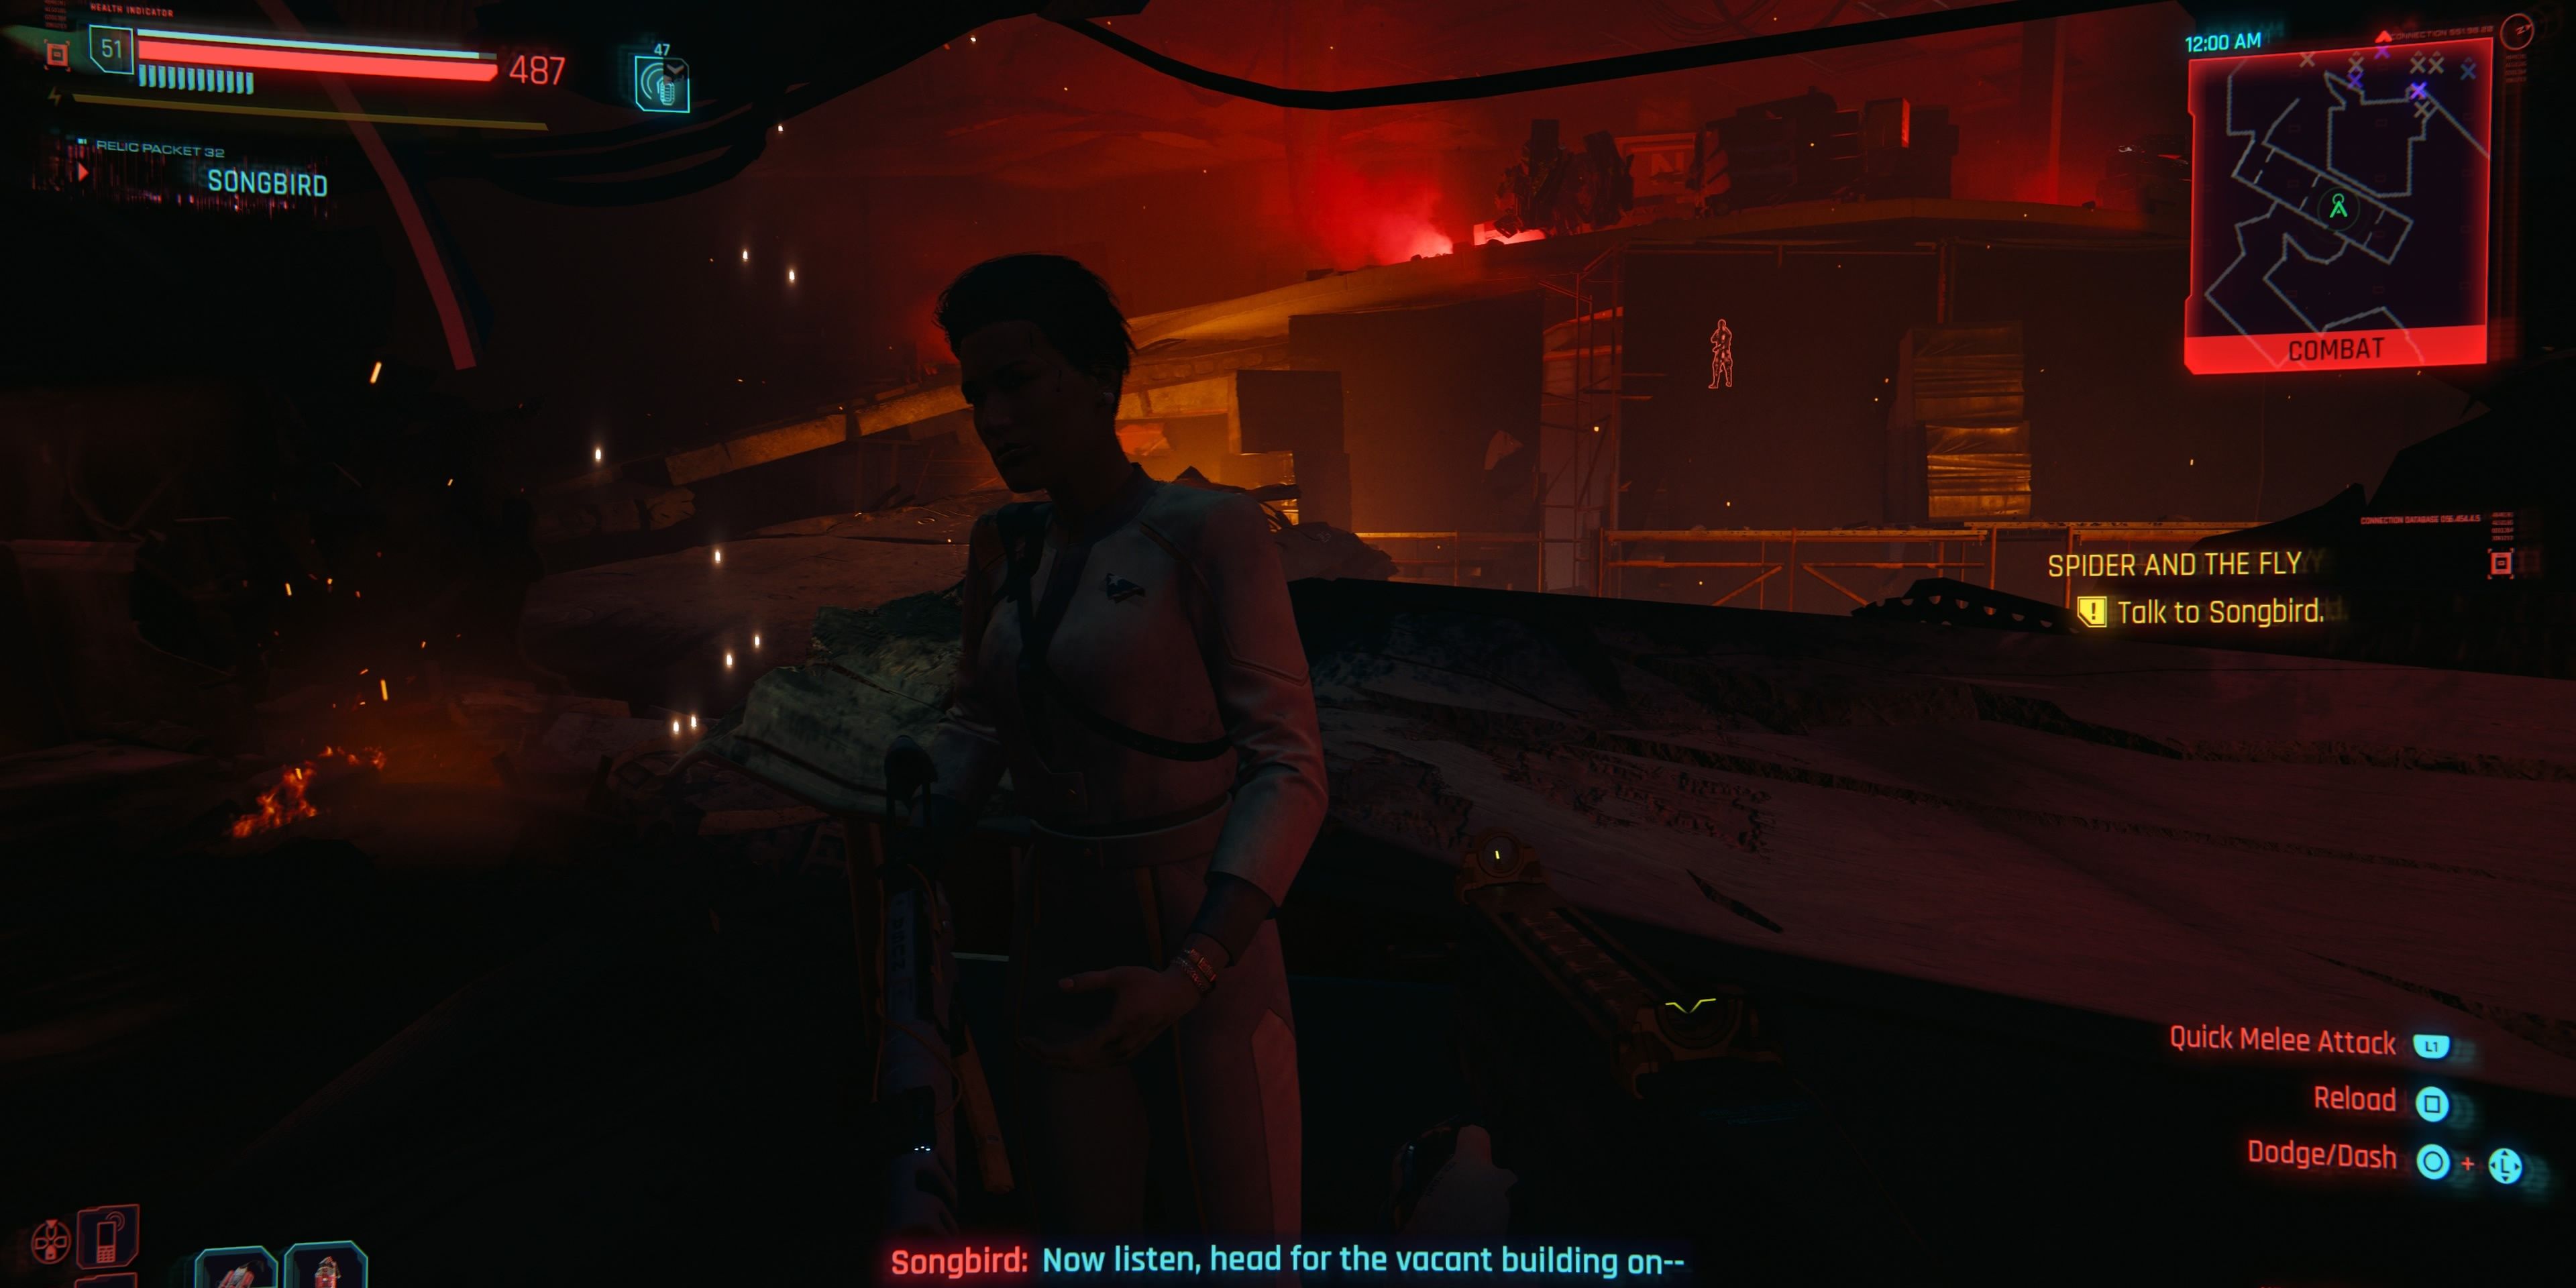
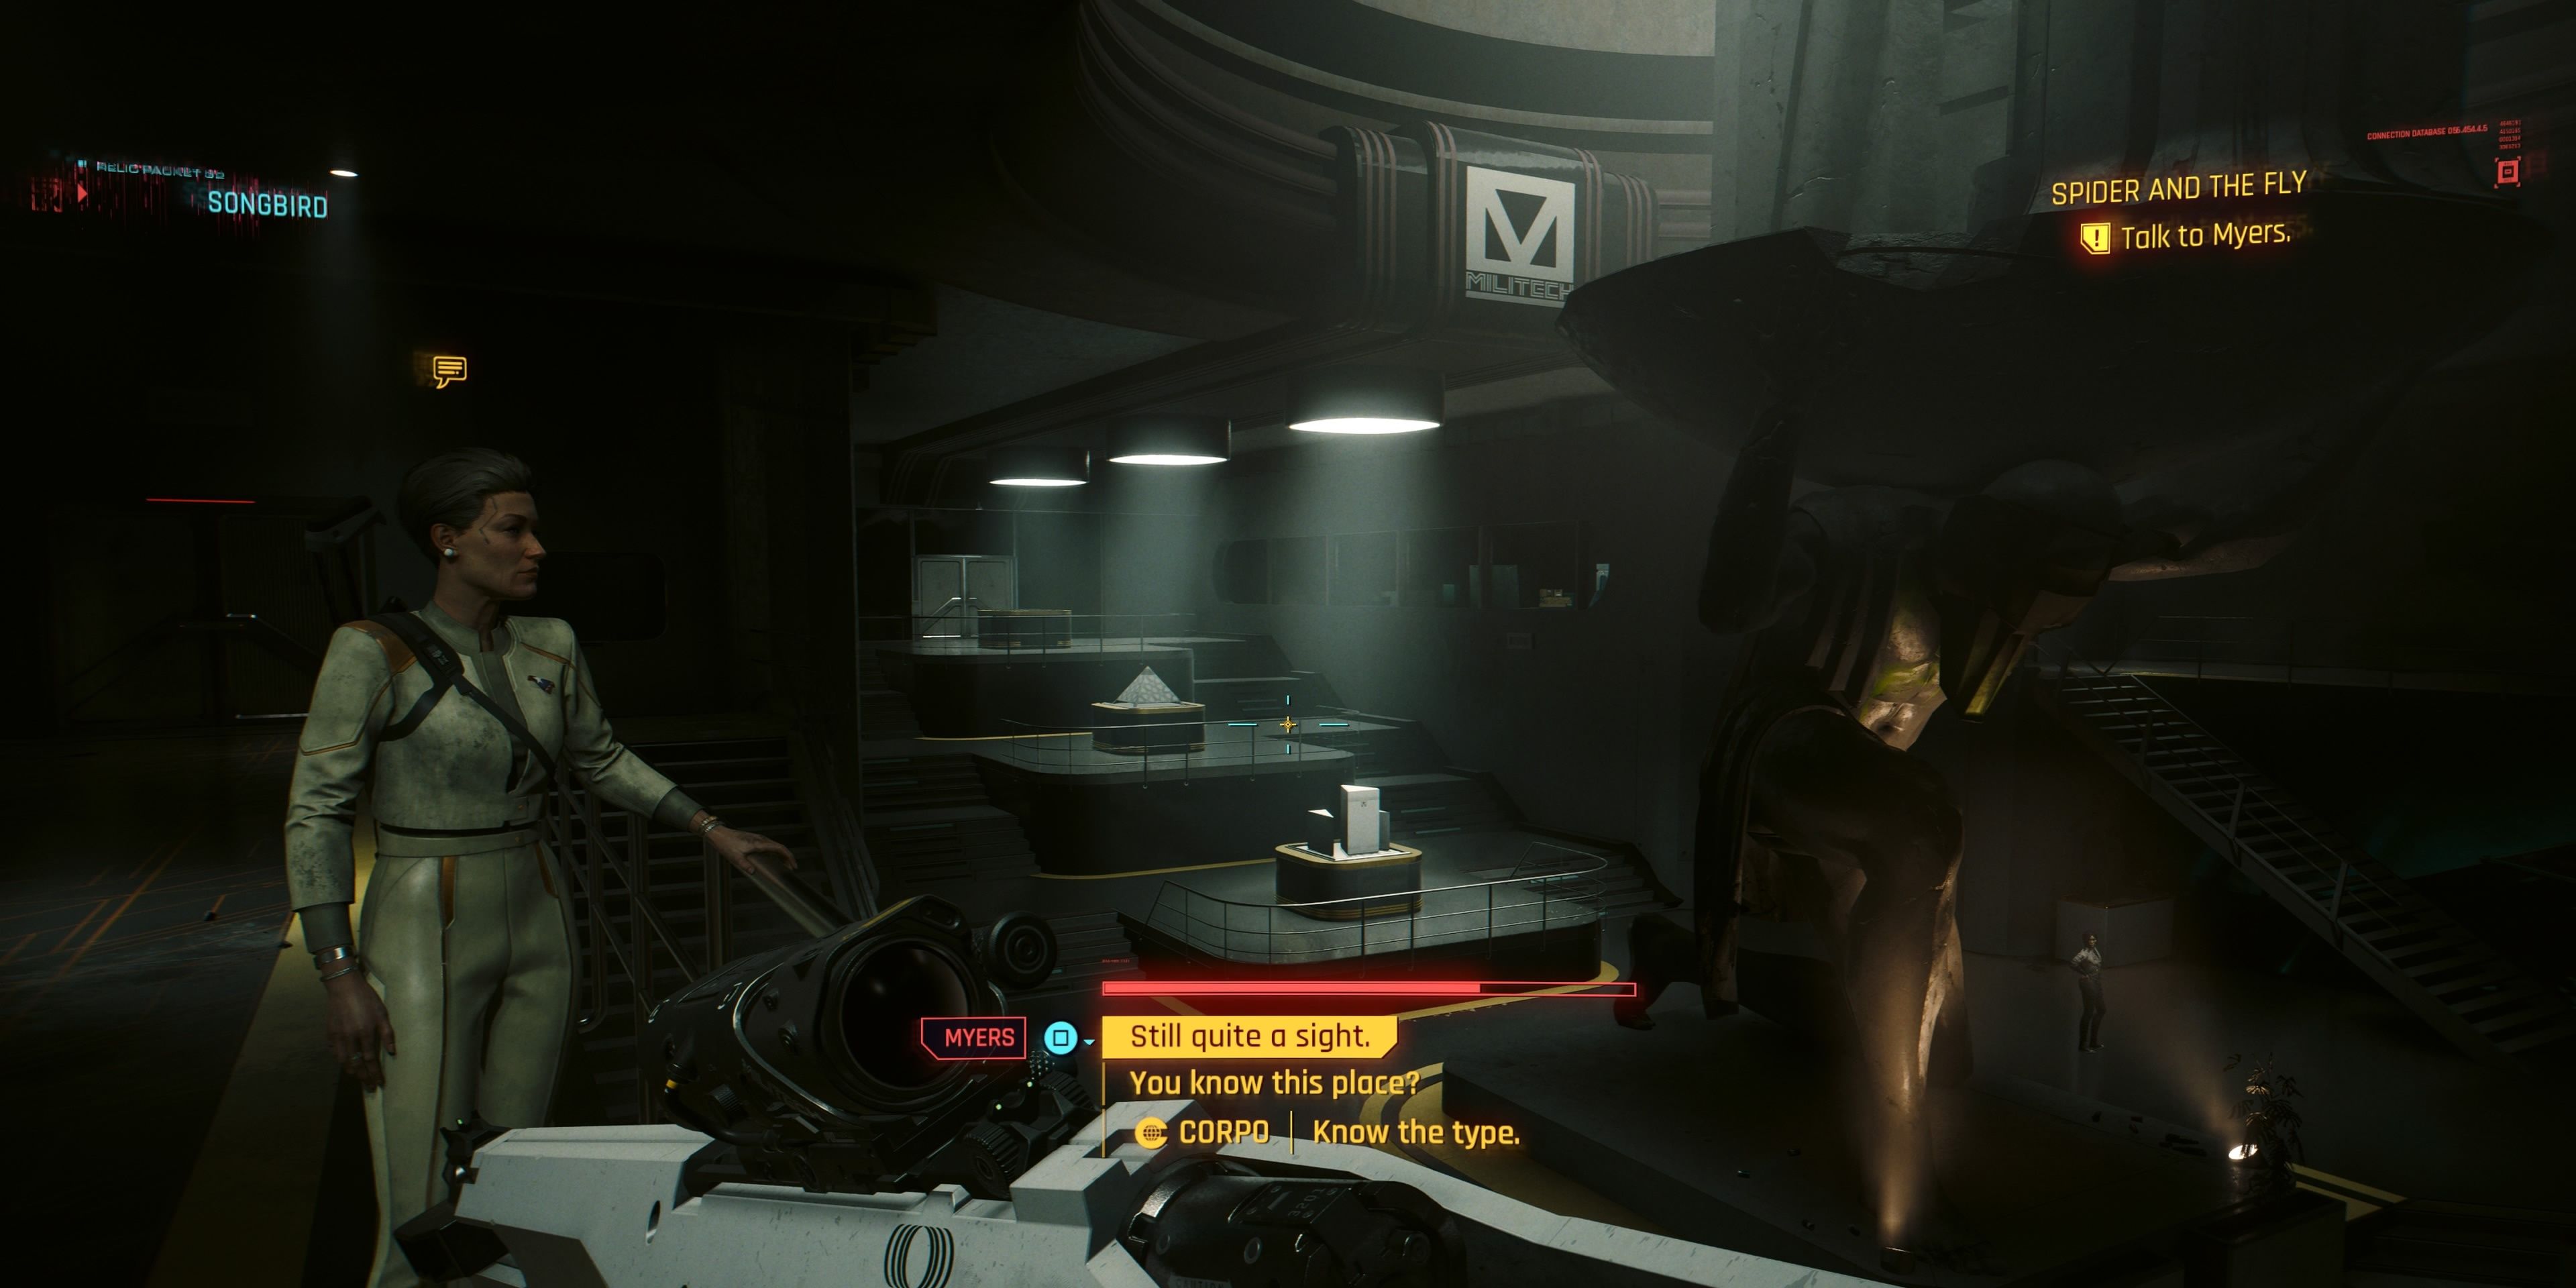
As soon as the battle is won against Hansen’s soldiers in Hole in the Sky, Spider and the Fly will start. The first objective is to speak to Songbird, who will direct V and Myers to their destination: Elizabeth Kress Street, which has been personally picked by Songbird for its safety, definitely over its looks as an abandoned and forbidden apartment complex.
As mentioned in Hole in the Sky, this is the last opportunity to come to this location, so players should make sure they have looted their defeated enemies and entered Myers’ secure room to pick up the ammo, medical items, and NUSA Suit and SOR-22 Rifle.
Lead Myers to Safety
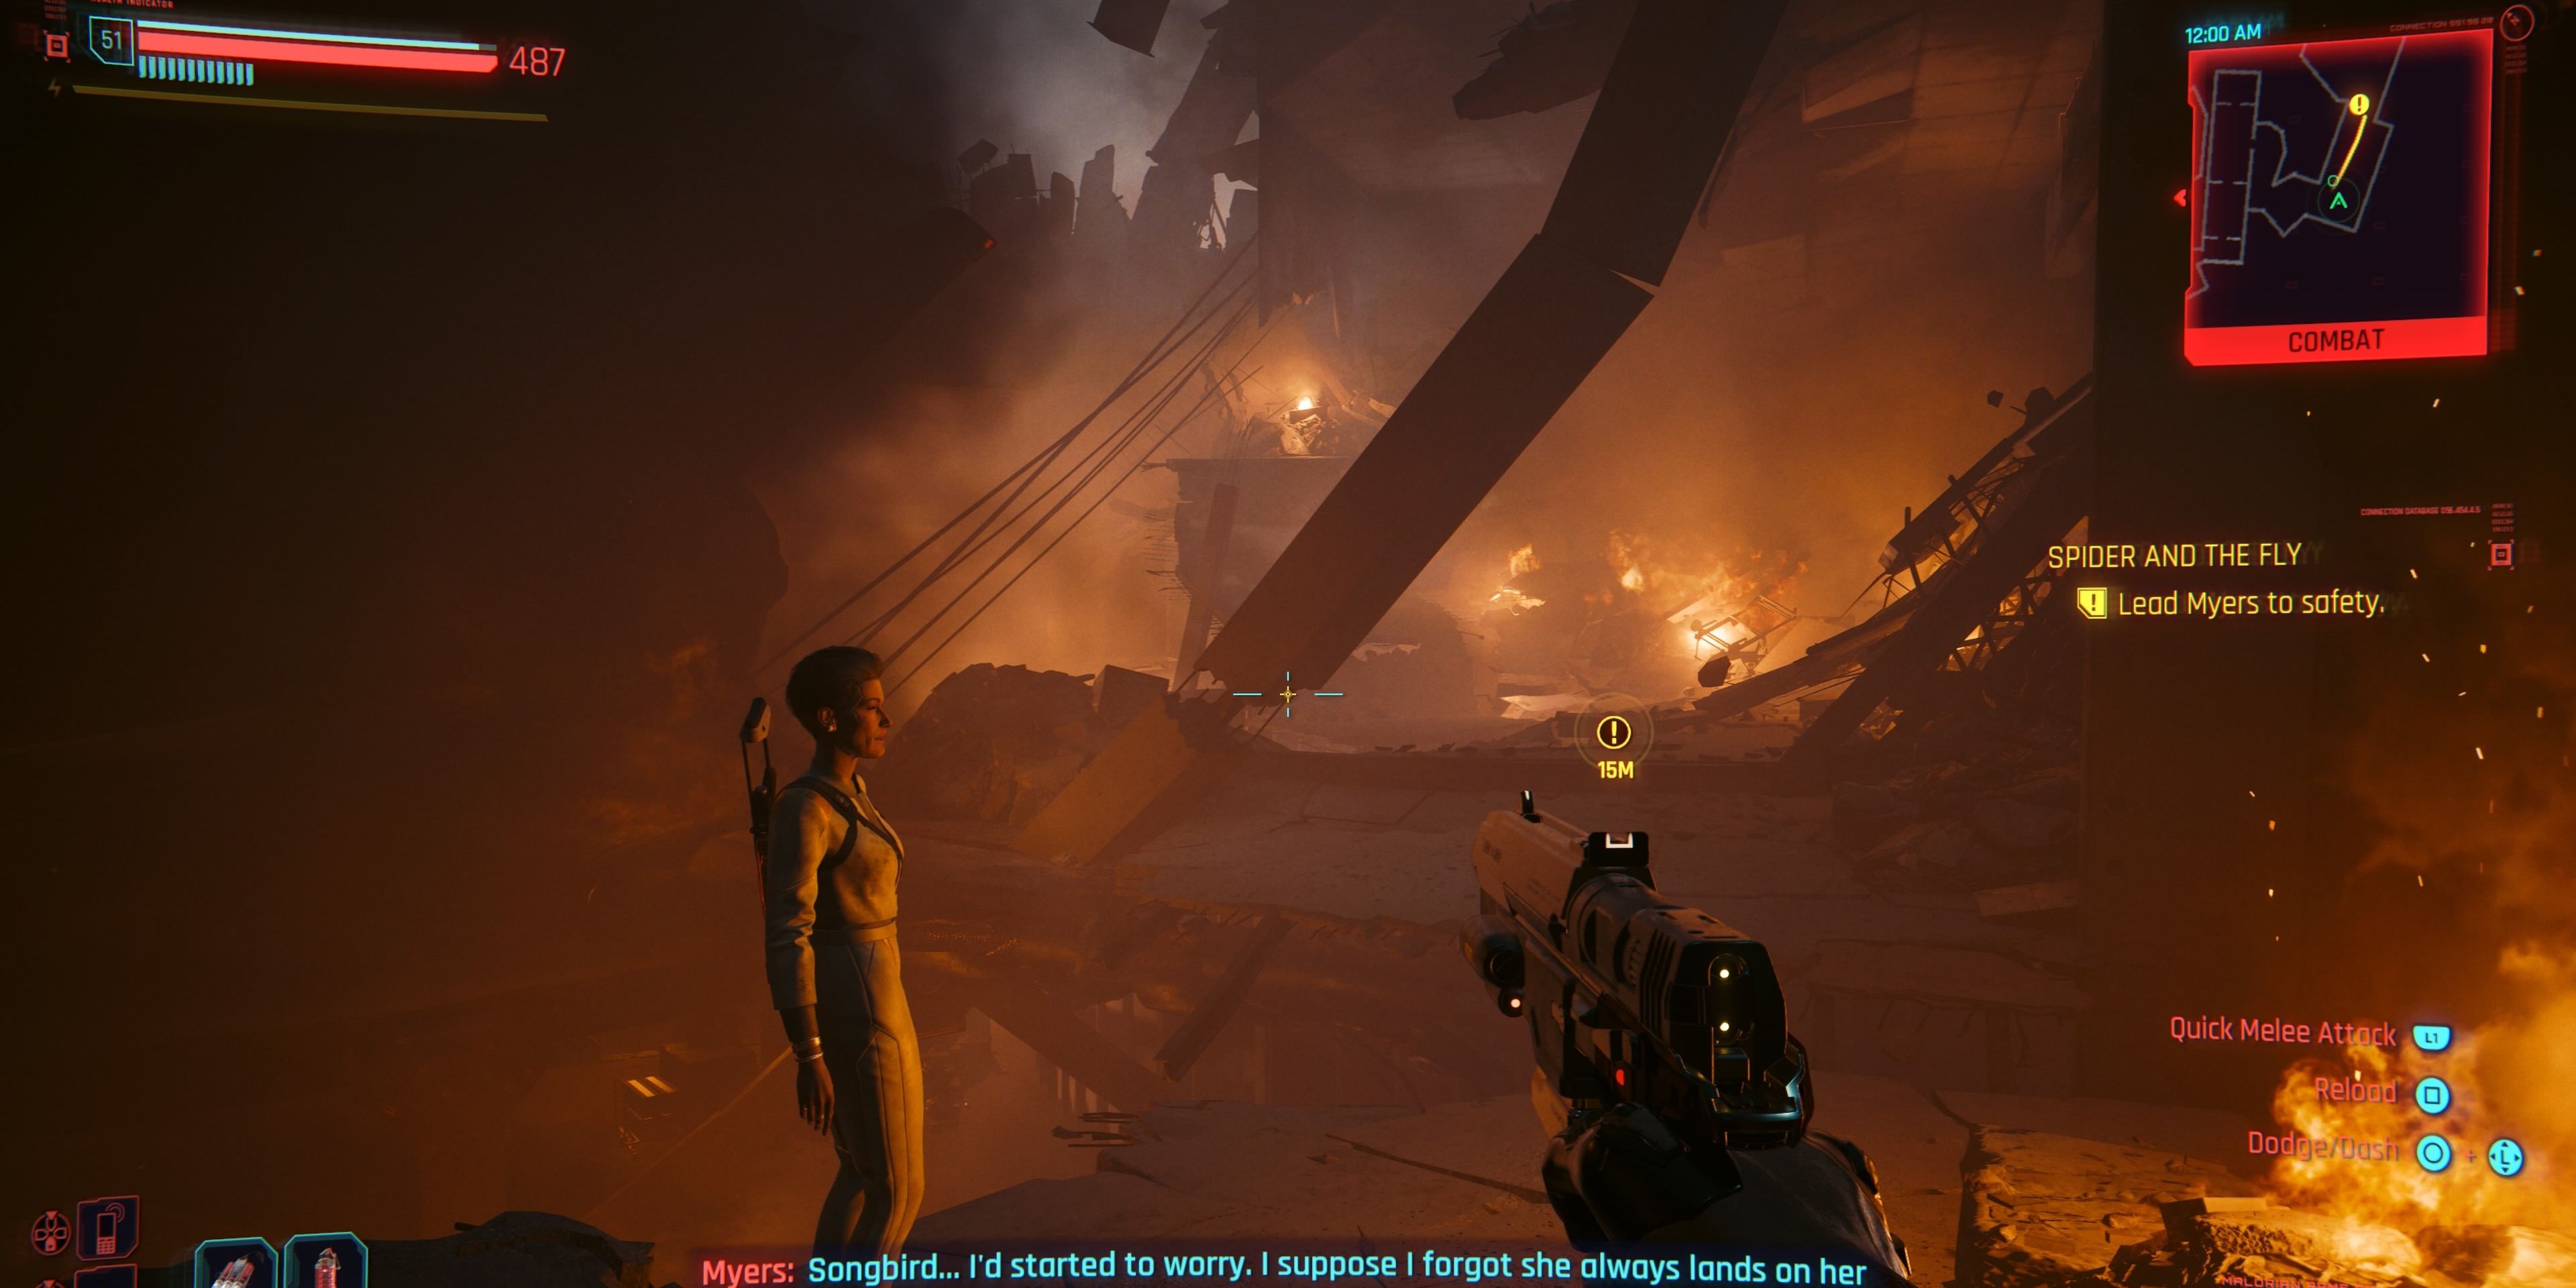
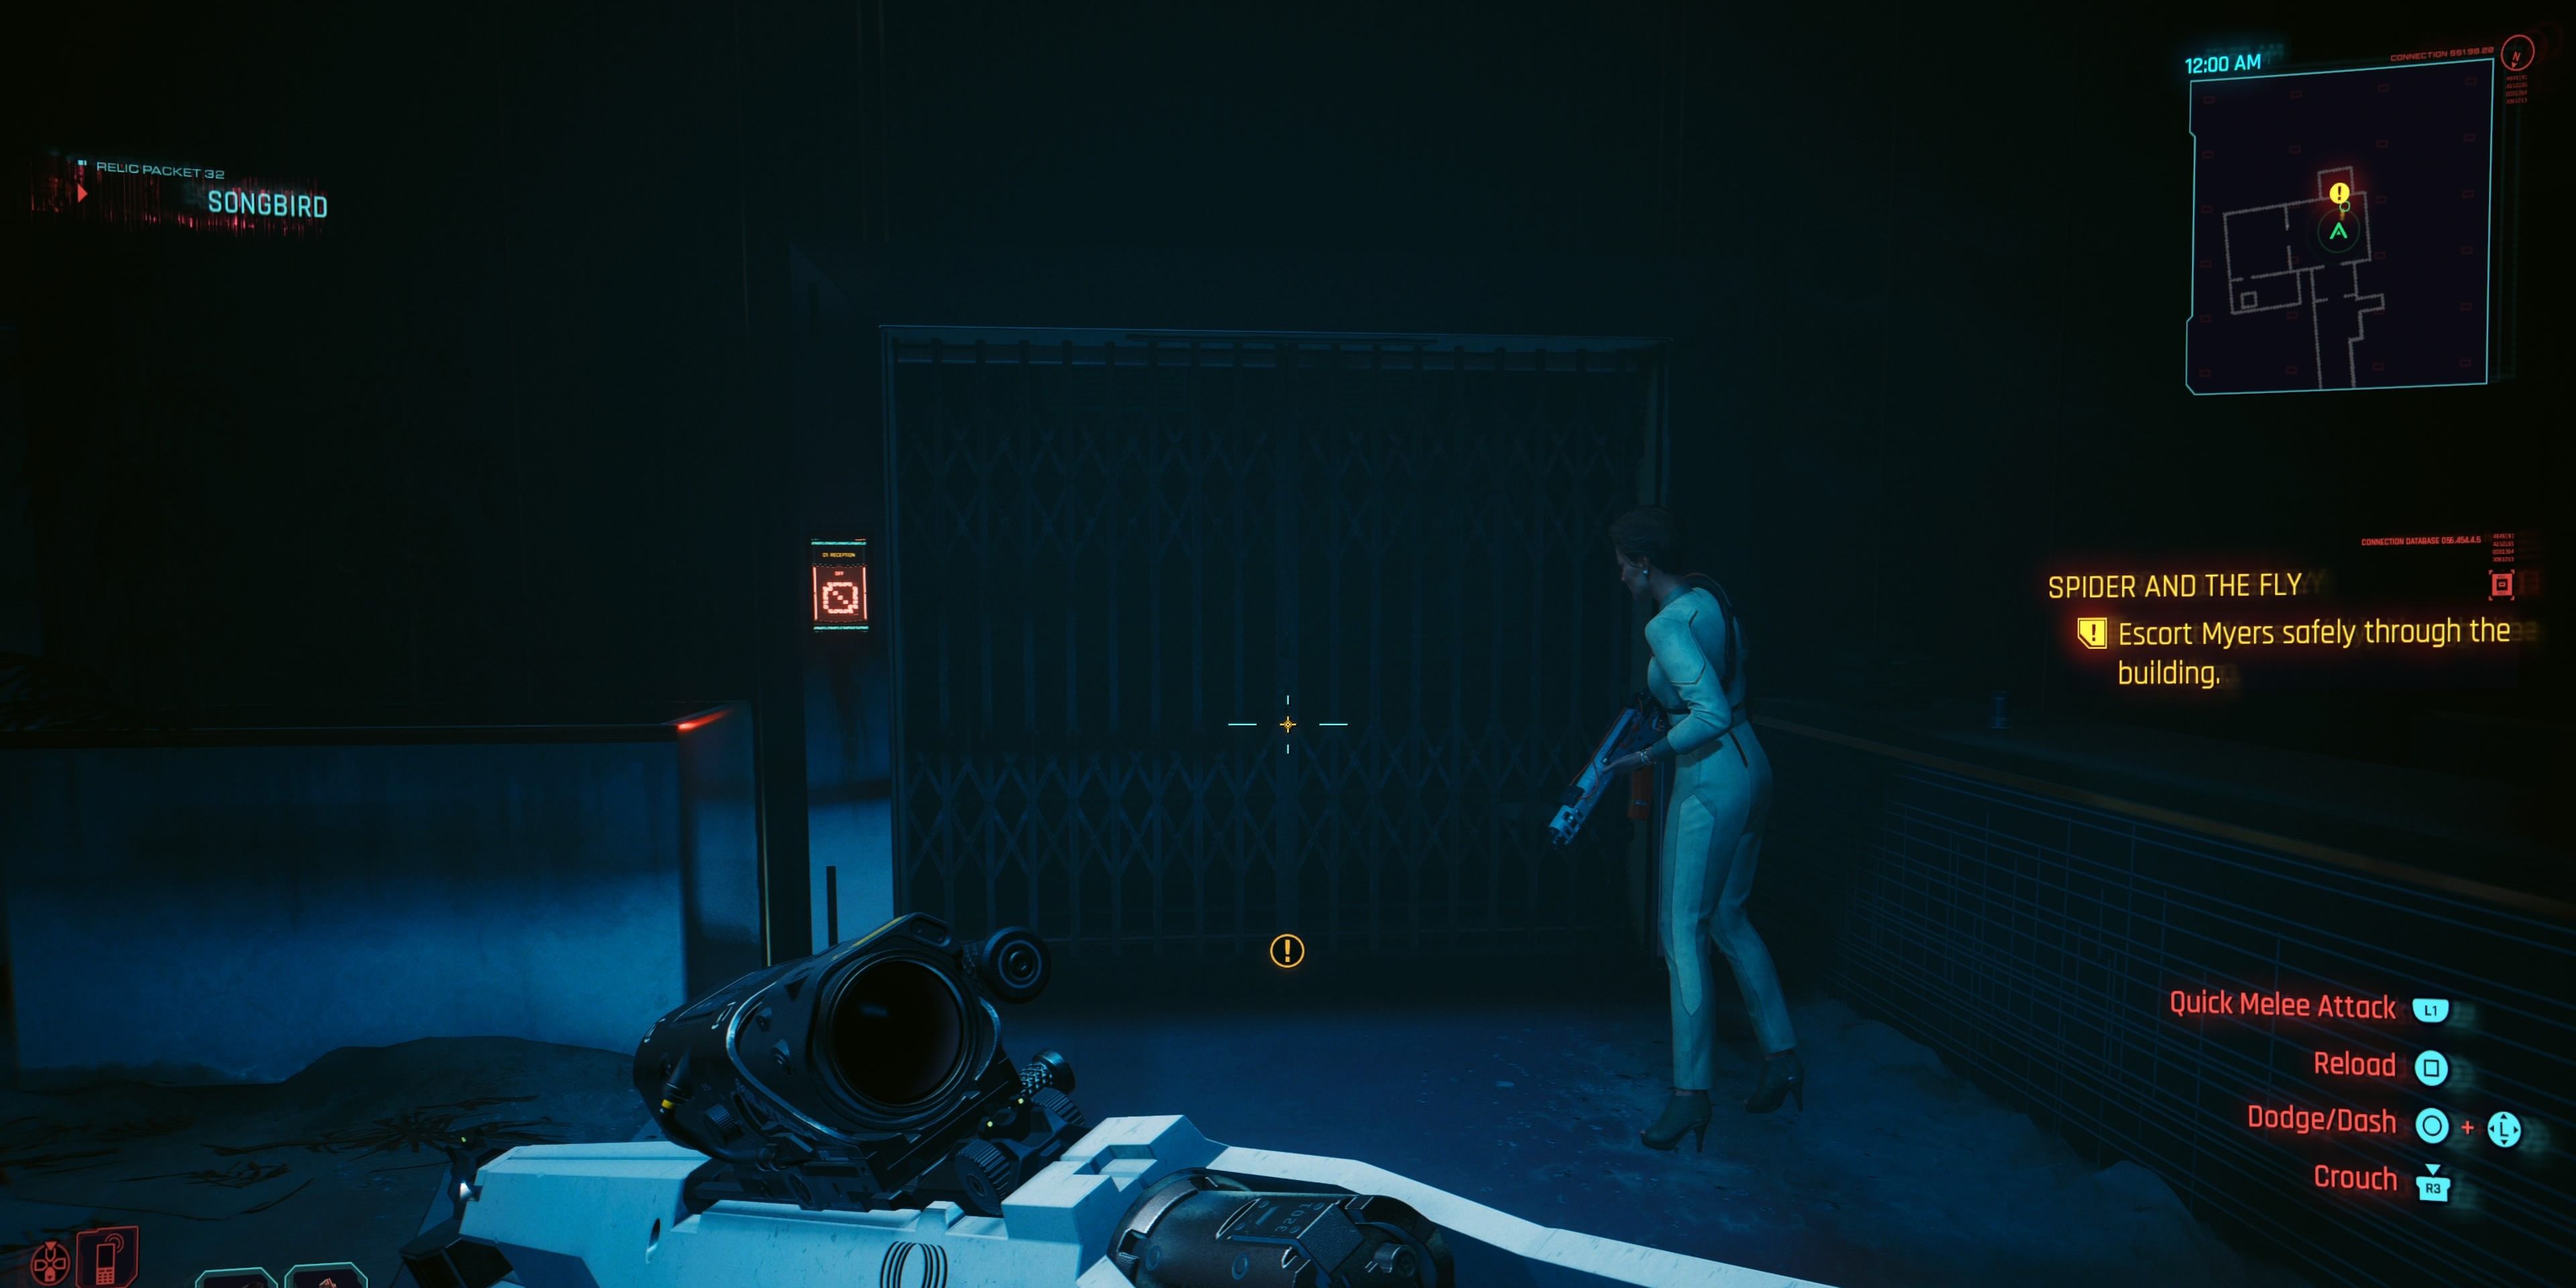
Going back through Air Force One, players will need to carefully navigate through the debris of fire to guide President Myers through to a closed gate, where players will need the combined strength of V and Myers to open the gate, which will close behind them.
When the gate closes, there’s no going back. It’s also worth noting that Myers expresses some level of guilt over her dead staff members, and V can select two dialogue options, but both of them will get a similar effect, and will not affect their relationship with the President going forward with the main missions in Phantom Liberty.
Follow Myers
Following through the corridor, players are going to find plenty of Handgun Ammo in an array of carefully placed ammo crates. Whilst players are looting, Myers will lay down her rifle and lose hope in the situation, but players can reassure her with strong words or kindness. Regardless of their dialogue choice, Myers will respond more or less the same, and go to pick her gun back up – Until she realizes that she has a subdermal tracker in her neck, which allows the government to track her every location.
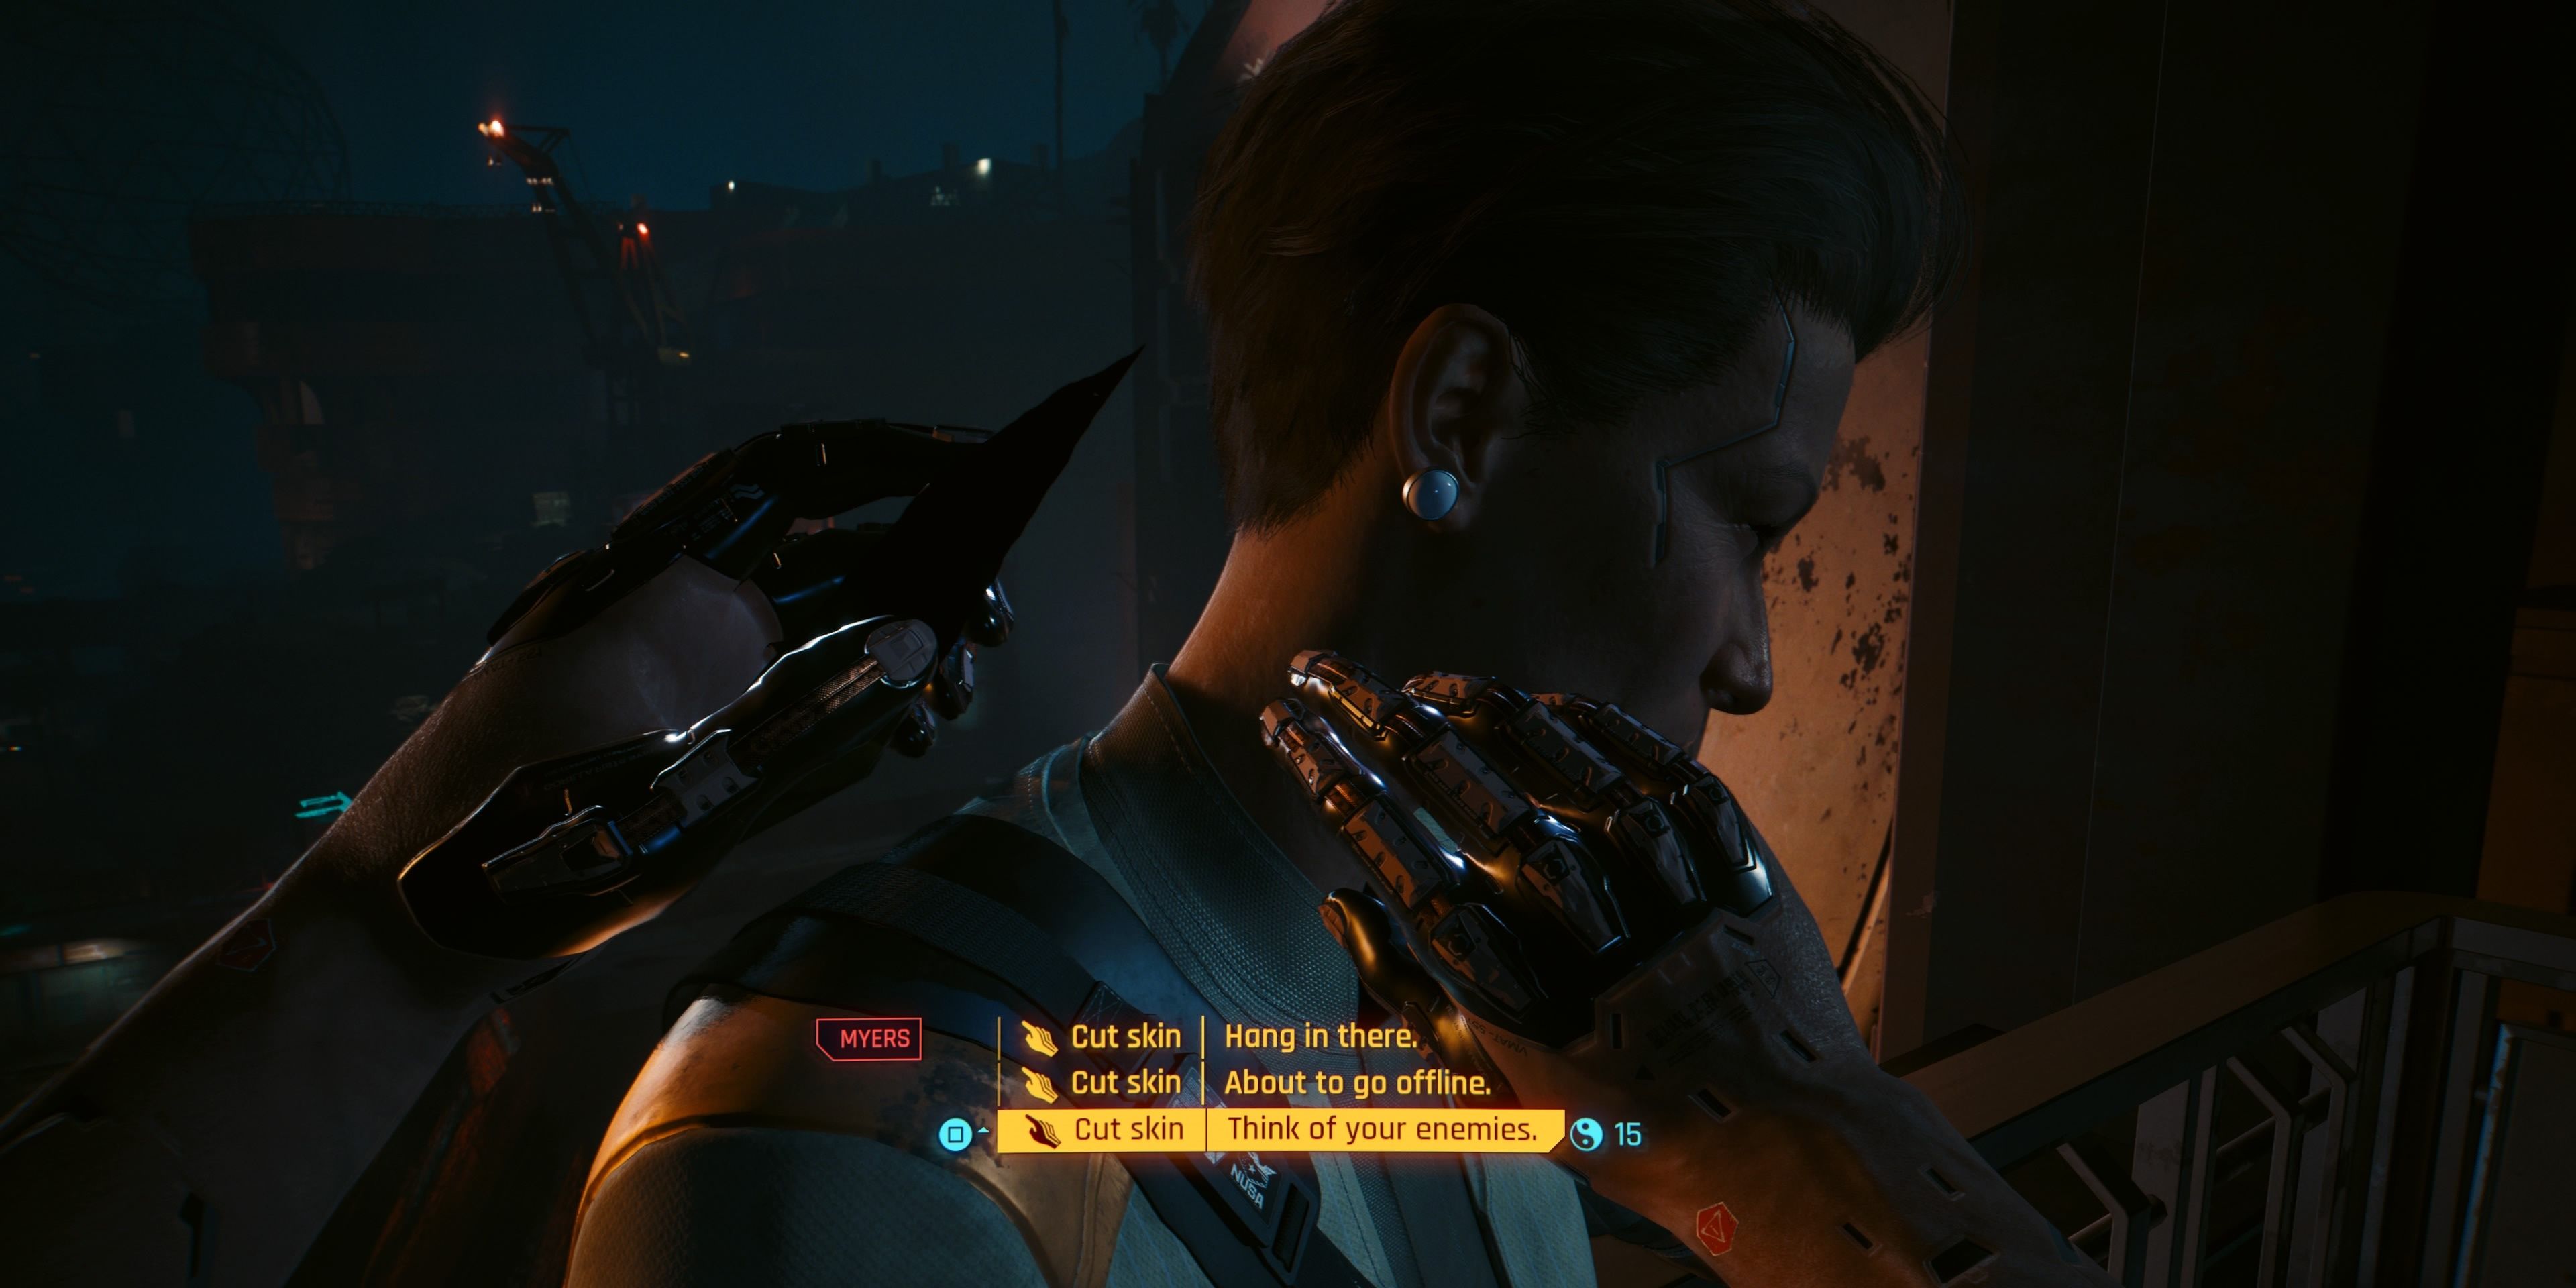
Myers picks up a shard of glass and asks V to help remove it. Players don’t need to worry, as there’s really no way of messing this up. Players should yank out the tracker as fast as they can and run to the right, crouching behind a wall due to the fact that a drone is trying to locate Myers and V. If players are spotted by this drone, they will be forced to fight it, which isn’t a good idea considering its large health pool and damage output, so just try and stay hidden.
Activate And Use The Elevator
Following through to the corridor, players will locate an elevator that not even Songbird can hack into, due to the fact that it has lost power. Luckily, this is only a short objective, and players just need to turn the power on by either heading right through the maintenance shaft or heading left which leads directly into an arcade room that takes players to the fuse box.
If players head left, they need 15 Strength, and Myers will comment on V’s impressive chrome. Regardless of the direction, there’s no loot worth mentioning. Players can activate the fuse box head back to the elevator and activate it from inside, taking it to Level 23’s Restaurant level.
Distract The Drone
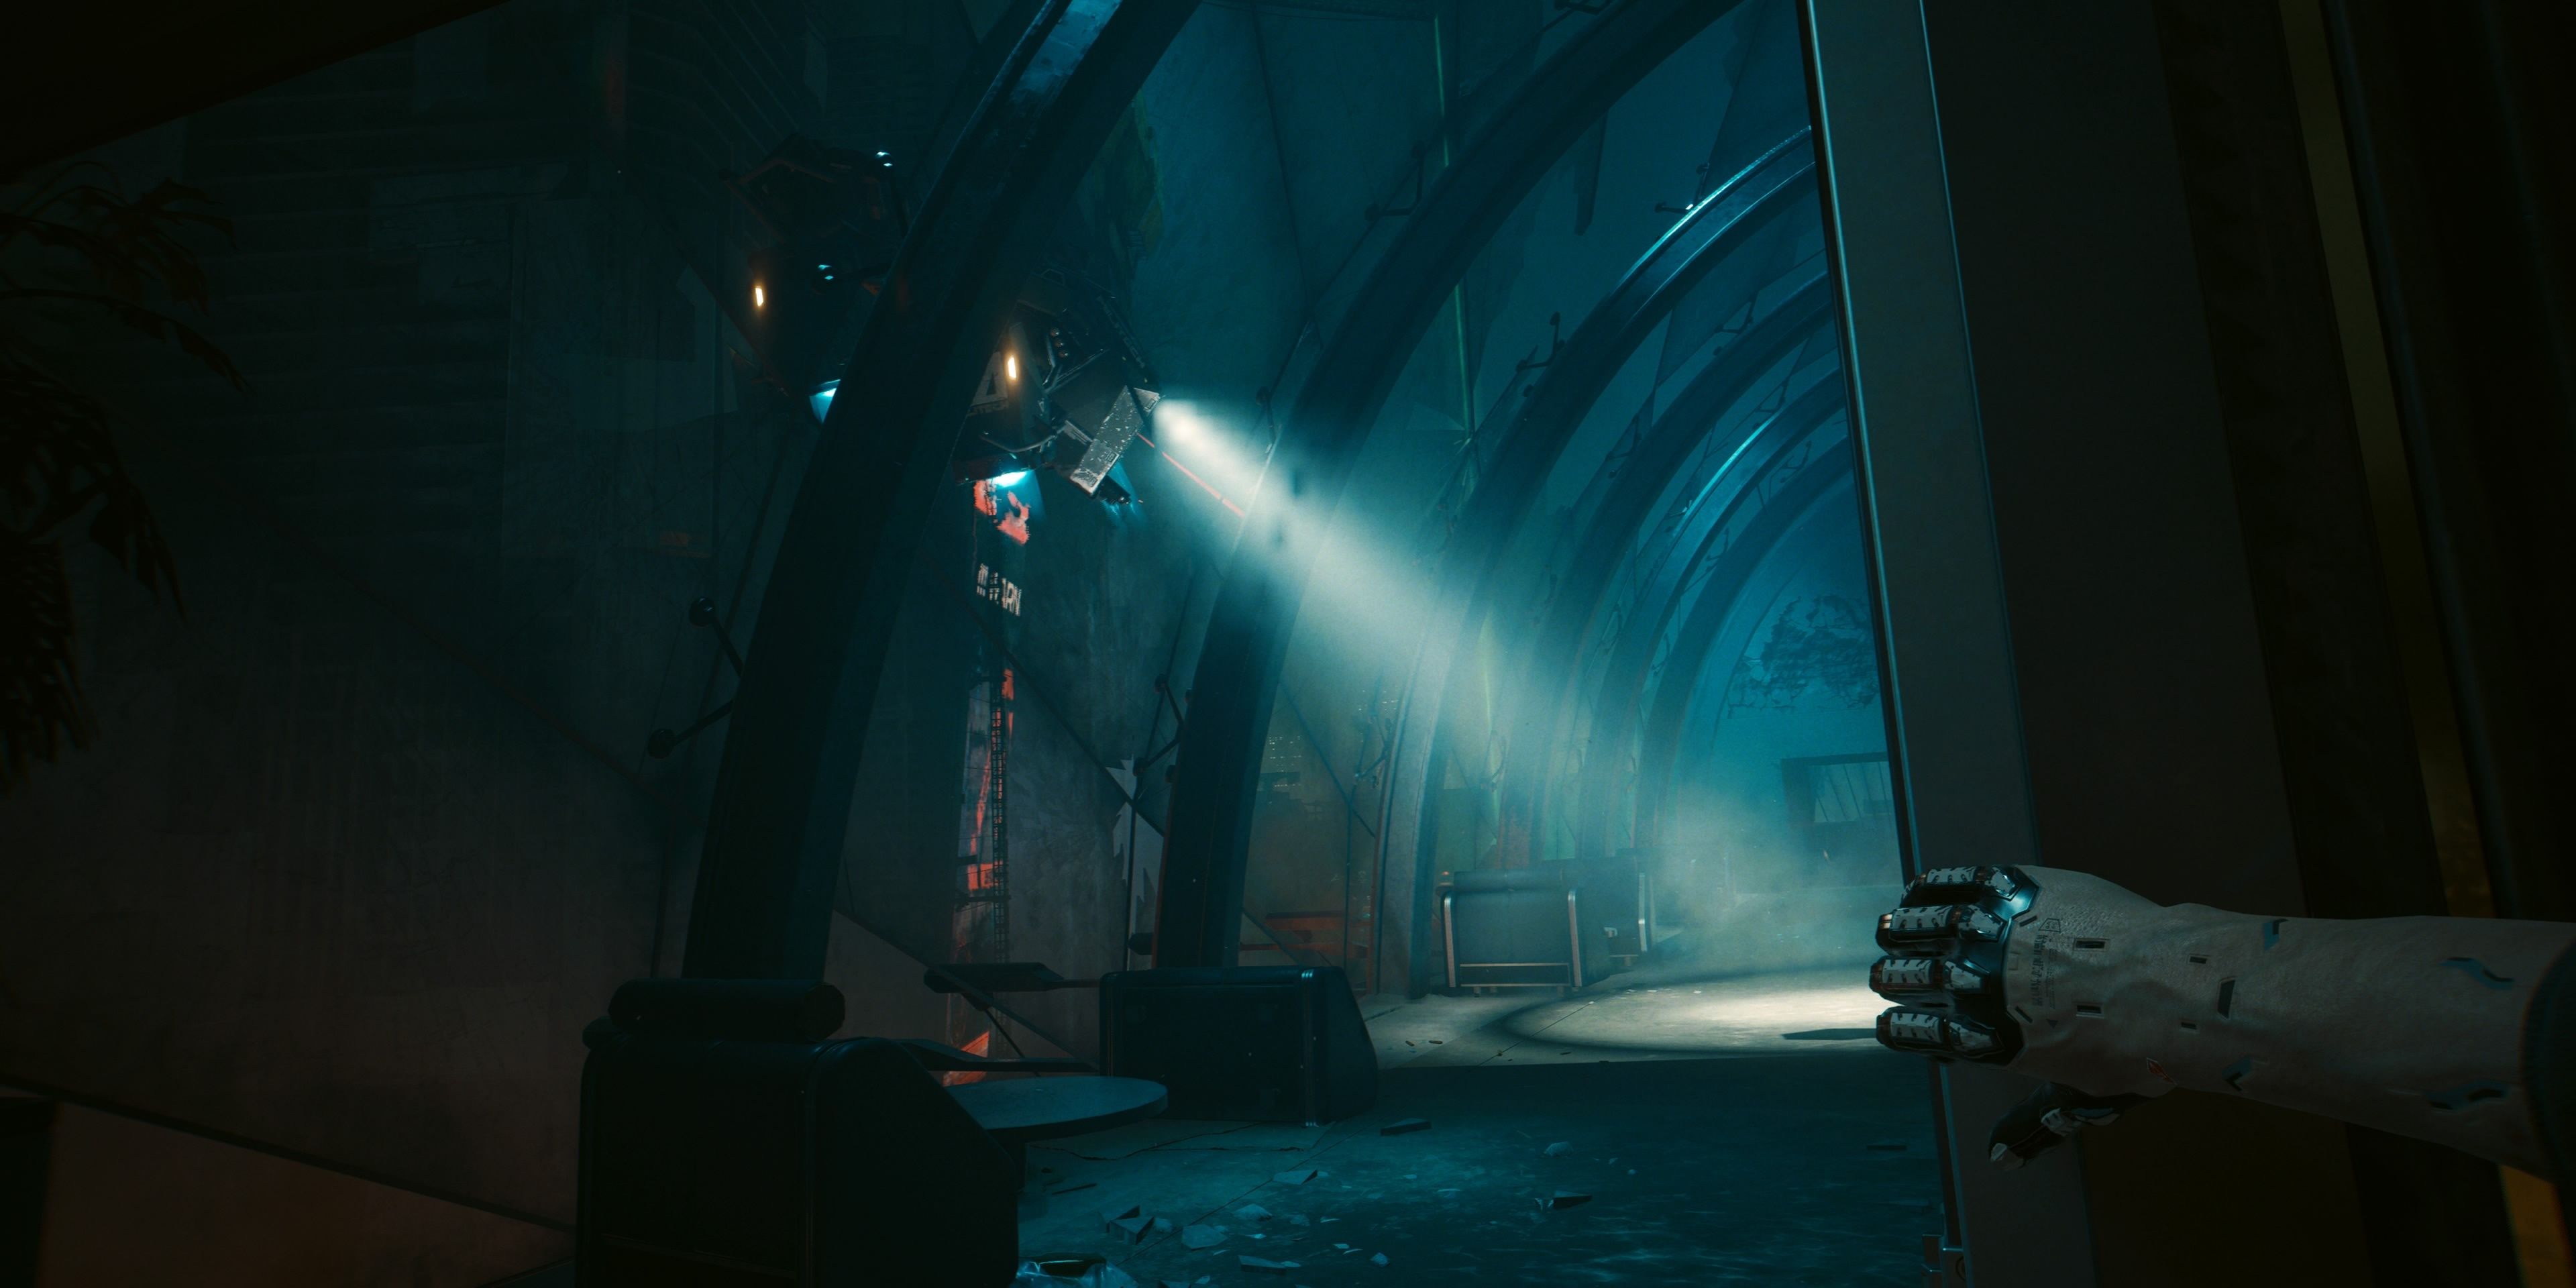
Upon entering the restaurant, two more of Hansen’s drones will try and locate life from within. Songbird can hack an access point nearby to distract the drones, but V will have to do the manual work necessary. The easiest way to do this without being spotted is to head right and up the stairs, follow along to the end of the upper floor, vault over the railing, and then hug the wall to get into the room with the access point.
Players should try and do this undetected, due to the fact that having Hansen’s soldiers and drones as hostile adversaries isn’t a good idea, especially due to the fact that V will receive a scolding from Myers and Songbird. Once Songbird has sent the drones away, players can loot the restaurant or slip out with Myers.
Clear the Room of Hostiles
Just outside the restaurant, players are going to find around 8 Barghest enemies. These enemies are perfectly positioned for stealth takedowns, and players should do this due to the fact that Myers will often take out a guard by herself when V is occupied with killing their own guard. There are 2 guards on the upper level, 2 in the downstairs room to the right, 2 in the center, and 2 by the vehicle that players will want to steal later.
Killing them is a good idea, as it gets rid of any witnesses that could expose the direction and safety of President Myers, it’s also worth killing them to avoid unnecessary risk and to loot the area of any goodies that might appear.
Reach The Building
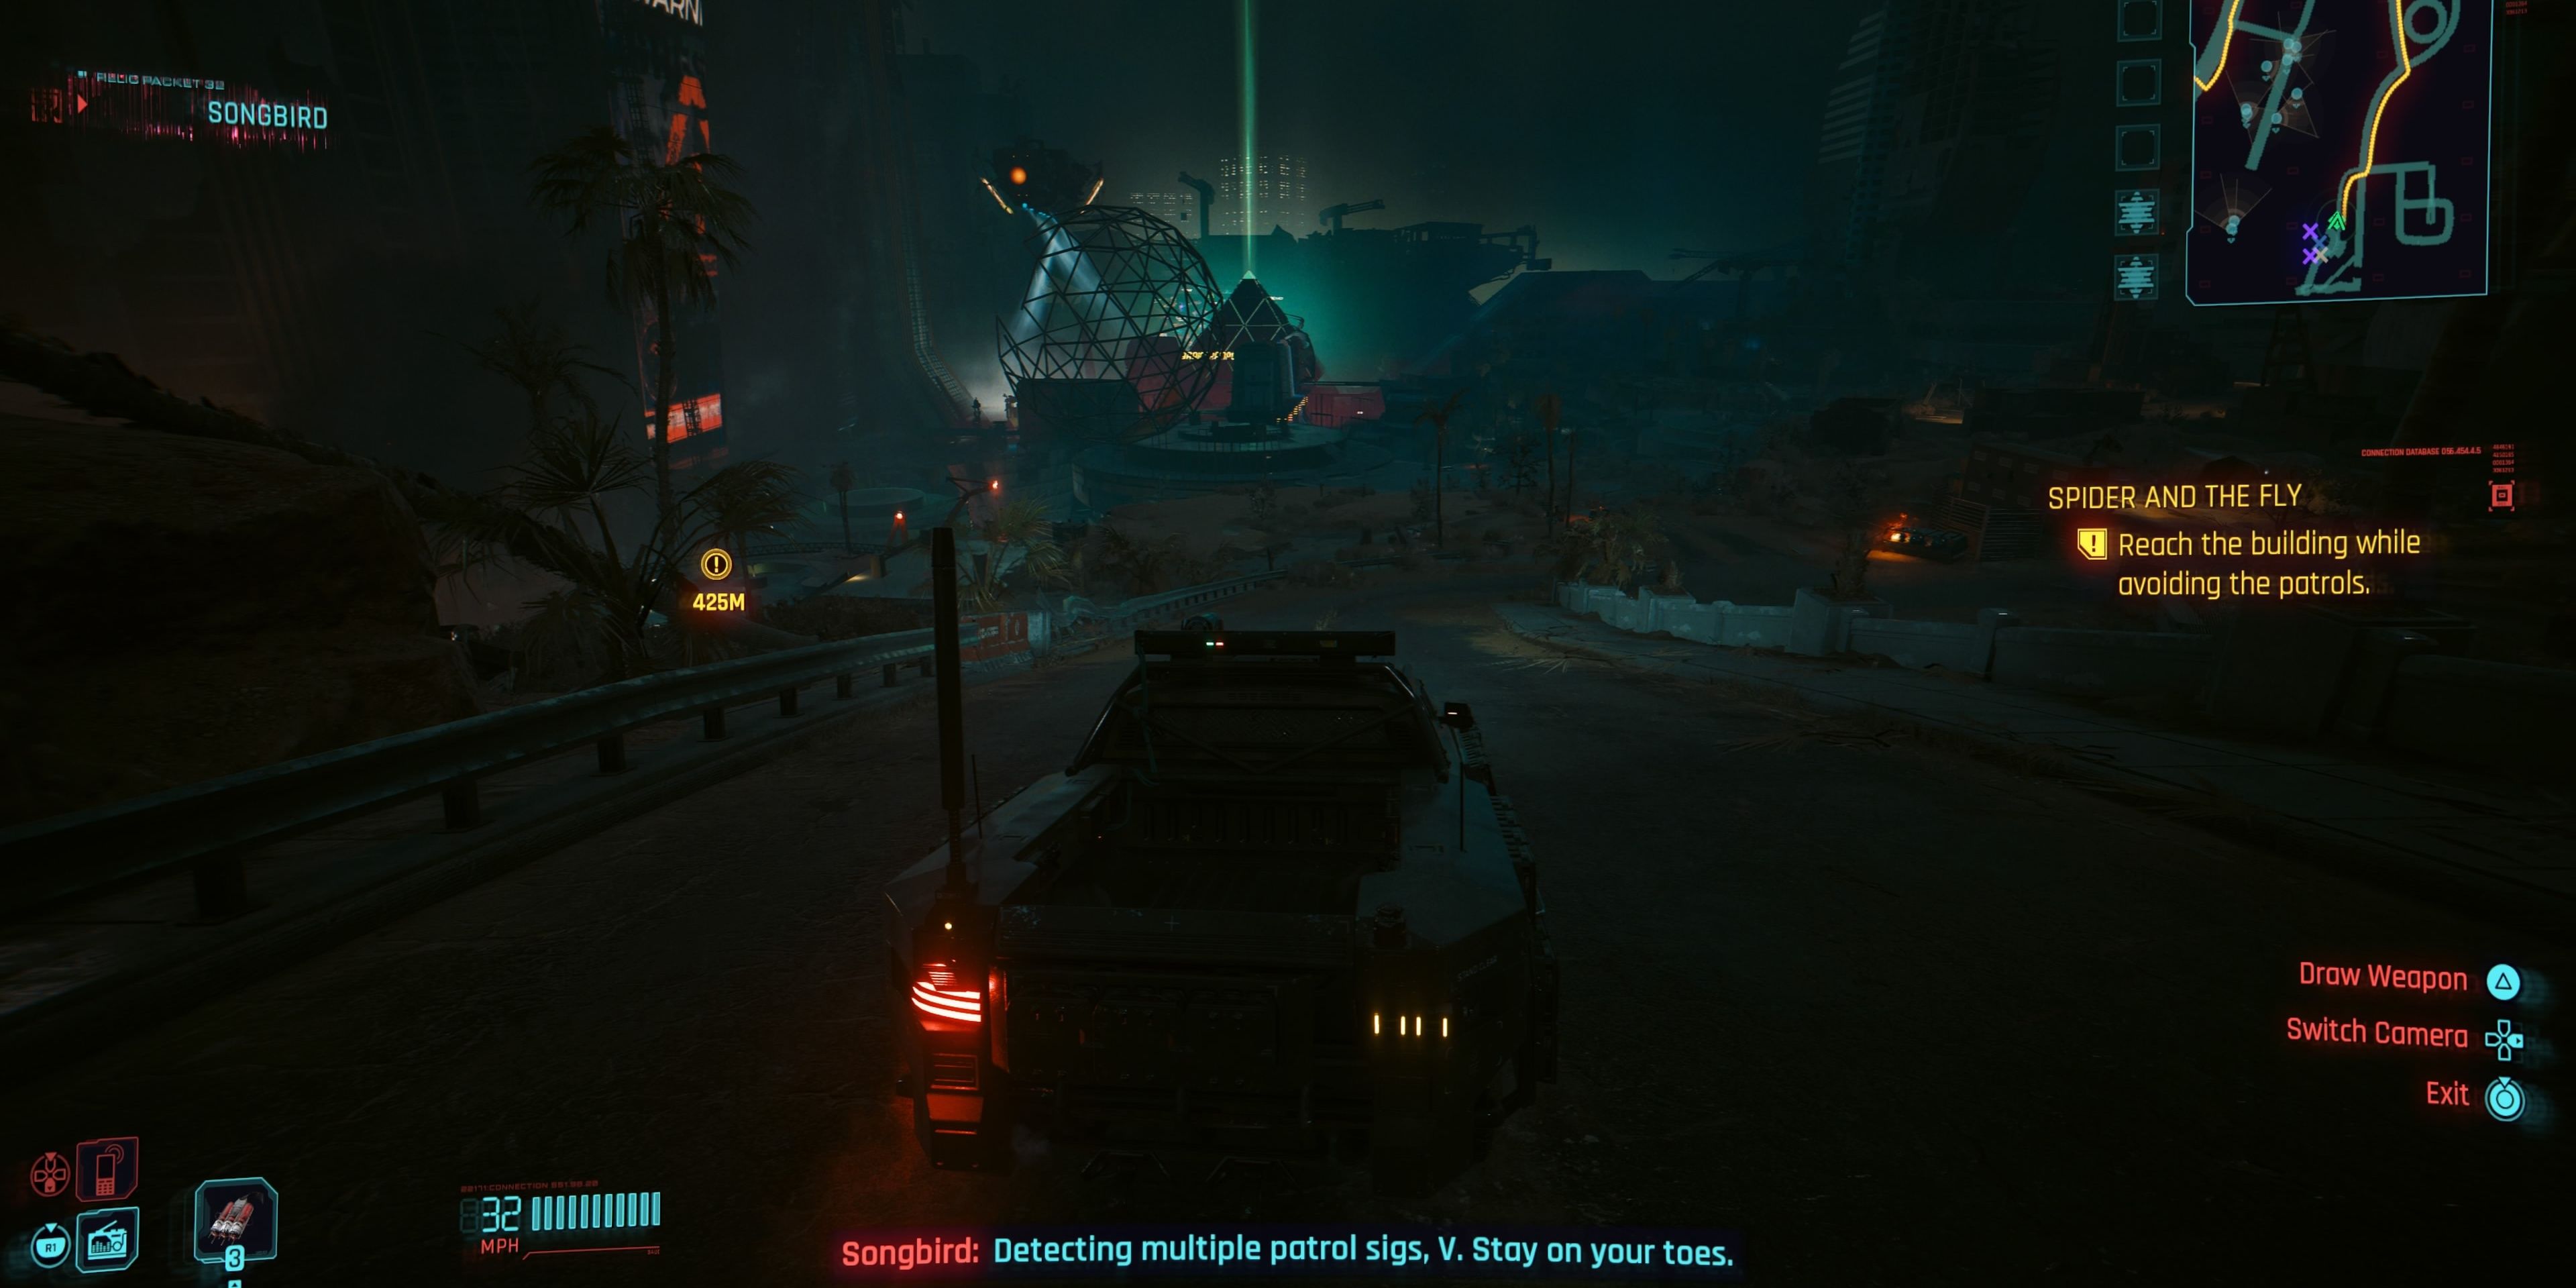
With the hostiles dead, players should get inside the Barghest car, which was an optional objective. Once inside, players will have a 2-star wanted level, meaning that the Barghest guards are going to be searching for V and Myers, and will become aggressive when they have found their targets.
Players should stick to the roads and beaten paths of dirt to head to their destination without being caught. It’s worth noting that upon leaving the area and to the left is a Cyberpsycho, Garry Bates, but players should just focus on getting to the garage and avoiding patrols. Players cannot access the garage if they are in combat, and they will need to lose their enemies first.
Go Through the Expo
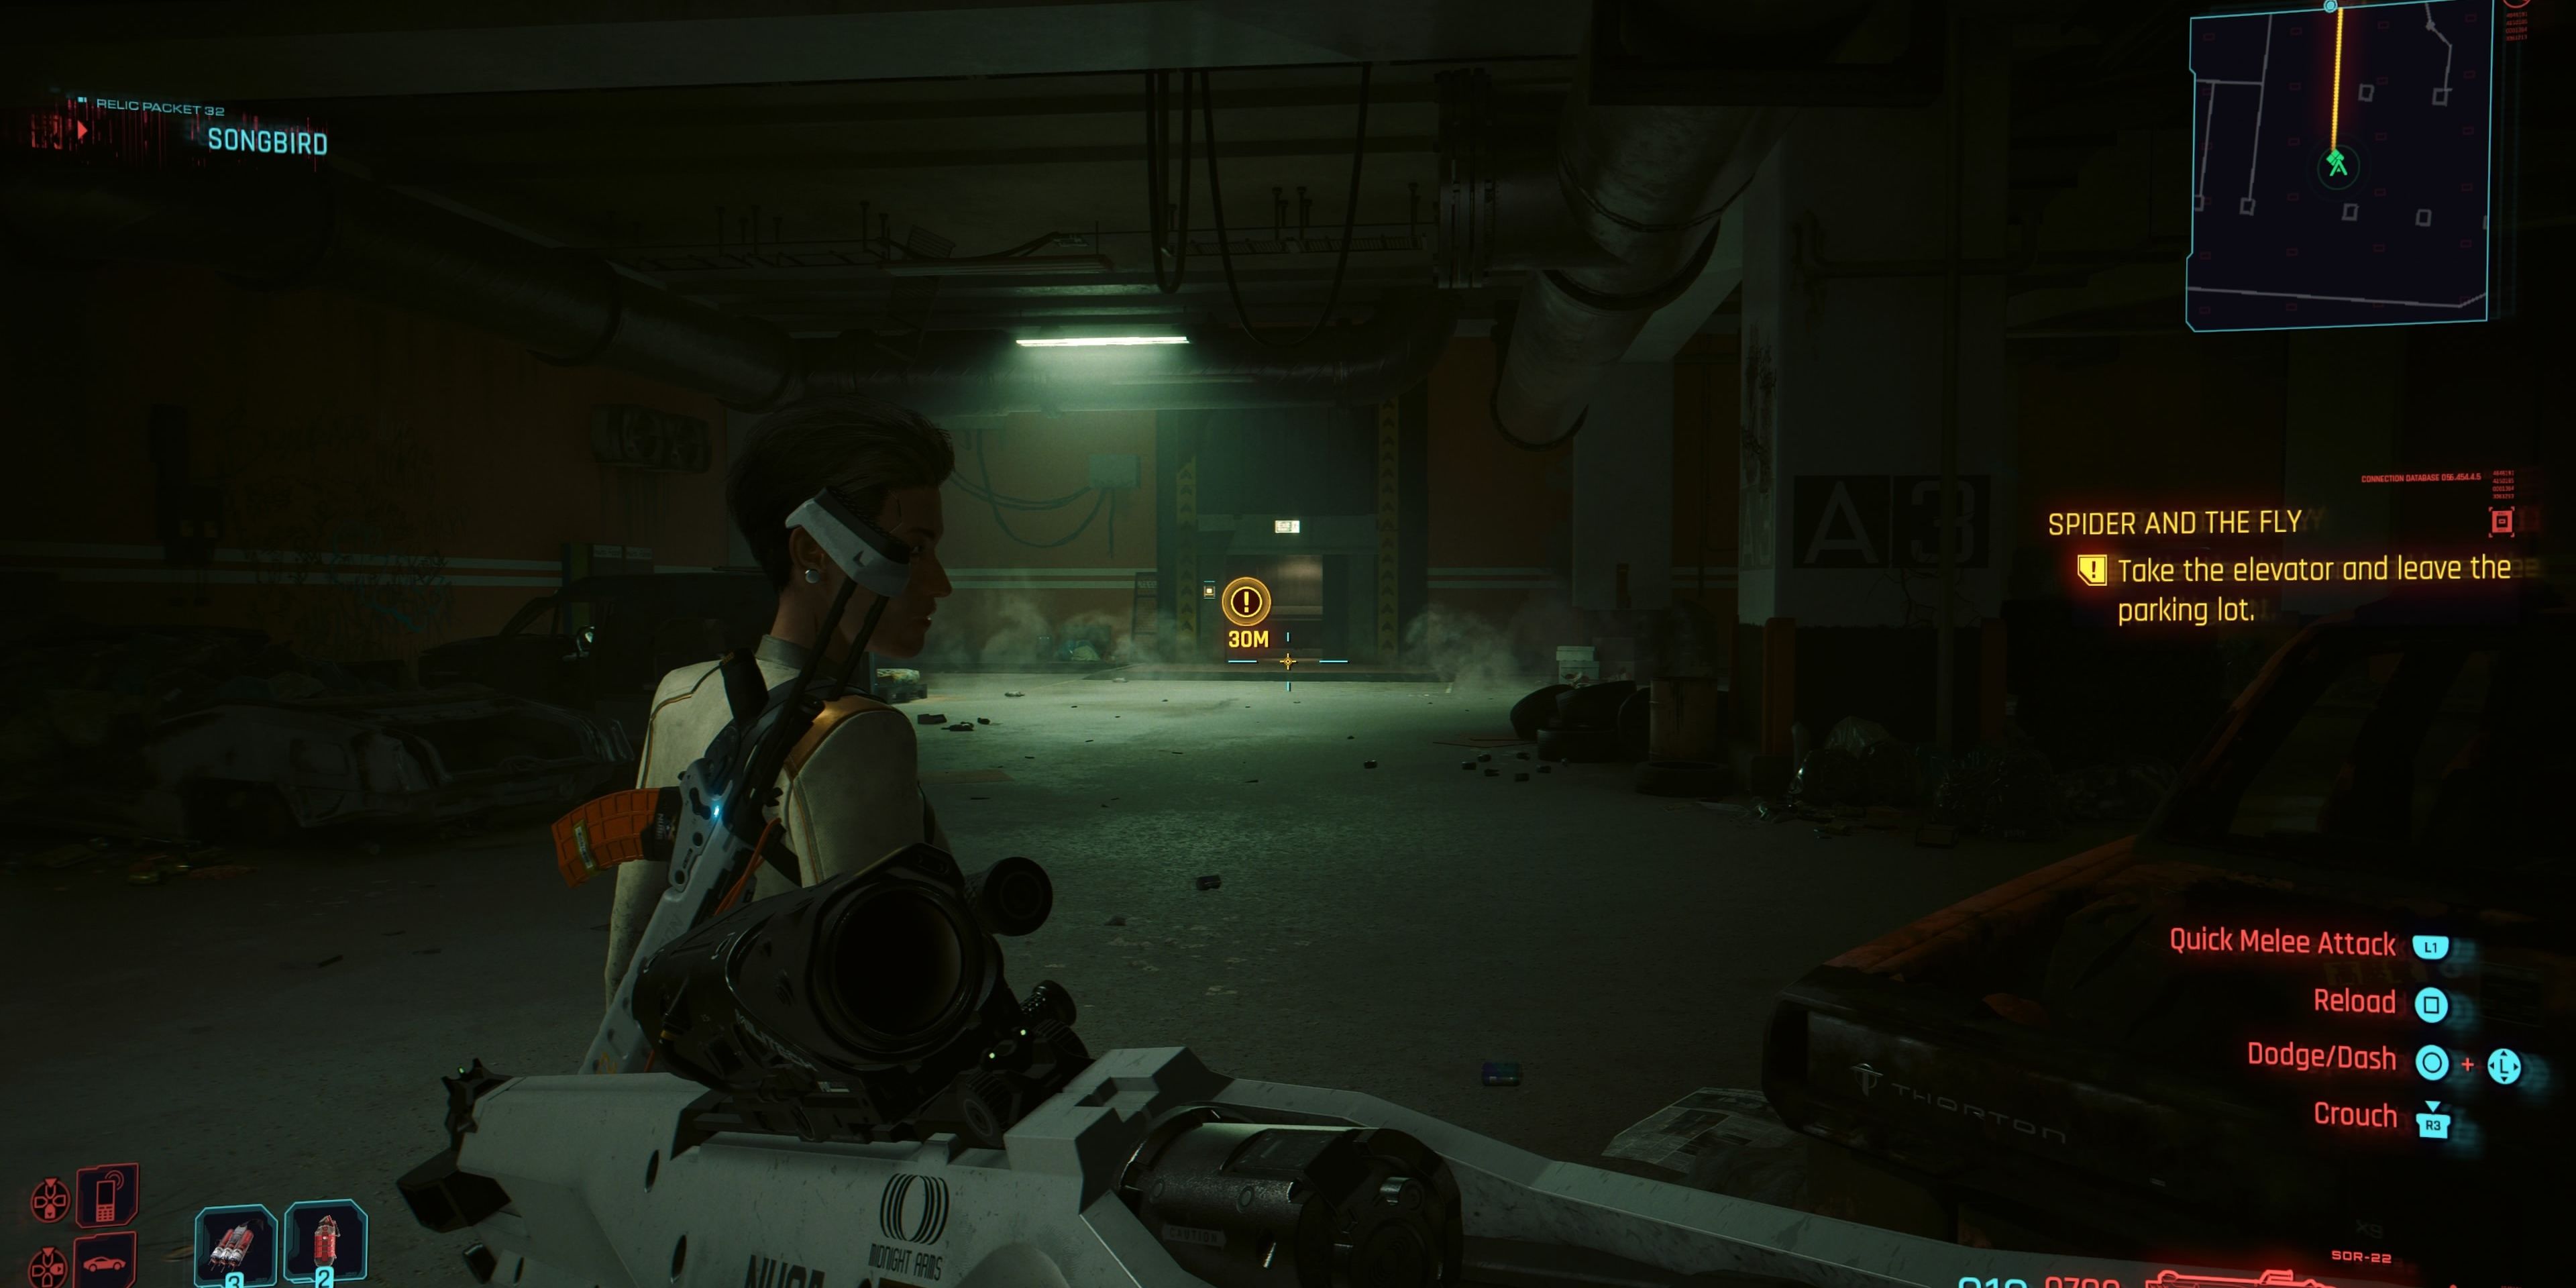
Taking the elevator in the parking lot that players entered, they will head to the first floor, the Museum of Wishful Thinking. In this area, players can find locked doors on the upper left and upper right of the room, and provided they have 20 Strength or 20 Technical Ability, they can open the doors to loot what is inside.
Regardless of loot, players can learn more about Dogtown and the stakes involved in the failed district by activating the museum exhibits, where Myers will make a comment on the intended purpose and buildings of Dogtown.
Fight Off Hansen’s Soldiers
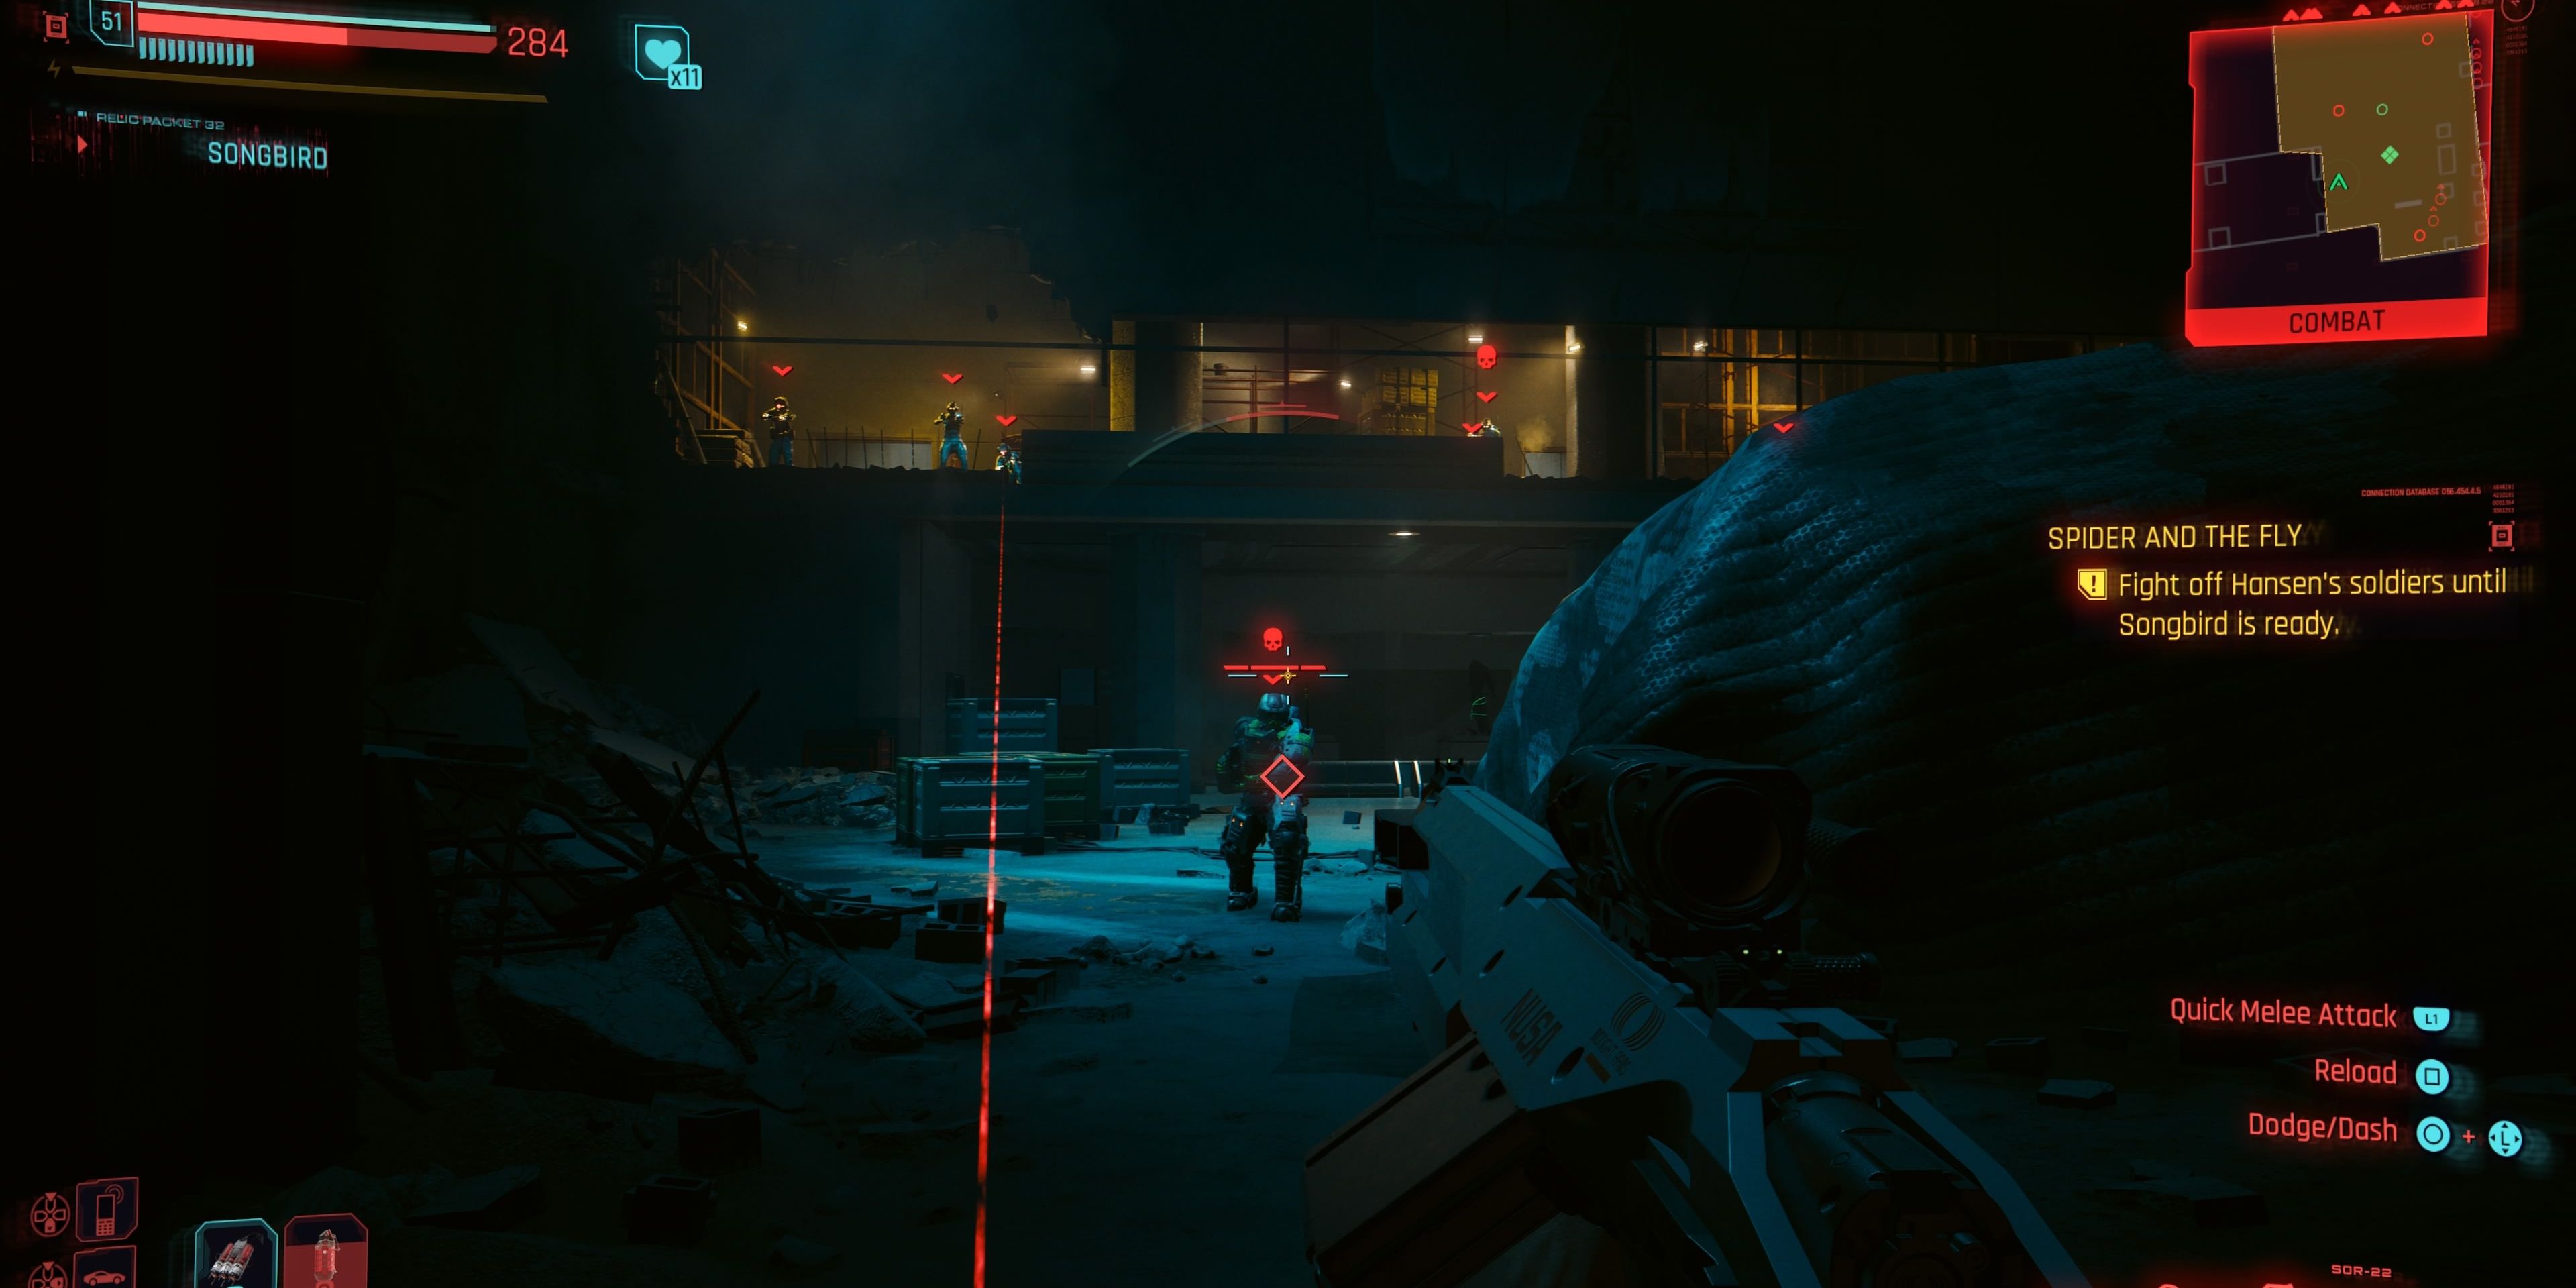
Once players leave the Expo, they will head to the nearby elevator, which has an error preventing it from being usable after pressing the call button. This will trigger the next objective, in which Hansen’s soldiers would have located V and Myers, and will descend in waves to attack.
The room is filled with ammo crates, so feel free to loot up to make this fight easier. The hordes of enemies won’t stop until Songbird has done her Netrunner magic and activated the deadly Chimera underneath a tarp. Players need to fight Hansen’s soldiers until the Chimera activates and kills everyone inside.
Flee the Chimera
Songbird has lost control of the powerful Chimera, and it’s gone rogue. Now targeting V and Myers, it’s time to run away from it. The best way to avoid death at the hands of the Chimera is to simply run and weave between walls and solid objects that may absorb the bullets meant for V. Players will reach a half-open gate, which they will need to slide under to get through.
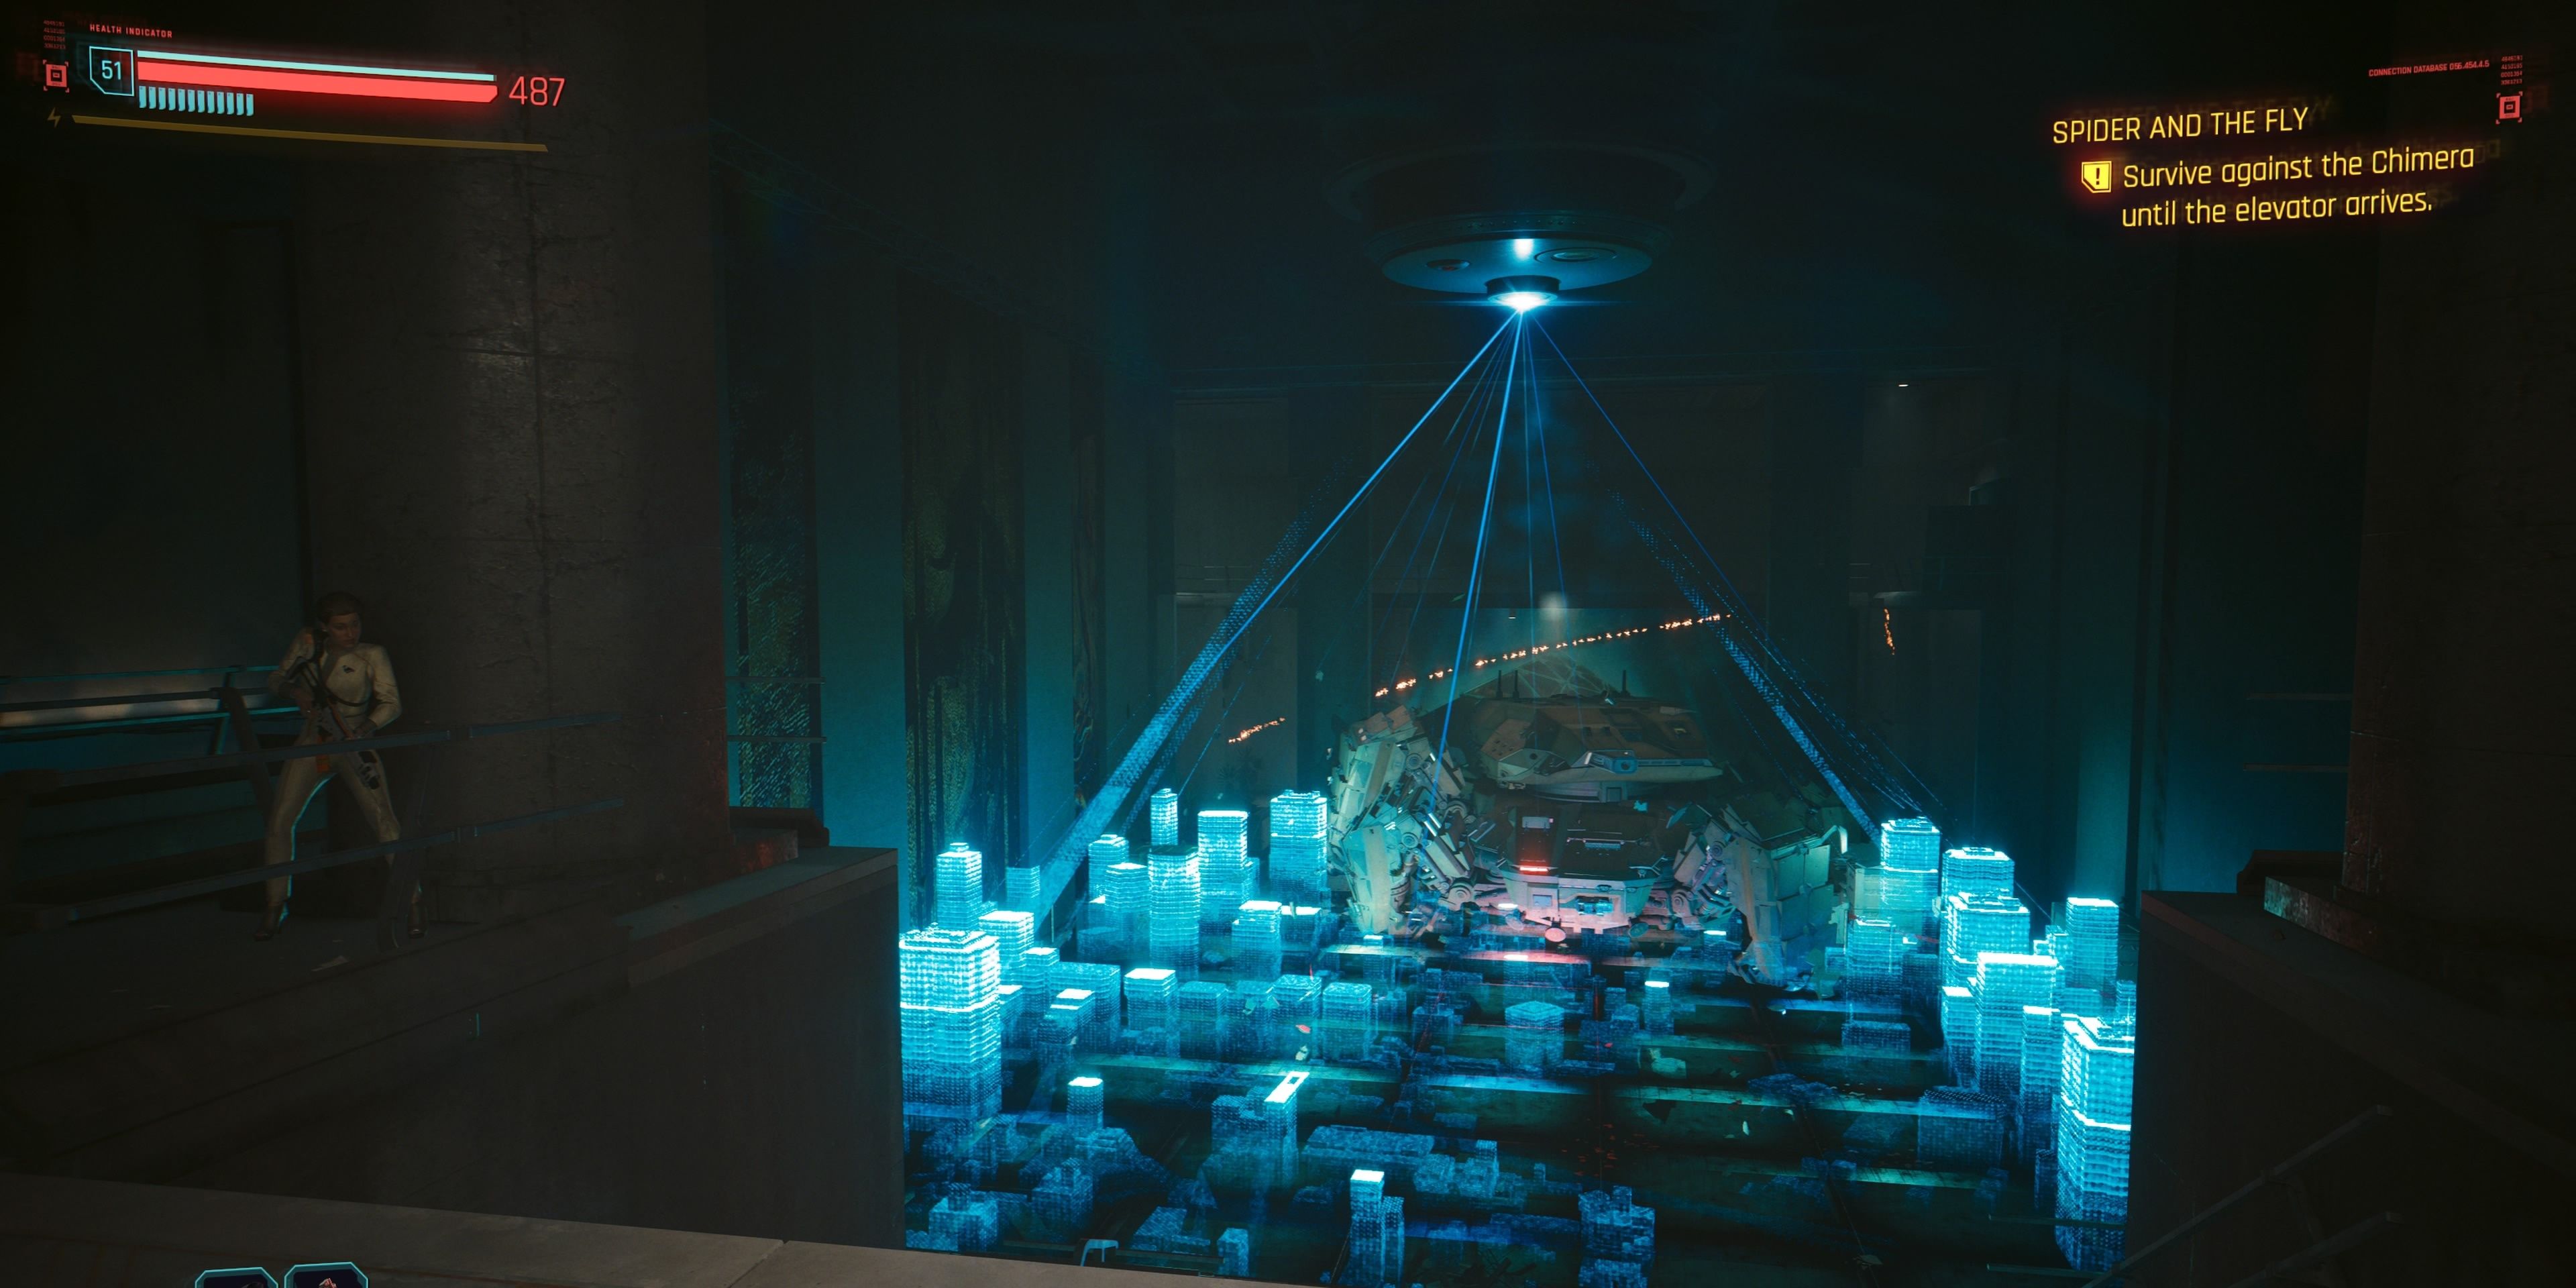
The next objective is to run to the elevator and call it, but during this, players need to Survive the Chimera and wait for the elevator. The best way to do this is to hide behind solid walls and dodge the incoming explosive damage and laser beams. Myers will call out when the elevator is accessible, but as soon as it is, try and head inside. Sadly, only Myers makes it to the elevator, and V is forced into some QTEs to survive the Chimera.
Defeat the Chimera
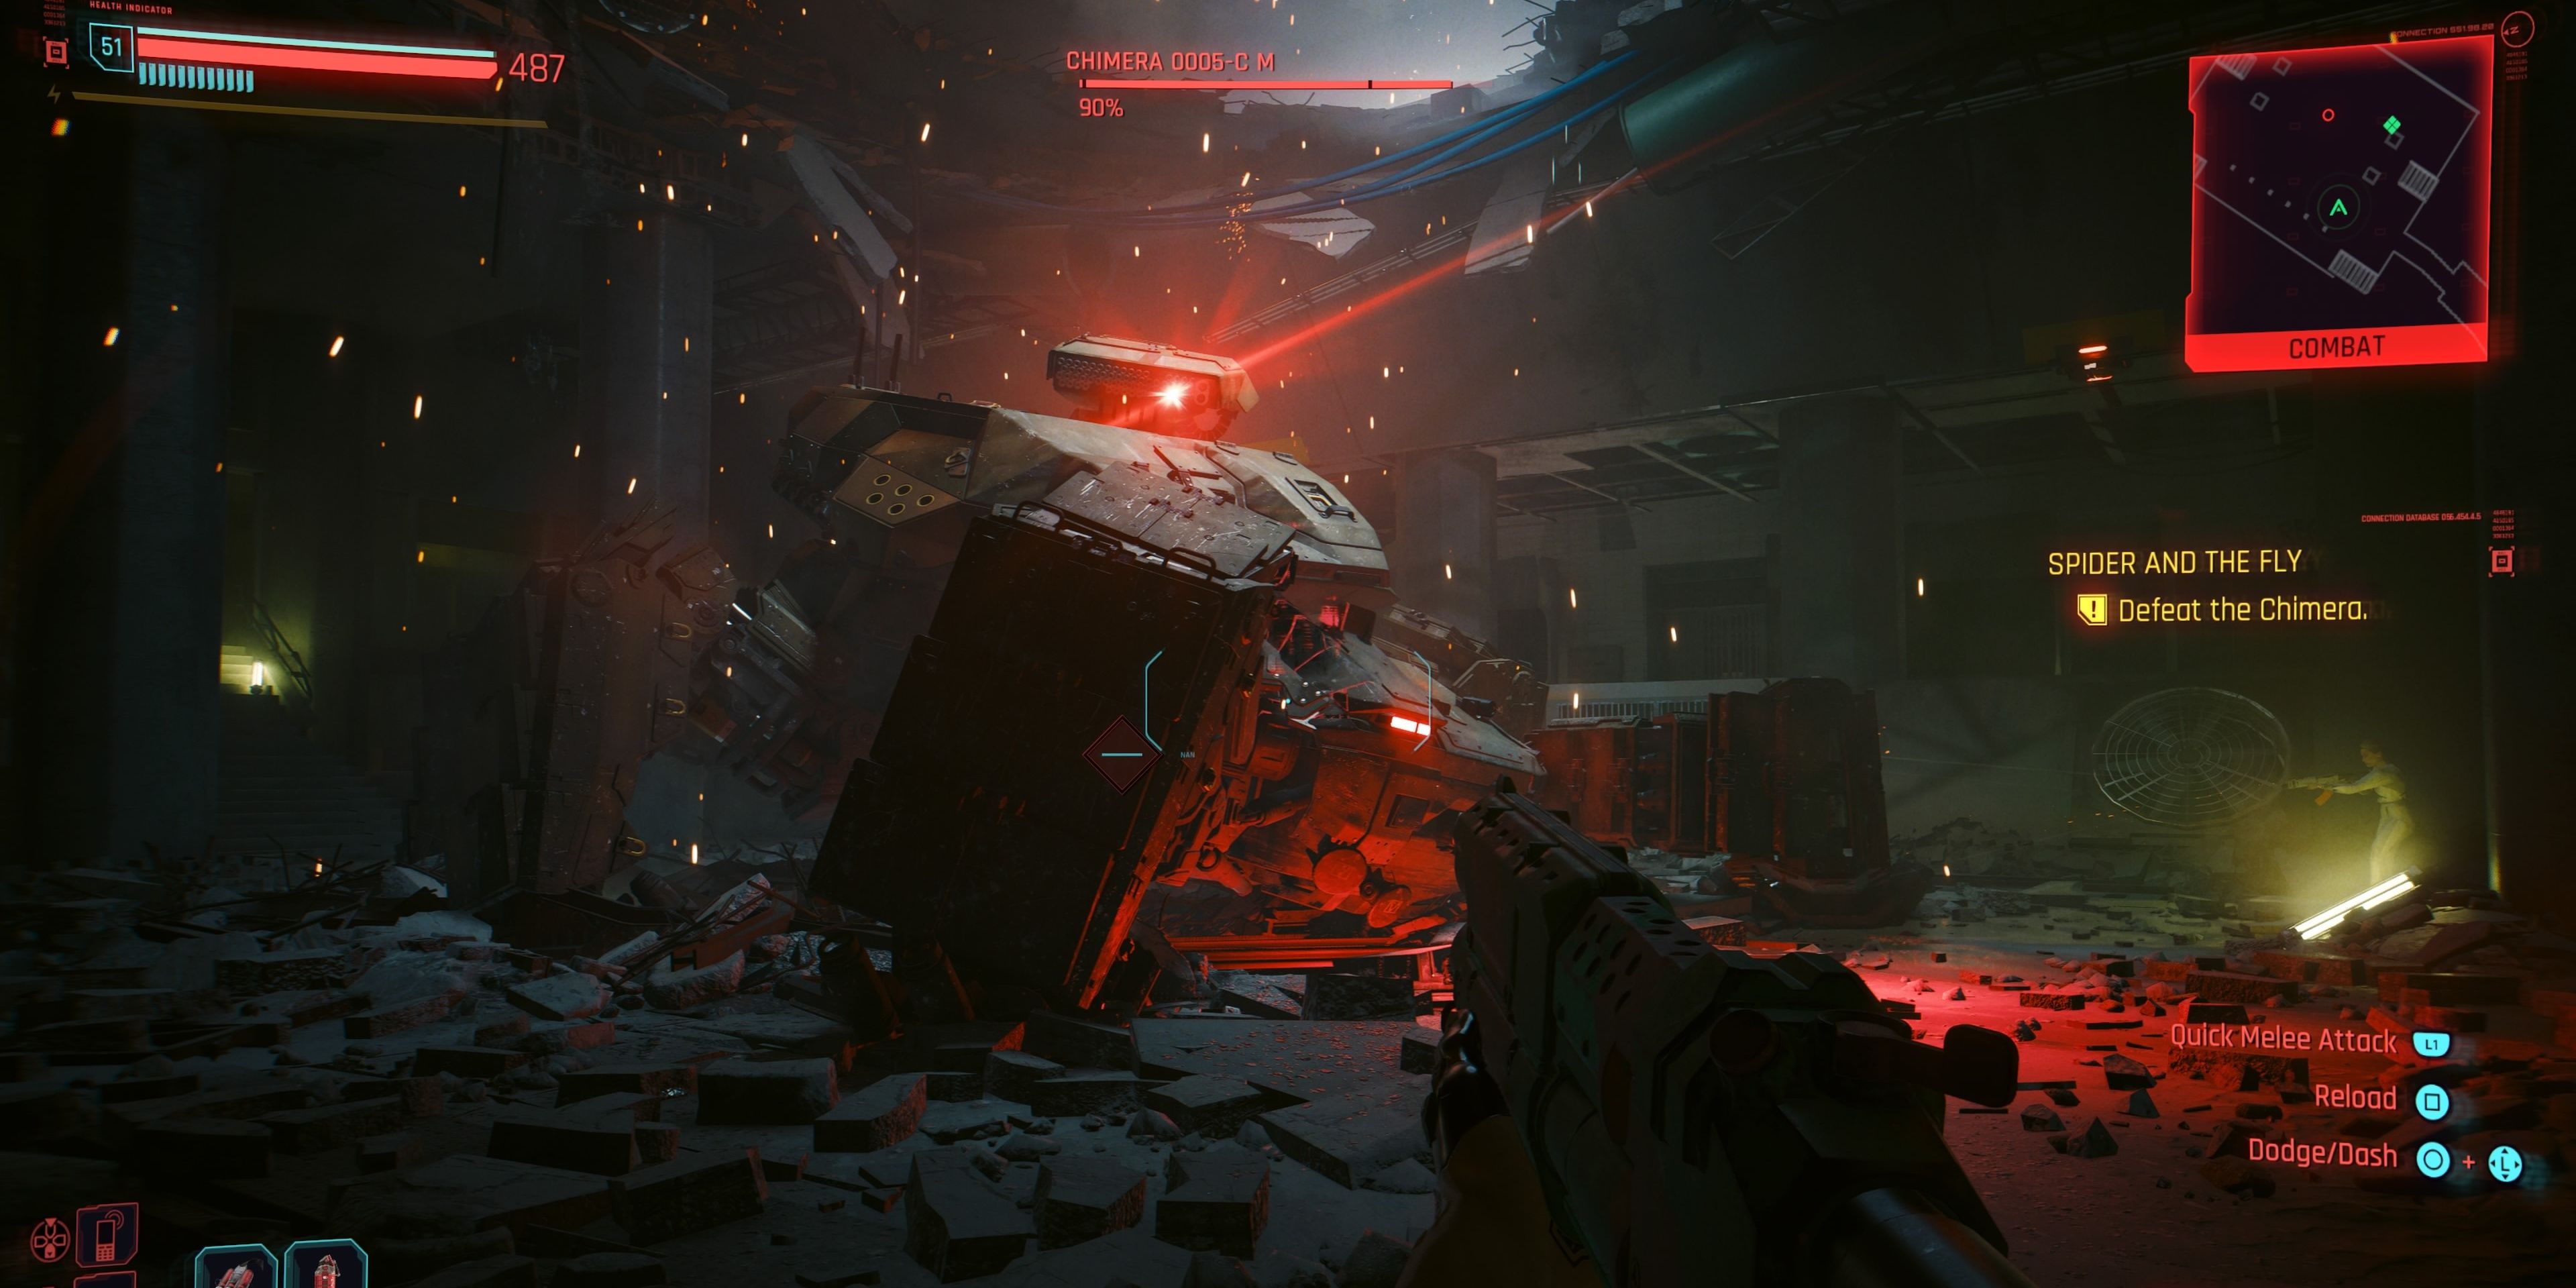
After the intense Quick-Time Events, players are tasked with defeating the Chimera. In order to defeat the Chimera in Cyberpunk 2077: Phantom Liberty, players are going to want to use this large room to their advantage. In each corner of the upper and lower floors, players can find plenty of ammo cases, as well as Heavy LMGs that can be lifted off of their mounts if the player has 10 Strength. The far right of the upper floor also has the Kyubi Power Assault Rifle.
Players need to target the weak points of the Chimera, which can be found by scanning it or using the Vulnerability Analytics Relic skill for extra damage. Each weak point can be fired upon until the Chimera reaches 75% health. At this point, every spot on the Chimera can be damaged, but it will summon some Repair Drones and Attack Drones that players will want to destroy as fast as possible.
The best way to fight the Chimera is to utilize dashes and jumps to avoid its steady stream of fire. Players should make sure they have competent healing items and plenty of ammo. At 50% health, the Chimera will summon a toxic gas cloud, so players will need to jump onto the upper floor until that cloud has dissipated.
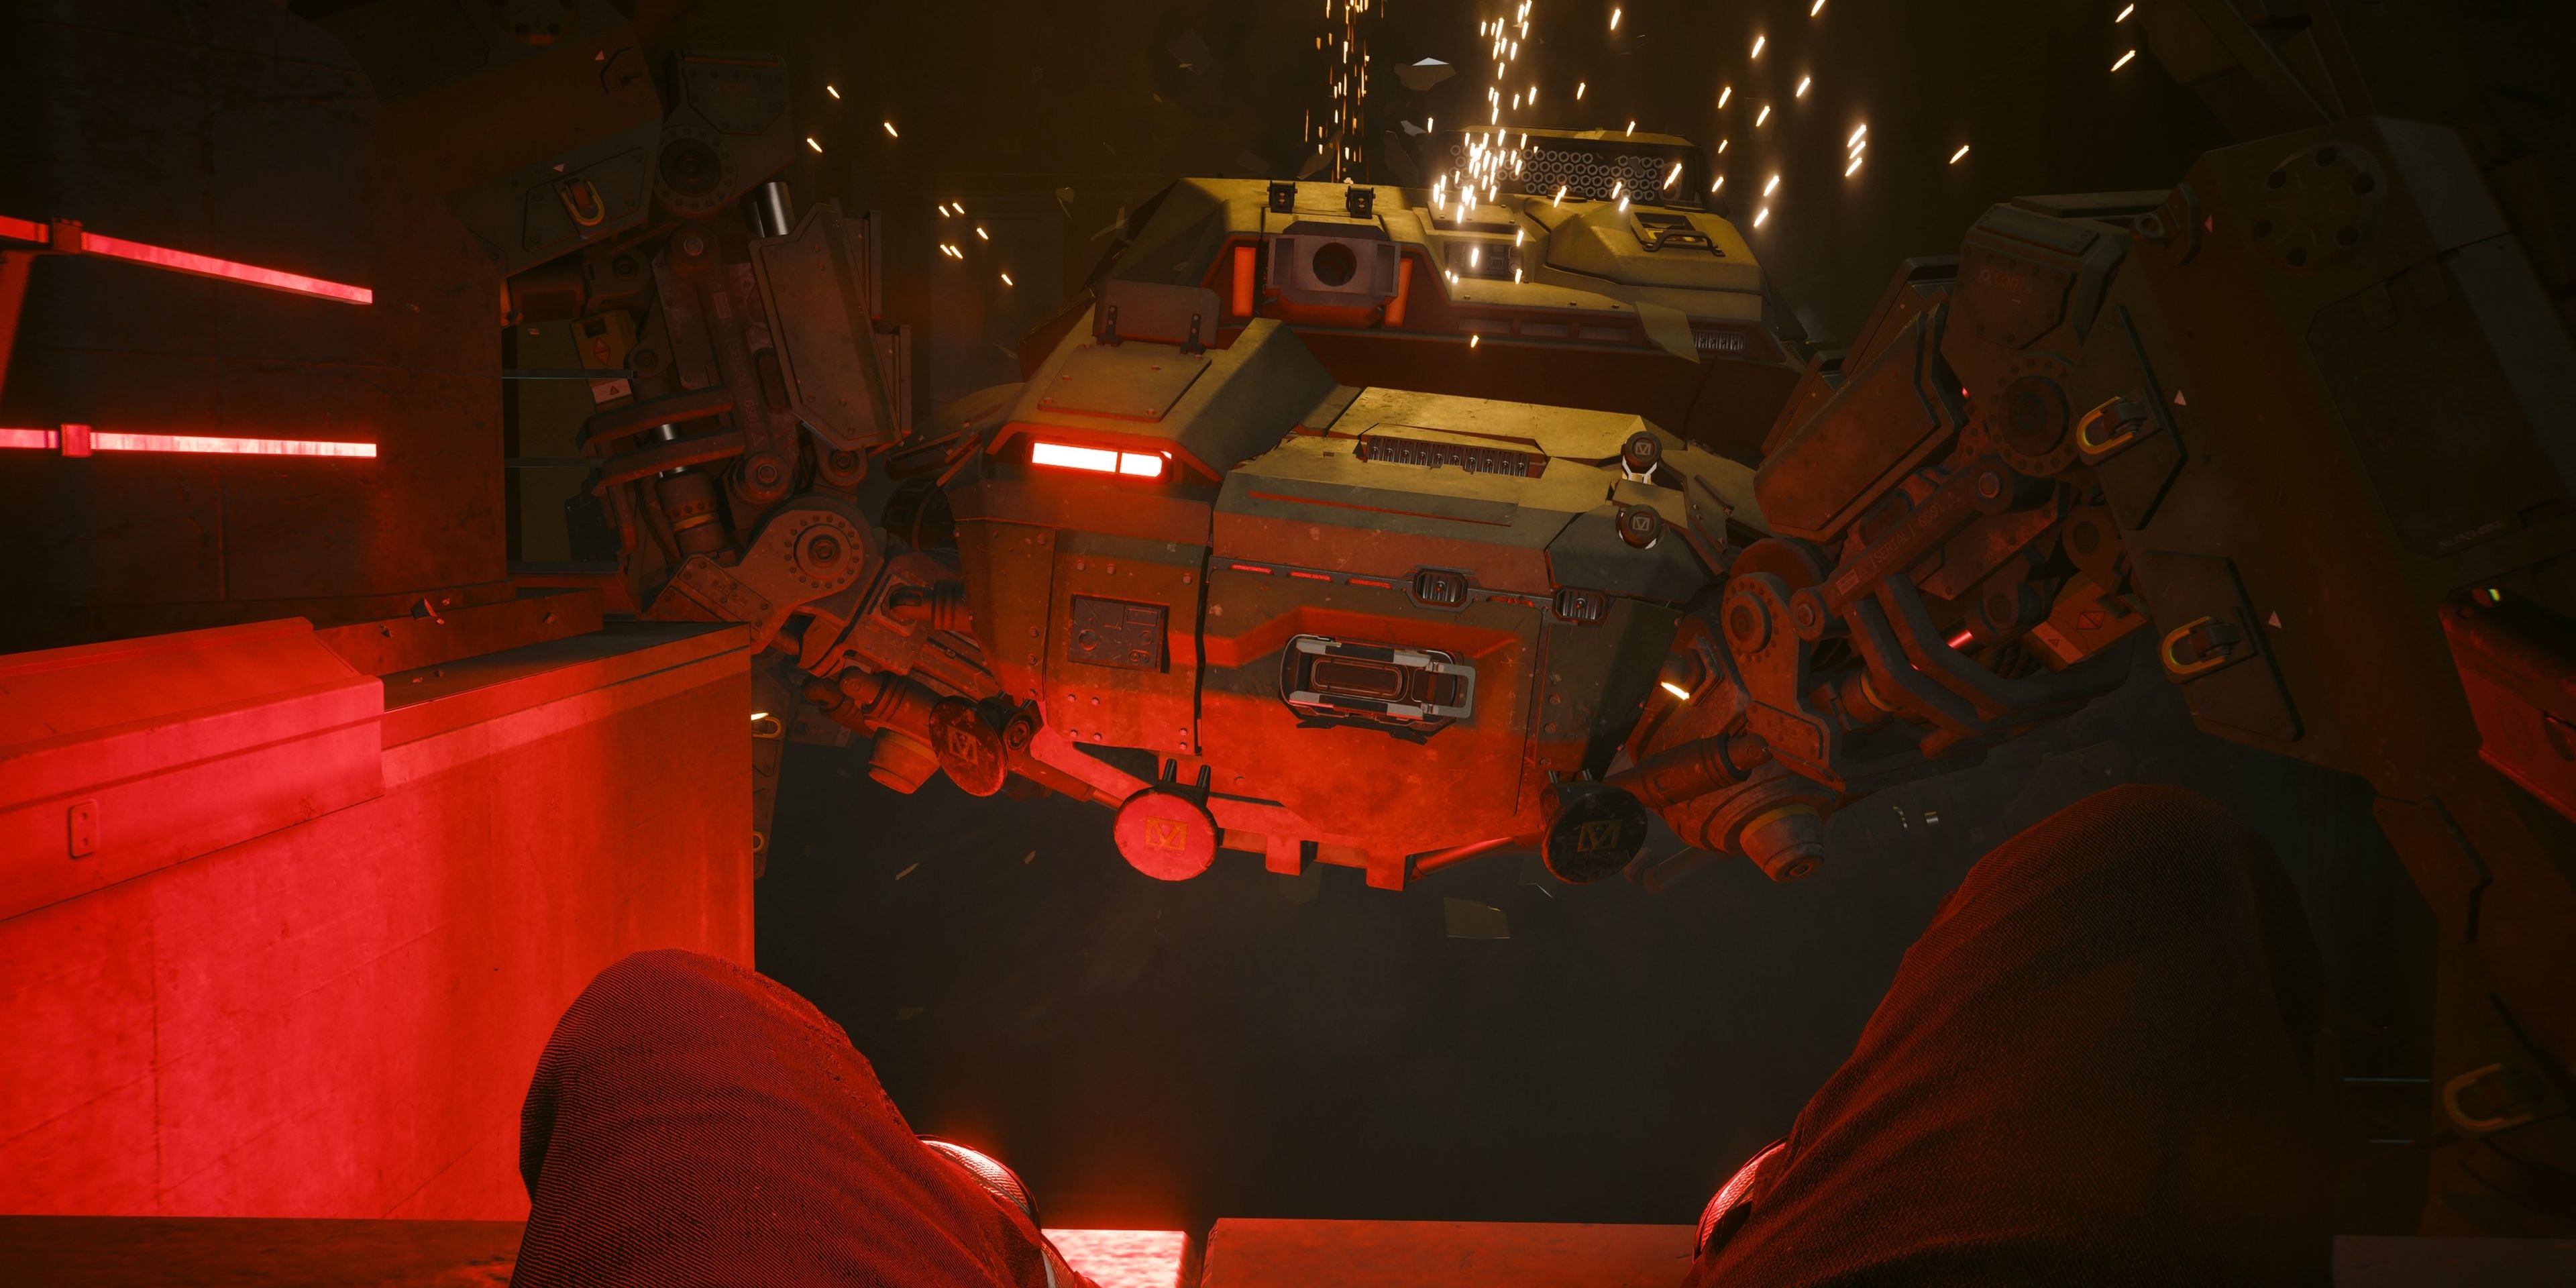
At 2% health, the Chimera will be defeated, but it’s not out of the fight yet. Players have a limited window of opportunity to jump onto the Chimera and remove the Chimera’s Core, replacing it with an active grenade to blow it up for good and end the battle, thus ending the Spider and the Fly quest, and players can take a quick breather before heading to the next quest.
Cyberpunk 2077: Phantom Liberty is available for PC, PS5, and Xbox Series X|S.

