Modern Warfare Zombies delivers a massive open-world zombies experience that provides some of the hardest challenges in the Call of Duty: Zombies franchise. Players will have to fight through three levels of danger, with each threat tier significantly more hazardous than the last.
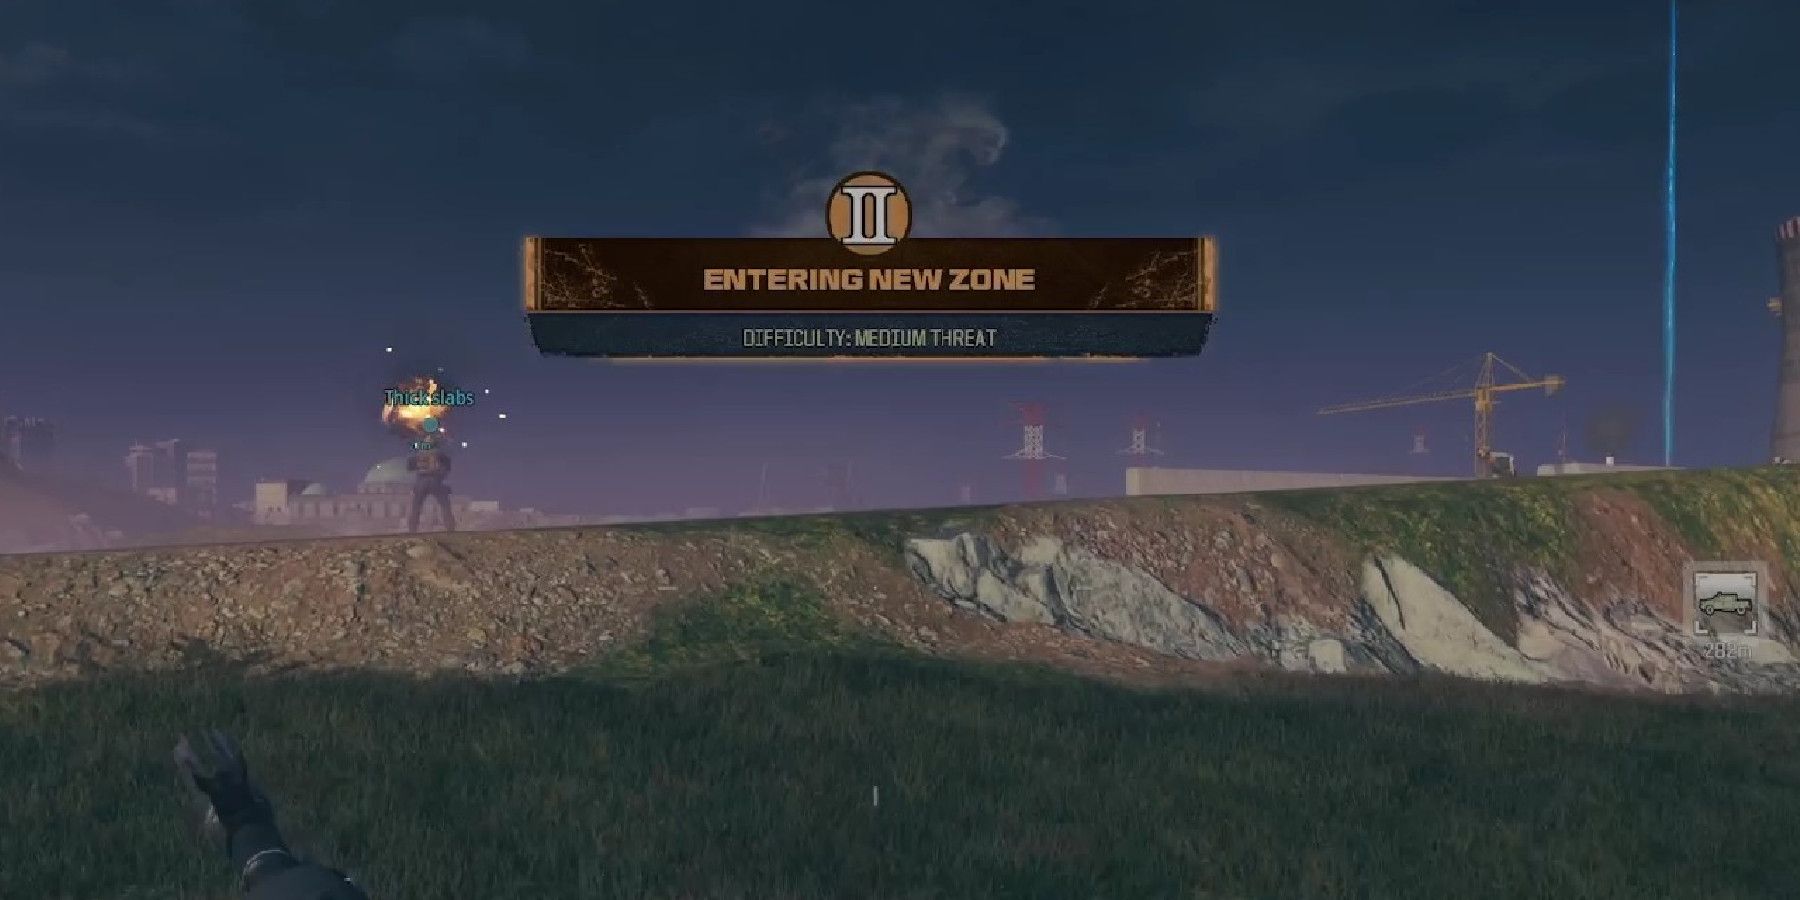
New players and veterans of Zombies alike are in for some awesome new treats and deadly challenges, but be warned, as the higher-threat areas of Urzikstan are not to be taken lightly. Players should gear up in the low threat tier, or in the pre-game lobby with mission rewarded perks and other rewards, before heading into these more difficult regions - here's what players can expect in Modern Warfare Zombies' Tier II and Tier II Threat Zones.
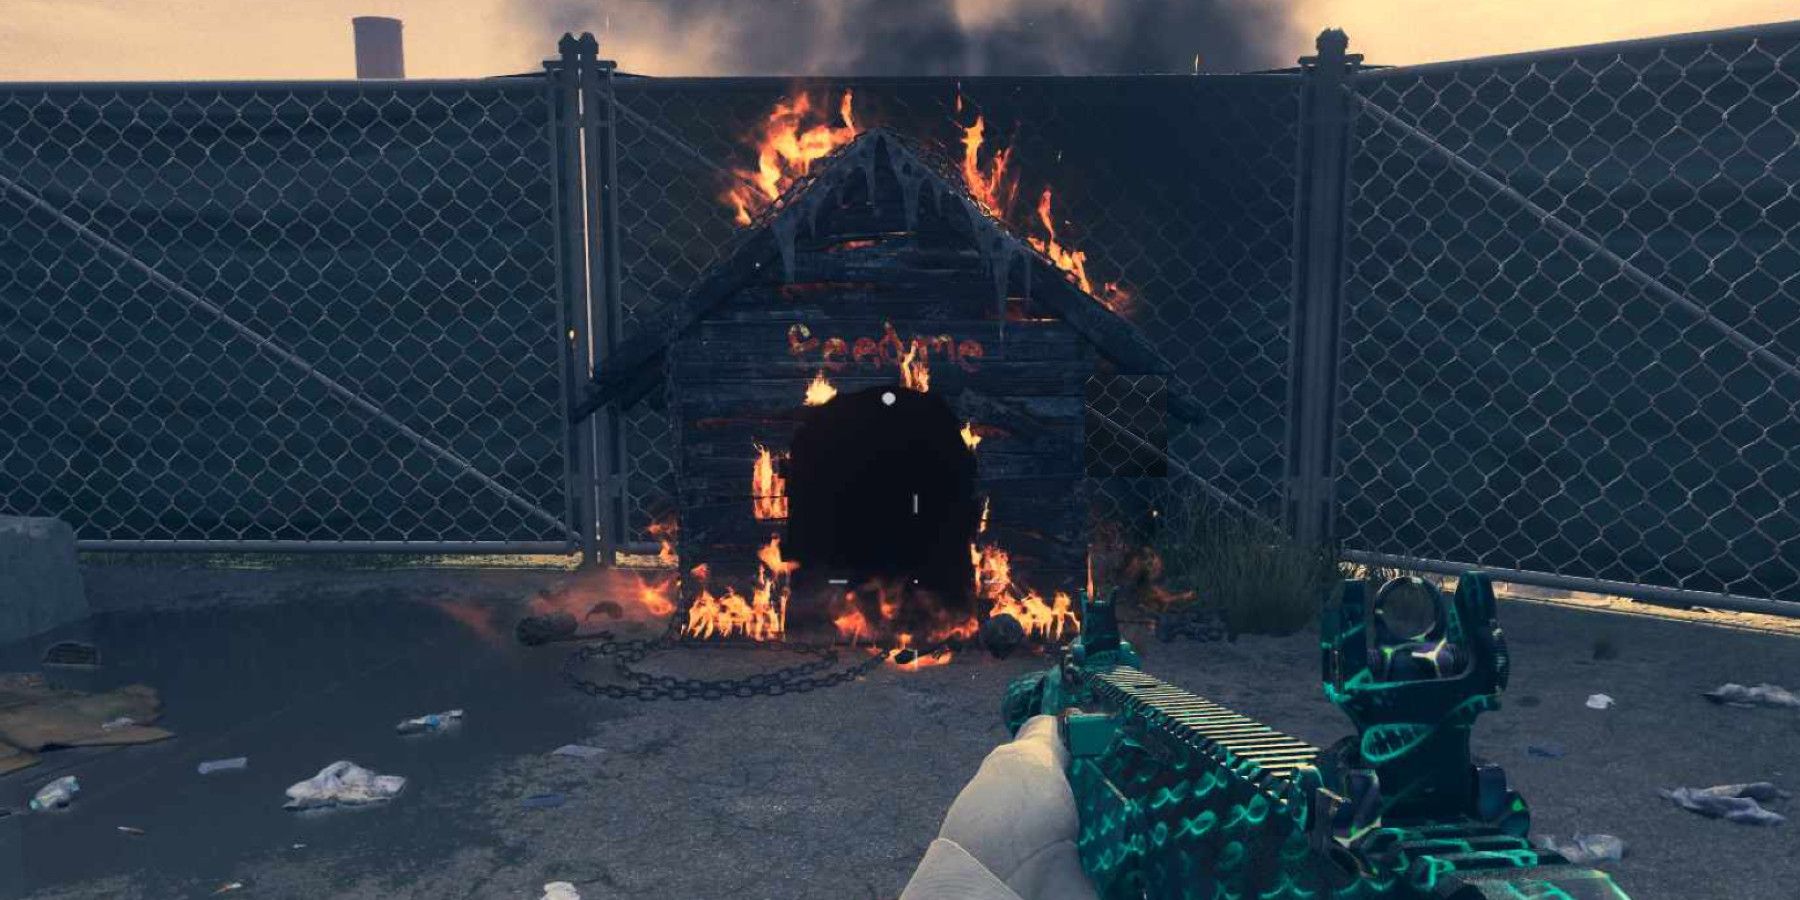
Modern Warfare Zombies - How to Pet a Dog in Zombies (You Can Pet The Dog Secret Achievement/Trophy)
Unlock Call of Duty: Modern Warfare 3's secret achievement/trophy and earn a loyal friend to temporarily aid you in Modern Warfare Zombies.
Tier II
Before entering the Medium Threat Zone, players will want to have Pack-a-Punch Level I and upgrade weapon rarity to at least Uncommon rarity (Green). If players do not have an Uncommon Aether Tool and Raw Aetherium Crystal acquisition or schematic to deploy with, consider completing the contracts nearby at spawn - quickly knock out a few contracts in the Low Threat Zone to receive a few Reward Rifts that can award the required tools or crystals.
Pro Tip: Even if players deploy with Raw Aetherium Crystals or Uncommon/Rare Aether Tools acquisitions, running at least two contracts in the Tier I Threat Area is wise. Not only will players be able to quickly and easily decimate these contracts with an uncommon or rare Pack-a-Punched weapon to bank some bonus essence, but players will also have a high chance of finding a replacement crystal or tool that can be used in the following deployment to guarantee players can start with a boost to their equipped loadout in every game.
Players will want to have a bare minimum of one perk - Stamin-Up. If players do not have an acquisition of the soda can to bring into the game and cannot find the perk in the low-threat area, players should acquire a vehicle and head straight to the Stamin-Up machine in the Tier II area. While rare, players will encounter super-sprinter Zombies (colloquially known in the Zombies community as the Verrückt Sprinters - debuting briefly back in the Verrückt Zombies map, released in Call of Duty: World at War's Map Pack 1) that will run faster than players. Without Stamin-Up, players will be forced to stand their ground in worst-case scenarios, as these zombies ultimately cannot be outrun without the perk and will need to be eliminated before they can get close to players.
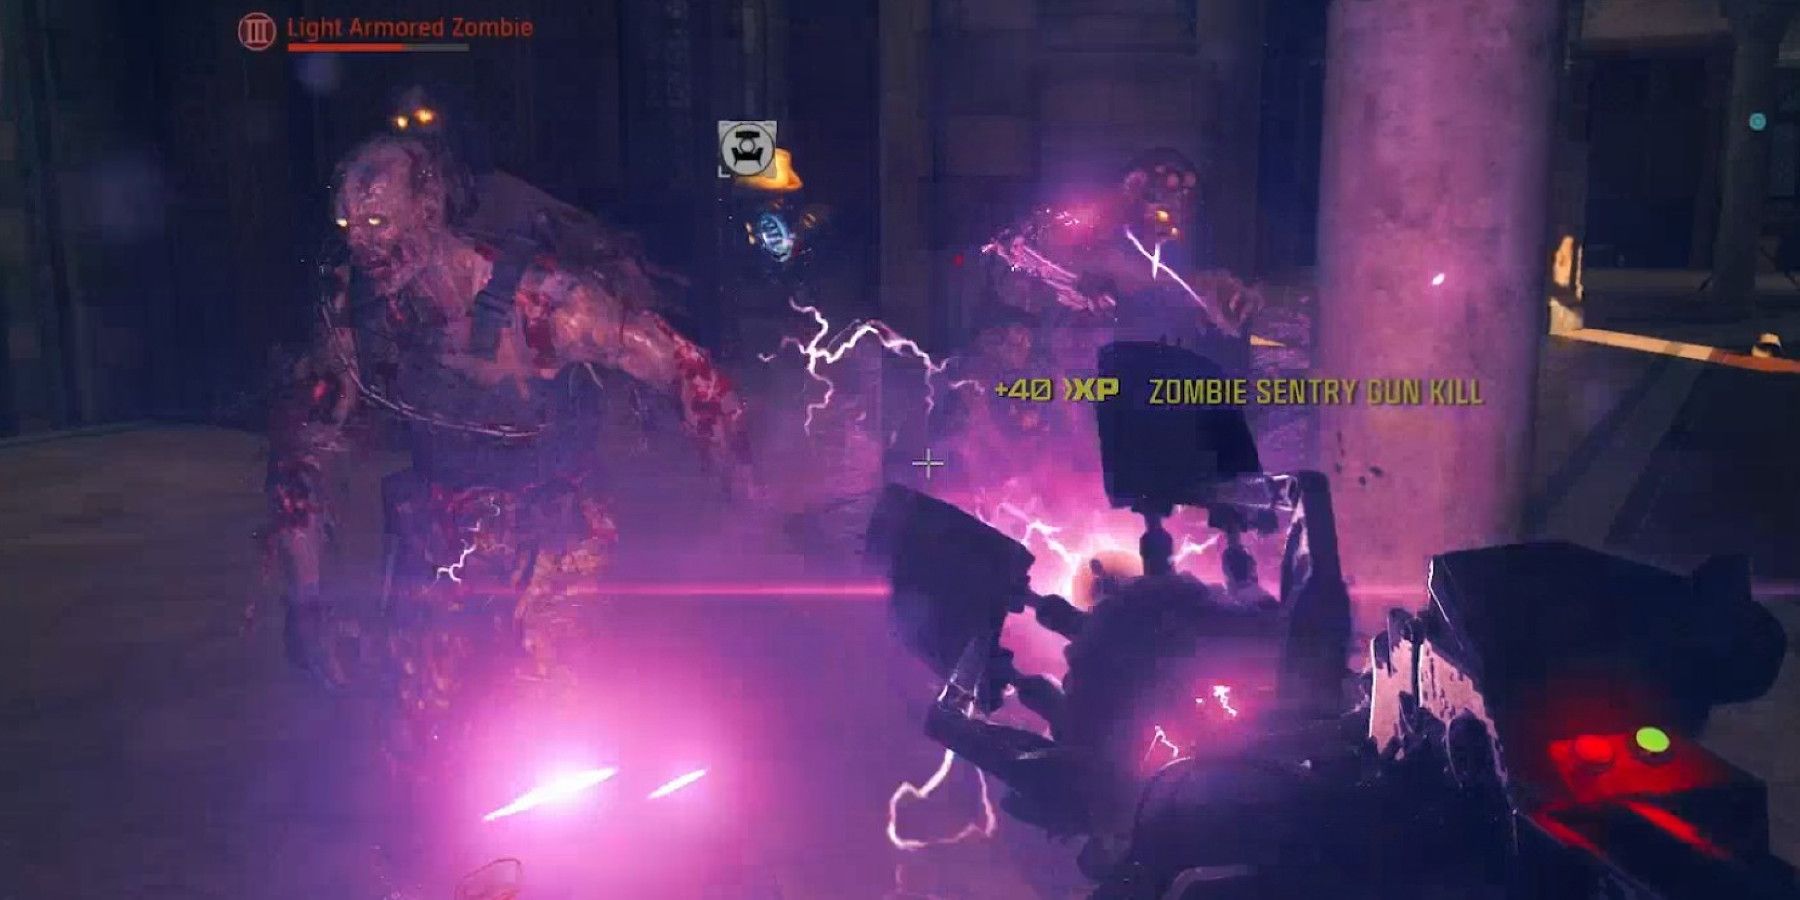
Players will also begin encountering Armored Zombies in Tier II. While players can deal with armored foes by simply obliterating them with a Pack-a-Punched shotgun (the Riveter is highly recommended) or an explosive launcher, players will find most of the ammo mods that can be equipped are incredibly effective at dealing with the armored fiends. While Brain Rot and Shatter Blast are the most effective against armored Zs, being able to either turn the armored zombies into friendlies or to cause an explosion big enough to shatter all armor plates, Deadwire can also be effective at temporarily stunning groups of enemies and can even damage armored zombies through their armor.
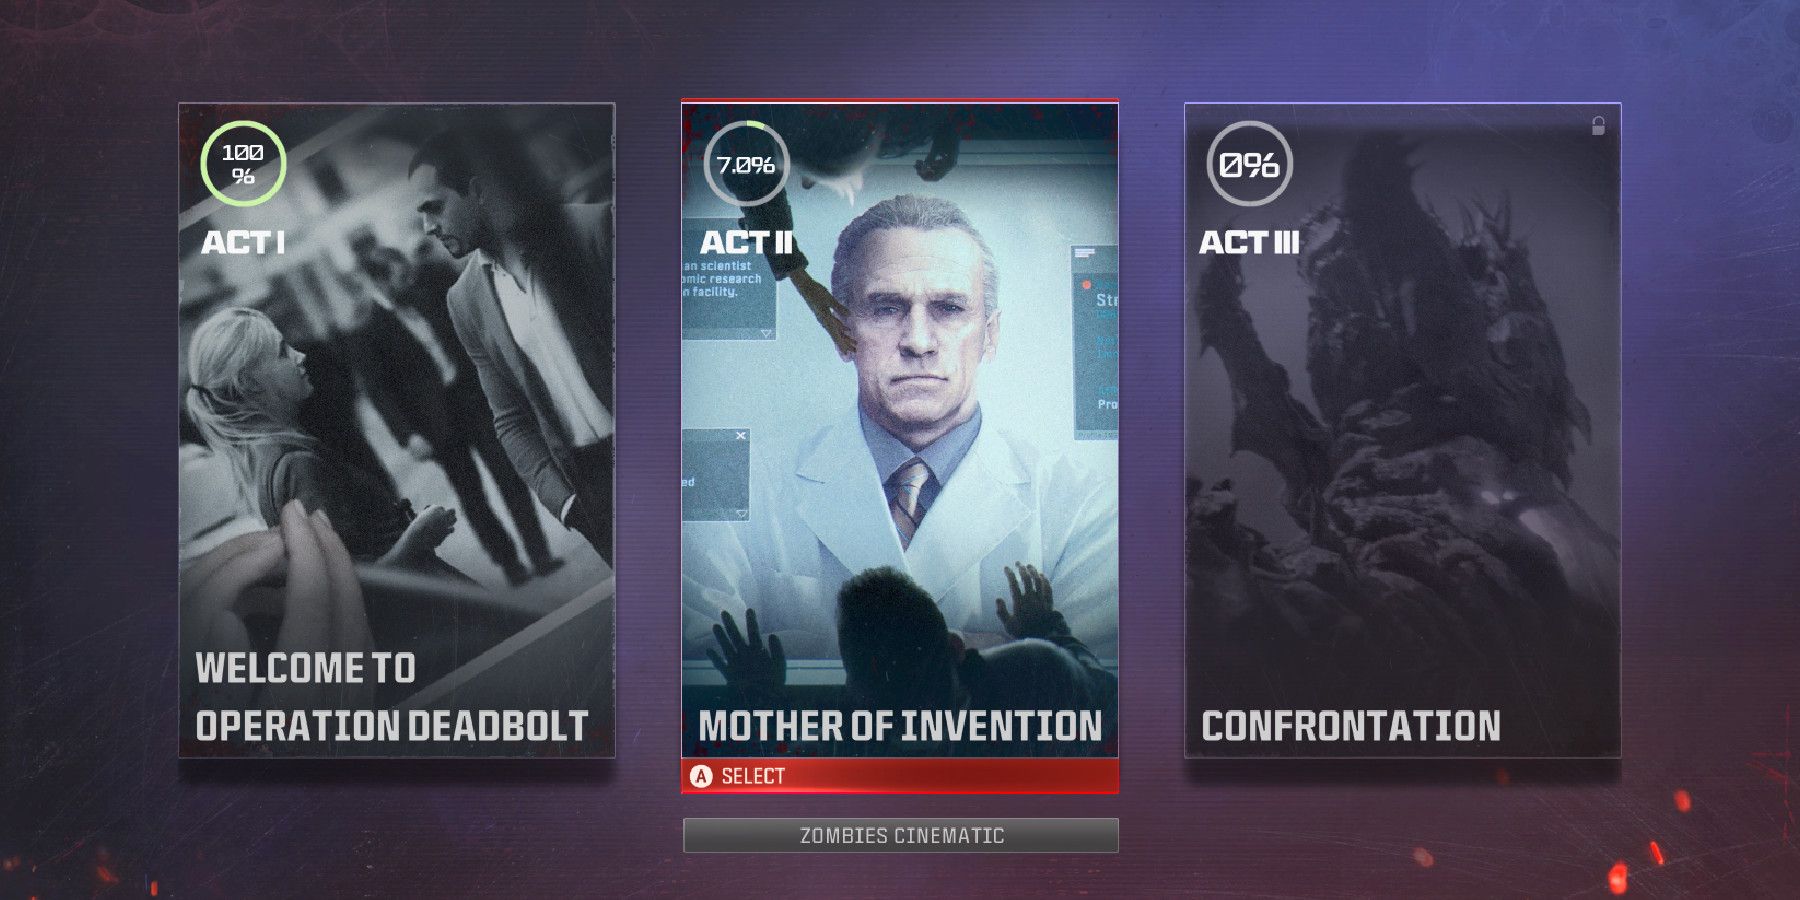
Modern Warfare 3 Zombies: Act 2 - Mother of Invention Mission List (And All Mission Rewards)
A detailed list of every mission and reward in the second act of Call of Duty: Modern Warfare 3 Zombies, Mother of Invention.
Tier III
Once players enter the High Threat Zone, be prepared for maximum aggression from the zombies and minibosses in the area. There are very few contracts available in this area, primarily escort or bounty tasks that will see players fight through Mega Abominations to earn rewards. While the challenges skyrocket, the rewards players can find from tier three rewards rifts include the Ray Gun Schematic, which will allow players to repeatedly use the Ray Gun every 48 hours.
Before entering the High Threat Zone, players have to reach Pack-a-Punch level II on at least one weapon. Weapons should be at epic or higher rarity, and players should have several active perks, especially Jugger-Nog, Stamin-Up, and Quick Revive.
Death Perception is also an incredibly useful perk in the Tier III Threat Area - providing players sight through walls and other obstacles, giving foresight of enemy positions, loot caches, and ammo/armor plate drops. Players should also consider having the Brain Rot ammo mod on a weapon, if not both. Having an extra ally in the High Threat Zone to help manage the zombie crowd and to provide a distraction that can give players a moment to plate up or reload can be a huge advantage.
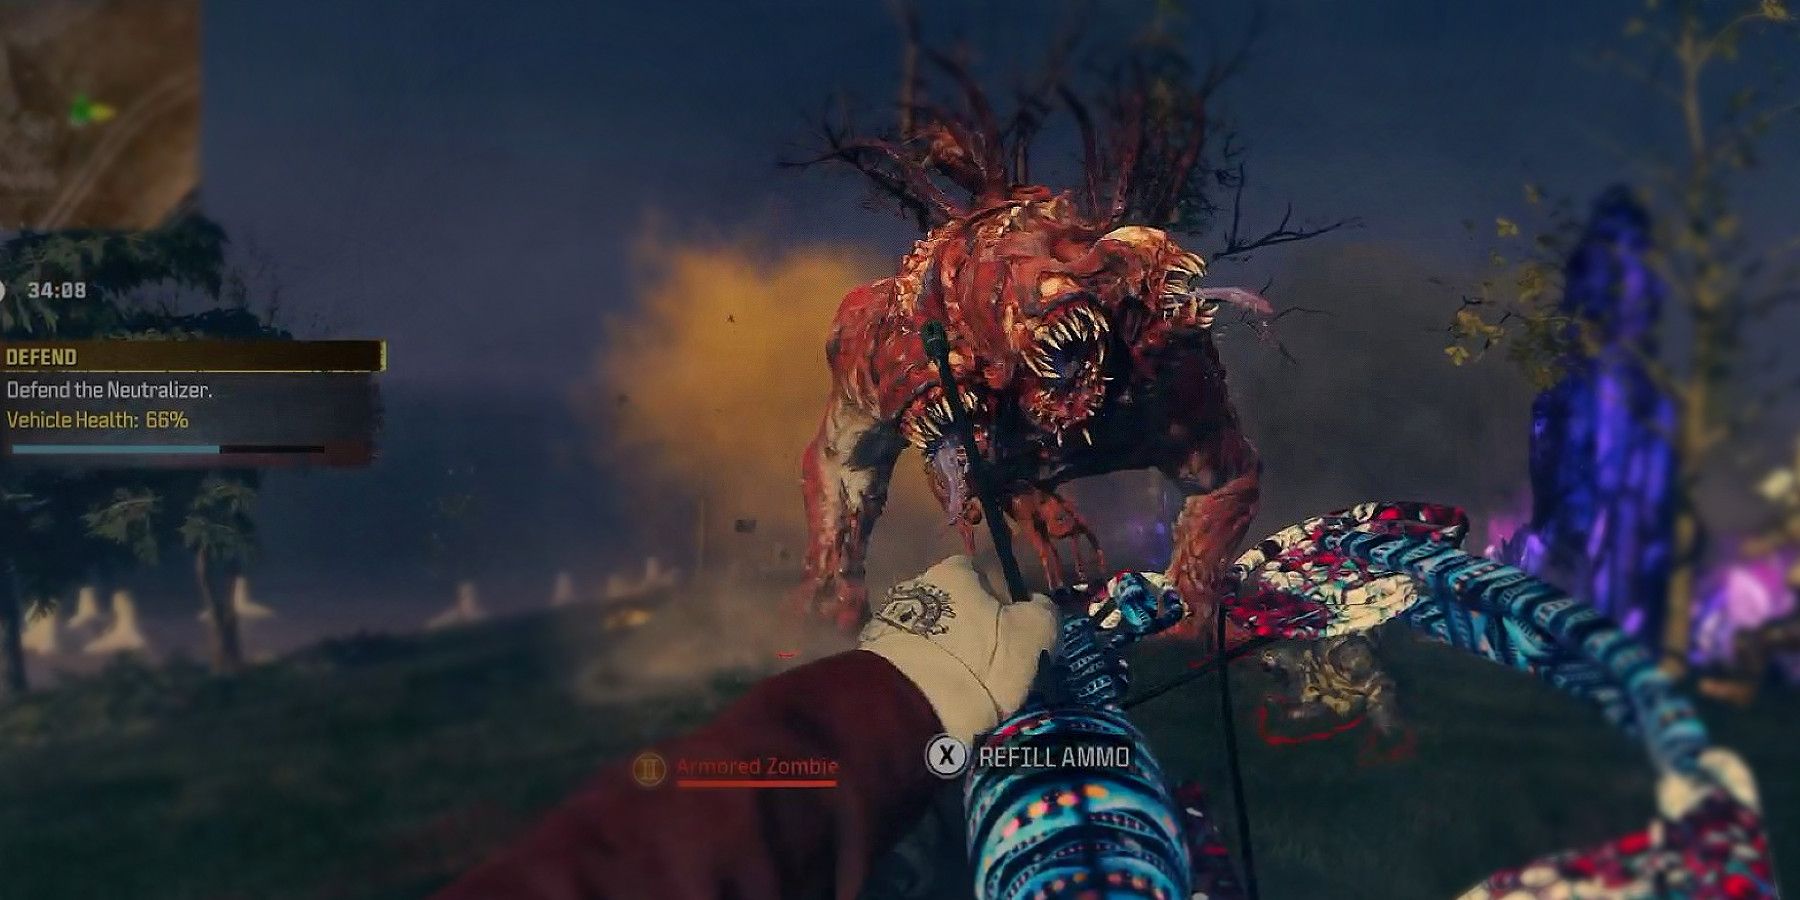
Modern Warfare Zombies: Shepherd Mission Walkthrough (How To Deploy To Neutralizer Test Area)
Defend the Neutralizer and survive the Mega Abomination in the second story mission of Modern Warfare Zombies, Shepherd.
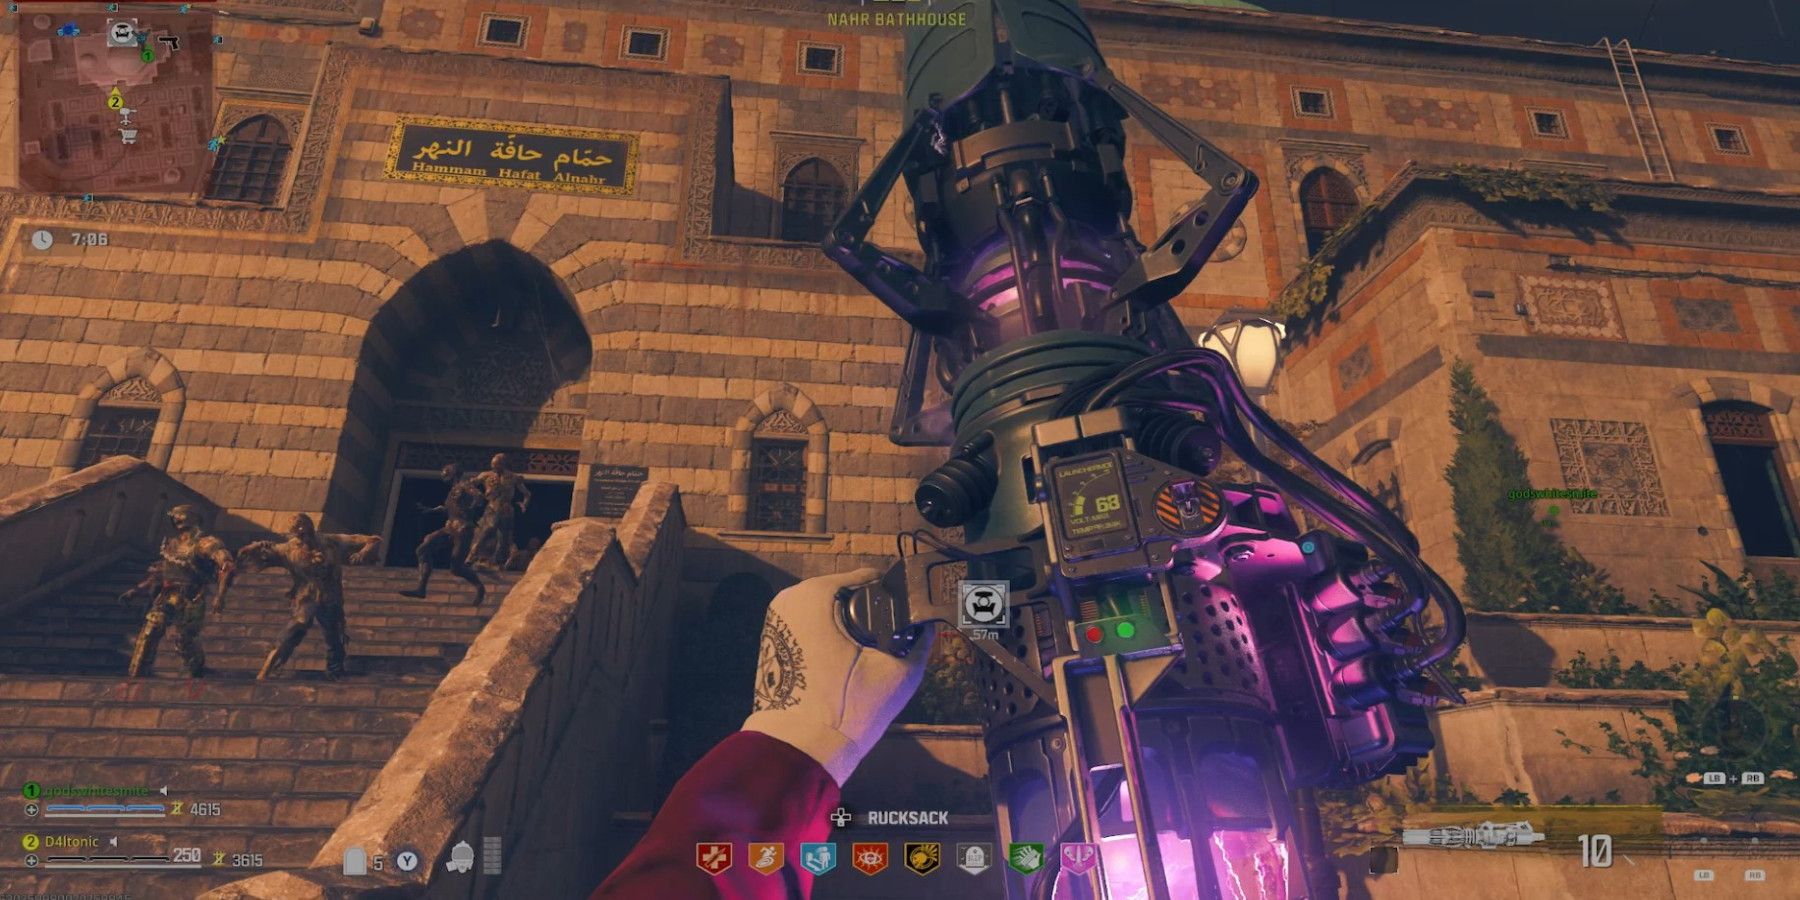
Players will also find the Wonder Weapons in the game to be incredibly useful when navigating the most dangerous part of the map. In addition to the massive amount of damage these weapons can output, some of the special features of the weapons, like the rocket jump ability of the Scorcher, can give players additional tools to keep the Tier III horde at bay and navigate efficiently through the High Threat Zone.
If players plan to operate in the High Threat Area for long, working on contracts or fighting the Abominations, players should definitely upgrade their weapon to Pack-a-Punch level III as soon as enough essence is available.

Call Of Duty: Modern Warfare 3 (2023)
- Franchise
- Call of Duty , Call of Duty: Modern Warfare
- Platform(s)
- PC , PS5 , Xbox Series X , Xbox Series S , PS4 , Xbox One
- Released
- November 10, 2023
- Developer(s)
- Sledgehammer Games
- Genre(s)
- First-Person Shooter

