Quick Links
Despite the dangers around every corner, Jacob has been able to hold his own so far in Black Iron Prison. Of course, the second chapter was mostly a tutorial and Black Iron Prison still has much in store for players. The third chapter of The Callisto Protocol, Aftermath, is significantly longer than the previous chapters.
Since the tutorials are mostly over at this point in the game, players can expect to encounter greater numbers of Biophages. If players are able to avoid enemy attacks as much as possible and thoroughly search each area for supplies, they will have no trouble making it through the next chapter.
This walkthrough contains spoilers, so players should proceed with caution.
Another Hologram
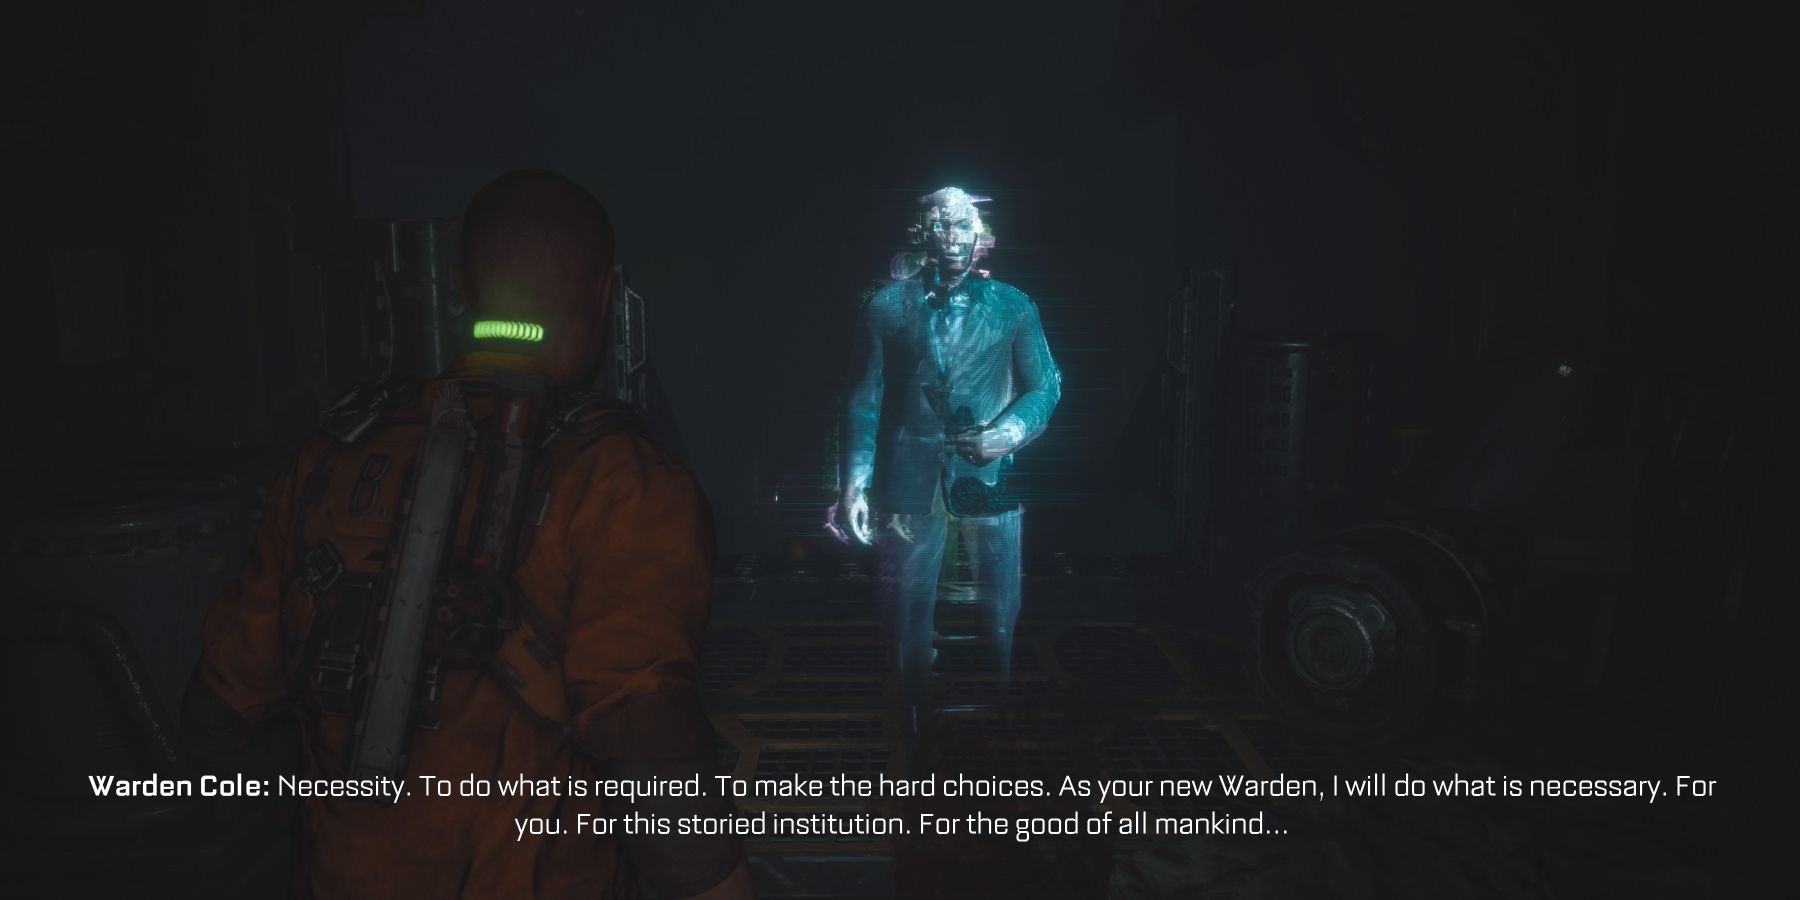
As the third chapter of The Callisto Protocol begins, players will be greeted by yet another pre-recorded hologram message from the Warden. There is also a malfunctioning Security Unit in this area as well, but it is not a threat. When opening the nearby door, a Biophage will attack. After killing it and moving into the next room, a cutscene will play as Jacob meets up with Elias. Before following Elias, make sure to loot the lockers as they contain Credits.
The First Reforge Station
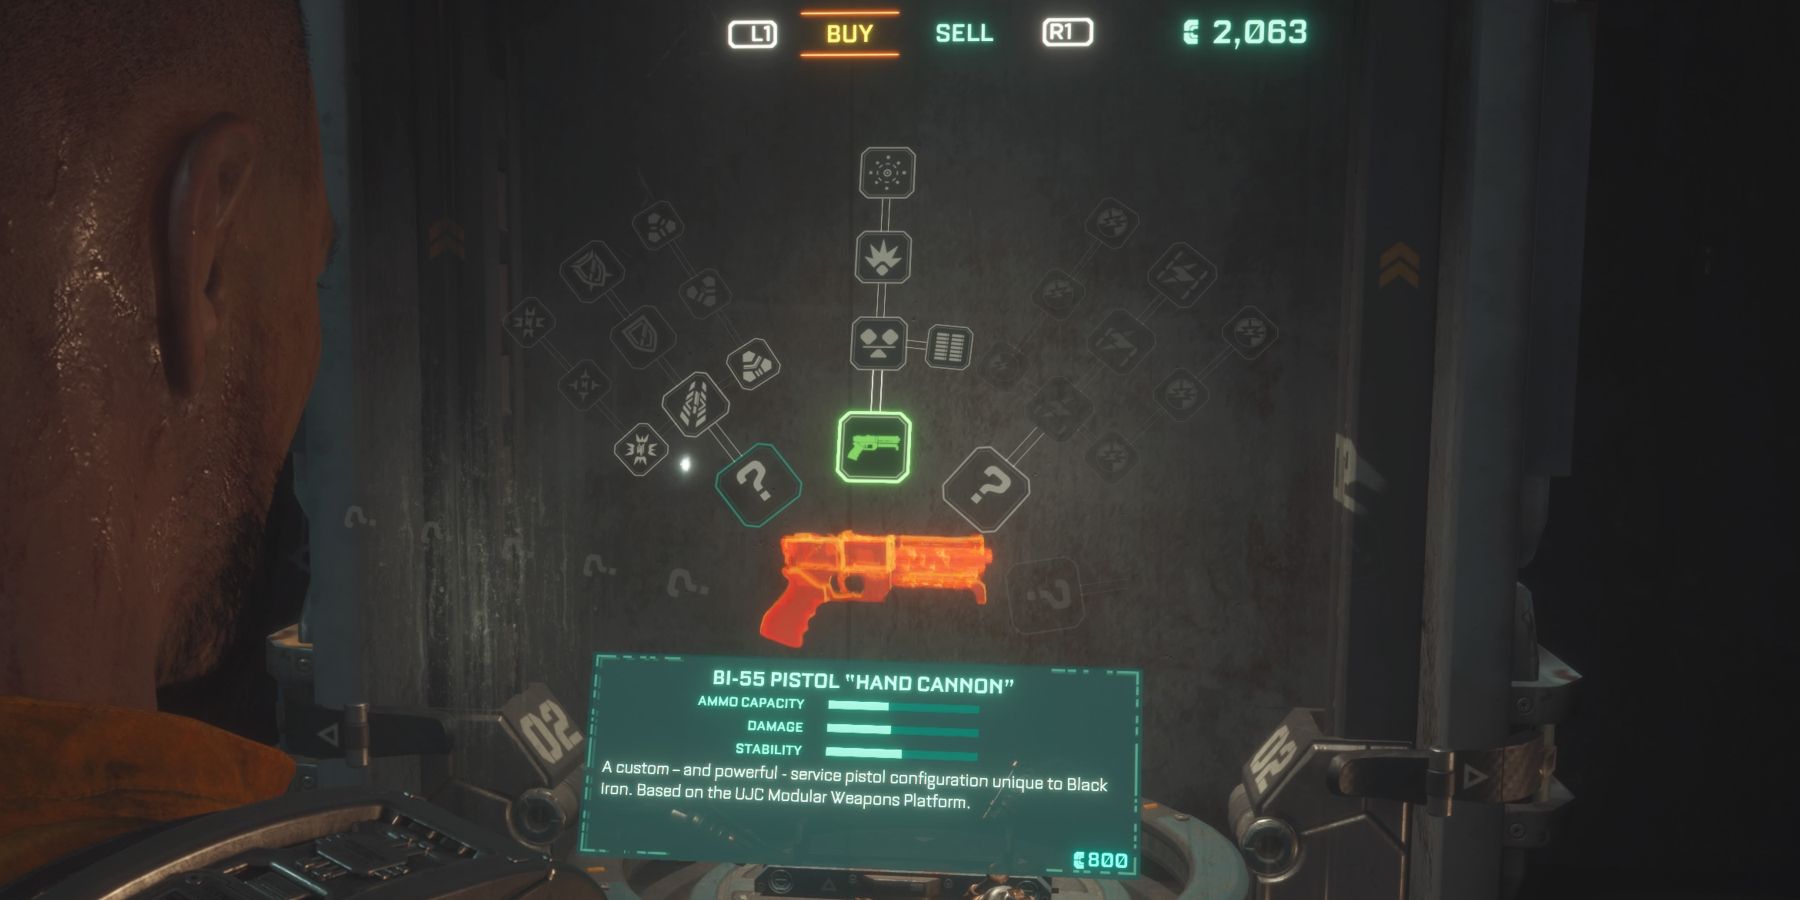
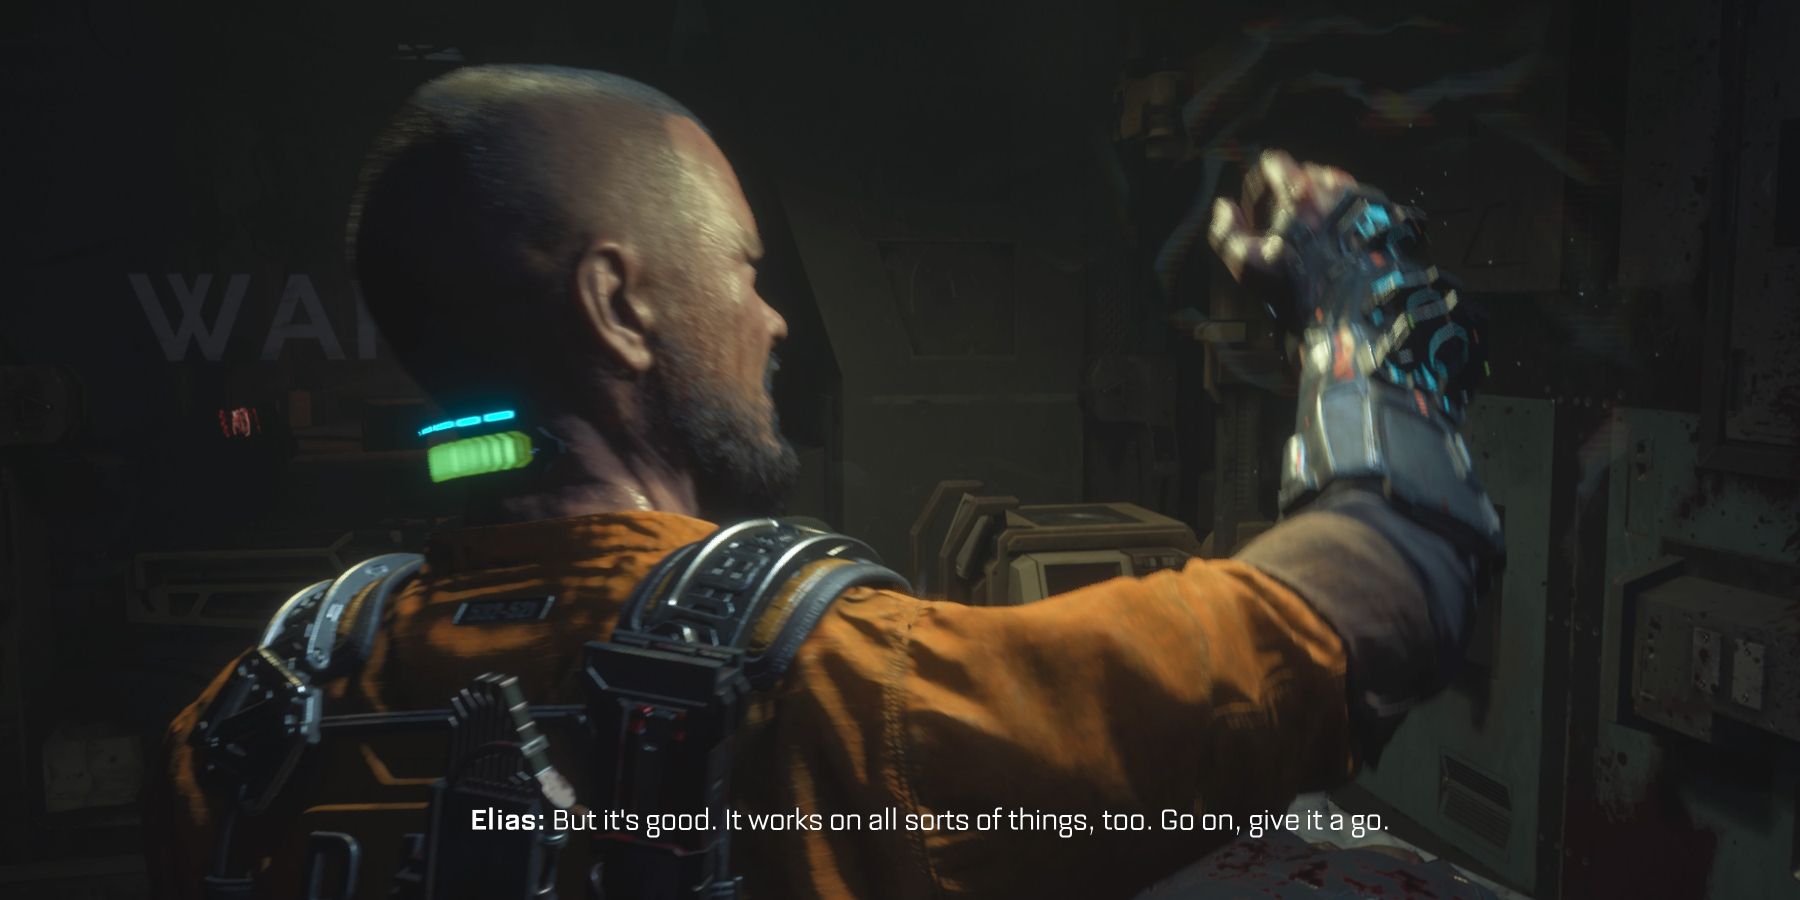
In the next room is the first Reforge station in Callisto Protocol. This station is essentially a 3D printer that allows players to upgrade their weapons along with crafting ammo and Health Injectors. It is recommended to upgrade the Stun Baton, as the upgrades for it are very helpful later on.
Onward to Medical
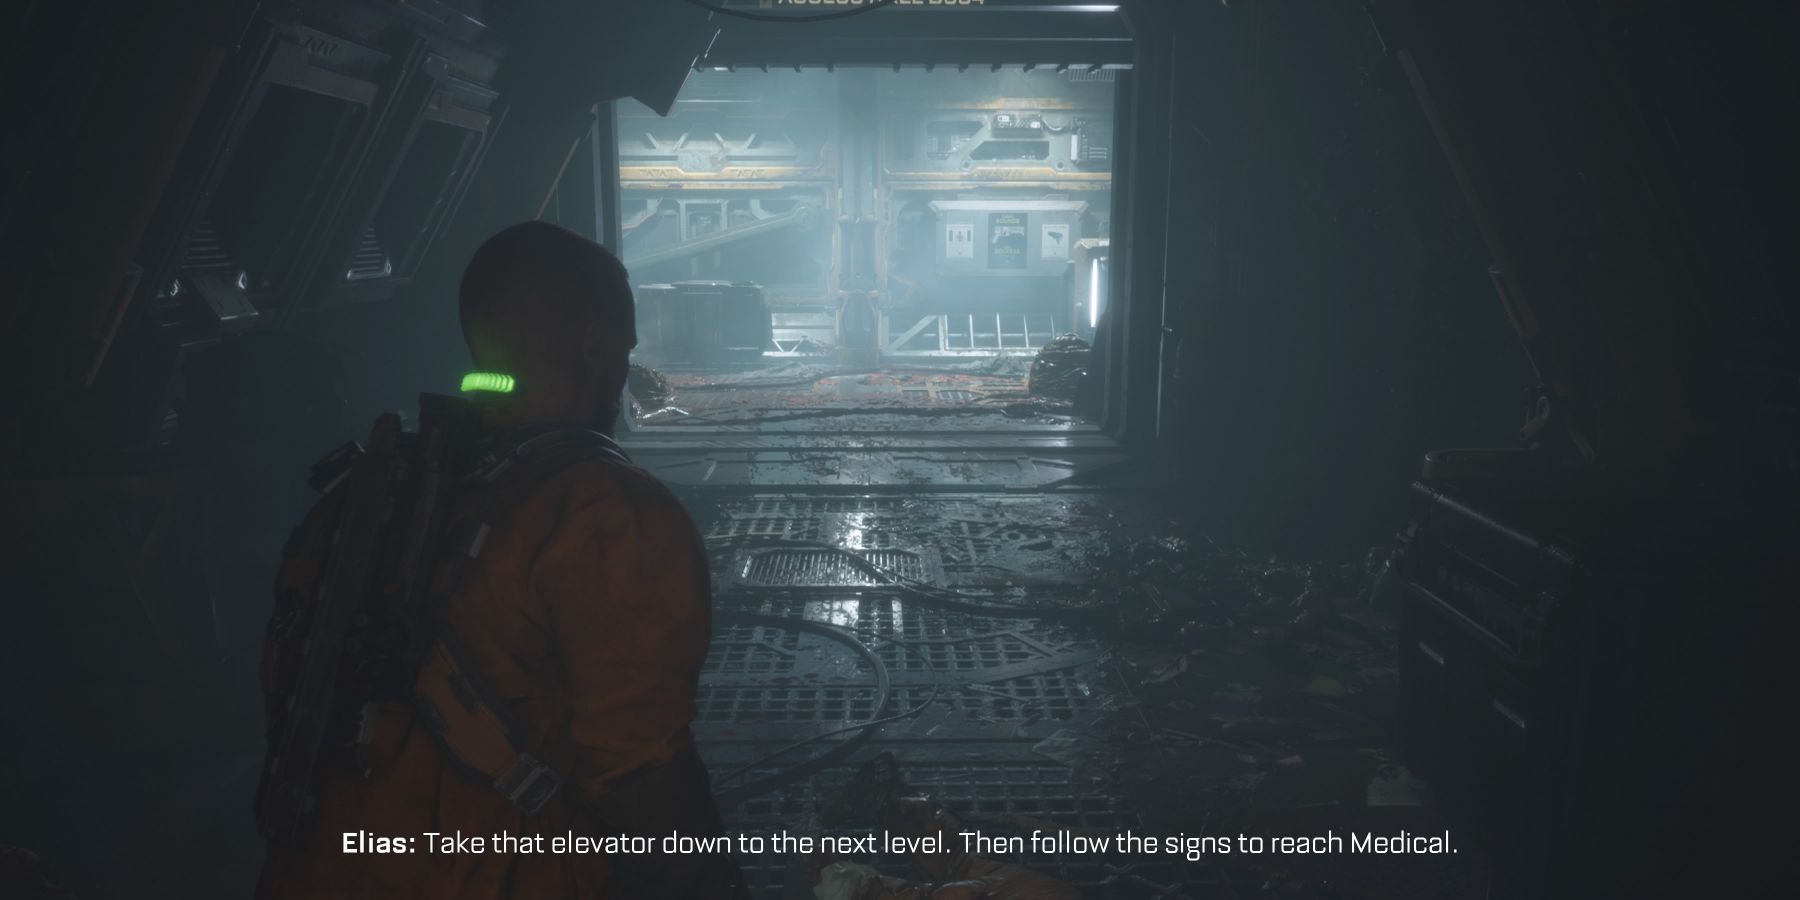
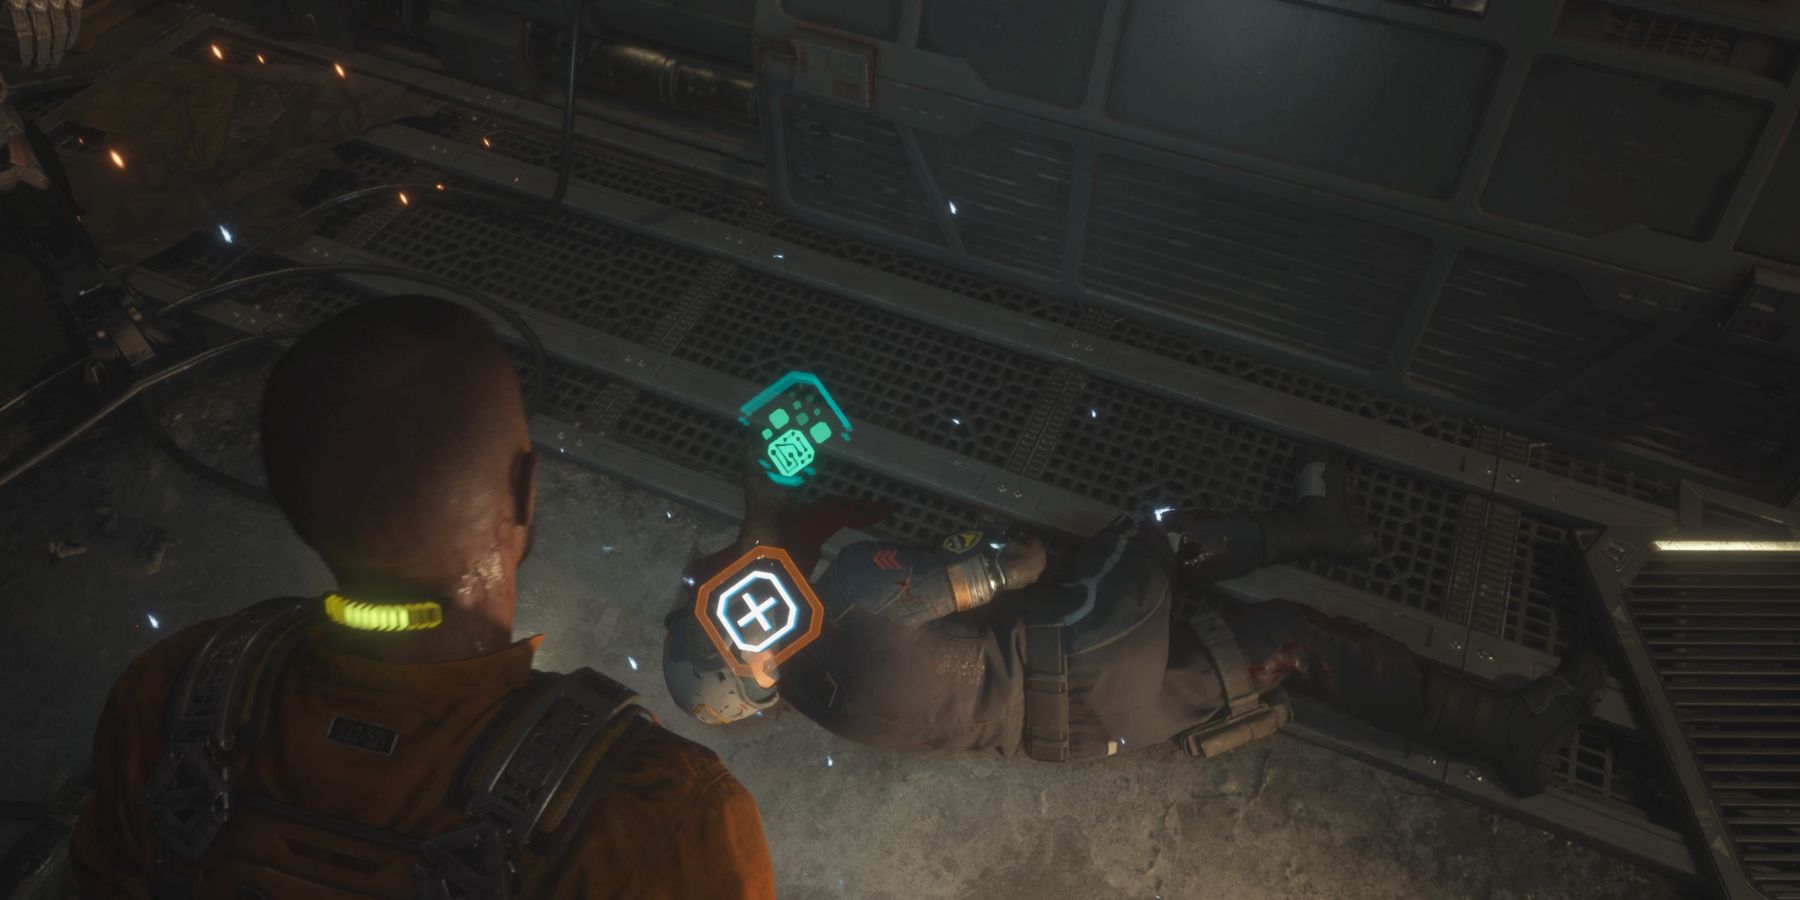
In order to reach SHU, players will need to go through Medical. Along the way, a scripted event will happen where players get to see how people are being turned into Biophages. After killing this Biophage, the next area will have a tutorial for how to stealth kill an enemy from behind. After killing several more Biophages, players will come across a door that can't be opened. In order to get past it, Callisto Protocol players will need to find a guard's corpse and take their CORE.
The security guard is right next to a malfunctioning Security Unit. Once players have taken the CORE, they will be able to open the locked door and proceed. Beyond the door, players will find two doors. The first leads to Maintenance B3, the second leads to Laundry B2. In order to progress the story, players will need to go through Maintenance B3. Laundry B2 has some supplies in it, so players may wish to make a quick stop there first.
The Secret Area
After going through Maintenance B414, Callisto Protocol players will come across a locked door for an area called Supply B426. To the right of the locked door is a vent. If players follow this vent down, they will end up in a secret area that has a chest of resources and an audio diary from the Warden. There is a ladder nearby that will allow players to go back up and through the locked door. From there, go through the door to Medical Ward C101.
Obtain the GRP
Once players enter the next room, they will obtain the GRP. This device acts like a combination of Telekinesis from Dead Spaceand the Gravity Gun in Half-Life 2. With it, Callisto Protocol players can pick up objects and throw them. Alternatively, the GRP can also be used to pick up enemies and toss them into environmental hazards for an easy kill. To help teach players how to use the GRP, several Biophages spawn in this room.
After the Biophages are dead, proceed through the door to Med Office C105. From there, players will find two doors. To find a Reforge station and supplies, players should go through the door to Med Lounge C106. To progress the story, go through the door to Med Observation C108. Just past that point is an elevator shaft with the door halfway open. Once players step into the elevator shaft, Elias will control the elevator remotely.
The elevator malfunctions and plummets down to the bottom of the shaft. Once Callisto Protocol players have escaped from the elevator shaft, they will need to look for a fuse in the next room to open a gate that blocks their path. While searching for the fuse, players will encounter unavoidable enemies that grab them and try to pull them in. No matter what, players will take damage during this QTE regardless of how quick they are.
Once players have found the fuse, they can open the door to D303 and use the elevator to go up. There, they will meet up with Elias. While Elias calls the gondola, use the nearby Reforge station as needed and then get onto the gondola when ready.
Gondola Ride
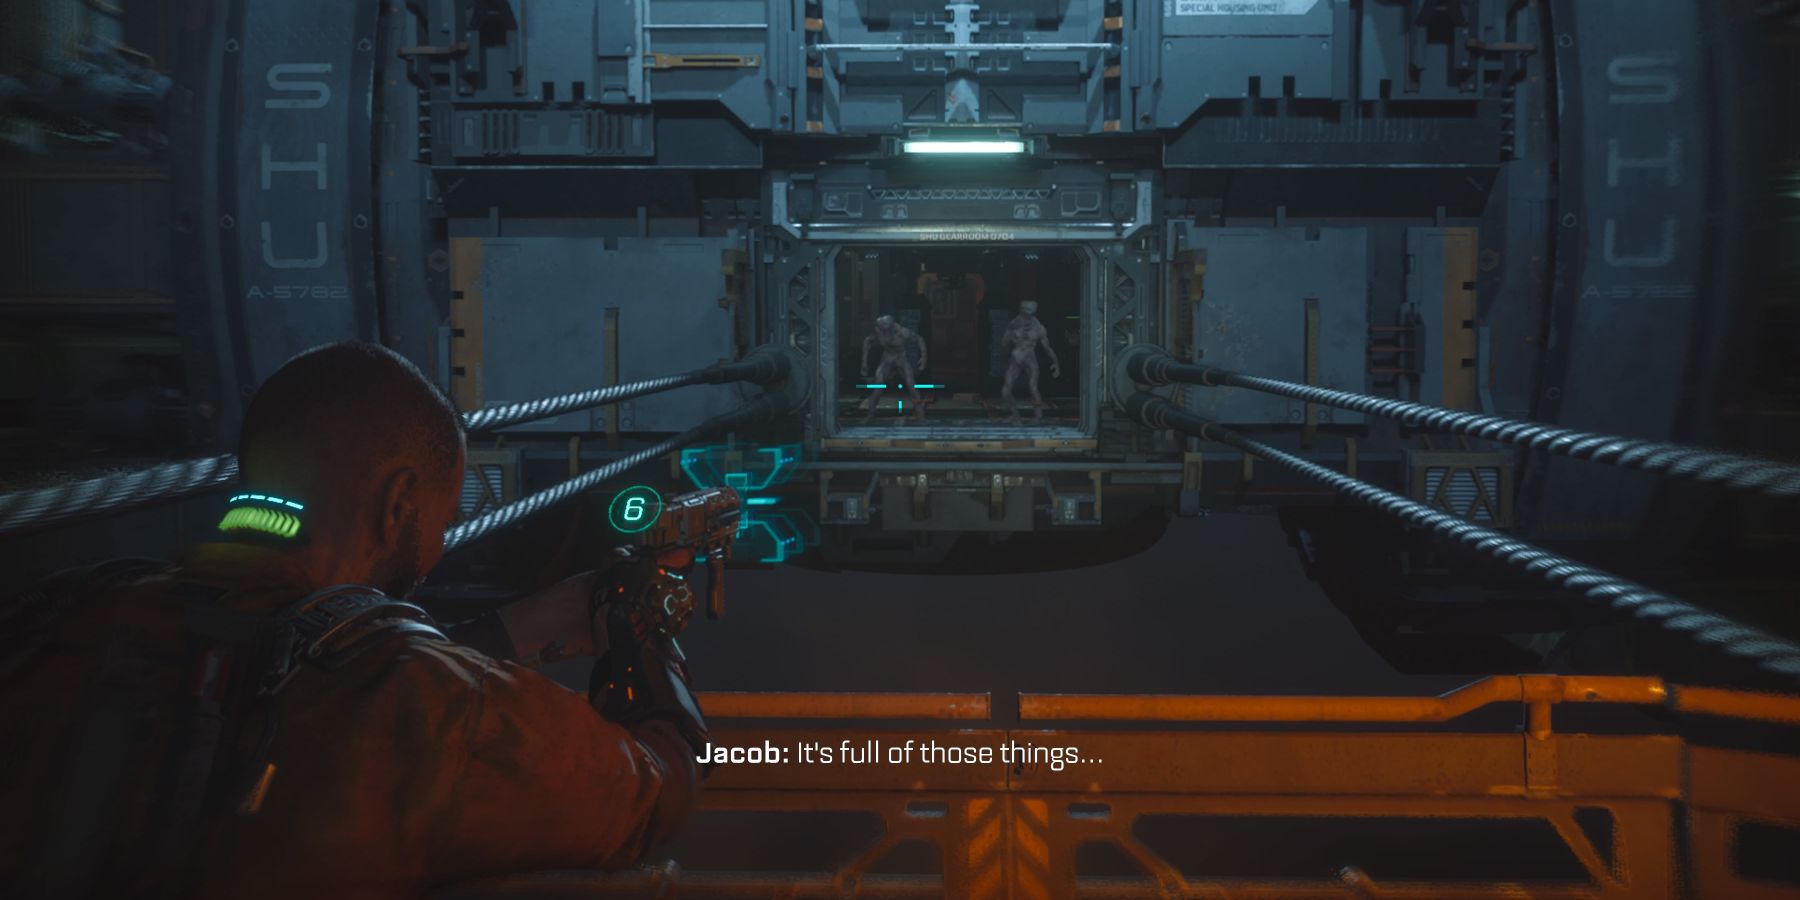
As the gondola moves toward SHU, the doors will open, and two Biophages will start attacking with projectiles. Either dodge the projectiles or kill the Biophages from a distance with the Hand Cannon. Once inside SHU, kill the other Biophages and grab the fuses on the other side of the room. Near the entrance to this room, there are boxes that can be used to climb up to a platform where the fuses can be inserted.
Players should make sure they are ready, as lots of Biophages will spawn when the fuses are installed. To save ammo, try and launch enemies into the spinning machinery. After the power has been restored, Callisto Protocol players can use the door that leads to SHU Control D705. After using the control panel to bring down the cell blocks, go down and use the elevator to reach them.
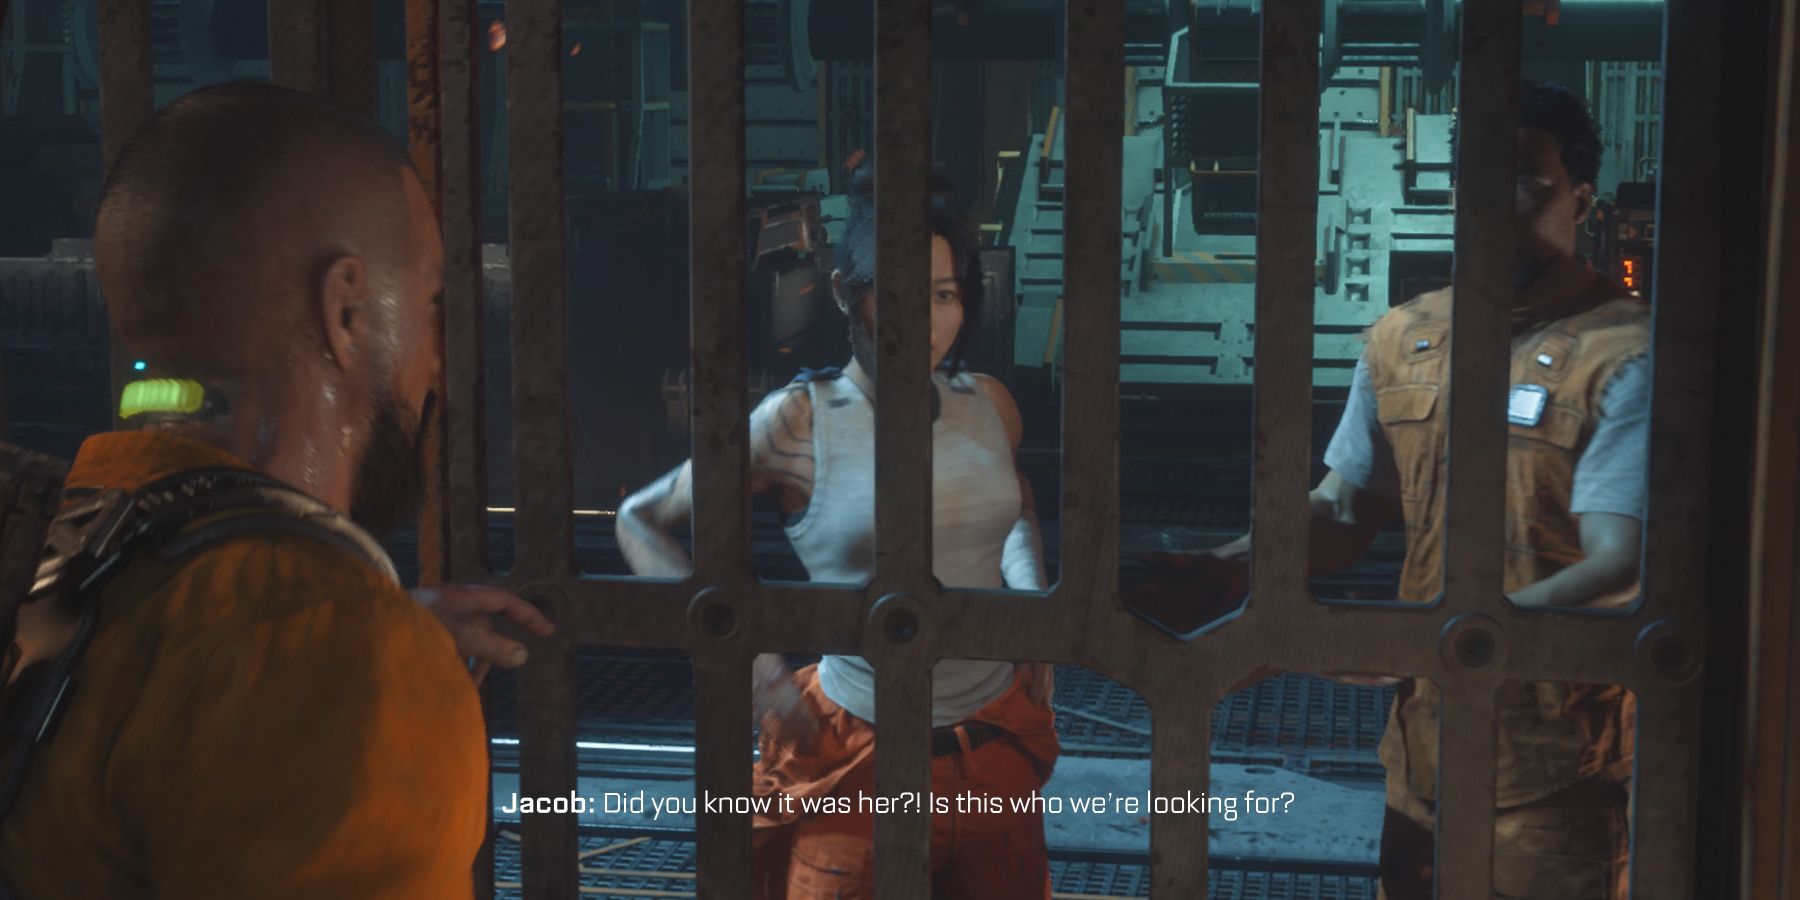
After killing the nearby Biophages, pull the lever to open the cell on the right. Much to Jacob's dismay, the inmate that he's been looking for is Dani, the same woman who stowed away on his ship. Dani traps Jacob in her cell and leaves as the cell is moved to a different part of SHU.
Getting Out of the Cell
To escape the cell, break open the panel and then crawl through the vent outside. As players progress through the next area, look for another vent in the far corner. Aside from being a series of narrow crawl spaces, several more unavoidable QTEs await players. While navigating through the area, players should be on the lookout for a blocked-off vent. These vents that have a turquoise and black design on the sides can be opened with the GRP.
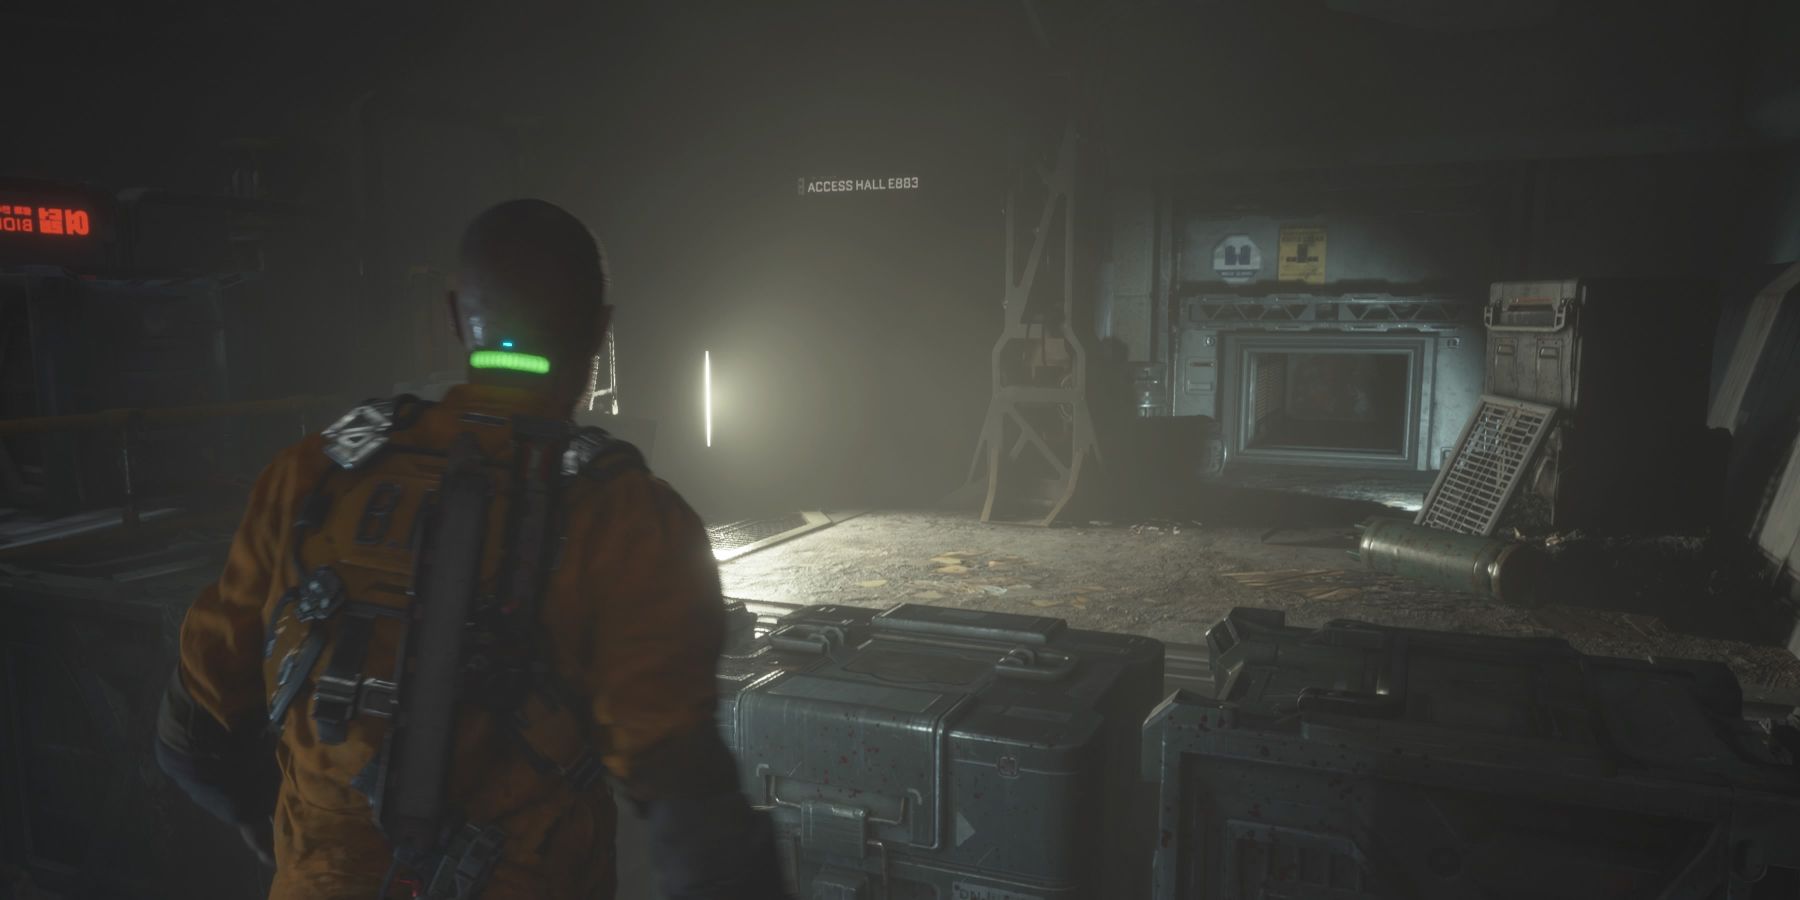
When using the previously blocked-off vent, players should be careful when they emerge from the other side as there is a Biophage waiting there. In addition to the Biophage, there is a patrolling Security Unit. Unlike the one previously encountered in the second chapter, players can fight this Security Unit if they wish. A few shots to its head are enough to disable the Security Unit. In order to get out of this area, look for a vent near Access Hall E883.
Up ahead, Callisto Protocol players will find a hallway that is soaked in blood. At the far end is a dangerous-looking device with blades all over it. When players approach, the device will start moving toward them. Simply stand in one of the alcoves in the hallway to avoid getting killed. Biophages will spawn in this area as well, and players can trick them into standing in front of the device. There is a vent behind where the device rests when the trap isn't triggered. Wait until the device has gone past before using the vent.
On the other side of the vent is an observatory with a window providing a great view of Callisto and the other parts of the Black Iron Prison facility. Look outside the window to trigger a brief cutscene and then open the latch that will lead underground when ready. Upon going down the ladder, the third chapter will end, and players will not be able to backtrack.
The Callisto Protocol is out now for PC, PS4, PS5, Xbox One, and Xbox Series X/.S


