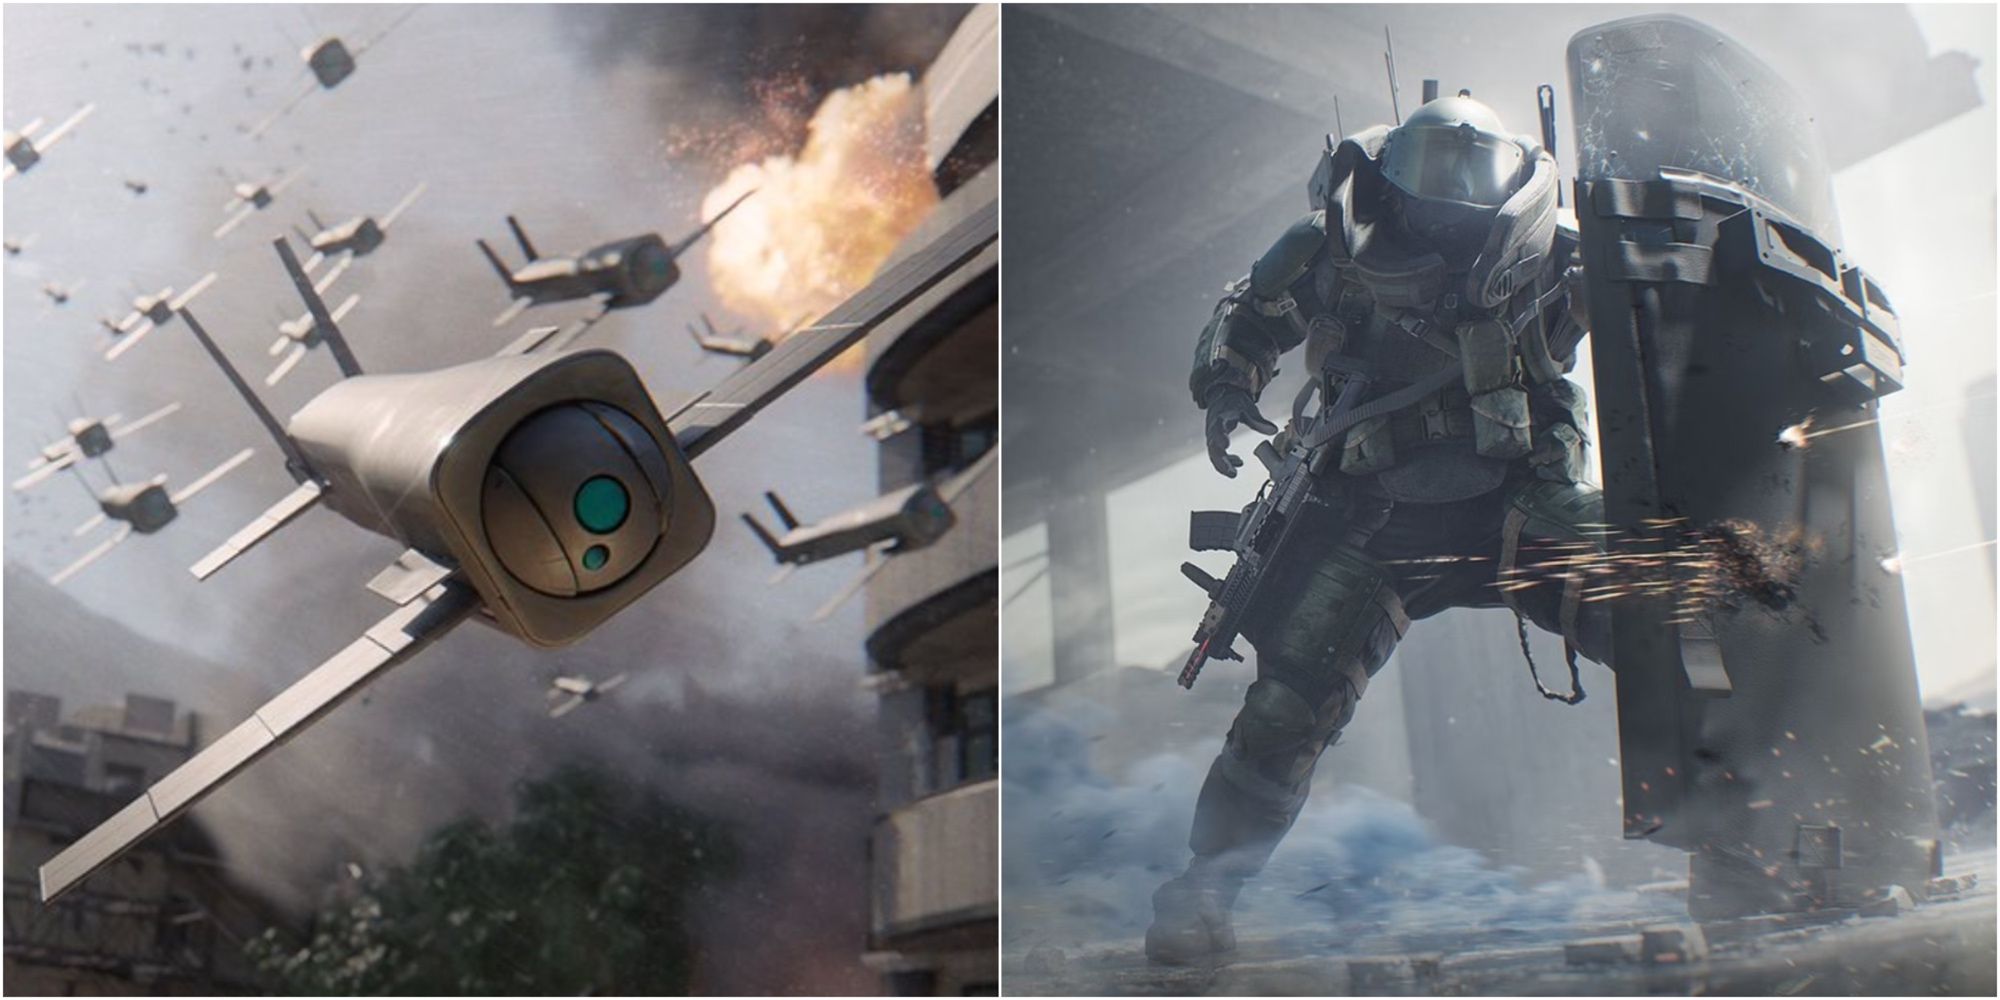
Modern Warfare 2 already had some extremely strong killstreaks in the game, and Sledgehammer has not only brought every single one of them back in Modern Warfare 3 but also thrown a few extra ones into the mix too. Every killstreak has its own benefits, with some being very quick and easy to use, while others are a lot bigger and capable of covering more ground, but it's become clear since the game's release that there's a select few that players are prioritizing over the others because of their overall effectiveness on the field.

Call of Duty: Modern Warfare 3 - How to Get Multikills
There's a bit of confusion among new players around what multikills are in Modern Warfare 3. Here's what they are and how to get them.
In order for a killstreak to be viewed as powerful or strong, it needs to be incredibly reliable when it comes to picking up kills, while also being considered fairly cheap for its overall value. Additionally, while some support killstreaks might not deal any physical damage, they can still be viewed as powerful if they assist allies in grabbing a ton of points for the team. It should also be noted that the newest killstreaks added as part of Season 1 will also be considered in this list.
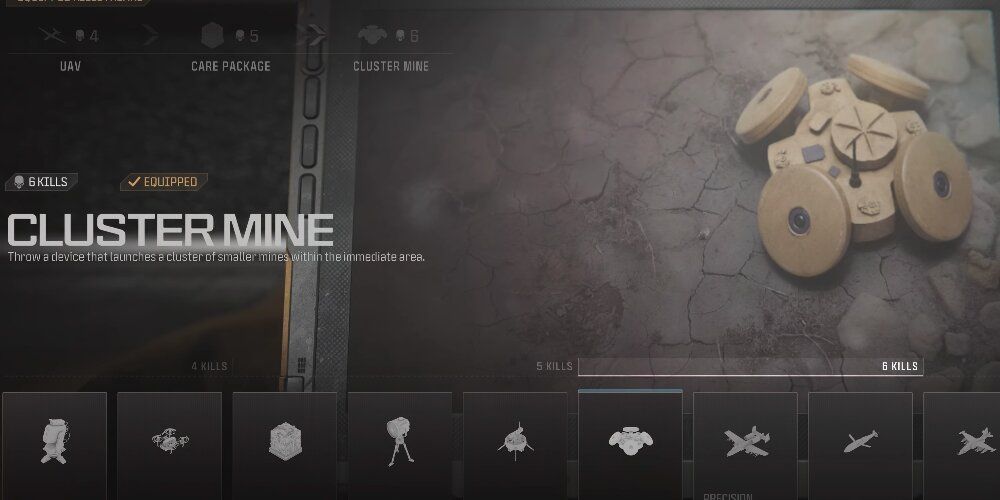
6 Cluster Mine
The Wide Explosive Radius Can Cause Chaos On Objective Modes
- Kills Required: 6
- Score Required: 750
Having a Claymore or two to trap any enemies coming around a corner is one thing, but being able to cover an entire area with deadly proximity mines is what makes the Cluster Mine killstreak so downright powerful, especially in objective game modes. The mines are incredibly fast to throw down, making them ideal for tripping up any enemies who love racing around the map, and they also have a massive blast radius to boot.
It's therefore not uncommon for a single mine to get two kills at once, and since there are multiple of them that can be thrown out, it's easy to imagine just how much chaos they can cause on modes like Hardpoint and Domination. The mines can admittedly be set off very easily, which can make them simple to destroy, but they're also very difficult to actually see, so this isn't too much of a problem.
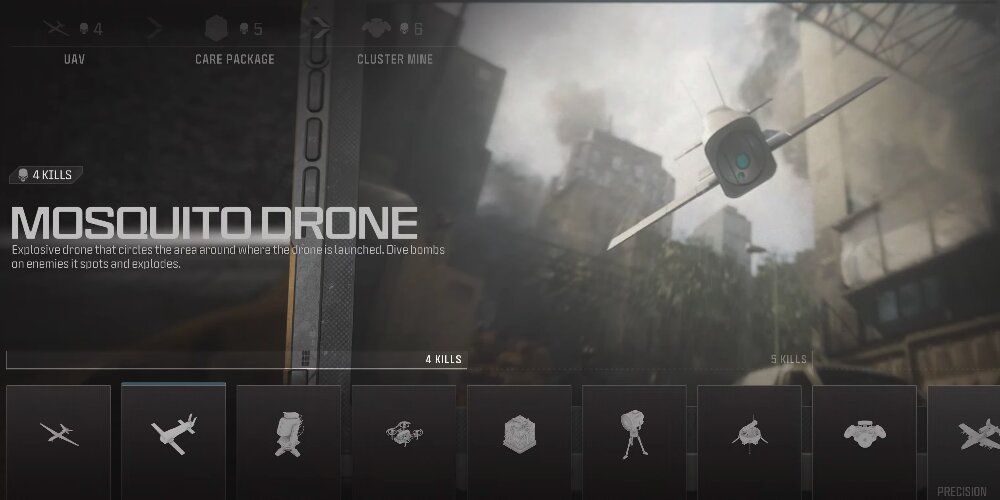
5 Mosquito Drone
Its Speed And Power Make It Incredibly Reliable
- Kills Required: 4
- Score Required: 500
Undoubtedly one of, if not the most fun new killstreak added to the game, the Mosquito Drone more or less guarantees the player a kill whenever it's roaming the skies, and as an added bonus, it's really cheap. The set-up can take a little while since actually pulling out the drone will slow the player's movement down, but if they can manage to fire it over a key area or near the enemy spawn, it can easily pick up a multi-kill thanks to its homing properties.

9 Best Armory Unlocks In Call Of Duty: Modern Warfare 3
These are the best weapons, items, killstreaks, and perks available in Call of Duty's new Armory Unlock system.
The Mosquito Drone is also extremely quiet, which makes it very difficult for any enemies to catch wind of its location, and the speed at which it flies toward its targets means there's no time to react and shoot it out of the sky. Quick, cheap, and all so reliable, the Mosquito Drone is an amazing killstreak that excels on maps with lots of outdoor areas like Terminal and Skidrow.
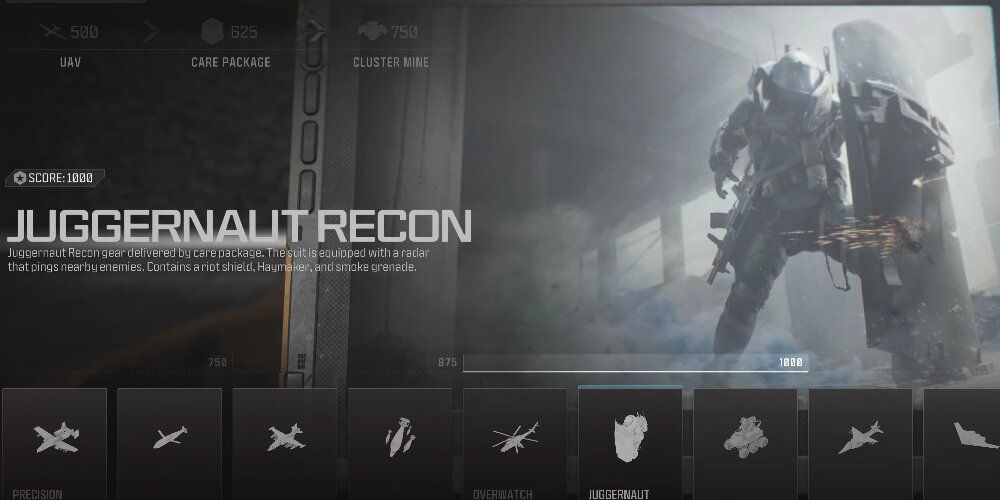
4 Juggernaut Recon
Can Draw Fire Away While Spotting Nearby Enemies
- Kills Required: 8
- Score Required: 1000
The Juggernaut isn't exactly a new killstreak in the world of Call of Duty, but the Recon variant works a little differently as it actually takes a more supportive role than its counterpart. Once players gear themselves up in the Juggernaut Recon uniform, the suit will automatically begin pinging enemies on the minimap, which can set up some effective flanks for the rest of the team.
However, even if the Recon is alone, they still have a fast-firing Haymaker which can kill most enemies in two to three shots, along with a few smoke grenades to help make a fast getaway. The Juggernaut Recon has a staggering amount of health, and with a riot shield also strapped to his back, it's almost impossible to take down this armored behemoth.
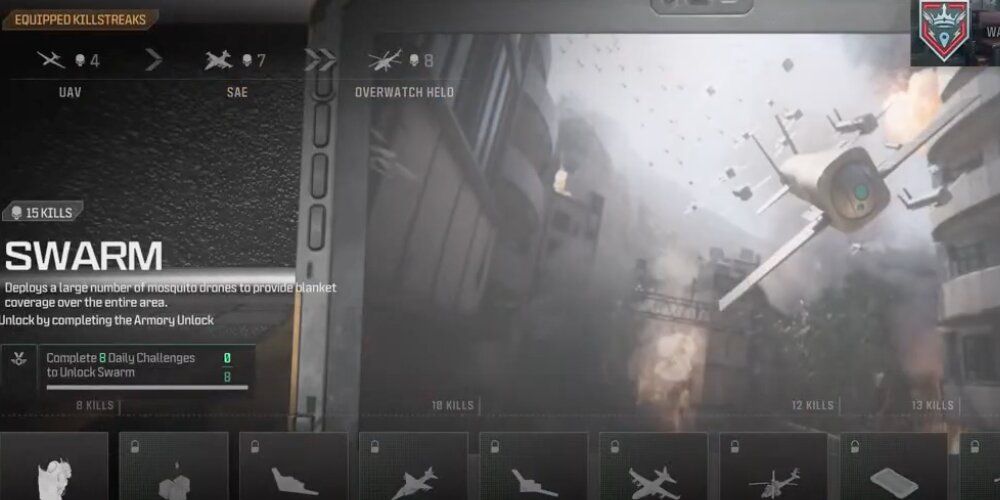
3 Swarm
Constant Bombardments Of The Swarm Are Difficult To Escape
- Kills Required: 15
- Score Required: 1875
As of right now, the Swarm is tied with the Juggernaut for being the most expensive killstreak in the entire game, and while this may sound like a bad thing, it's well worth the effort considering just how many kills it can rack up. Fans of Black Ops 2 might remember this killstreak being featured in that game, but Sledgehammer has made it truly terrifying for enemy teams in Modern Warfare 3 since the small explosive drones are insanely fast and will cover every inch of the map.

Games To Play If You Love Call Of Duty's Campaigns
Few games match Call of Duty's cinematic campaigns and set pieces. Here are some games that come close.
There are also no gaps in between the drone strikes, meaning that they will continuously bombard the enemy team until they run out, but considering they stay around for a few minutes, it's more or less guaranteed that they'll pick up many kills. The Swarm killstreak can instantly turn a match around once they are deployed, forcing the enemy to watch each and every step they take.
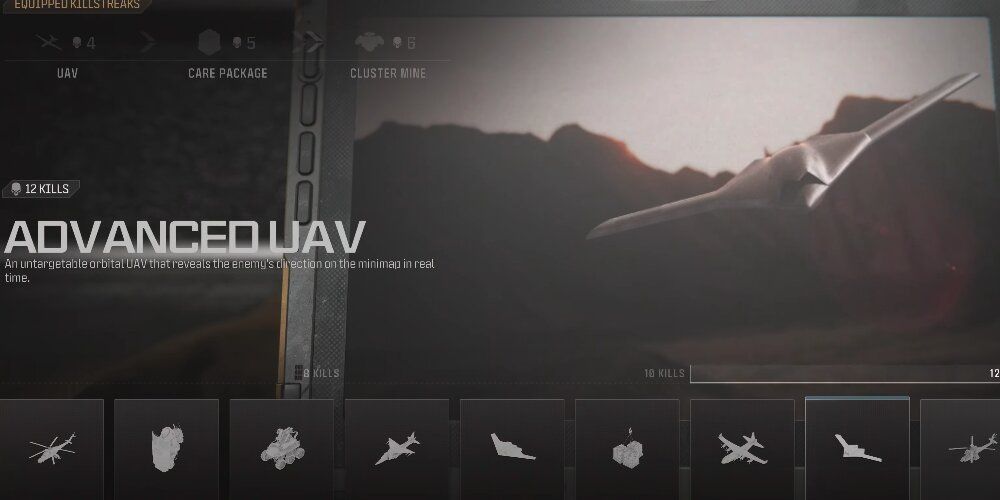
2 Advanced UAV
Knowing Exactly Where The Enemy Is Can Set Up Some Easy Flanks And Counterplays
- Kills Required: 12
- Score Required: 1500
Now that red dots have been added back to the mini-map, it means that a lot of players have started using silencers on their weapons, making it extremely difficult to initiate flanks or attack strategies. The UAV can definitely help out with this, but if a team really wants to get a step-up over their opponents, they need to call in an Advanced UAV which will highlight the enemies on the map, showing their exact movements and the direction they are facing.
Since this applies to the entire team, it means that all players will be able to outsmart the enemy by avoiding their sightlines and getting the drop on them from behind. What's more is, the Advanced UAV can't even be targeted, and considering it lasts an incredibly long duration, it would be considered pretty game-breaking if it was even slightly cheaper than it already is.
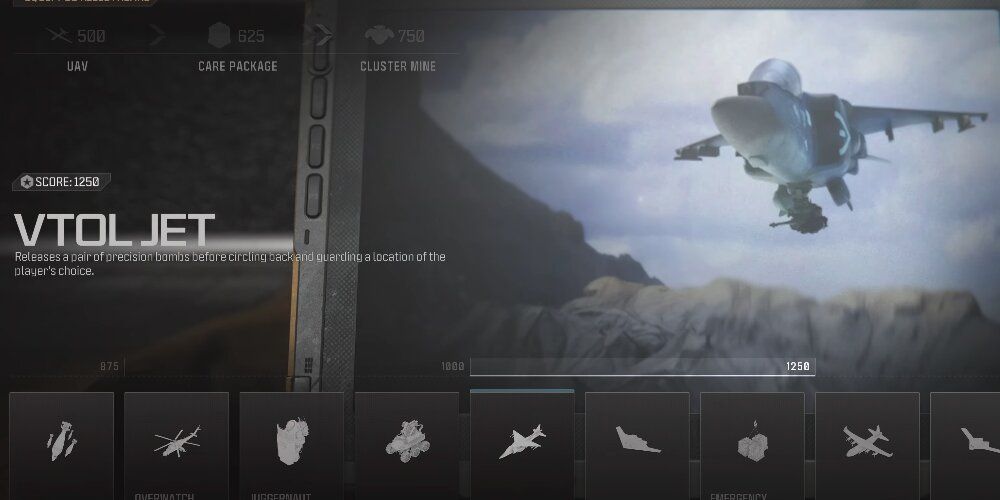
1 Vtol Jet
Can Control Entire Areas Of The Map When Used Correctly
- Kills Required: 10
- Score Required: 1250
In all honesty, because of how strong and dangerous the Vtol Jet actually is, it should probably require at least two or three more kills since it's literally capable of wiping out an entire map with ease if the player knows how to use it correctly. There are actually two parts to this killstreak; first, it performs two large carpet bomb runs to warn the enemy that it's coming, before then hovering around an area of the player's choosing to take out anyone who gets close.
What really puts the Vtol Jet on a whole different level compared to its competition though, is how it allows the player to control a map. For example, if someone were to order the jet to provide covering fire over the center of a map like Favela, they can then travel around the outskirts of the map on foot to seek out anyone who's hiding, giving the enemy nowhere to run. It's also very durable for only ten kills, and the speed at which it moves around the map makes it extremely effective for both objective modes, and regular Team Deathmatch.

Call Of Duty: Modern Warfare 3 (2023)
- Platform(s)
- PC , PS5 , Xbox Series X , Xbox Series S , PS4 , Xbox One
- Released
- November 10, 2023
- Developer(s)
- Sledgehammer Games
- Genre(s)
- First-Person Shooter

