The Legend of Zelda: Breath of the Wild is such a huge hit partially because of the new aspects the game introduced to the franchise. One of those new tweaks were the introduction of Divine Beasts. These mobile dungeons are unique to BotW and add more than just a new look to the game.
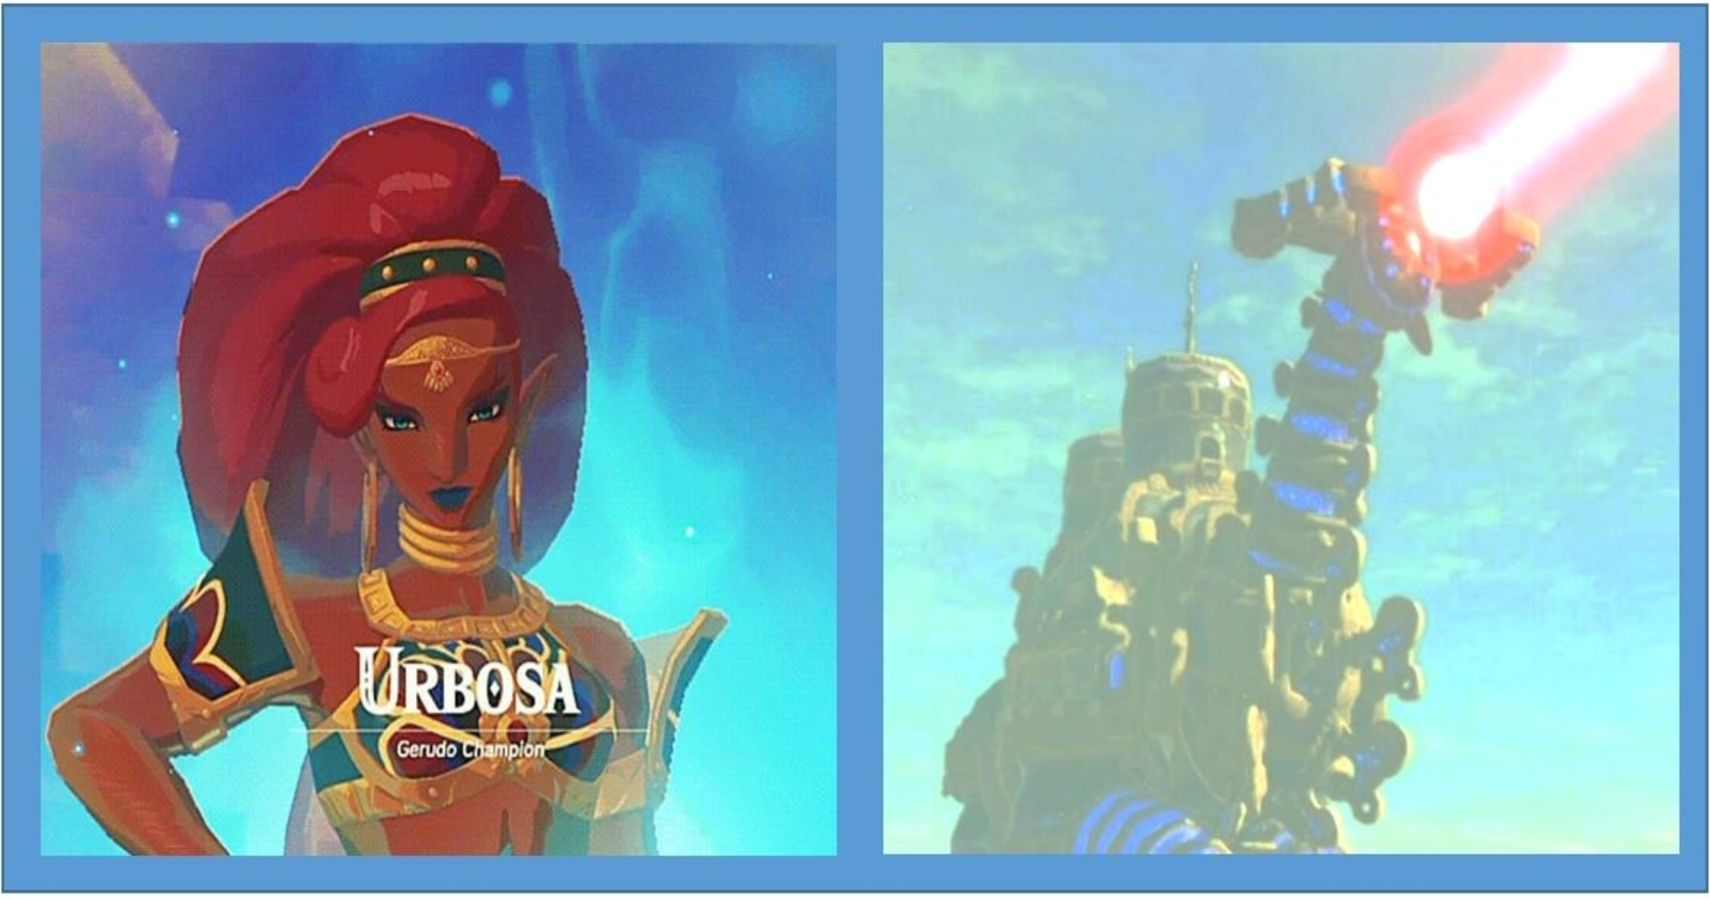
Completion of each of the 4 Divine Beasts will bestow a new Champion Power on the player. Arguably, the most powerful of these is "Urbosa's Fury," which the player can use to wield the power of lightning against opponents. To gain Urbosa's Fury, players must free the Divine Beast Vah Naboris from Ganon's control. Here is a complete walkthrough of how to do just that.
Preparation
This dungeon is mostly puzzles focused, with not a lot of combat. The boss is extremely difficult, however. So, it's best to come in here with 9+ hearts, an armor set that's been upgraded twice, a lot of cooked dishes, and lots of weapons, bows, and arrows. You might also want to get the Rubber Armor as well. Stamina is mostly irrelevant, as the sprinting time is really all it is needed for. This is overall the most difficult Divine Beast challenge to complete.
Dungeon Map
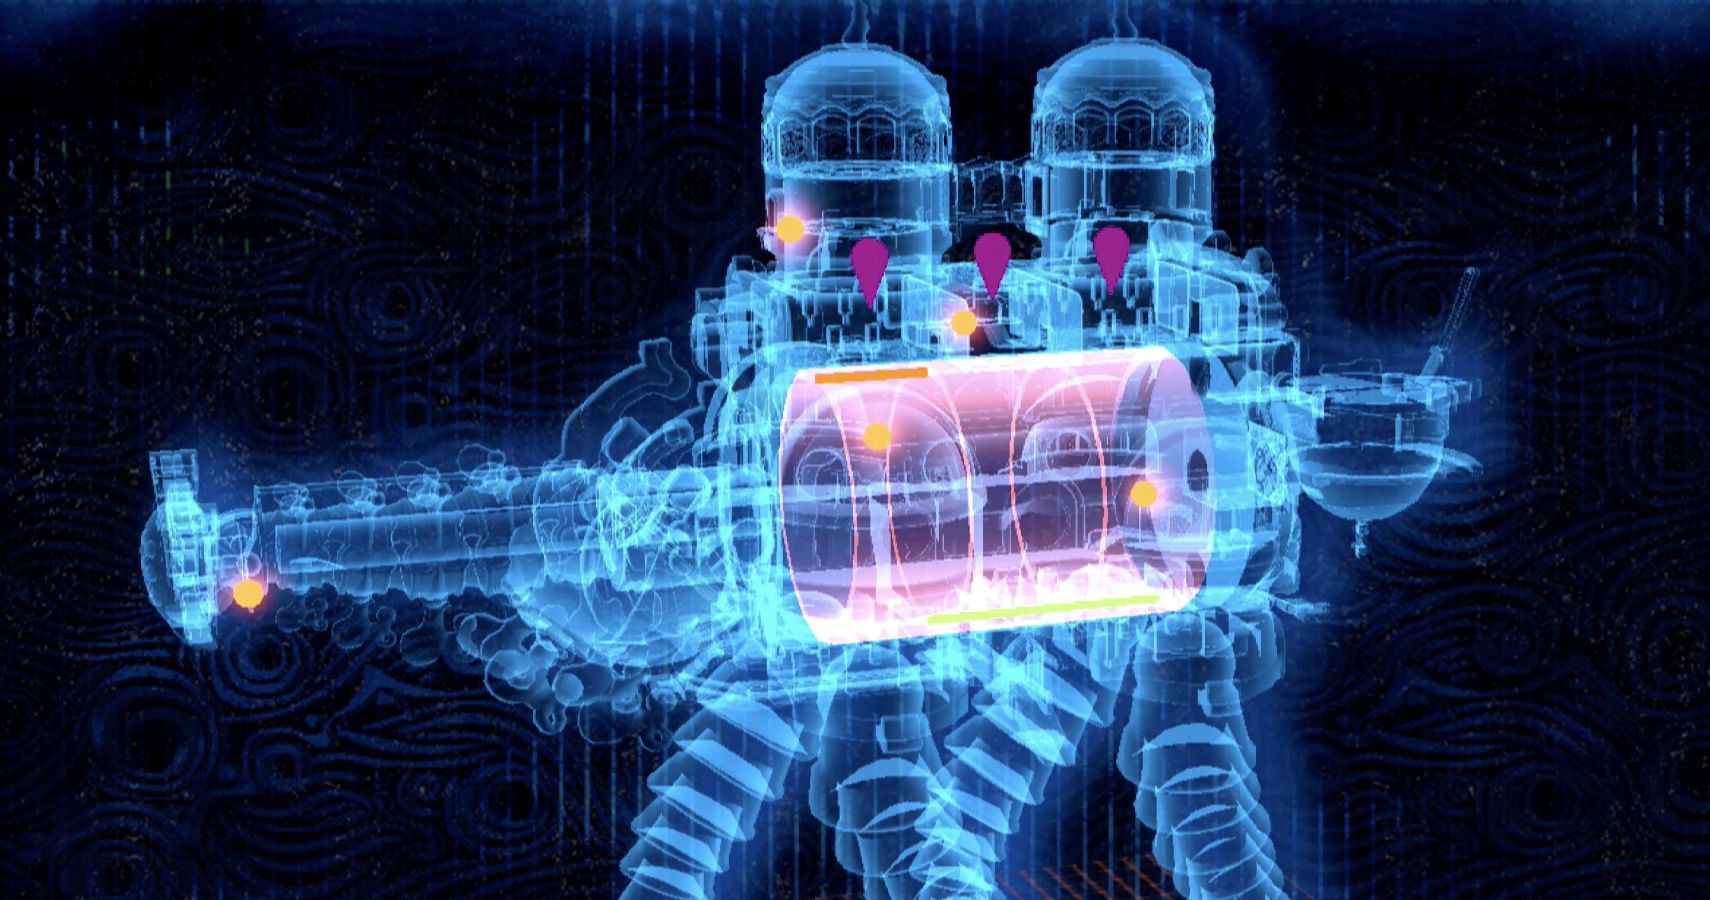
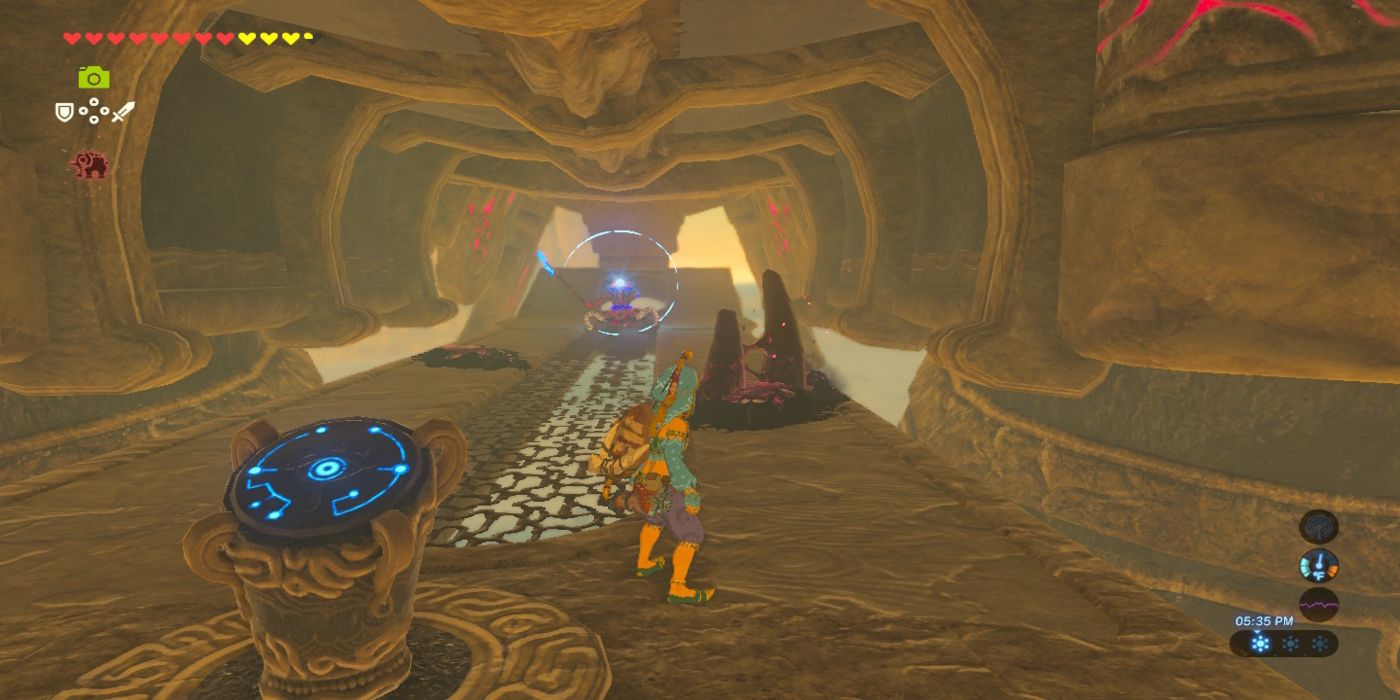
Upon arrival, you will immediately see a Guardian Scout. Kill it. Then start making your way to the other side of the room and climb up the steps. On the way, you will find sludge called Malice that hurts to touch, with a glowing eye located to the right. Kill the eye and the Malice will disappear. When you reach the second floor, there is a ledge on the opposite side of the stairs and to the right. Walk up the ledge, then make your way over to the pedestal you'll see. Place your Sheikah Slate into it to obtain the dungeon map.
Open up the dungeon map and you'll notice that there are 3 individual pieces of the main room and that each can be turned. There are a lot of different combinations you can set the segments to, but you don't need to manipulate them that often.
First Terminal
The first terminal is located in the main room. The cylinder near the back of Naboris the one with the terminal, stuck in a cage. Looking at the cage, it seems like all of the sides are closed, but the bottom part of it is actually open. The cylinder needs to be moved so that the bottom is accessible.
Looking around the room, there are several circle-shaped windows that lead to the exterior of the dungeon. All but the one located near the first terminal are closed. Move the back cylinder until the cube is facing the open window.
You then need to reach the same window from the exterior. Move the middle cylinder so that you can leave through the window on the same side of the room. Then just run into the cube. You next need to rotate the back cylinder so that the terminal is facing upwards. Place your Sheikah Slate inside to activate the terminal.
Second Terminal
Open the dungeon map and you'll notice, that there is a circuit line going through the cylinders. This is how the electricity will flow throughout the dungeon. Rotate all 3 of the cylinders so that the circuit lines are at the top of the map. The line turns green when activated. The active circuit will also make the large wall in the front of the dungeon rotate. Two holes can be found within this spinning platform, one of them has a platform attached to it, while the other does not. Ride the hole that does *not* have the platform, step into it and let it go up to the top of the room. You'll want to drop and land on the platform. This will allow you to go through the hole in the middle of the wheel.
Traverse the corridor and avoid the malice and lasers you'll see. At the end of the room, there is a treasure chest you can open to obtain a Knight’s Shield. Kill the glowing eye and go back to the main room.
This time step into either hole on the large moving wall and allow it to take you up to the top. When you see an opening, jump through to get to the front of Vah Naboris.
You will find a handle on the ground that you can turn. You will also some circuit lines similar to the one in the main room, implying that power can flow here. When you turn the cross handle clockwise, a gear next to the handle will also move. The gear has a bulb on one side. Keep turning the handle until the bulb faces upwards and is even with the green light. This will make the bulb turn blue, letting you know that it has power.
Now turn the handle counter-clockwise. This won’t affect the bulb at all. There's another gear on the other side of the platform also with a bulb. Repeat the same process until this bulb is also blue. This will make Naboris' neck move to its proper position, and an elevator will appear. Ride the elevator up to its head and activate the second terminal.
Third Terminal
Fall and return to the hole that goes into the main room. Wait until one of the holes comes up and then walk through it. There are 2 holes in this rotating wall, with one of them having a platform below. Wait until the one with the platform comes up, then proceed to drop on the moving platform.
Run to its highest part and then stand there until it raises you close to the ceiling. Just before you fall, jump off the platform and use the Paraglider to fly to the platform that is just off the wall. On one side you will find the third terminal. Walk over and activate it.
Fourth Terminal
Proceed to the back of the Vah Naboris, still on this highest ledge of the main room. You will find a series of objects on rails. Use the Magnesis Rune to move these objects along the rails and arrange the objects so that the electricity flows through all four of them. This will cause the back of Naboris to rise, creating a staircase to the top. You will not have enough time to run to the very back of the dungeon. You need to move one of the objects to break the circuit and then quickly fix it again. Naboris will go through the entire animation of retracting and will create the ramp again. This will give you enough time to run up the ramp.
There is another glowing eye at the top of this ramp. Shoot it with an arrow and it will kill the malice nearby. Move forward to find a second glowing eye that must be killed as well. A ramp will appear and it will take you down to a treasure chest nearby containing an Ancient Screw.
At the very bottom, destroy the glowing eye so it stops spawning enemies. Take the platform back up and you'll find an electric sphere. The spheres can be used to power any circuits located near them. Pick up the electric sphere and carry it up to the top floor.
Drop the sphere so that it's placed next to the bulb and it will give the circuit power, causing a nearby platform to start moving. Shoot the glowing eye found in the next area to get rid of the Malice. A Guardian Scout will appear. Destroy it so it won't get in your way. You'll find the fourth terminal where the Malice used to be.
Final Terminal
Still, at the fourth terminal, ride the platform up to the top floor and find another electric sphere. Grab it and then walk to the platform that is moving horizontally between the two Naboris' humps. This time, fall when the moving platform isn't in front of you to find a square hole, allowing you to drop further. Two Guardian Scouts await you and they need to be defeated for the nearby gate to open.
The fifth terminal is located behind the gate. Place the electric sphere onto one of the circles and go back to either of the elevators to return to the upper part. Pick up the other electric sphere and drop below. Place the sphere onto the other circle and activate the final terminal.
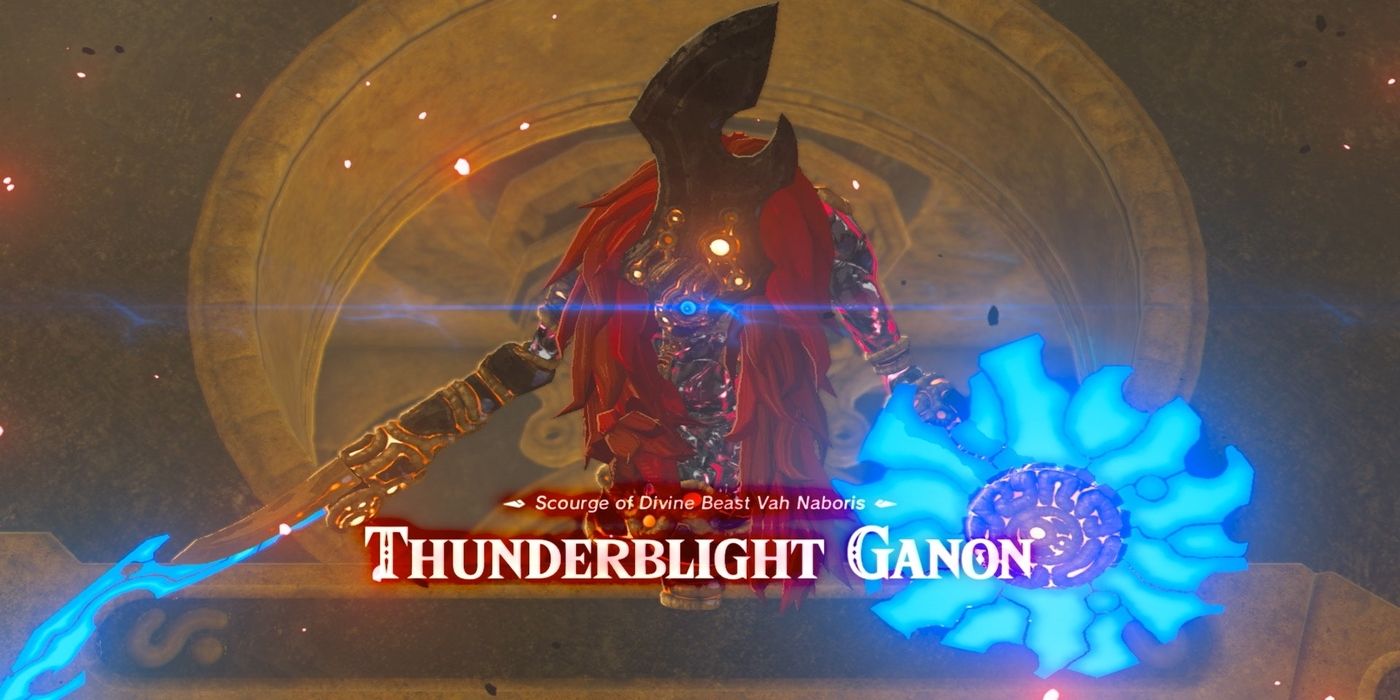
This will allow you to activate the Main Control Unit in the main room. Make sure you're wearing your absolute best armor before turning it on. The Rubber Armor in particular is useful here. This will begin the boss fight with Thunderblight Ganon.
Thunderblight Ganon, Phase 1
Stay on the bottom floor where you have the most room to work. Thunderblight Ganon has two attacks. The first attack is throwing some green, electrified projectiles at you that can be avoided rather easily just by moving to the side. The other attack is when Thunderblight Ganon teleports 3 times rapidly, with the third warp always being right next to you. It will then attempt to slash at you. The best way of dealing with this attack is to either backflip at the last possible second to activate a Flurry Rush or use a shield bash to interrupt Thunderblight Ganon, which will stun it, allowing you to attack.
Thunderblight Ganon, Phase 2
After Thunderblight Ganon loses half of its health, the second phase of the battle will start. This phase begins with Thunderblight Ganon sticking a series of electrified spikes into the floor, with little room in between them. Run away before it sticks them into the floor so you won't get hurt. When you're at a safe spot, use the Magnesis Rune to grab a spike before it disappears, and lift it up into Thunderblight Ganon to cause it some damage, knocking it onto the floor, and allowing you to hit it some more. Standing on the higher part of the room might make this phase easier.
After Thunderblight Ganon has been shocked by one of the spikes, the third phase of the battle will start. Stay on the bottom part of the room like at the beginning of the fight. This phase is similar to the first one, except that Thunderblight Ganon is electrified and is much more aggressive. Do not use a metal shield if you have one. You will need to do a lot of running and dodging during this phase to avoid taking damage. When it does its rapidly warping attack, it will now slash 3 times in a row instead of just once. This means if you use shield bashing or Flurry Rushes, the timing for them will be different.
When Thunderblight Ganon’s health is low, it will start to charge a laser attack. You can either shield bash the laser back at it for damage, or just dodge the laser and go attack Thunderblight Ganon as it charges up another one. This is the most difficult dungeon boss, so it will likely take you multiple attempts to win.
Final Note
It should be noted that any treasure chests or dropped weapons/shields/bows will be permanently lost when you leave, so make sure you have everything you want before pressing forward. The chests in Divine Beasts never contain anything necessary for 100% completion or required completion, so they can be completely ignored if you wish.

