Quick Links
Enemies that appear early in the game but have outrageous stats are best avoided until late-game. Bravely Default 2 has a category of "Rare Monsters." A casual player doesn't have to complete Rare Monster sidequests just to beat the game. However, the effort may be worth it considering these beasts drop good loot.
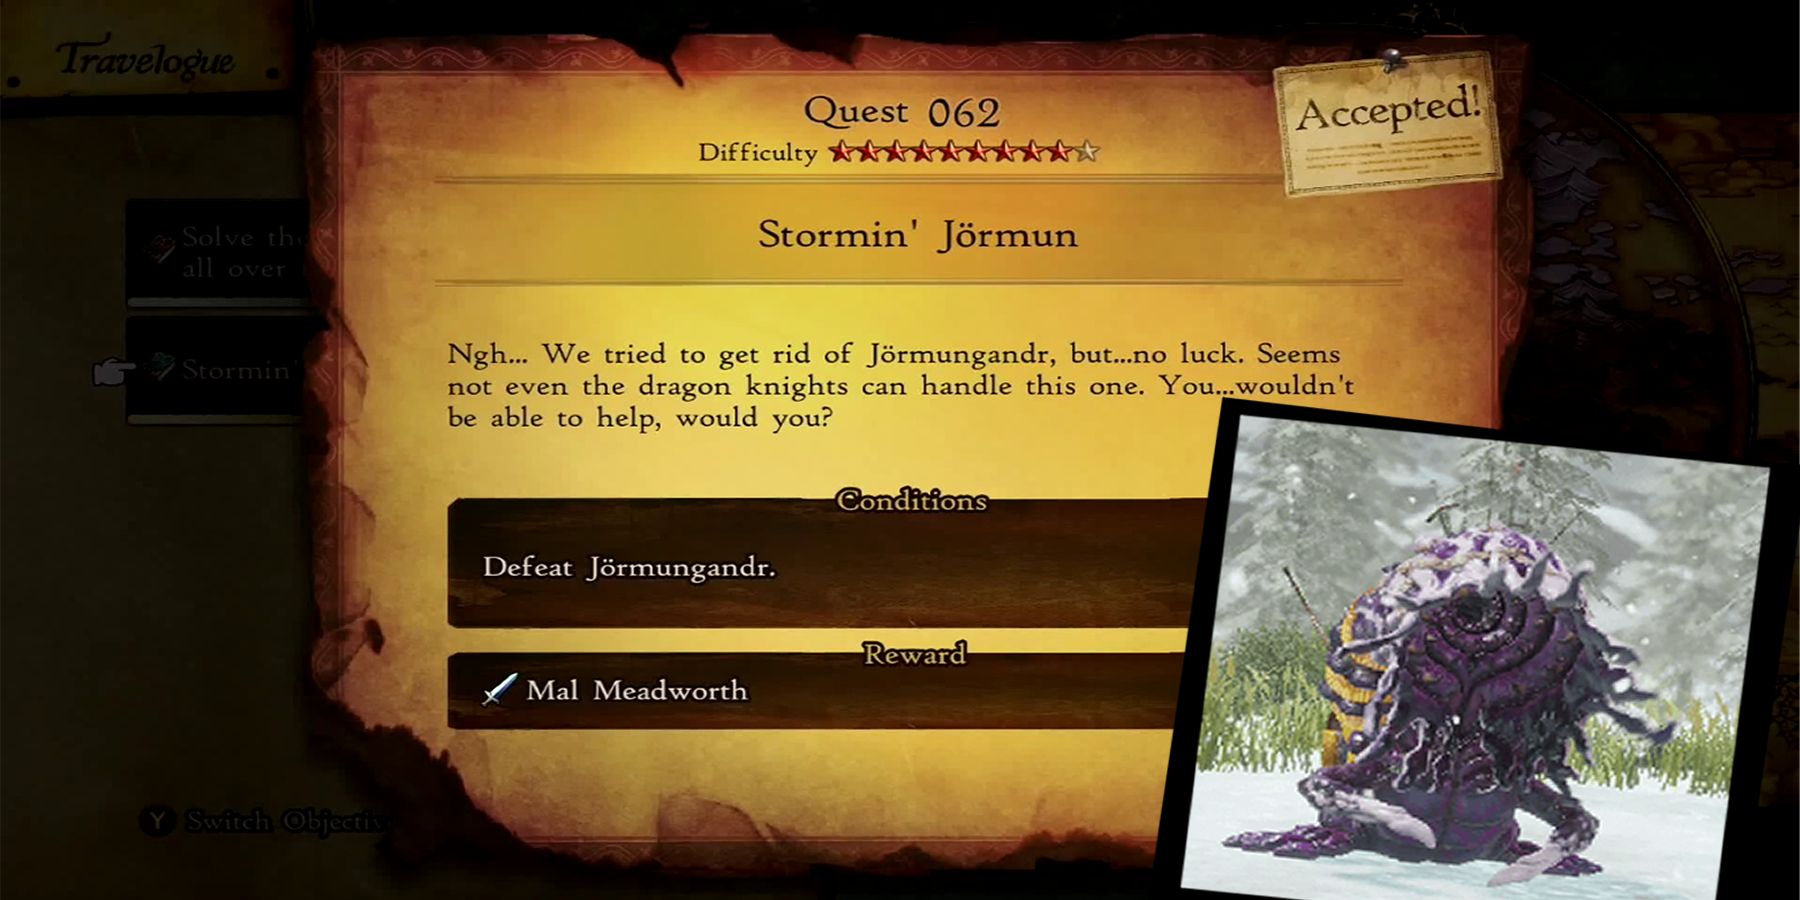
One Rare Monster in Bravely Default 2 is Jormungandr. Players will need to accept the sidequest "Stormin' Jormun," which becomes available as early as chapter 4.
About Jormungandr: Location, Stats, and Abilities
There is no way players can beat Jormungandr when the quest first becomes available. The player's team should be well over level 60 if they want to have any chance of taking the beast on in a fair fight. For those that are ready to complete the quest and reap the rewards, head over to Rimedhal Cemetery when it's nighttime in-game. Players can find the worm in a patch of grass near the graves.
What makes this boss difficult is its high attack and that it doesn't fight alone. Jormungandr is accompanied by two Shadowmoths and two Merciless Souls. The Shadowmoths alone can be a nuisance if players don't take them seriously.
Jormungandr Weaknesses
Vulnerabilities (Elements) | N/A |
Vulnerabilities (Weapons) | Axes |
Half-Damage (Elements) | N/A |
Half-Damage (Weapons) | N/A |
Immunity (Elements) | Dark, Water |
Immunity (Weapons) | N/A |
Absorbs | Earth |
Shadowmoth Weaknesses
Vulnerabilities (Elements) | Light, Fire |
Vulnerabilities (Weapons) | Bows, Swords |
Half-Damage (Elements) | Wind, Water |
Half-Damage (Weapons) | N/A |
Immunity (Elements) | N/A |
Immunity (Weapons) | N/A |
Absorbs | Dark |
Merciless Soul Weaknesses
Vulnerabilities (Elements) | Light |
Vulnerabilities (Weapons) | Staves |
Half-Damage (Elements) | Water |
Half-Damage (Weapons) | N/A |
Immunity (Elements) | Dark |
Immunity (Weapons) | N/A |
Absorbs | N/A |
Jormungandr's abilities are all hard-hitting physical or Earth-elemental attacks. Its move, Gaiaquake, can deal over 6,000 Earth damage.
Poison Breath | Deals physical damage. May inflict Poison status. |
Spew Bile | Deals massive damage and lowers physical defense of 1 target. |
Sandstorm | Deals Earth damage to all targets. May inflict Bind. |
Gaiaquake | Massive physical earth damage with a chance of inflicting Dread. Also removes Earth resistance. |
Recommended Jobs and Abilities
As stated, it's best not to challenge this boss under level 60, level 50 at the lowest. Any attacking units should have an accuracy of 300 because every move will count.
The Jobs to bring need to cover buffs, healing, and deal heavy damage. While players can mix and match different Bravely Default Jobs and see what works, the following are recommended:
Jobs | Freelancer | Salve-Maker | *Beastmaster | *White Mage |
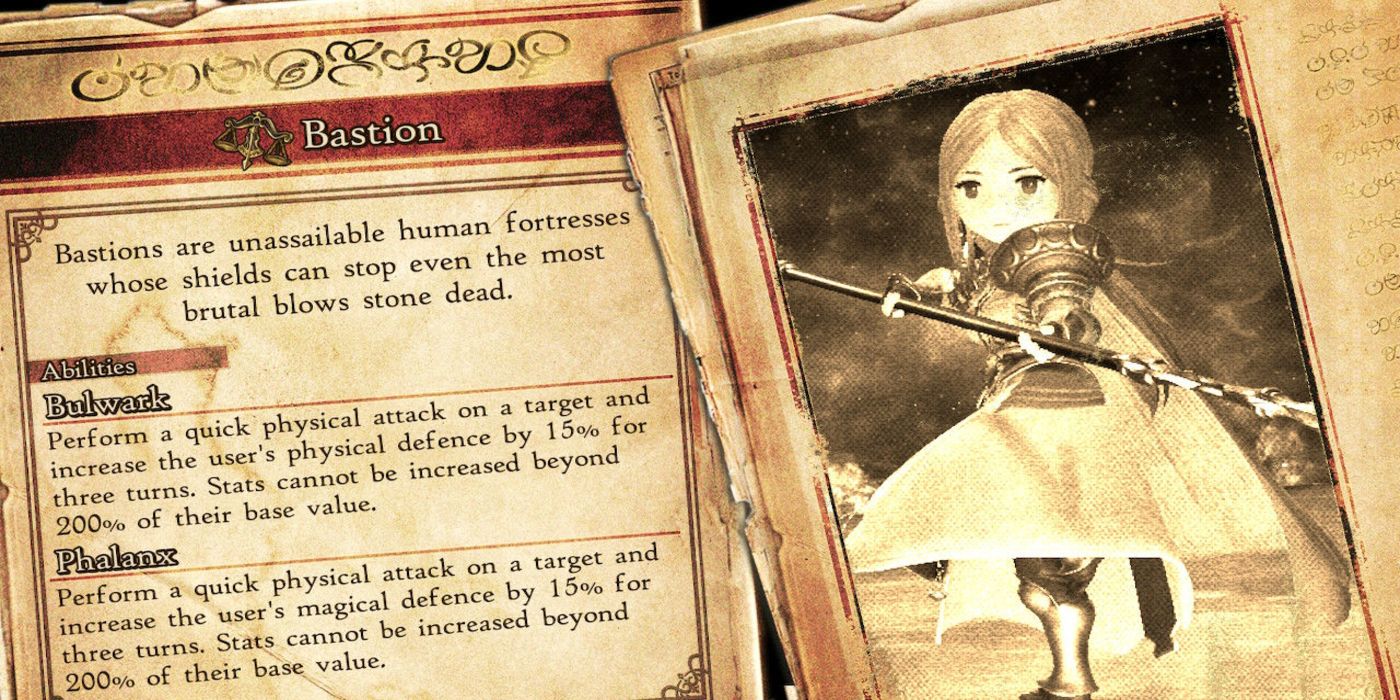
Sub-Jobs | Bastion | Oracle | *Thief | Hellblade (or Player's Choice) |
Abilities (Jobs) | Dual Wield (Phantom) | *Hastega (Salve-Maker) | Raw Power, Spearhead (Beastmaster) | Reraise (Spiritmaster) |
Abilities (Sub) | *Rampart (Bastion) | Curaga (White Mage) | *Godspeed Strike (Thief) | *Surpassing Power (Hellblade) |
Jobs and abilities marked with (*) the asterisk are highly recommended. Make sure all Jobs are at their max level. Finally, avoid using Jobs with low speed as the Main Job and make them Sub-Jobs instead.
Jormungandr Boss Fight
Defeat the Shadowmoths first and make sure they're being taken out in one hit. Use Godspeed Strike and don't spend too much time on them. Having the Spearhead ability on Beastmaster will enable the player to act first against the Shadowmoths. Godspeed Strike is also useful in attacking the main boss while Beastmaster recovers.
Use Rampart (Freelancer) to protect the team from physical attacks. Rampart is vital to this fight, as Jormungandr's attacks, though hard-hitting, are all Physical. Have Salve-Maker buff White Mage's Speed with Haste-Maker so that it can always heal in-between turns. White Mage should also use Reraise and Spiritbringer on their allies and Beastmaster respectively.
Having the Bravely Default team at high levels will not counter Gaiaquake. However, this move can be countered by equipping Earth-resistant gear or using the Sanctuary (Freelancer) ability. This should be used before applying buffs and will negate healing and damage. Remember that Gaiaquake will remove any Earth-resistances. A good counter to this is the Elemental Ward ability.
Applying the Surpassing Ability will increase the amount of damage by lifting the damage cap. Have this ability with the Thief's Godspeed Strike --accompanied with Dual Wield, Spearhead, and Raw Power (+ Critical Amp) enables over 9,999 damage.
Tips and Rewards
Equip everyone with Spear Weapons (recommended: Ryunohige)
- Always set up Reraise at the start of the battle.
- Rampart needs to be used on every turn.
- Use Ethers to restore mana to one party member (especially for Beastmaster) and Spiritbringer to restore everyone's mana.
- Increasing the Critical Rate isn't required, but it will make the fight easier.
Jormungandr will drop the Earth Mallet and the Monstrous Medley. Players can try and Steal these items instead if they wish.
For completing the quest, players will receive the Mal Meadworth, a Sword that pairs well with the Swordmaster, Bastion, Hellblade, or Dragoon Jobs.
Bravely Default 2 is available on the Nintendo Switch and Steam.

