Quick Links
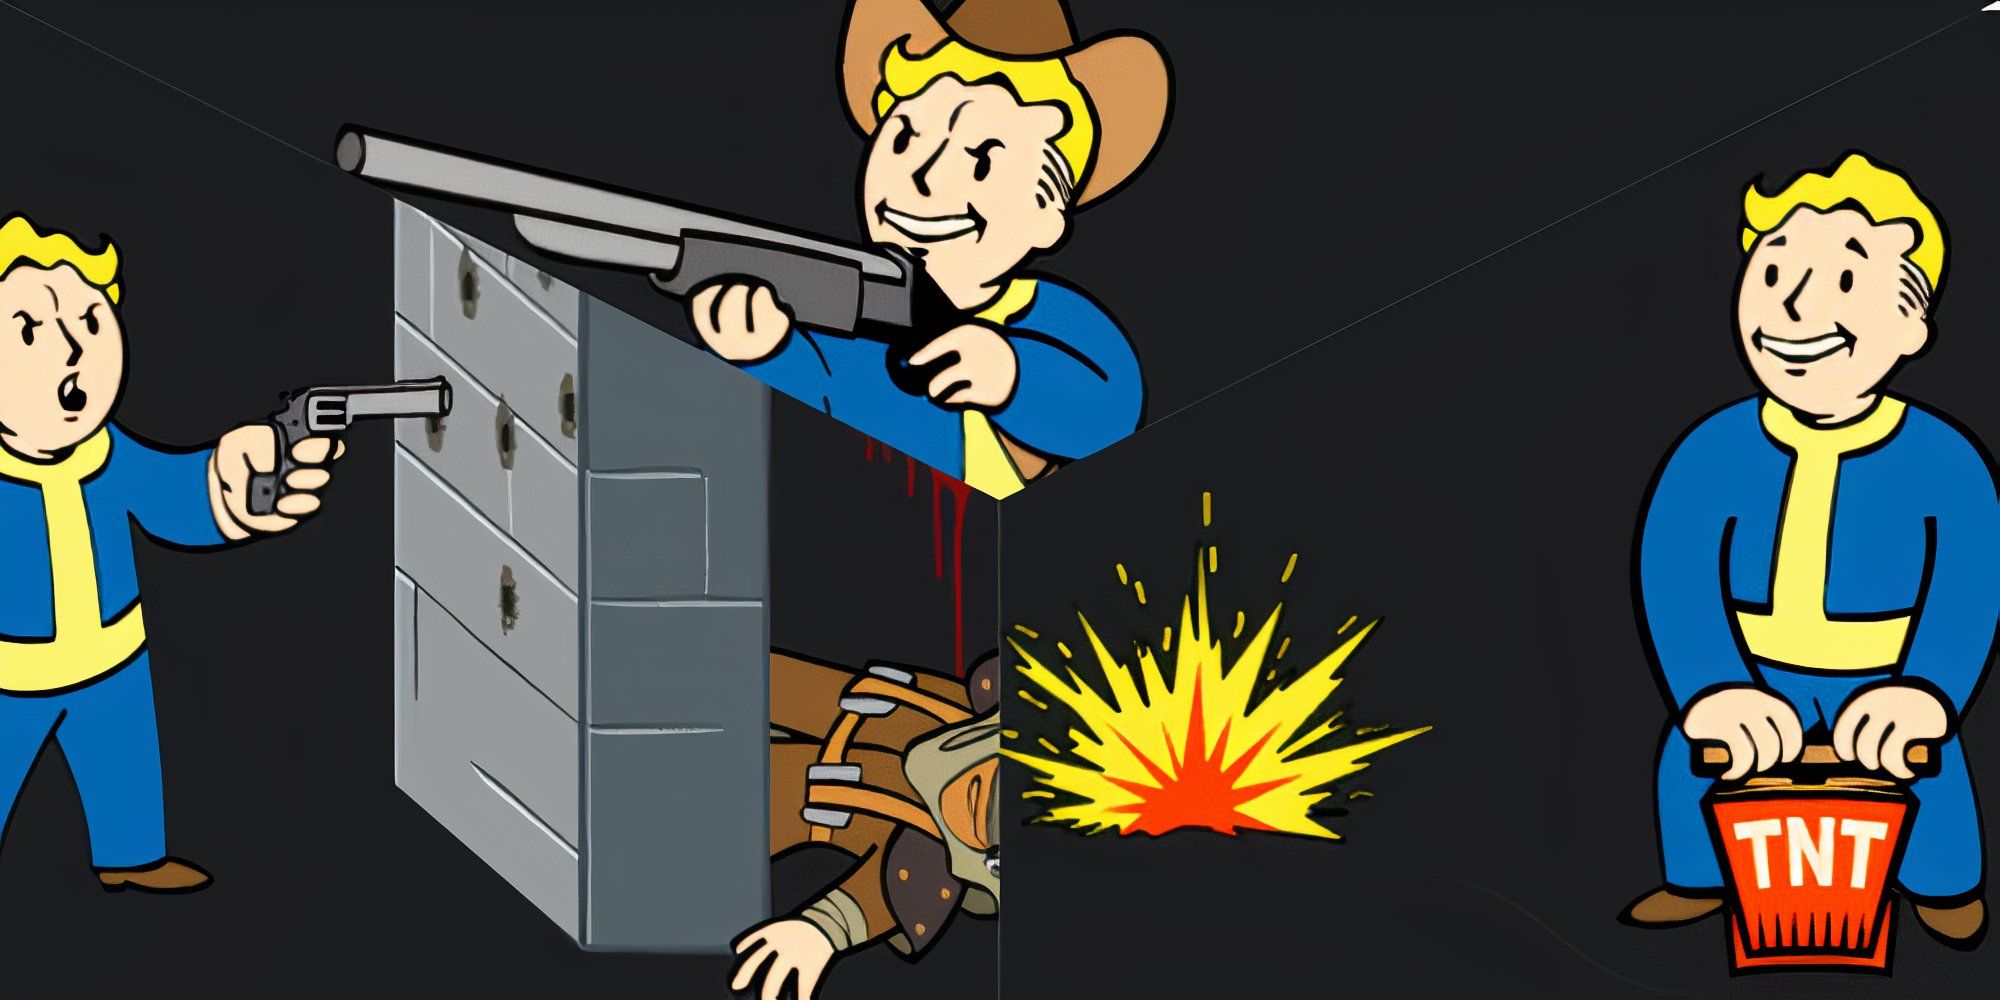
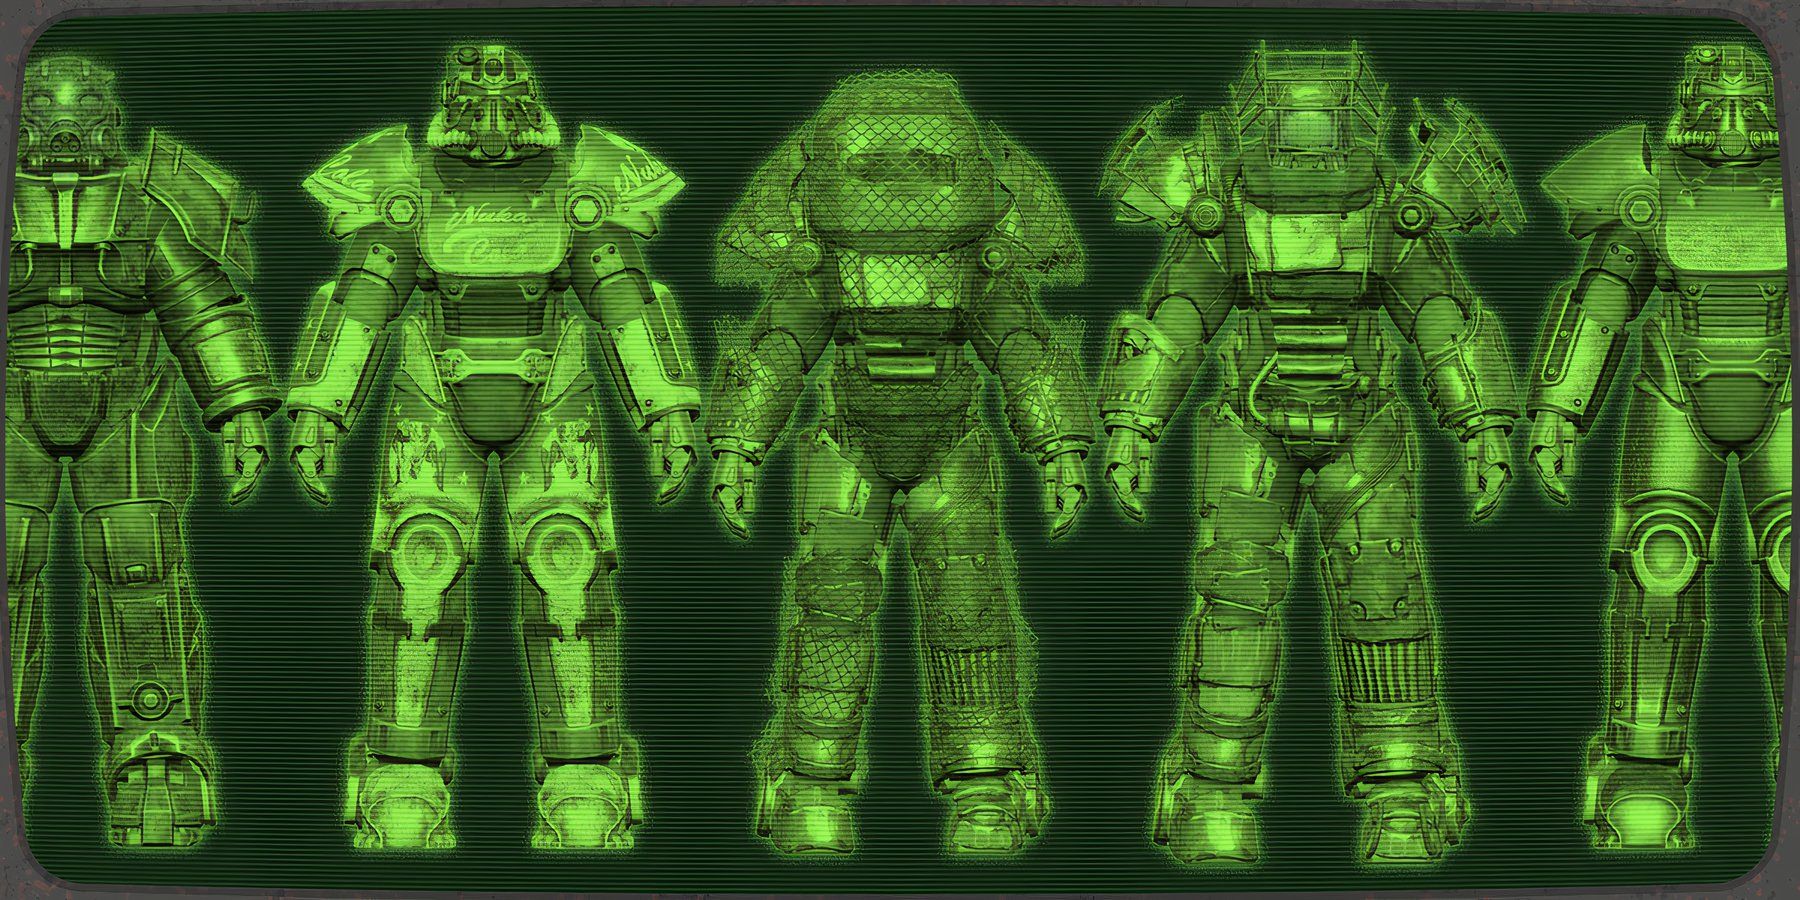
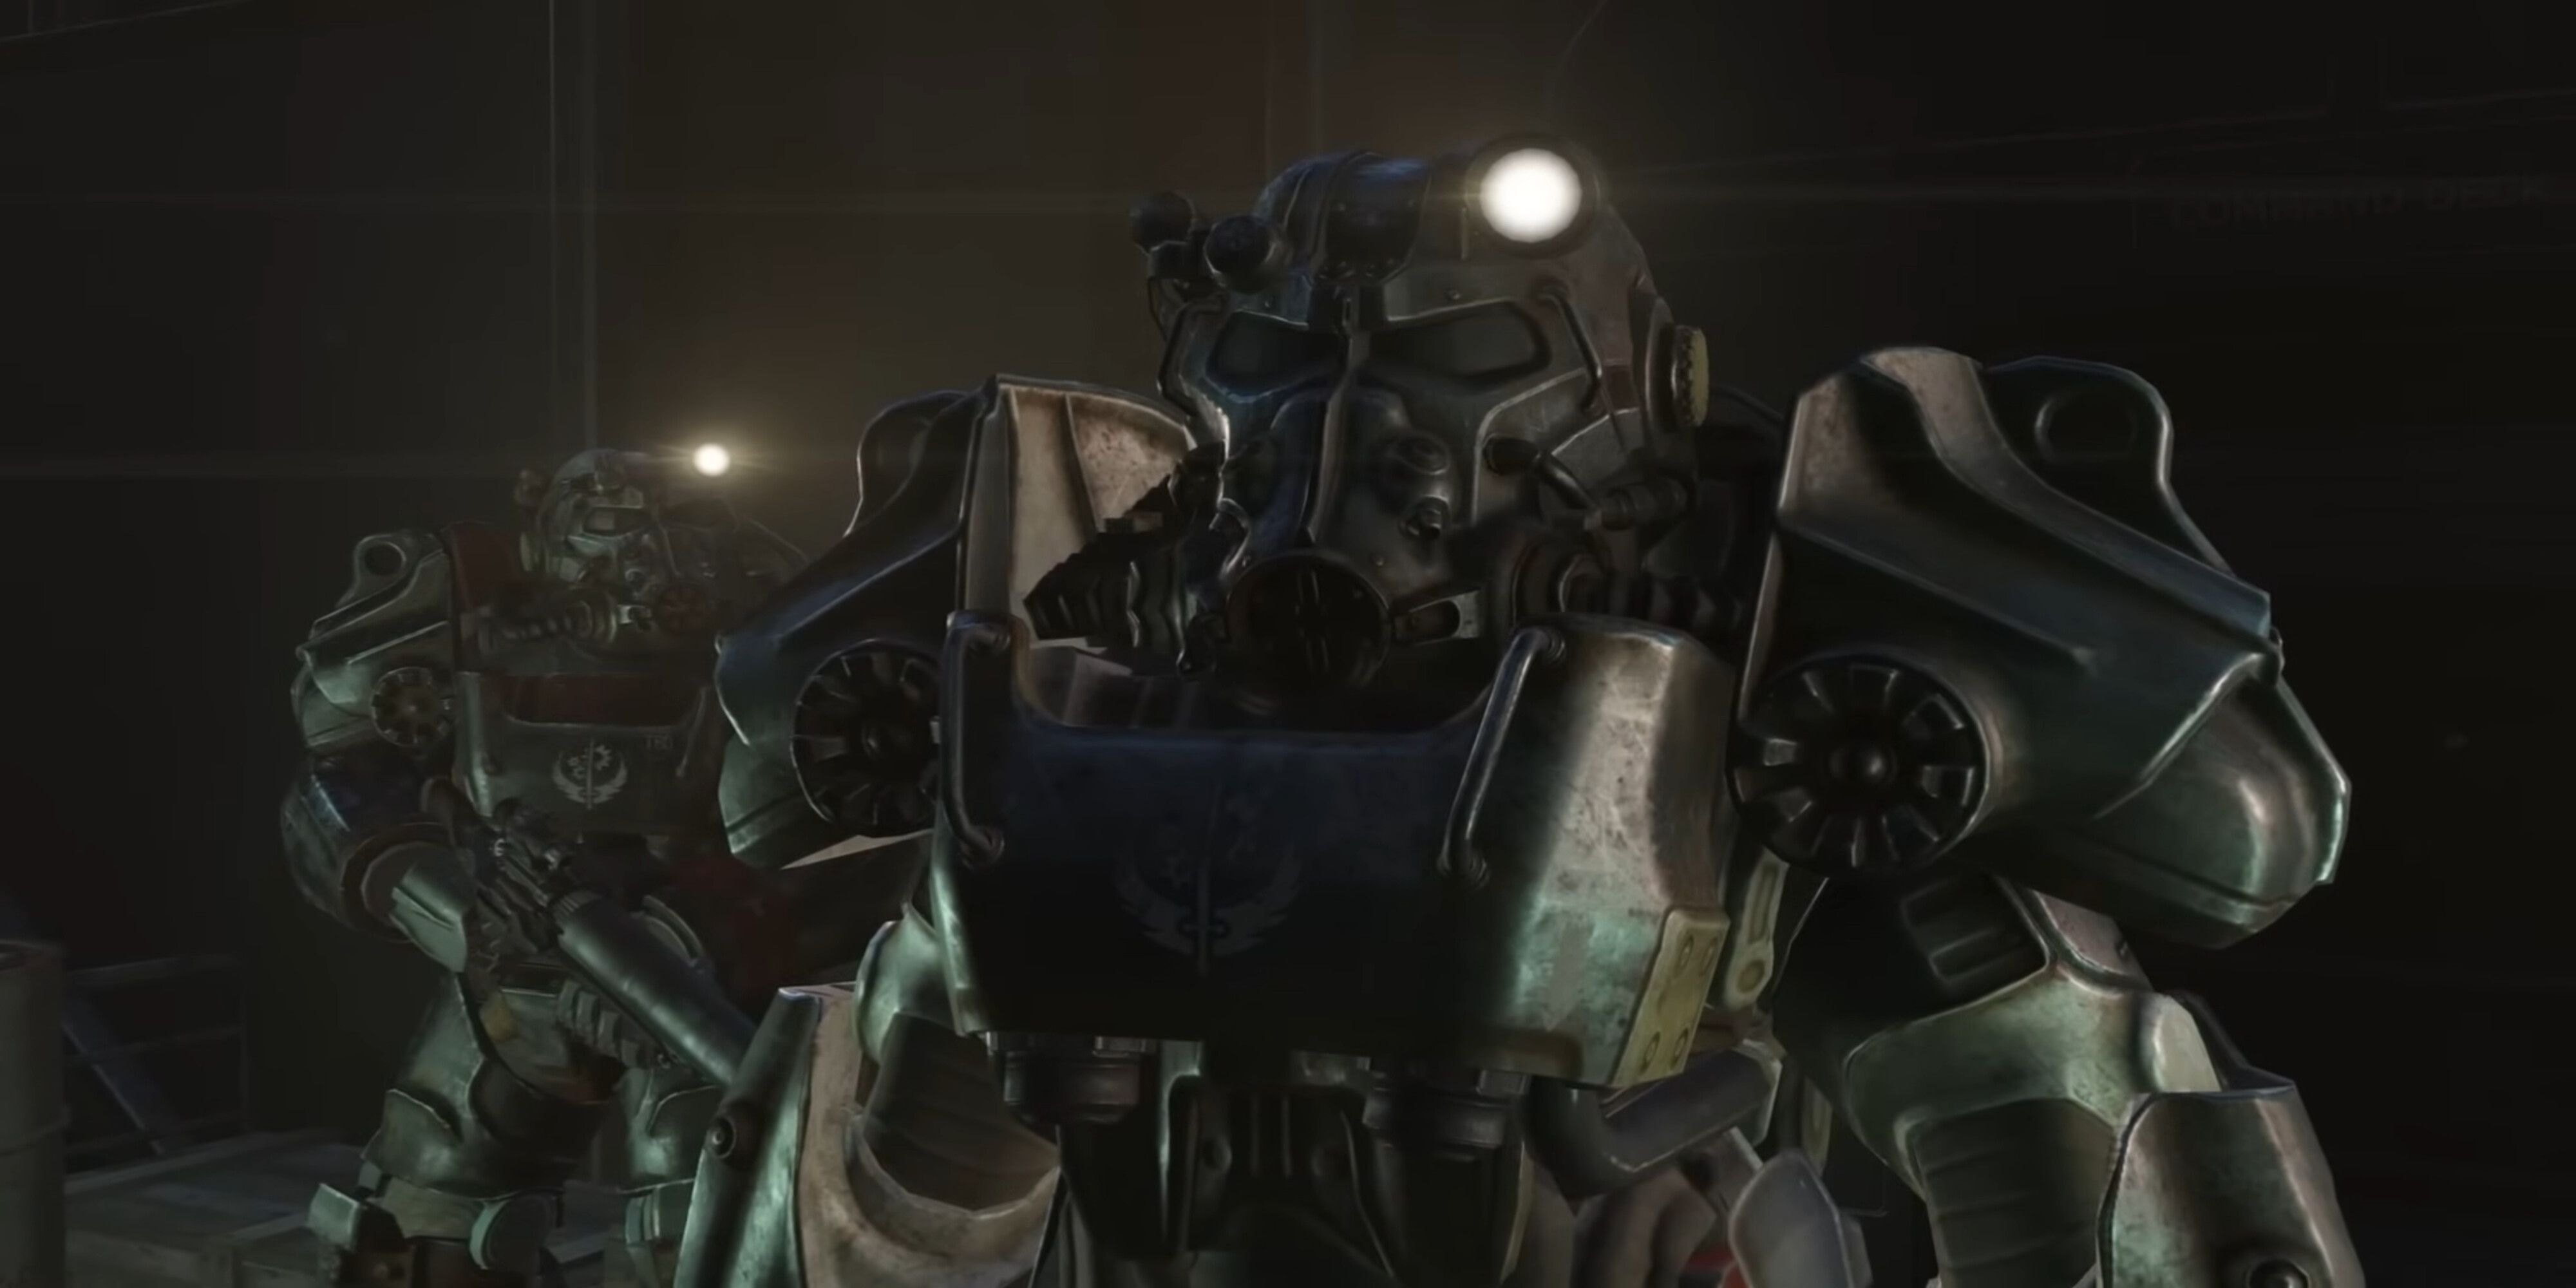
Numerous types of builds are available in Fallout 4, but none hit as hard as this explosive build of the franchise's iconic Power Armor. This build focuses on high defenses and uses automatic explosive weapons that are buffed by the Demolition Expert and Commando perks to cause massive damage to enemies. It is particularly effective for a survival/permadeath playthrough.
Players can attain the basic build by level 58 and continue to enhance it through level 100, making you highly survivable and robust early on in the game. Here's the best Power Armor build for Fallout 4 that will have the inhabitants of Boston shaking with fear.

Fallout 4: Where to Find Every Bobblehead
Stuck hunting around for any Bobbleheads in the wastelands of a post-nuclear war Boston? Here's our handy guide to every Bobblehead location in Fallout 4.
Best Power Armor Build in Fallout 4
The starting S.P.E.C.I.A.L. stats provided below are based on how you will play Fallout 4 at the beginning and will maximize the efficiency of getting the perks essential to this build, so it is completed sooner. You will eventually max out all stats when you reach level 80 and beyond, which will buff you even more and make you unstoppable.
S | 3 |
P | 4 |
E | 1 |
C | 5 |
I | 9 |
A | 1 |
L | 5 |
The Kiloton Radium Rifle in Far Harbor is this build's best automatic explosive weapon to pair with your type of Power Armor. However, it will take a bit to reach this point, so using a gun like the Overseers Guardian is a good alternative. You can purchase it early in the game from Alexis Combes in Vault 81. Another great alternative is the Spray N' Pray, sold by Cricket at Bunker Hill.
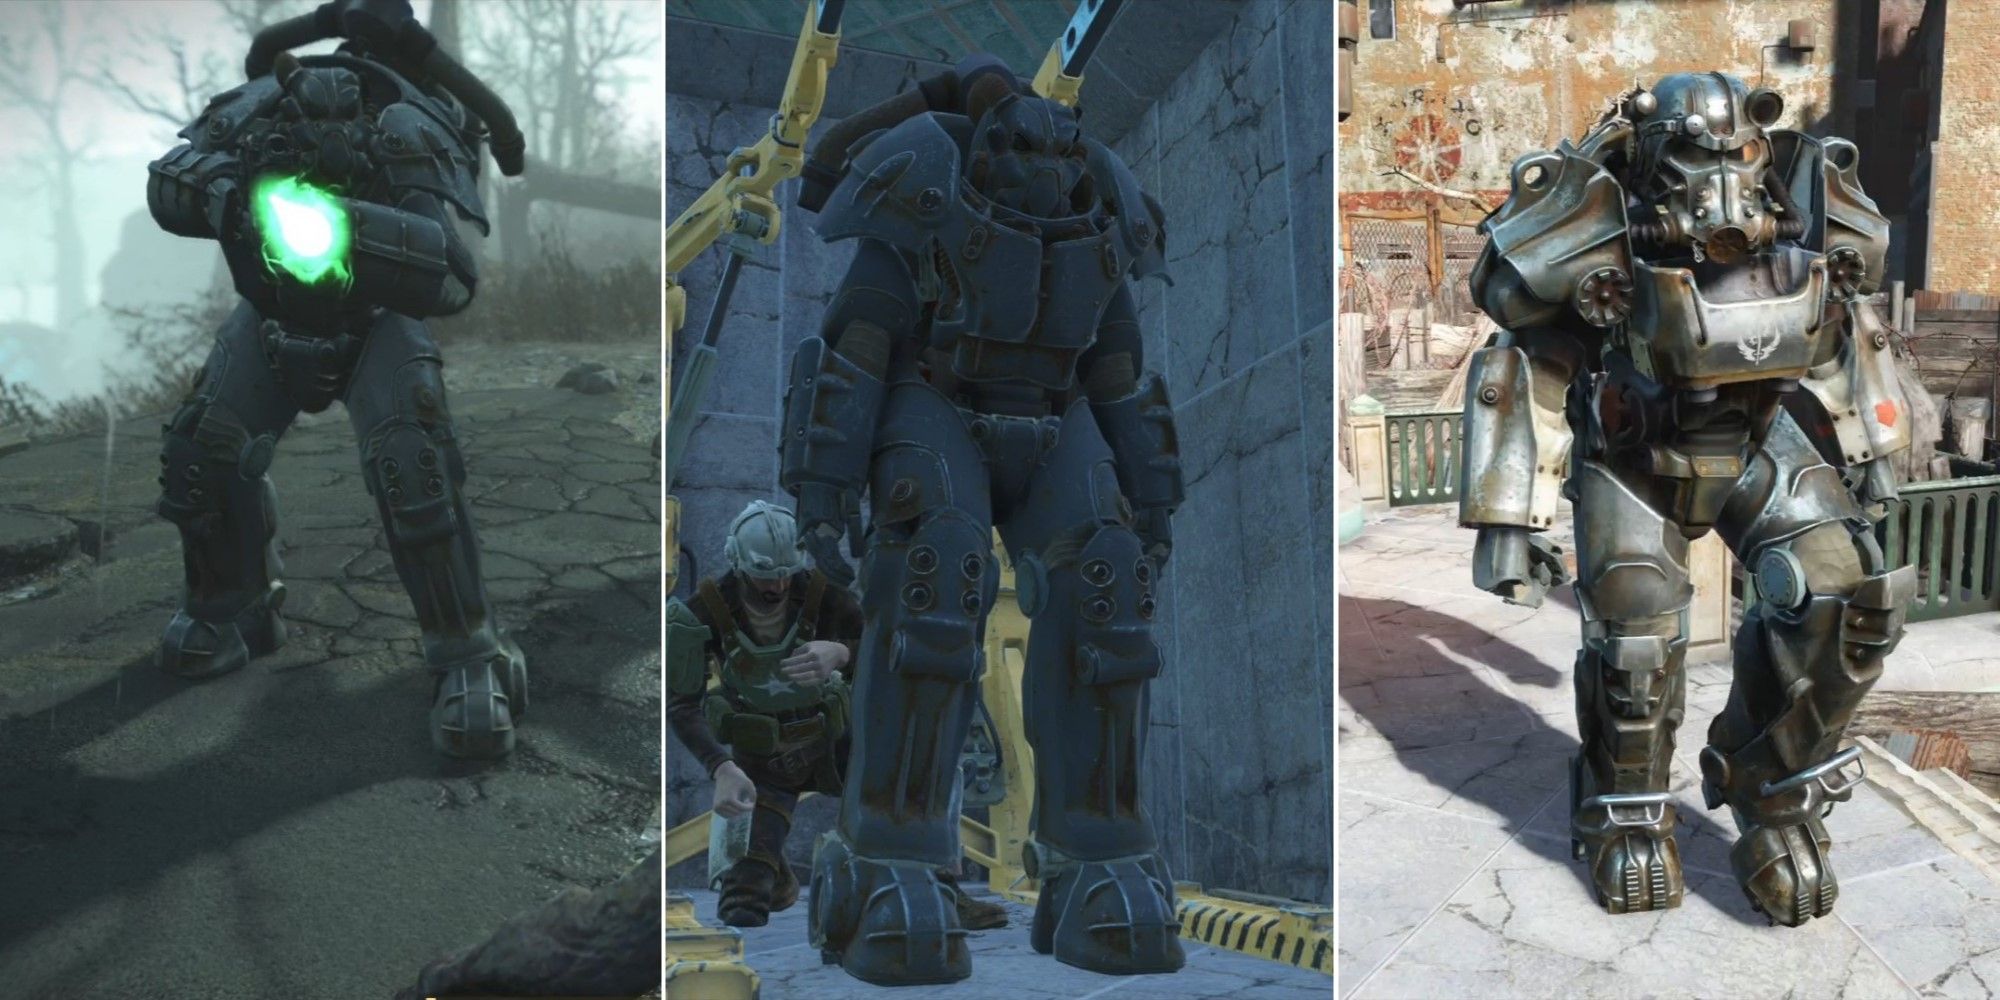
Best Fallout 4 Power Armor Modifications
There are a lot of great Power Armor mods to use in Fallout 4. Here's how to make some of the best.
Level 1 | No Perks |
Level 2 | Idiot Savant (Rank 1) |
Level 3 | Scrounger (Rank 1) |
Level 4 | Science (Rank 1) |
Level 5 | Locksmith (Rank 1) |
Level 6 | Wait until Level 7 |
Level 7 | Scrounger (Rank 2) and Locksmith (Rank 2) |
Level 8 | Lone Wanderer (Rank 2) |
Level 9 | Nuclear Physicist (Rank 1) |
Level 10 | Gun Nut (Rank 1) |
Level 11 | Idiot Savant (Rank 2) |
Level 12 | Chemist (Rank 1) |
Level 13 | Gun Nut (Rank 2) |
Level 14 | Local Leader (Rank 1) |
Level 15 | Local Leader (Rank 2) |
Level 16 | Armorer (Rank 1) |
Level 17 | Lone Wanderer (Rank 2) |
Level 18 | Armorer (Rank 2) |
Level 19 | Science (Rank 2) |
Level 20 | Locksmith (Rank 4) |
Level 21 | Scrapper (Rank 1) |
Level 22 | Wait Until Level 25 |
Level 23 | Scrapper (Rank 2) |
Level 24 | Scrounger (Rank 3) |
Level 25 | Armorer (Rank 3) and Gun Nut (Rank 3) |
Level 26 | Nuclear Physicist (Rank 2) |
Level 27 | Demolitions Expert (Rank 1) |
Level 28 | Science (Rank 3) |
Level 29 | Demolitions Expert (Rank 2) |
Level 30 | Demolition Expert (Rank 3) |
Level 31 | Demolition Expert (Rank 4) |
Level 32 | Put a point into Agility |
Level 33 | Commando (Rank 1) |
Level 34 | Idiot Savant (Rank 3) |
Level 35 | Commando (Rank 2) |
Level 36 | Commando (Rank 3) |
Level 37 | Wait Until Level 39 |
Level 38 | Wait Until Level 40 |
Level 39 | Armorer (Rank 4) and Gun Nut (Rank 4) |
Level 40 | Lone Wanderer (Rank 3) and Scrapper (Rank 3) |
Level 41 | Science (Rank 4) |
Level 42 | Commando (Rank 4) |
Level 43 | Bloody Mess (Rank 1) |
Level 44 | Medic (Rank 1) |
Level 45 | Chemist (Rank 2) |
Level 46 | Cap Collector (Rank 1) |
Level 47 | Hacker (Rank 1) |
Level 48 | Hacker (Rank 2) |
Level 49 | Commando (Rank 5) |
Level 50 | Lone Wanderer (Rank 4) |
Level 51 | Bloody Mess (Rank 2) |
Level 52 | Bloody Mess (Rank 3) |
Level 53 | Medic (Rank 2) |
Level 54 | Medic (Rank 3) |
Level 55 | Chemist (Rank 3) |
Level 56 | Cap Collector (Rank 2) |
Level 57 | Cap Collector (Rank 3) |
Level 58 | Hacker (Rank 3) |
Level 59 | Put a point into Strength |
Level 60 | Put a point into Strength |
Level 61 | Put a point into Strength |
Level 62 | Put a point into Strength |
Level 63 | Put a point into Strength |
Level 64 | Put a point into Strength |
Level 65 | Put a point into Strength |
Level 66 | Put a point into Endurance |
Level 67 | Put a point into Endurance |
Level 68 | Put a point into Endurance |
Level 69 | Put a point into Endurance |
Level 70 | Put a point into Endurance |
Level 71 | Put a point into Endurance |
Level 72 | Put a point into Endurance |
Level 73 | Put a point into Endurance |
Level 74 | Put a point into Endurance |
Level 75 | Strong Back (Rank 1) |
Level 76 | Strong Back (Rank 2) |
Level 77 | Strong Back (Rank 3) |
Level 78 | Steady Aim (Rank 1) |
Level 79 | Steady Aim (Rank 2) |
Level 80 | Steady Aim (Rank 3) |
Level 81 | Adamantium Skeleton (Rank 1) |
Level 82 | Adamantium Skeleton (Rank 2) |
Level 83 | Adamantium Skeleton (Rank 3) |
Level 84 | Solar Powered (Rank 1) |
Level 85 | Put a point into Agility |
Level 86 | Put a point into Agility |
Level 87 | Put a point into Agility |
Level 88 | Put a point into Agility |
Level 89 | Put a point into Agility |
Level 90 | Put a point into Agility |
Level 91 | Put a point into Agility |
Level 92 | Put a point into Agility |
Level 93 | Action Boy/Girl (Rank 1) |
Level 94 | Action Boy/Girl (Rank 2) |
Level 95 | Action Boy/Girl (Rank 3) |
Level 96 | Moving Target (Rank 1) |
Level 97 | Moving Target (Rank 2) |
Level 98 | Moving Target (Rank 3) |
Level 99 | Quick Hands (Rank 1) |
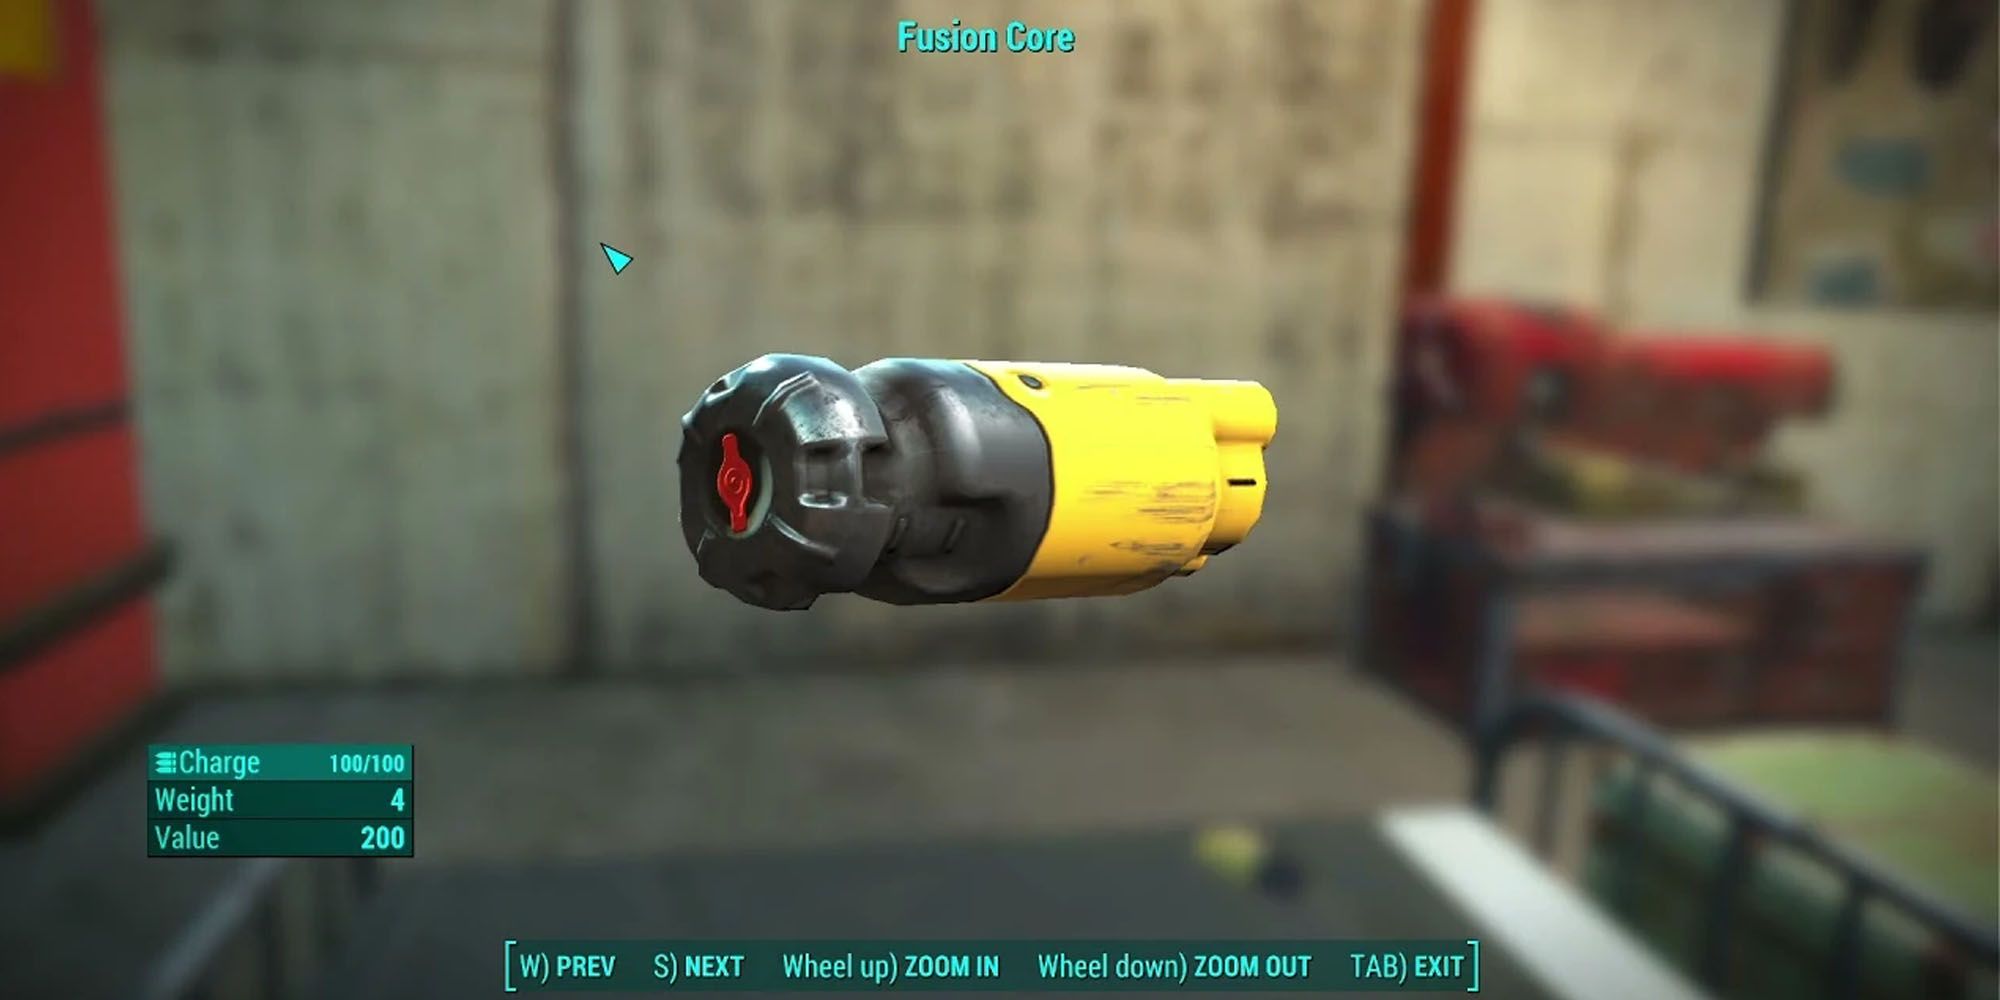
One last tip about using Power Armor in Fallout 4. When a Fusion Core is about to be depleted, you must remove it before it hits 0%. You'll want to do this because an almost depleted Fusion Core has the same value as a fully charged one, meaning you can sell it to vendors for lots of caps when needing to buy a new one.

