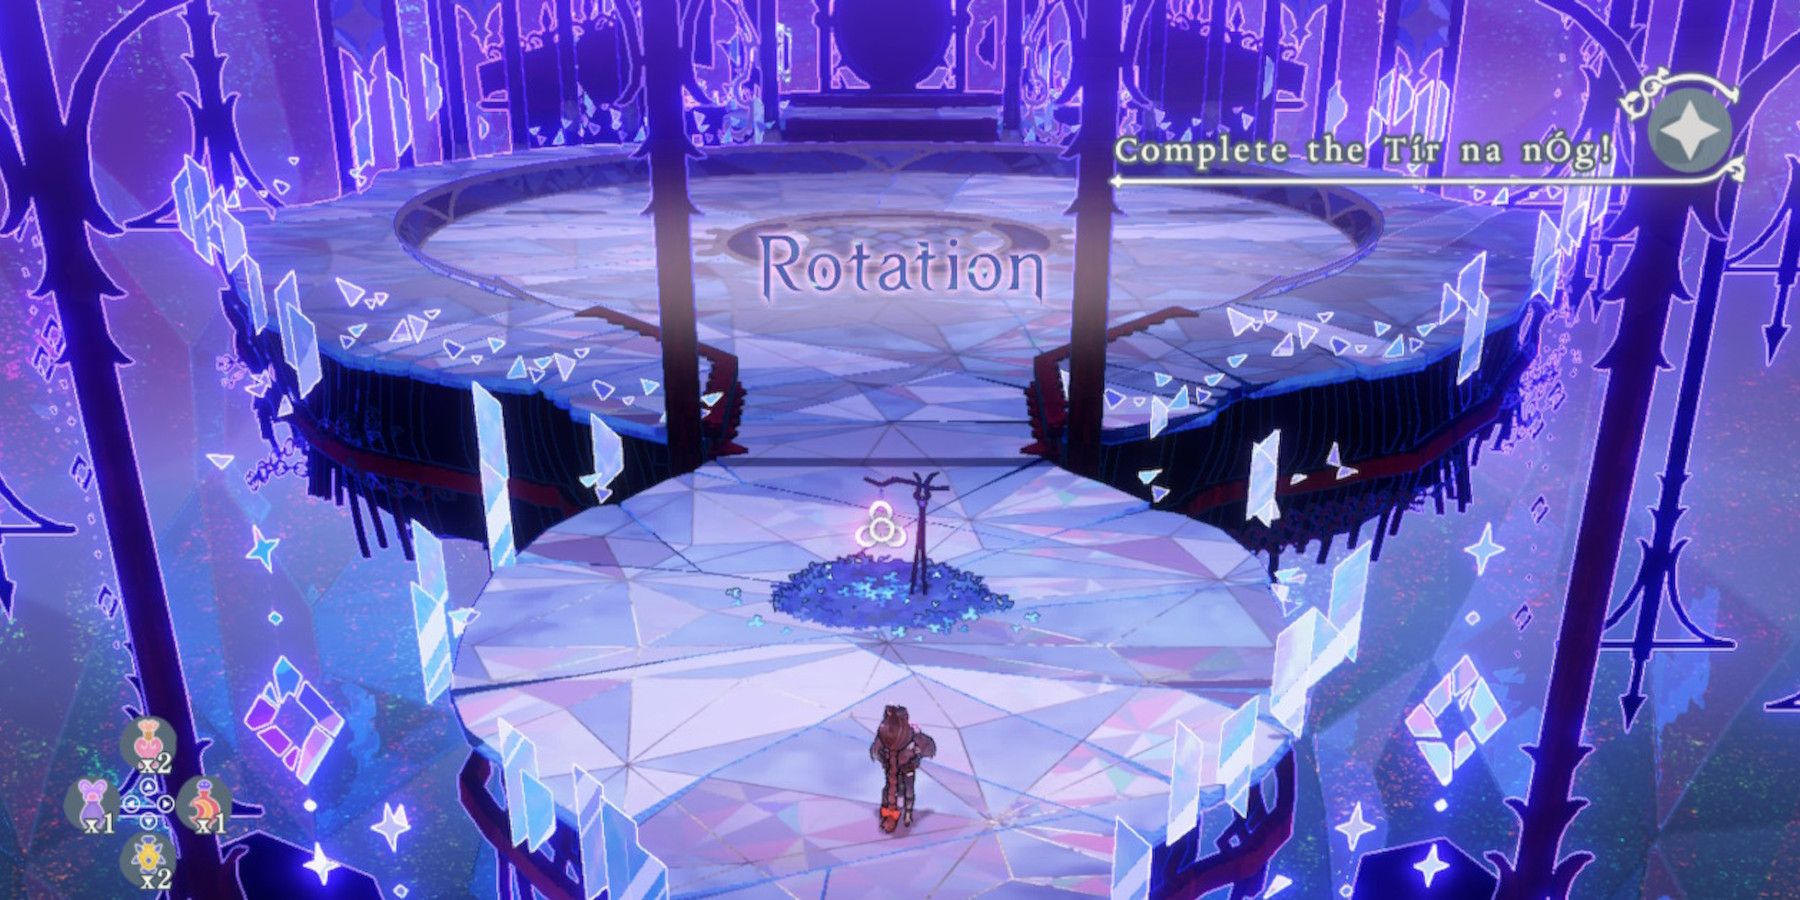
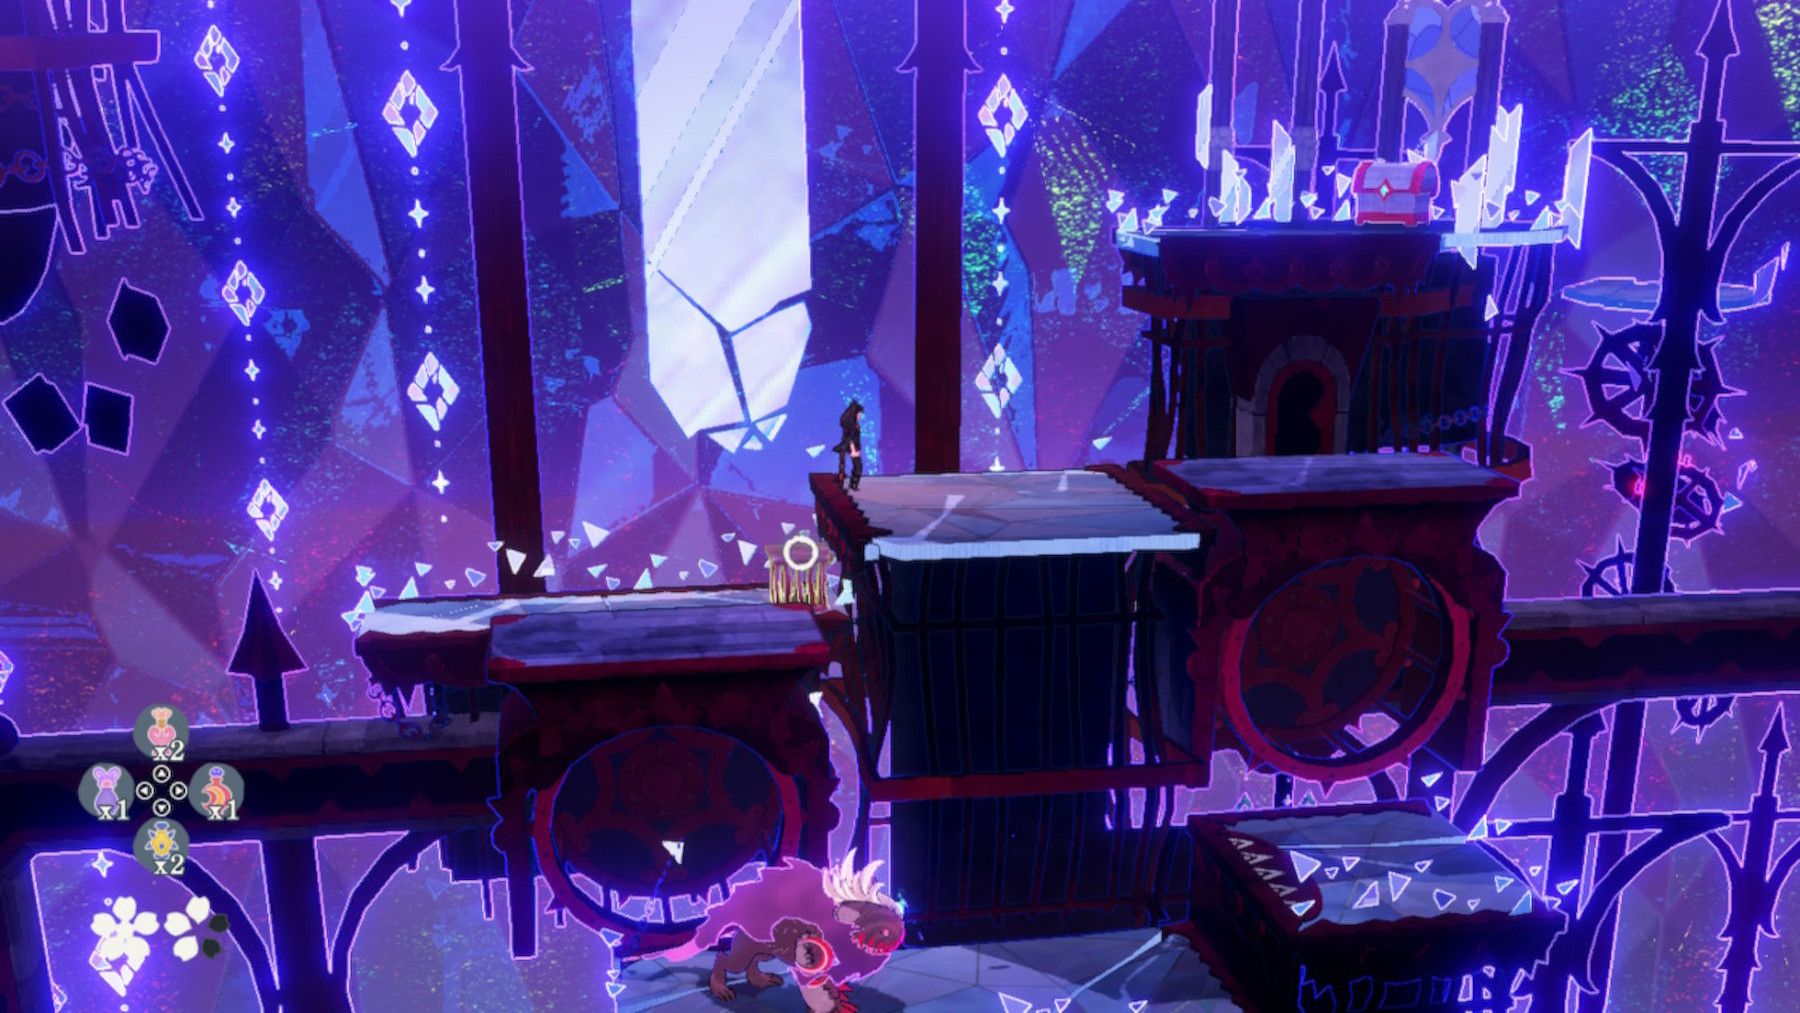
Players will encounter the Rotation Tir na nOg challenge as they work through Chapter 3 of Bayonetta Origins: Cereza and the Lost Demon. While this is not an extremely difficult Tir na nOg to complete, there are some spots within it that may leave players slightly confused. For those fans that do find themselves stuck within Bayonetta Origins: Cereza and the Lost Demon's Rotation Tir na nOg challenge, this walkthrough is here to help.
Bayonetta Origins: Cereza and the Lost Demon - Rotation Tir Na Nog Challenge Walkthrough
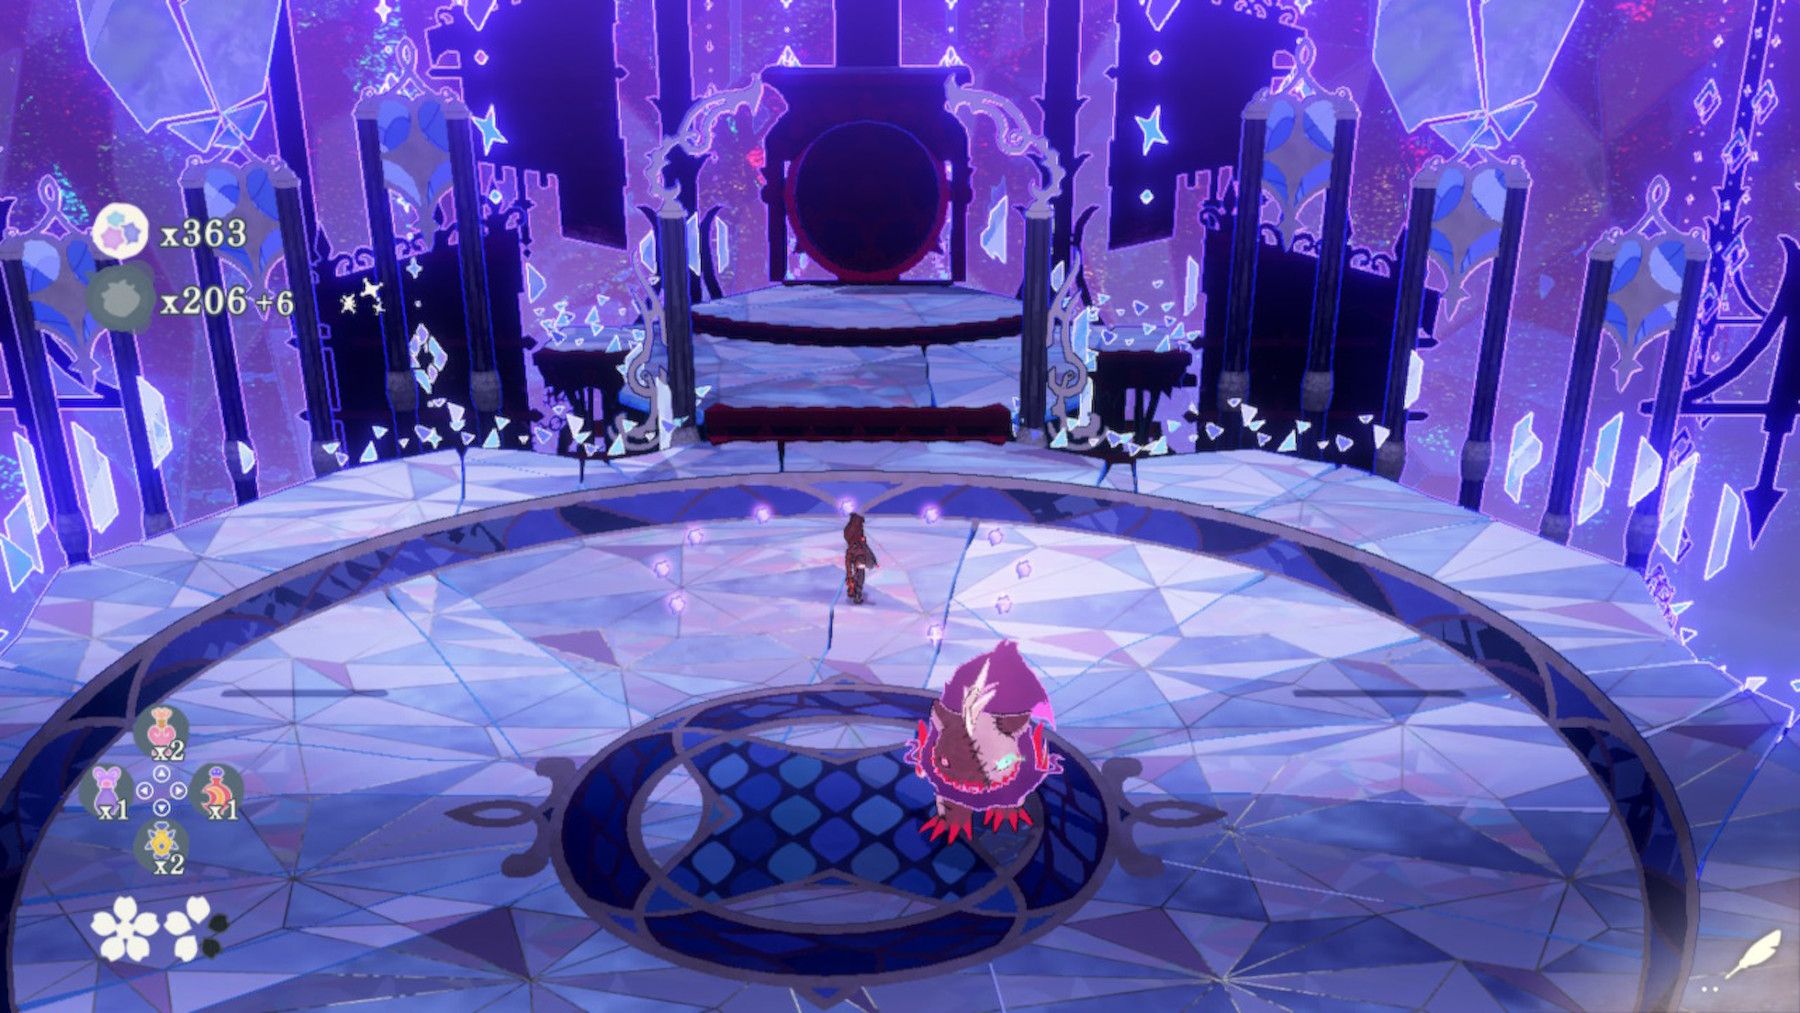
Upon entering the Rotation Tir na nOg, players should proceed past the Arcane Lantern and initiate a battle in the small arena. Notably, this battle in Bayonetta Origins: Cereza and the Lost Demon features Pixes, flying enemies that can be dealt with by waiting for them to land, hitting them with Cereza's Thorn Bind, and then attacking them with Cheshire.
After the fight, players should proceed forward to reach a large red wheel. This wheel can be entered by an unleashed Cheshire, and Bayonetta fans should hold left on the right joystick when the demon is inside. This action will cause the wheel to move downward, allowing Cereza to climb onto the platform that is on top of it.
With Cereza in position, players should hold right on the right joystick to send the wheel up and to the right, stopping when the apparatus hits a platform that blocks its way forward. Here, Bayonetta Origins: Cereza and the Lost Demon's Cheshire should exit the wheel and enter a second wheel that is to the right, while Cereza should push a crate to the right in order to get on top of that wheel.
Players should now hold left on the right joystick, to give Cereza access to a chest on an elevated platform, and then send the duo to the right. As the wheel ascend on this path, fans should time their movements carefully in order to avoid getting hit by the blue projectiles.
The apparatus will hit a split path not long after passing those projectiles, and Cereza will need to cross the top path to reach a ladder, while Cheshire will need to cross the bottom path to reach a third wheel. Once again, fans of puzzle-platformers must time their movements as they cross these paths, and they can use the wheel to protect Cereza from the projectiles as she climbs the ladder.
At the top, Cereza should head to the left to stand on top of a fourth wheel, which Cheshire can enter after breaking through a pane of stained-glass. While players will ultimately hold right on the right joystick to send this apparatus upward, they should first hold left to reach a platform with a chest below.
The section after this chest is all about timing, and players must be careful to not send Cereza into the beams that cross her path. In some cases, that is done by destroying the enemies with Thorn Bind, and an in-game tutorial makes it clear when that strategy is to be employed.
At the end of the path, players will find the Rotation Tir na nOg's third and final chest, which contains a Vitality Petal. With that jewel collected, fans of the Bayonetta franchise should use the wheel to give Cereza access to a path on the left and to give Cheshire access to a path on the right. These paths lead directly to end of the level, and players will find themselves back in the Sunspeckled Grove upon exiting.
Bayonetta Origins: Cereza and the Lost Demon is available on Nintendo Switch.

