Quick Links
If Gale party in Baldur's Gate 3, he'll constantly remind the protagonist that he wants to visit Sorcerous Sundries in Baldur's Gate. The shop has the best collection of tomes and magic scrolls north of Candlekeep, and aside from Gale's quest it's also home to the wizard who hired an adventuring party to find the Nightsong.
As a result, Sorcerous Sundries is where a number of quests and plot lines from earlier in Baldur's Gate 3 converge. On top of that, it's the place where players will find some of the best items for Wizards and Sorcerers in the entire game. That's why this guide will explain how to search Sorcerous Sundries from top to bottom, and come away with heaps of gold, magic items, and experience points.
Ground Level
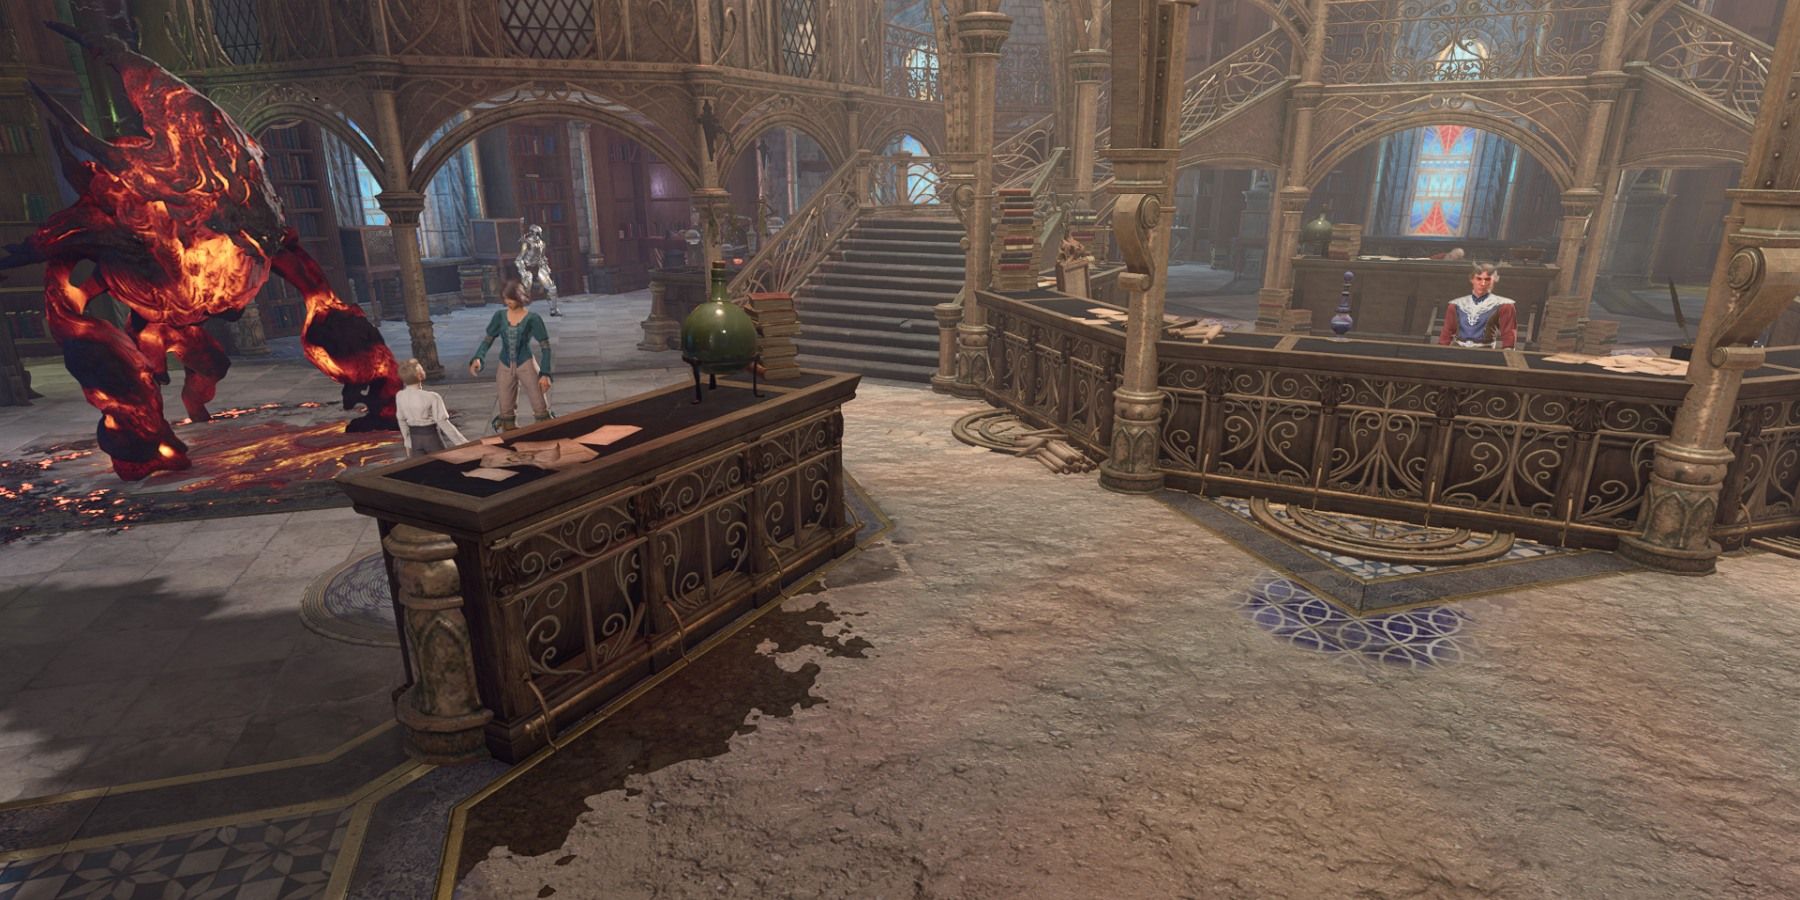
If the tiefling Wizard Rolan has survived Acts 1 and 2, players will find him manning the counter of Sorcerous Sundries. The master of the tower, Lorroakan, has taken Rolan in as his apprentice, though Rolan seems to have mixed feelings about this relationship. Players can speak to him to buy a variety of magical goods and spell scrolls. If Rolan didn't survive, a projection of Lorroakan will be here instead.
At the back of the shop is a second merchant, Tolna Tome-Monger. Players can speak to her to advance Gale's quest and learn about The Annals of Karsus, which holds all the information Gale is looking for. However, Tolna will refuse to sell the Annals or any of the other three rare books in the tower's vaults. Players can pass a DC 18 Deception, Intimidation, or Persuasion check to learn about a portal to the vaults in her office, but she'll refuse to give the party permission to go inside.
Tolna's office is on the next floor up and to the left of the stairs. The door is locked, impossible to destroy, and even if players open it the animated armor at the top of the stairs will try to stop the party from trespassing. An invisible Rogue can pick the lock and get inside, but players should avoid doing so for now. There's an easier way into the vault that the party can reach later on.
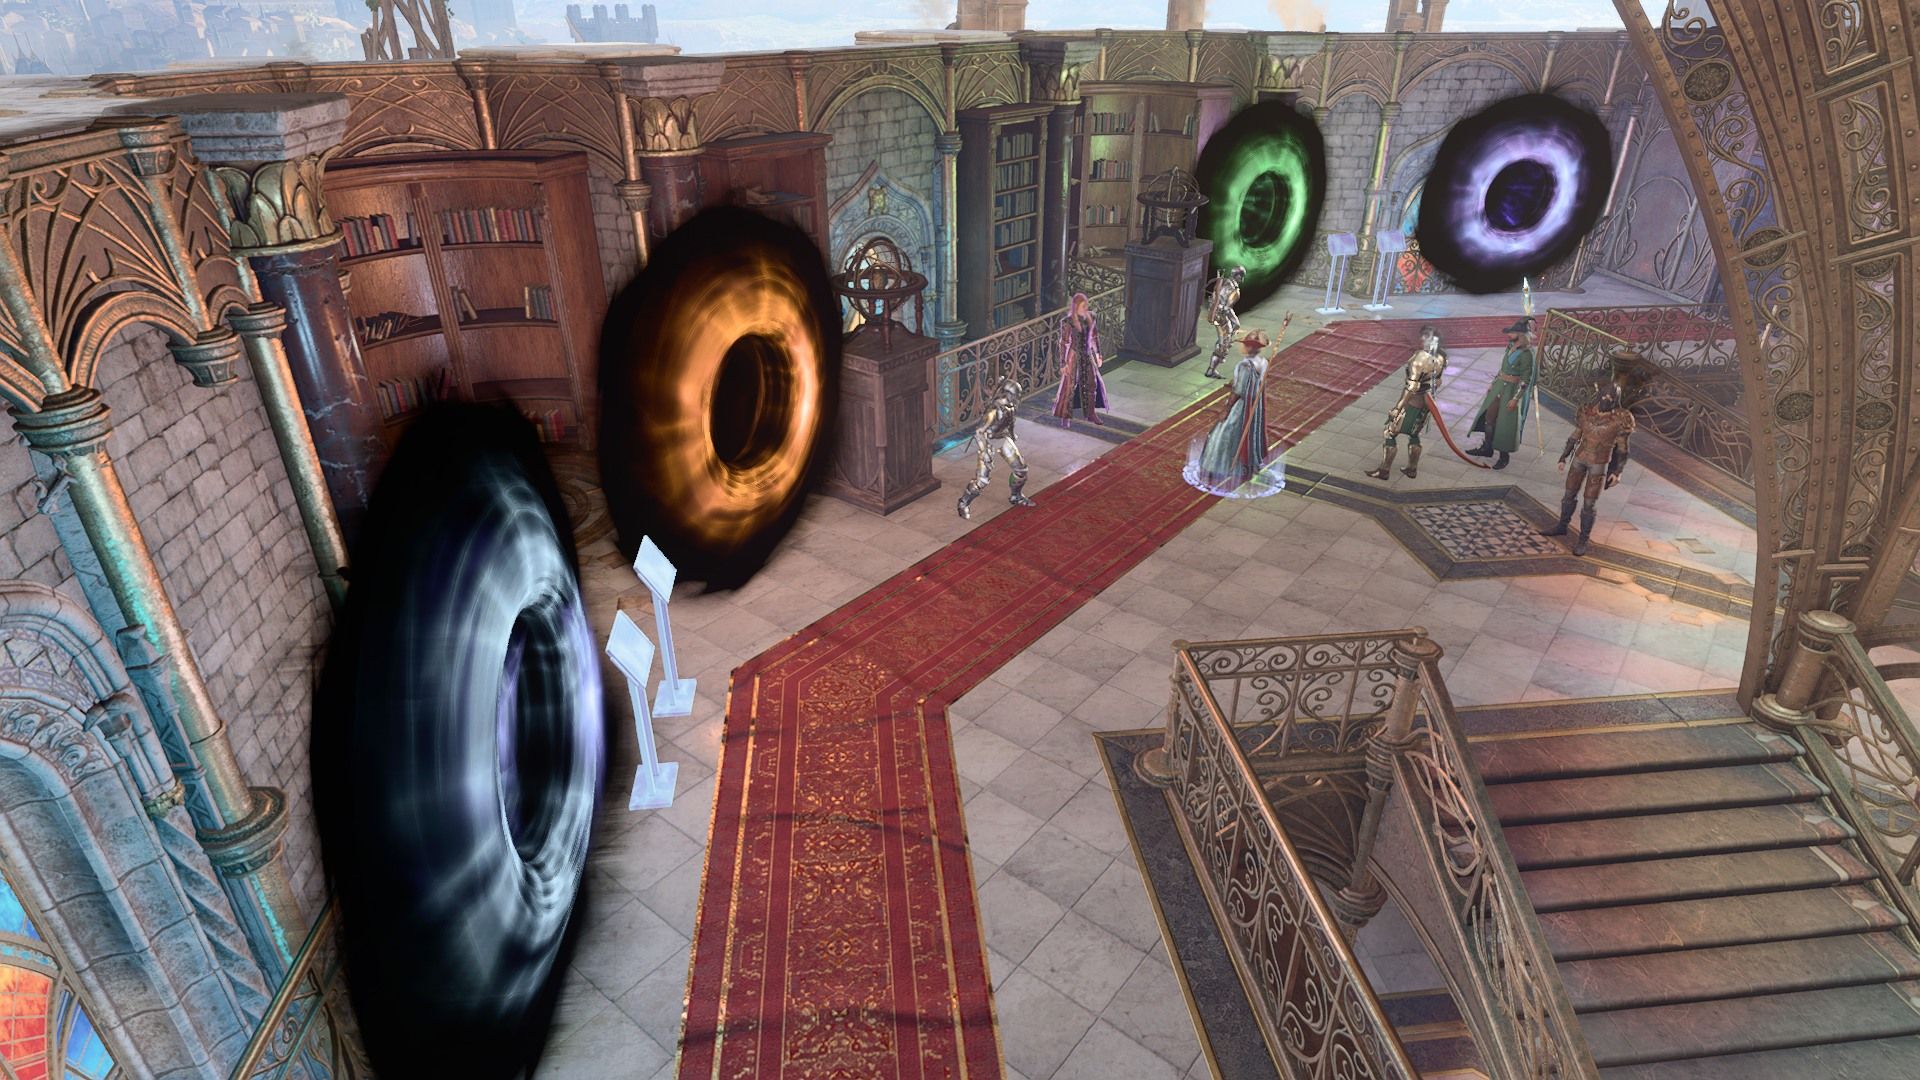
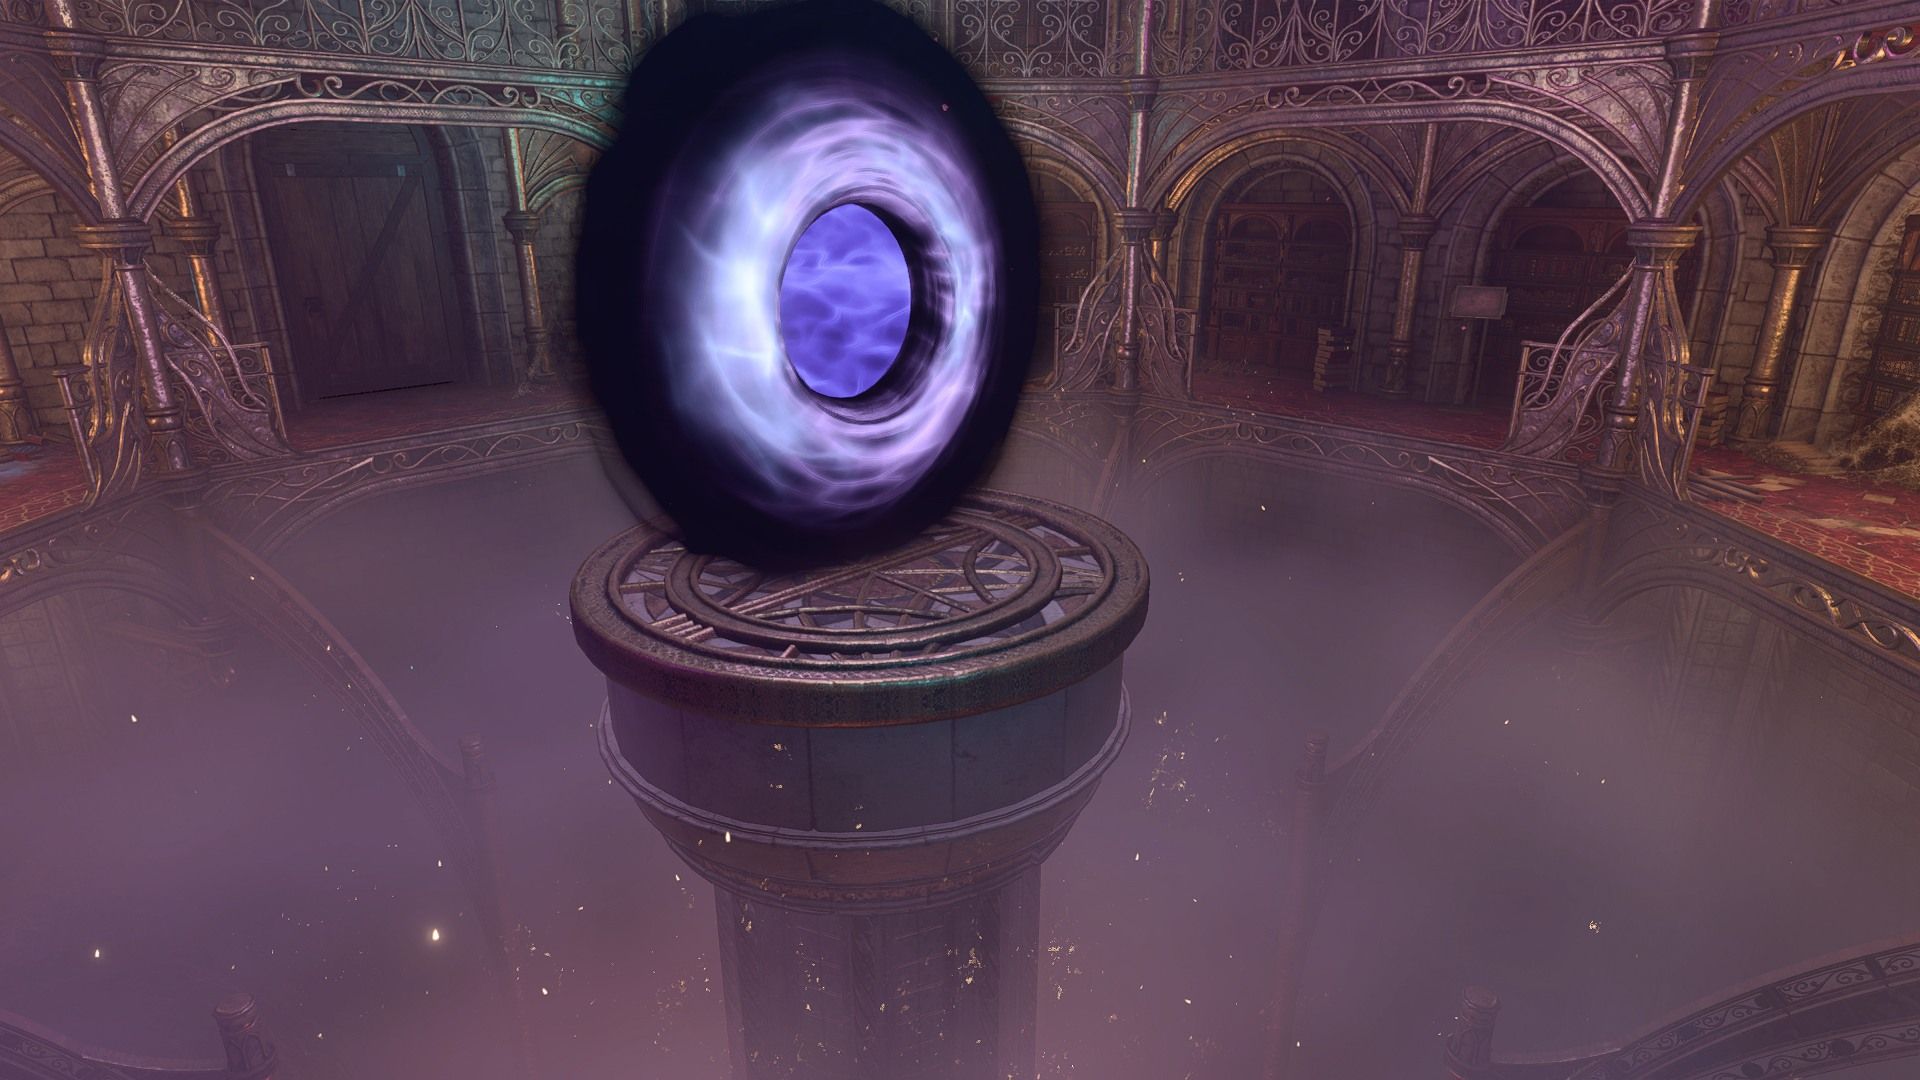
The other thing players can find on the second floor of Sorcerous Sundries is a projection of Lorroakan. Lorroakan wants to obtain the Nightsong, but he doesn't want to waste his time with anyone who doesn't even know what it is. As such, the projection opens four portals with a plaque in front of each one. If players choose the wrong portal, it'll teleport the active party member to the entrance of Sorcerous Sundries and drop their hit points to zero. The correct portal is the furthest to the left, the one with the plaque that says, "The Nightsong is an immortal being, the child of a deity."
Lorroakan and the Nightsong
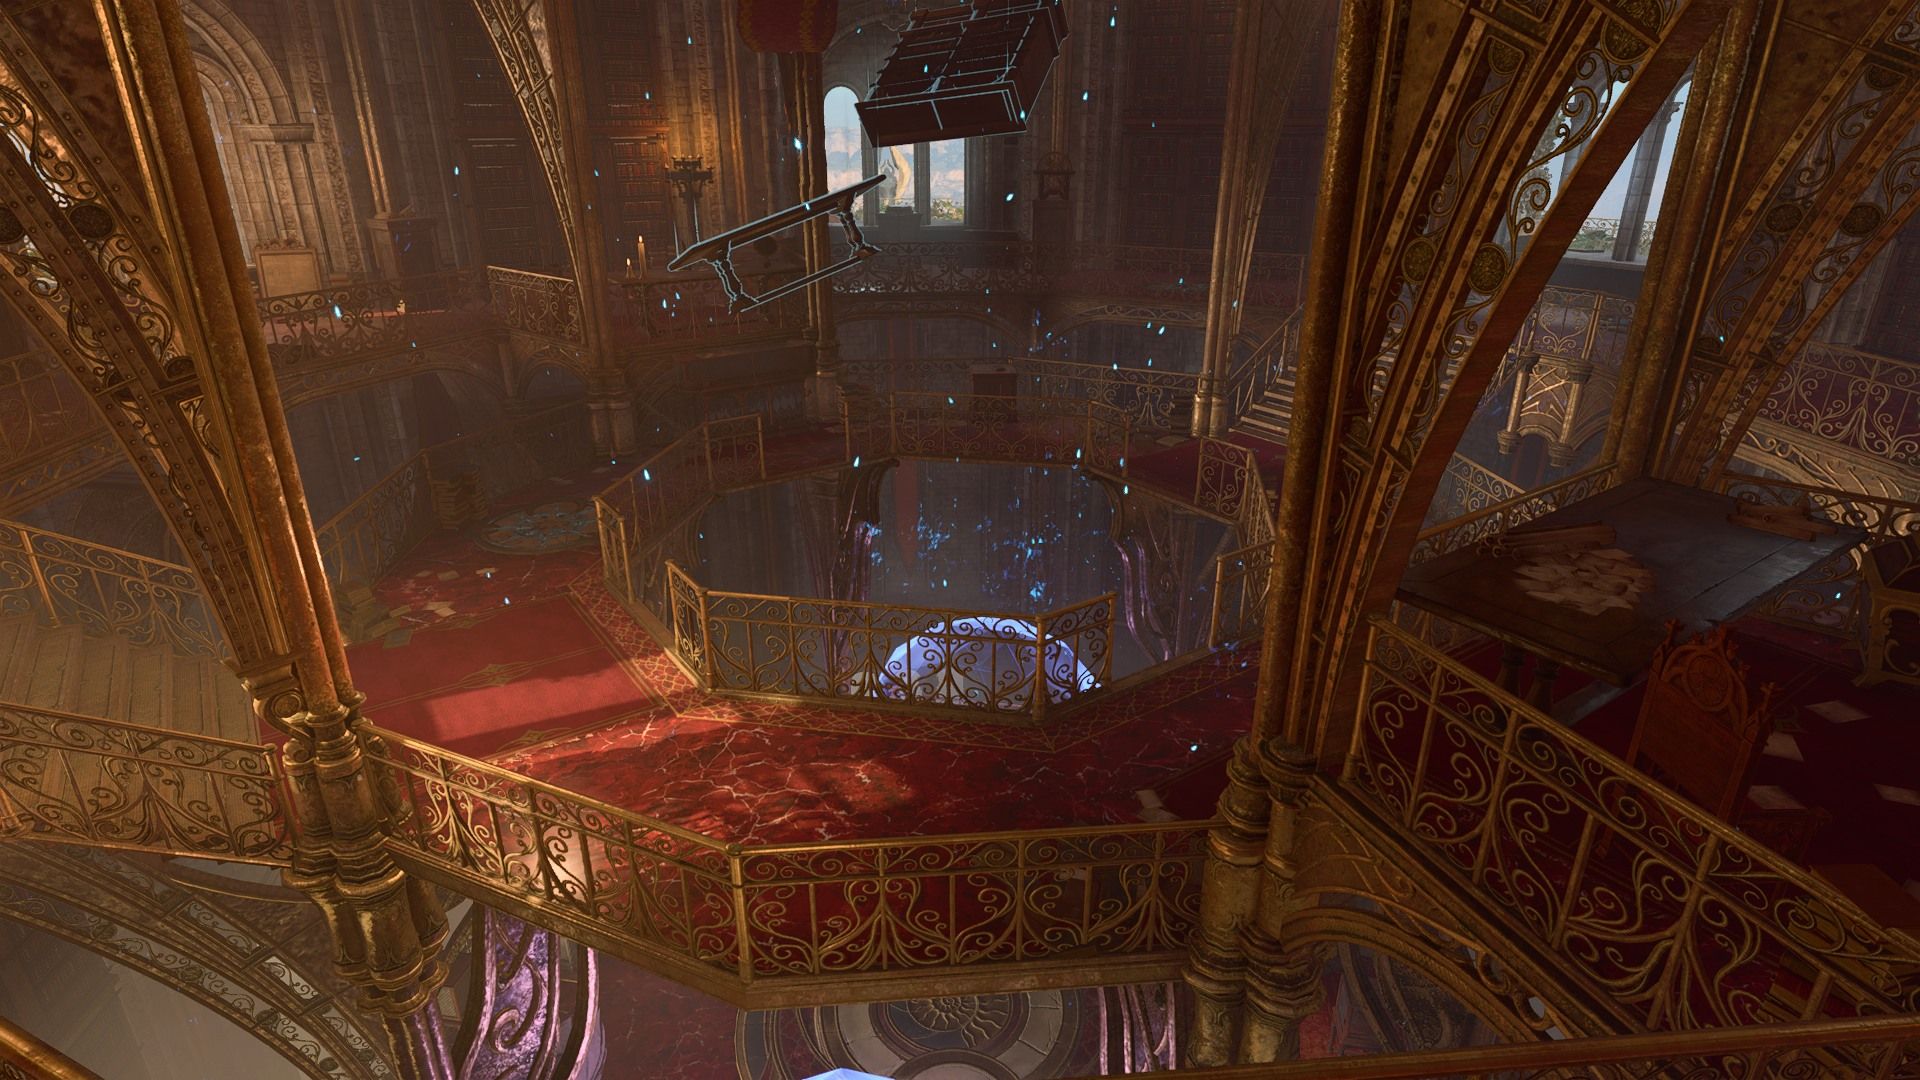
The quest "Find the Nightsong," which began in Act 1, comes to its conclusion in Ramazith's Tower. This is the home of Lorroakan, the current master of Sorcerous Sundries and the massive tower that dominates the skyline of Baldur's Gate. Of course, the way this quest ends depends largely on how players dealt with Nightsong during Act 2.
Lorroakan wants to accomplish what Ketheric Thorm managed by capturing Nightsong and using her to gain immortality. If players killed Nightsong for good during Act 2, they can tell Lorroakan the bad news and that's the end of the quest. If Nightsong is alive and in the party camp, the speaker can lie and say that she's dead.
However, doing this doesn't end the quest, because players can still tell Nightsong about Lorroakan. Do so and she'll want to face the wizard in person. Players can't access the camp from Ramazith's Tower, but it's available on the other side of the portal in Sorcerous Sundries.
If players bring Nightsong and Lorroakan together, the wizard will ask the party to help subdue her. Players can accept his offer or help Nightsong kill Lorroakan. Rolan will also be present, if he's alive, and he'll always side with the party.
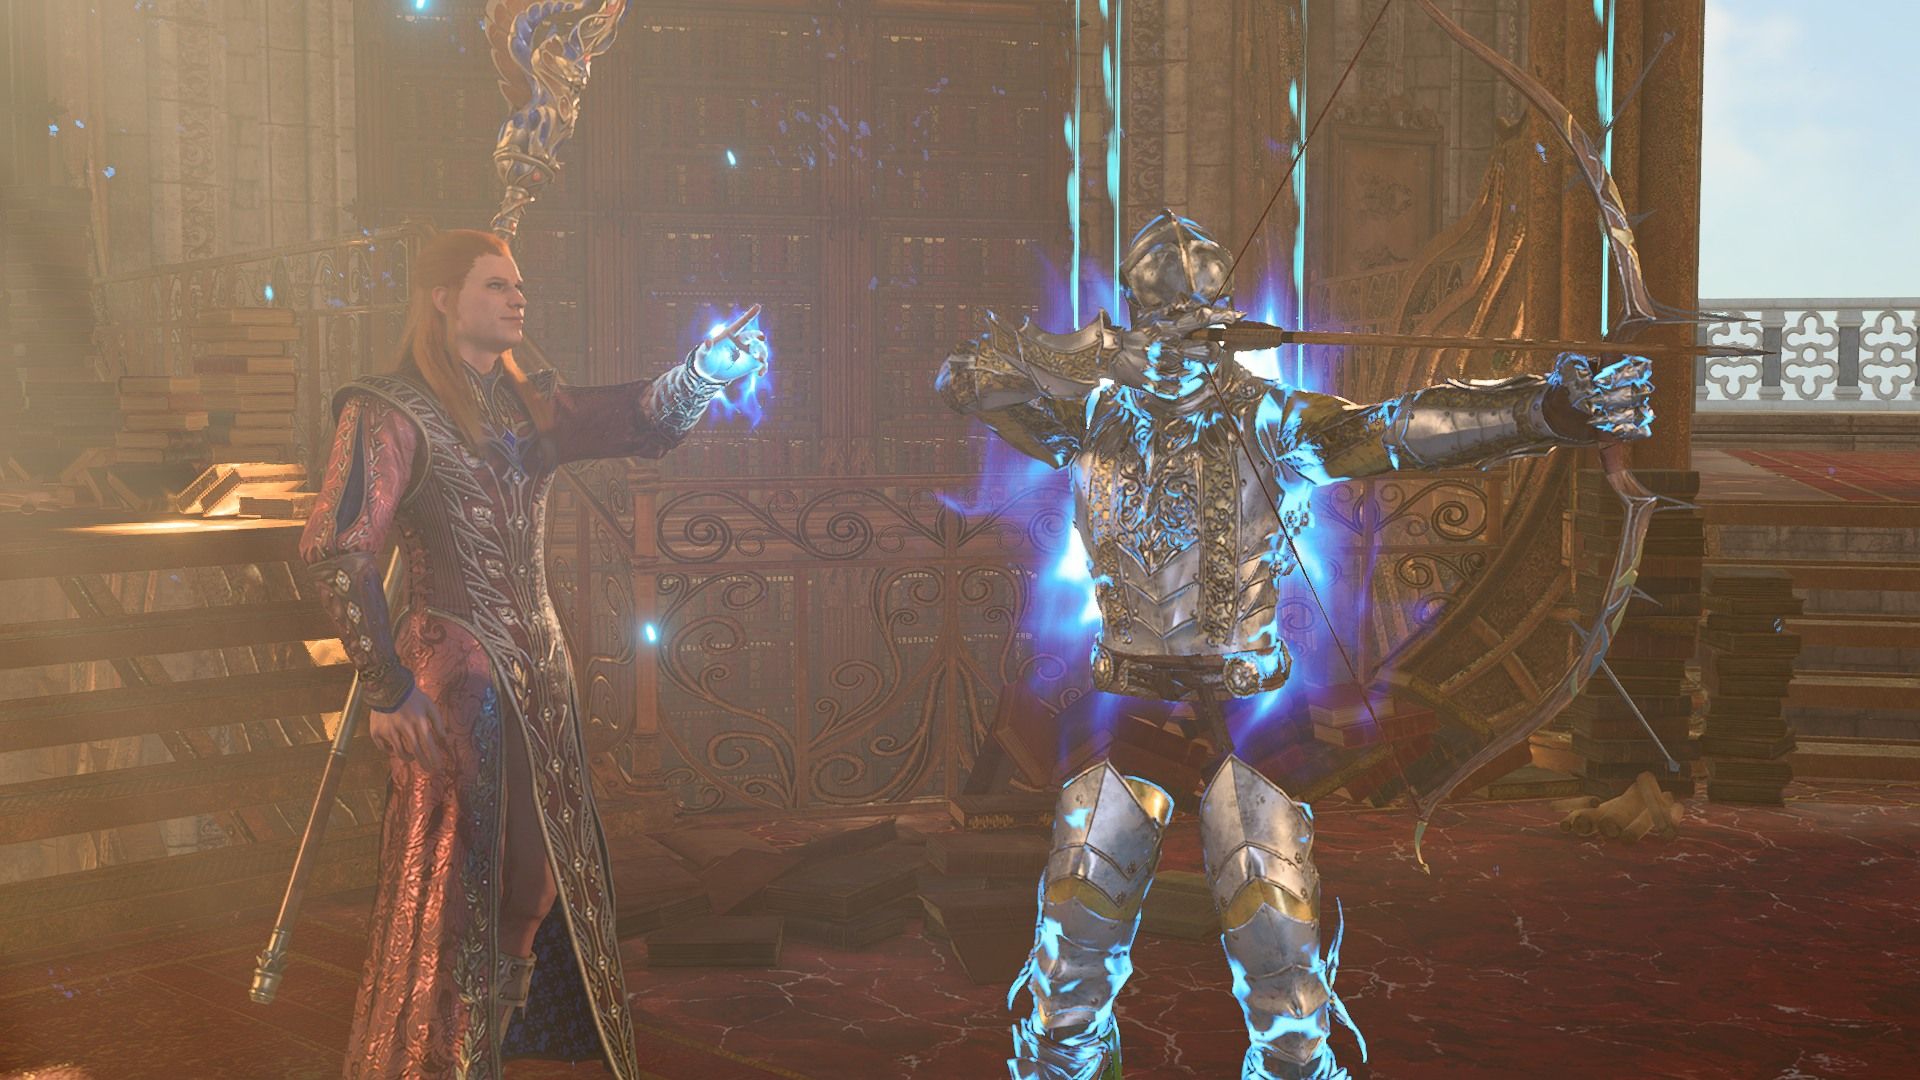
Defeating Nightsong is much easier than defeating Lorroakan. The aasimar is on her own, while Lorroakan has backup from four elemental myrmadons, an animated armor, and his level 1 assistant. If the party sides with him, Lorroakan will reward them with 5000 gold pieces and become an ally for the "Gather Your Allies" quest.
If the party sides with Nightsong, they won't get the money, but they'll be able to freely loot the top floor of the tower. Be sure to check every open shelf and every display case for scrolls, potions, and gems. The party can also get the Shelter of Athkatla and Despair of Athkatla magic gear from Lorroakan's body. Finally, if Rolan survives the fight, he'll take over the tower and become the party's ally instead of Lorroakan. This is the best result of this quest, since it means the party will continue to have Nightsong's support as well.
The Secrets of Ramazith's Tower
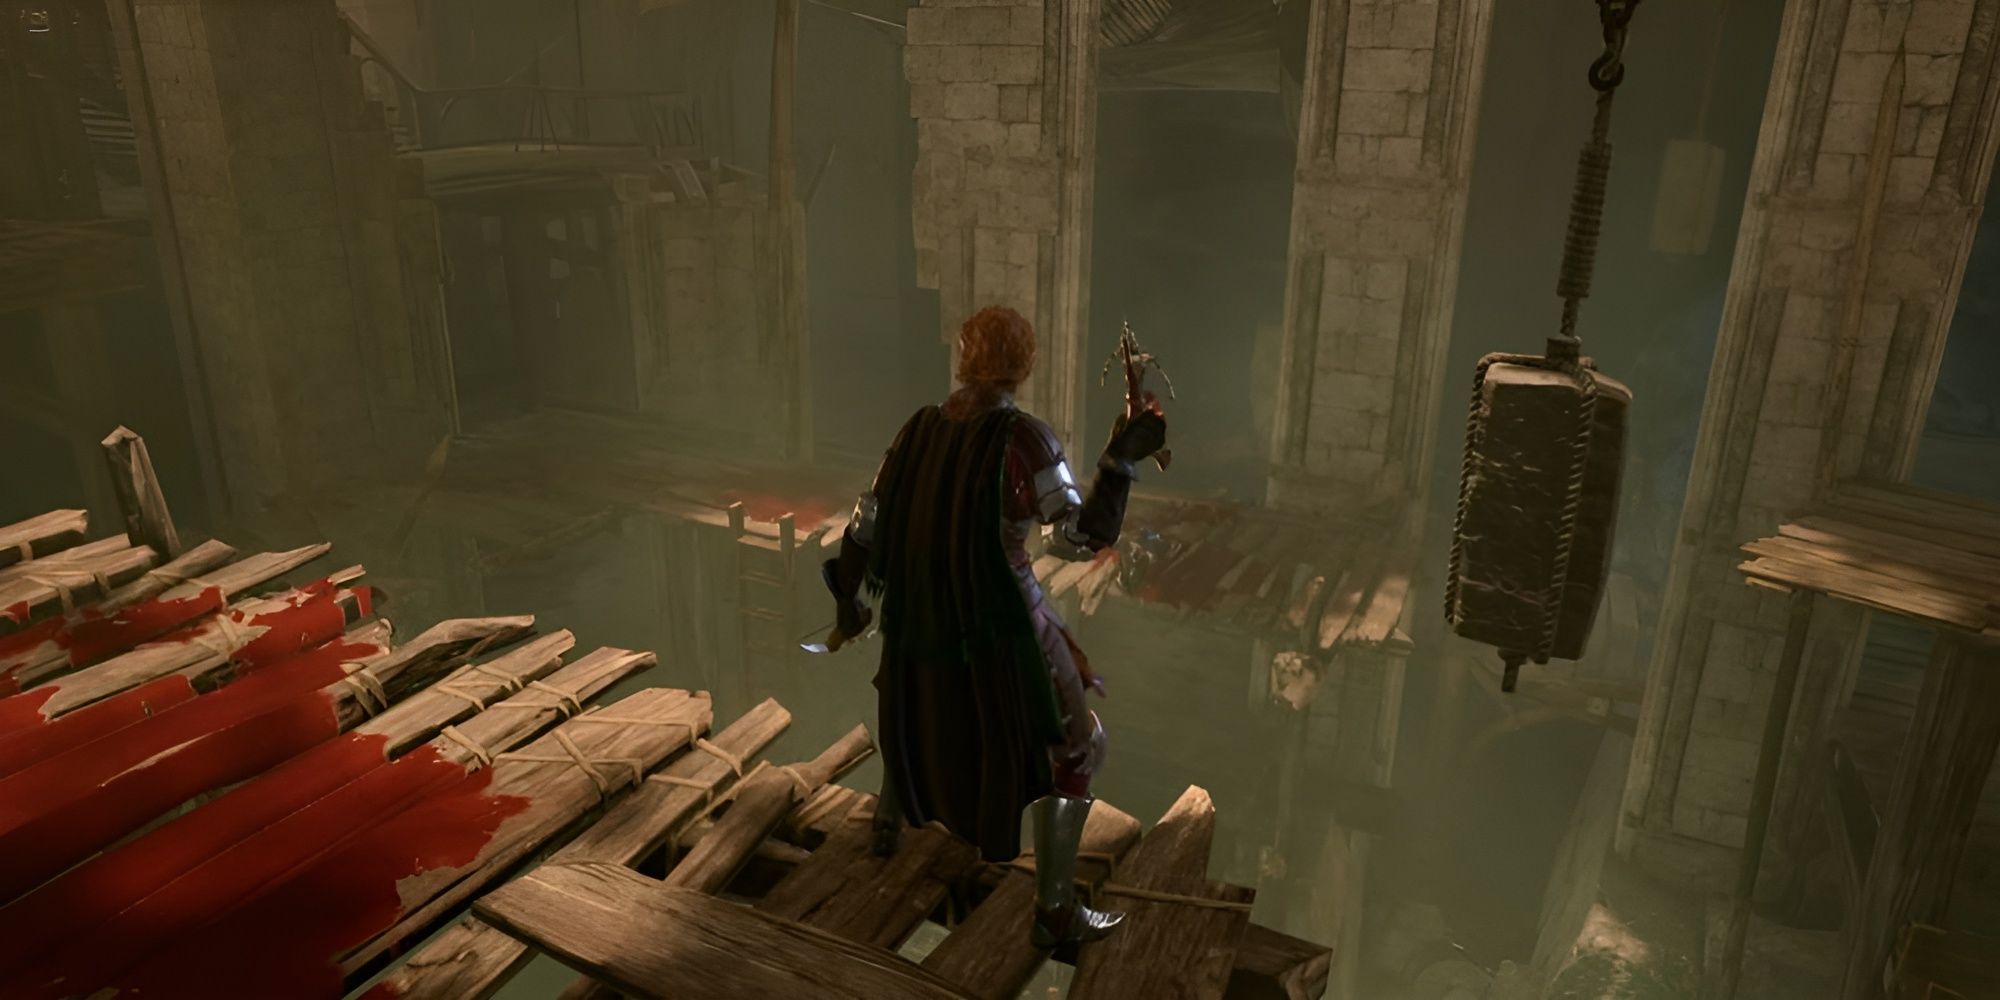
Players may notice that several of the balconies in Ramazith's Tower are broken. This usually means that Baldur's Gate 3 expects players to jump from the location, and this region is no exception. While the party can return to the ground level by taking the portal they used to reach the top floor, players can reach a new area by jumping off the balcony to the floor below. The easiest way to get there is to jump down with Feather Fall.
The party will come across several gas traps on this floor, but none of them are active. The area also has several chests and display cases full of more gems, potions, and scrolls. There are no NPCs on this floor, so players can take everything they want from this level whether Lorroakan or Rolan is in charge of the tower.
Players may also notice two magic items protected by two magic barriers another floor down. Unlike with the balcony outside, the party can't jump down to reach them, because an invisible force field covers the opening in the center of the tower. Instead, the party must interact with the four arcane buttons that sit on the outside ring. Here's what they do:
Security | Summons four Arcane Cannons that attack the party. They have Medium Toughness but are weak to Lightning damage. |
|---|---|
Cleanup | Activates the gas traps, creating permanent pockets of Cloudkill throughout the area. |
Vaults | Teleports the person who interacts with the button (not the party) to the Sorcerous Vault. |
Lower | Teleports the whole party to the lower floor with the two magic barriers. |
Aside from the barriers, the lower level has a chest with the Sorcerous Sundries Mystery Door Key inside and a trapped display case that holds a Heavy Iron Key. To open the magic barriers, the party must pull the lever in front of each one, and to pull the lever the active party member must pass a DC 20 Arcana check.
The two barriers protect some of the best equipment for Wizards and Sorcerers in the entire game. The staff is Markoheshkir, which gives a +1 bonus to spell attack rolls and save DCs, gives the wielder a free spell slot of any level, and can cast the unique spell Kereska's Favor. This spell lets the wielder choose a common damage type, and until the next long rest they become resistant to the damage and deal that type as bonus damage on weapon attacks.
The robe is the Robe of the Weave. This gives another +1 bonus to spell attack rolls and save DCs, adds +2 to Armor Class, and restores 1d6 hit points whenever the wearer passes a spell saving throw. Even a Bard or a Cleric could put these items to good use.
Once players have everything they want from this level, they should press the button marked "Upper" to return to the floor above. And while returning to Lorroakan's level may be tricky, players can use the Vault button to continue deeper into the tower.
The Sorcerous Vault and Gale's Quest
The teleporter from Ramazith's Tower will deposit party members in a circular red room, which is in the Sorcerous Vault area. Be sure to check every metal crate, scroll shelf, and display case in the vault, because all of them have something valuable inside. In particular, the glass display case holds one of the four rare books: The Red Knight's Final Stratagem. Reading it gives the party a unique scroll, Artistry of War. Gale or another Wizard can add this spell to their spellbook. It's a level 5 spell that deals 2d6+6 Force damage to up to six targets.
Players should also make a point to pick up every rare book and not just read them. Each one is worth 1333 gold pieces, and most of the books only offer their benefits once.
The door out is across an empty void, but the party won't have to jump across to reach it, or to reach the gilded chests on the sides of the room. Just like in Ramazith's Tower, a force field covers the open areas of the floor, and so party members can walk anywhere they like.
Just outside the room is a stone walkway leading to a bricked-up archway. Pull the lever to the right of the arch to open it. Before then, players can unlock the two large chests to get potions and alchemy ingredients. On top of that, the wall behind the east chest is an illusion, and the party can walk straight through it to find a hidden room with a strange lamp inside. Don't touch the lamp yet. Save the game and read the section about the lamp below before deciding what to do with it.
The stone archway leads to the central portal room into the vault. This portal connects to Tolna's office, and it's the way out of this area. If the party entered through this portal, they can open the secret door from the other side by pressing a button on the north side of the room. If they didn't, take a moment to go up to the office and pick up the Basement Chest Key from the office. So long as her door stays shut, the party won't get in trouble for trespassing or stealing. Once the party is back in the vault, be sure to clear out every container and shelf before moving on.
South of the portal room is another walkway with another pair of chests and another concealed room. This time the room is behind an illusory wall behind the west chest. The room has two shelves, a gilded chest, some of Lorroakan's writings, and the book Caution Before the Seelie. Reading this book provides the Scroll of Bestial Communion, which can become the Wizard spell Sights of the Seelie: Summon Deva. This is another level 5 spell that summons a powerful celestial, much like the Cleric spell Planar Ally.
The south door is locked, but the Sorcerous Sundries Mystery Door Key will unlock it. This leads to a special vault puzzle, and the goal is to open the two side doors and access the last two rare books in the vault. Each chamber has its own naming theme, connections, and traps.
Chamber 1: Famous Wizards
This is the chamber the party starts in. The traps are circular marble plates in front of each door.
- Ramazith is the door that leads back to the rest of the vault area.
- The Elminster door is locked, unpickable, and indestructible.
- The Karsus door has the same properties as the Elminster door.
- The Silverhand door goes to Chamber 2.
Chamber 2: Schools of Magic
The traps in this room are rectangular marble plates between the central pillar and each door.
- Transmutation goes to Chamber 1.
- Illusion goes to Chamber 1.
- Evocation goes to Chamber 3.
- Abjuration goes to Chamber 4.
Chamber 3: Level 9 Wizard Spells
The trap activation plate in this chamber is on the central pillar, and the party will activate it as soon as everyone steps off the plate. This causes four gargoyle heads on the walls to start firing ice projectiles into the room. To disarm the trap, have the party member on the plate ungroup from everyone else, then send someone to disarm each gargoyle head. The disarm DC is only 10, so anyone with a trap disarm kit can manage it.
- Invulnerability goes to Chamber 1.
- Foresight goes to Chamber 1.
- Gate goes to Chamber 2.
- Wish goes to a room with a lever, and pulling this lever opens the Elminster vault. Be careful, because this room also has traps in it.
Chamber 4: Types of Magic
The trap in this chamber is identical to the one in Chamber 3. The only difference is that the gargoyles shoot fire projectiles instead of ice.
- Wild goes to Chamber 1.
- Demon goes to Chamber 1.
- Shadow goes to Chamber 2.
- Silver goes to a room with a lever that unlocks the Karsus vault.
The Elminster vault contains two small chests, two invisible large chests, and the Tharchiate Codex. Reading this book lets the party safely use the Necromancy of Thay tome found in Act 1. It also applies the curse Tharchiate Withering to the reader, which lowers their Constitution score by 5. The spell Remove Curse will end this effect and replace it with Tharchiate Vigor, which gives the reader 20 temporary hit points after each Long Rest.
The Karsus Vault holds several +1 magic weapons, two invisible chests, four scroll shelves, the Scroll of Dethrone, and The Annals of Karsus. Reading the Annals will give the party a second Scroll of Dethrone, which is another level 5 spell that deals 10d6+20 Necrotic damage to one target, or half if they succeed a Constitution save.
The Annals of Karsus is the book Gale is looking for, and if he's present he'll want to read it immediately. Gale can use the information to reforge the Crown of Karsus, but what he does with this knowledge is another matter.
How to Escape the Genie's Lamp
With all four rare books in hand, there's just one thing left to do in the Sorcerous Vault: touch the Peculiar Lamp.
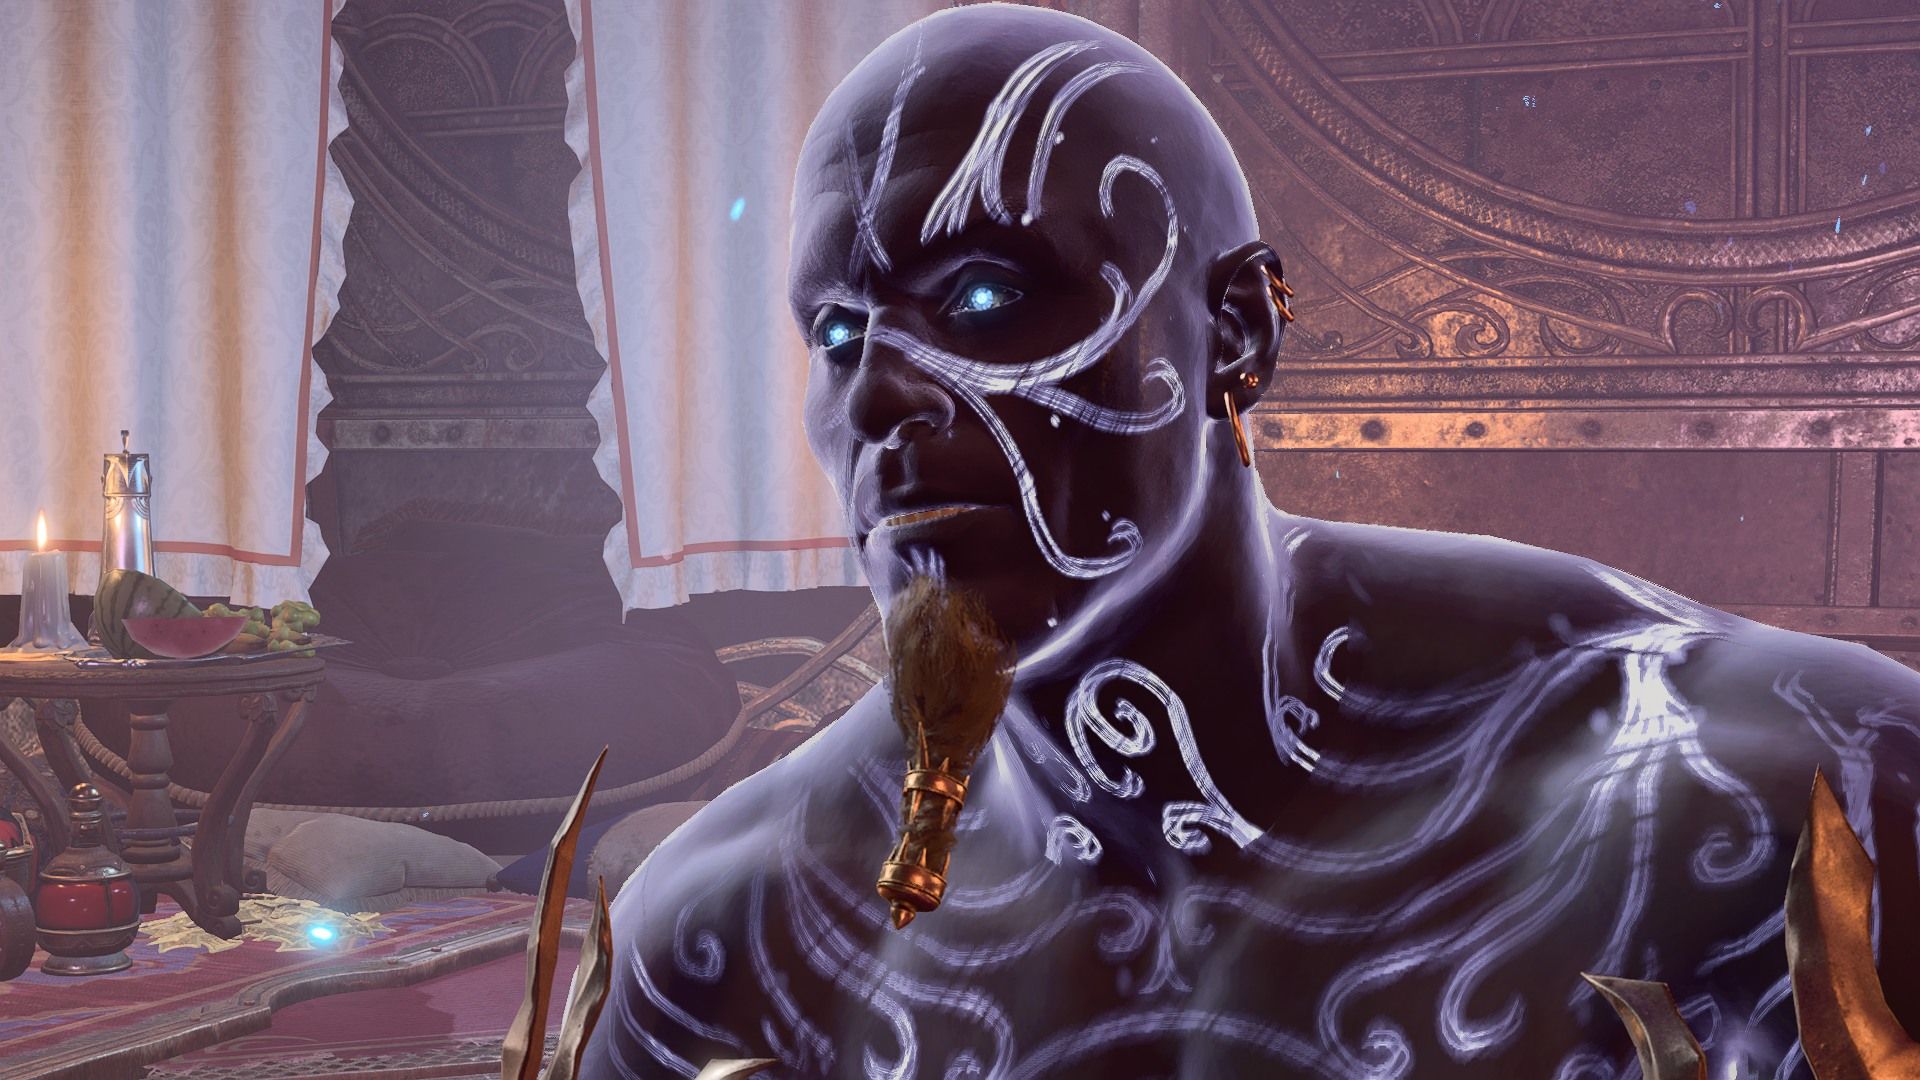
Any party member who touches the magic lamp will teleport to a special area, a boudoir within the lamp. A djinni named Yafeu will thank the party member for freeing him, then appear in the vault next to the rest of the party. He'll explain that the only way to free someone from the lamp is to touch it and take their place inside. Players can choose to fight Yafeu, demand 1,000 gold as compensation for the lost companion, or let the djinni go. But no matter what, players can't convince Yafeu to touch the lamp again.
Even so, players may still want to enter the lamp. The lamp boudoir is full of food and useful potions, and freeing Yafeu is the only way to get them. Summoned creatures and Magic Hand spells can't interact with the lamp, and so the only way to get these potions is to trap someone inside.
Fortunately, there's a way to trap a party member without getting anyone stuck inside forever. It's a matter of exploiting Withers and his hirelings.
- Go up to Tolna's office, then go to camp.
- Dismiss at least one party member.
- Talk to Withers and pay 100 gold for a hireling. Any hireling will work.
- Go back to Tolna's office, return to the Sorcerous Vault, and have any character interact with the Peculiar Lamp.
- Optionally, demand money from Yafeu on his way out. Most party members won't like this, but there's no other downside.
- Have the party member in the lamp gather all the potions, scrolls, and other valuables.
- Have the hireling touch the lamp and go inside.
- Bring the rest of the party back to Tolna's office and return to camp.
- Talk to Withers and dismiss the hireling.
Players can still re-hire the trapped hireling, but their items and levels will be reset. There's no other cost to sacrificing a hireling to the lamp.
Baldur's Gate 3 is available now on macOS and PC, and it's coming to PS5 on September 6.

