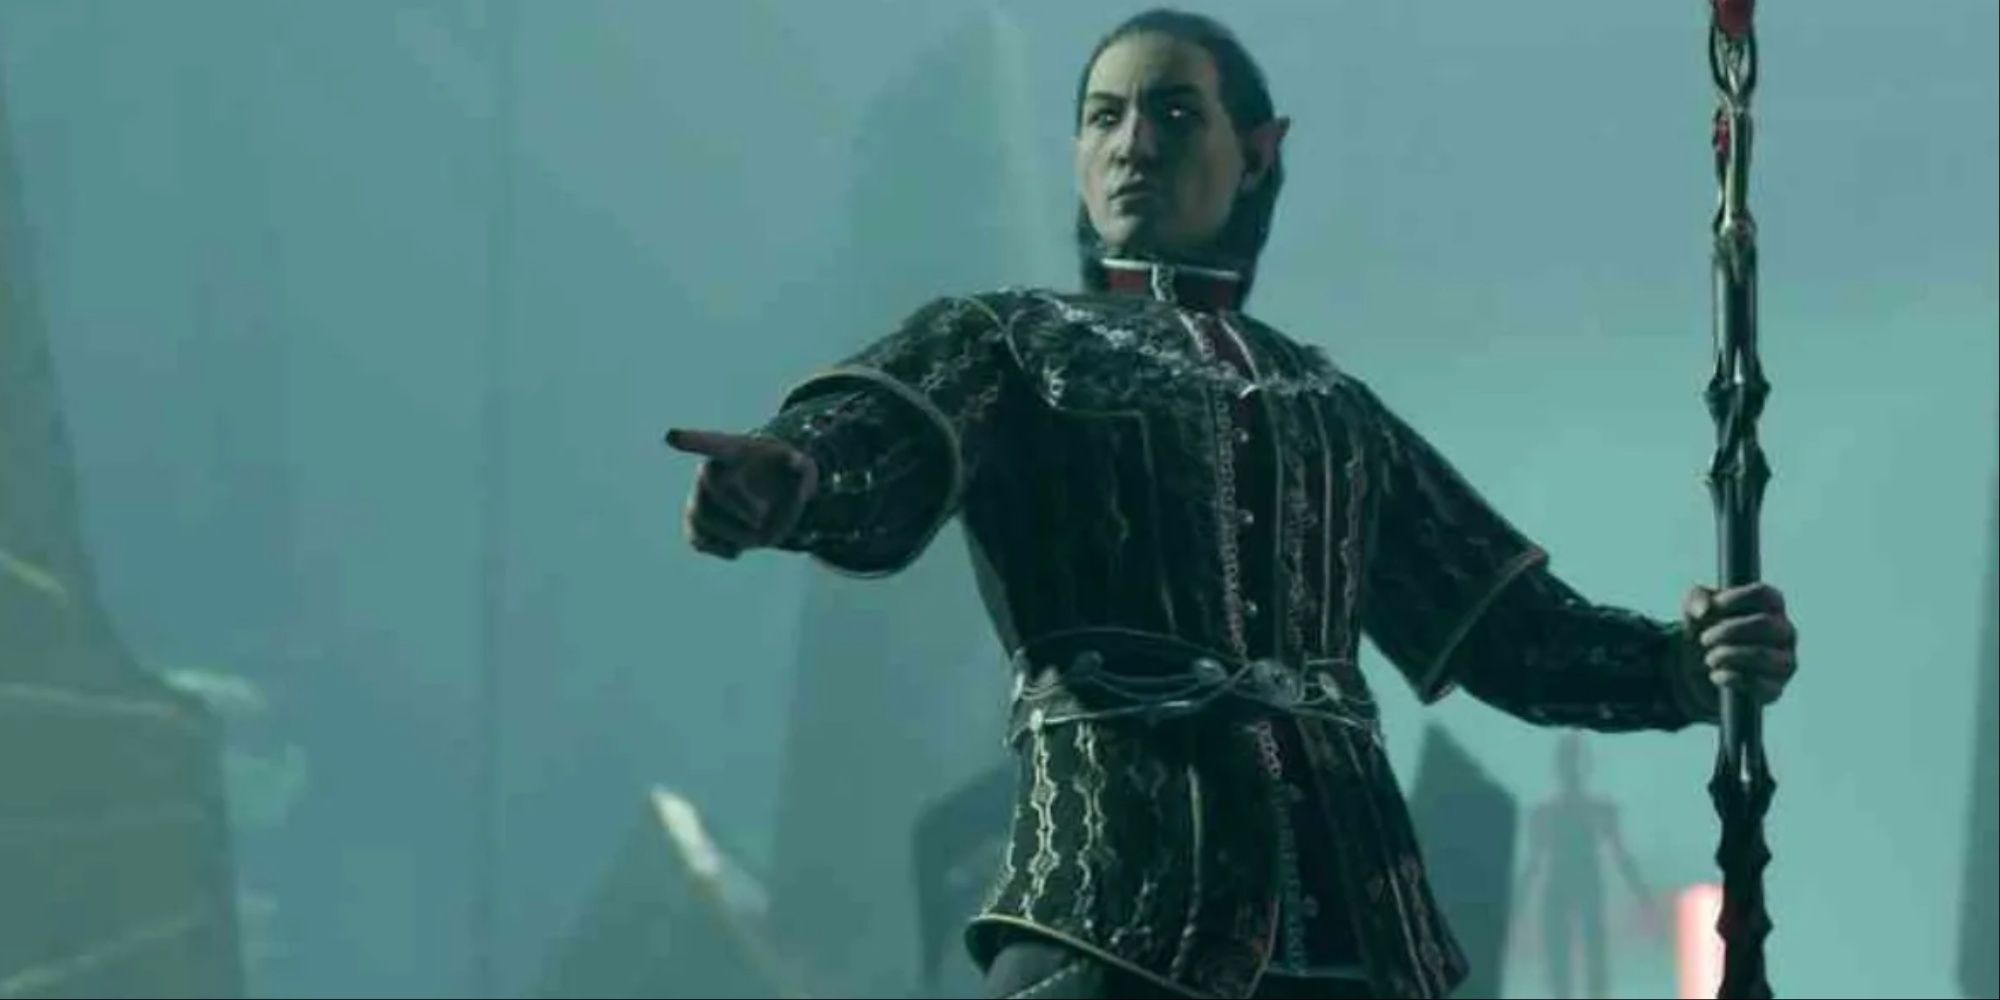
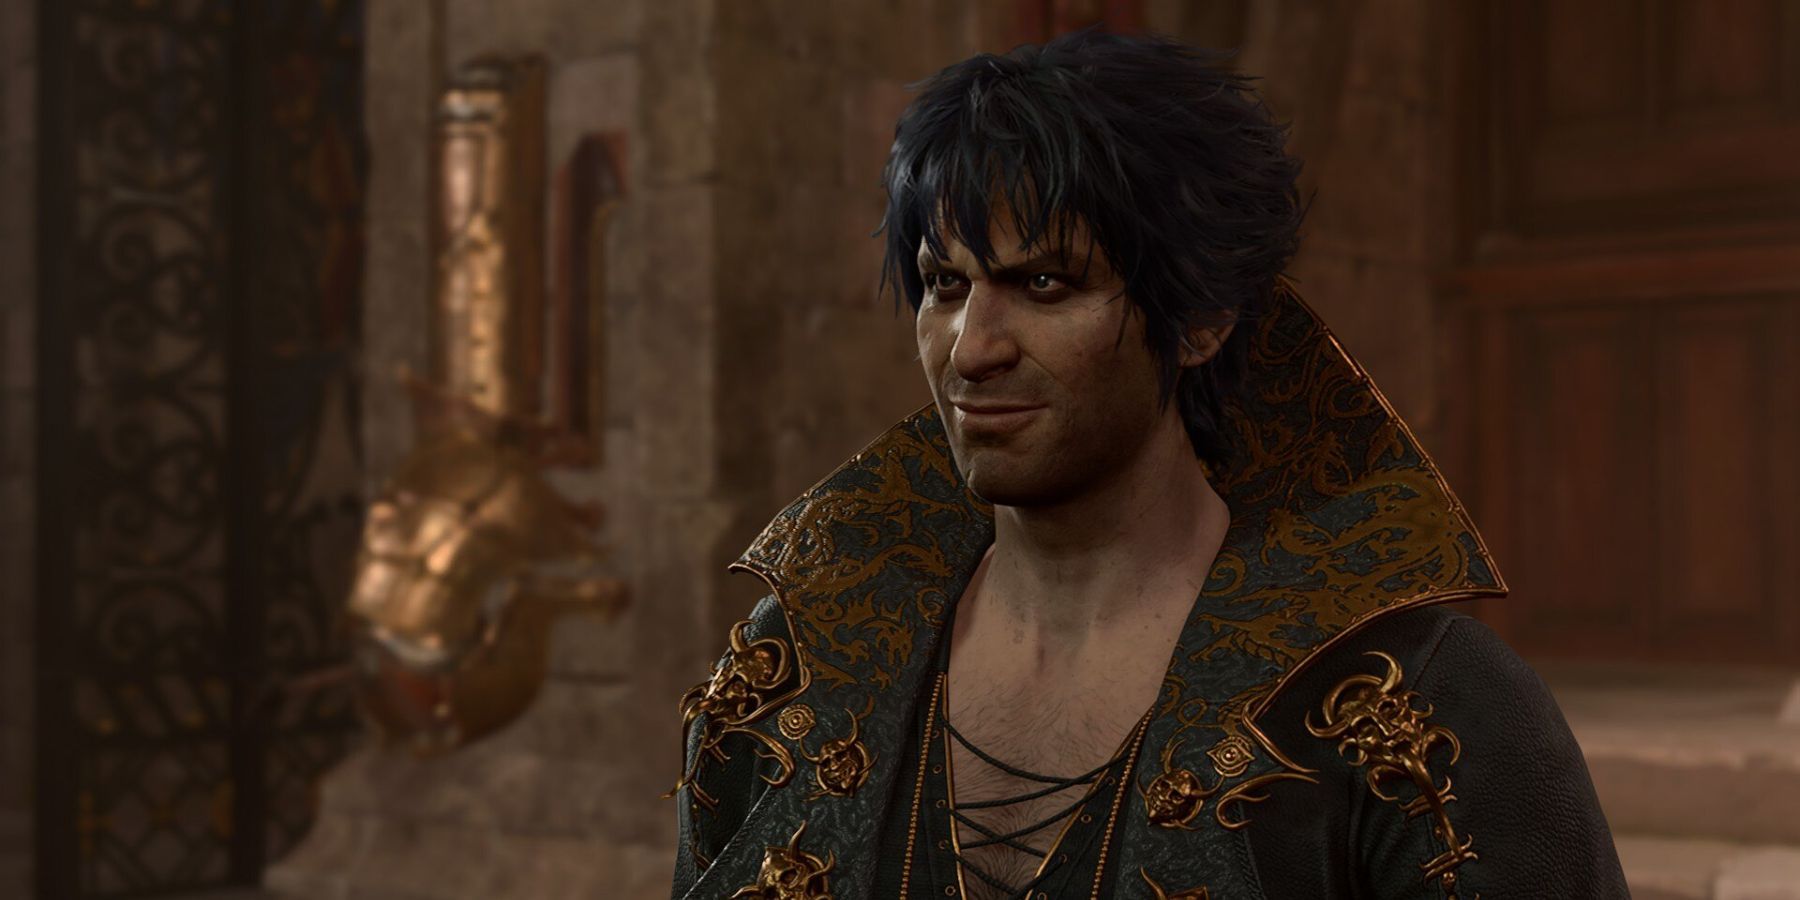
Honour Mode is a brutally difficult way to play Baldur's Gate 3. It forces players to accept bad rolls and outcomes by preventing save scumming. Since any encounter that goes wrong can end an entire campaign, every enemy is an increased threat.
Legendary Actions are the other main mechanic that increases Honour Mode's difficulty. They are powerful actions and reactions that bosses throughout the game have, and are mechanically and thematically unique to each one. Auntie Ethel's "Weird Magic Surge", for example, indirectly protects her and increases her damage output by making extra copies of her. Others can simply deal enough damage to take down characters at full health.

Baldur's Gate 3: 15 Hardest Fights When Playing On Honour Mode
From the owlbear to Cazador, Honour mode in BG3 offers up some truly punishing battles.
10 Blinding Ambush
5d10 Radiant Damage
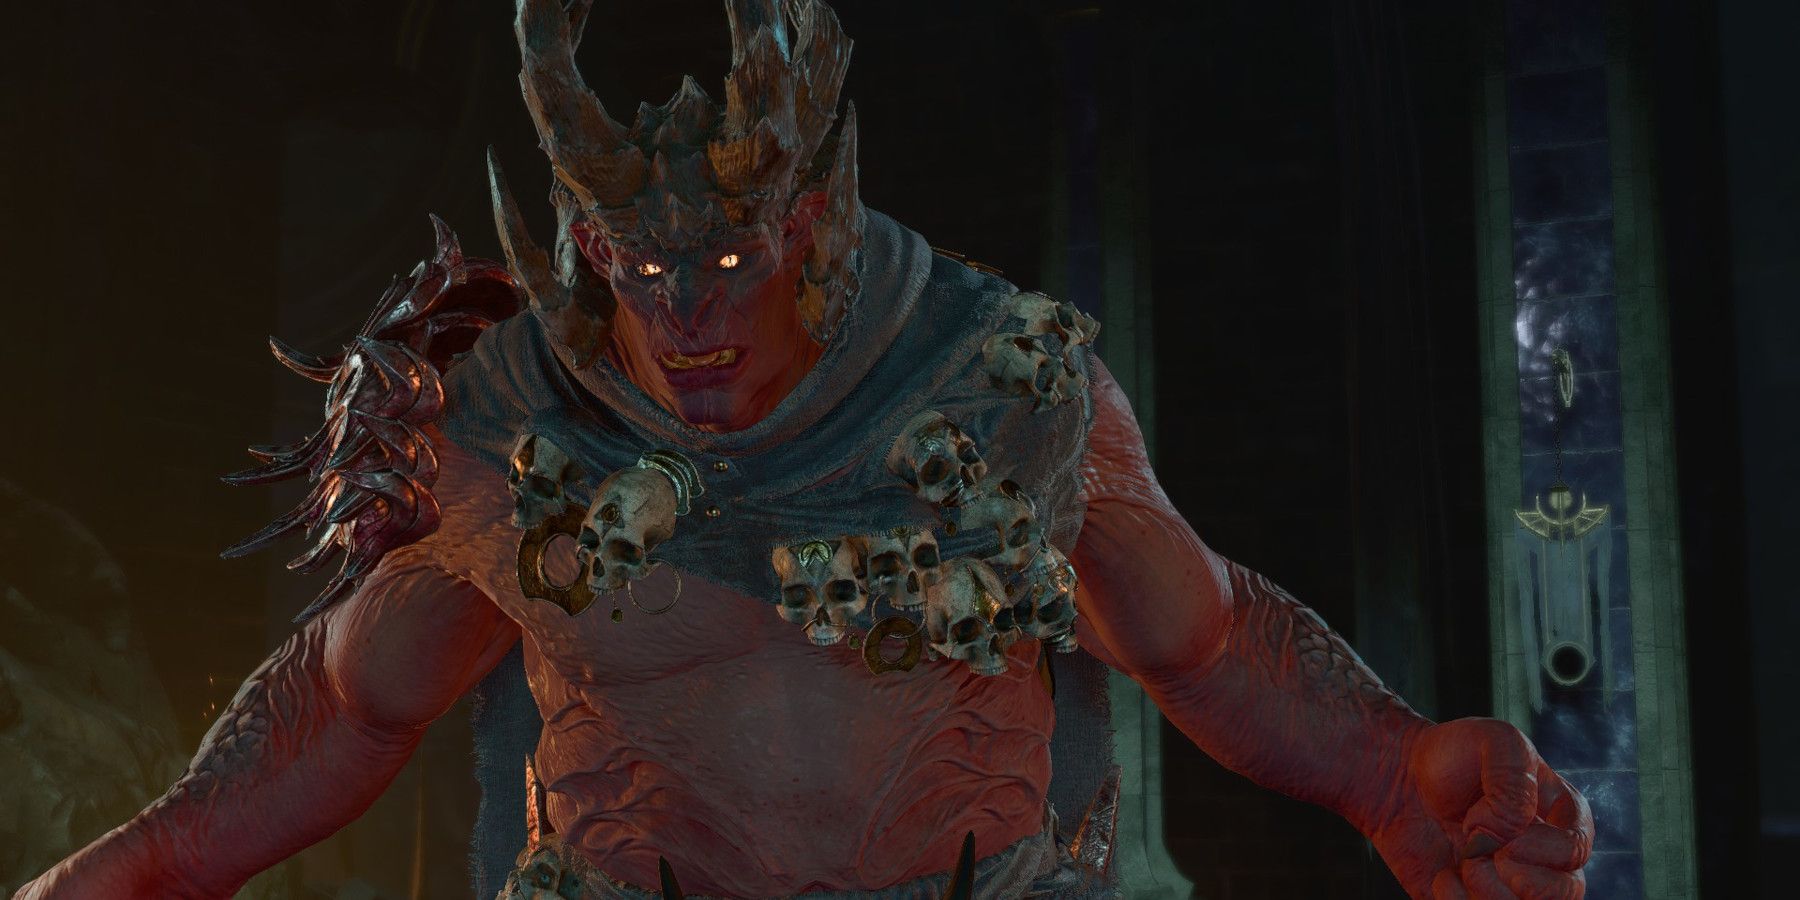
As players approach the Thorm mausoleum, Raphael dramatically appears and warns them against an enemy lurking deep underground. That enemy is the demon Yurgir, who is stuck underground because of a previous deal with Raphael. Players can choose to kill or ally with Yurgir.
He is a powerful combatant with frustrating stealth and ranged abilities. And he is not alone; his displacer beast "companion" will and many merregons fight alongside him. In Honour Mode, players should be wary when Yurgir casts Watchful Hunt, as this opens them up to Yurgir's Legendary Action Blinding Ambush. It deals up to 50 damage and can blind its target. It still deals half its damage if the attack misses, so it always poses a threat.
9 Sanguine Lash
8d8 + Bleeding
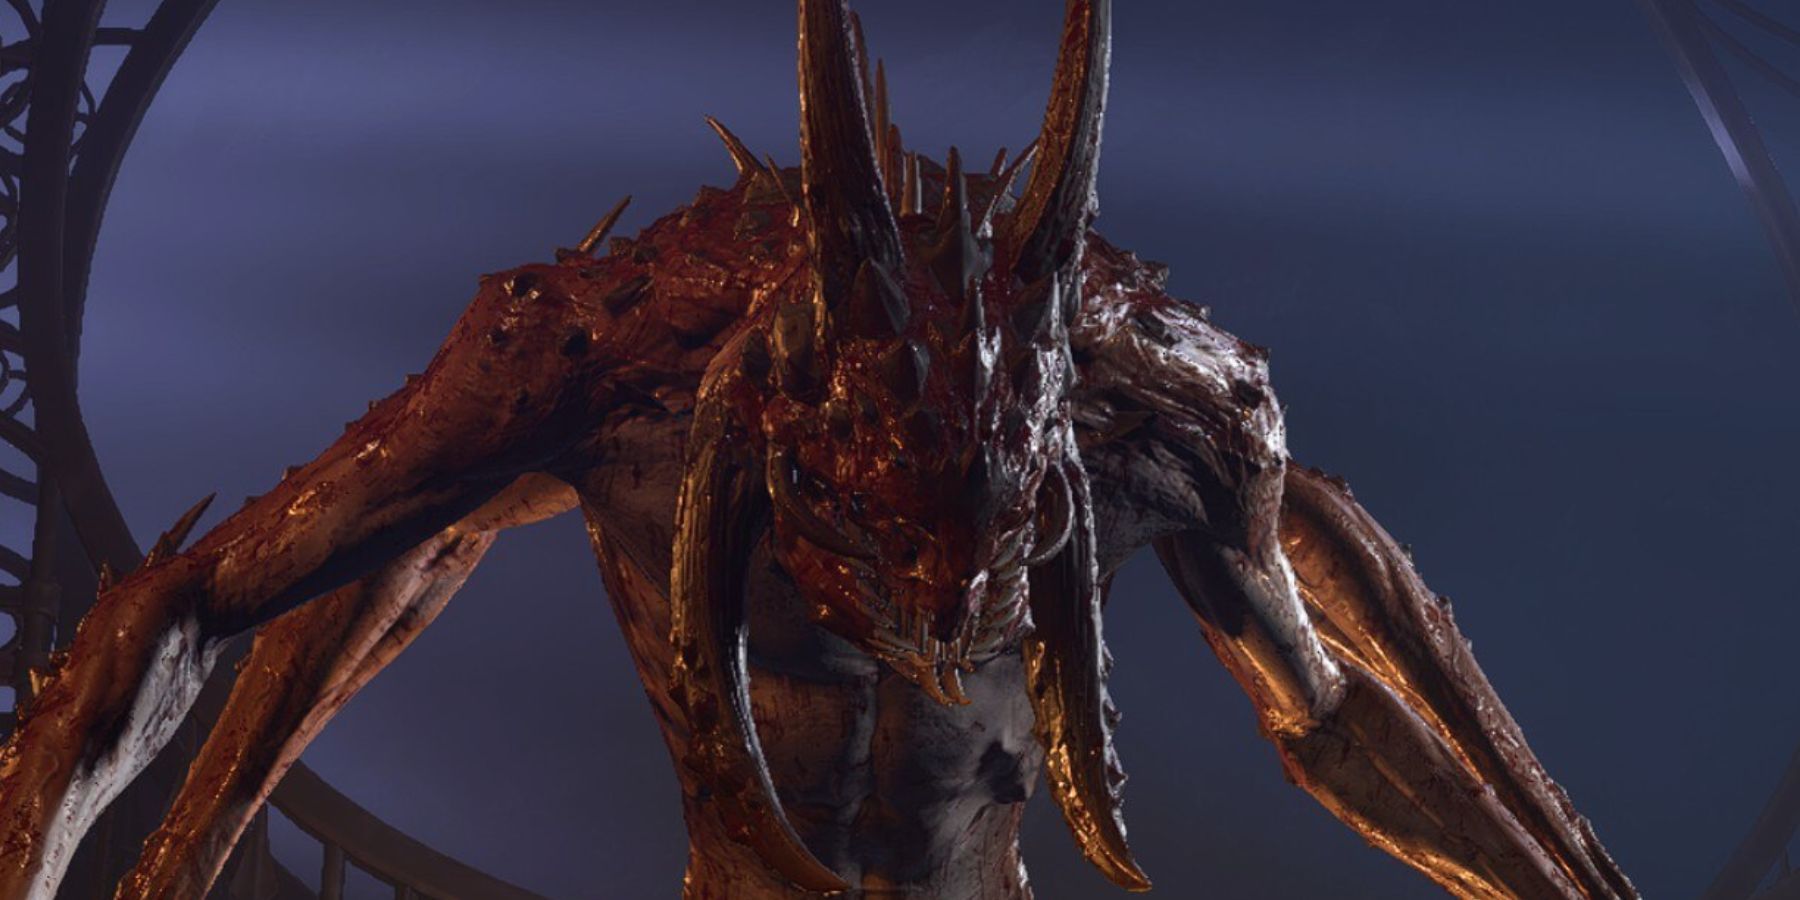
Shapeshifting is central to most of Orin's appearances; she taunts the party as a reporter, pins her attack on the Rivington blacksmith on the player, and interrupts Gortash posing as a Flaming Fist. Her deadliest shape is called the Slayer, which only the most devoted Bhaalspawn can assume.
When players confront Orin in the Temple of Bhaal, she can use the Slayer form to gain access to new actions and extra attacks. While in this deadly form, she reacts to every attack against her with the Legendary Action Sanguine Lash. She strikes back at an attacker with grotesque arms dealing up to 64 damage and causing the target to bleed. It is a potent attack made all the more dangerous since Orin is considered to be a very difficult opponent even outside Honour Mode.
8 Wail Of Loss
4D6 Damage From Each Assistant
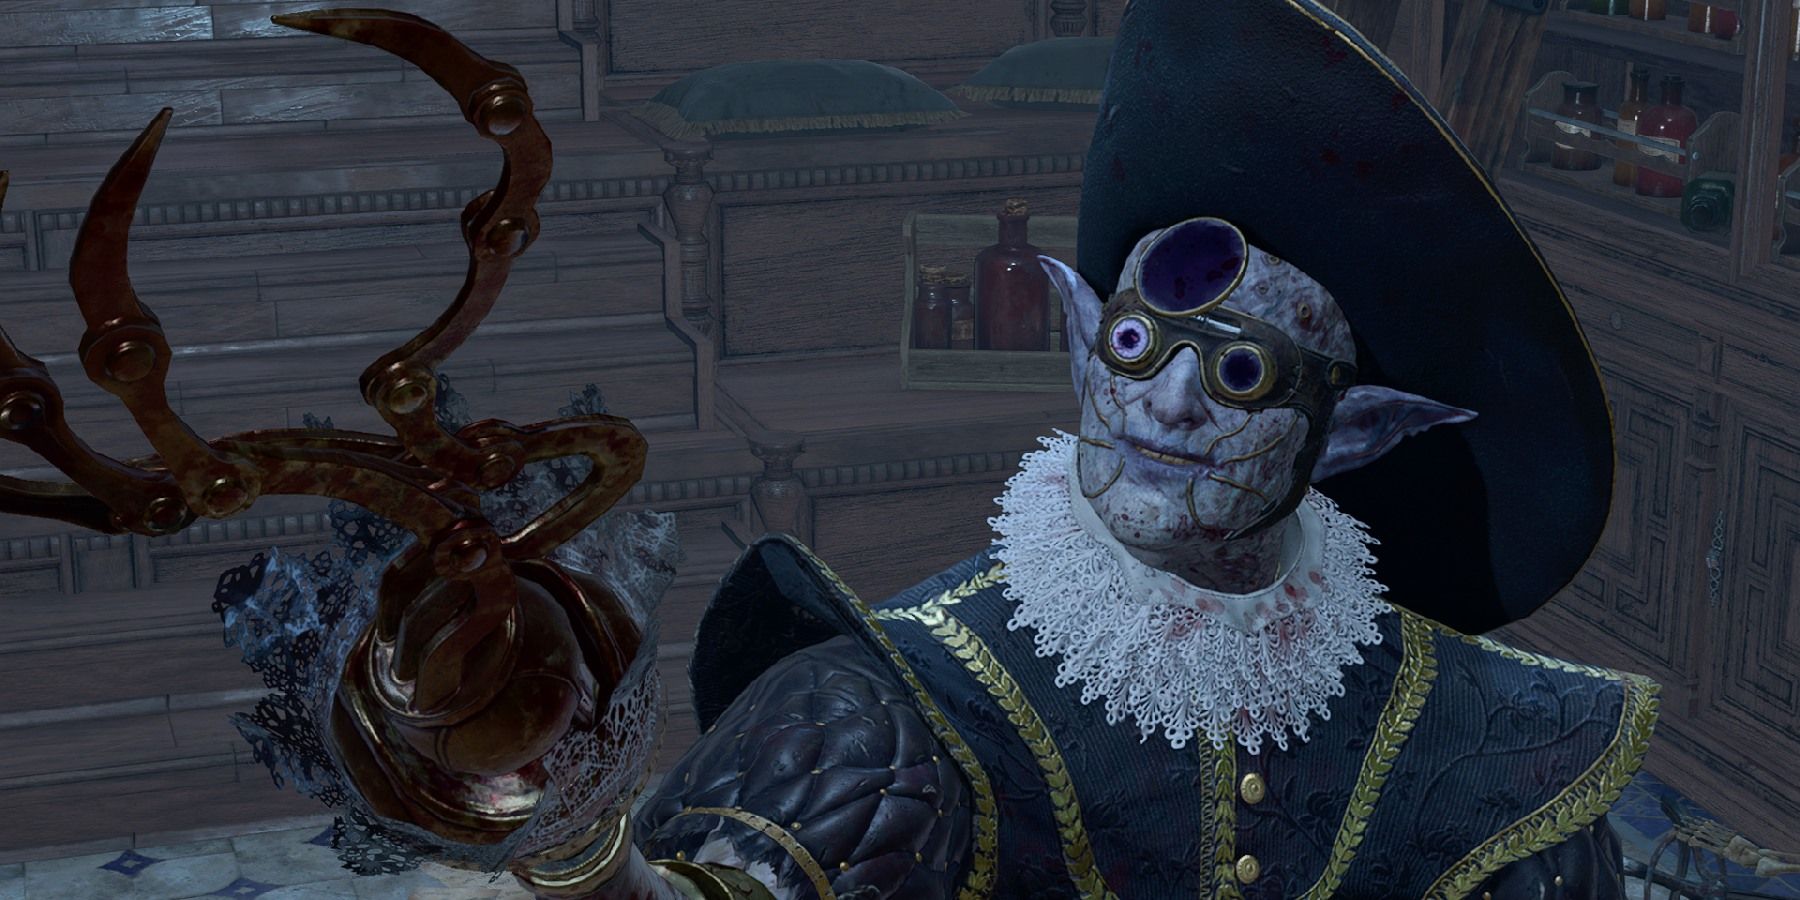
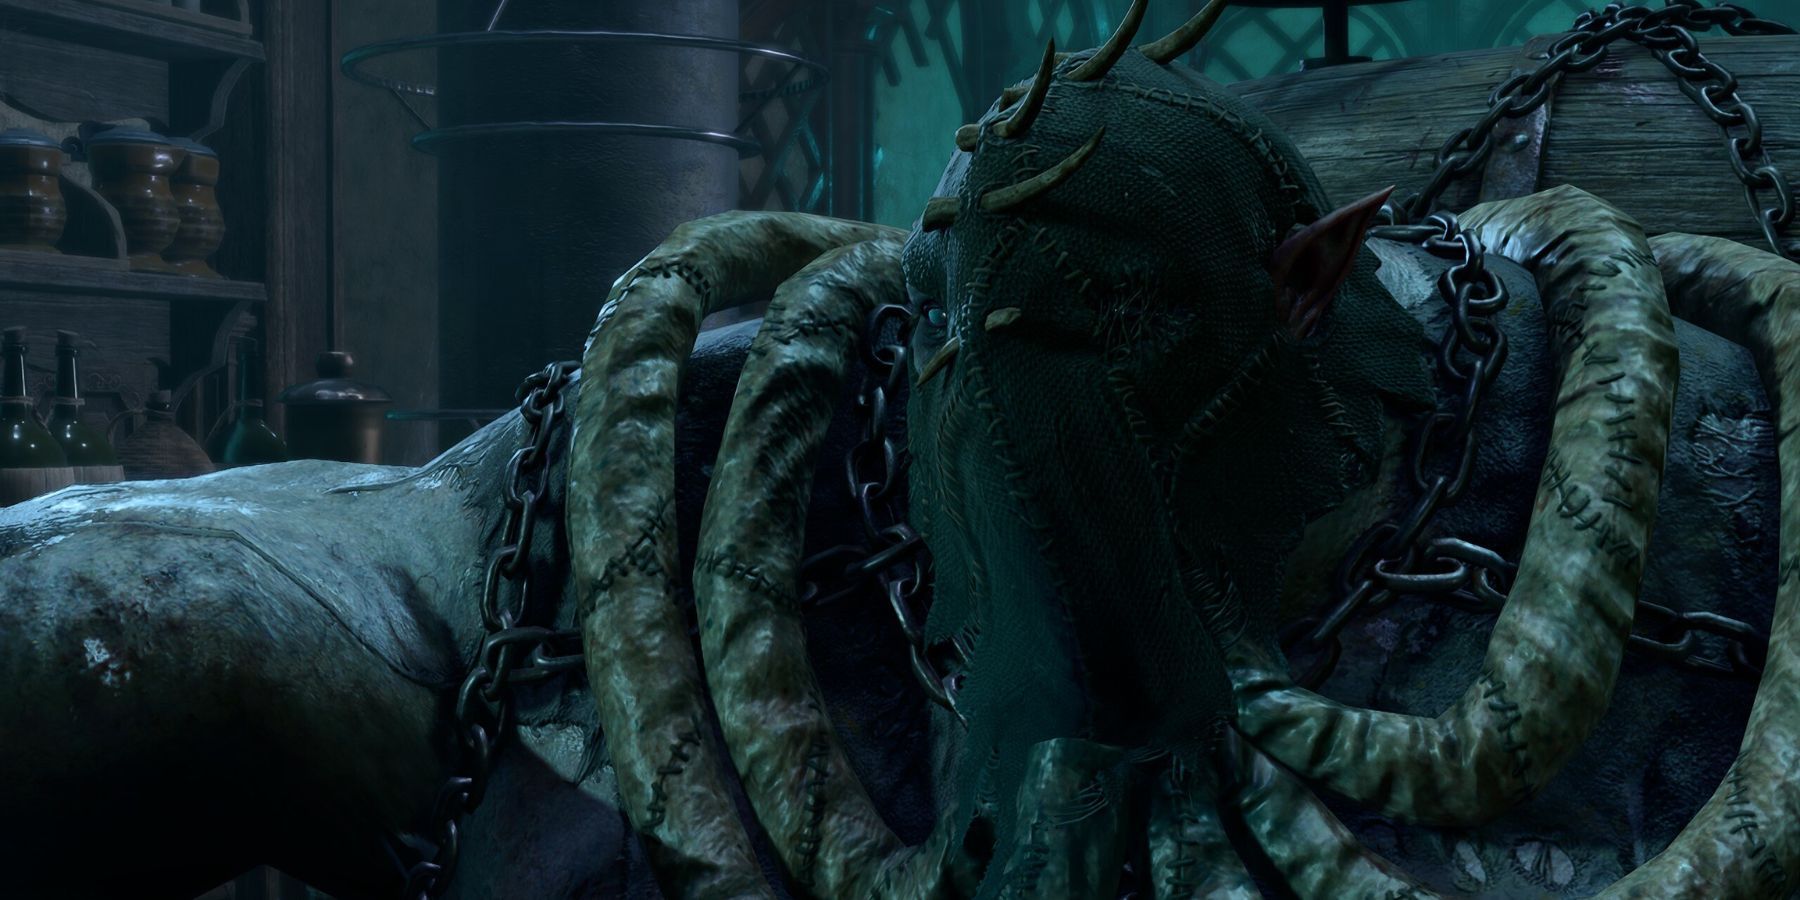
Malus Thorm is the twisted head surgeon of the Reithwin House of Healing. Like his siblings, he can be defeated without combat. Of course, Honour Mode makes checks harder to pass, so players are more likely to have to fight.
Baldur’s Gate 3: Should You Drink with Thisobald Thorm?
Many players wonder whether it is worth drinking with Thisobald Thorm in Baldur's Gate 3, so here's the answer.
Players encounter Malus and his assistants in the operating room at the heart of the House of Healing. If conversation turns to violence, players are in for a challenge. Malus reacts to every attack against him with Wail of Loss, which causes each of his assistants to attack for up to 24 damage and the chance of confusing their target. Unless players deal with the assistants early on, their party will take up to 72 damage every time Malus gets attacked.
7 Gossamer Tomb
8d10 Poison Damage + Infested
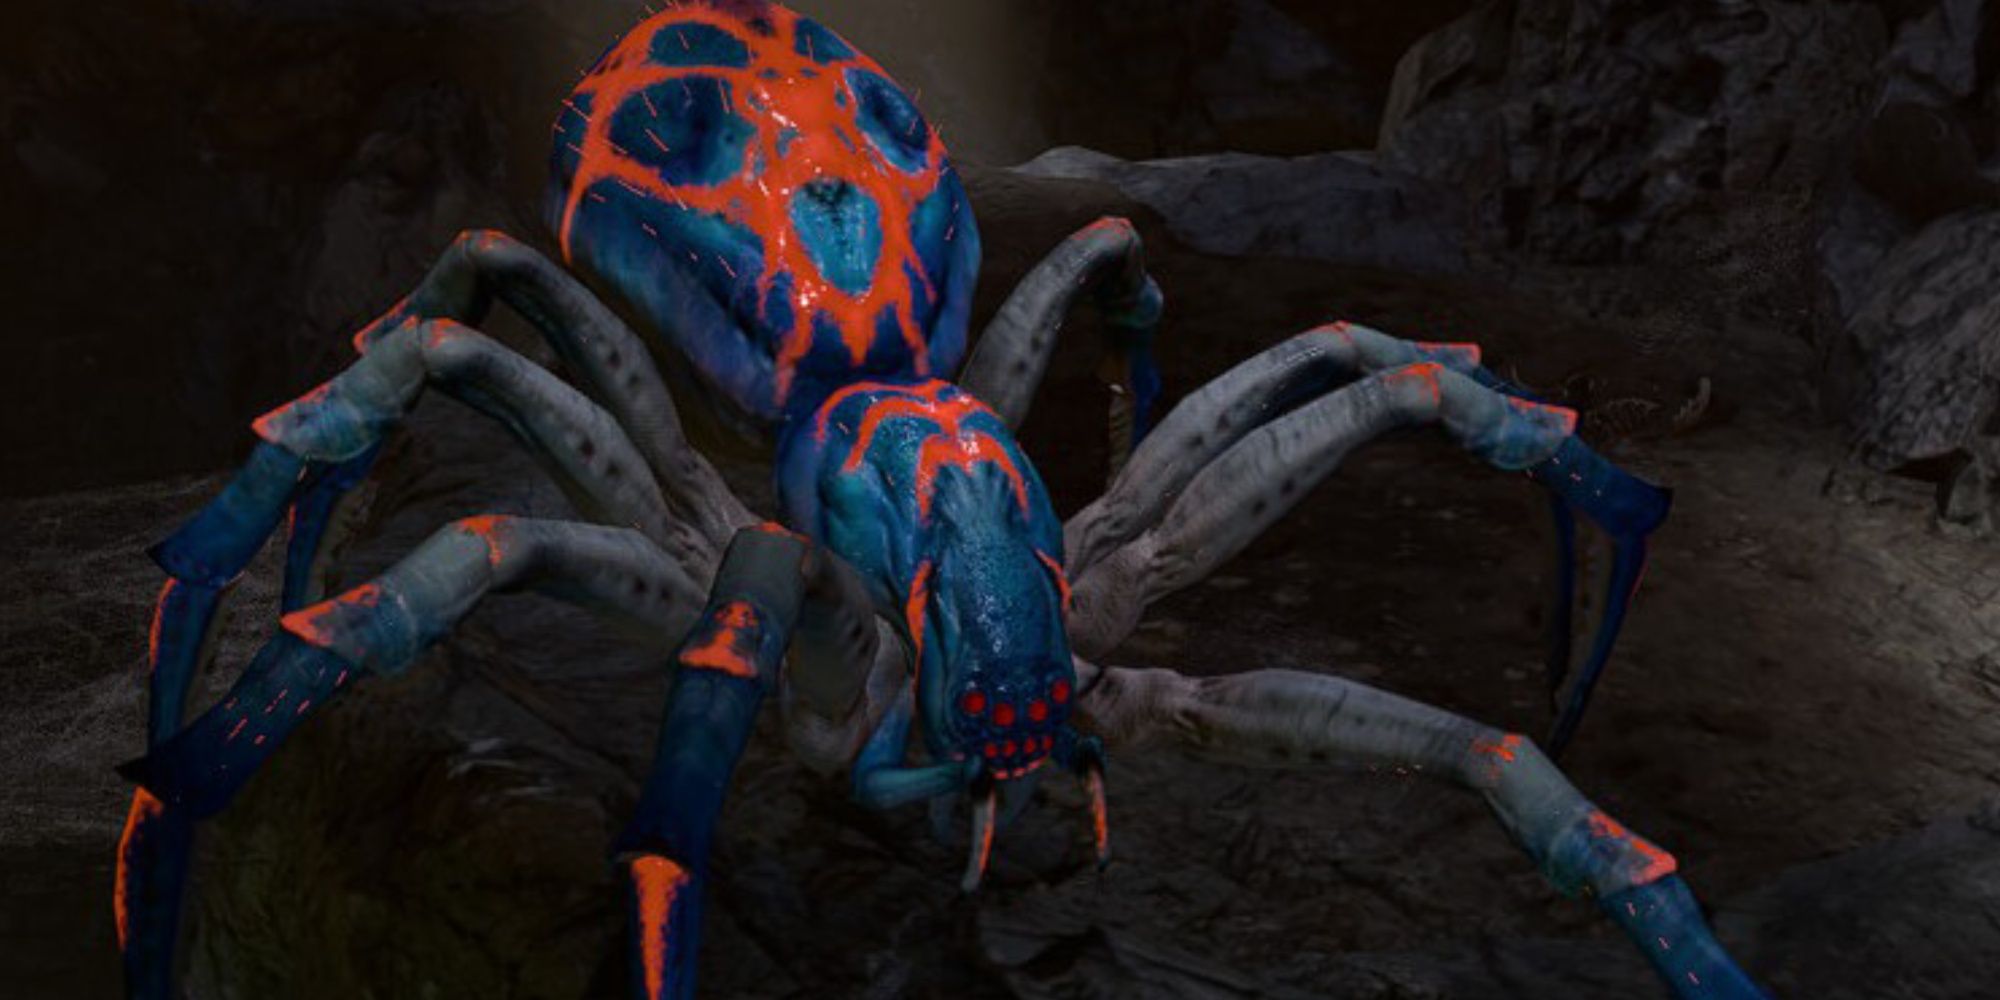
Climbing down the Blighted Village well leads to the Whispering Depths, a nest of giant spiders. The brood's matriarch sits in the back guarding her eggs. Like other phase spiders, she can teleport and trap the player's party in webs. Part of the unique challenge of fighting her, however, comes from the eggs she can hatch, causing the party to be swarmed by tiny spiders in addition to their giant mother and other phase spiders.
Gossamer Tomb is her Legendary Action, where the Phase Spider Matriarch reacts to anyone targeting her offspring. The target is caught up in webs while tiny spiders crawl over them and deal up to four poison damage per turn. Fortunately, the silk webbing can be destroyed with fire or poison. Players will need to do this quickly because Gossamer Tomb will deal up to 80 damage to the target in three turns if they have not been freed. Since this fight happens early on in the game, that can easily be a one-hit kill.
6 Leaping Static
3d8 Lightning Damage With Up To Four Targets
The automaton Bernard stands at the top of the Arcane Tower in the Underdark. Players can avoid fighting him by responding to his lines of poetry with corresponding lines from books found throughout the tower. Any other response will cause Bernard to attack.
As an automaton, Bernard thematically deals lightning damage whenever he attacks. Leaping Static, his Legendary Action, follows this pattern as a bolt of lightning potentially jumping to everyone in the player's party. It can deal up to 24 damage per companion and jumps between targets up to 6 meters away. While it isn't a one-hit kill, doling out that much damage to the entire party can still turn the tide of battle in Bernard's favor.
5 Heartwrench
10d12 Psychic Damage
Viconia and her Sharran loyalists are powerful enemies encountered in the House of Grief during Act 3. If players choose not to give up Shadowheart, they start fighting while stuck between a narrow hallway and a large open space filled with enemy spellcasters.
The Sharrans can cast blindness to stop players from targeting them without provoking attacks of opportunity. Viconia, meanwhile, leads the attack from front and center. With two Legendary Actions -Heartwrench and Sanctuary of Loss - the series veteran is a formidable foe. Heartwrench is one of the most powerful direct attacks in the game, dealing up to 120 psychic damage whenever she is struck by anyone that she has previously heartform mapped.
4 Vampiric Swarm
8d12 Force + Piercing Damage Over Time
Cazador Szarr has plans to ascend to power greater than any other vampire lord has ever possessed. He meticulously planned the required ritual for hundreds of years, including the centuries of servitude that Astarion endured. When the player brings Astarion to his manor, the stage is set for the ritual to be completed and only the player and their party can stop it.

John Carpenter's Underrated Vampire Movie Is Better Than Its Reputation Suggests
John Carpenter's Vampires deserves more respect for being ahead of its time and a rip roaring fun vampire movie.
In light of that, it makes sense that defeating Cazador is a challenge. His Legendary Action Vampiric Swarm turns the difficulty up even further. Not only does it deal up to 96 Force damage when he casts it, but it also makes the target swarmed for two turns. This makes them vulnerable to piercing damage and deals an additional 4d8 damage. If that were not bad enough, Cazador also heals himself for that same amount on both turns when a target is swarmed. The combination of effects can deal up to 160 damage in total while also healing Cazador for 64 hit points, making Vampiric Swarm one of the most devastating Legendary Actions in the game.
3 Deathbringer Assault (Sarevok)
5d10 x 4
As Orin's grandfather and the antagonist of the original Baldur's Gate, Sarevok is an enemy whose reputation precedes him. Players have the option to join him and his cult of Bhaal, or save Inspector Valeria from being sacrificed.
Choosing to go against Sarevok provokes him to fight the party. Since he is a melee-focused fighter, the cramped arena gives him the upper hand. His Legendary Action is not a reaction like most bosses, but a Bhaalist ability that he unlocks by attacking four times. Once that is done, he can use Deathbringer Assault to make four consecutive attacks, dealing up to fifty damage each. With up to 200 damage coming from a single action, it is not an ability to trifle with.
2 Tyrannical Branding
20d10 Force Damage
Enver Gortash, Bane's Chosen, is nearly impossible to beat while his Steel Watchers accompany him but is still a formidable opponent without them. He can turn the fight into a war of attrition by granting himself temporary hit points, hold targets down with exploding chains, and more.
In Honour Mode, Gortash gains access to the second-most-damaging ability in the game, Tyrannical Branding. It places a Tyrant's Curse on a single target, who's effect comes into play at the end of the next turn. The curse triggers Bane's Fist on the target and area surrounding them, dealing up to 200 damage in the area, and granting an extra attack and Advantage on attack rolls to any of his allies there. Fortunately, players can save a character from this by removing the curse.
1 Deathbringer Assault (Orin)
3d10 x 7
Orin has two Legendary Abilities - one for each form she can take in combat. While Sanguine Lash and her Slayer form are lethal opponents in their own right, she can deal even more damage without shapeshifting at all.
Like her grandfather and fellow devoted Bhaalist, Orin can use Deathbringer Assault. As the current Chosen of Bhaal, however, her version is more potent than Sarevok's. When using it, she attacks seven consecutive times with each attack dealing up to thirty damage. With a maximum output of 210 damage, this makes her version of Deathbringer Assault the single deadliest attack that a boss can throw at the player.

Baldur's Gate 3
- Platform(s)
- PC , macOS , PS5 , Xbox Series X
- Released
- August 3, 2023
- Developer(s)
- Larian Studios
- Genre(s)
- RPG

