As players enter the Rosymorn Monastery in Baldur's Gate 3, they can check a plaque under a statue that mentions a holy relic, the Blood of Lathander. This relic obviously isn't sitting out in the open, and so players won't have a chance to find it until after dealing with Crèche Y'llek.
However, if players have kept the Blood of Lathander in mind (or have checked their quest log for the entry "Find the Blood of Lathander"), they'll have a chance to grab it after dealing with the Githyanki Inquisitor. Doing so is very much worth the trouble, because the Blood of Lathander is an incredibly powerful weapon, especially for how early it appears in Baldur's Gate 3.
Opening the Way
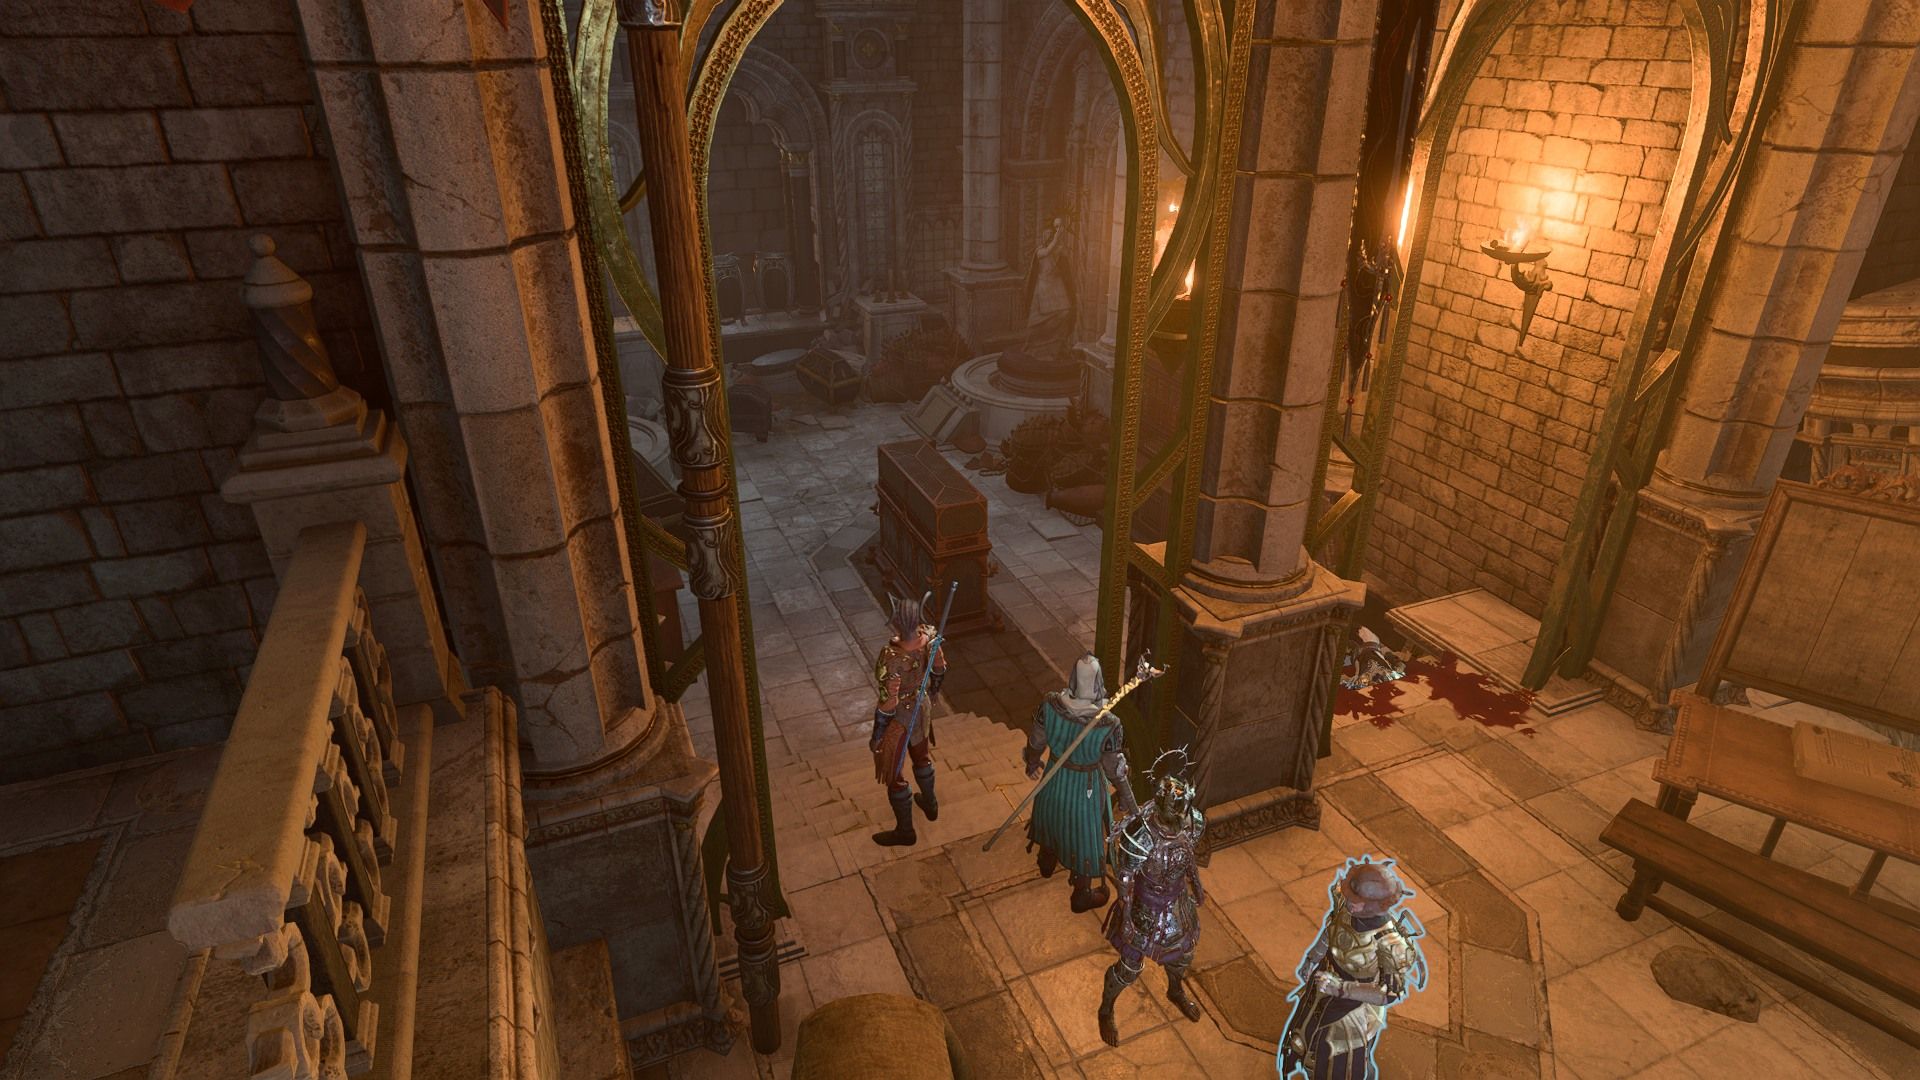
Once players are finished with the Inquisitor (one way or another), players should check the alcove to the left of the entrance. The large container in the middle has a piece of amber with red drops inside, but this is a decoy. The real way forward is to turn the two statues on either side of the alcove.
The plaque next to the statue on the right mentions the dawn, so spin the statue to make it face east. The other plaque mentions sunset, so spin it to face west. However, this statue is stuck and players must pass a difficult Athletics check to get it moving. Be sure to save first, because each party member can only try to move it once.
With the statues facing the right ways, the wall on the far end of the alcove will open, revealing a hidden passage. Players will need to move one of the containers blocking the entrance, but they're light enough that anyone can throw them. Follow the path down to the door to enter the secret chamber.
Bypassing the Traps
In the Secret Chamber, players face three doors sealed by magic, and next to each one is a set of increasingly dire warnings. Between the doors are a pair of Dawnbreaker traps. If a character gets caught in the trap's area (the cone of light on the ground in front of it), it'll knock them into the open chasm on the right side of the hallway, killing them instantly.
Fortunately, players can disarm these traps as normal, and it's also possible to bypass them by paying close attention to the trap's area of effect and jumping across before it can trigger. Players will also need to destroy three Energy Sources to disable the three door seals. The first one is just to the left of the door, players can reach the second one by climbing and jumping across the rocks to the left of the hallway, and the third one is attached to the side of the cliff to the right of the hallway.
Energy Sources resist piercing, necrotic, and radiant damage while being immune to poison and psychic damage. However, all other damage sources work on them like normal, so make good use of arcane cantrips.
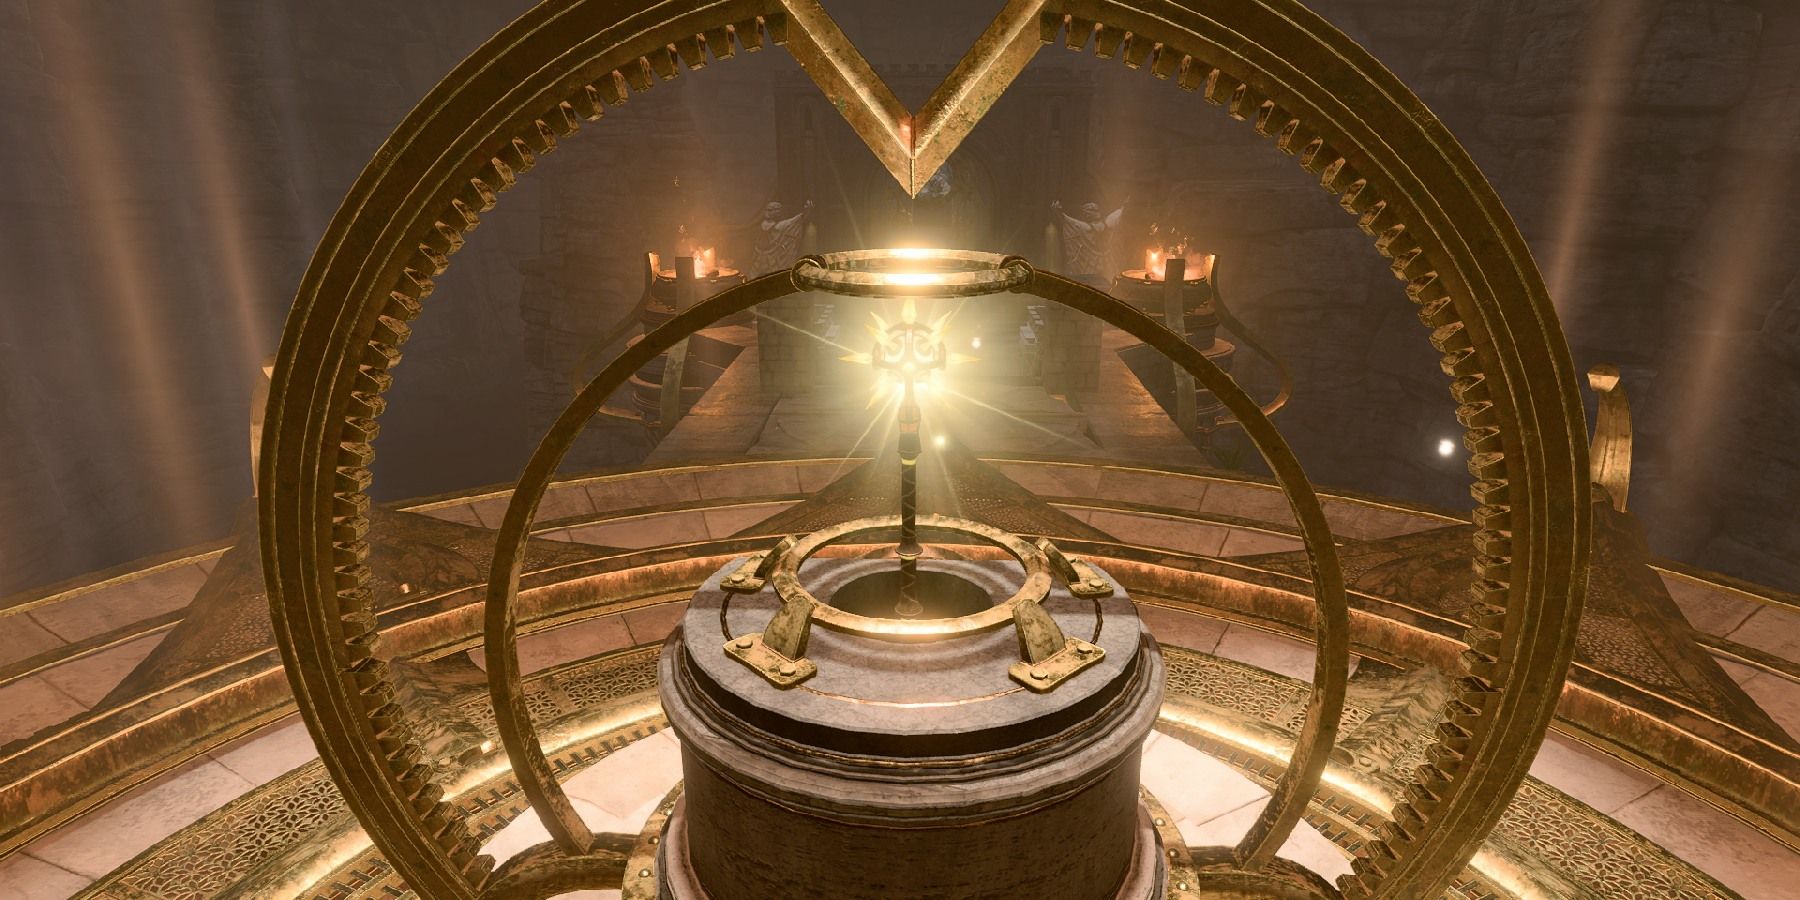
Even after all that, the most deadly trap is yet to come. When players take the Blood of Lathander, a force field will rise up and trap the active character while four Energy Sources start powering a weapon that will destroy the entire temple, including the creche.
Before taking the relic, check on the left side of the platform to find one last Energy Source. Destroying it will prevent the force field from activating. Players then get four rounds to either destroy all four power sources in the room or dash through the open portal and try to escape the monastery. Note that any characters still standing on or in the monastery when it explodes will die instantly. Also, Lae'zel will hate the protagonist if they let the creche explode.
Players should be aware that destroying the force field Energy Source and then the weapon chargers can sometimes cause a bug that makes one party member disappear and makes it impossible to complete a long rest. To be safe, be sure to save before taking the Blood of Lathander. Players will know the encounter finished correctly when a cutscene plays as the weapon powers down. The Blood of Lathander mace is easily worth all the trouble it takes to get, as it has the following stats:
- A +3 weapon enchantment.
- Lathander's Light: it casts light in a 20-foot radius at all times; undead and fiends in the light must save each round or be blinded.
- Lathander's Blessing: Once per Long Rest, if the wielder drops to zero hit points, they regain 2d6 hit points and allies within 30 feet regain 1d6 hit points.
- Sunbeam: a powerful level 6 cleric spell, also once per Long Rest.
Baldur's Gate 3 is available now on macOS and PC.

