Highlights
- Act 2 of Baldur's Gate 3 features some of the toughest fights in the game, with a higher level of difficulty and complexity compared to Acts 1 and 3.
- The Githyanki Creche is a challenging fight where players must survive against deadly Githyanki fighters, and failing a Persuasion check can turn Lae'zel against the party.
- The Balthazar fight can be made easier if prompted in the Gauntlet of Shar, as fighting him in the Shadowfell presents more difficulties with his necrotic and translocation powers.
There are some deadly enemies to fight in Baldur's Gate 3, but some fights have a reputation for being tougher than others. Most of the fights in the game's first act are tailored to lower-level characters or beginner players who might not have a lot of experience with D&D lore or turn-based combat.
Baldur's Gate 3: Hardest Fights In Act 1
Baldur's Gate 3 is home to several challenging fights; here are the hardest ones players can encounter in Act 1.
By the time players reach Act 2 of Baldur's Gate 3, they should be at least level 5 or 6, and the learning curve ramps up. Some of the toughest fights in the game can be found in Act 2 and many of them are more complex than the ones in Acts 1 & 3 and need the benefit of strategy. For those playing in Tactician or Honor mode, the stakes are higher than just a simple reload.
Updated on March 22nd, by Kristy Ambrose: The recent news from Larian Studios regarding their lack of plans for Baldur's Gate 3 in the form of DLCs or sequels is sobering. Many fans had hoped for more story content, spells, equpiment options, or whatever else Larian would cook up. On the other hand, considering the game already has a myriad of locations to explore and bosses to fight, it's not that surprising. How these fights end will often determine the outcome of a quest, romance, rivalry, or storyline once the party progresses to Baldur's Gate. As such, since some of the game's toughest fights take place in Act 2's Shadow-cursed Lands, more of those fights have found their way onto this list.
Some of the following battles depend on the choices that players made in Act 1, and most of them will change the outcome of the story in Act 3. Knowing about these fights gives away some story and plot details. Please be advised before reading on.
8 The Githyanki Creche
Fail A Roll And Fight Lae'zel
Ever since the player and Lae'zel escaped the Illithid ship, Lae'zel has insisted that the nearby Githyanki outpost has a way to cure the party of the tadpole. The crèche is located underneath the ruins of the Temple of Lathander in the Mountain zone.
The Githyanki will demand the Artifact from the protagonist, and should they refuse to give it up, they have to survive one of the toughest fights in the game. What makes this even more difficult is that if players fail a Persuasion check, Lae'zel will turn against the party as well, making this an even more savage three-player fight against some deadly Githyanki fighters.
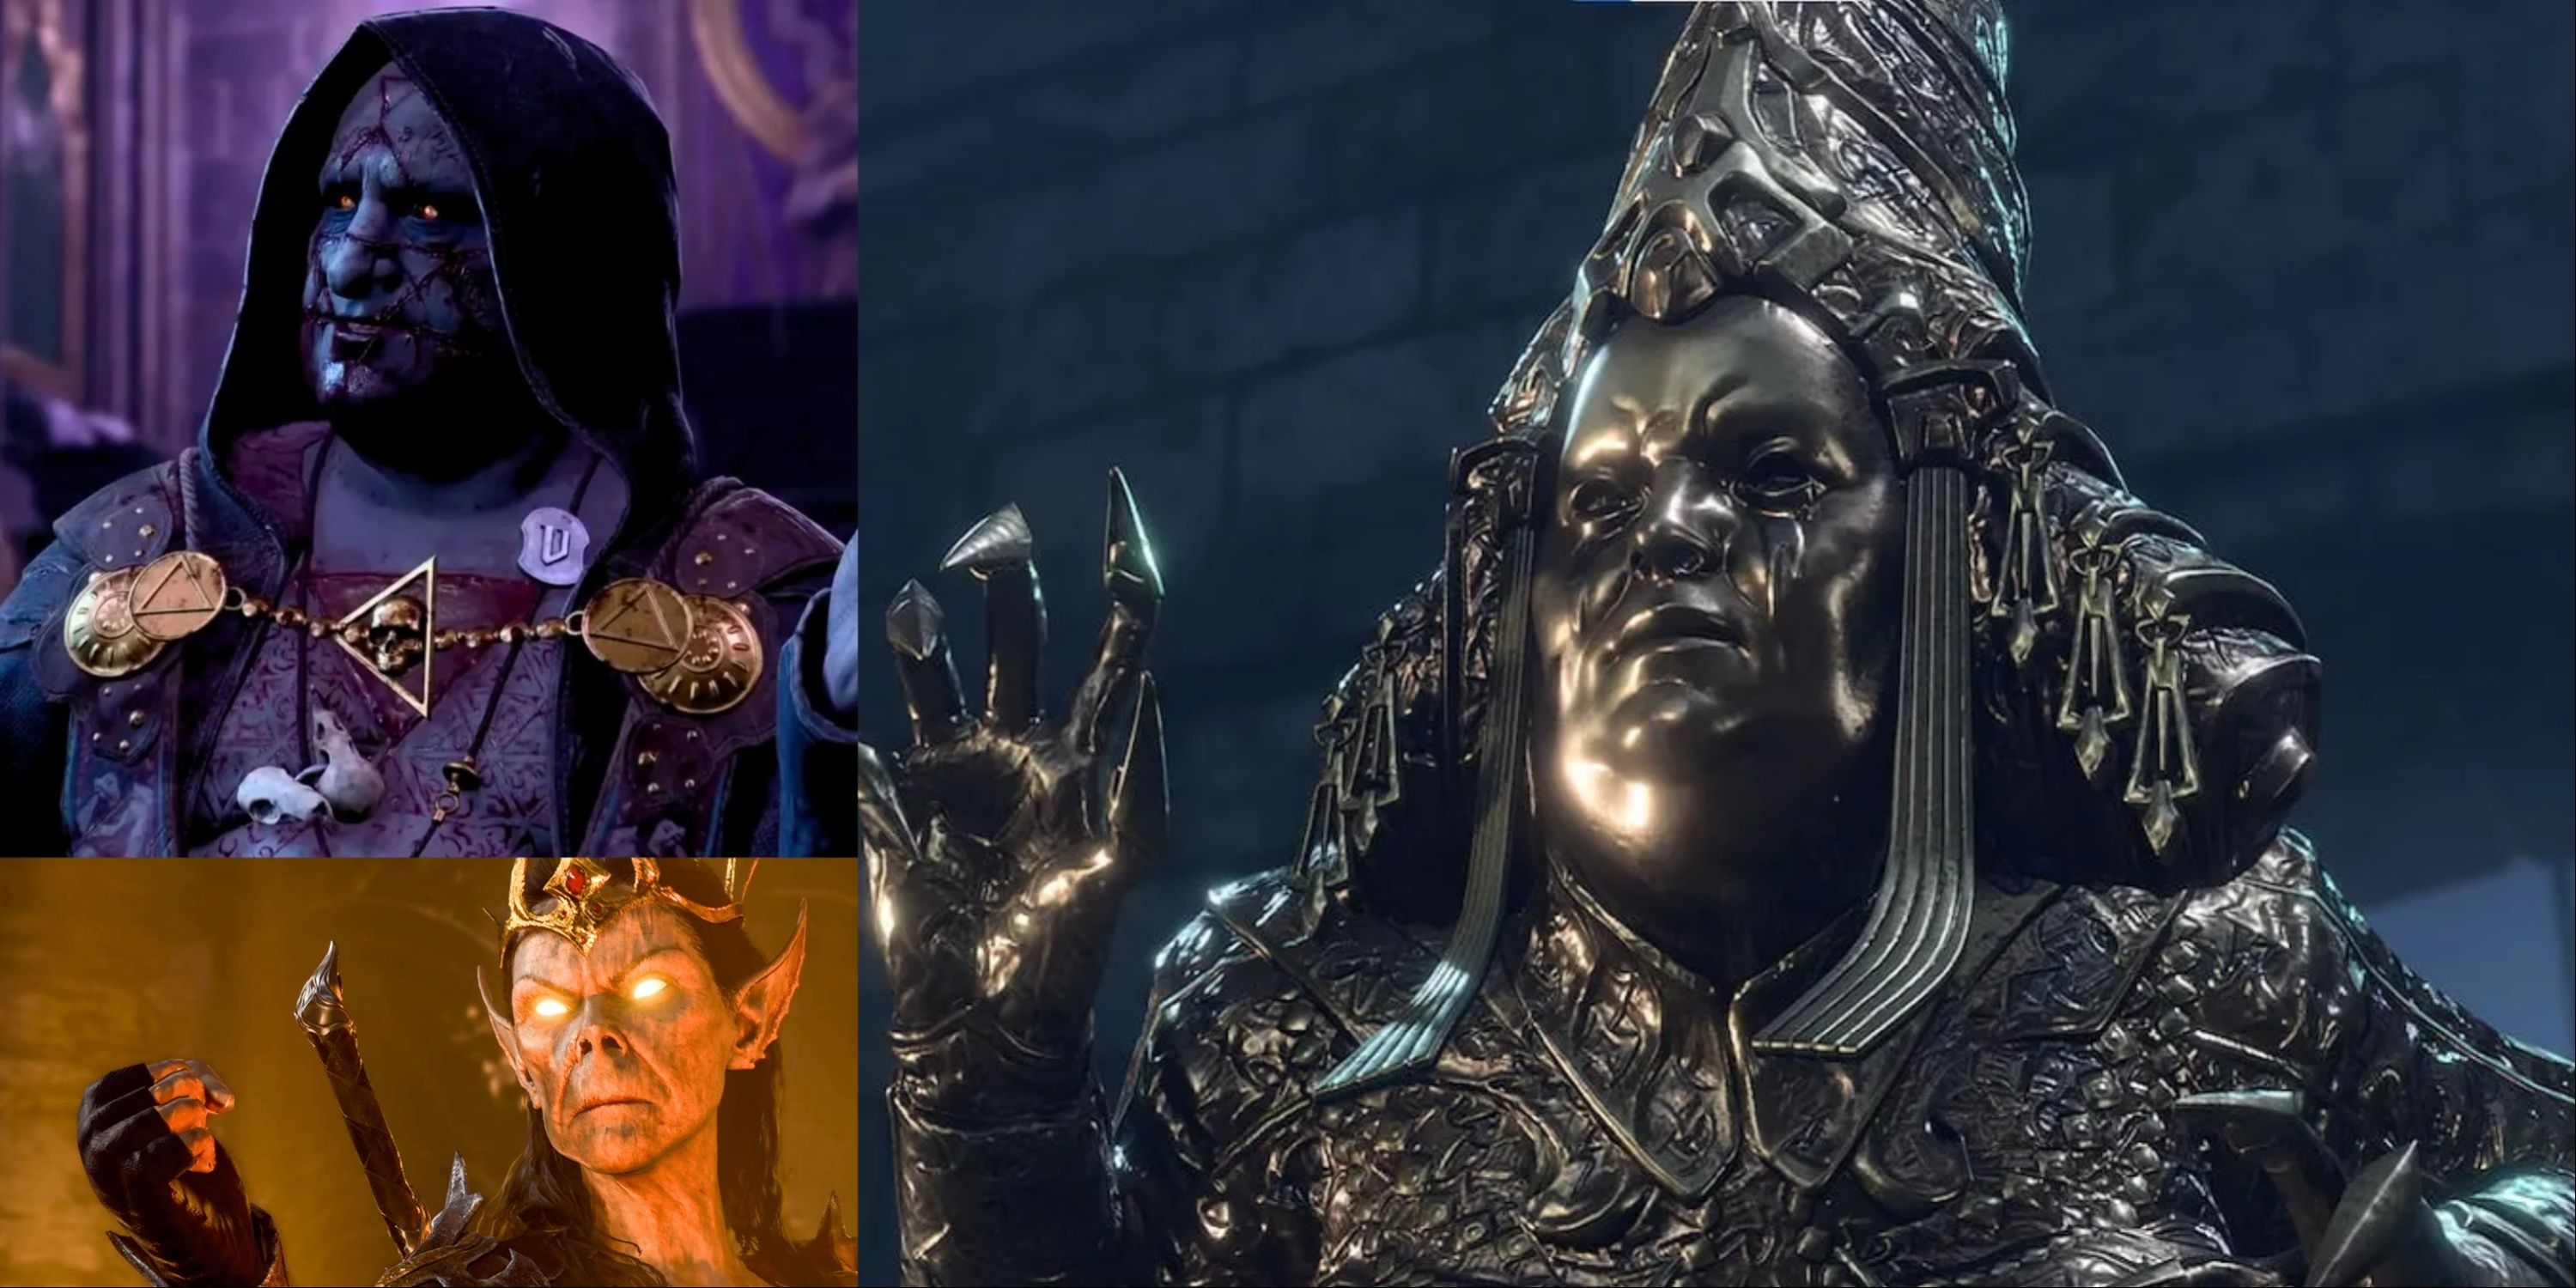
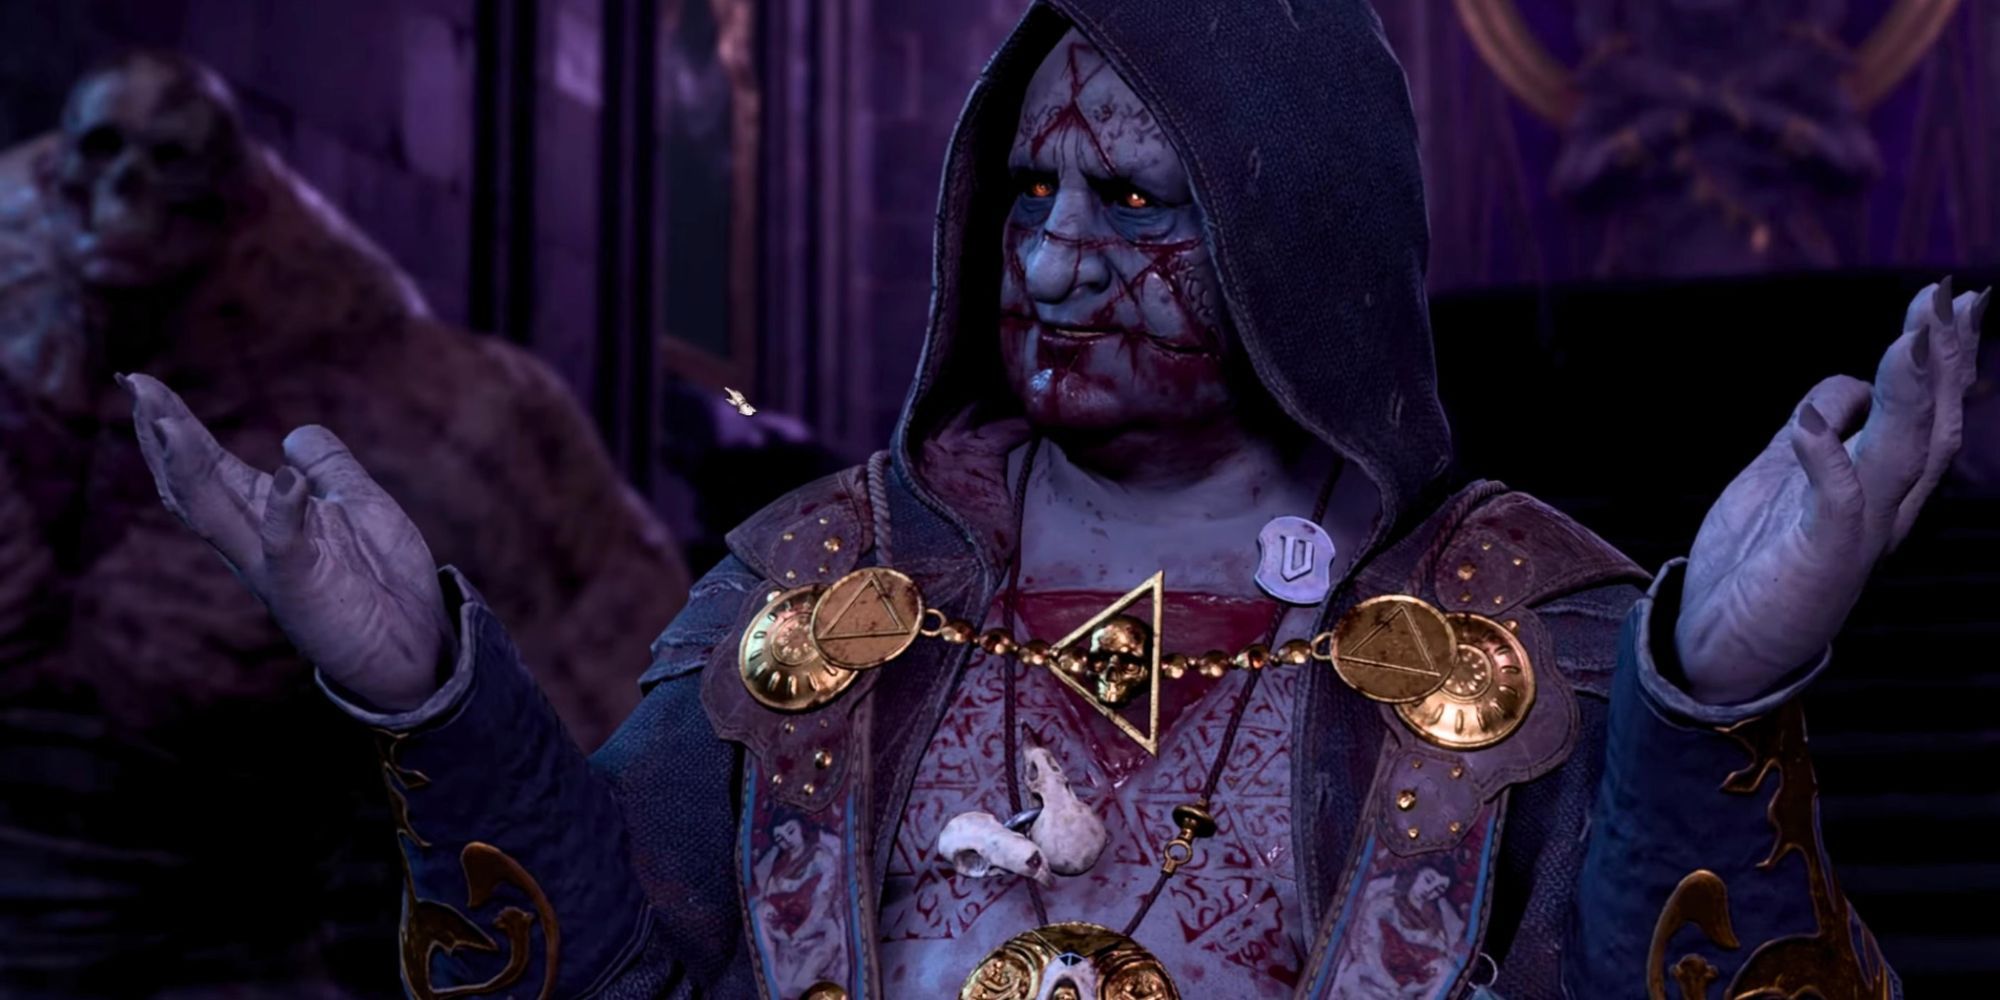
7 Balthazar The Necromancer
Change Venues To Make This Fight Easier
Balthazar can be found in the Gauntlet of Shar, and he enlists the protagonist's help to find the mysterious weapon known as the Nightsong that everyone has been searching for since Act 1. Should this conversation go well, the player meets him again where the Nightsong is held prisoner in the Shadowfell.
5 Darkest Side Quests in Baldur's Gate 3
A few side activities in Baldur's Gate 3 go to some dark and gruesome places.
Should players refuse to hand Dame Aylin over to Balthazar, they have to fight Balthazar, and Aylin isn't able to help. The arena of this fight, along with Balthazar's necrotic and translocation powers, makes it extremely tough. His minions take elevated positions while he teleports from place to place, raising dead and casting Darkness over everyone.
Players can make this fight a lot easier by prompting it in the Gauntlet of Shar instead of waiting until the Shadowfell. That way it's possible to fight both him and his minions in one room where teleporting is almost useless.
6 Yurgir, The Orthon
A Dangerous Demon With A Variety Of Minions
This is an optional fight of varying difficulty levels, depending on how lucky the player gets with a couple of tough Persuasion checks. It's possible to save Yurgir from his contract instead of fighting him, and not only that, but if he survives he returns in Act 3 to help in the fight against Raphael.
However, killing him is part of a deal that the player has made with Raphael to decipher the writing on Astarion's back as part of The Pale Elf quest. Any players concerned about approval ratings or romance options with Astarion should only speak to Yurgir long enough to convince him to kill his own construct minions.
This still gets Astarion's disapproval but as long as the Orthon dies at the end of the conversation it won't matter. Now it's only necessary to fight Yurgir, who likes to throw explosives while invisible, and his Displacer Beast pet, who has a vicious bite and teleportation abilities.
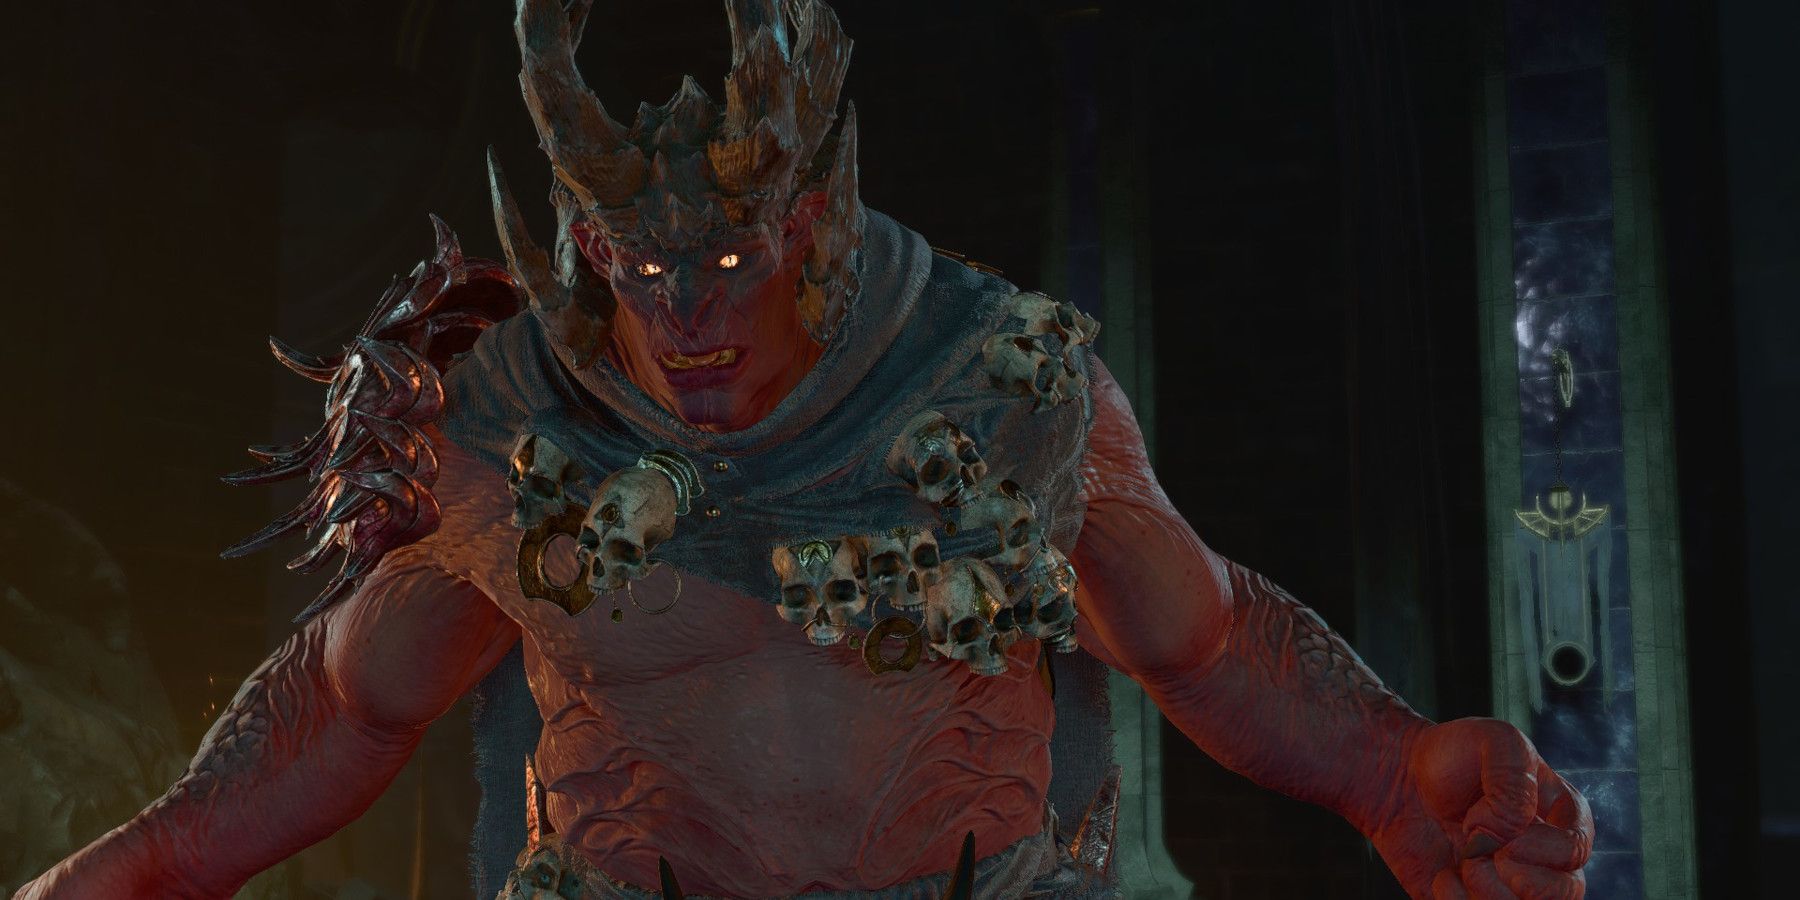
5 The Second Fight With Kethric Thorm
The Fight That Ends Act 2
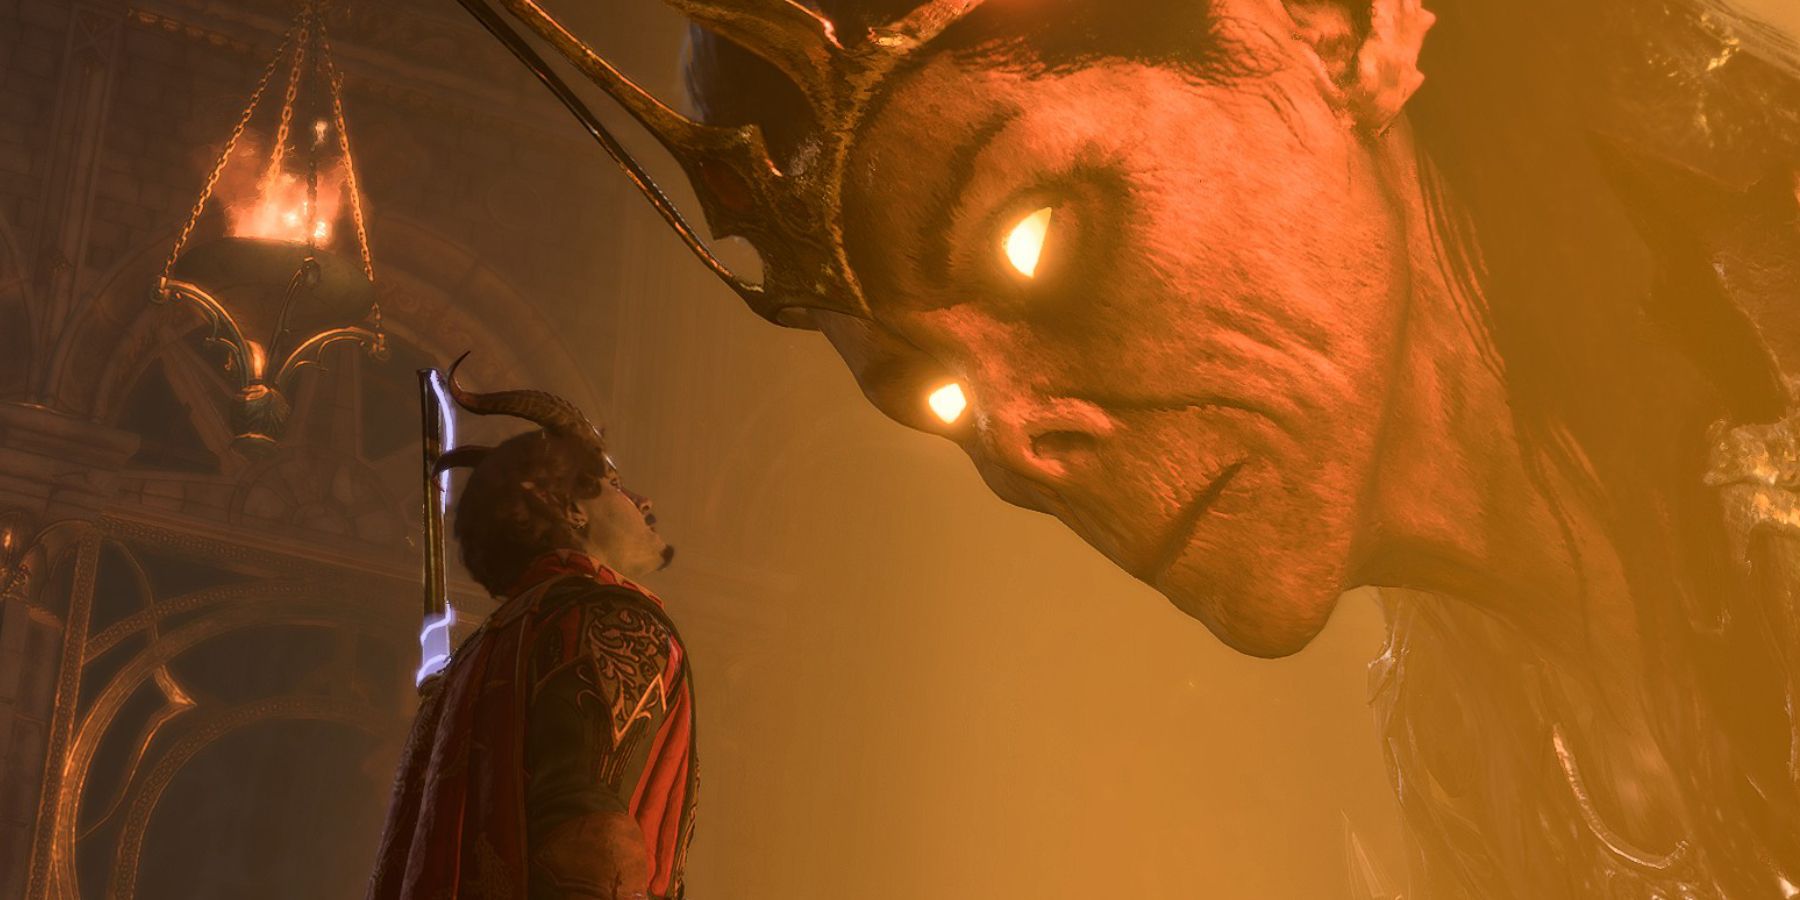
There are a lot of players who rate this as the best boss fight in the whole game. It involves one of the major players in the overall Elder Brain scheme, a unique battleground, a powerful ally in the form of Dame Aylin, and strategically placed minions to make the fight that much more difficult. Plus, this is the only fight in the game in which the boss has two phases, and in the second we see the Avatar of Myrkul, the Death God.
A fairly long cinematic precedes this fight, which includes some exposition regarding the identity of the Absolute and the plans of the antagonists once they arrive in the city. Expect some interesting extra dialogue if players have Wyll, Gale, or Karlach in the party, but no matter what, one of the first things they do should always be to get to Dame Aylin and give her an Assist. Her captivity is what makes Kethric invulnerable, and once she's free, she'll help the party beat him down until phase two.
The Avatar of Myrkul wields a massive scythe and is very intimidating. By the time players have to face him, some ranged weapons or AoE should have taken care of the minions, which include a Mind Flayer, several undead, and several "brain things."
4 Defending Halsin's Portal
It's Tough, But Do It For Him
A unique fight in the sense that it's not about killing a boss but holding a defensive position against an onslaught of enemies. This is the last step in the quest that restores the Shadow-Cursed Lands and lifts the curse, so of course it's one of the toughest in the game.

Baldur's Gate 3: Druid Halsin Location
Players that are trying to rescue the Druid Halsin in Baldur's Gate 3's Goblin Camp can find details on his location in this short guide.
The party only has to defend the portal for a few turns, until Halsin can rescue Thaniel, but it feels like a long time because of the intense fight and the large number of targets. Crowd Control, Turn Undead, Daylight, and any area-of-effect spells that can wipe out several enemies at once can make the difference in this difficult battle.
3 Moonrise Towers
Taking Back The Shadow-Cursed Lands
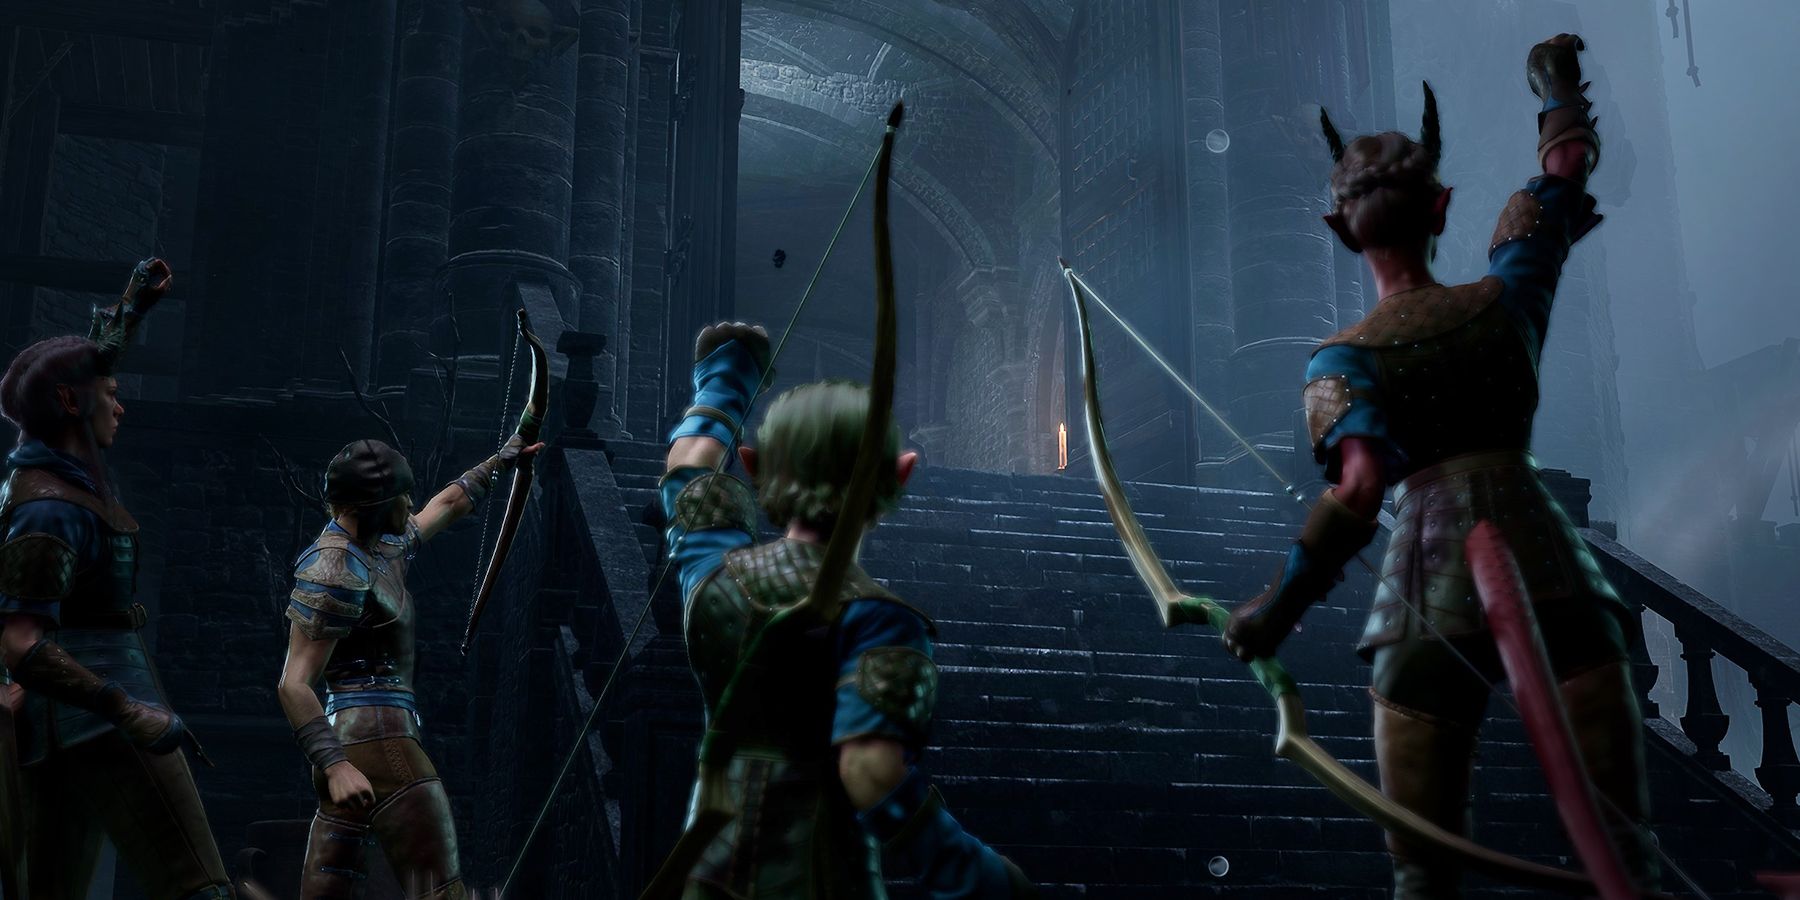
After freeing the Nightsong from her prison in the Shadowfell, players can return to Reithwin Town to join Jahiera and her remaining forces for an assault on Moonrise Towers. There are a variety of enemies waiting for the party and their allies, who are entering through a bottleneck that is vulnerable to sniper shots from above and AoE attacks from the spellcasters below.
One way to make this fight easier is to take the party to another, smaller entrance to the south. This requires an Intimidation or Persuasion check, but it allows the party to come around behind the numerous forces waiting in the lobby while Jaheria comes in the front.
2 Gerringothe Thorm
Shielded By Precious Metal And Poltergeists
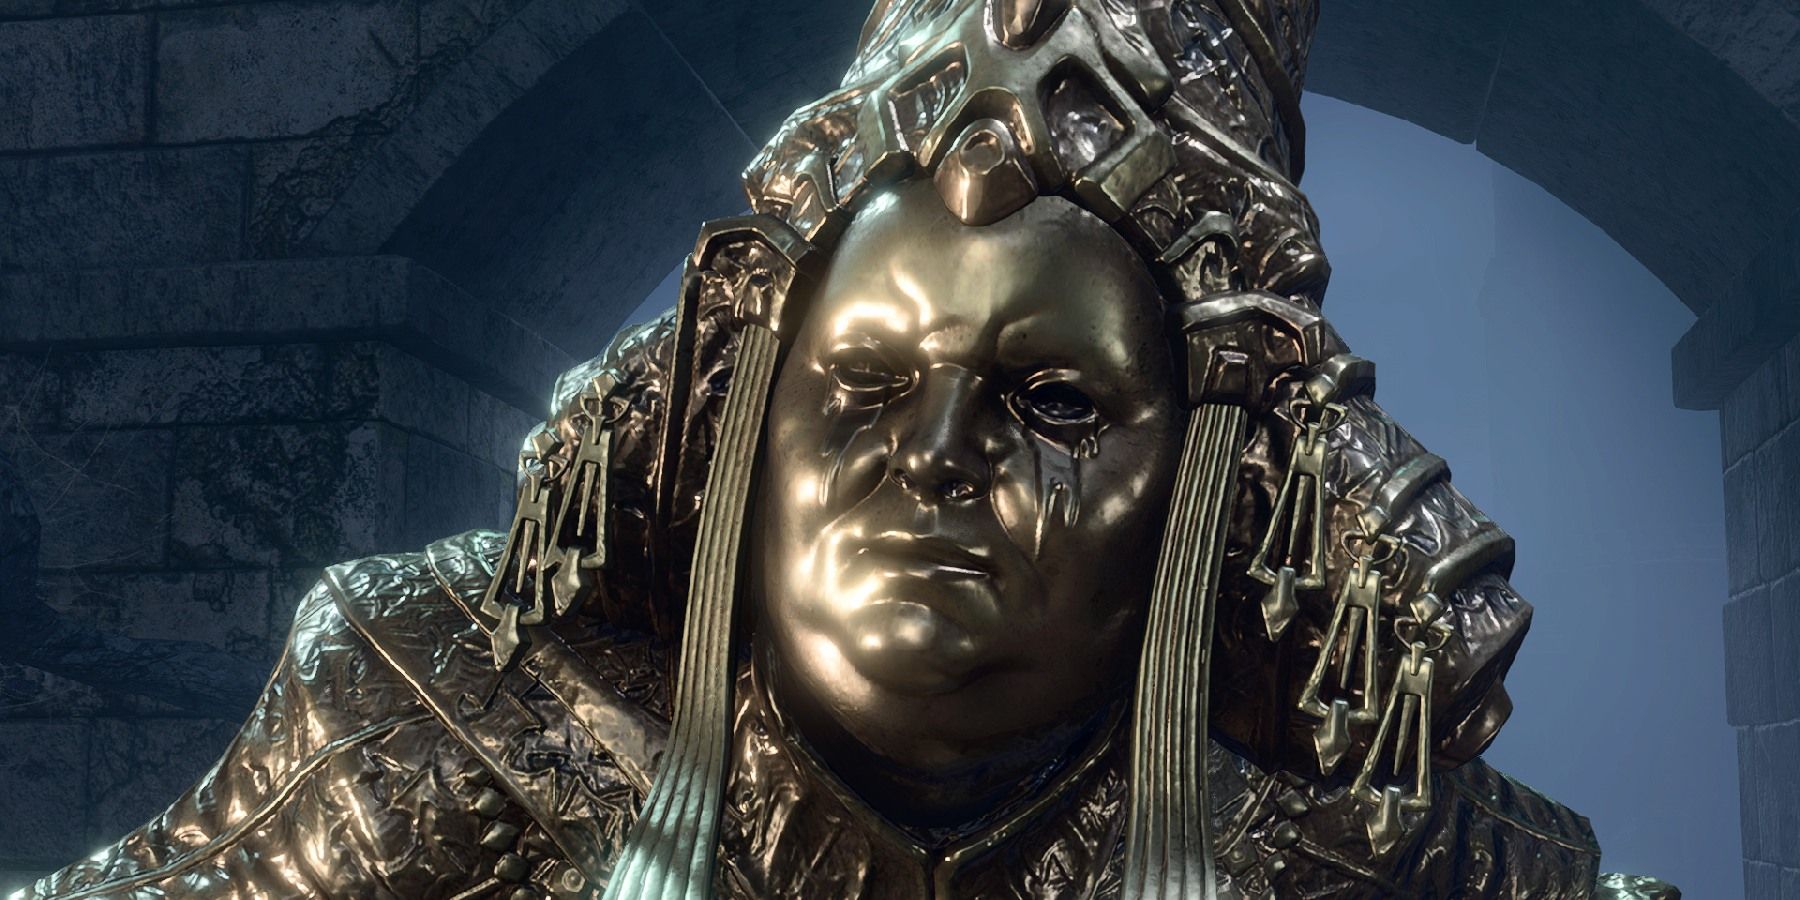
Any of the Thorm siblings can be persuaded into their demise as opposed to having to be killed in a fight, and Gerringothe is the toughest of them all should those Persuasion, Deception, or Intimidation rolls fail. Not only is she protected by a few layers of solid gold, she hits like a train, and takes little to no damage thanks to her haunting minions.
Baldur's Gate 3: 13 Best Rings You Can Get In Act 1, Ranked
Enchanted rings in Baldur's Gate 3 can provide players with handy perks, and there are plenty to pick up, even in Act 1.
The only way to slay Gerringothe is to destroy the skulls protecting her, and since they're in various locations throughout the Tollhouse, it's awkward, to say the least. The piles of gold scattered throughout the area also explode and can spawn new enemies, so pick up as many as possible before engaging her in battle.
1 The Githyanki Ambush
One Last Surprise Challenge
Even following what seems like a definitive ending after the defeat of Kethric Thorm, players still have to travel from the rubble of Moonrise Towers along the same path as the army of the Absolute when they marched west. Other perils are waiting along the dark road that have little or nothing to do with the Dead Three or their plans, but the decisions that players made previously will determine the difficulty level of this fight.
If they've followed the Githyanki Warrior Companion quest and have sided with Voss against Queen Vlaakith, he'll give the player a special item called a Psionic Resonator that will activate if any Githyanki are nearby. This will warn them of the ambush ahead of time, so at least they can't be surprised, and it does help to have every advantage in a shock attack that involves five seasoned Gith warriors.
Three will appear on the gate that leads out of town, while two will be on the ground, so the best thing to do is Misty Step, Fly, or Enhance Leap to the same higher vantage point on top of the gate. This also gives players the advantage of attacking two of the enemies from high ground. After this fight, the party can finally travel to Baldur's Gate.

Baldur's Gate 3
- Platform(s)
- PC , macOS , PS5 , Xbox Series X
- Released
- August 3, 2023
- Developer(s)
- Larian Studios
- Genre(s)
- RPG

