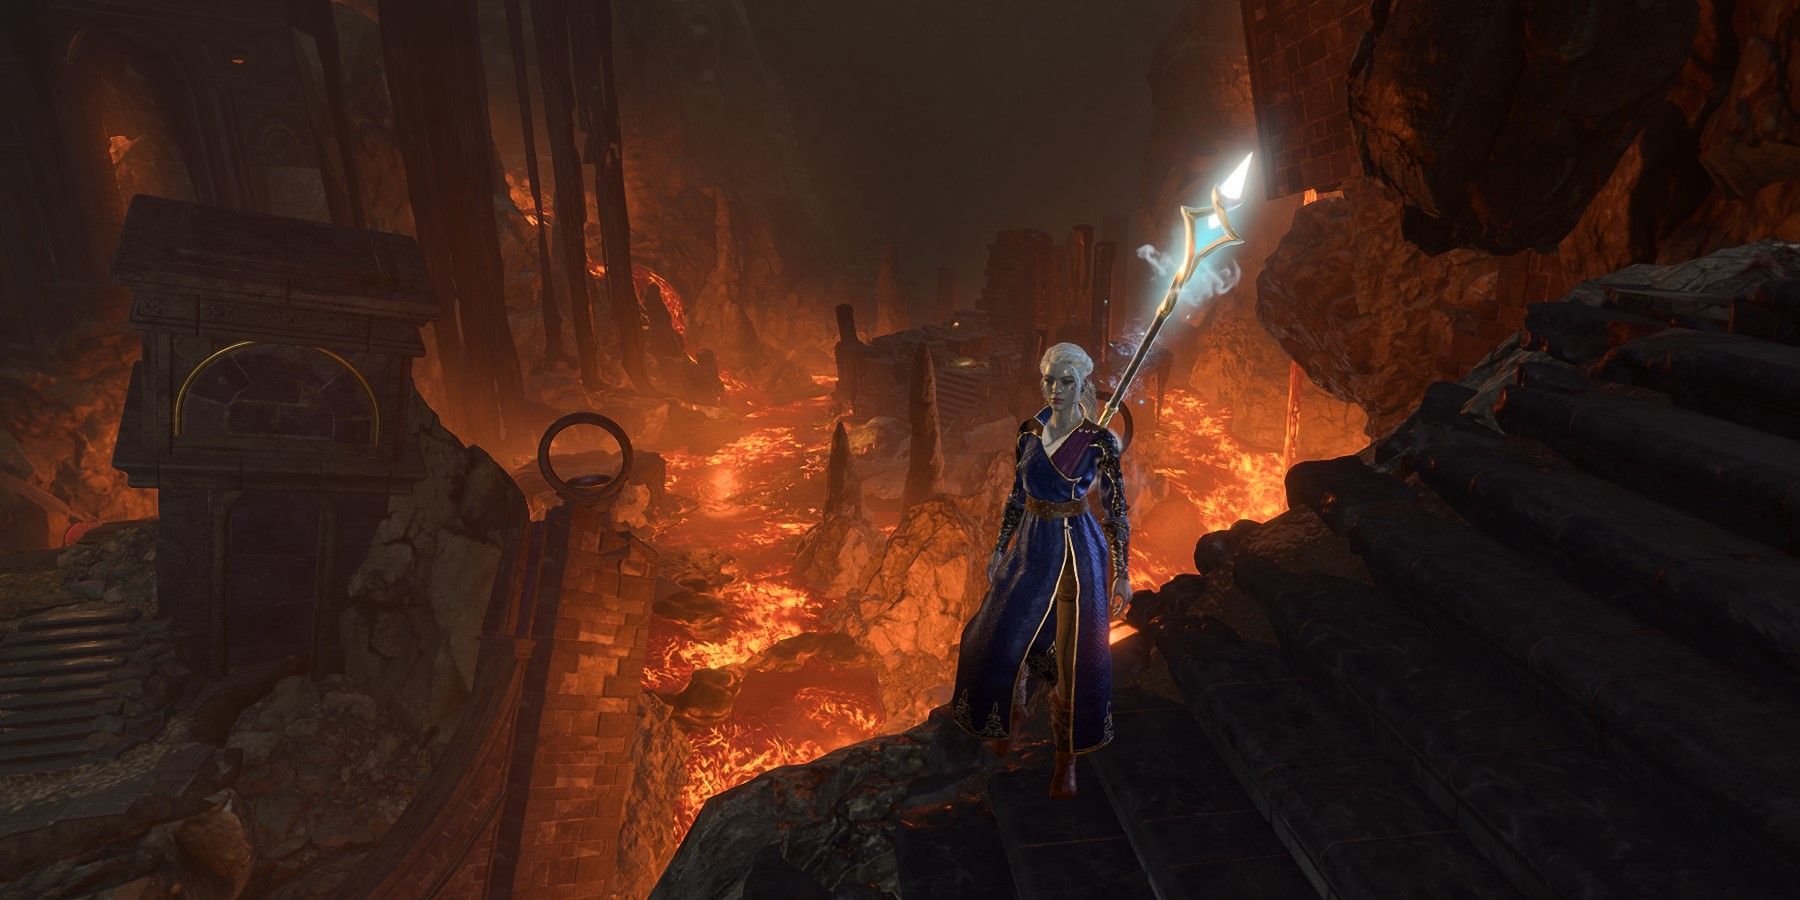
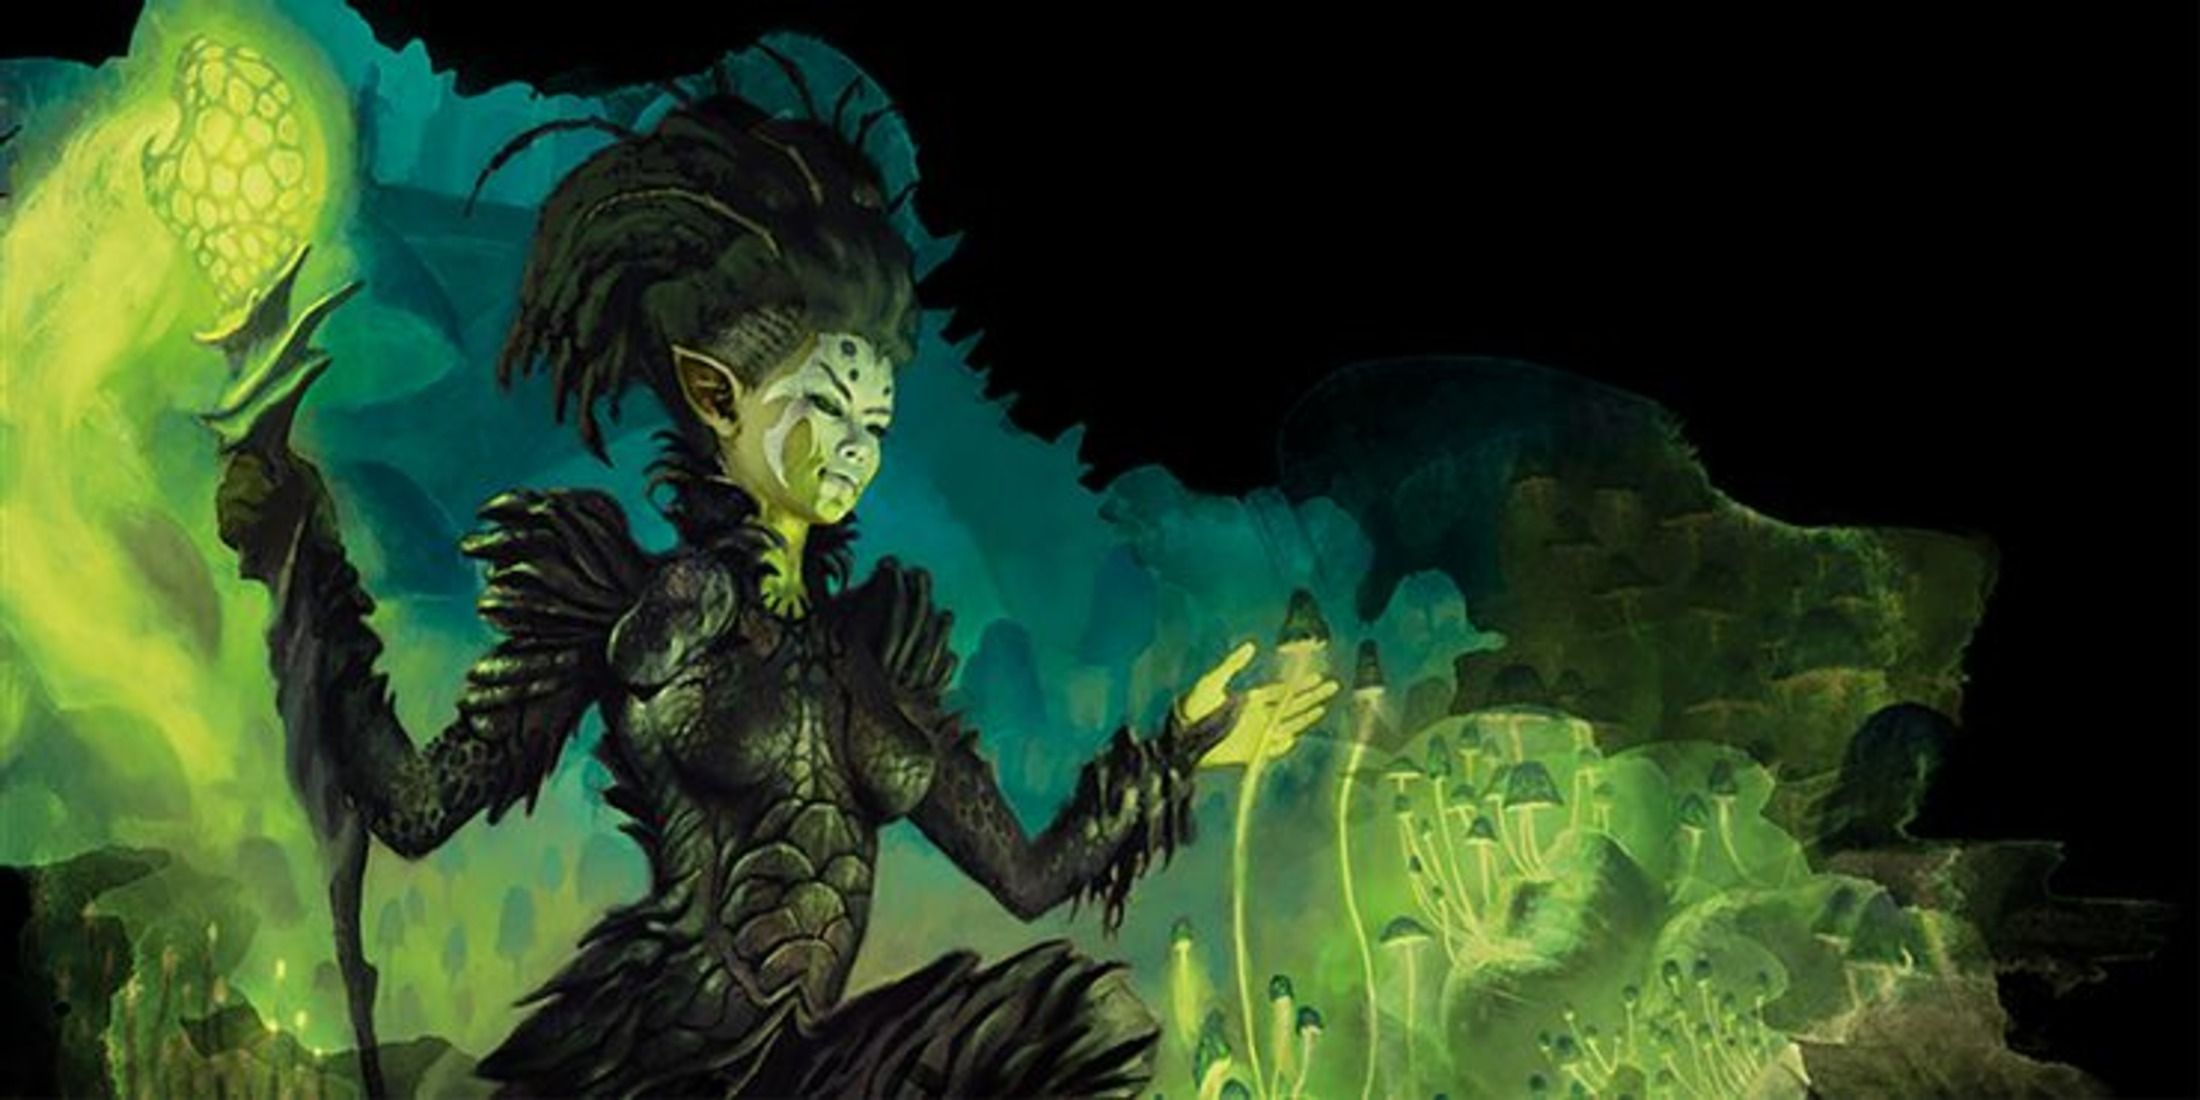
Each of Baldur's Gate 3's available classes provides different abilities to the character, both in combat and when exploring the world, and subclasses are a way of further diversifying a character's skills and capabilities. With a few exceptions, each class has three subclasses to choose from.
Baldur's Gate 3 allows players to use twelve classes from the D&D 5e Tabletop game when creating their character. The Druid is a class that makes use of magic drawn from nature and the natural world, able to shapeshift and command the forces of nature in a number of different ways. Each of its subclasses allows the druid to focus on a different aspect of nature and gain additional abilities relating to it. The Circle of the Land allows them to draw power from specific environments and gain abilities relating to them, The Circle of the Moon allows them to focus on shapeshifting and the power of the animal kingdom, and the Circle of Spores draws power from decay and the new life which springs from it.
Updated on August 15th, 2023, by Thomas Hawkins: Now that Baldur's Gate 3 has left Early Access, players are able to reach level 12 and utilize the "Circle of Spores" druid subclass. This article has been updated to include information on abilities unlocked after level 5 and also to cover the "Circle of Spores" subclass.
Updated on February 24, 2024, by Thomas Hawkins: Now that players have had time to seek out the finest magical items Baldur's Gate 3 has to offer, those items have opened up new possibilities and character-building options. This guide now contains information on useful items for each of the Druid subclasses, while also offering suggestions for multiclassing.
The Circle Of The Land
The Circle of the Land Druid specializes in spellcasting first and foremost, gaining the ability to recover their spell slots using the "Natural Recovery" ability once per long rest. This makes them excellent utility casters and allows them to utilize their magic more freely and frequently than the other Druid subclasses.
At level 3, a Circle of the Land Druid is able to select a Spell Circle, each of which is based on a type of terrain, and gain additional spells based on the Spell Circle selected.
Spell Circle | Bonus Spells |
Arctic | Hold Person and Spike Growth |
Coast | Mirror Image and Misty Step |
Desert | Blur and Silence |
Forest | Barkskin and Hold Person |
Grassland | Invisibility and Pass without Trace |
Mountain | Mirror Image and Spike Growth |
Swamp | Acid Arrow and Darkness |
Underdark | Web and Misty Step |
The table above explains all the spells granted at level 3 by this decision. At level 5, players choose another Spell Circle and gain new spells from that Circle. These are different spells to those offered by selecting that Circle at level 3.
Spell Circle | Bonus Spells |
Arctic | Sleet Storm and Haste |
Coast | Sleet Storm and Call Lightning |
Desert | Protection from Energy and Hypnotic Pattern |
Forest | Call Lightning and Plant Growth |
Grassland | Haste and Daylight |
Mountain | Call Lightning and Fly |
Swamp | Vampiric Touch and Stinking Cloud |
Underdark | Gaseous Form and Stinking Cloud |
At level six, the Druid gains "Land's Stride: Difficult Terrain," which allows the Druid to move through difficult terrain without getting slowed down. At level seven, the Druid gets to select a spell circle to draw spells from once again, gaining some additional level four spells in the process.
Spell Circle | Bonus Spells |
Arctic | Conjure Minor Elemental & Ice Storm` |
Coast | Confusion & Freedom of Movement |
Desert | Blight & Wall of Fire |
Forest | Conjure Minor Elemental & Grasping Vine |
Grassland | Freedom of Movement & Polymorph |
Mountain | Dominate Beast & Stoneskin |
Swamp | Blight & Grasping Vine |
Underdark | Dominate Beast & Greater Invisibility |
At level nine, players get to choose another Spell Circle and get additional level five spells based on their choice.
Spell Circle | Bonus Spells |
Arctic | Cone of Cold & Contagion |
Coast | Conjure Elemental & Greater Restoration |
Desert | Insect Plague & Wall of Stone |
Forest | Contagion & Mass Cure Wounds |
Grassland | Greater Restoration & Insect Plague |
Mountain | Conjure Elemental & Wall of Stone |
Swamp | Cloudkill & Insect Plague |
Underdark | Cloudkill & Contagion |
Finally, level ten grants "Nature's Ward," making the druid immune to charm and fear effects caused by elementals and fey. It also grants them full immunity to disease and poison.
Multiclassing & Equipment
Taking a level of Wizard will allow players to learn any Wizard spell that they find a scroll for and cast them using their higher-level spell slots from Druid, though they will still use the character's intelligence score when determining attack rolls and saving throws. A level or two of Tempest Domain Cleric can also be very effective, especially if players are using a lot of lightning damage and/or wish to equip heavy armor or a wider range of weapons.
The Circle of The Land is a spellcasting-focused subclass that has access to a wide variety of damage types, allowing players to work around resistances with multiple elements, or focus on a single element and push it to its limits. Players could take advantage of this by grabbing some of the element-themed magic items that can be found throughout the game, many of which can be found as early as Act 1.
Lightning Equipment (All available in Act 1)
For example, players could focus on lightning damage, picking up the Spellsparkler staff from Waukeen's Rest (by rescuing Counsellor Florrick), the Jolty Vest from Brem in the Zhentarim Hideout, and the Watersparkers from the chest behind Minthara at the Goblin Camp. Add the Blast Pendant, worn by one of the Petrified Drow near the Selunite Outpost, and the Sparkswall Ring from the Mage Tower Basement in the Underdark. Buy the Lifebringer from Blurg in the Underdark Colony to complete the ensemble. After reaching Grymforge in Act 1, players should replace the Jolty Vest with the Protecty Sparkswall for better spell save DCs and pick up The Real Sparky Sparkswall shield, also found in Grymforge.
Putting all of that together, players will be gaining Lightning Charges constantly from casting spells and standing in electrified water, which won't hurt them because of the Sparkswall Ring. Those lightning charges will boost the character's AC by 1, add lightning damage to all their attacks (including spell attacks), and deal even more lightning damage when they max out by spending the whole stack. The Lifebringer adds temporary HP as long as the character has lightning charges, while the Real Sparky Sparkswall allows them to burn three charges to create a lightning aura that jolts nearby foes. Finally, the Blast Pendant uses up all available lightning charges to empower the next spell or cantrip used, adding extra lightning damage to it.
Cold Equipment
Players can also specialize in cold damage, taking advantage of powerful spells like Sleet Storm, Ice Storm, and Cone of Cold to create icy terrain and disrupt the enemy. The first thing players should do when building for cold damage on a spellcaster is grab the Mourning Frost. This powerful staff can be found in three pieces scattered across Act 1 and boosts cold damage. It also applies the "chilled" condition to anyone hit by the wielder's cold damage unless they succeed a constitution saving throw. This condition causes them to take double damage from cold damage and inflicts "frozen" on them if they receive the "Wet" condition. While Frozen, they take double damage from bludgeoning, force, and thunder damage.
To avoid being hindered by your own icy terrain, it's important to pick up the Hoarfrost Boots from the Inquisitor's Chamber at the Githyanki Creche too, taking the opportunity to buy Winter's Clutches from Lady Esther at the Rosymorne Monastery Trail too (These can also be acquired by completing the quest "Avenge Glut's Circle" in the Underdark, as long as players side with Glut.)
After entering Act 2, players should also collect the Snowburst Ring (hidden under a loose plank at the Last Light Inn), the Coldbrim Hat (Hidden in a secret room in Balthazar's Chambers at Moonrise), and the Icebite Robe (from a Sarcophagus out in the Shadow-Cursed Lands.)
Putting all of this together, players will be able to create huge icy surfaces using spells that deal cold damage, with even the Ray of Frost Cantrip creating a decent amount of ice thanks to the Snowburst Ring, and inflicting the chilled and frost-encrusted conditions in the process. These two conditions both apply vulnerability to cold damage and can be used to freeze foes solid too.
Other Notable Items
The Gloves of Belligerent Skies make an excellent addition for players using lightning, thunder, or radiant damage, applying the reverberation condition and potentially knocking enemies prone. Players should also track down the legendary staff "Markoheshkir" during Act 3 to gain access to "Kereska's Favour", which allows players to choose between six different damage types and gain access to additional spells that deal that damage type. The staff also causes all spell damage to apply a condition associated with that damage type (for example, choosing cold causes all spell damage to inflict frost.)
The Circle Of The Moon
Players looking to emphasize their Druid's shapeshifting ability will want to take the Circle of the Moon as their subclass. At level 2, when Druids select their subclass, the Circle of the Moon grants the druid the Combat Wildshape ability and access to a special ability called "Lunar Mend." Combat Wildshape allows the Druid to transform as a bonus action instead of a full action, allowing them easy access to their shapeshifting abilities during combat encounters. They can shapeshift twice per short rest, allowing them a total of six transformations between long rests.
The Lunar Mend ability allows the Druid to spend their spell slots to heal themselves while transformed, allowing them an alternative use for their spell slots and helping them to stay transformed longer. This heals 1d8HP per level of the spell slot used, meaning that players can burn higher-level spell slots to heal more if necessary.
The Circle of the Moon Druid also gains access to more powerful Wildshape forms faster than other subclasses, gaining the Deep Rothe form at level 3 rather than level 4, for example. They also gain some Wildshape forms that the other subclasses do not have access to, like the Dire Raven (level 3).
At level six, the Druid gets "Primal Strike," treating their natural attacks as magical for the purpose of overcoming damage reduction while they are transformed. They gain Saber-Toothed Tiger as a Wildshape at level eight, which has the ability to shred through armor. At level ten, the druid gets access to four "Elemental Myrmidon" wildshapes, allowing them to take on elemental forms to modify their damage type and take advantage of environmental conditions. (Lighting Oil on Fire, Electrifying Water, etc.)
Multiclassing & Equipment
When Multiclassing with the Circle of the Moon, it is important to understand that a lot of features won't work while in Wildshape. Generally speaking, Class Actions that require the player to spend an action or bonus action will be unavailable while in Wildshape, but passive abilities will. Thus, abilities like Unarmored Defense (from Barbarian and Monk) will function in Wildshape (as long as the character wasn't wearing armor when they entered Wildshape), as will the Improved Critical ability from Champion Fighter. The War Cleric Extra Attack also works while Wildshaped, which can be useful. Players can also take levels in Barbarian and enter a Rage before using Wildshape to benefit from Rage while in Wildshape.
Generally speaking, though, the Circle of the Moon subclass does not lend itself well to multiclassing. Since most equipment doesn't function while in Wildshape, it's generally a good idea to wear equipment that benefits spellcasting instead. This means that the Druid can take advantage of being a full caster class whenever they aren't using Wildshape. There are also a couple of items that either benefit Wildshape directly or retain their functionality while in Wildshape.
The first of these that players can find are the boots of Striding and the Shapeshifter's Boon Ring. The former are dropped by Minthara in Act 1 and will grant boosted movement speed and immunity to the "prone" condition while the wearer is concentrating on a spell. If the Druid is concentrating on a spell before entering Wildshape, this effect will remain while they are in Wildshape. The Shapeshifter's Boon Ring is dropped by the Strange Ox in Act 1 (or obtained by following it's questline all the way to the end in Act 3) and grants a 1d4 bonus to all ability checks when in Wildshape.
The Shapeshifter Hat, Armor of Moonbasking, and Mutiliated Carapace can be found during Act 3, all of which are designed to benefit a character while in Wildshape (or, in the case of the Mutilated Carapace, when disguised in any way.) The Armor of Moonbasking grants 22 temporary HP while in Wildshape, reduces damage taken by 1 while those temporary HP remain, grants a +2 bonus to AC, and grants advantage to saving throws against spells. All of these effects remain while in Wildshape. The Shapeshifter Hat increases the number of Wildshape charges by 1, while the Mutilated Carapace grants +1 to attack and damage rolls while shapeshifting or disguised.
As a final note, if using an item provides a buff when activated that lasts for a set duration, such as an elixir, that buff will remain even after Wildshape is used.
Circle Of Spores
The Circle of Spores Druid gains a "Halo of Spores" at level two. This allows them to deal necrotic damage (1d4) to a target within 6m as a reaction each turn. They also gain "Symbiotic Entity" at level two, letting them spend a Wildshape charge as an action to gain 4 temporary HP per Druid level. "Symbiotic Entity" also allows them to deal an extra 1d6 necrotic damage while those temporary hit points remain and doubles the damage dealt by "Halo of Spores." They also gain the "Bone Chill" Cantrip as an extra way to deal necrotic damage while nullifying a foe's ability to heal themselves.
At level three, the Druid learns "Blindness" and "Detect Thoughts" as additional spells which are always prepared. This allows them to temporarily blind their foes and read minds with ease. At level four, they learn an additional cantrip. Level 5 has them learn "Animate Dead" and "Gaseous Form," letting them create undead allies from nearby corpses and transform someone into a gaseous entity to move through tight spaces and/or better evade damage.
Level six Druids of the Circle of Spores get "Fungal Infestation," which lets them create a zombie as a reaction. Level seven has them gain "Blight" and "Confusion" as additional spells, allowing them to deal high necrotic damage and confuse groups of foes. Level nine adds the spells "Cloudkill" and "Contagion," allowing them to conjure deadly poison clouds and inflict a variety of diseases on their foes.
Finally, level ten grants "Spreading Spores," allowing them to create clouds of spores that deal their "Halo of Spores" damage to targets within the area of effect. The Druid must be under the effect of "Symbiotic Entity" to use this ability.
Multiclassing and Equipment
The Circle of Spores Druid has a tremendous amount of synergy with the Necromancy School available to Wizards, and taking six levels of Wizard will allow them to create a much greater range of undead minions to aid them in battle. This has the added benefit of granting them access to the entire Wizard spell list thanks to both classes being full casters, though a character will need to invest in intelligence to make full use of the Wizard spells. The Circle of Spores also synergizes well with the Monk, allowing players to brawl in melee and improve their AC using their Wisdom, which will already be pretty high since it's the Druid's spellcasting stat. Fighter and Ranger are both excellent multiclass choices too, offering Extra Attack at level 5 to dish out more Necrotic Damage while using Symbiotic Entity. Ranger synergizes slightly better due to also providing additional spell slots. (Rangers are half-casters so half of the Ranger Level, rounded down, is added to the effective caster level when multiclassing.)
Since the Spore Druid can perform quite a bit of necromancy already, it's well worth tracking down the book "Necromancy of Thay" during Act 1 to unlock its secrets. Finishing the book will take until Act 3, but results in a ton of extra undead minions in combat.
Spore Druids can make excellent use of any staff that has added damage, such as the Gold Wyrmling Staff (Act 1, Sold by Roah Moonglow at the Goblin Camp) or the Cacophony Staff (Act 1, Sold by Lady Esther at the Rosymorn Monastery Trail) since the bonus damage will stack with the necrotic damage from Symbiotic Entity. When paired with the Shillelagh spell these staves can dish out a surprising amount of damage while scaling entirely off the Druid's Wisdom. This can be further boosted using the Polearm Master Feat.
Players can get excellent results by mixing in the Acid Damage equipment, beginning with the Caustic Band sold in the Myconid Colony in Act 1, which adds 2 Acid damage to all weapon damage dealt by the wearer. This is a small but helpful addition that becomes much more dangerous when paired with the Ichorous Gloves (Act 2, Stashed in the Storeroom at The Waning Moon) to apply the Noxious Fumes condition. This condition causes creatures within 3m of the target to take 1d4 acid damage. Add Varsh Ko'kuu's Boots (Act 1, Githyanki Creche) to gain resistance to Acid and immunity to acid surfaces.
Players could alternatively use the Flawed Helldusk Gloves, sold by Dammon in Act 2, for a larger boost to initial damage dealt. These can be replaced with the Helldusk Gloves during Act 3 for an even bigger boost.
Baldur's Gate 3 is available now for PC, Mac, and PS5.
