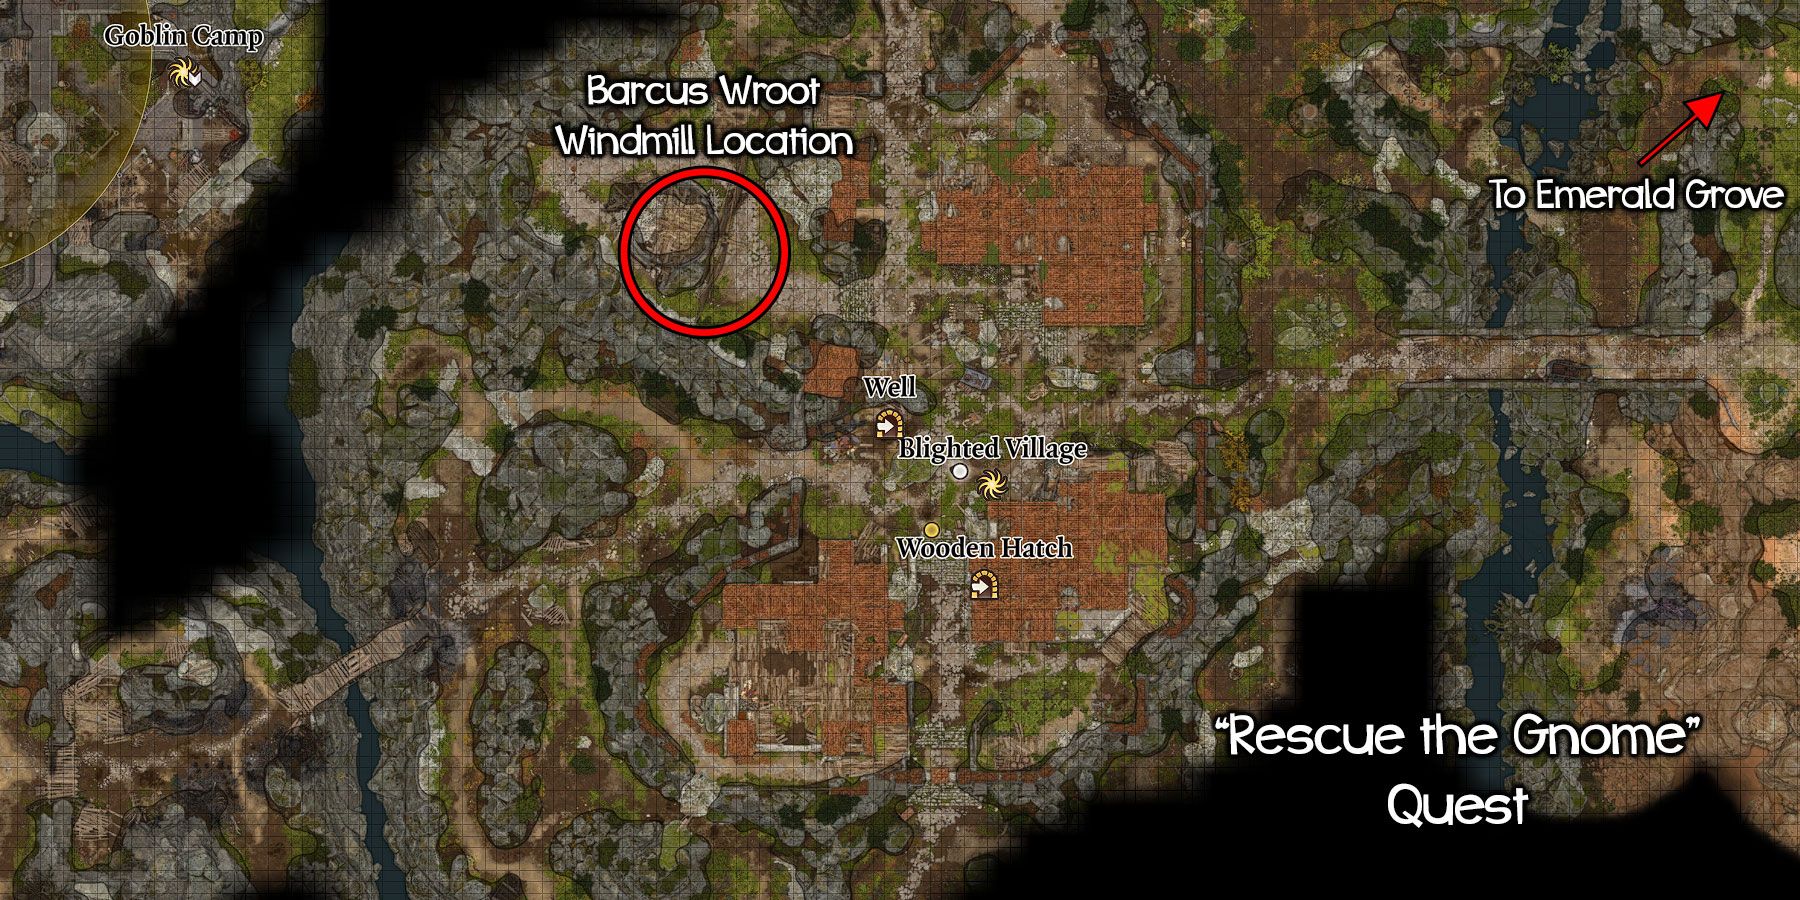
In Baldur’s Gate’s Act 1, players can stumble upon a somewhat strange situation just outside the Blighted Village, an early-game destination featuring numerous areas to explore and secrets to discover. Once the player has made their way through the Village, they should ascend a small staircase located at the northwest corner outside the village.
In the clearing ahead, the player and their party will encounter a group of rude goblins standing around a large windmill. The goblins are teasing and tormenting an unfortunate gnome named Barcus Wroot, whom they have tied to one of windmill’s blades. Here’s everything players need to know about rescuing the gnome from the windmill and locating his treasure in Baldur’s Gate 3.
Starting the Quest “Rescue the Gnome”
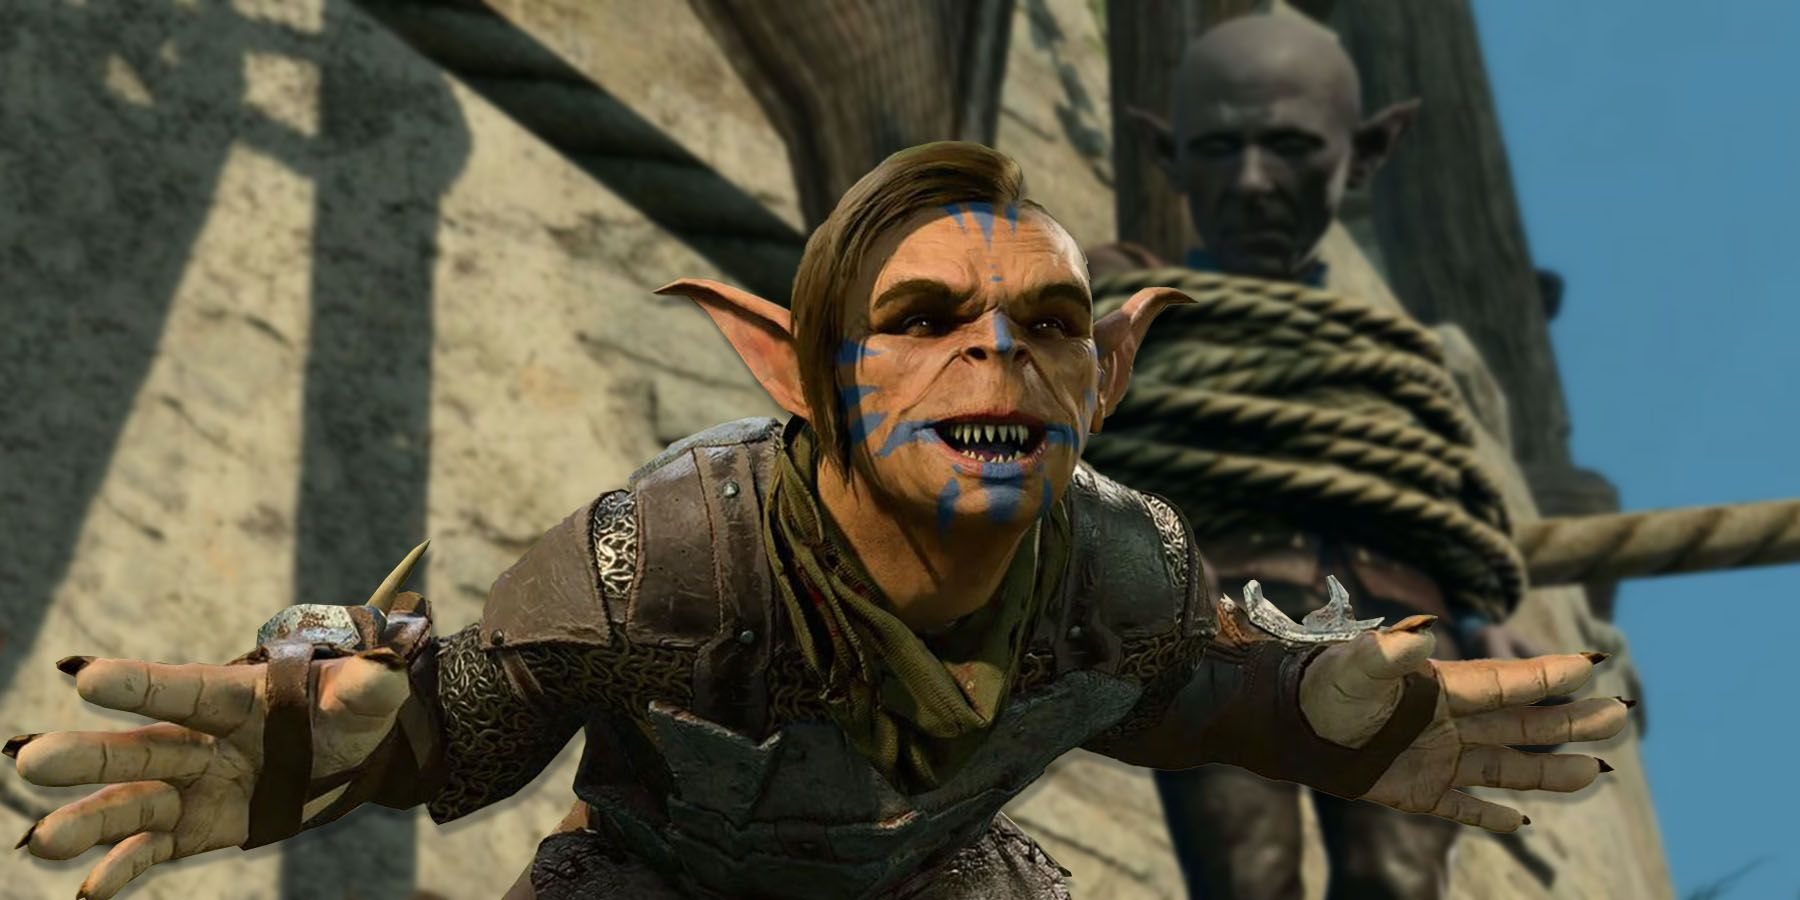
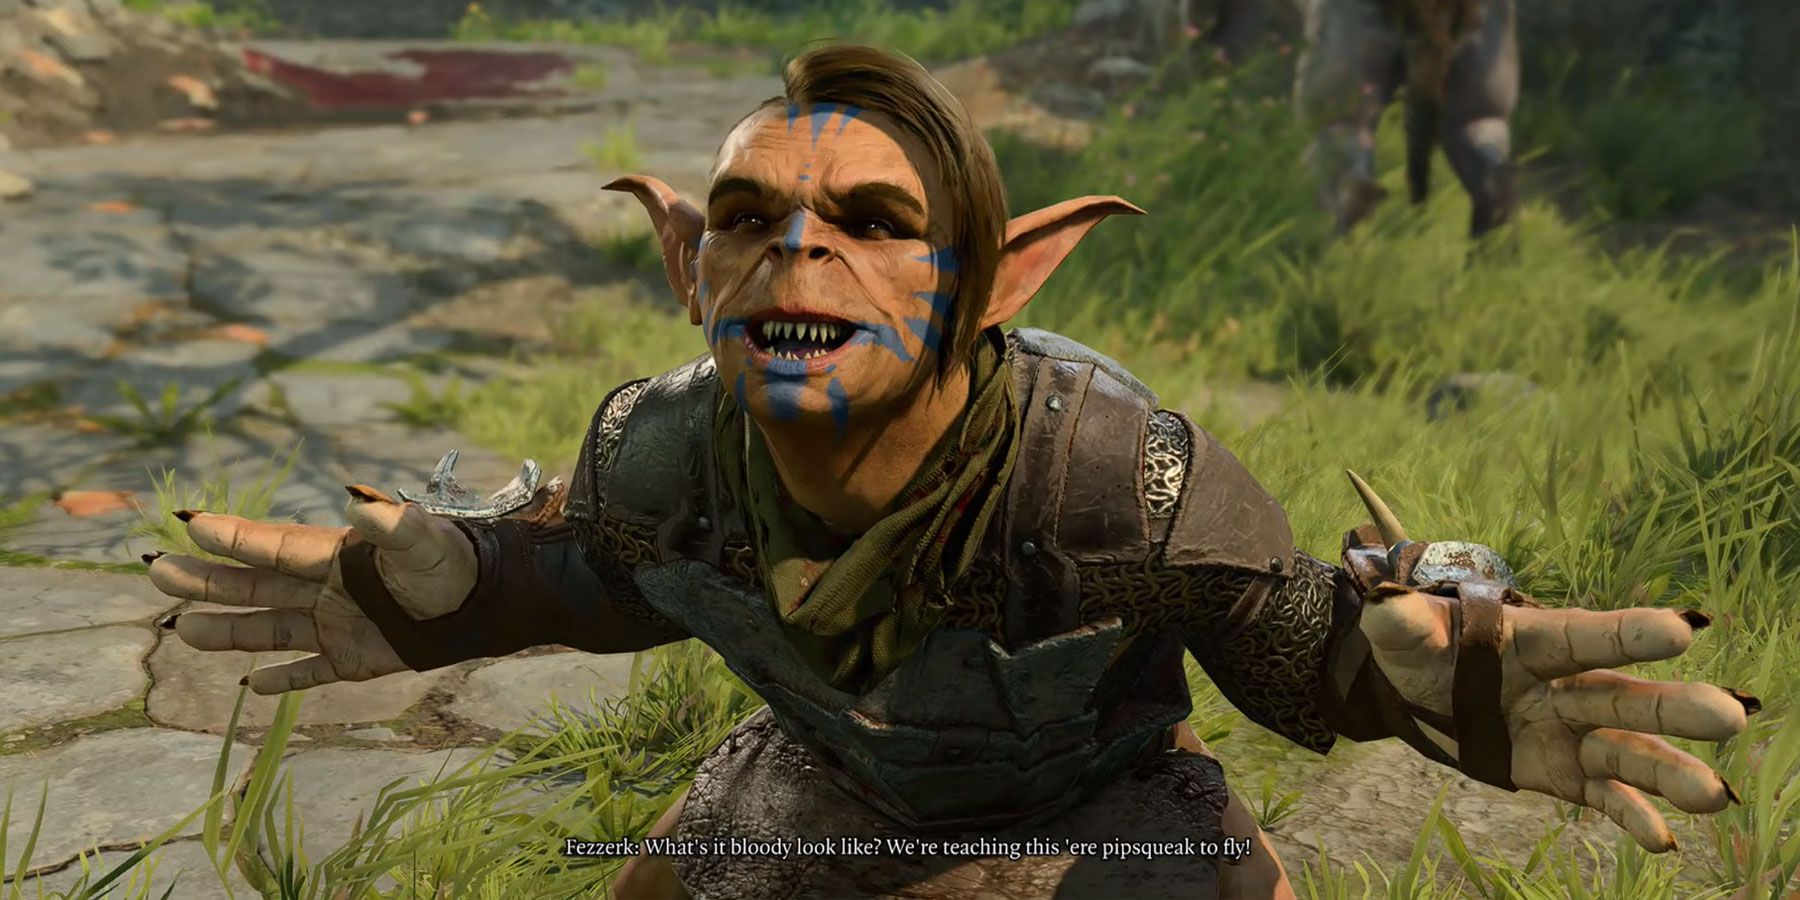
As the windmill rotates and the goblins laugh, the party stops to speak with the leader of the goblin gang, Fezzerk, as they attempt to pass by. Fezzerk smugly informs the player that they’re enjoying watching the gnome-go-round, and the player should consider putting a stop to their fun.
The player is presented with two methods of resolving this situation. Dialogue choices allow the player to either attempt to bypass the group, or they can insist immediately that the goblins cease their tormenting and release the gnome. Skill checks can be used to persuade the goblins to leave the area peacefully. Alternatively, engaging in combat becomes an option either by direct choice or as a result of unsuccessful Intimidation checks.
Convince the Goblins to Leave
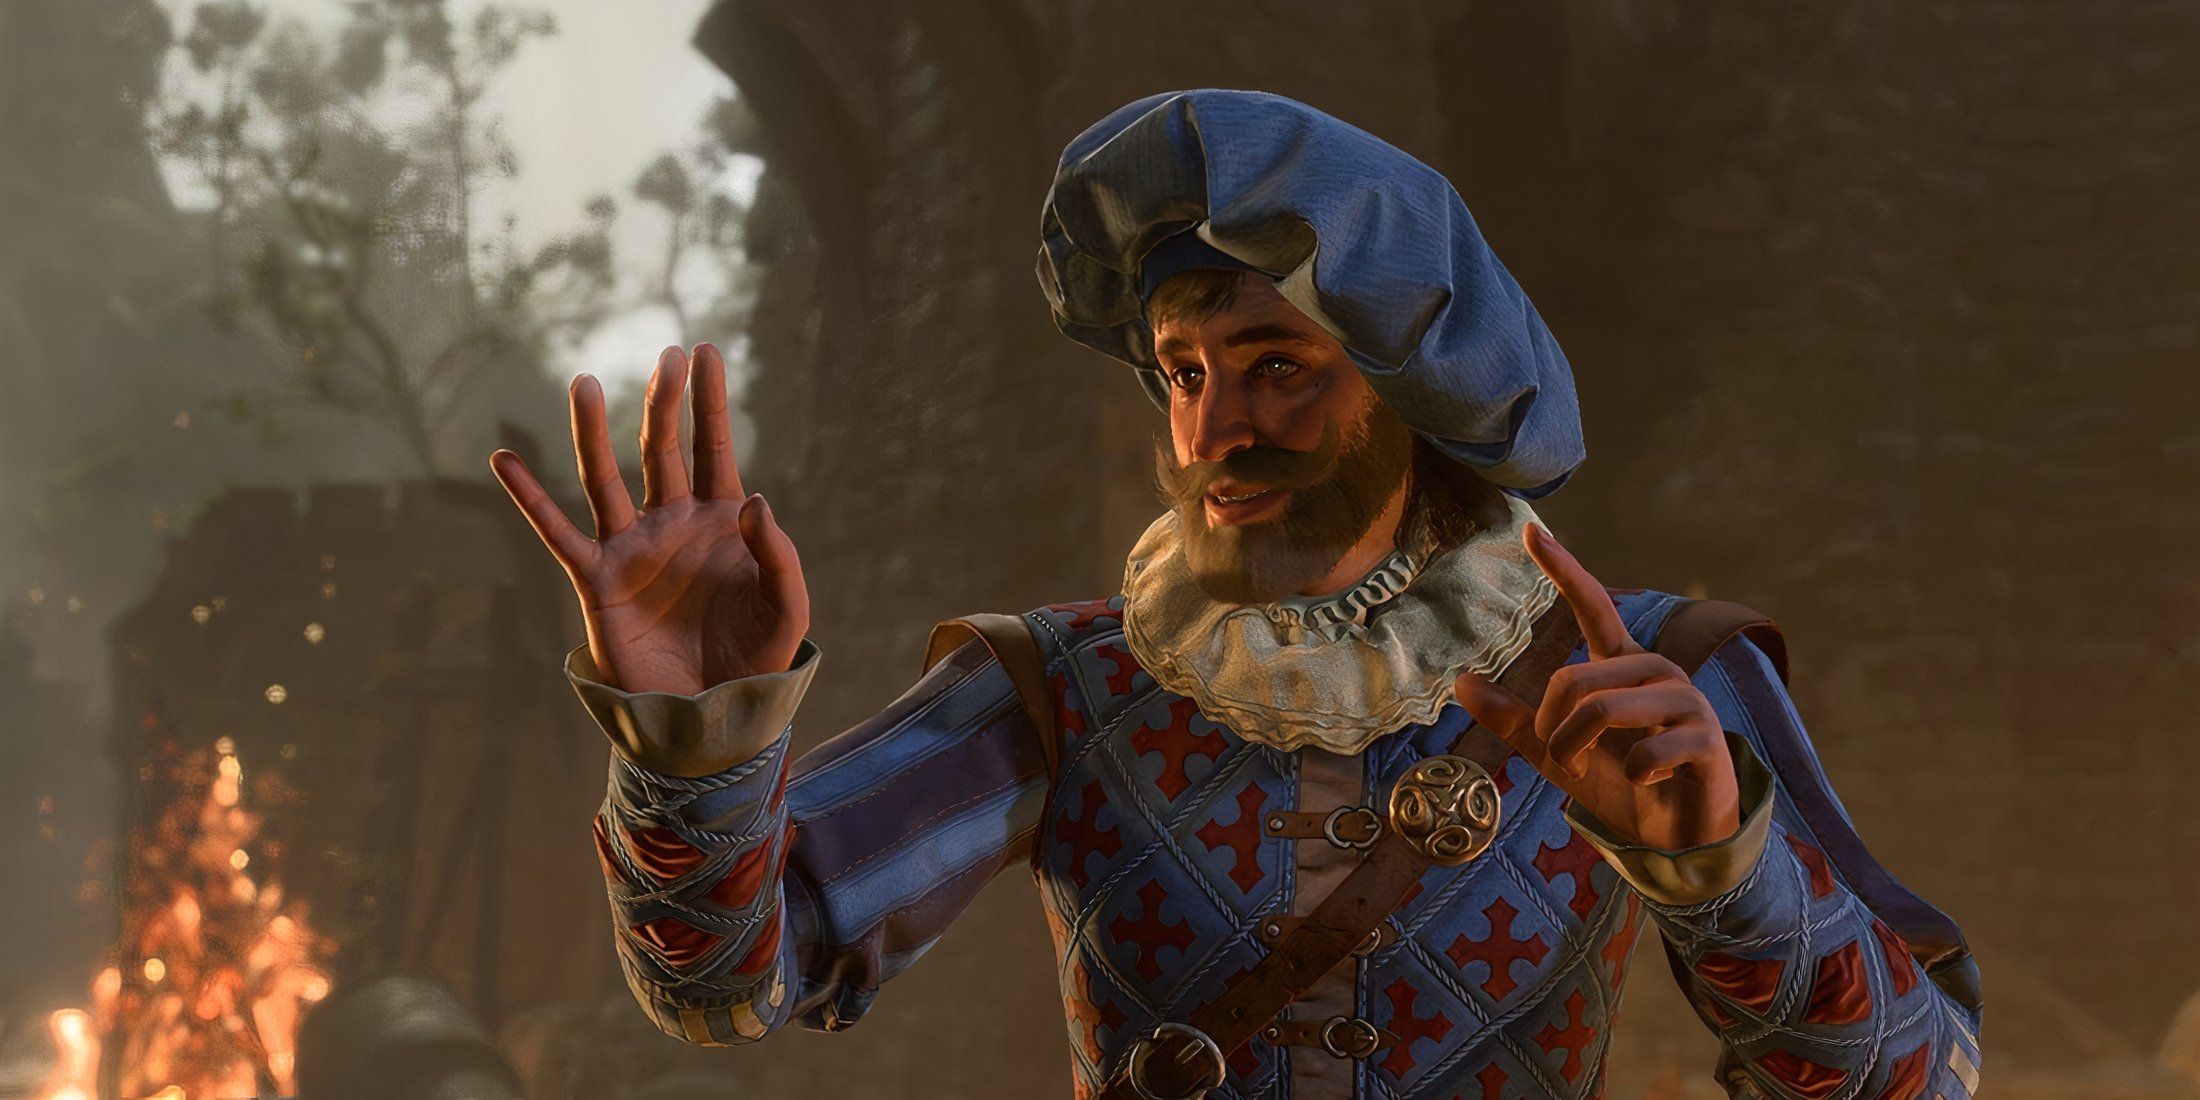
If the player wishes to simply convince the goblins to leave and not fight, the player is presented with Persuasion and Intimidation skill check options. It’s recommended to use a character high in Charisma to pass these checks, making the companion Astarion a great choice for handling this conversation.
If the player successfully Intimidates Fezzerk, he will take his band of merry torturers and leave. If the player chooses the Persuade Fezzerk option, he will request a obscenely large sum of gold from the player in exchange, which is certainly not worth paying. The player can then scoff at the price and attempt to haggle, choosing any of the Persuasion options. Fezzerk has no idea the value of gold, and will “raise” the price of his payoff to 5 gold. The player can then pay 5 gold to get Fezzerk and his group to leave the area.
Defeat Fezzerk in Battle
If any of the skill checks fail, the conversation will take a more violent route and players will be pulled into battle with Fezzerk and his crew. It's important to note that the player needs only to defeat Fezzerk himself, and can ignore the other goblins in the fight. If the player would rather earn some experience and loot from the fight, they should kill the rest of the goblins first.
If the player is a Cleric or has Shadowheart in the party, they can use the skill Command (if learned) to force Fezzerk to drop his weapon, causing him to surrender.
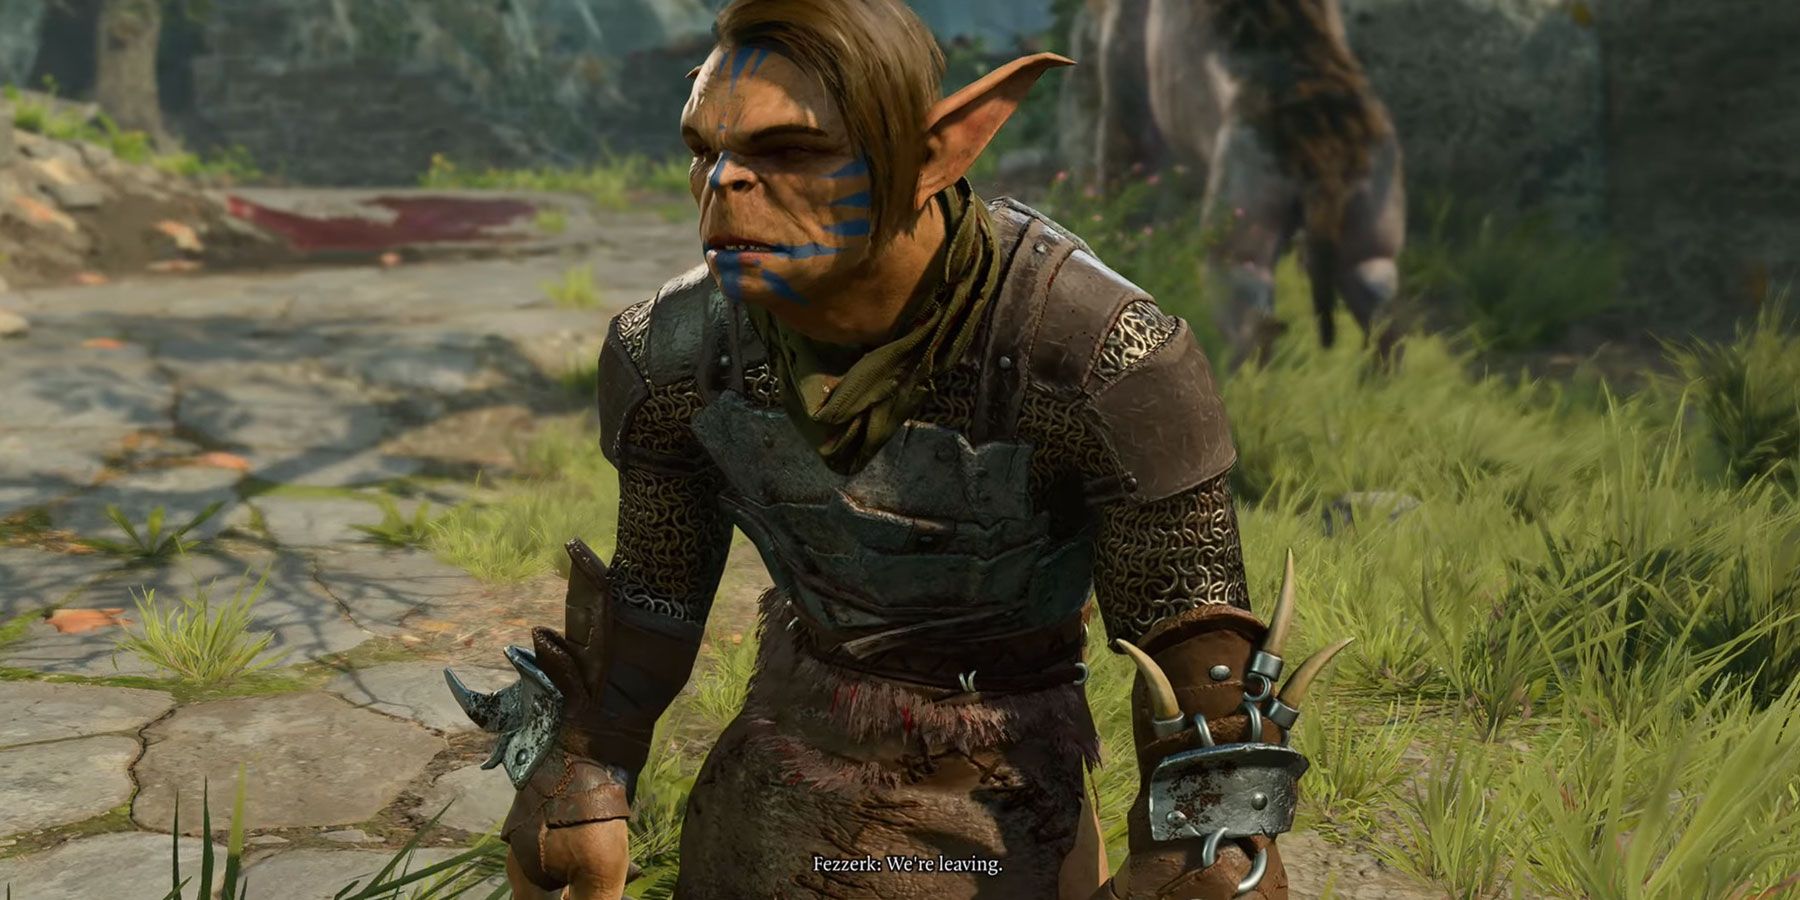
Once the player has “defeated” Fezzerk, he will concede and plead for his life. If the player chooses to let him go, he will take his band of goblins and leave the area, allowing the player access to the windmill.
Alternatively, the player can choose to kill Fezzerk and can loot the Very Heavy Greataxe, an uncommon quality weapon. In either case, with Fezzerk and his posse out of the way, the player can now speak with Barcus Wroot.
How to Rescue Barcus Wroot
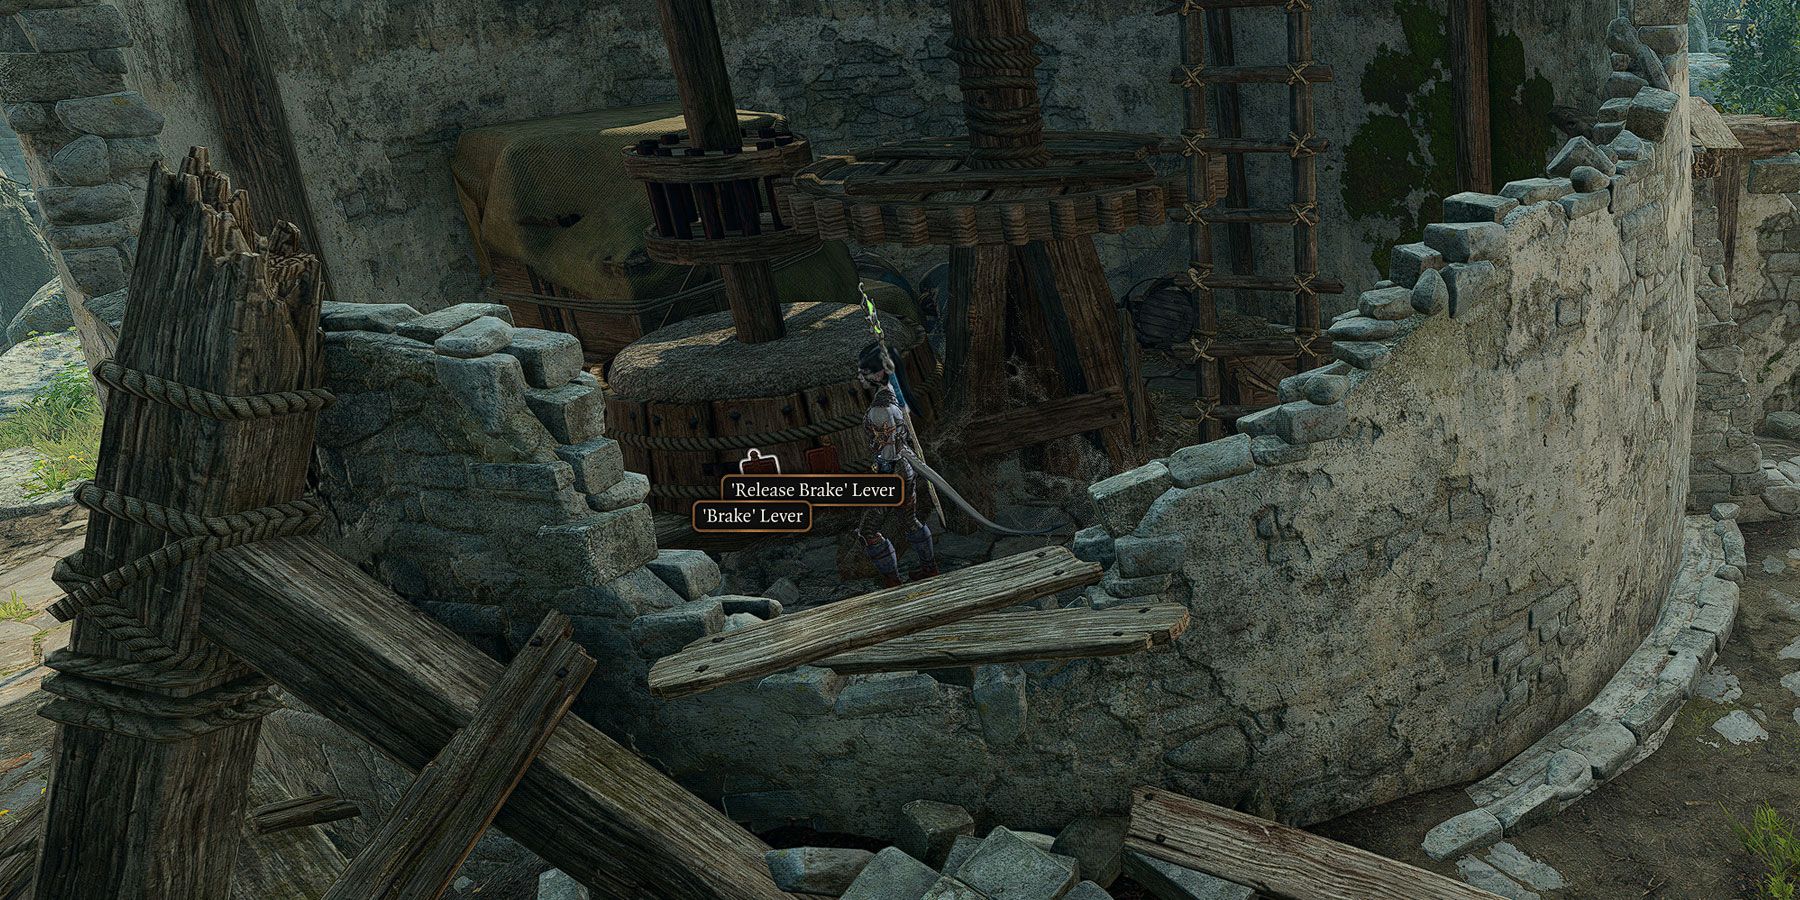
Once the goblins are out of the way, Barcus Wroot demands the player untie him from the windmill. To stop the windmill and rescue the gnome, head around to the back side of the windmill. The player will notice significant damage to the structure that allows them to enter.
Inside the windmill, the player will find a panel with two levers they can interact with. The lever on the left is the “Brake Lever,” and the lever on the right is the “Release Break Lever.” The player can press the Alt key to show both devices labels, to help ensure they make the right choice.
To safely free Barcus, use the “Brake Lever.” This causes the windmill blades to stop spinning and allows the player to untie him.
Using the Release Brake Lever will cause the windmill to spin violently and send Barcus flying off into the distance. While amusing, this will kill the gnome, which players won’t want to do as he makes a return in Act 2.
Once Barcus has been freed, he accuses the player of wishing to extort him and is totally unpleasant about the entire situation. He mentions that the goblins were after his pack, and tells the player they can go ahead and find it and claim its contents. This completes the quest “Rescue the Gnome.”
Where to Find Barcus Wroot’s Backpack
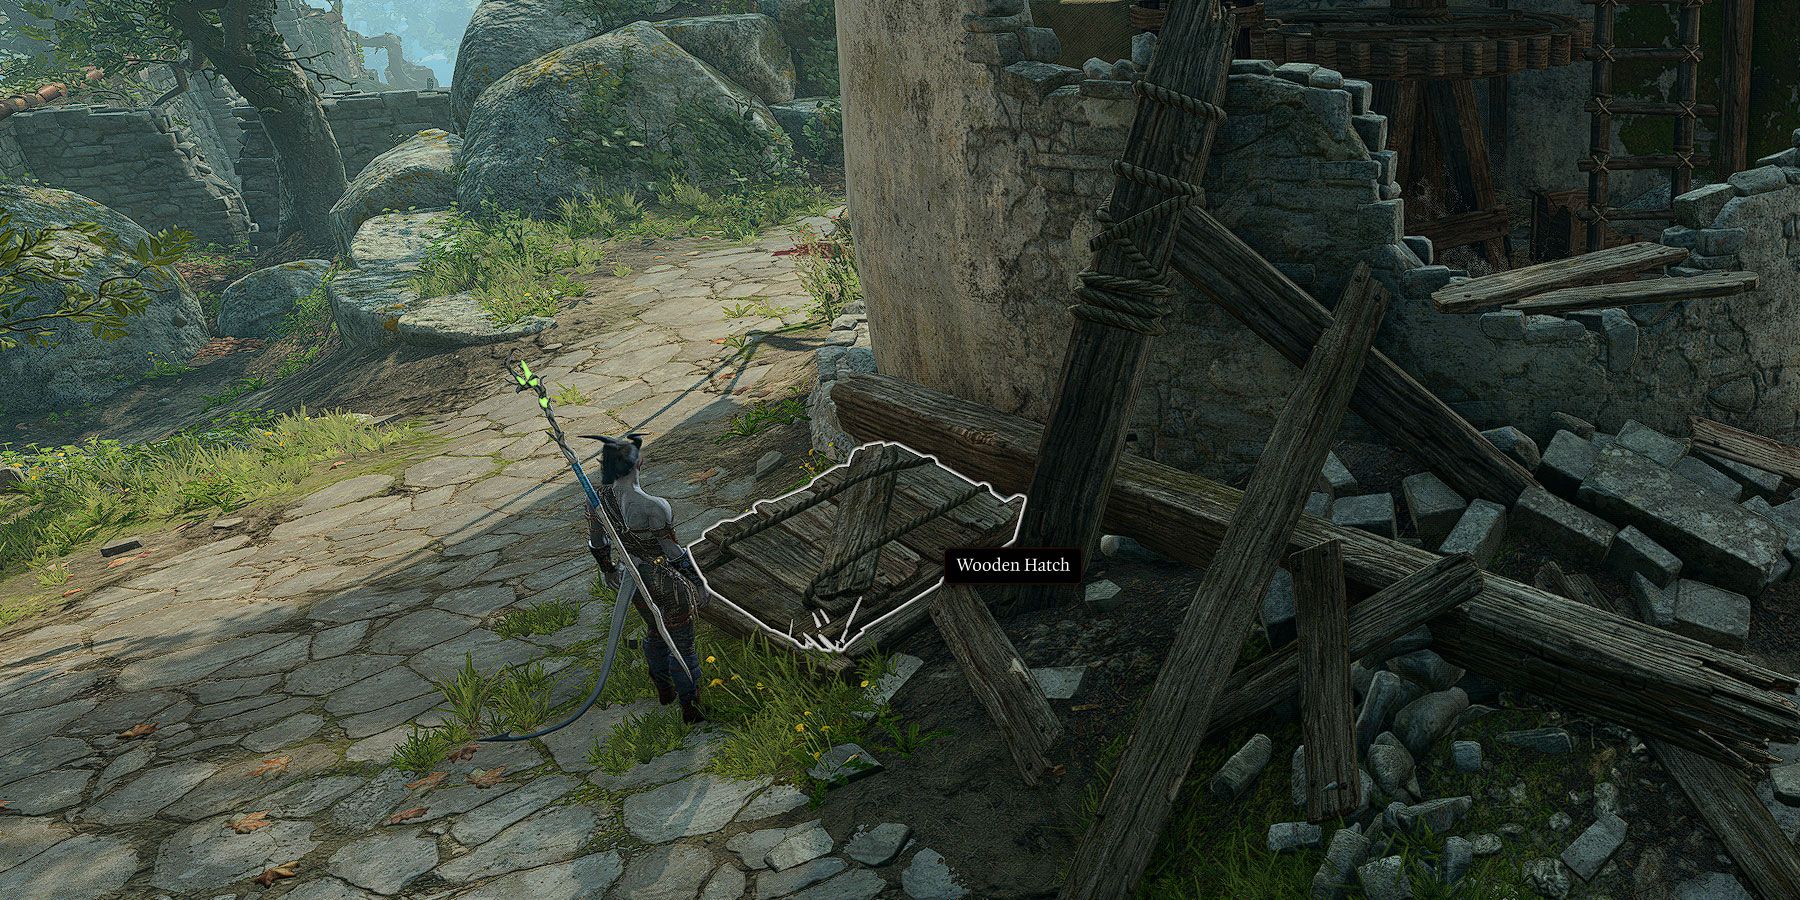
To locate the gnome’s pack, head to the right side of the windmill to find a wooden hatch on the ground just next to it. Enter the hatch and claim the items found within, including Barcus’ backpack and a chest. The loot isn’t all that great, but free stuff is free stuff. The player can then leave the area and look forward to another unpleasant encounter with ol’ Barcus Wroot again in the next Act.
Baldur's Gate 3 is available now on macOS and PC, and it's coming to PS5 on September 6.

