Quick Links
At the north end of Reithwin in the Shadow-Cursed Lands of Baldur's Gate 3 is a mausoleum. Hidden beneath this mausoleum is a massive temple, the Gauntlet of Shar. Shadowheart has every reason to complete this gauntlet, but even players who don't use her will need to explore this location.
Players who complete the Gauntlet of Shar will get access to a portal to the Shadowfell, and behind this portal is the source of Ketheric Thorm's immortality. Regardless of which path players are on, they'll need to run the Gauntlet to complete Act 2 of Baldur's Gate 3.
Updated October 19th, 2023: The Gauntlet of Shar in BG3 can be a bit confusing for players, especially those who stumble across it when working their way through the main story. It's an important location for Shadowheart and players will want to be sure to bring her along to complete all of the associated trials with the Gaunlet of Shar in Baldur's Gate 3. In order to better help players understand each trial and just how to make it through them, the following guide has been updated and now includes a companion video on how to complete the Gauntlet of Shar in BG3.
How to Open the Entrance
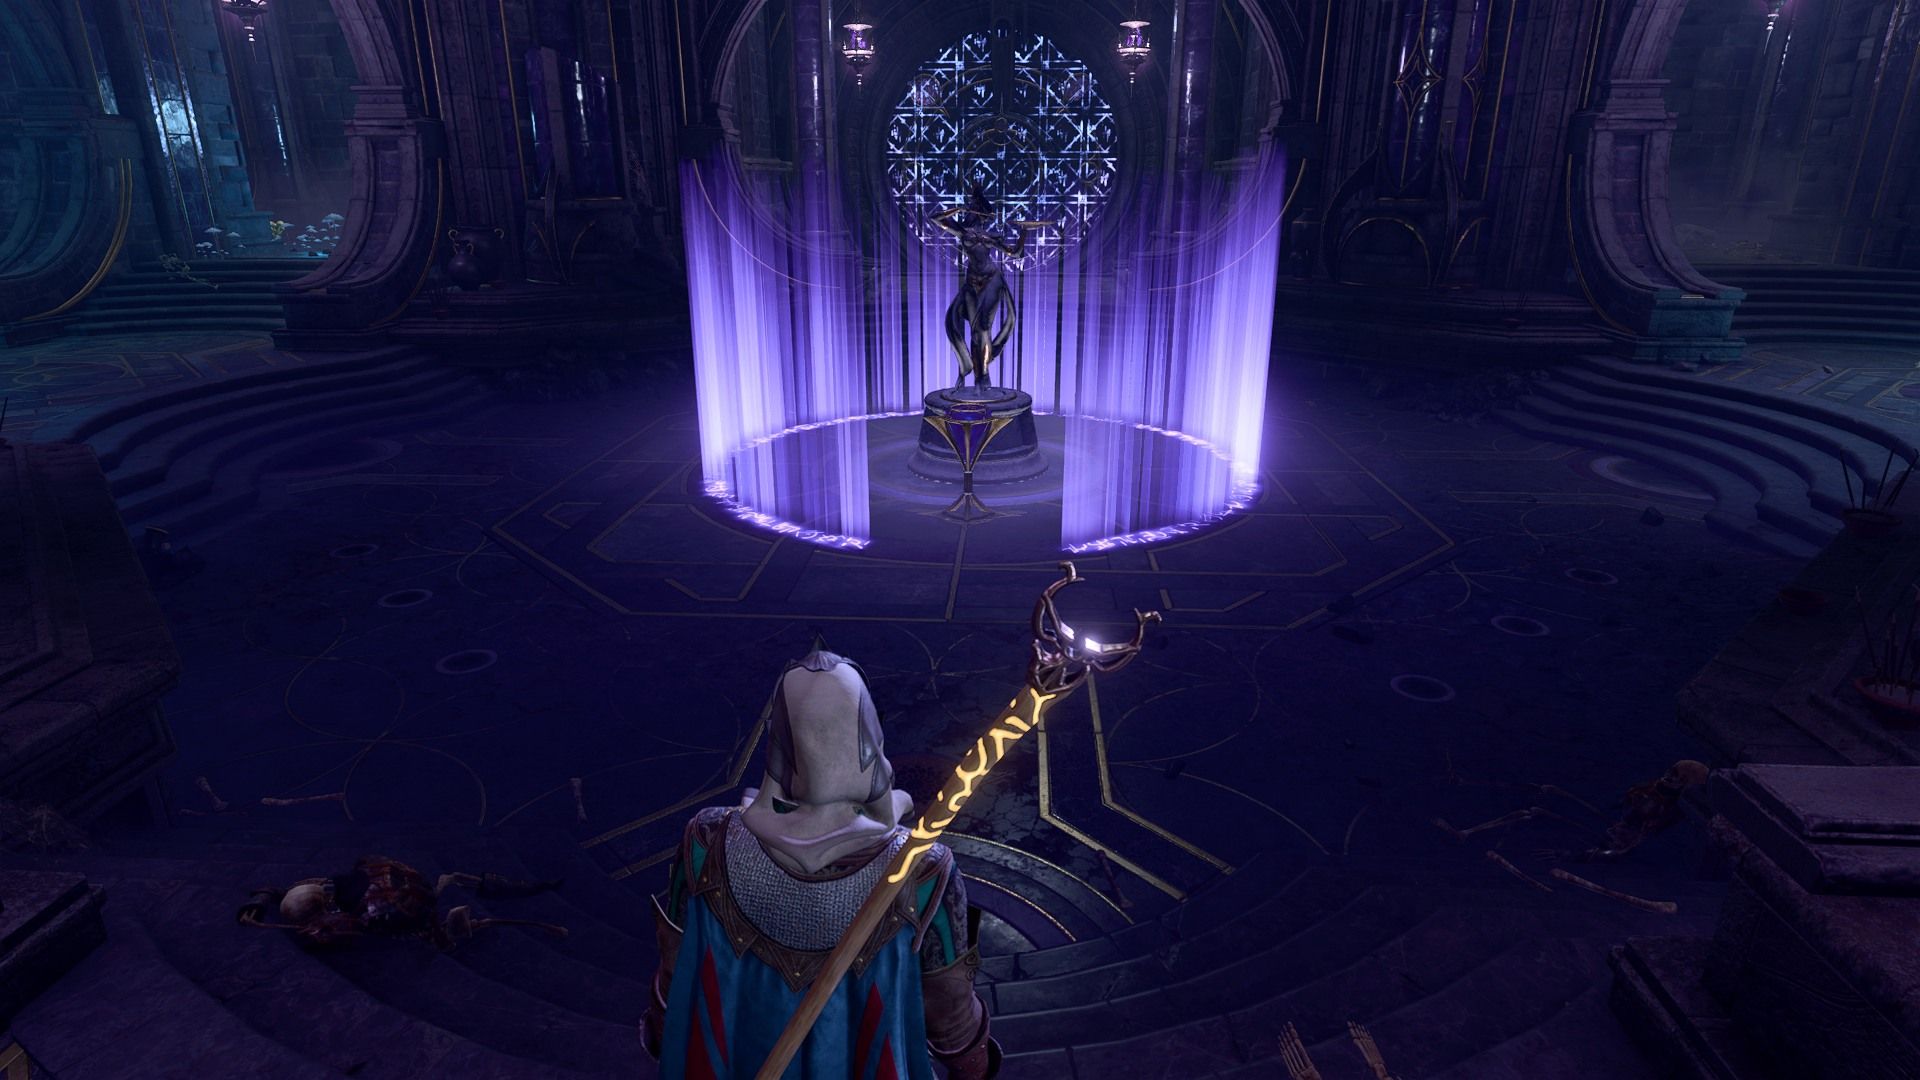
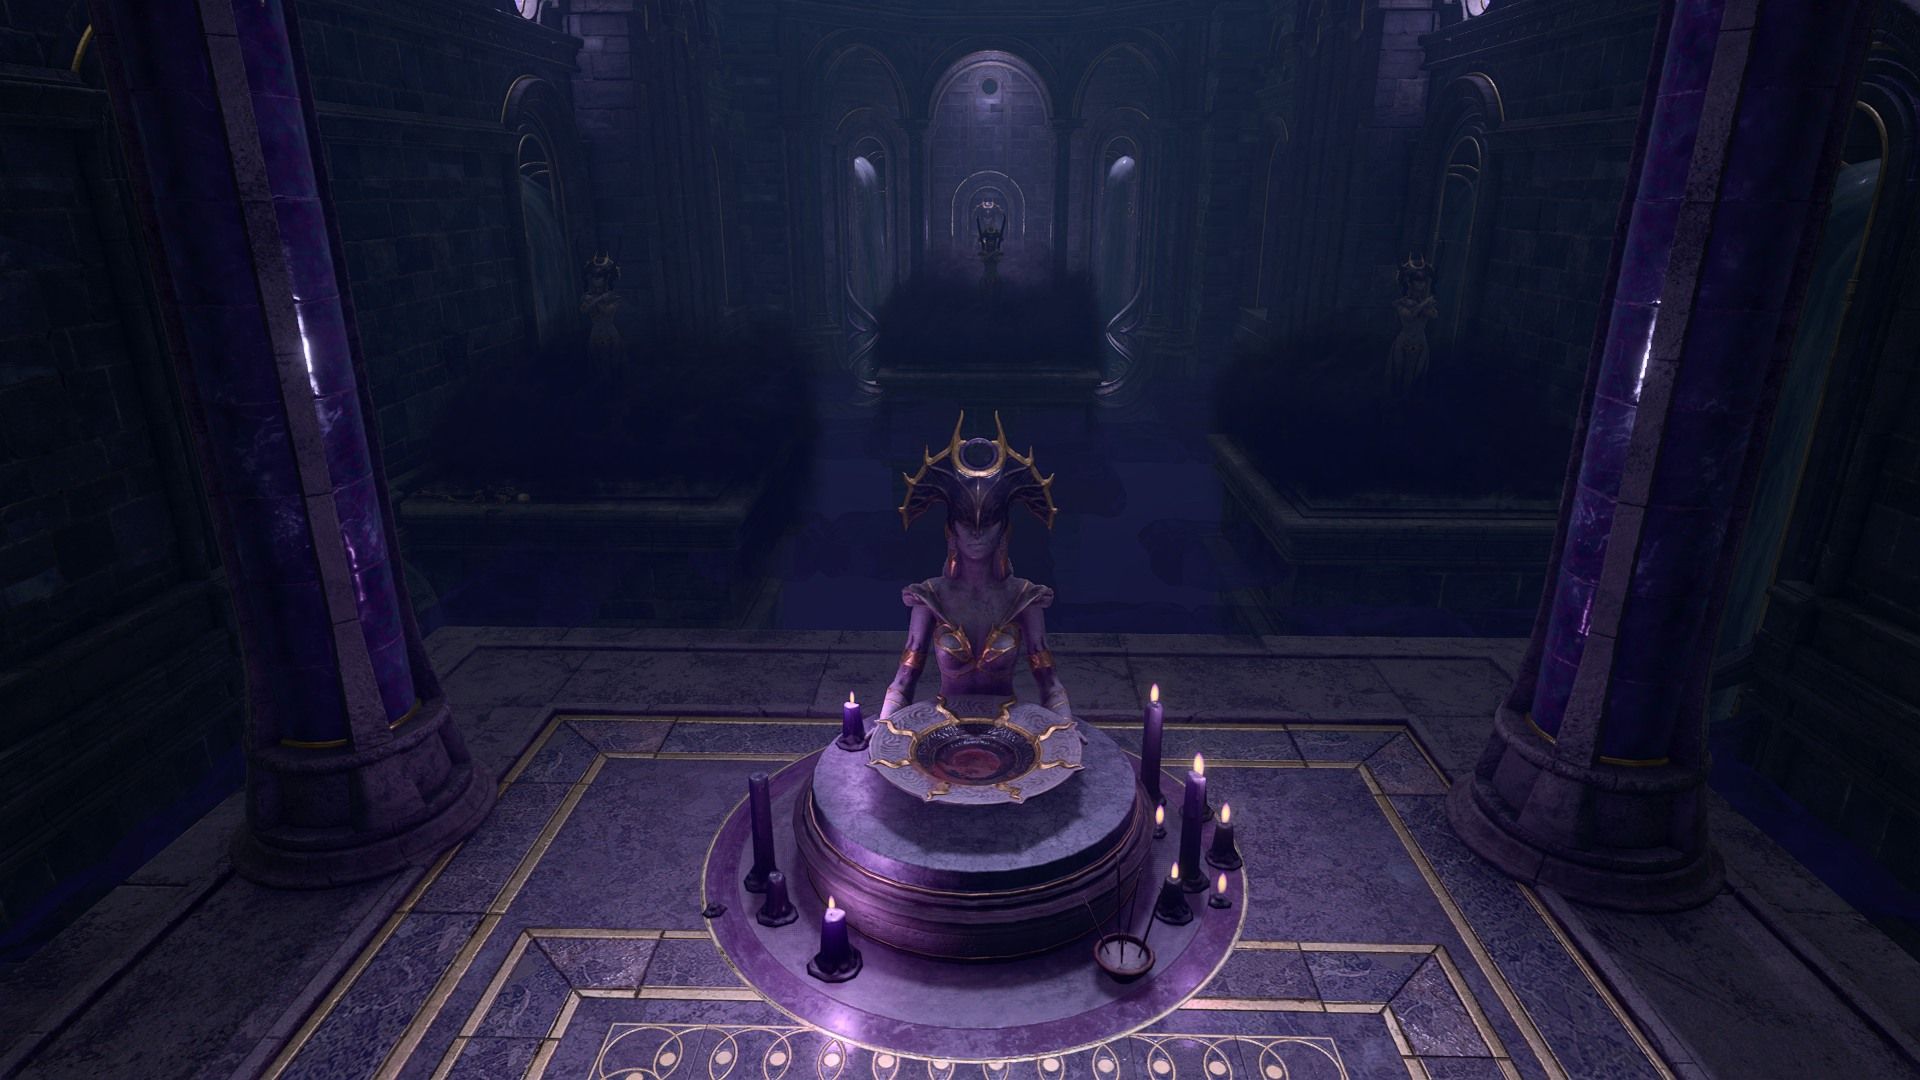
Even before players get to the Gauntlet itself, they must pass a test at the entrance. A statue of Shar stands in the center of a large room, and glowing purple runes surround it on almost every side. If players try to advance into the room, a repulsion force will knock them back to the edges without dealing damage. Also, the door on the far side of the room has a magical seal over it.
The goal of this puzzle is to touch the Umbral Gem in front of the statue, but the repulsion effect gets in the way. To deal with it, players should go either left or right and enter the small rooms on either side. Be sure to lead with Astarion or some other party member who can find and disarm traps, because there are tons of them in all four side rooms.
Each of the side rooms has a lever, and these levers lower two of the Mystic Thuribles that light the main chamber. Players can then interact with the Mystic Thuribles to turn them off. Once all eight are off, a second set of purple runes will light up. These runes were always there, but players couldn't see them because the thuribles are washing them out.
Players can now send someone through the gaps in the runes to touch the Umbral Gem and open the way forward. Careful, lucky, and returning players can also walk through the gap in the runes without touching the thuribles. This gap is on the east side of the chamber.
How to Handle Balthazar
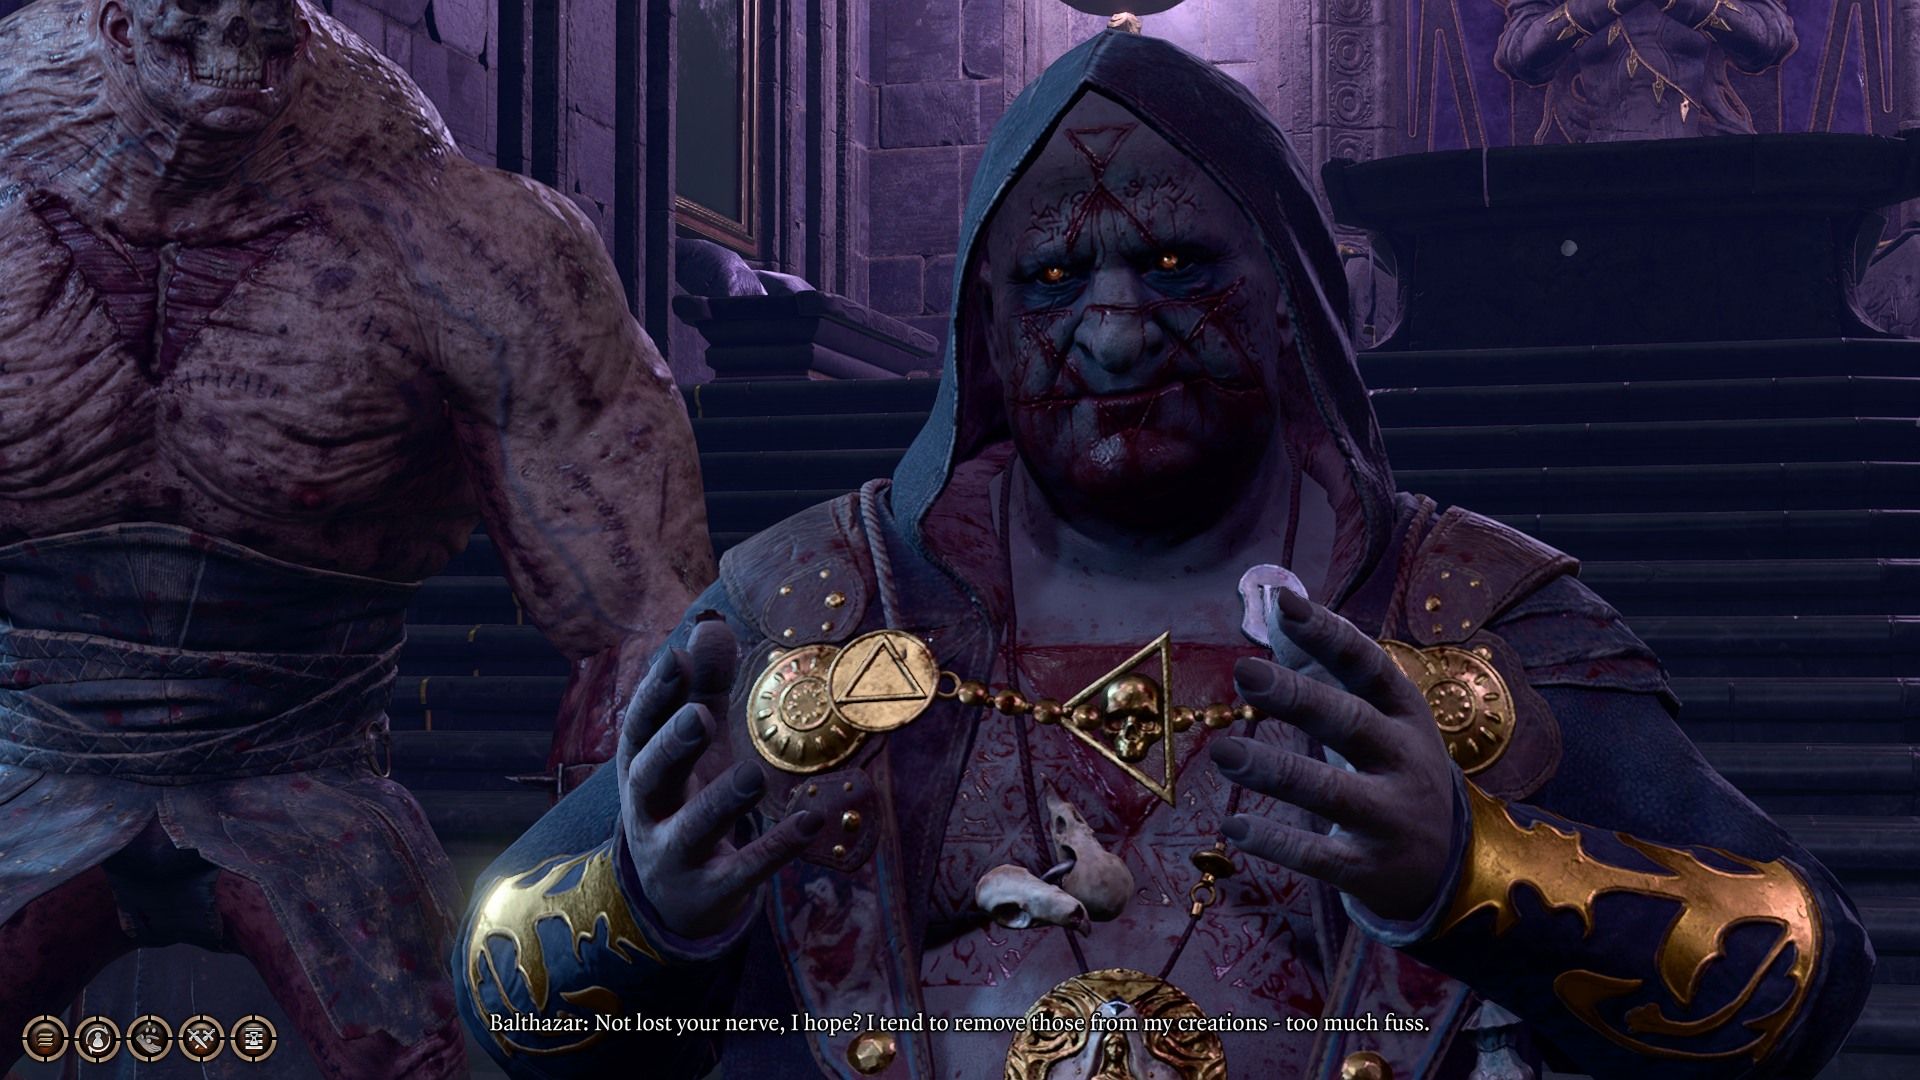
Once players open the entrance, they'll come across three undead warriors. A necromancer will speak through them, and then several Umbral Portals will open up and undead Dark Justiciars will pour through. The portals will spawn more Justiciars every round they stay open, so destroy them as fast as possible.
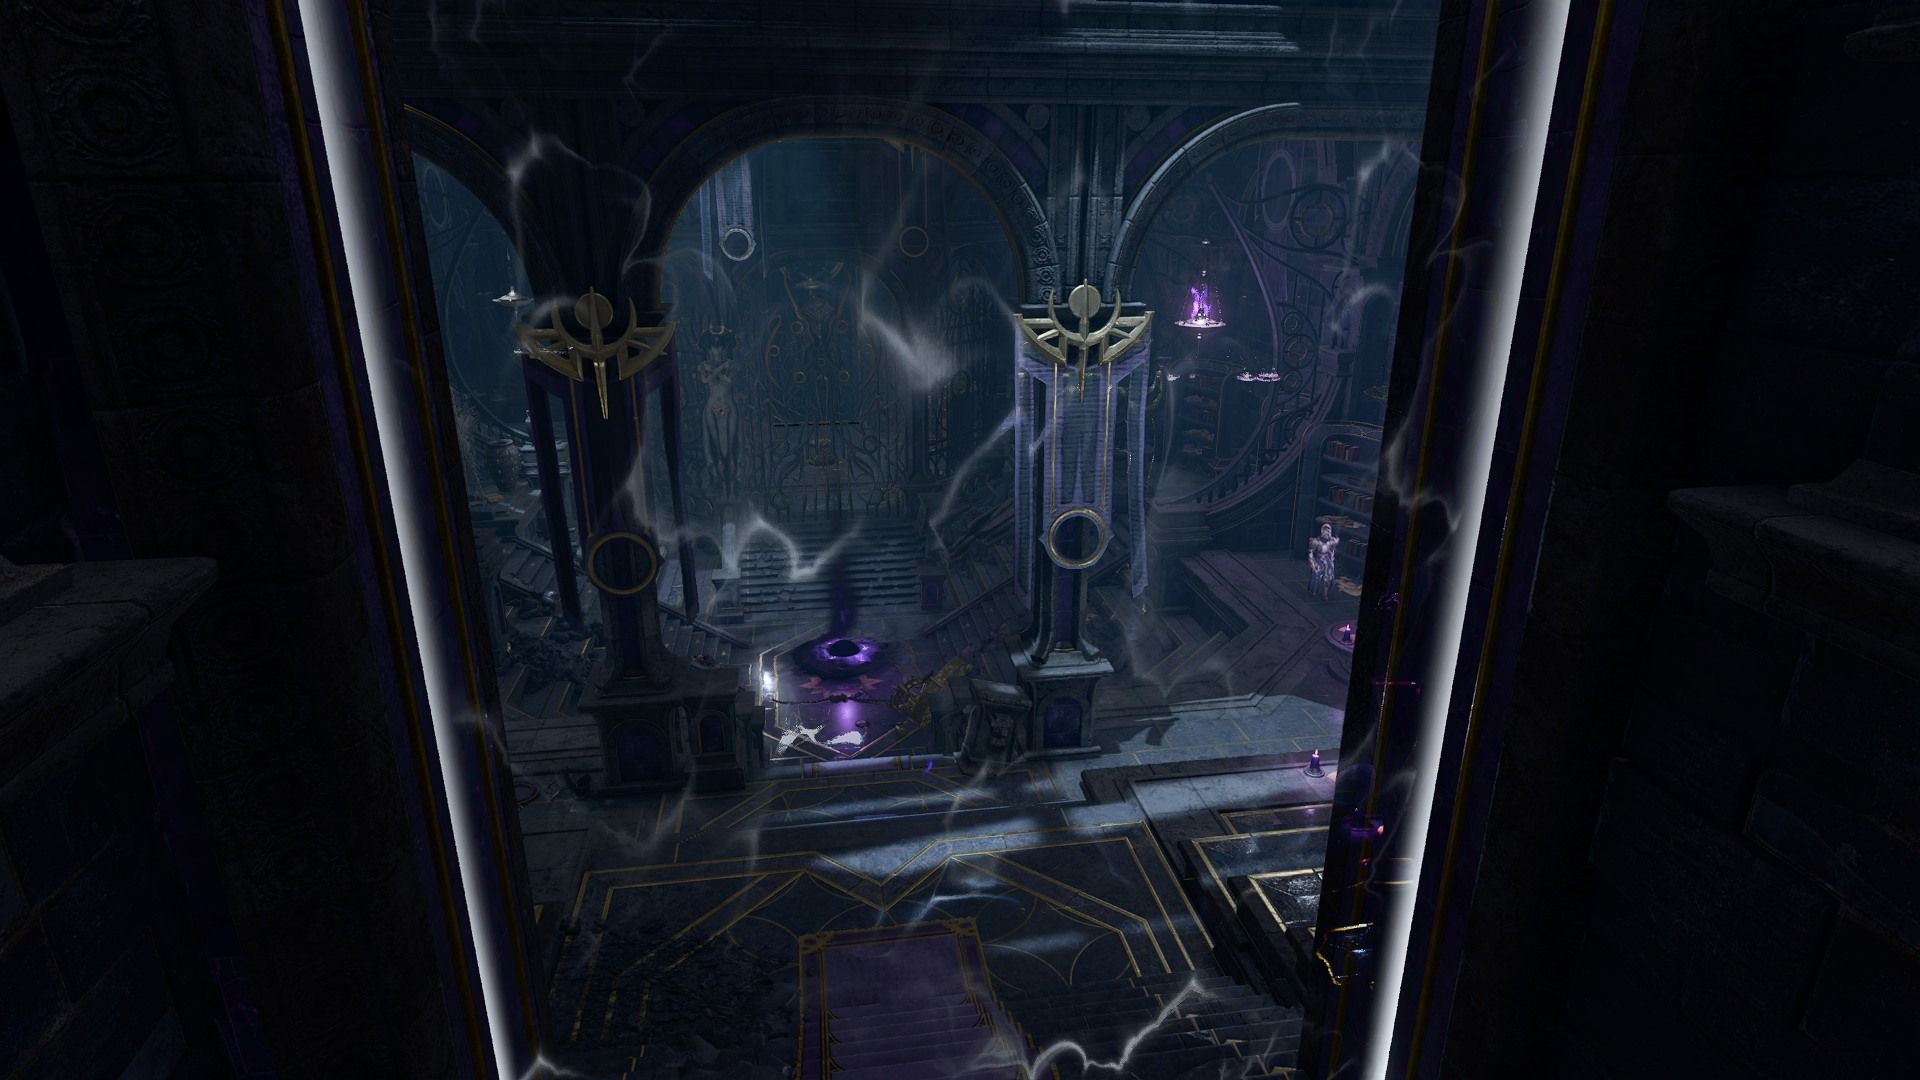
If any undead warriors are still animate when the battle ends, they'll retreat to the west. If players follow them, another set of Umbral Portals will appear in the next room. Destroy the larger Umbral Portal at the center of the room first, because that one spawns Dark Justiciars and more Umbral Portals.
Once players destroy all the portals and defeat all the Justiciars, the necromancer, Balthazar, will open the door into his chamber. Whether players are working with the True Souls or not, he'll assume the party is here to help and order them to open the way to the heart of the temple. Players can agree to do so, attack him immediately, or ignore him entirely. In fact, players don't even have to speak to Balthazar to complete the Gauntlet.
If players do attack Balthazar, they should pick his pockets first. Balthazar has an ability that lets him always go first and avoid being surprised, and he always drinks a Potion of Speed on his first round. Between that and his love of the spell Cloudkill, defeating Balthazar is never easy whether players fight him now or later.
Regardless of how players handle Balthazar, they should take a moment to check the other two rooms that connect to the chapel next to Balthazar's room. The north room is a vault with a tough lock but a lot of valuables behind it, and the south room leads to a dining area and a natural cave full of mushrooms.
The Silent Library and the Spear of Night
Regardless of how players handle Balthazar, the next step should be to go to the Gauntlet of Shar waypoint and go north. Ignore the side doors for now and take the stairs down. Head back south down the lower hall to find an elevator and a broken lever. Players can use the elevator to go back up then place the lever in the lever base at the top. This will make the elevator fully functional and a useful shortcut.
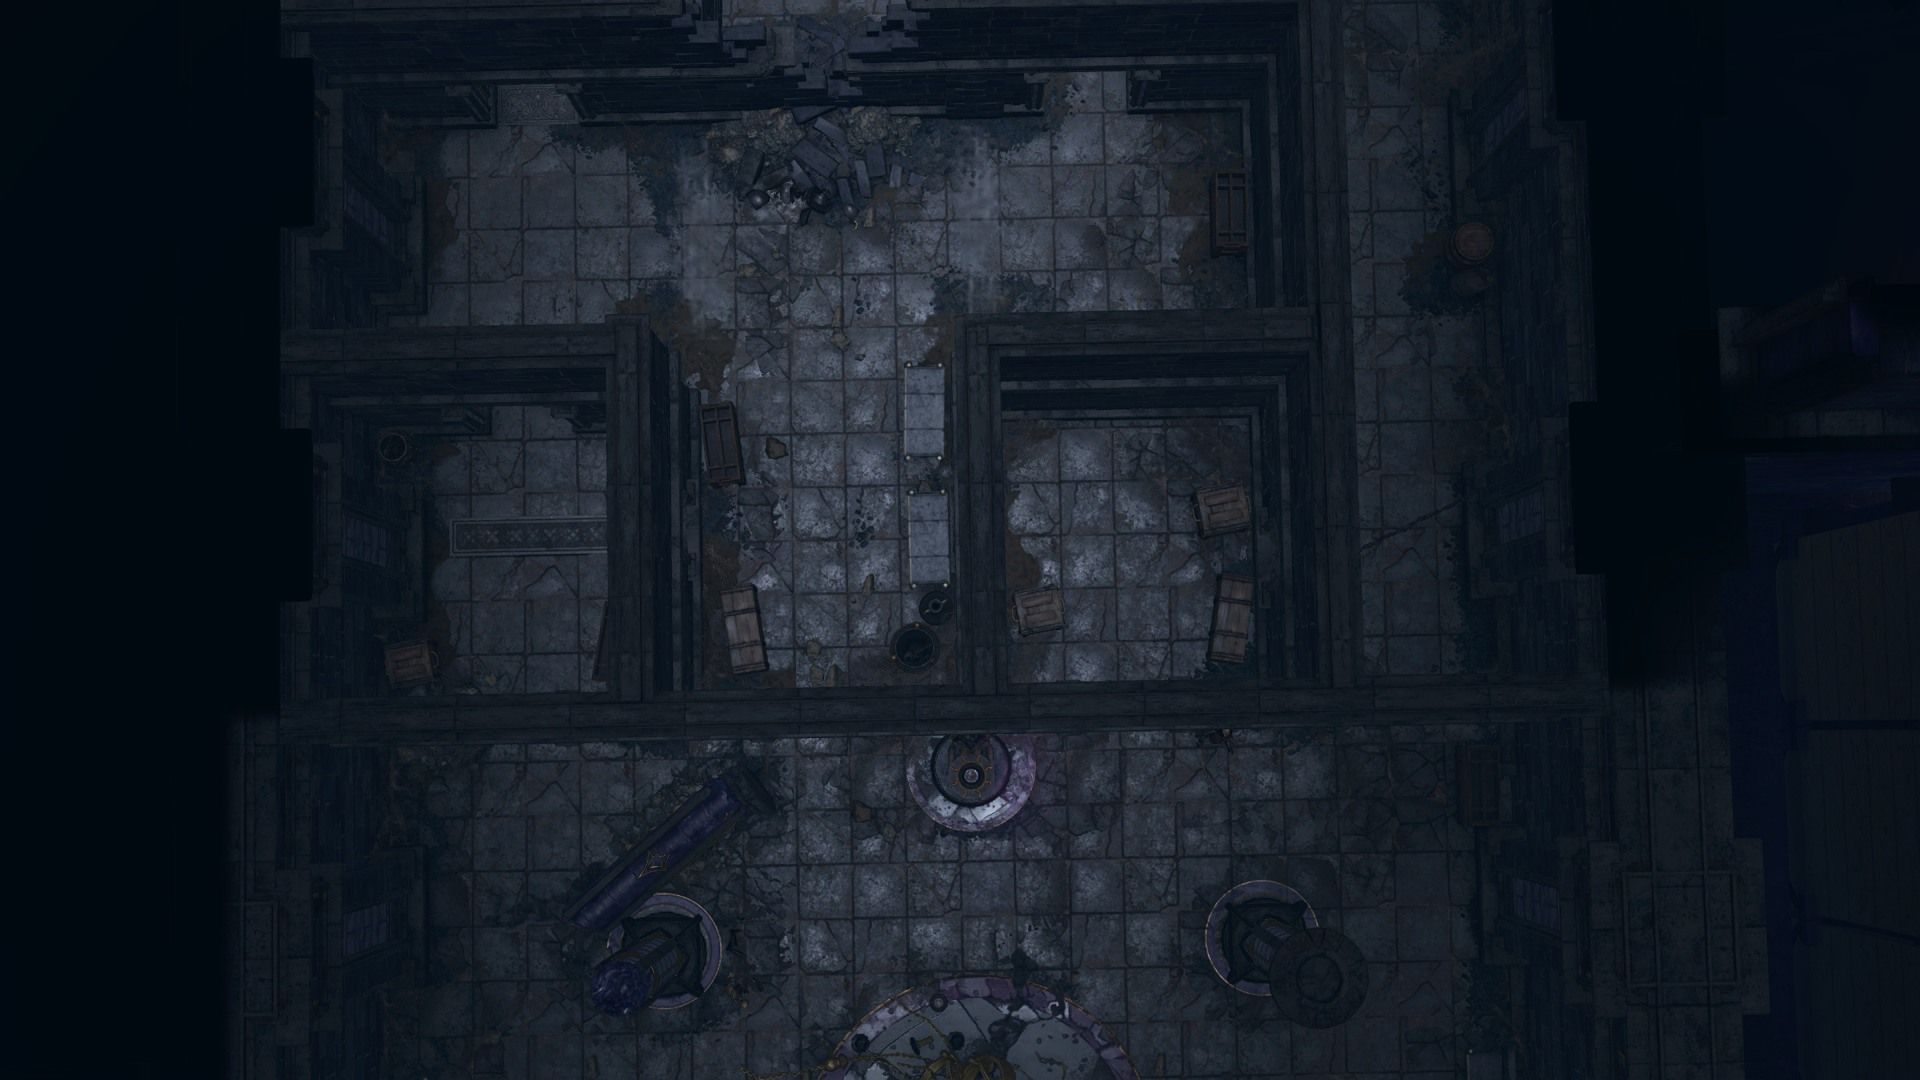
Just north of the elevator is a side room with a white magical field instead of a door. This is the entrance to the Silent Library, and true to its name the white field marks the start of a Silence effect. No one can cast a verbal spell within this field, and that's a problem because the library is full of Dark Justiciars.
Fortunately, players can end the effect by destroying The Librarian, a special Umbral Portal at the center of the library. This also prevents more Dark Justiciars from spawning in, so make it a priority. After that, the remaining Justiciars should be no trouble.
The Silent Library has plenty of books worth reading, but players should pay special attention to the bookshelves. There are four shelves on the north wall and one on the south wall. All the bookshelves are trapped, so be careful around them. Three of the shelves have books that provide hints about the three main tests of the Gauntlet of Shar, and a fourth shelf has a book that's useful here in the library.
Past the main library is a large metal portcullis that must be unlocked. In the cage room is a pedestal with the Riddle of the Night: "What can silence the Nightsong?" To answer this riddle, players should place the book Teachings of Loss: The Nightsinger on the pedestal. Failing this test will set off the many gas pit traps in this room, and passing it will open a secret door on the far side of the room. Don't forget to check the shelves in the cage room for several spell scrolls.
Beyond the cage room is an altar holding the Spear of Night, and below it is a suit of Dark Justiciar Half-Plate. The Spear of Night isn't worth wielding at the moment, but it can power up in different ways depending on the choices players make later on. On the other hand, the half-plate is a nice suit of armor for Shadowheart straight away. Players can also get a very rare Dark Justiciar Helmet from the gilded chest behind the altar.
The Faith-Leap Trial
Leave the Silent Library and head to the other door on the lower hallway to find the Faith-Leap Trial. According to the library book, players must "Tread only where Lady Shar bids you," and failing to do so will harm the person taking the trial.
To see exactly where Shar wants players to walk, have the party stand by the entrance to the trial, then move the camera over to the dark area past the altar. Players who look closely will see purple blocks in the seemingly empty spaces between the three statues. However, these blocks disappear when a party member approaches them, and so players must remember where they were if they want to safely traverse the room.
If a character walks into a gap between the purple blocks, they'll teleport to the nearest statue base and lose a third of their hit points. If a character fails three times, they die. Characters can jump between safe spots, but crossing too much of the forbidden area counts as a loss.
Players can see the solution in the floor mural in front of the altar. Don't be afraid to refer back to it while advancing, but also make sure to only send one party member into the darkness because the others will inevitably wander into the wrong spot and take a penalty. At the far end of the trial is an Umbral Gem: take it and then use the Umbral Transporter to return to the altar.
The Self-Same Trial
The Self-Same Trial is a mirror battle, but with some special conditions. To start it, enter the north door in the upper hallway and spill blood into Shar's altar. After that, continue into the arena past the altar. The conditions are as follows:
- Each party member in the room when the trial starts gets a mirror copy in the arena. These copies are hiding and will ambush the party once they get close, but a good Perception check will reveal them.
- Copies have the same class levels and equipment as their counterparts, but they have fewer hit points and a generic set of spells.
- As the book in the Silent Library mentions, party members must only attack their own copies. If they attack a different copy, they get a -1 penalty to all attacks, checks, and saves until the next long rest. This penalty is for harming each copy at least once, so a party member who harms one copy three times gets a -1 penalty but a party member who damages all four copies with an area attack will get a -3 penalty.
- Players can exploit this trial by sending in one party member alone and having them sneak up on their copy to get a surprise round.
When every copy dies, an Umbral Gem will appear on the highest spot in the arena, and an Umbral Transporter will take the party back to the entrance.
The Soft-Step Trial
The third and final trial is also on the upper hallway. The Soft-Step Trial is a test of stealth and trap detection, so players should send in Astarion or another rogue with plenty of Stealth and Sleight of Hand. The goal of this trial is to get past several patrolling observers and a number of marble plate traps. Fortunately, this trial is much more forgiving than the Faith-Leap Trial, and if players get caught their character will teleport back to the beginning without taking damage.
The trial includes several levers that move walls and open doors (including one lever players can pull through a window), a key on a table, and a variety of traps. Several methods will get players through this trial. At the far end of the trial is another Umbral Gem sitting on a Transporter. Grab it to complete the trial.
How to Deal with Yurgir
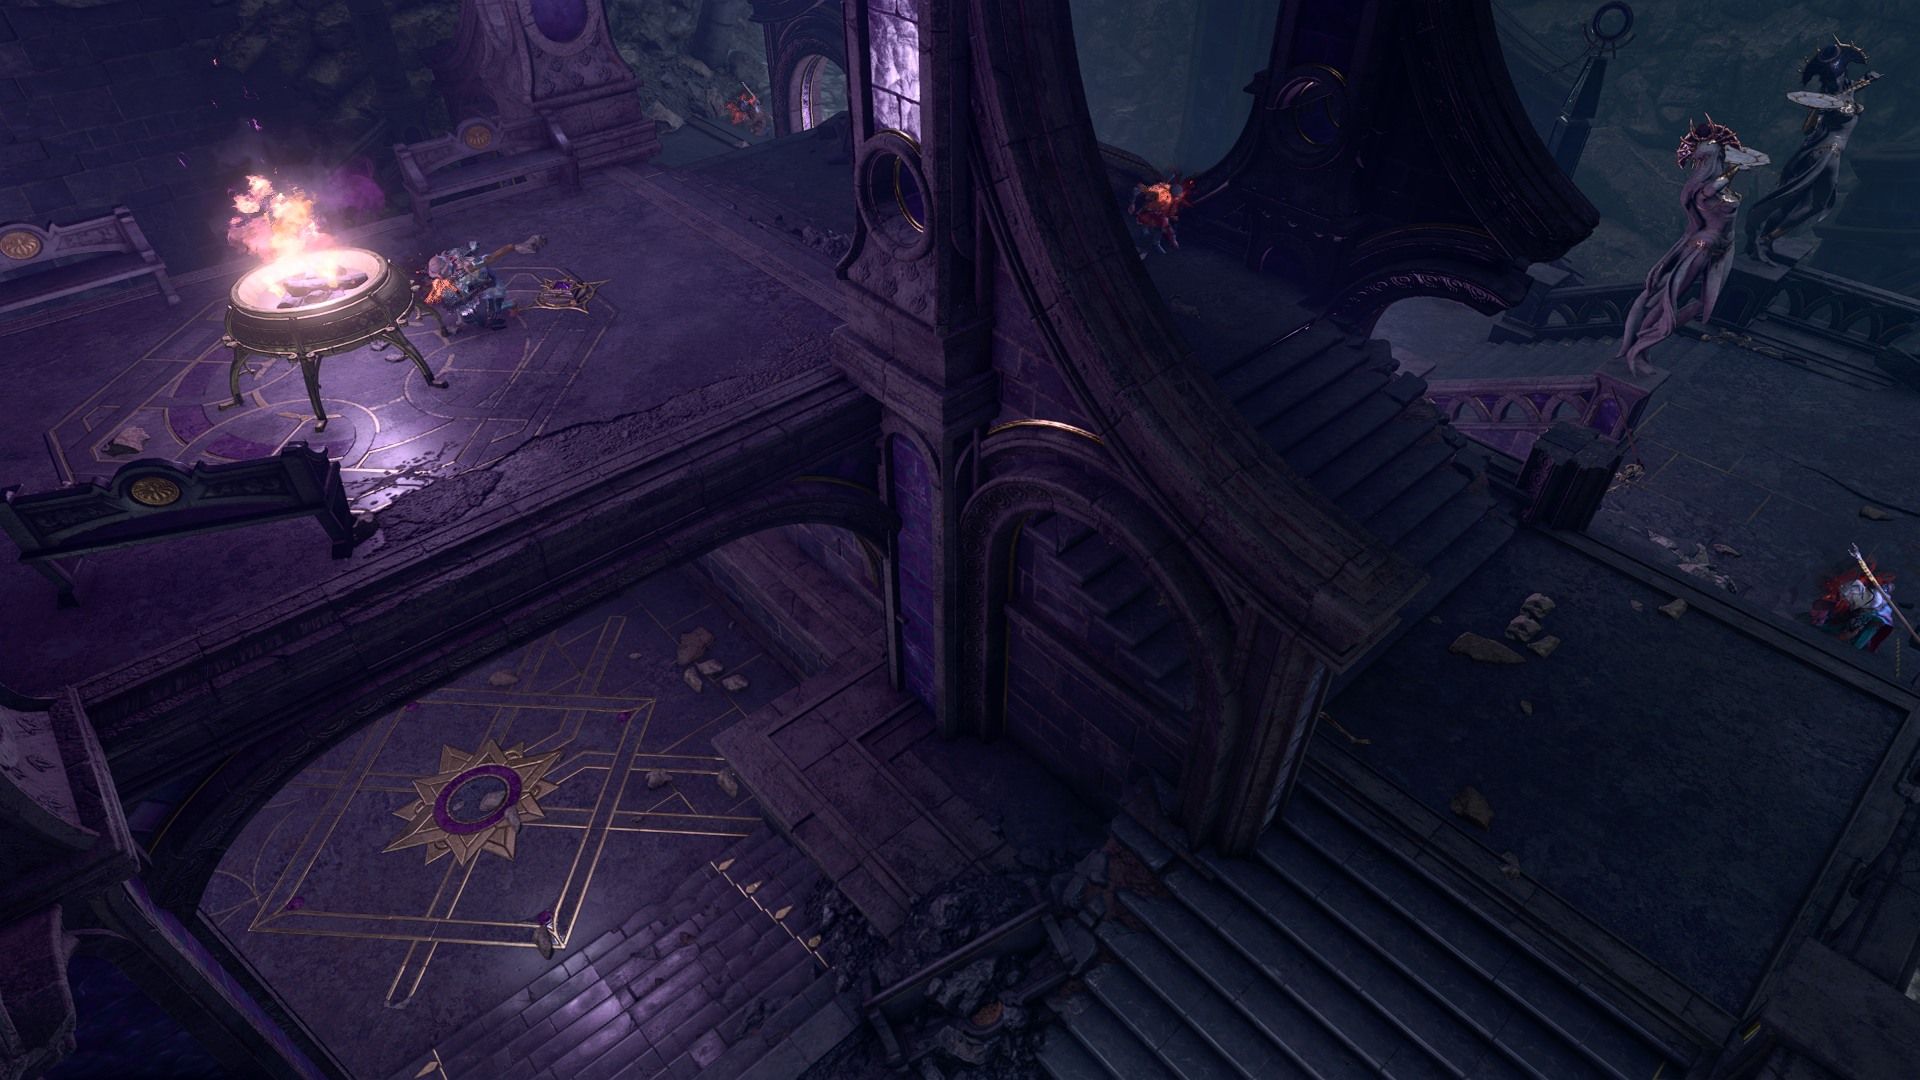
Players should now have three Umbral Gems, but they need four to access the depths of the temple. To get the fourth gem, return to the Pedestal of Reckoning and head east across the broken staircase. A displacer beast is standing at the base of the stairs, but when the party approaches it first runs to the left (north) and then takes a right (east).
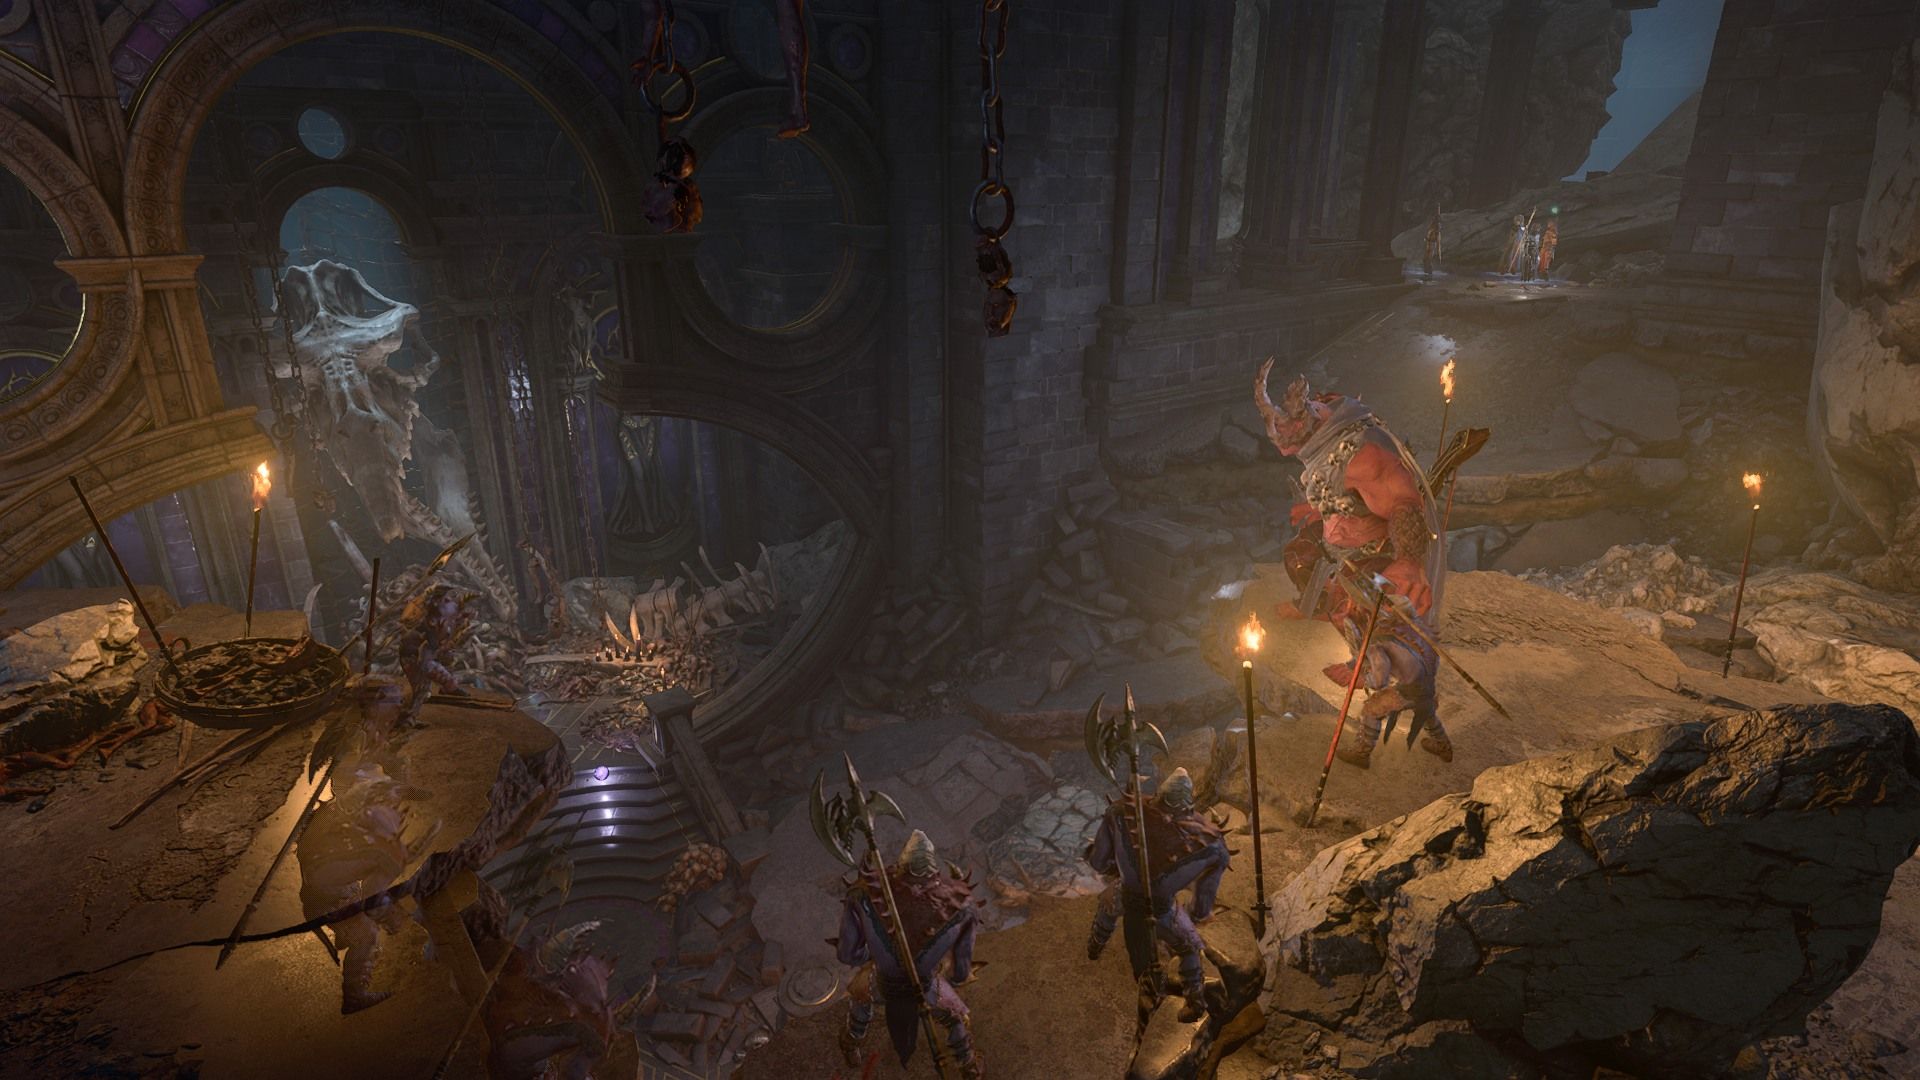
If players follow the displacer beast, they'll spot the Umbral Gem sitting on the ground in front of a gory throne. However, a devil named Yurgir and half a dozen merregons are waiting on the next floor up with their crossbows ready. Walking into the trap will start a dialog and players can talk their way out, but anyone who wants to ambush the ambushers should ignore the displacer beast and jump straight across to another broken staircase. The gap may seem too wide for characters with low Strength, but once a party member jumps across the rest will follow.
The biggest thing to watch for during this fight are Yurgir's grenades, which he and his minions love throwing around. When Yurgir takes enough damage, he drops a dozen grenades around himself, so players should spend the turn retreating and spreading out. Aside from that, this combat is difficult but very possible, at least if players ambush the ambushers.
However, players can also choose to talk to Yurgir and offer to help him against Raphael. Most party members won't like this approach, and Astarion especially hates it if players have let him strike a deal with Raphael to learn about the scars on his back.
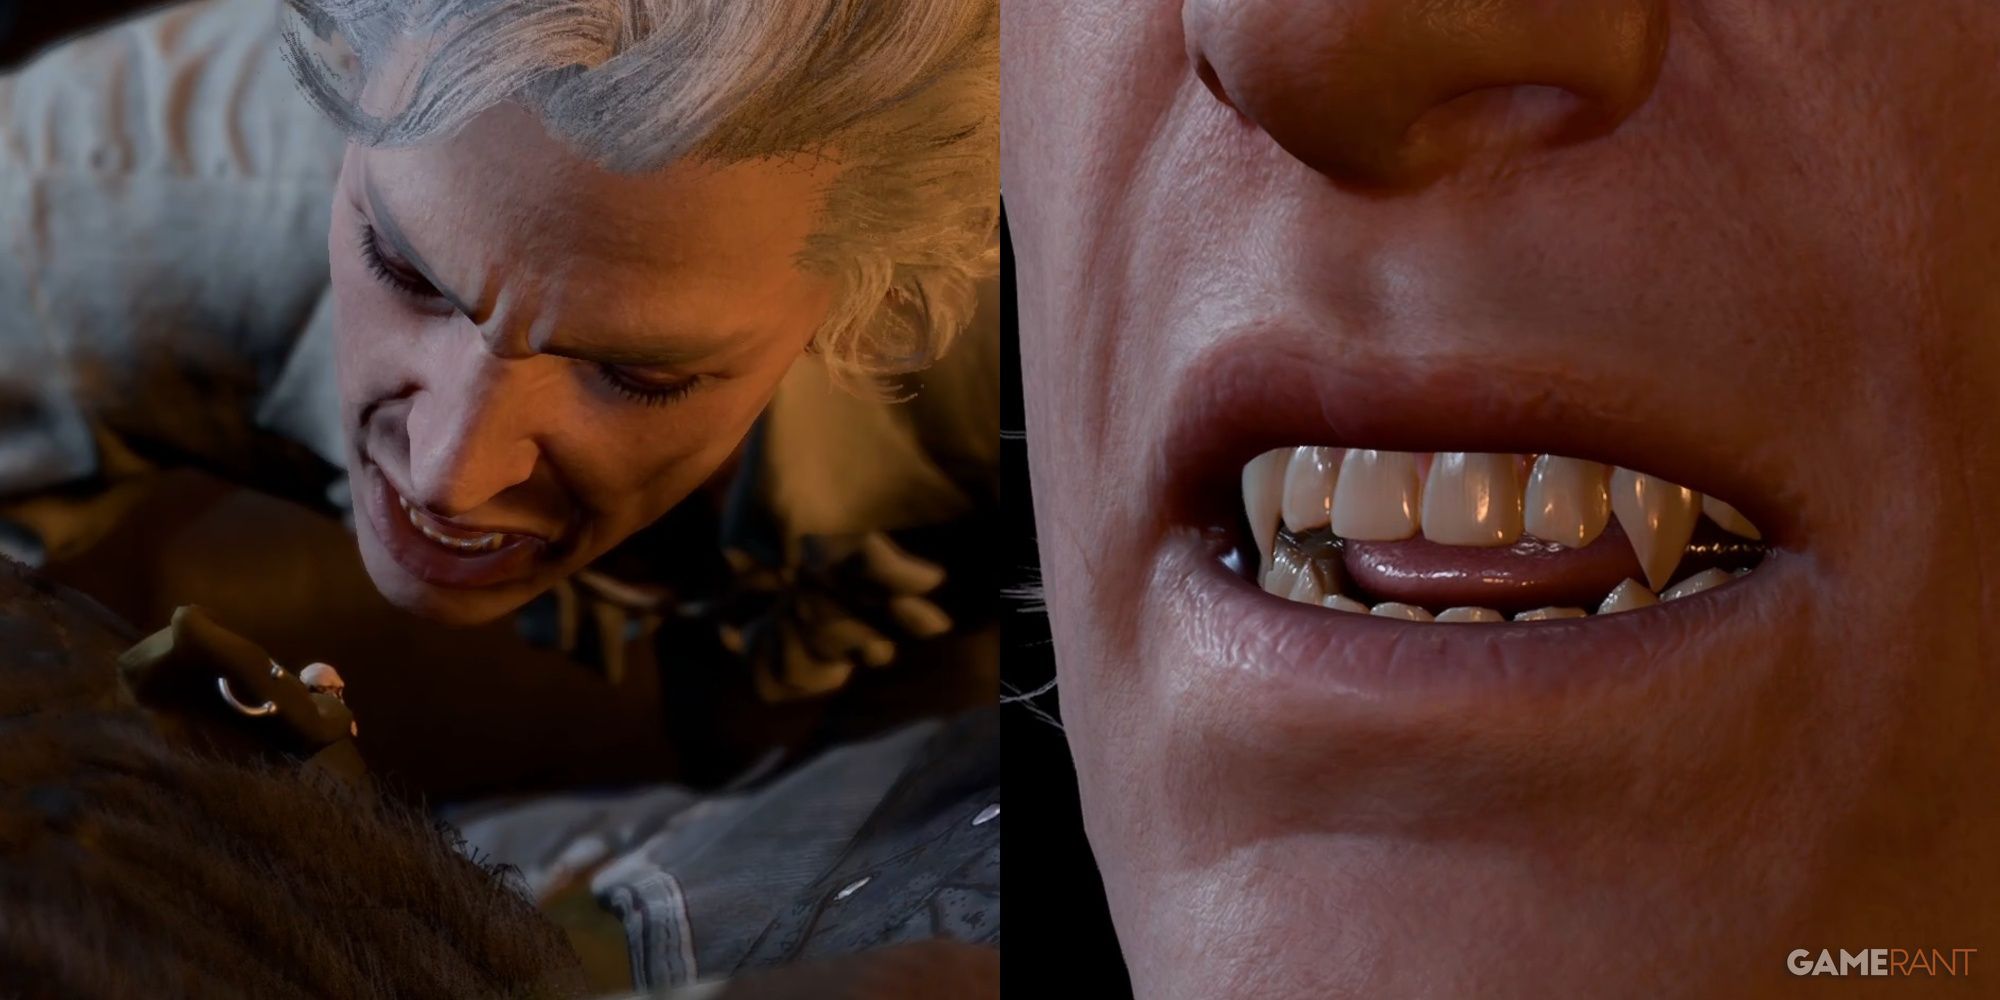
Baldur's Gate 3: Should You Let Astarion Drink Your Blood
Astarion gets thirsty and needs a bloody drink but Baldur's Gate 3 players are rightfully hesitant to trust him.
Yurgir needs to kill every last (living) Dark Justiciar in the Gauntlet of Shar, but while he thinks he finished the job something is keeping him from completing the contract. The answer lies with the many rats infesting the temple, and players can get hints about this by gaining Speak with Animals from a potion or spell and then talking to them.
To continue this quest, players must kill three rats in three separate locations, then descend into the pit at the base of the giant statue. The rats will attack in waves at this point, but they all have a tiny amount of hit points. Any persistent damage spell like Spirit Guardians or Hunger of Hadar will make quick work of the swarm.
Once the swarm is down, the last living rat will turn back into Lyrthindor, the missing Dark Justiciar. Players can now kill him to end Yurgir's contract, plus he drops the very rare Justiciar's Scimitar and Justiciar's Greatshield.
In the end, Raphael will still get what he wants, but Astarion won't since the deal was specifically to kill Yurgir to get the information. Killing Lyrthindor is easier than fighting Yurgir, but doing so will essentially end Astarion's personal quest since he'll never get the information he needs to continue.
Still, in either case players will now be able to collect the last Umbral Gem. Bring all four (plus the Spear of Night) to the Pedestal of Reckoning and then the Ancient Altar beyond it to open the way to the Shadowfell and the source of Ketheric Thorm's immortality.
Baldur's Gate 3 is available now on macOS and PC.

