Quick Links
Animal Well is a Metroidvania game in which the players have to explore a labyrinth filled with puzzles with the main goal of acquiring all the Flames. However, these Flames are guarded by powerful animals that act as bosses.
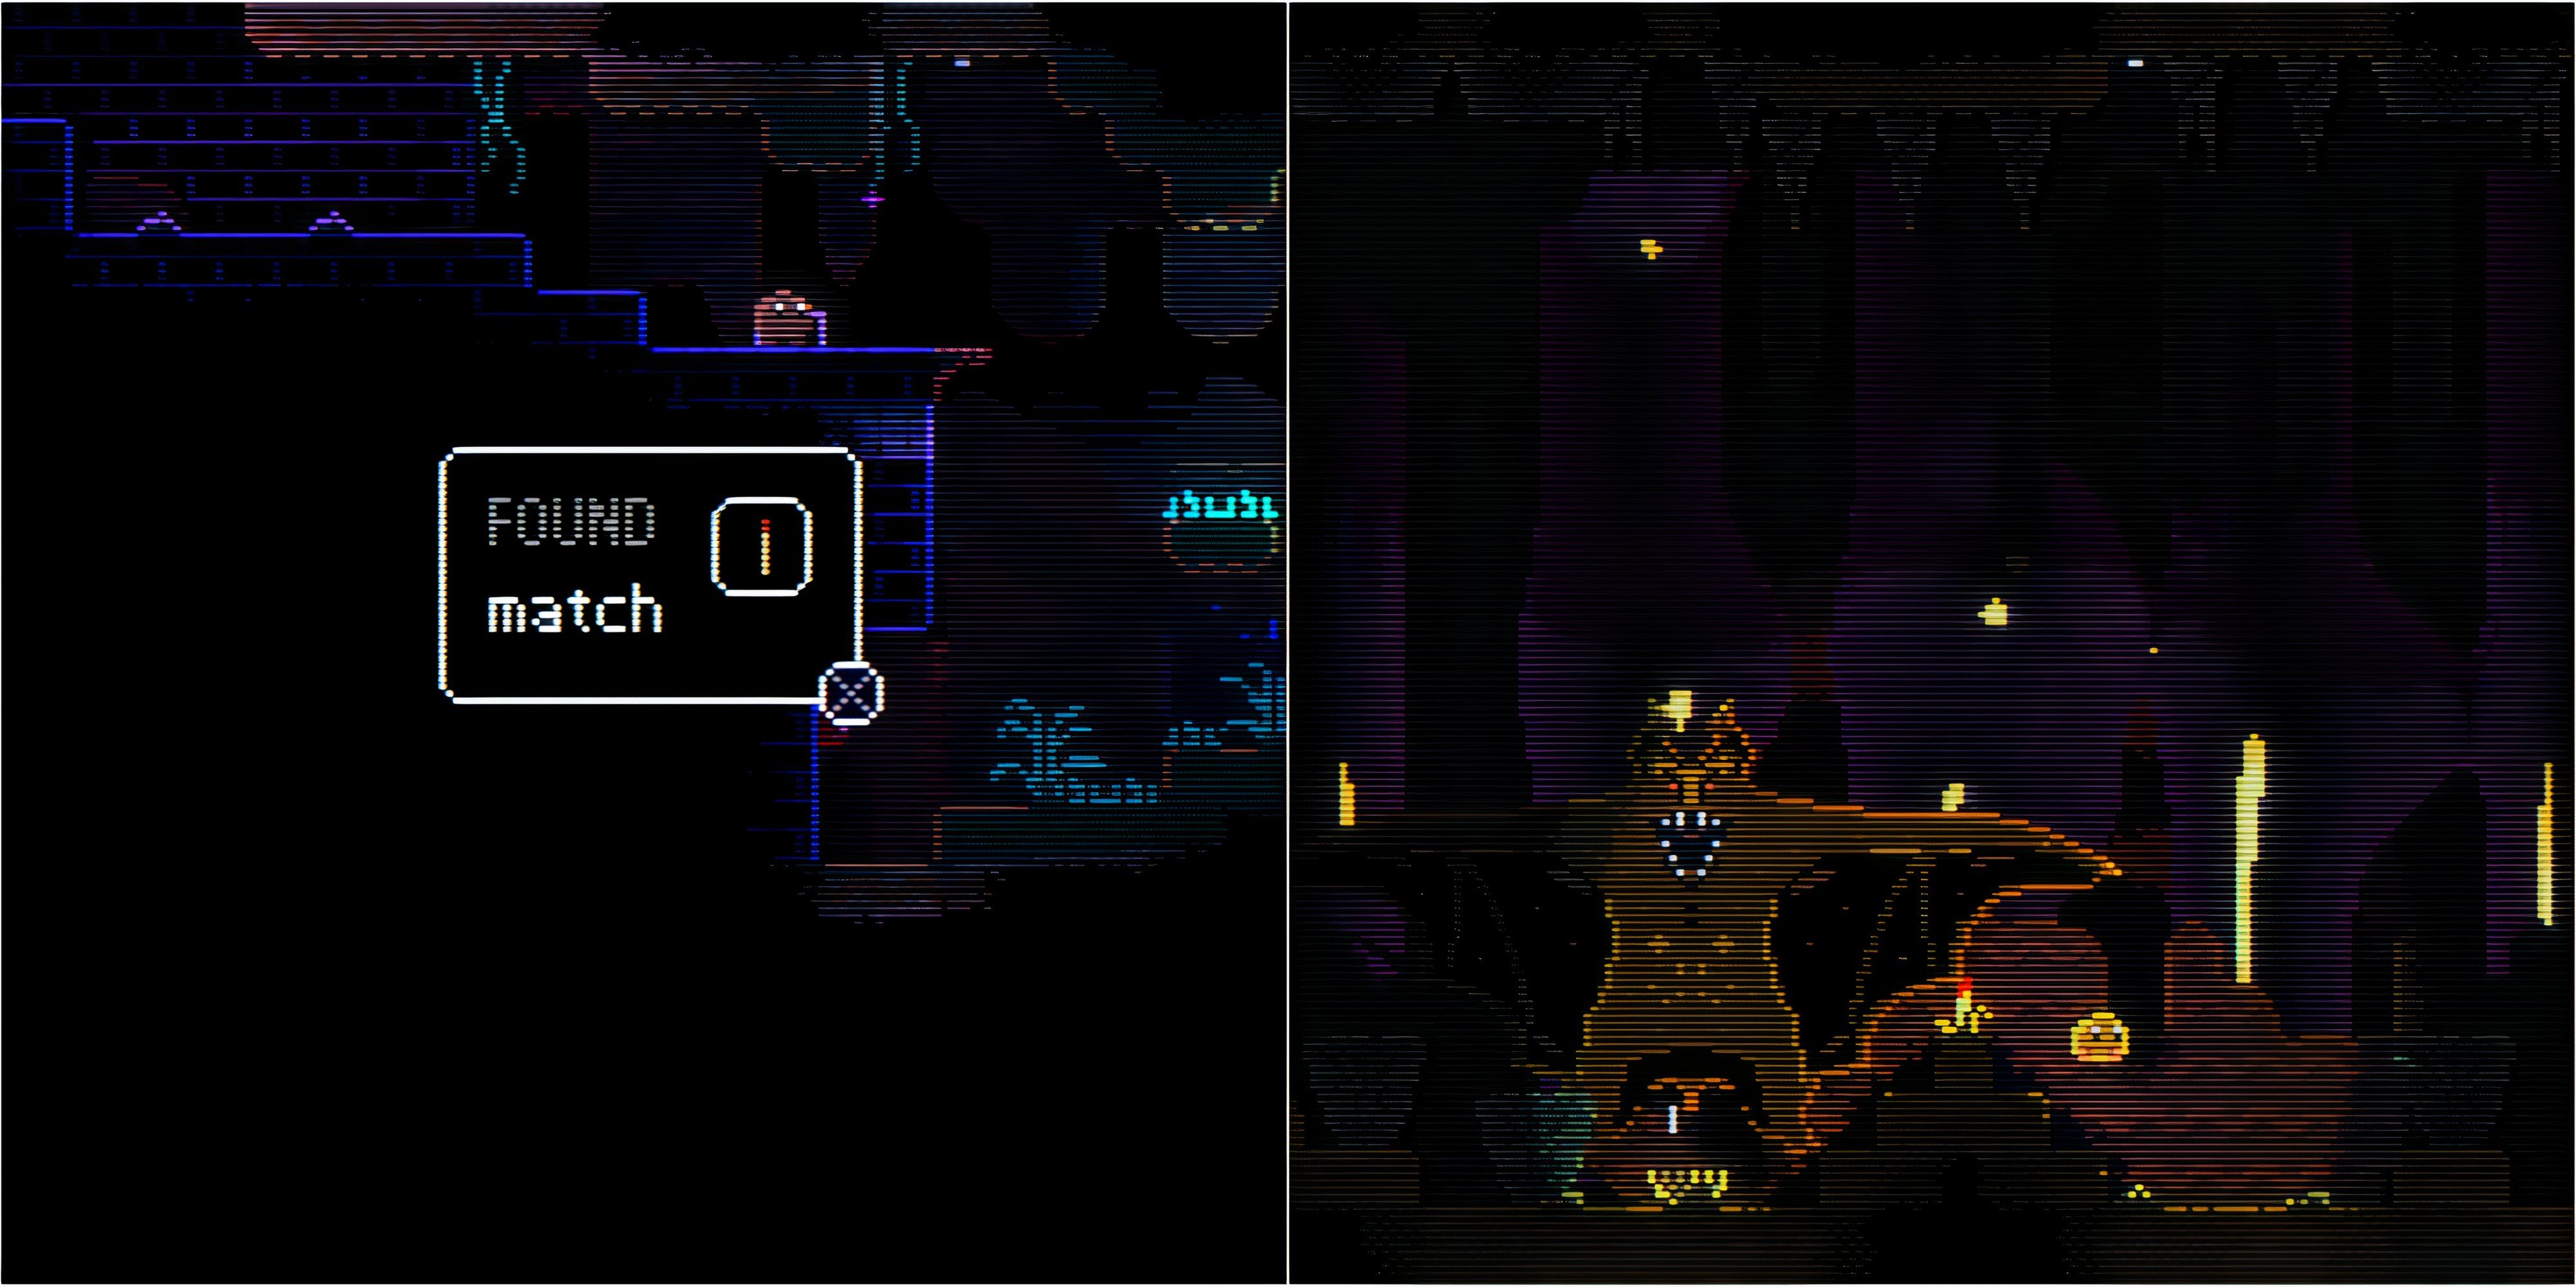
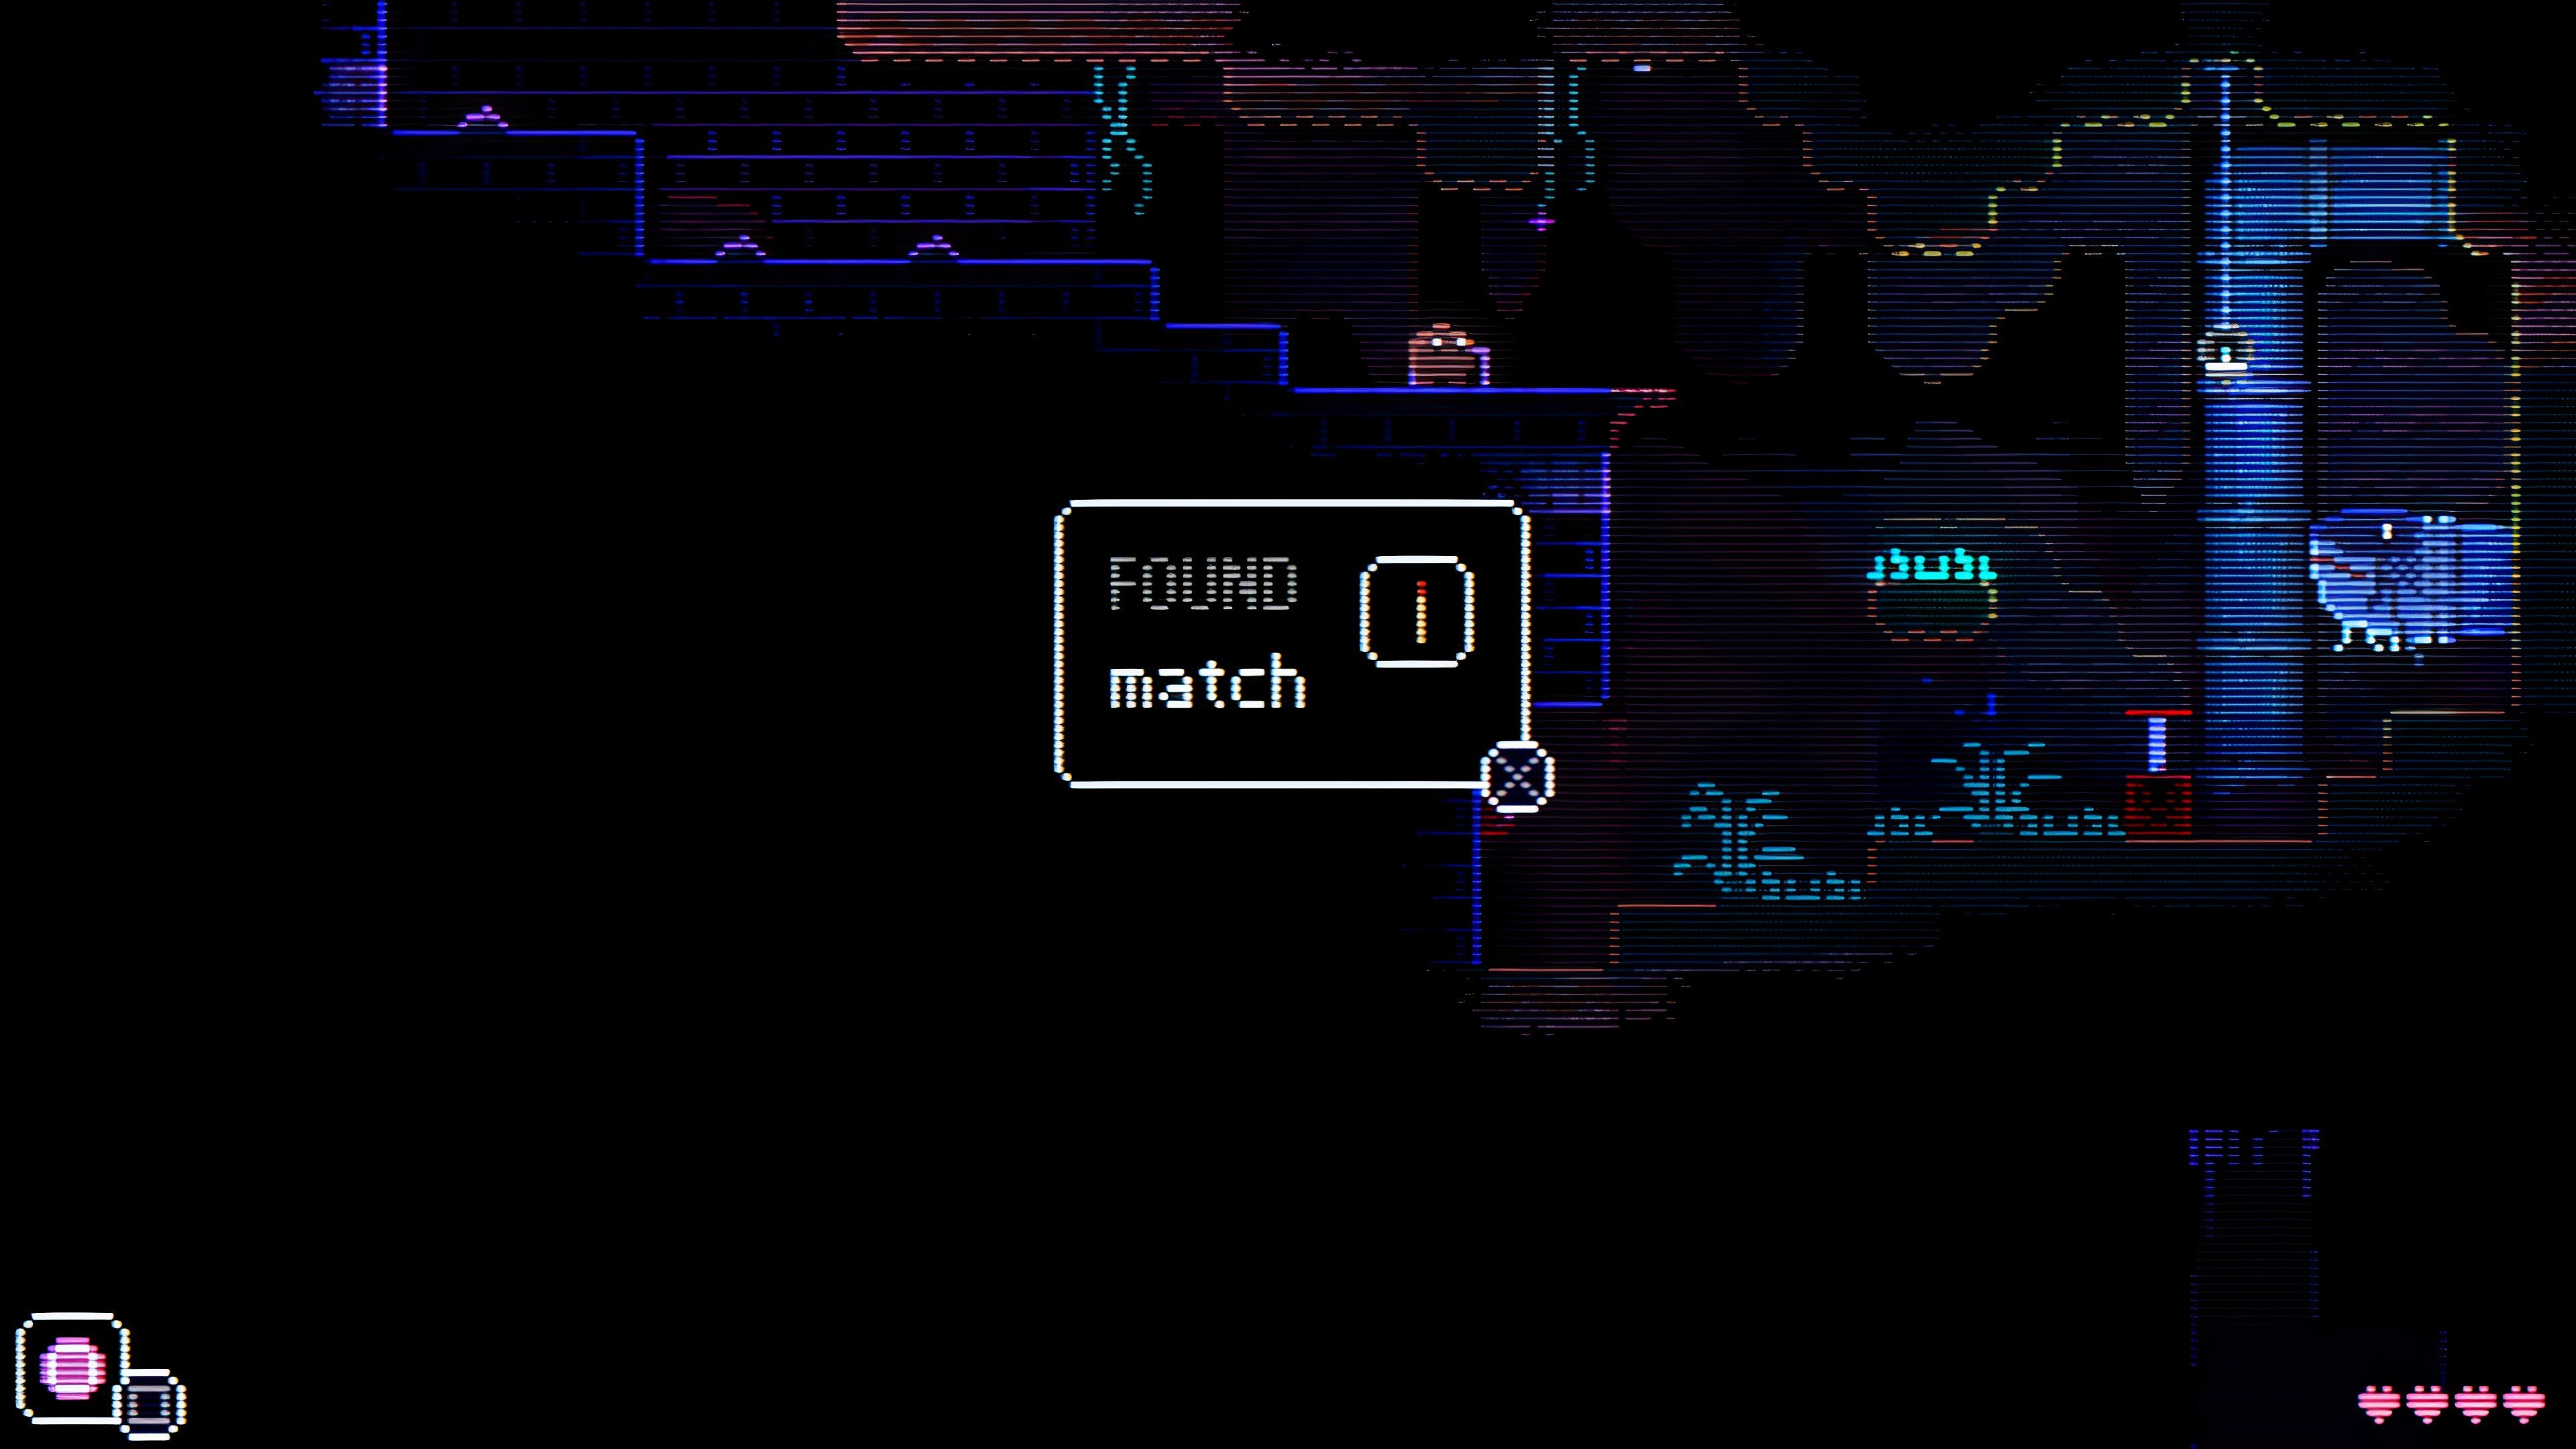
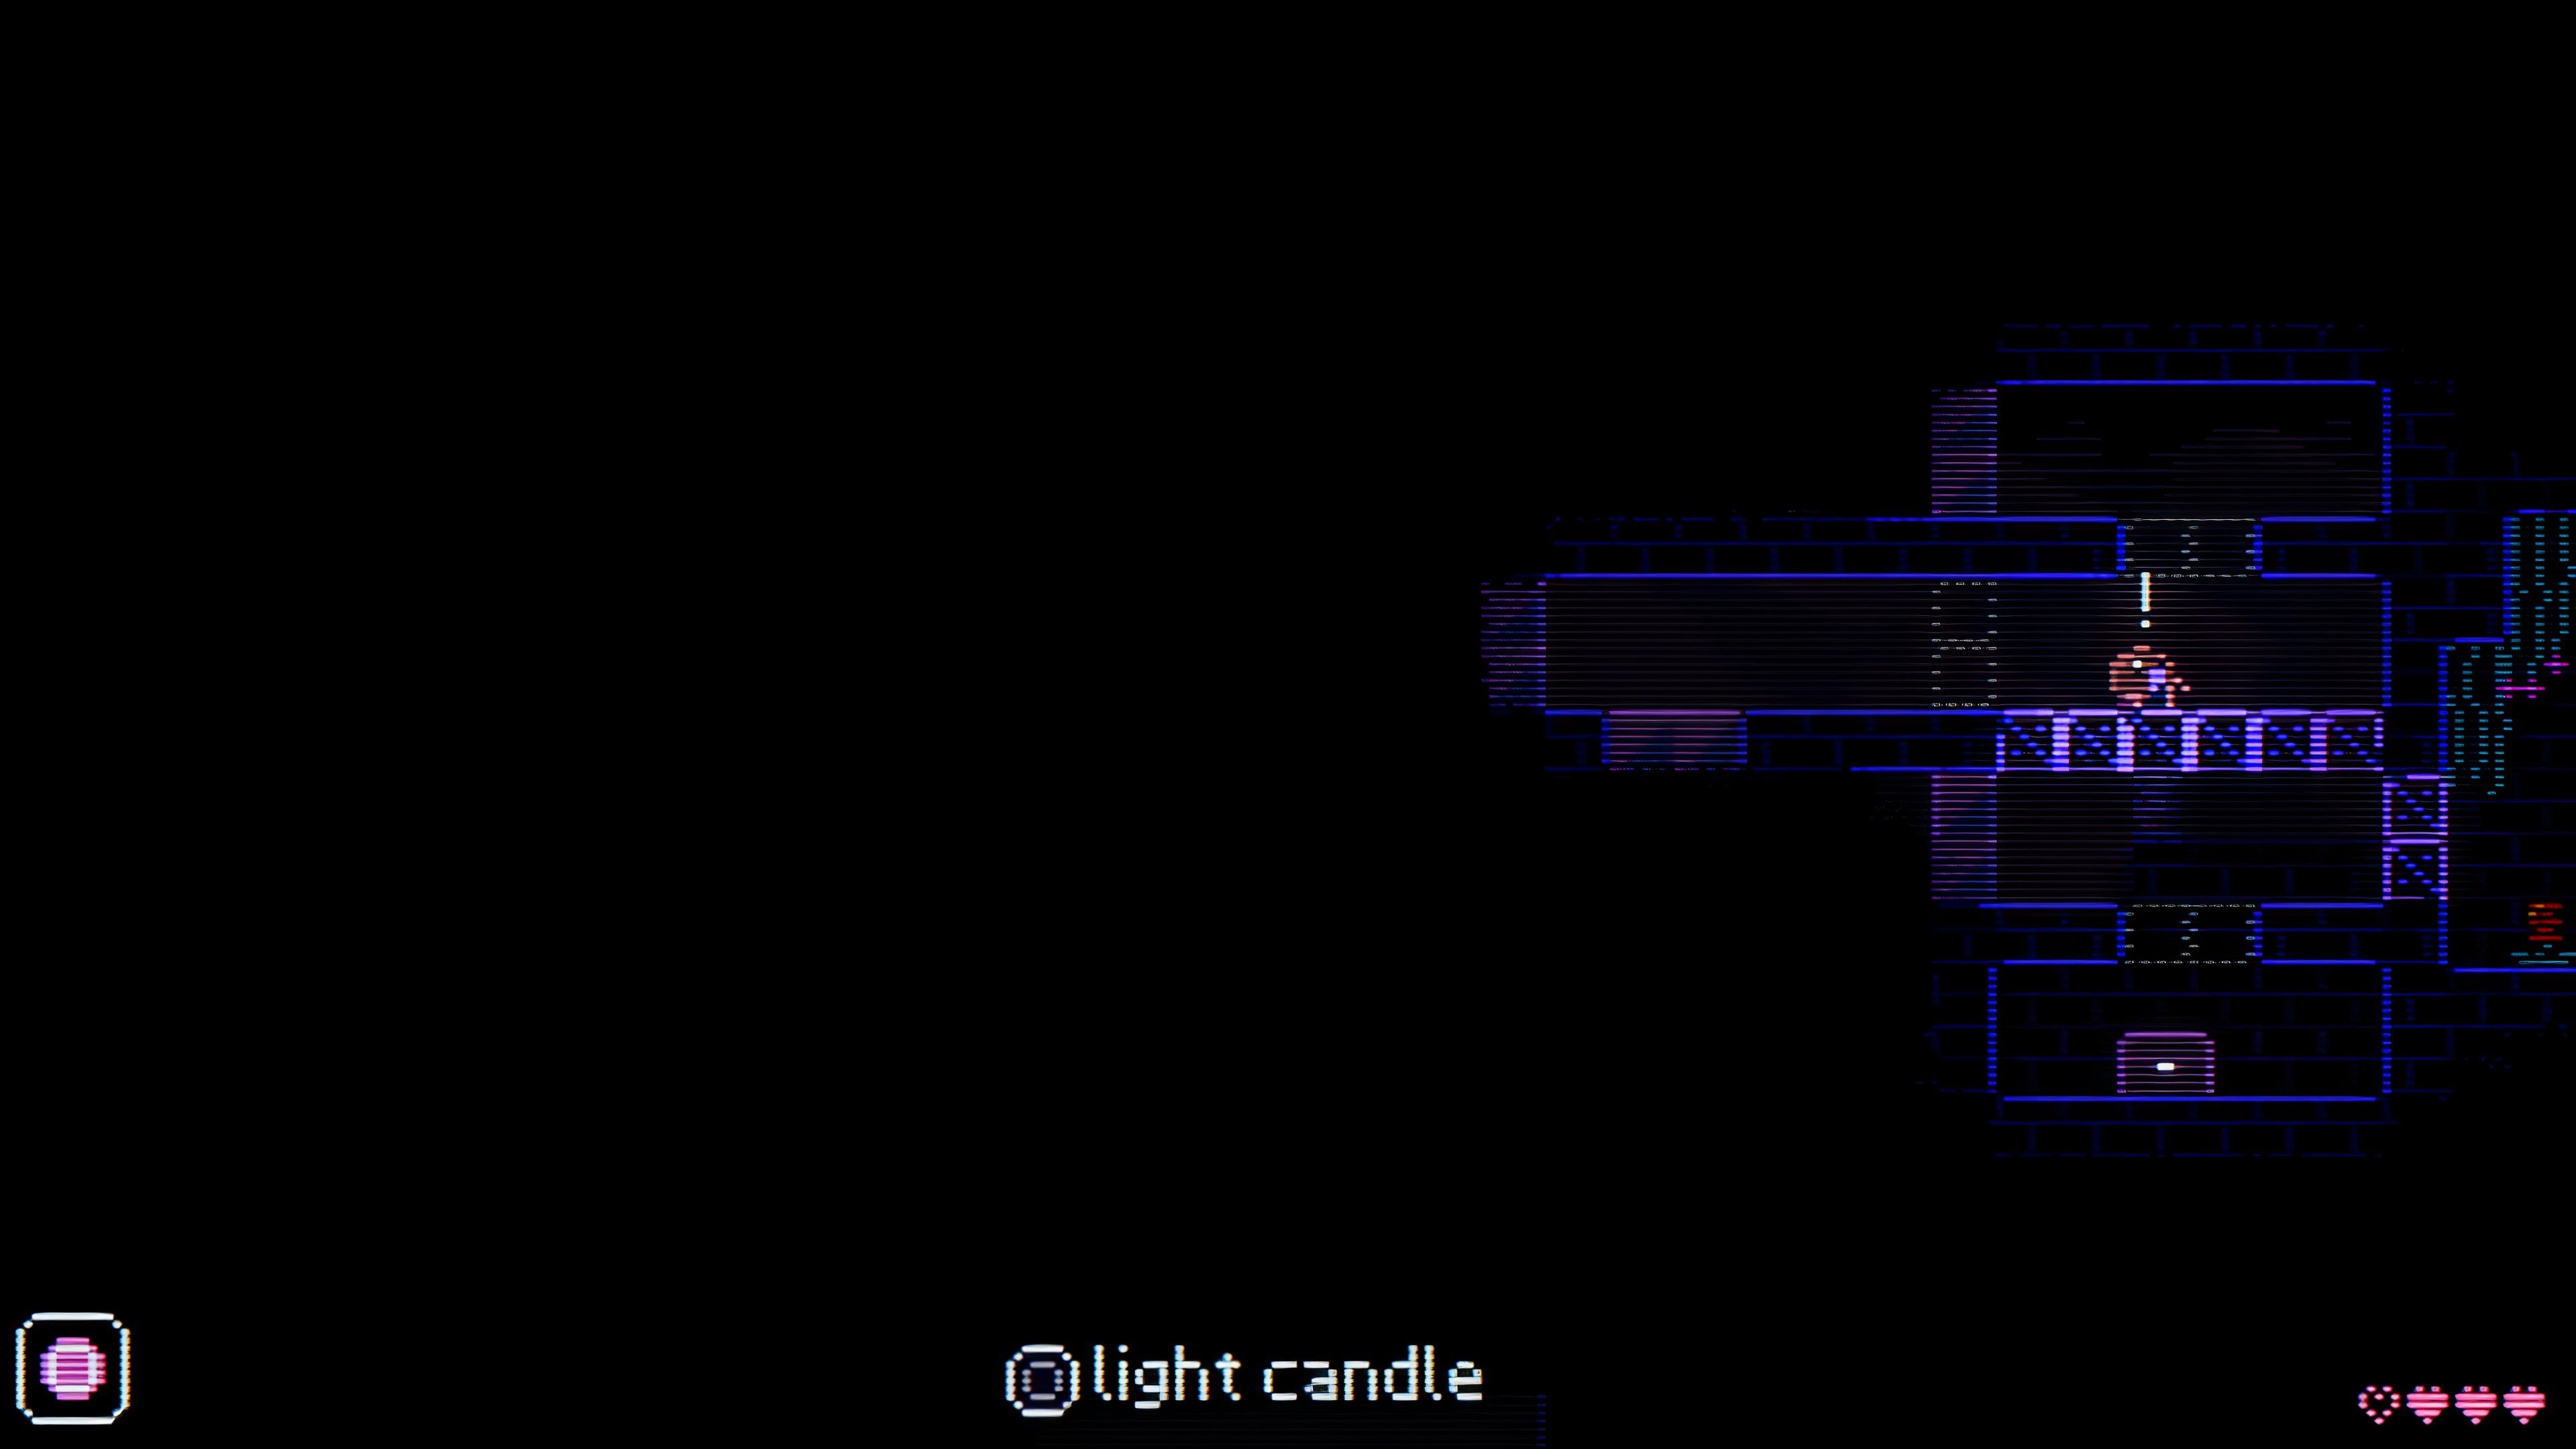
Throughout the game, players will come across unlit rooms where the map is inaccessible. These rooms contain a Candle that must be lit using a Match. Matches are scattered across different areas in the game. Acquiring all of the Matches and using them to light the Candles will unlock the trophy/achievement as well as an item in Animal Well that unlocks an easter egg reward.
Animal Well: All Kangaroo Locations
Players who are trying to track down the Kangaroo in Animal Well, and claim its K. Shards, can find all its locations detailed in this guide.
All Match Locations In Animal Well
There are nine matches in Animal, and all of them can be found inside of chests. Once you collect them, they will be added to your inventory allowing you to use them at a later point.
# | Map Image | Location |
|---|---|---|
1 | 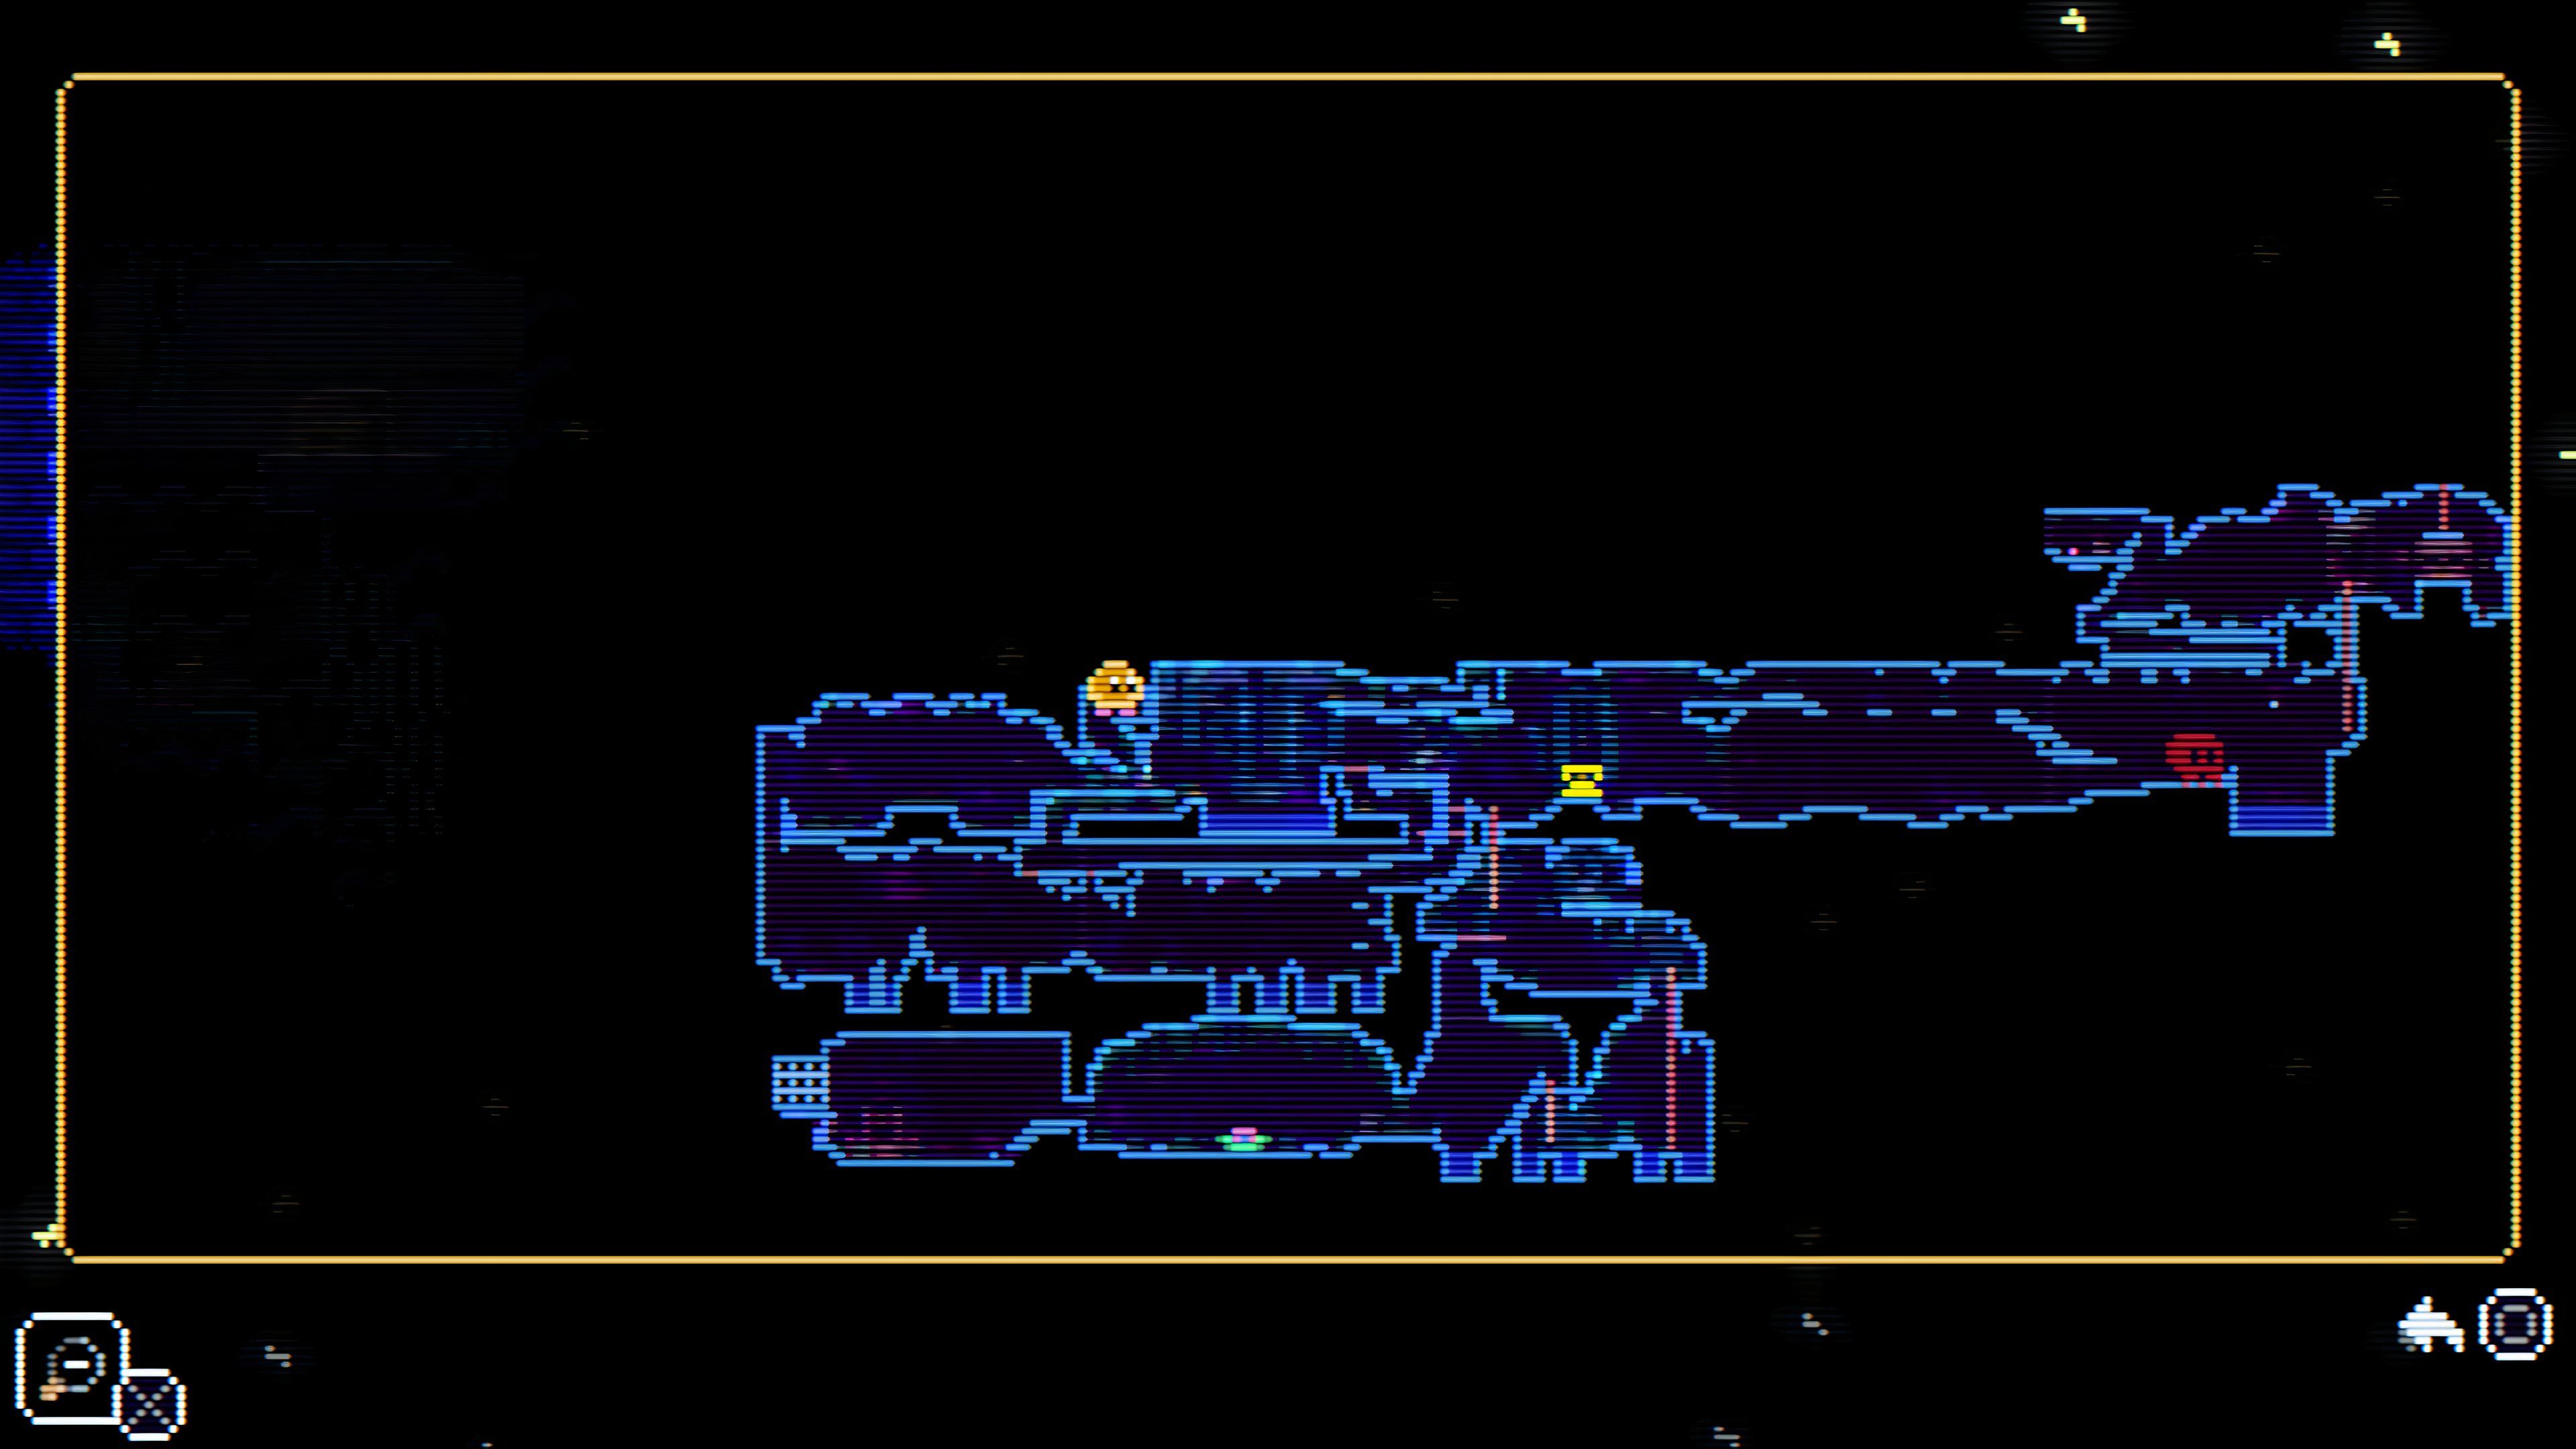 | From the room with the first telephone, head left, and use the crank to raise the platform. Activate both of the Yellow Switches and jump up right after the door that is now opened to reach a small space with a chest with the Match. |
2 | 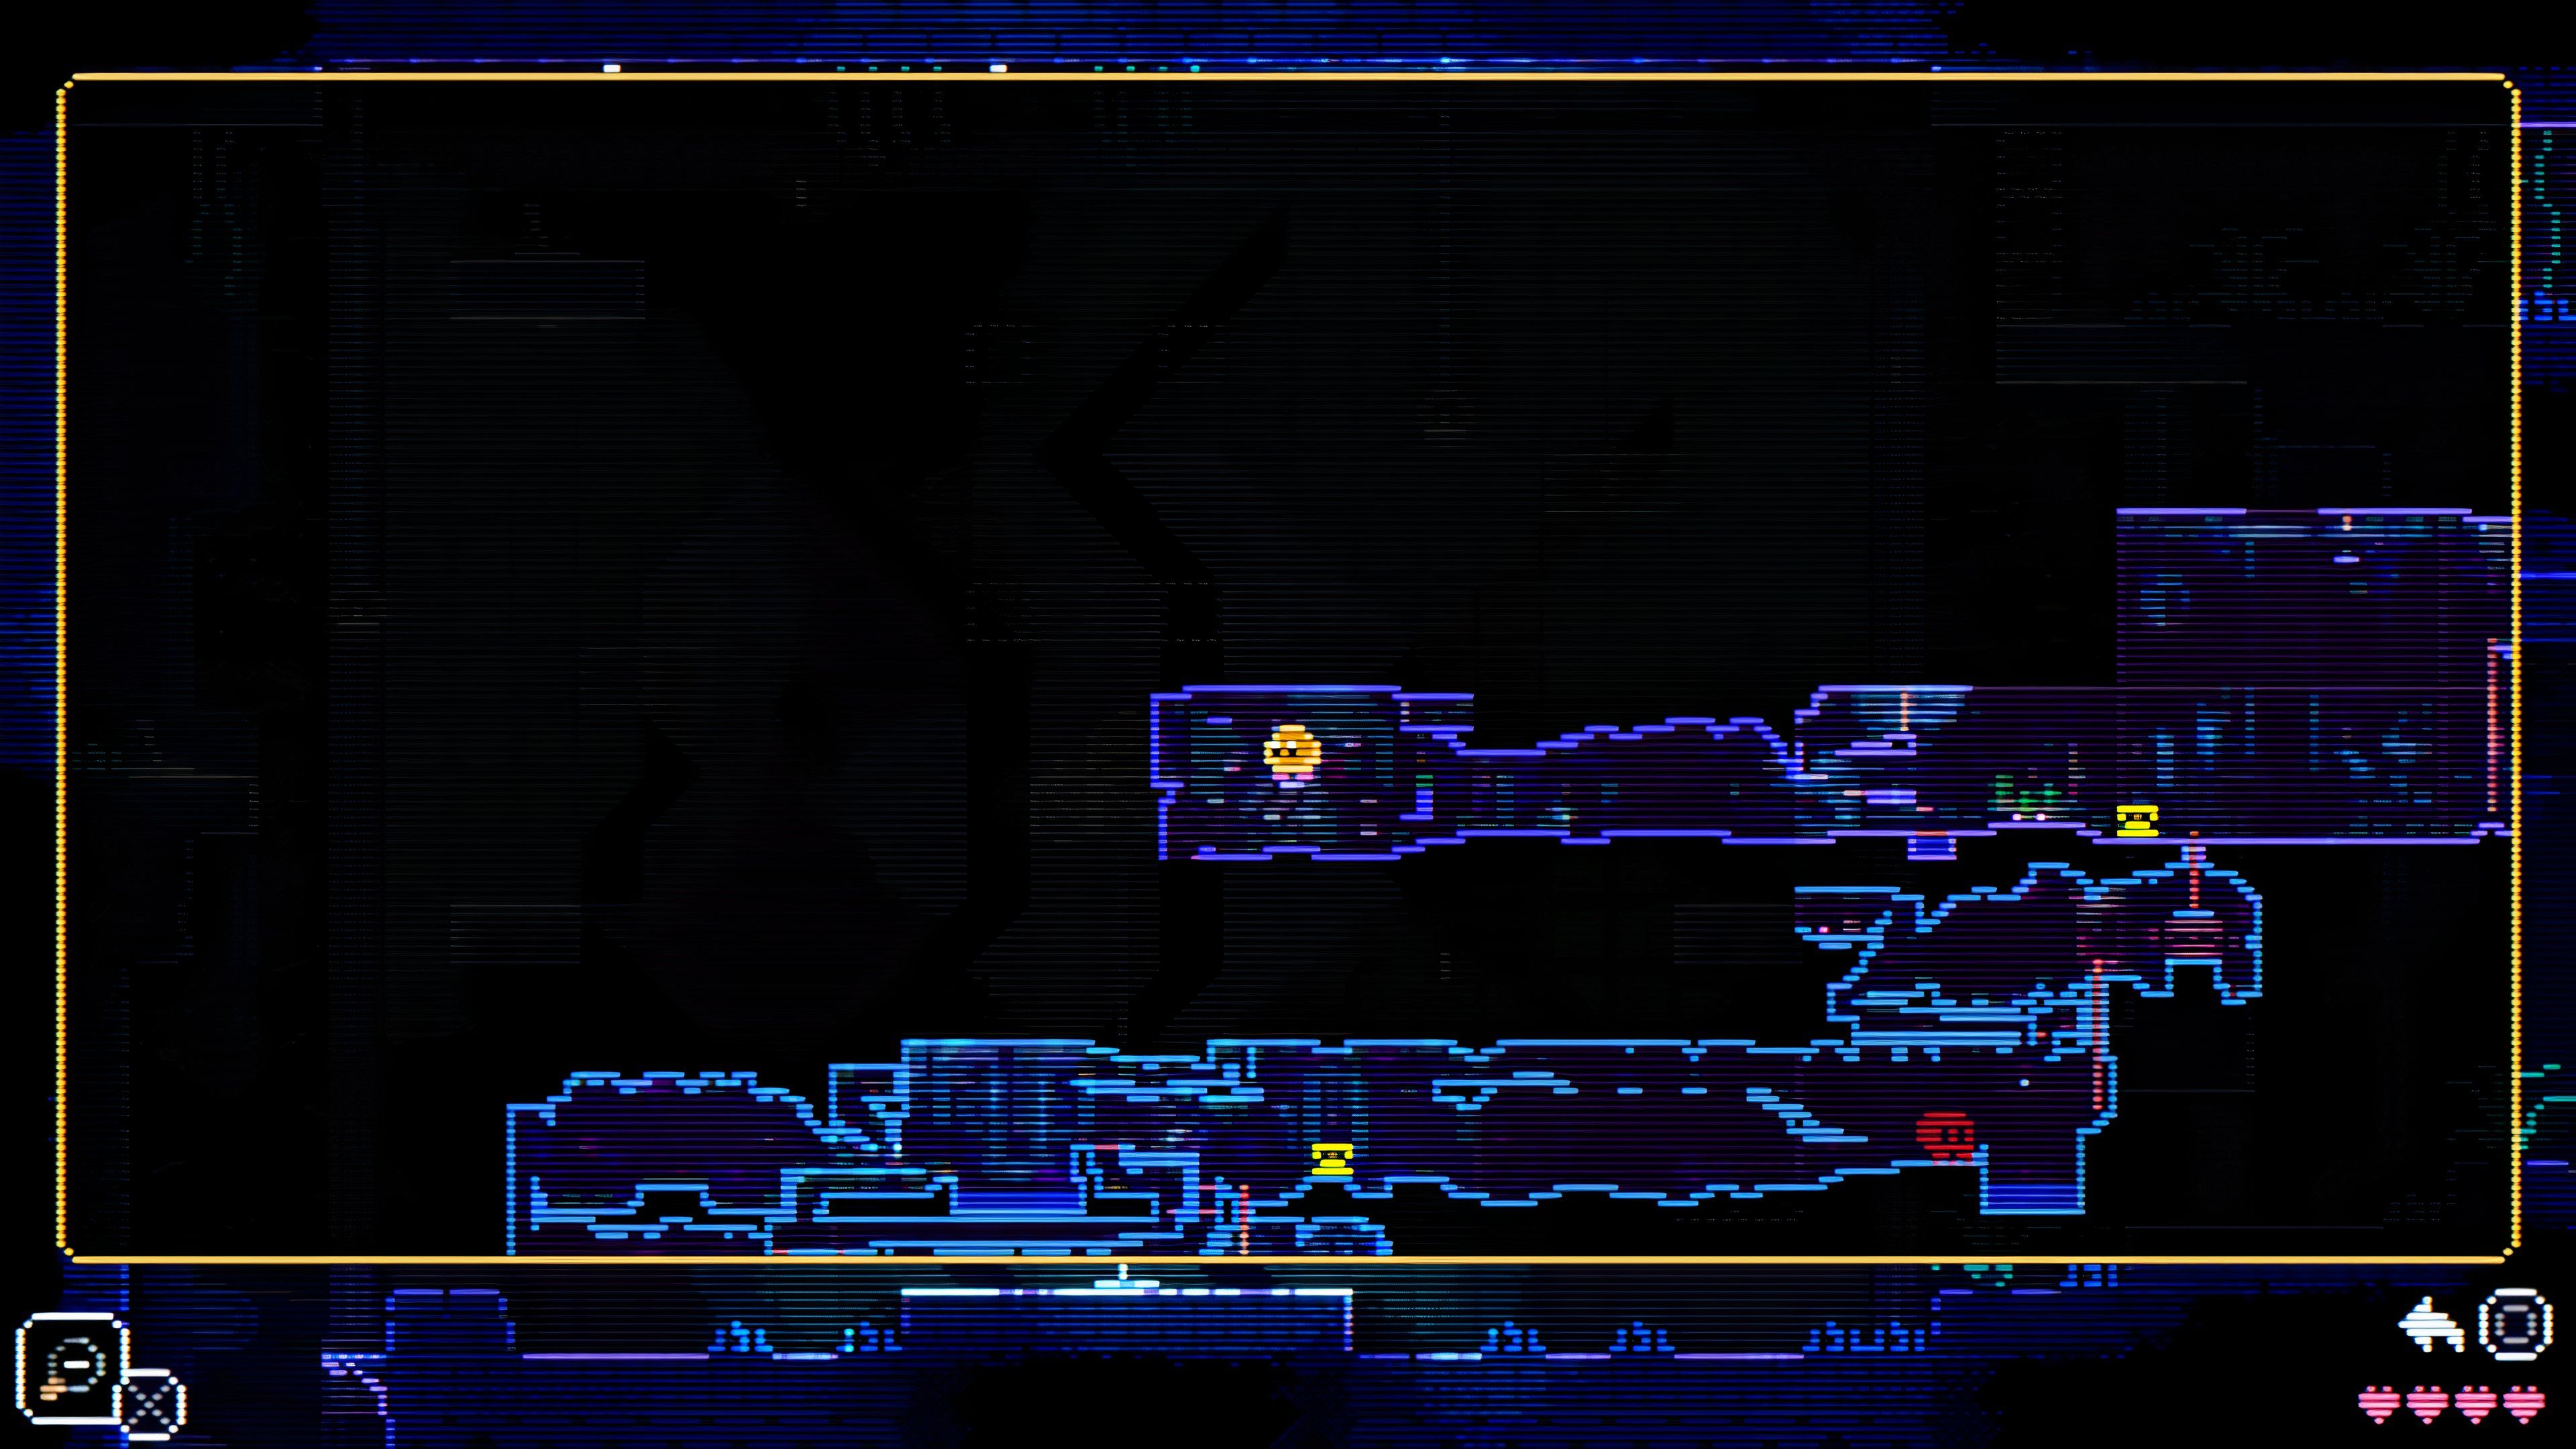 | After arriving at the Statue Room and saving the game at the telephone, keep heading left until you reach a room with multiple switches that can alternate platforms. You need to reach the top left platform with a switch, activate it, and jump towards the chest in the middle of the room. |
3 | 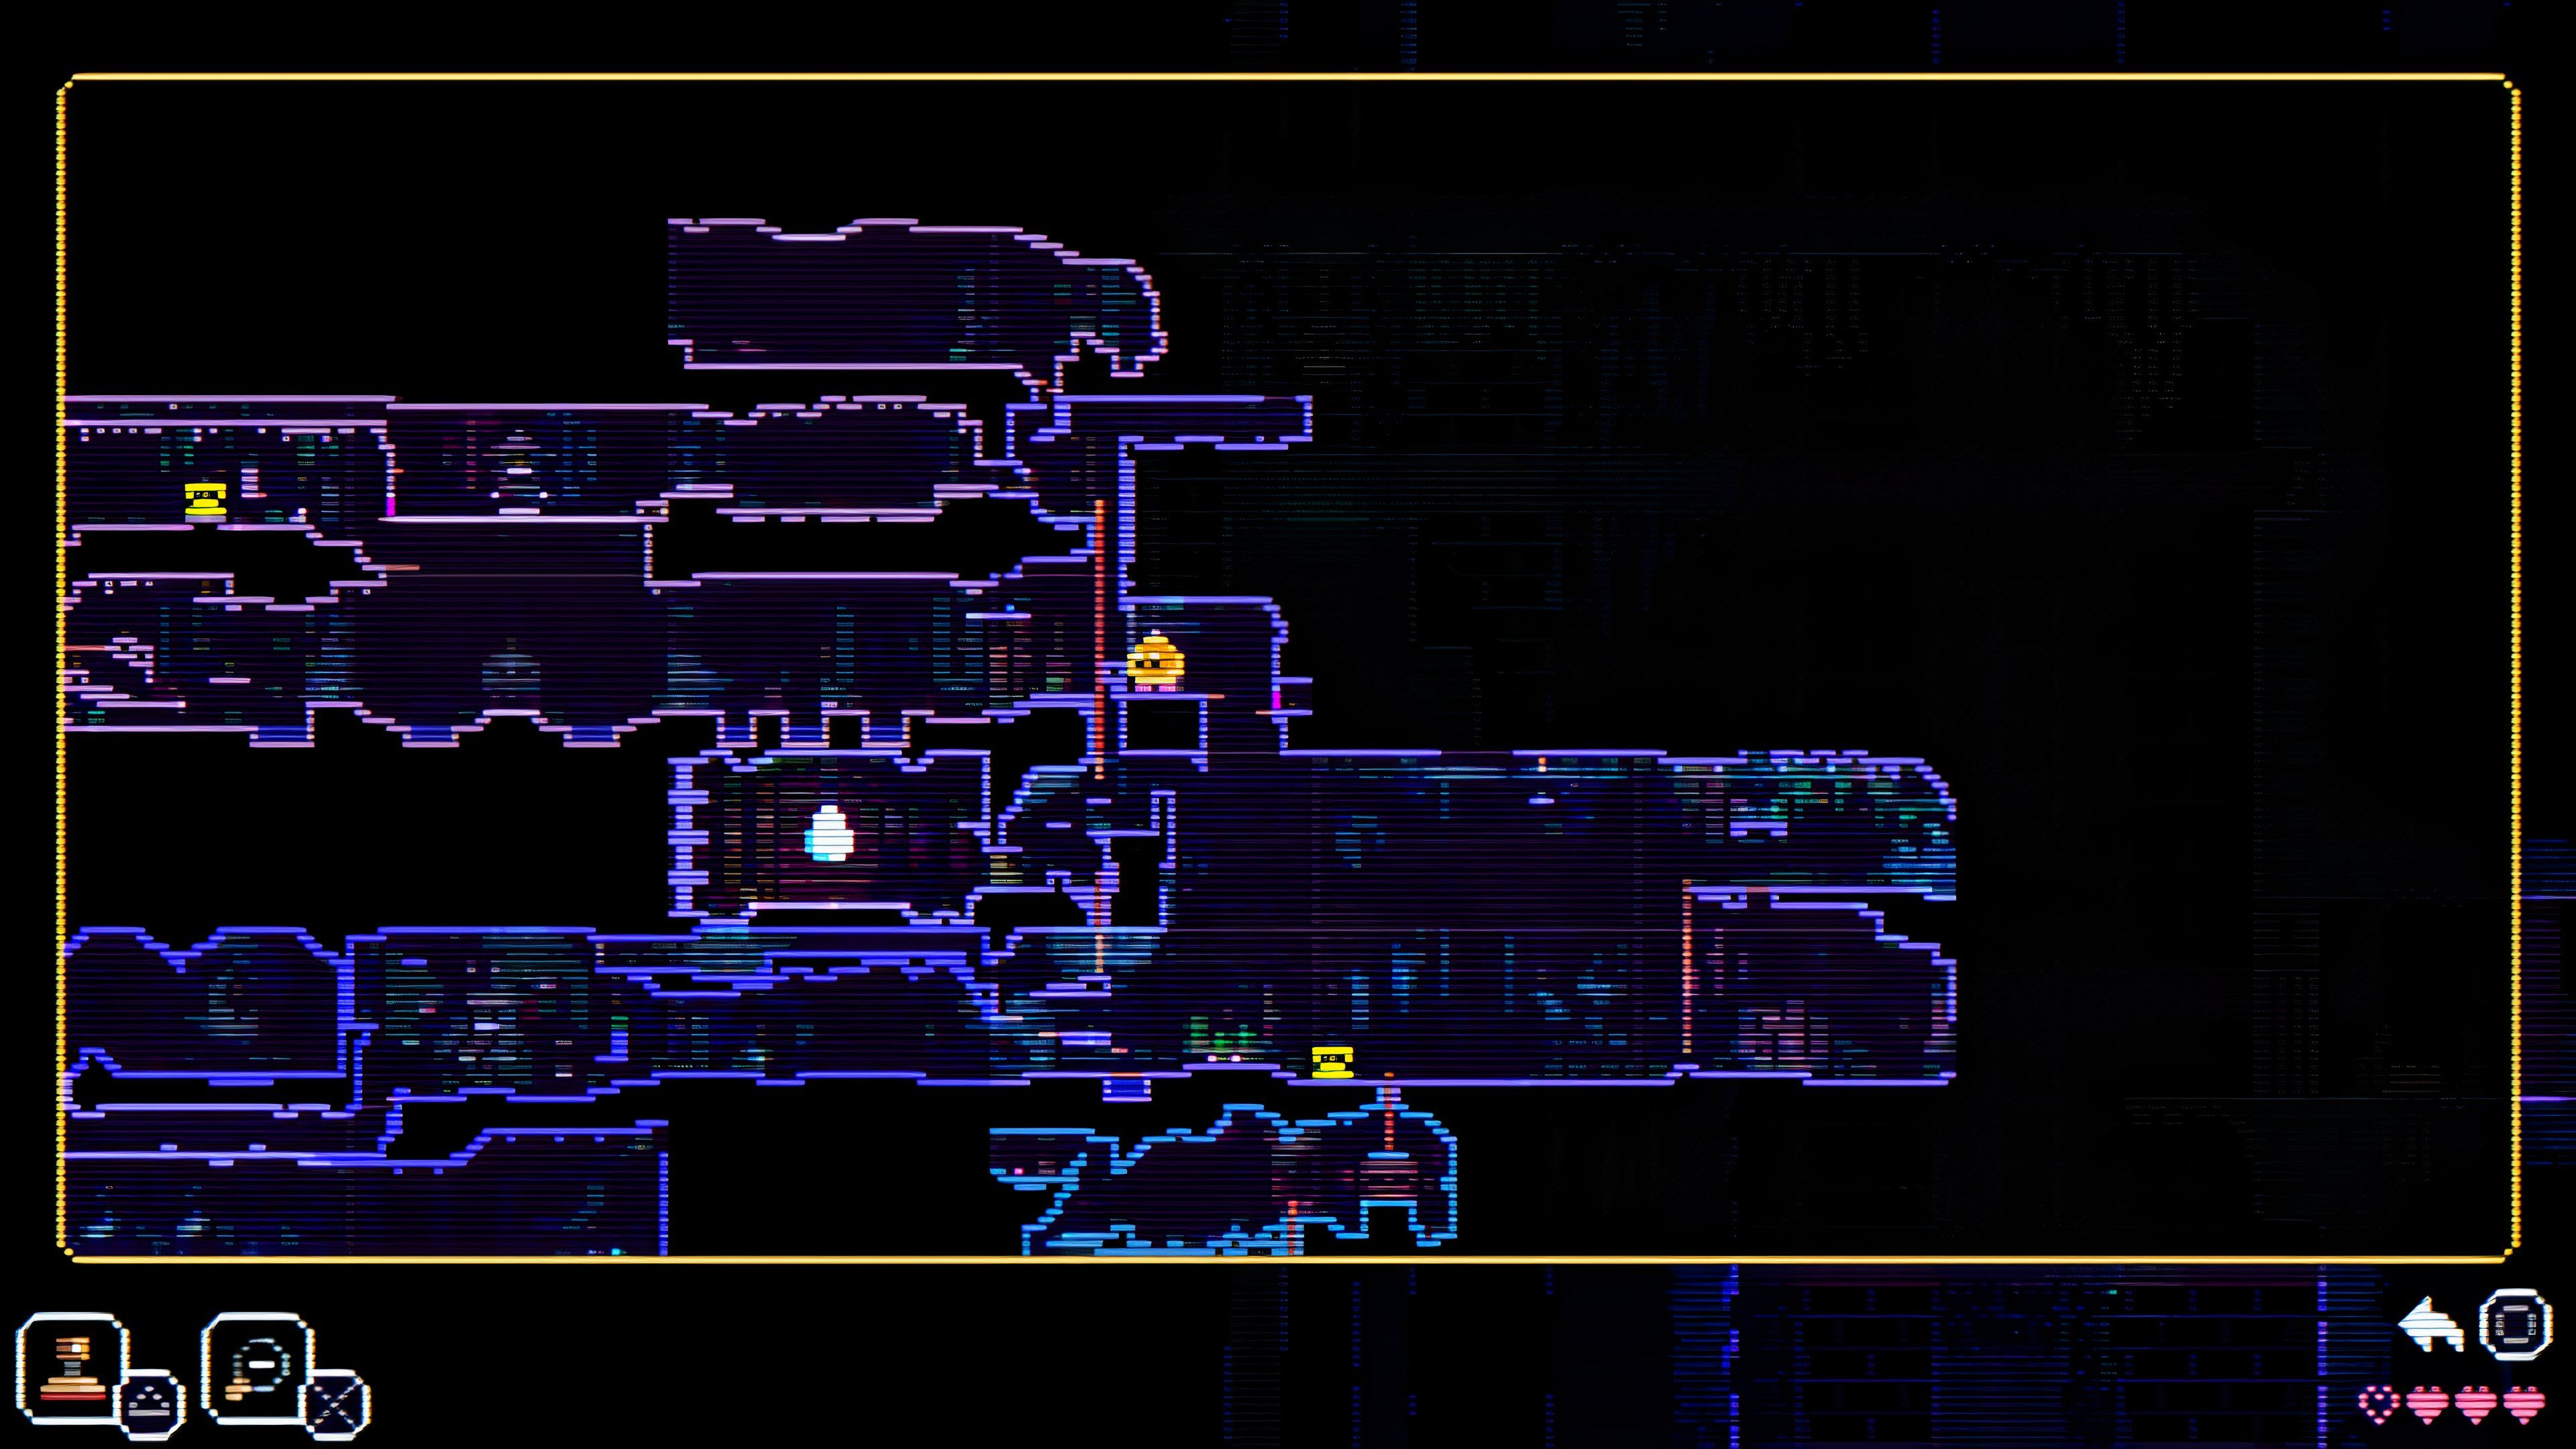 | Left of the statue room, head up the ladder and up the Egg Room. Do not climb the ladder fully up and stop once you can see an area on the right with a Yellow Button behind a Blocked Door. Jump right under the light and use the Disc to activate the switch in front of you. Doing so will open a blockade below you, revealing a chest with the Match. |
4 | 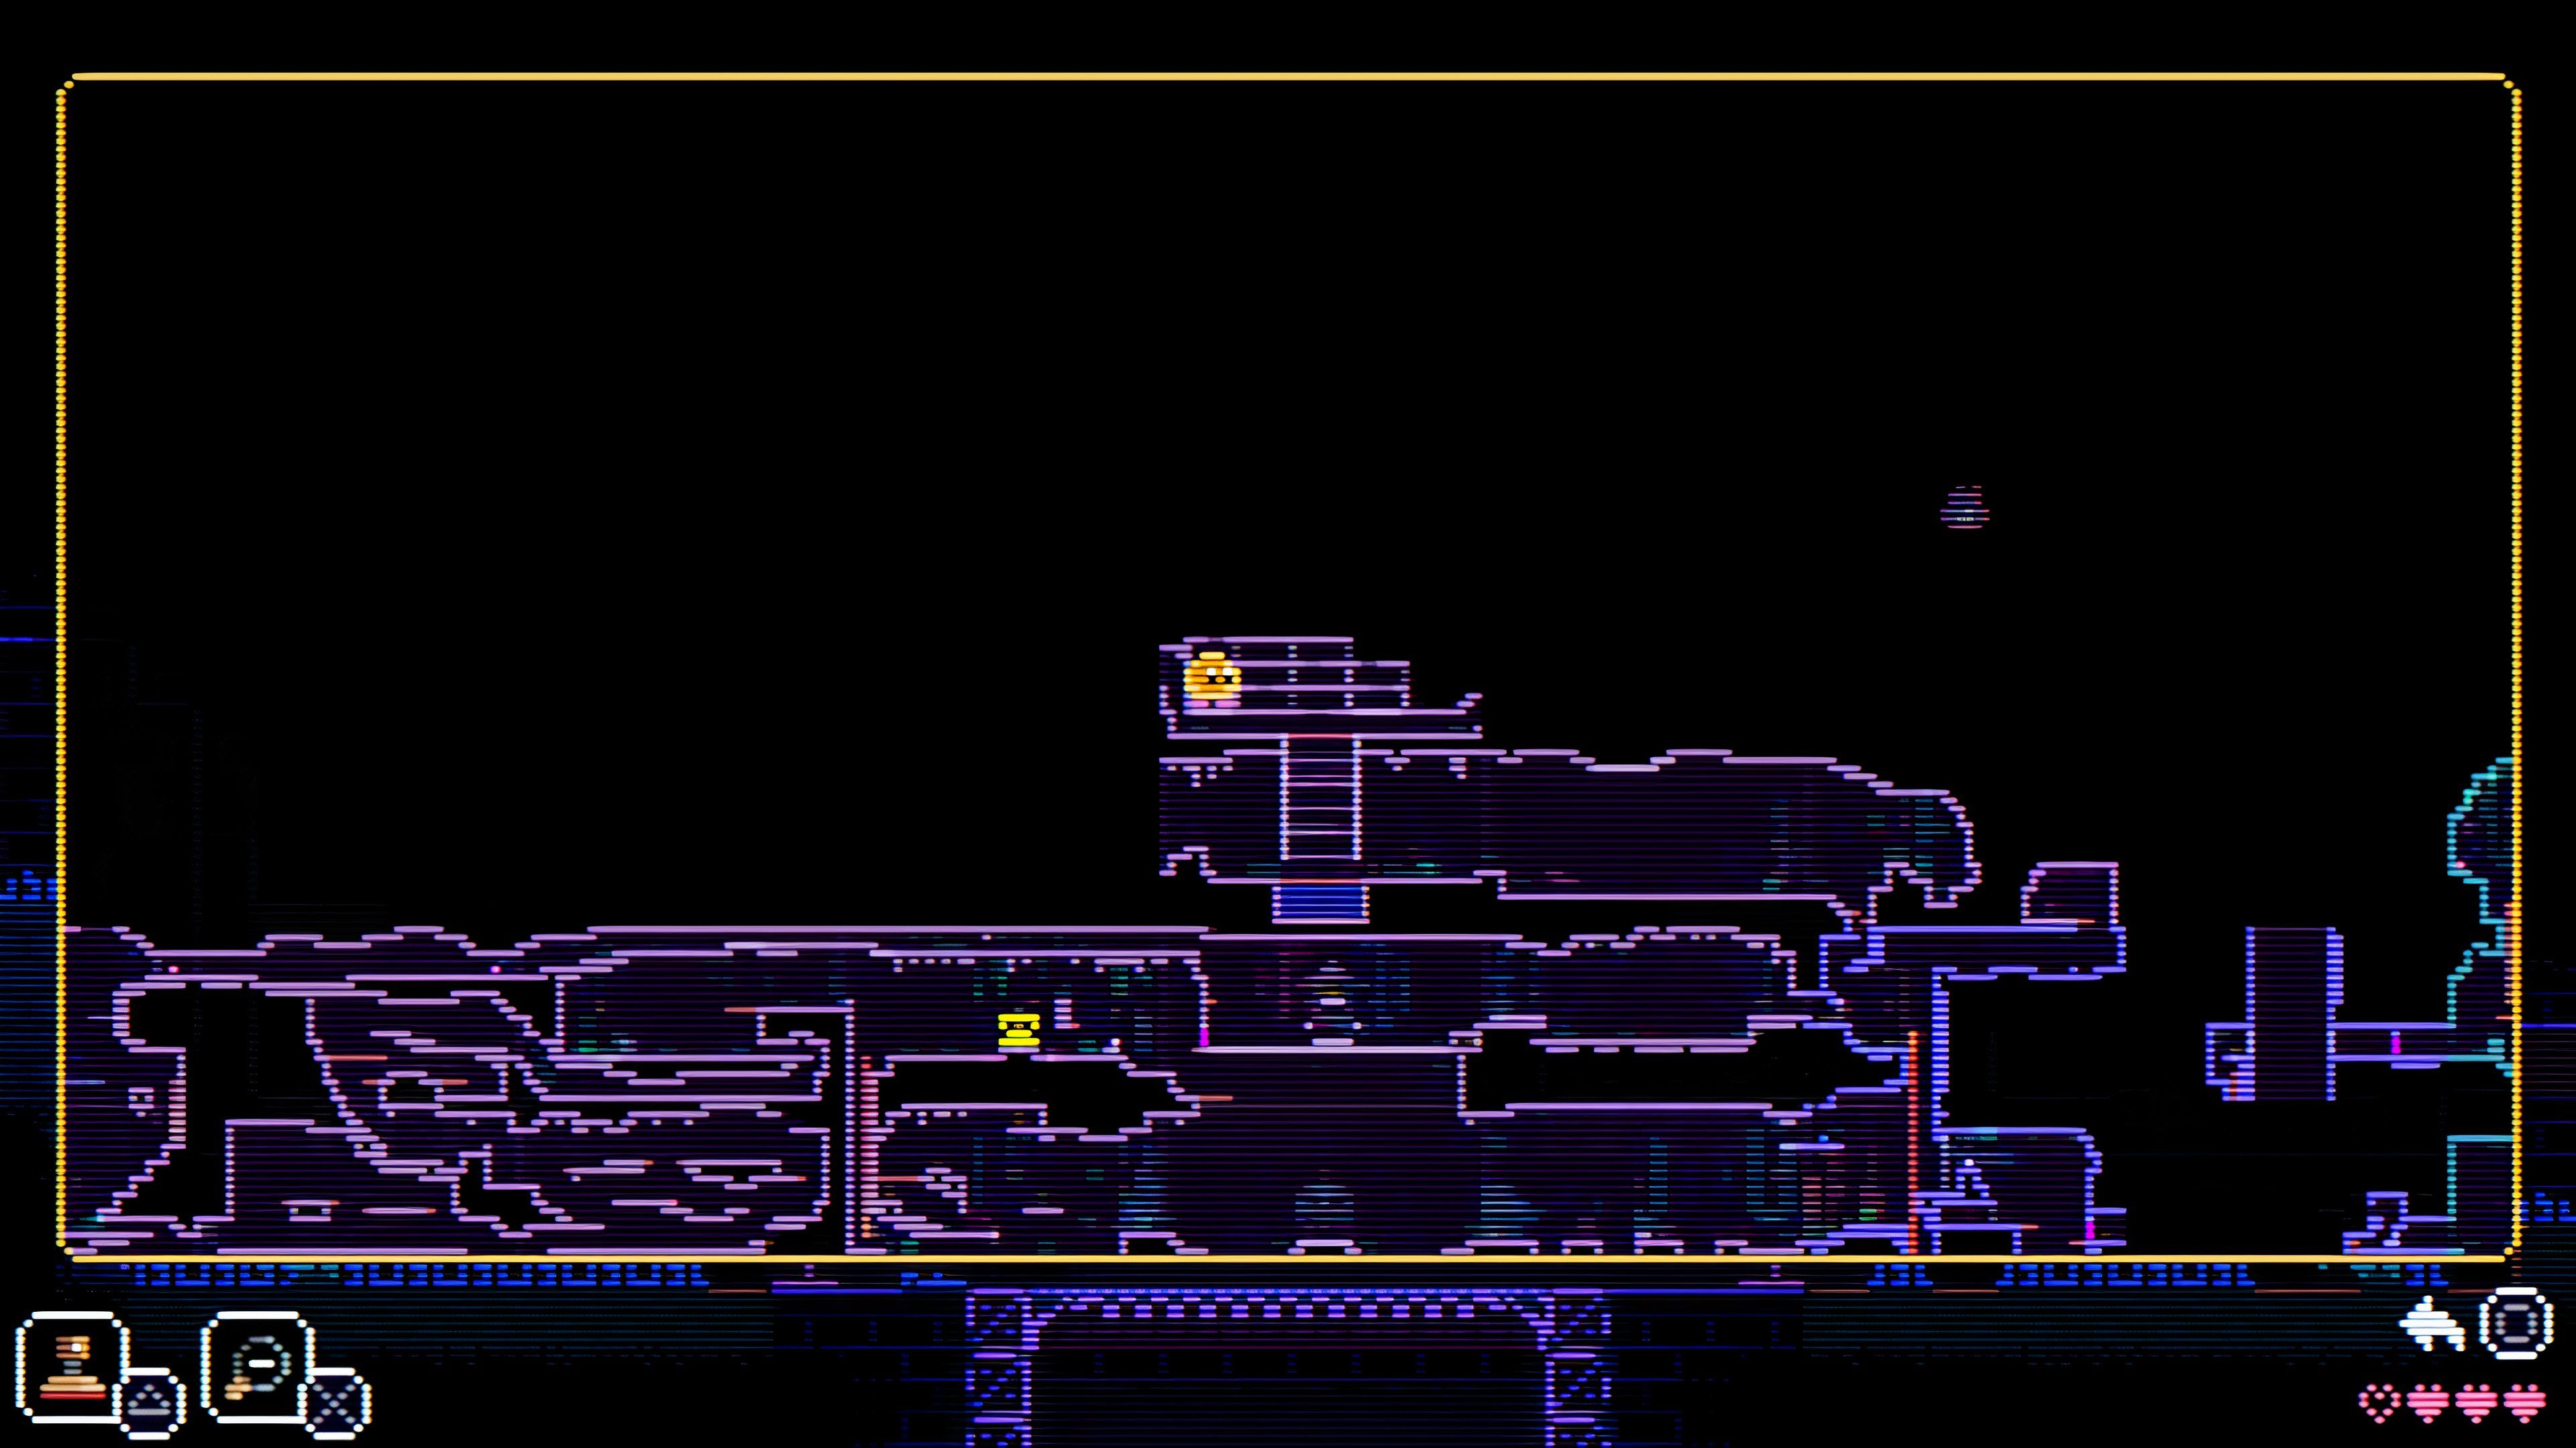 | Head up the ladder from the previous Match location and to the top left section. Head left past the dog, and you will see two switches here. Use the Disc between the switches so they alternate, and you can go up the changing platforms. Once in the new room, you will have to use the Disc again and jump up, as the platform is invisible. Head to the left and drop down to the chest. |
5 | 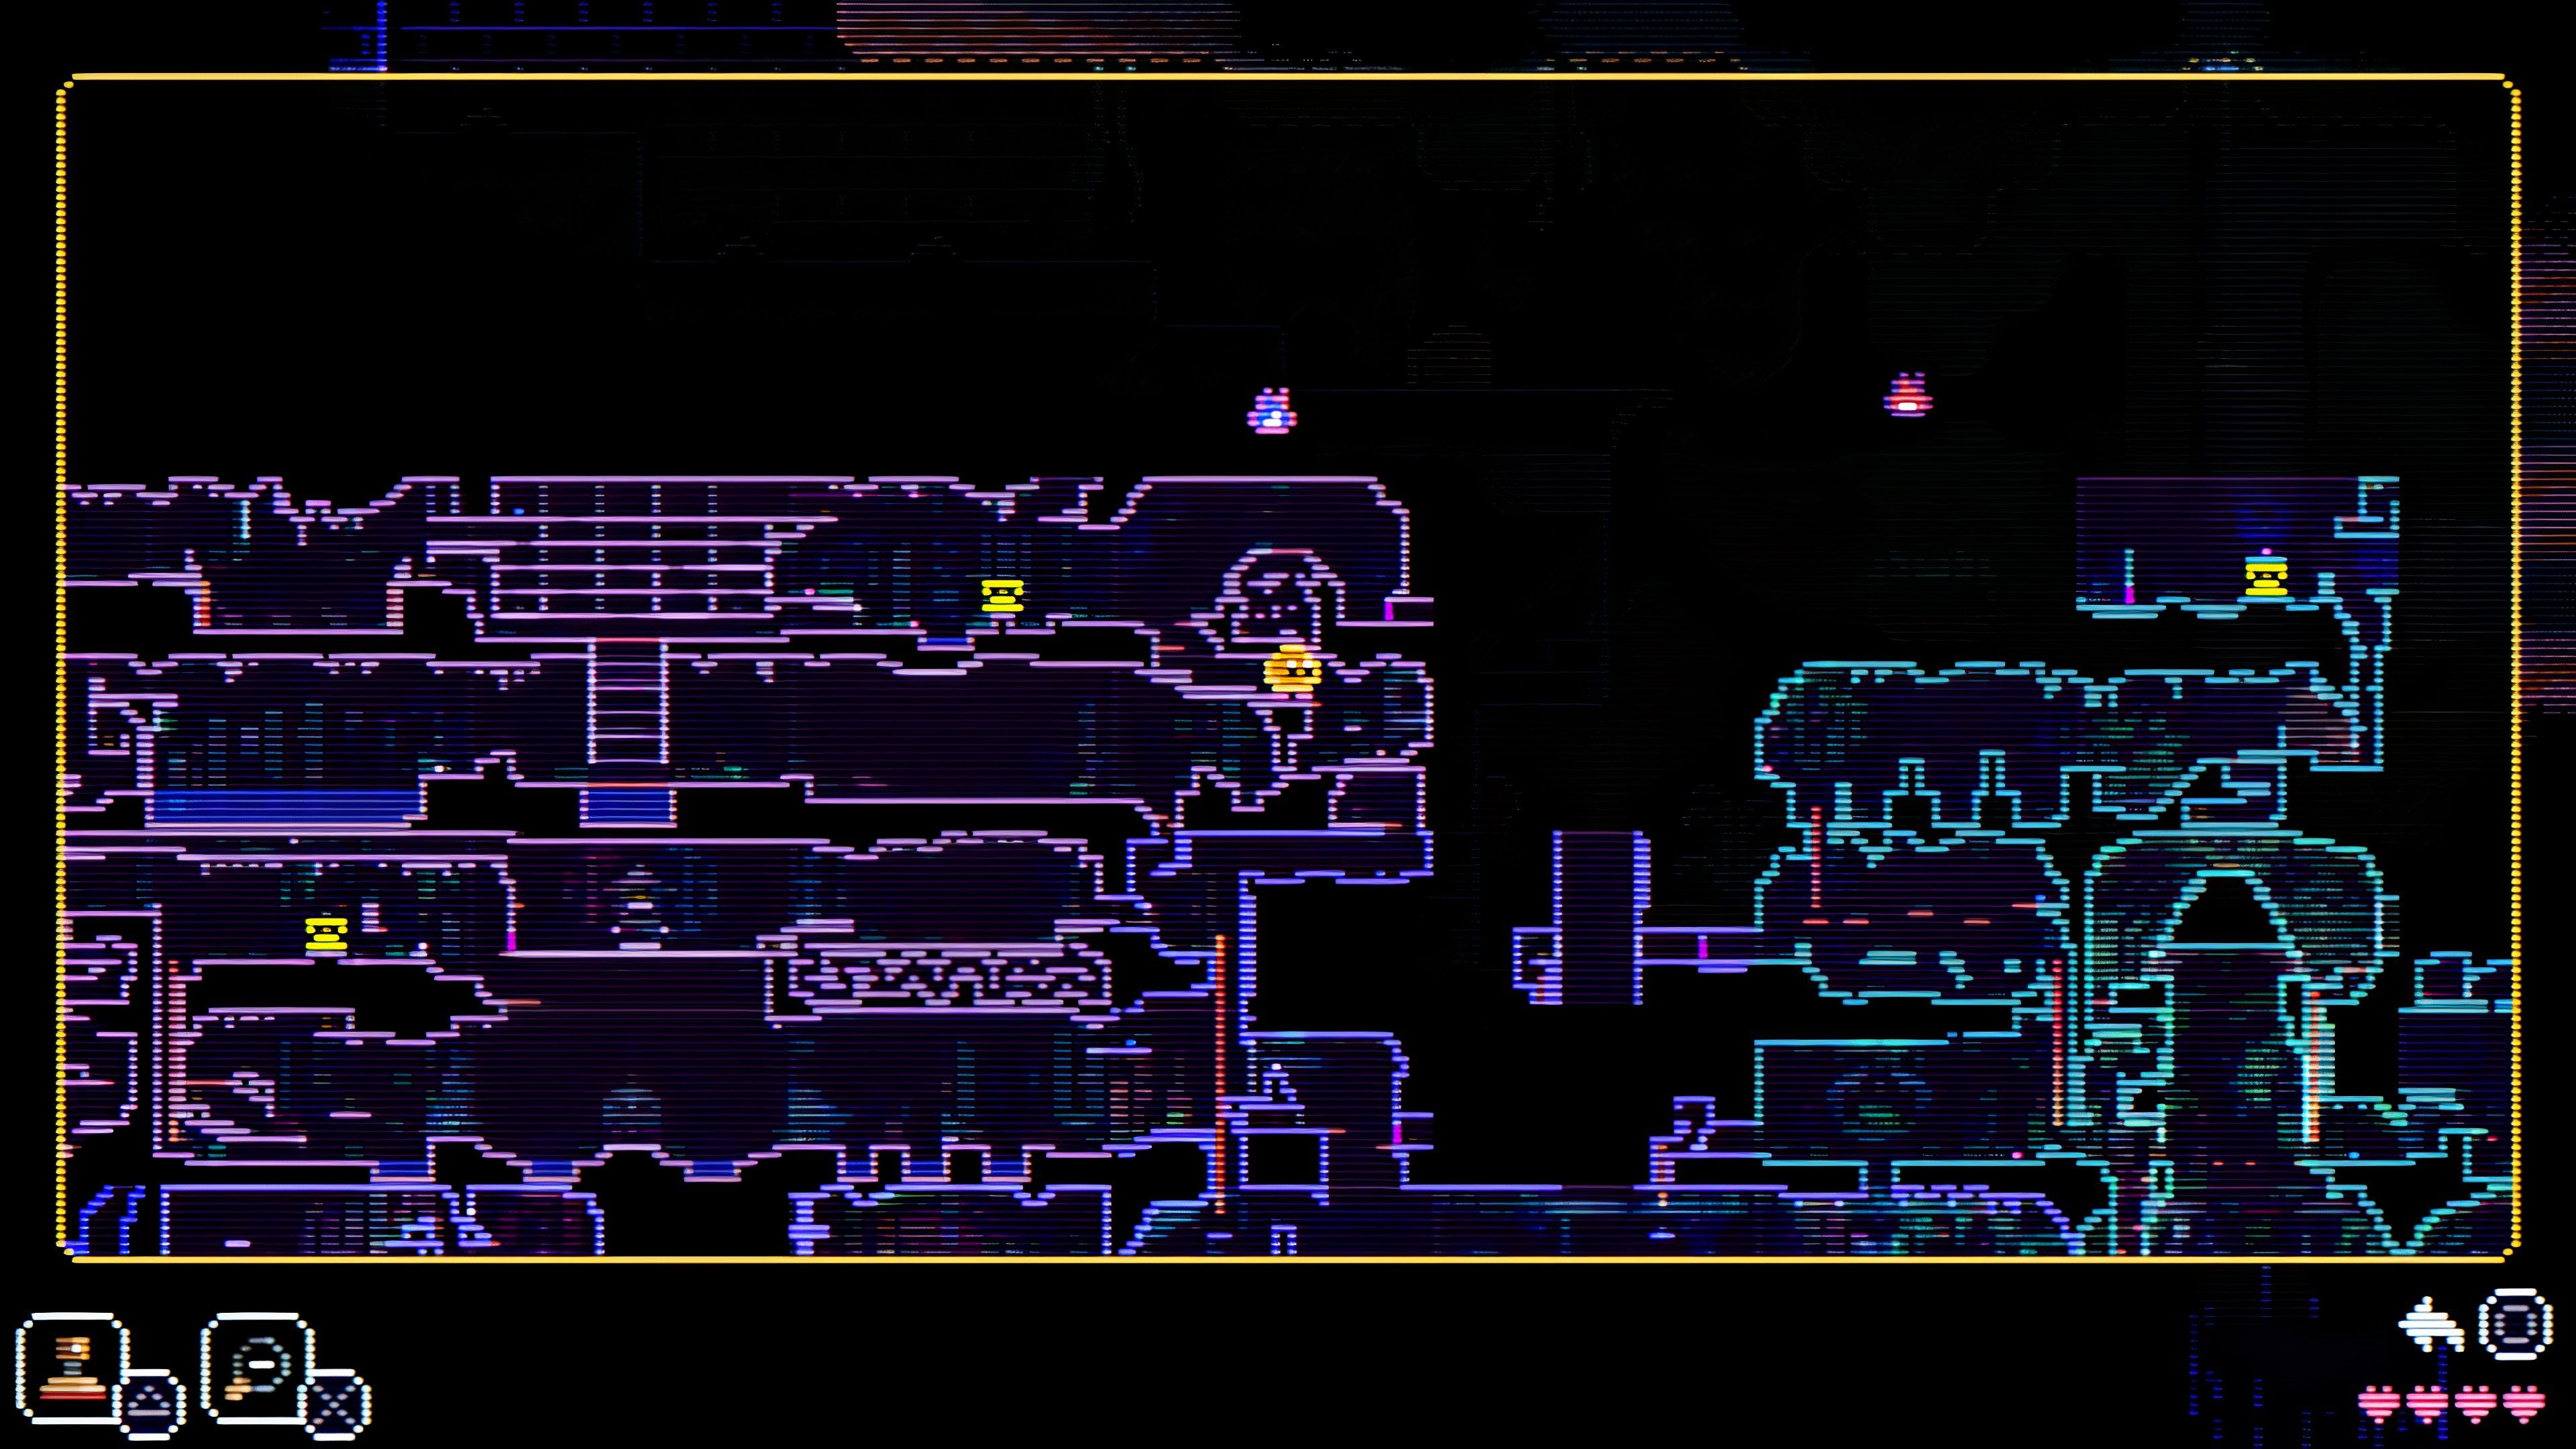 | Head right from the previous room and go past the telephone, and soon, you will reach a chest near a fish pipe and a detonator. |
6 | 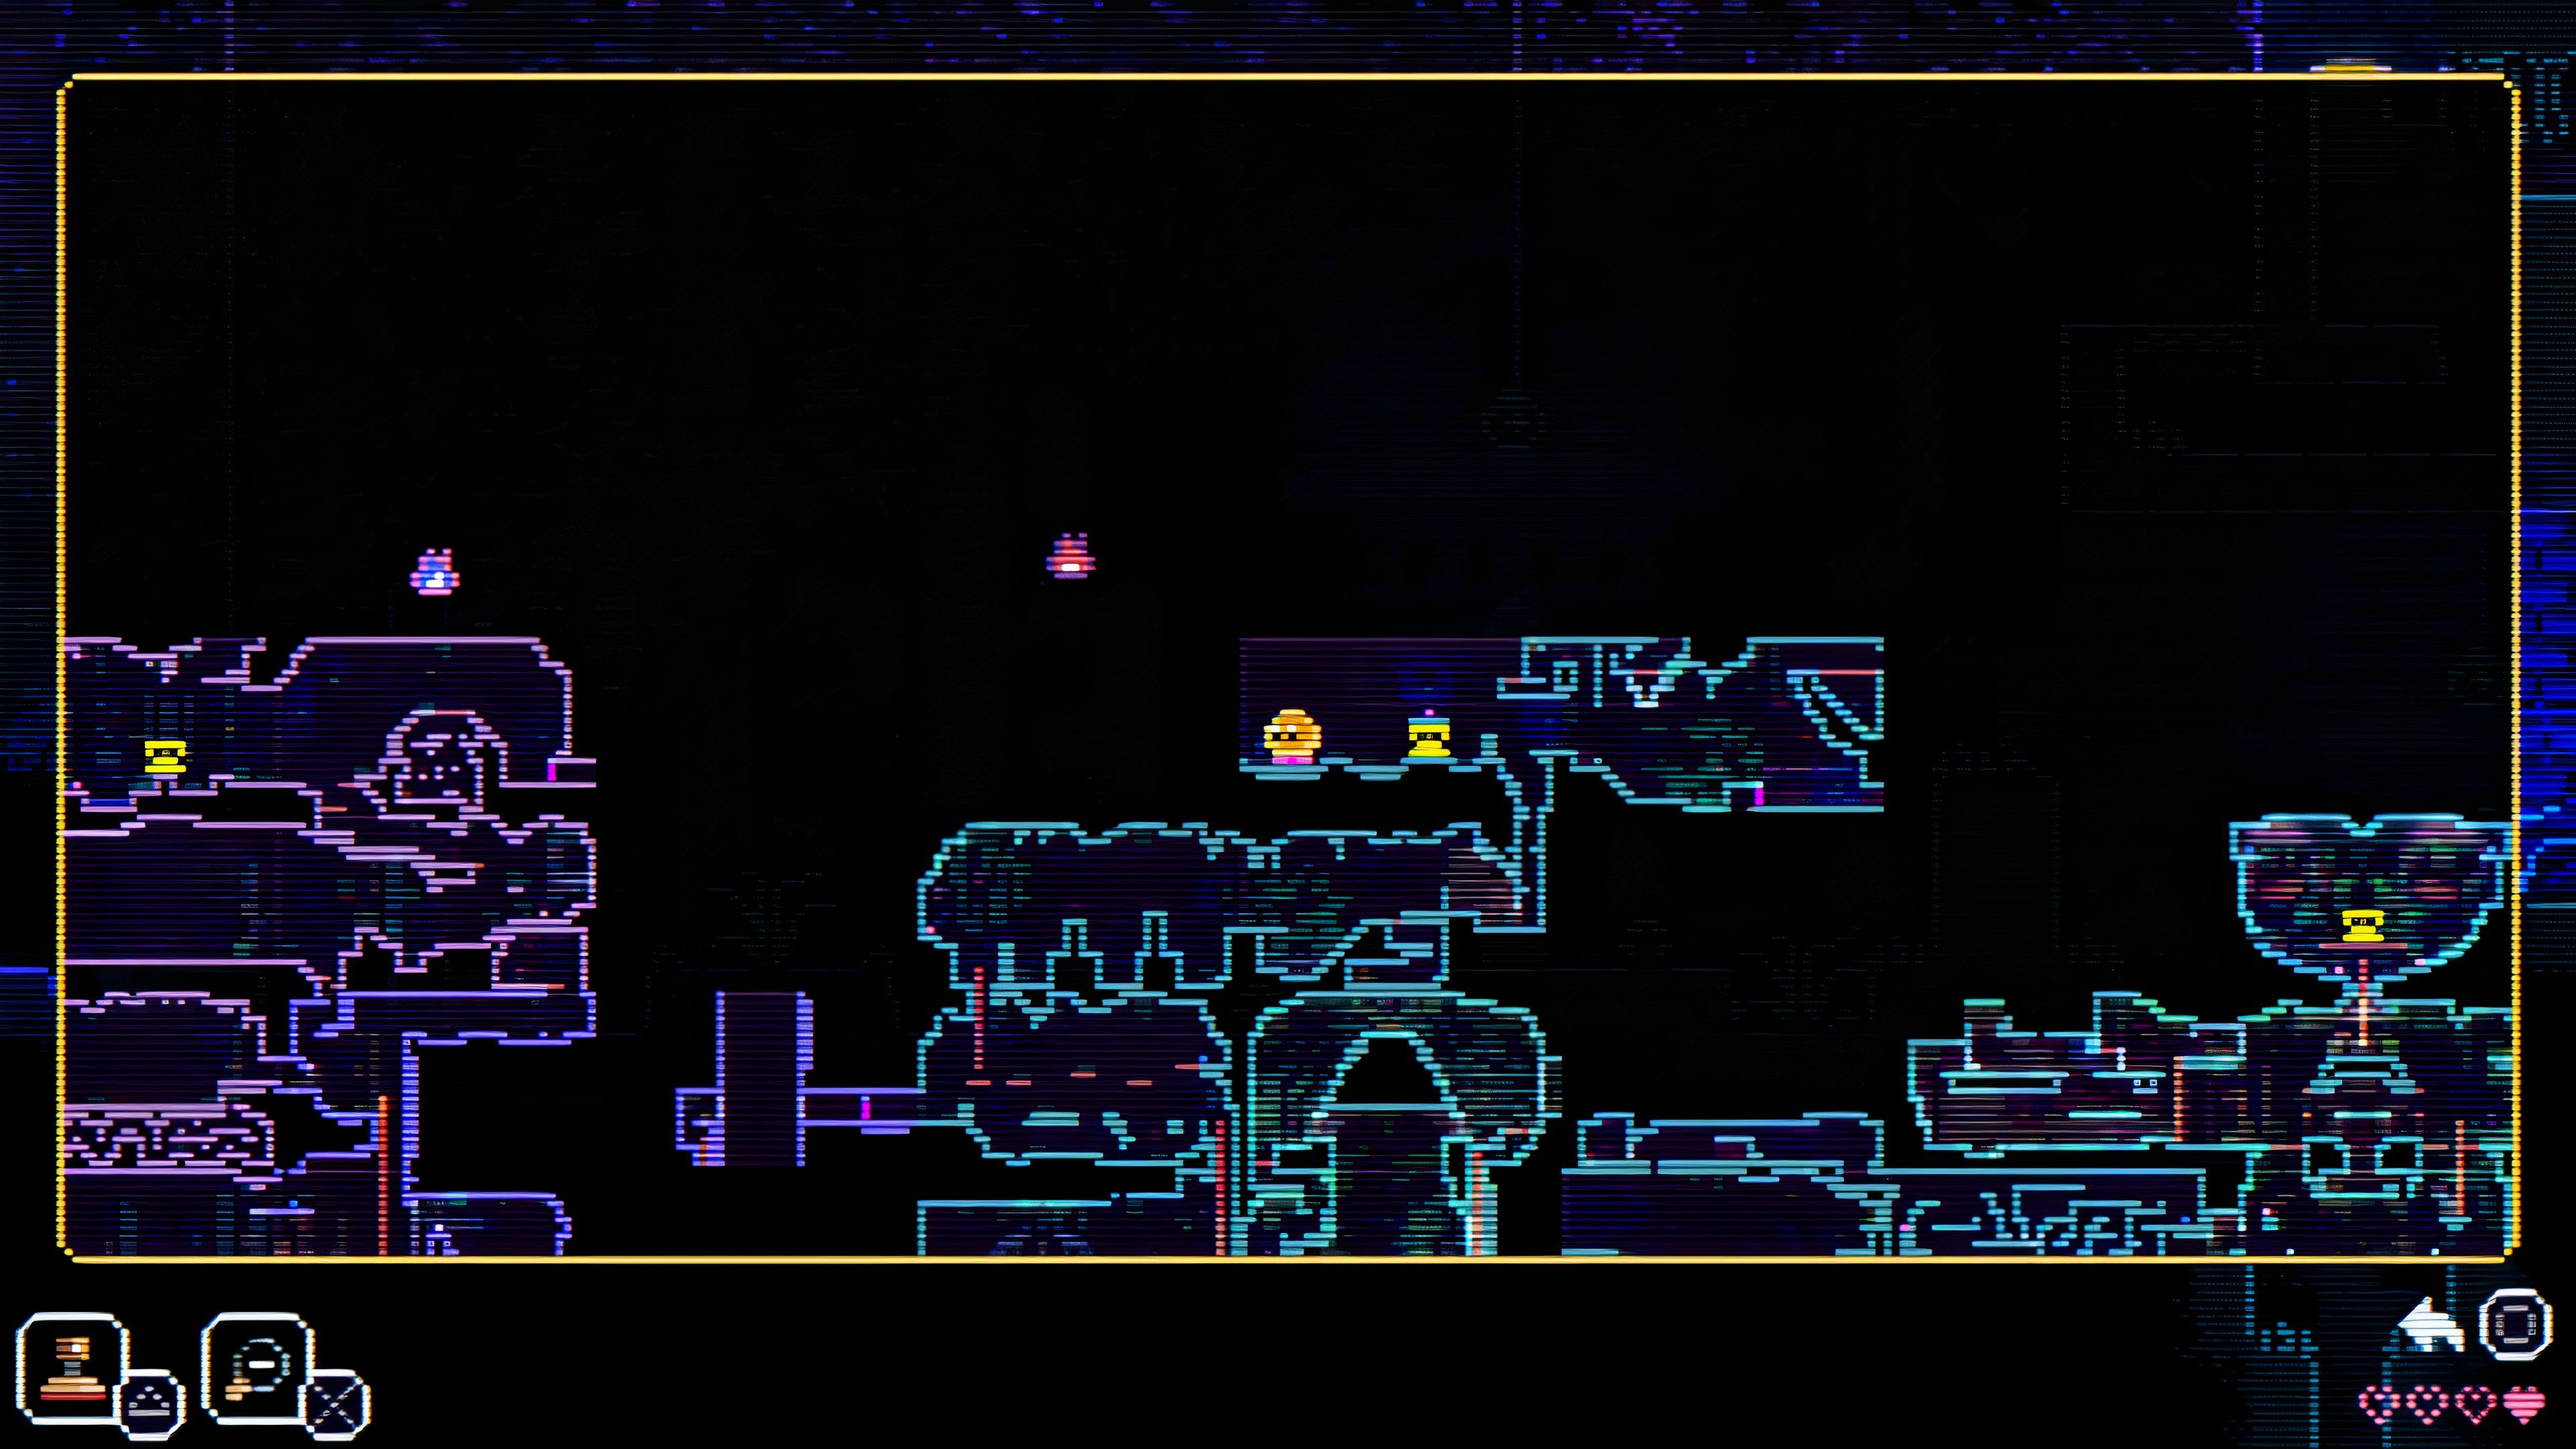 | In the green section of the map on the top right side, you will come to a telephone with a chest on the left behind a blocked door. You can jump above the door as there is an obstacle all over the top part of the room. Instead, head right past the room with the Hummingbird to reach the room with the rising platforms. Head to the top left and use your Slink so that it falls down to the Green Button. As soon as you drop the Slink, head left so that you can stand on the block before it goes up. Once on top, head left and activate the Yellow Button, opening the blocked door to the chest with the match. |
7 | 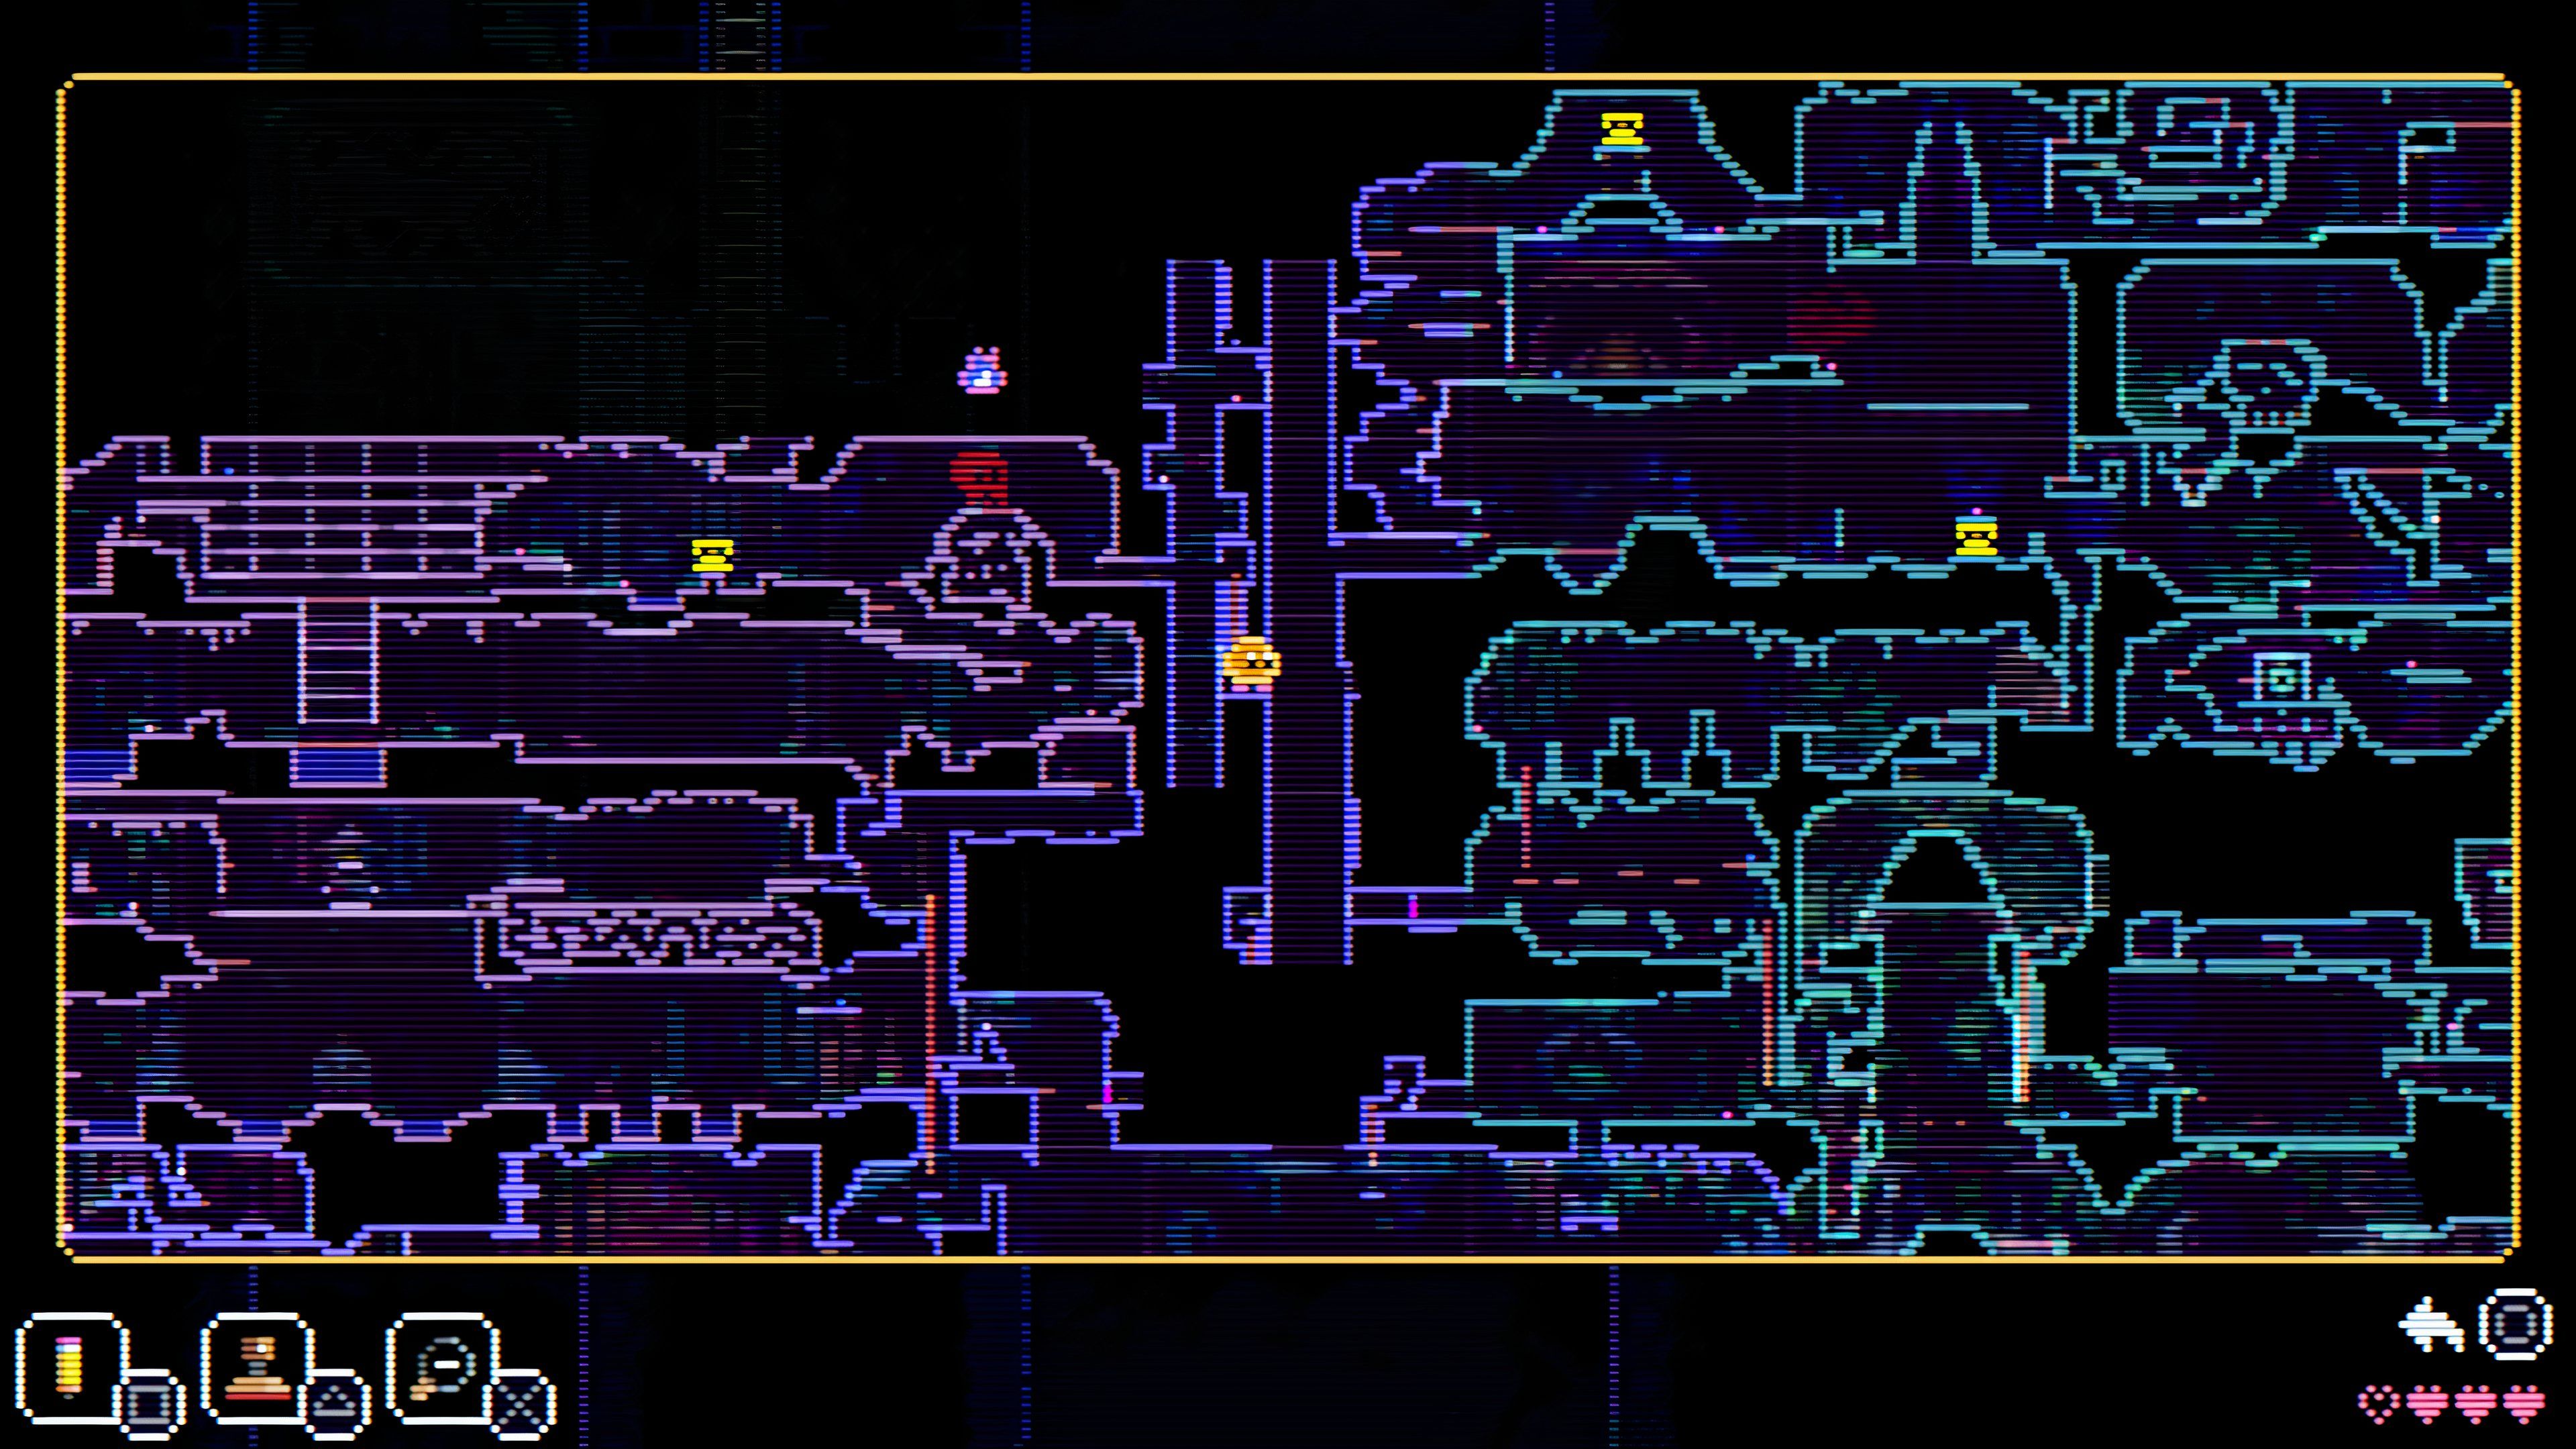 | From the previous Match location, head left and jump down towards the left side, landing on a chest with the match. You can also use your Bubble Wand to create a bubble and hop on it to make it go down slowly and jump to the left to the chest. |
8 | 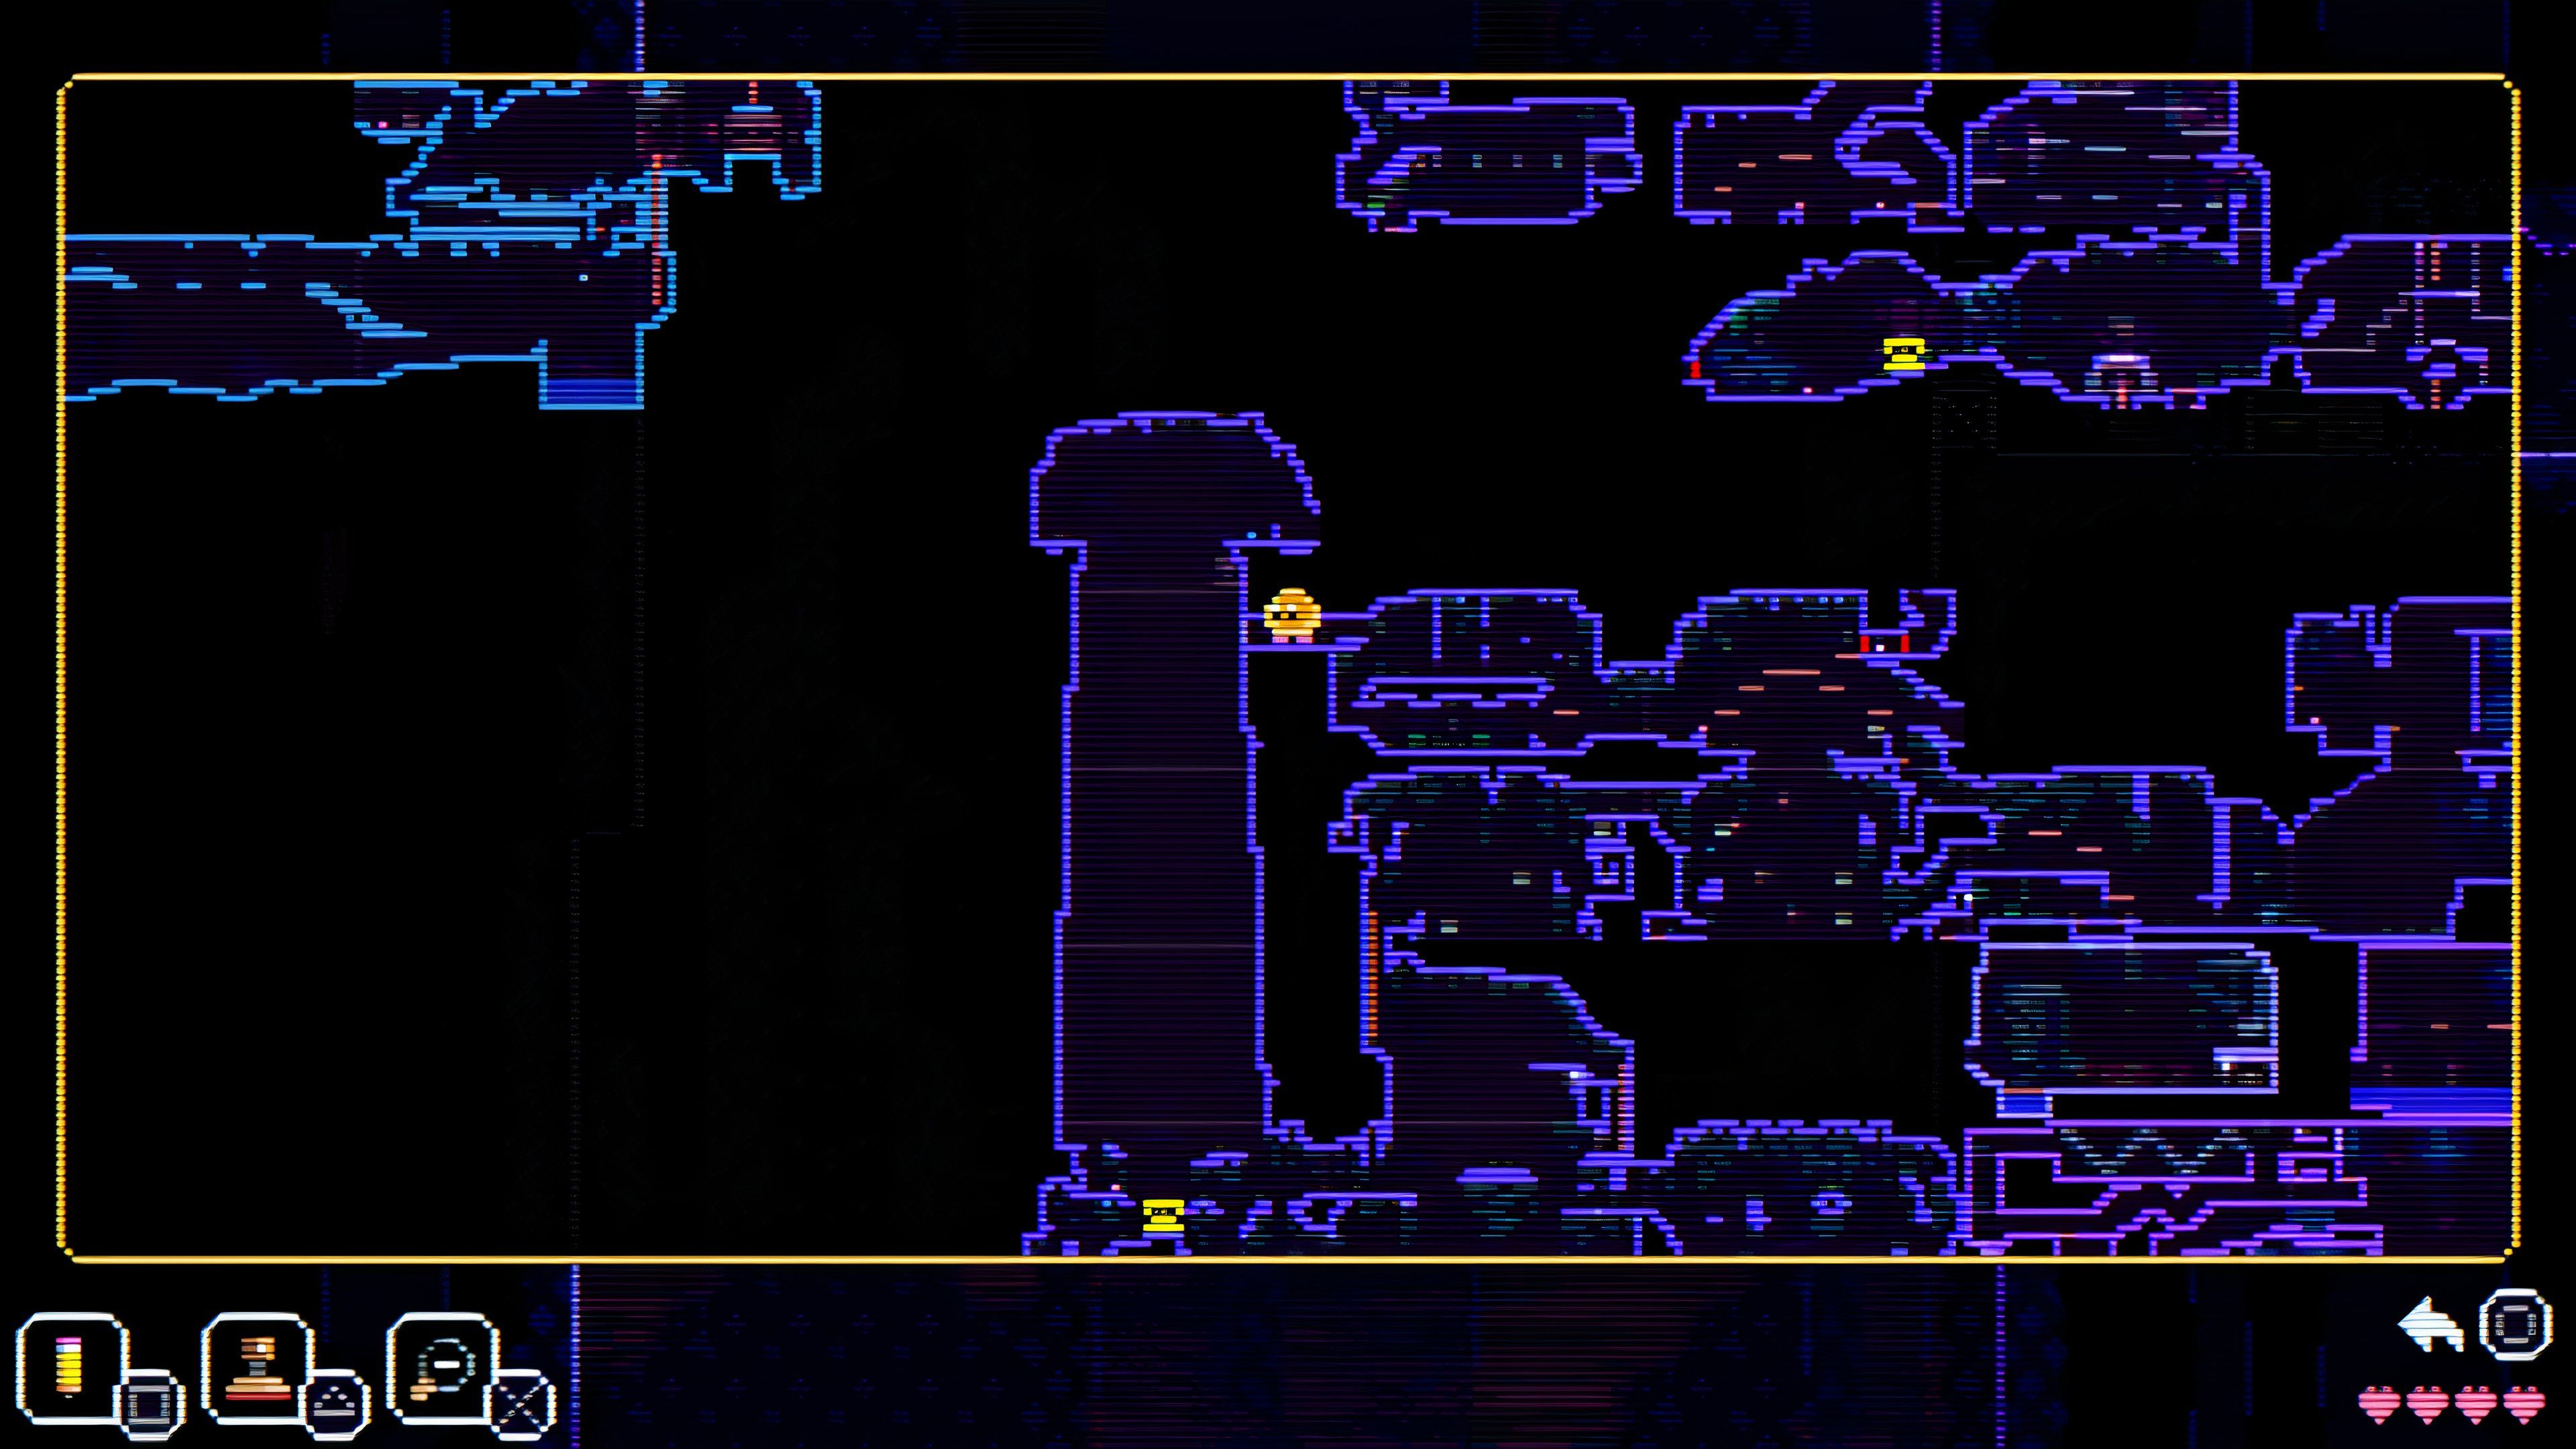 | After acquiring the Yoyo, head left and up, then head to the right by standing on top of the White Birds. Once past the White Birds, head to the room on the top left to reach the Giraffe Room and head further left to reach a room with two animals with shields guarding a chest. Ignore this chest and make your way to the top left using the Bubble Wand. There is a secret space behind the vines leading to the chest with the Match. |
9 | 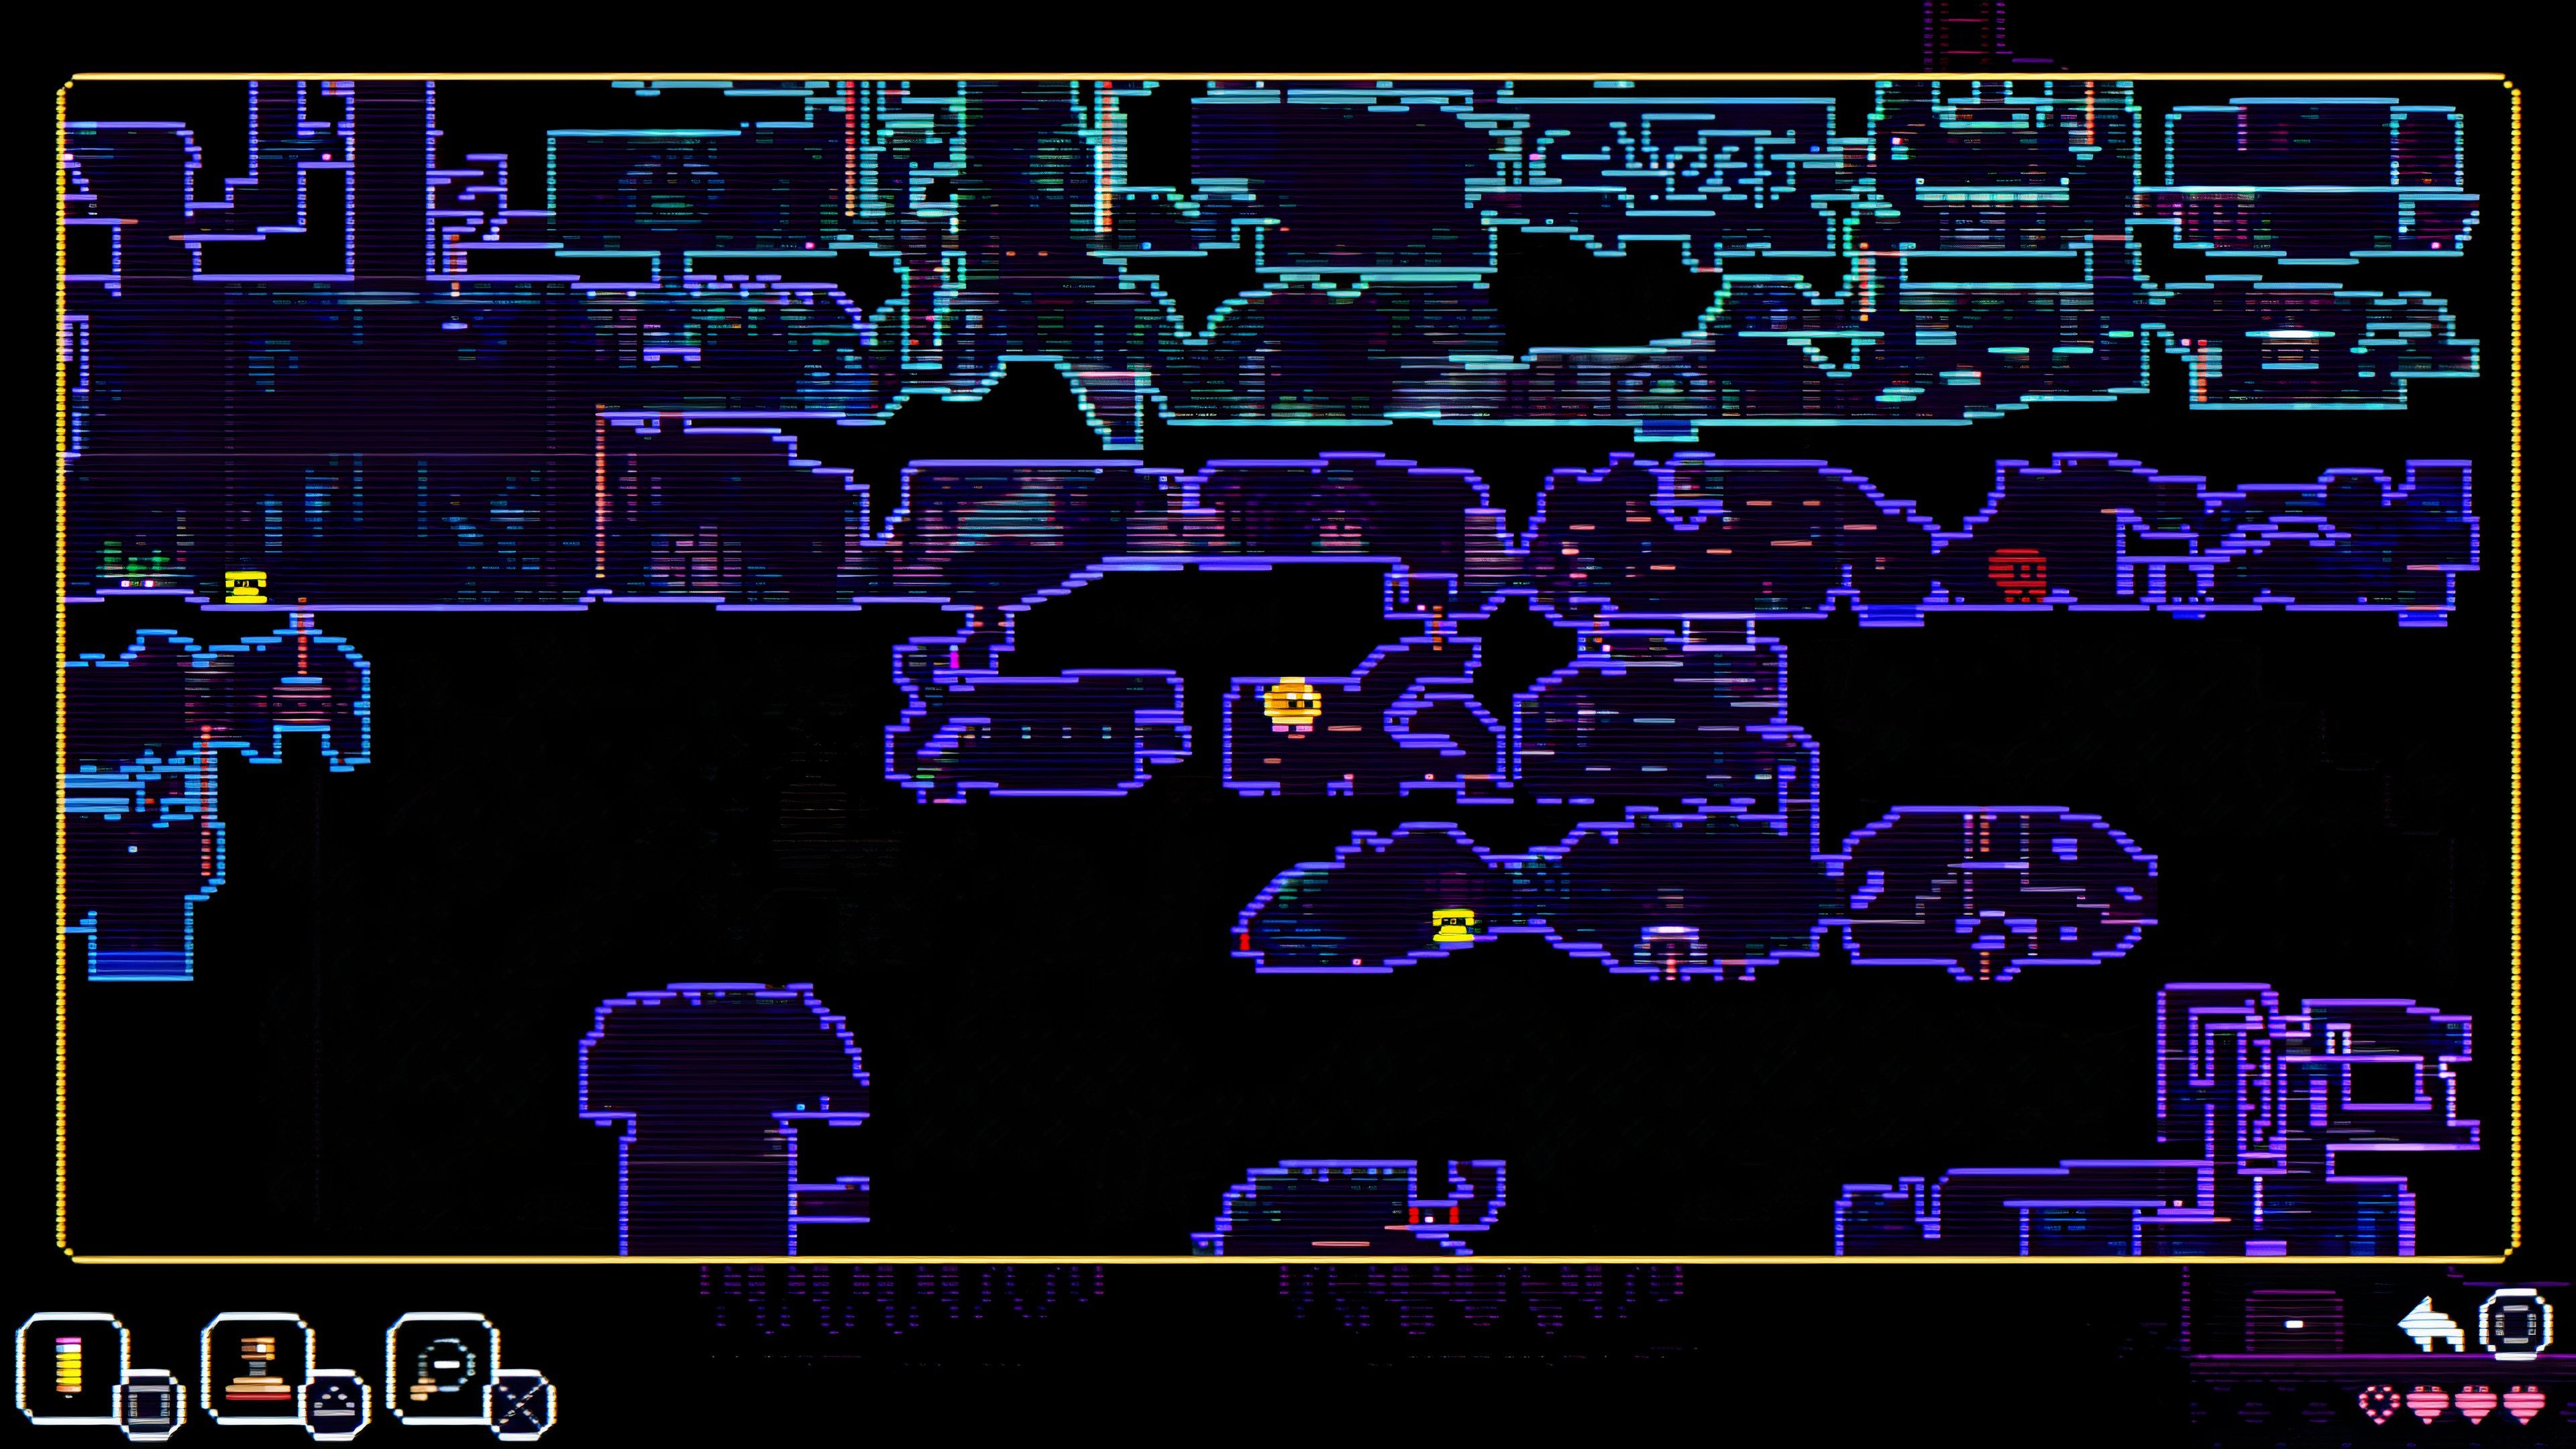 | From the Ostrich and Two Rats statue room to the right of the telephone on the right side of the map, head top right and keep going left until you can climb down the ladder into a dark room. The chest on the right of this room has the Match. |
All Candle Locations In Animal Well
There are nine Candles in the game, and the player has to light them using the matches found throughout the game. The table below shows the locations of all Candles.
# | Map Image | Location |
|---|---|---|
1 | 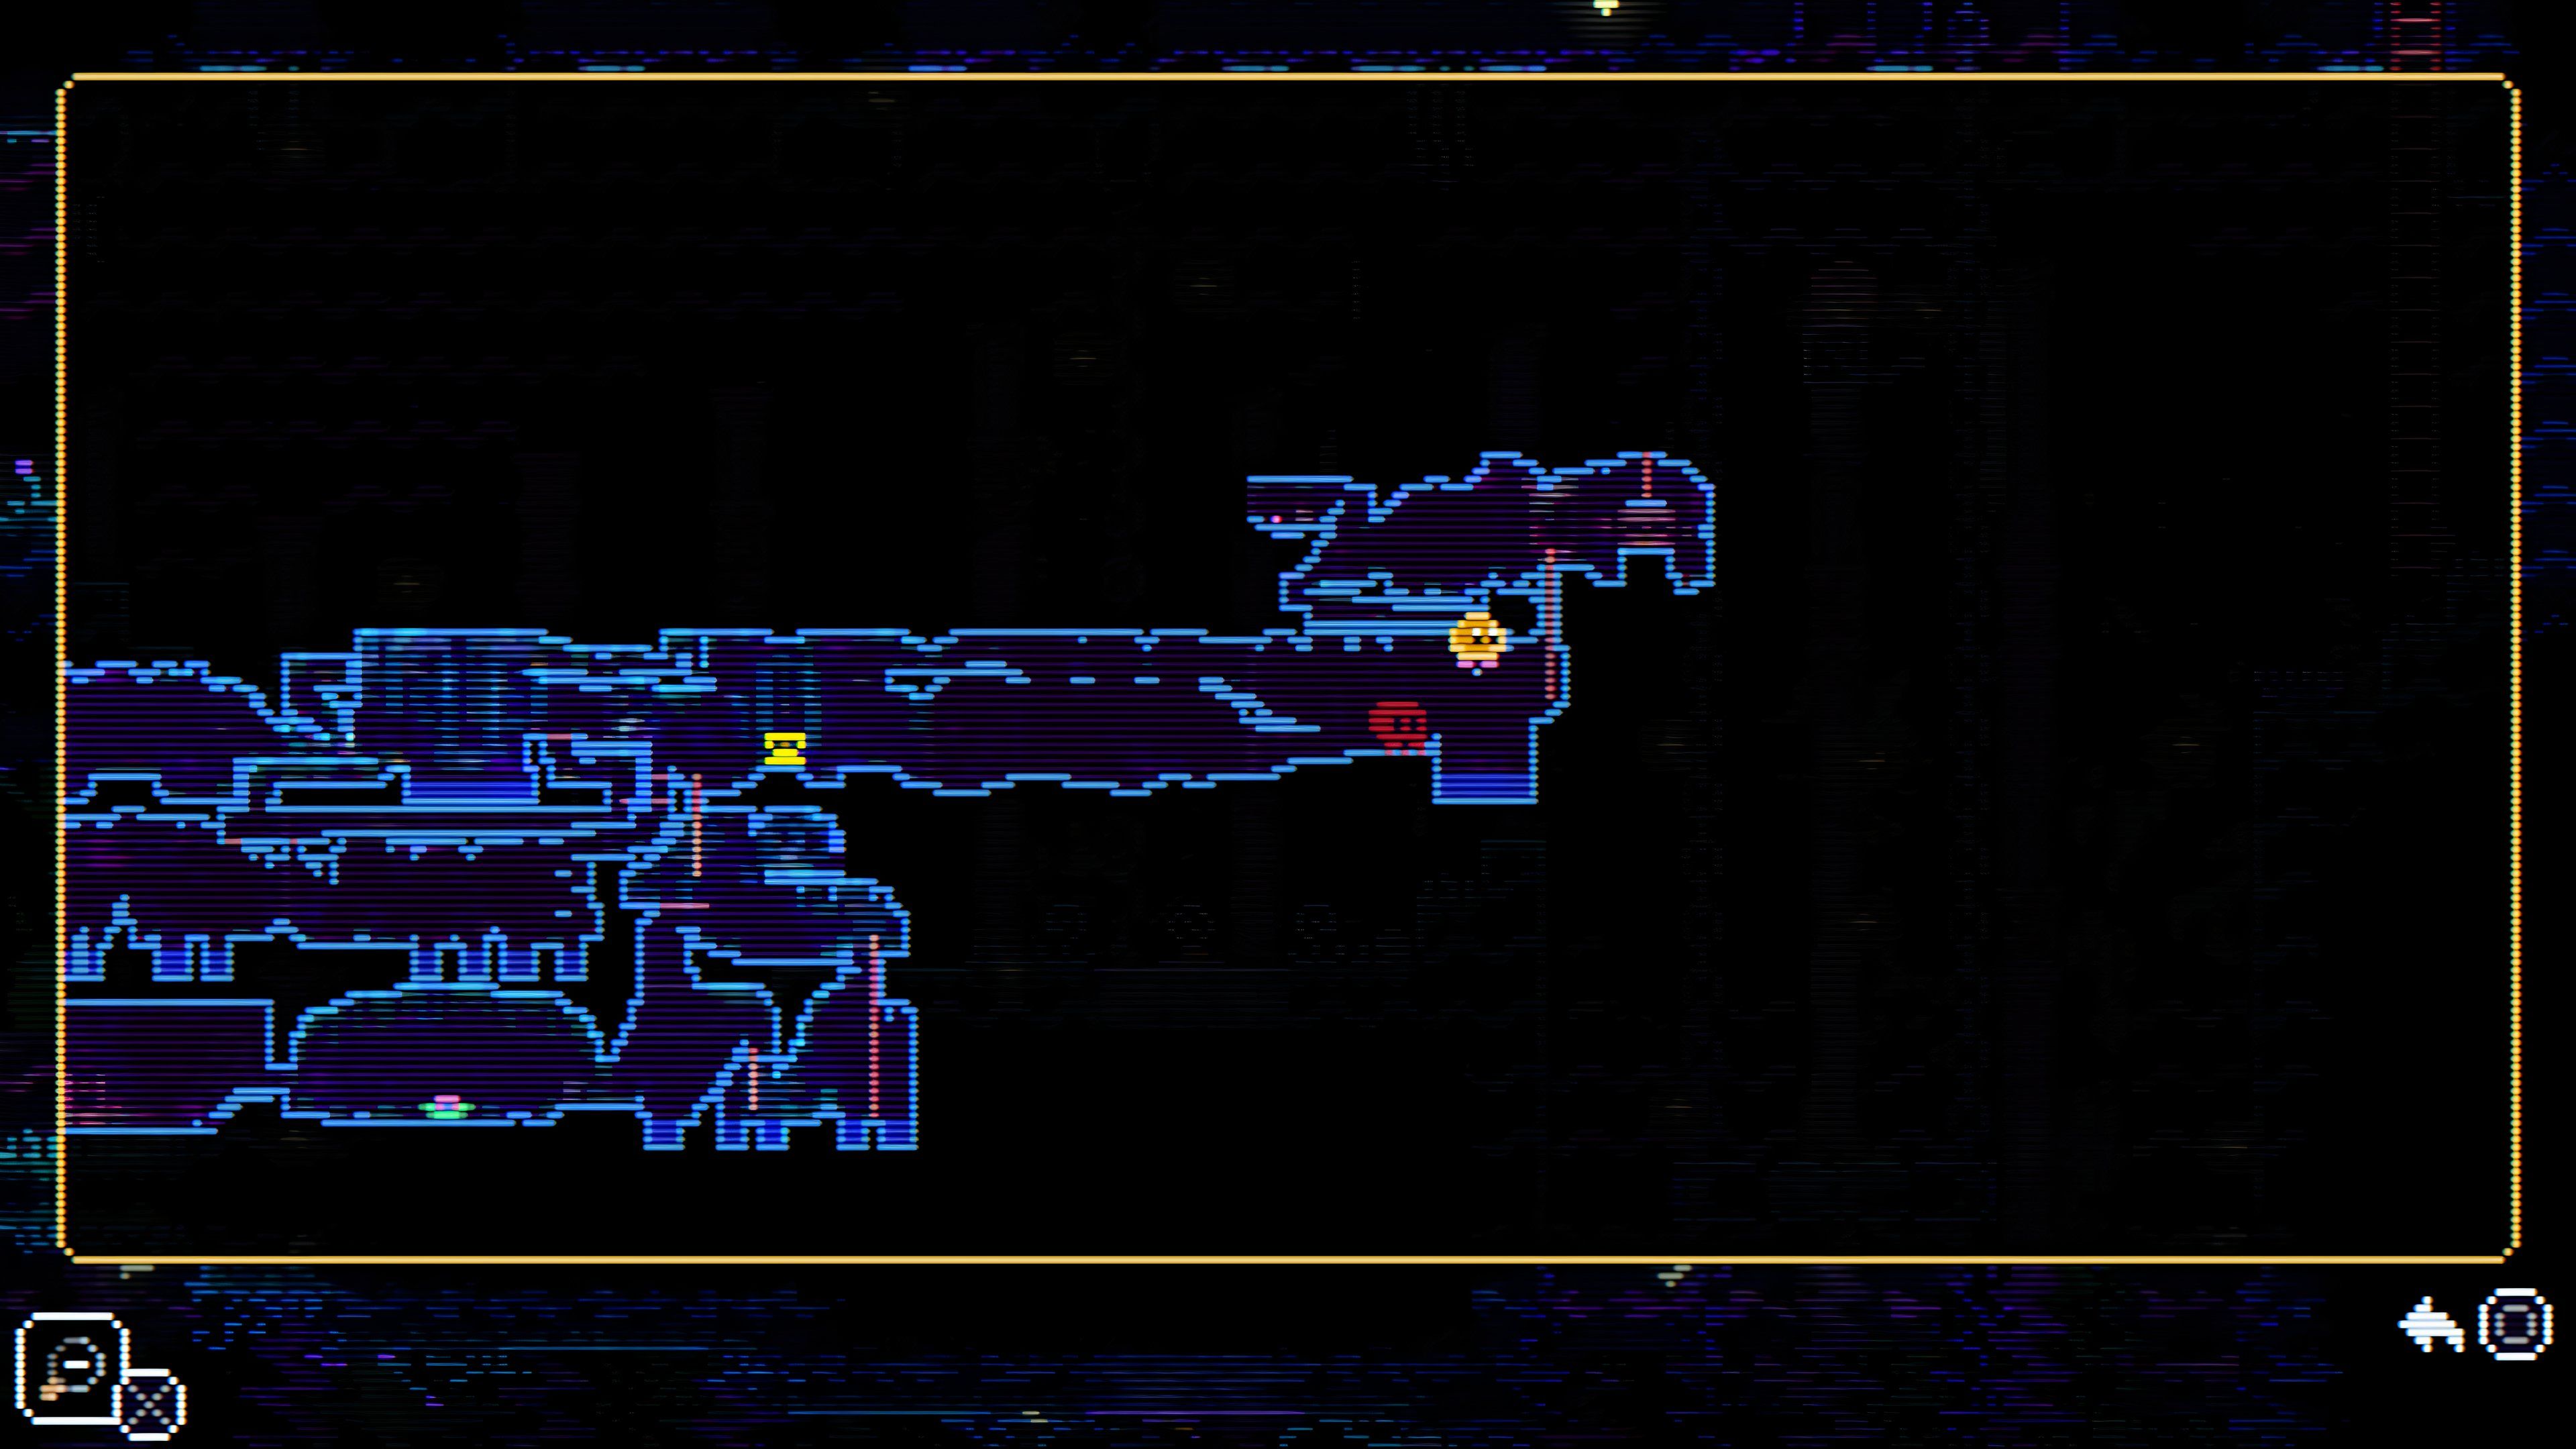 | Head right of the first telephone room and use a Firecracker to get rid of the enemy. Use the crank to get to the ladder on the right side, then go up and fall on the small platform that was in the previous room. The unlit candle should be here. If you come here later in the game, you can use the Bubble Wand to reach it quickly. |
2 | 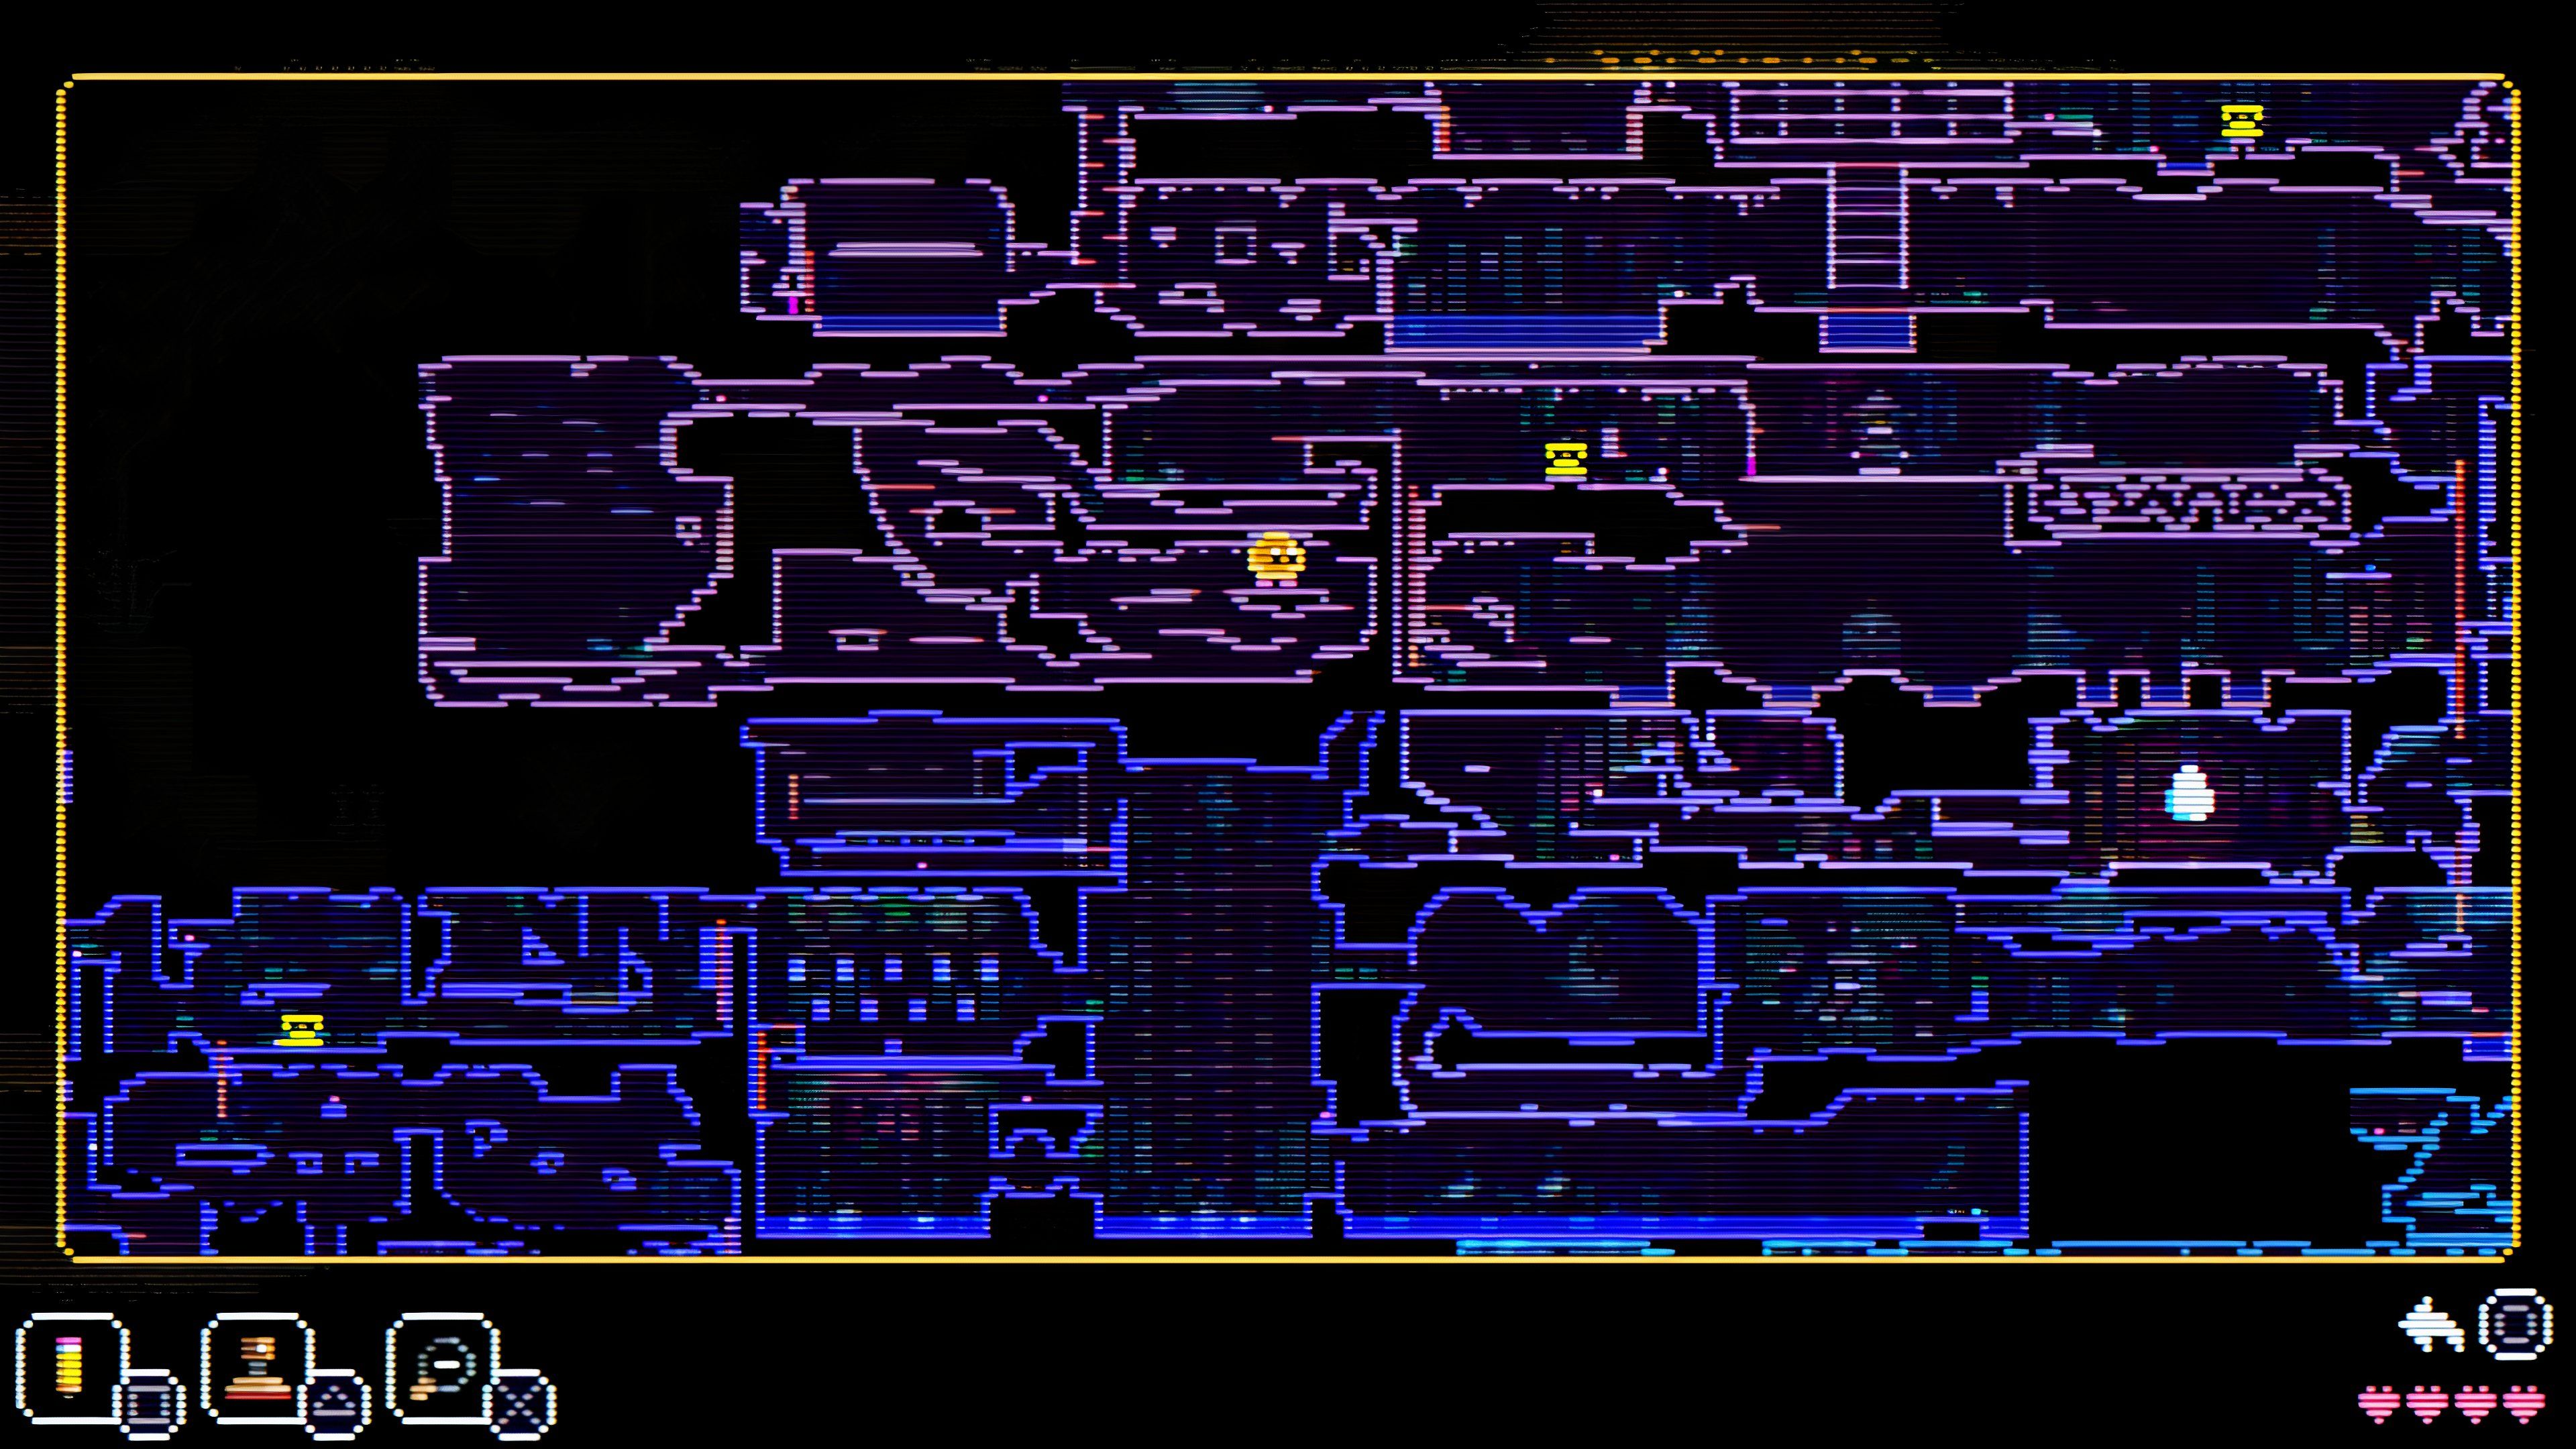 | On your way to acquire the Bubble Wand, you will come across your first dog inside a room on the left of a telephone. Head through the small gap on the right, and you will reach a series of dark rooms where you can use your Firecrackers to move around easily. Head down from the first dark room and go right to reach a room with an enemy. Deal with it using a Firecracker and look for the Candle in this room. |
3 | 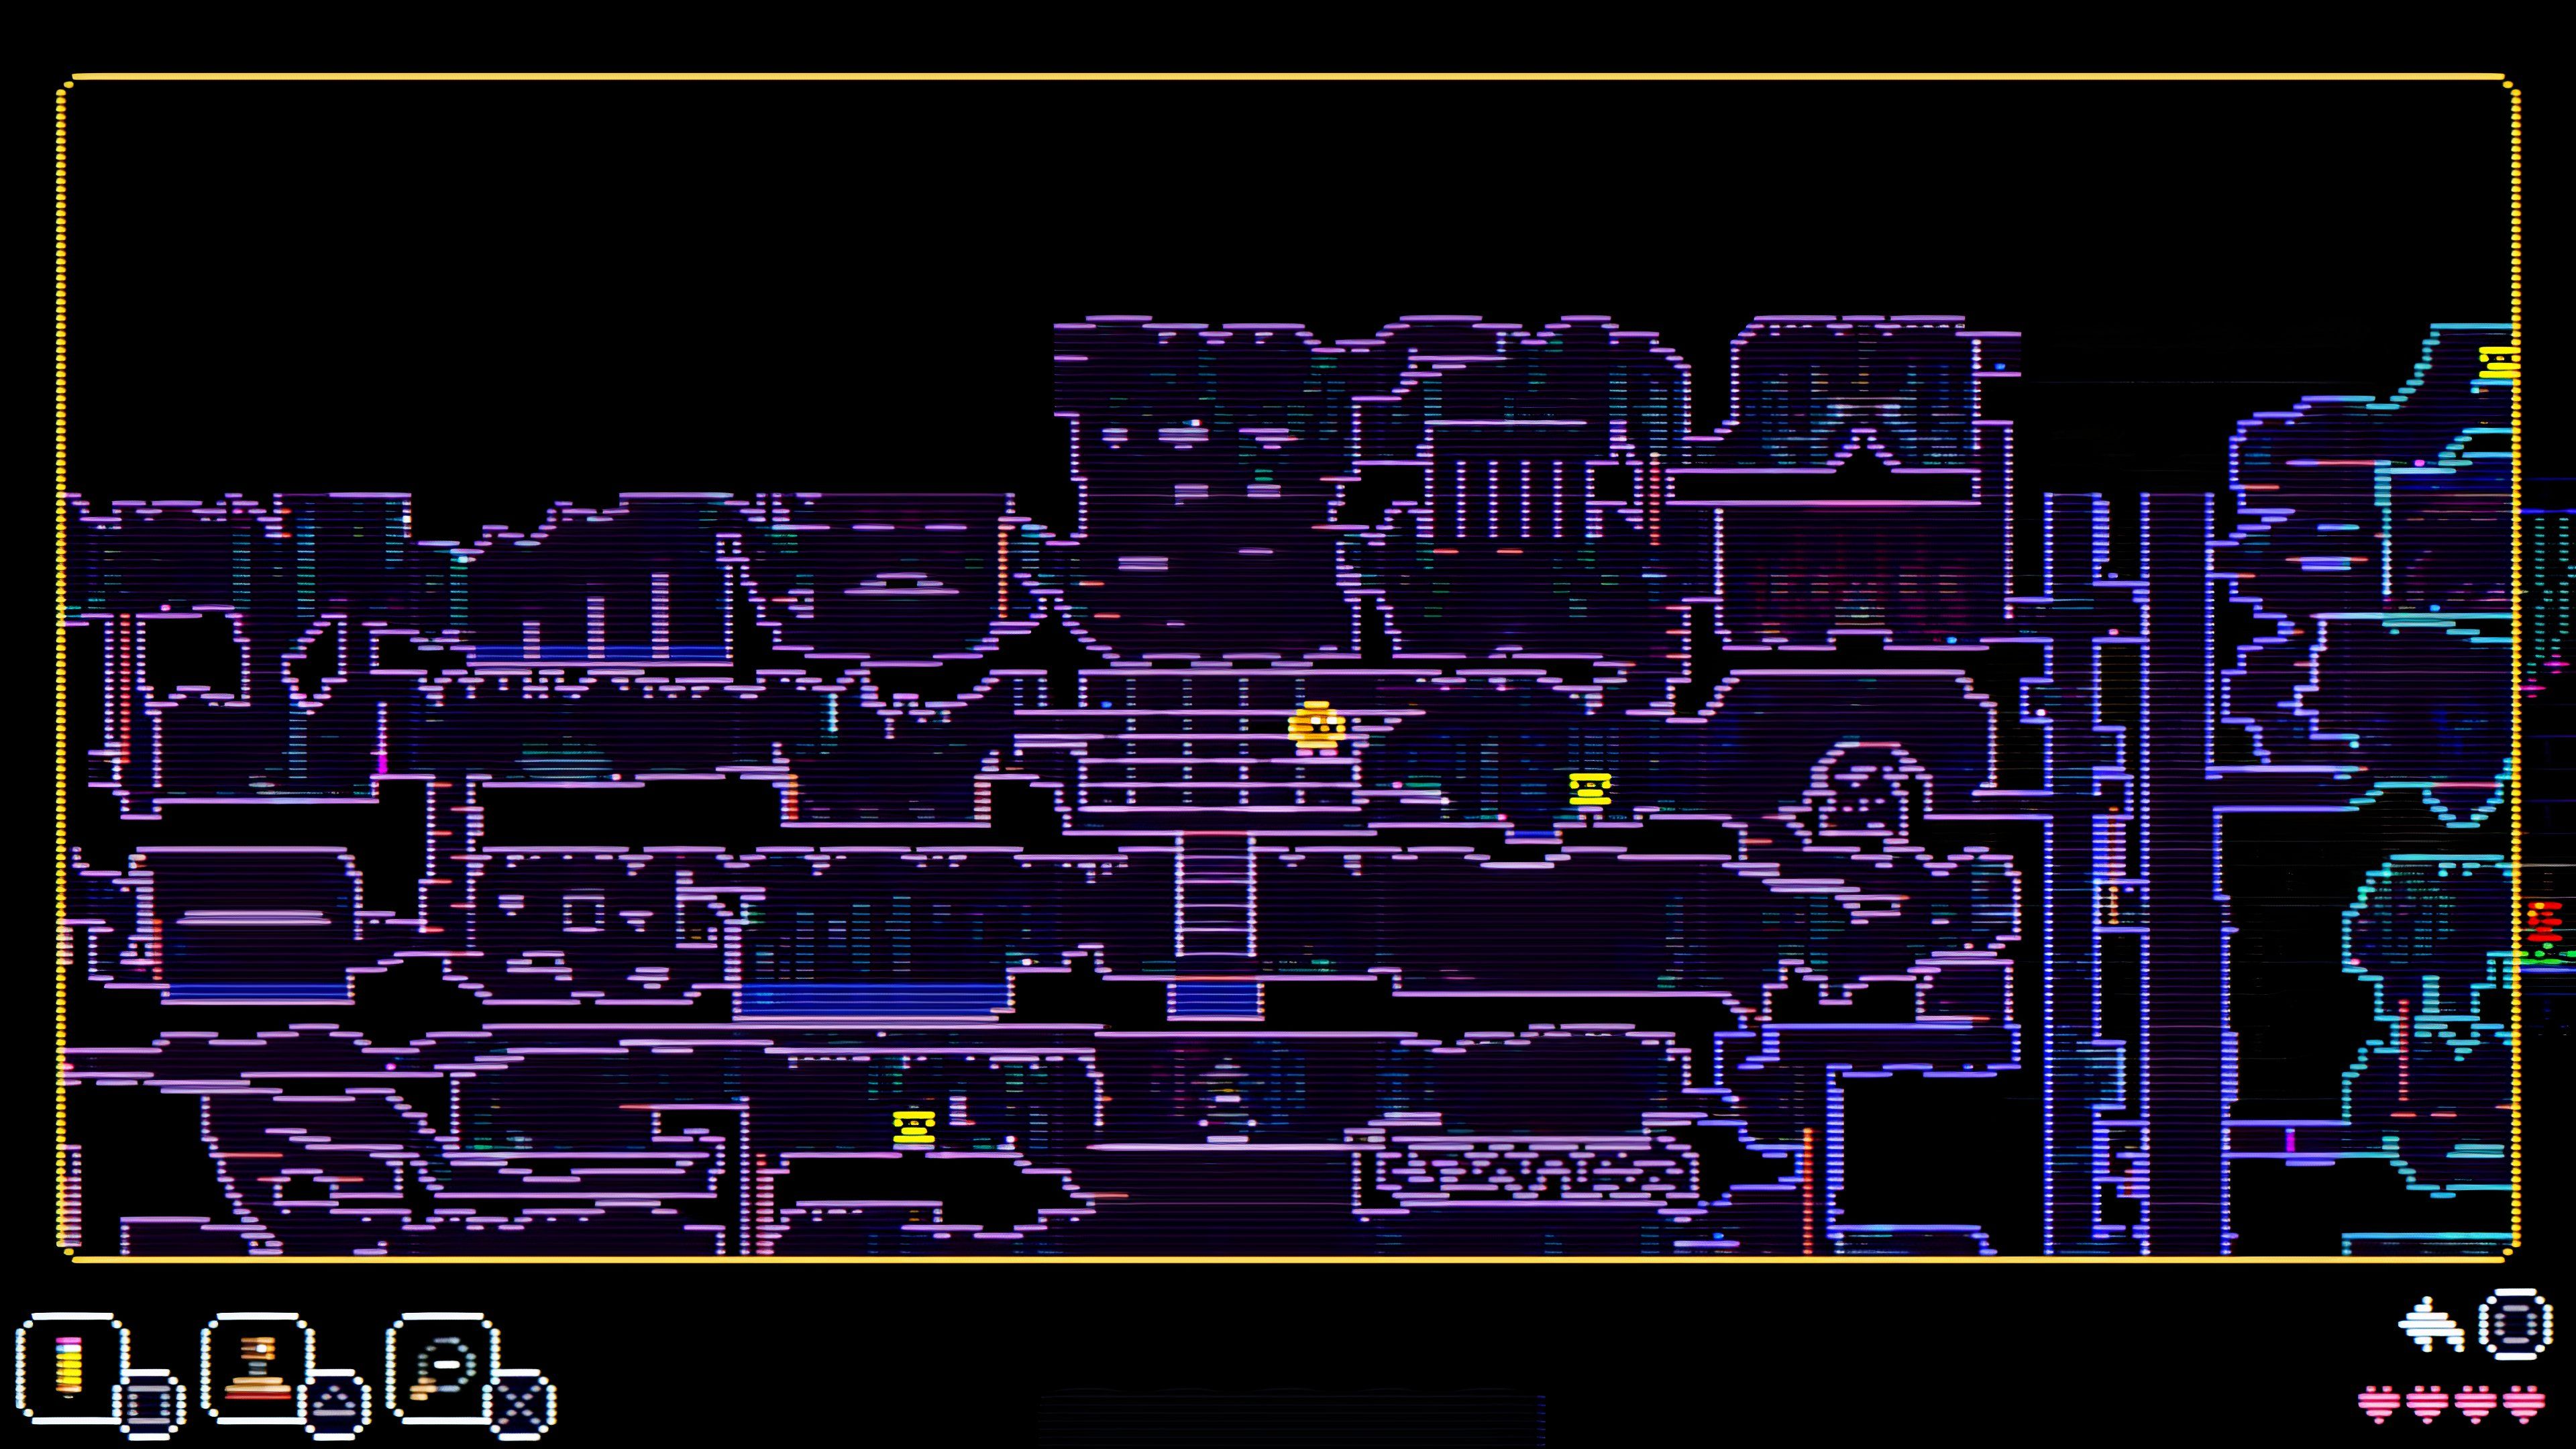 | This is located in the same room where you found the fourth Match. Go past the alternating blockades on the right until you reach the Candle with an enemy below it. |
4 | 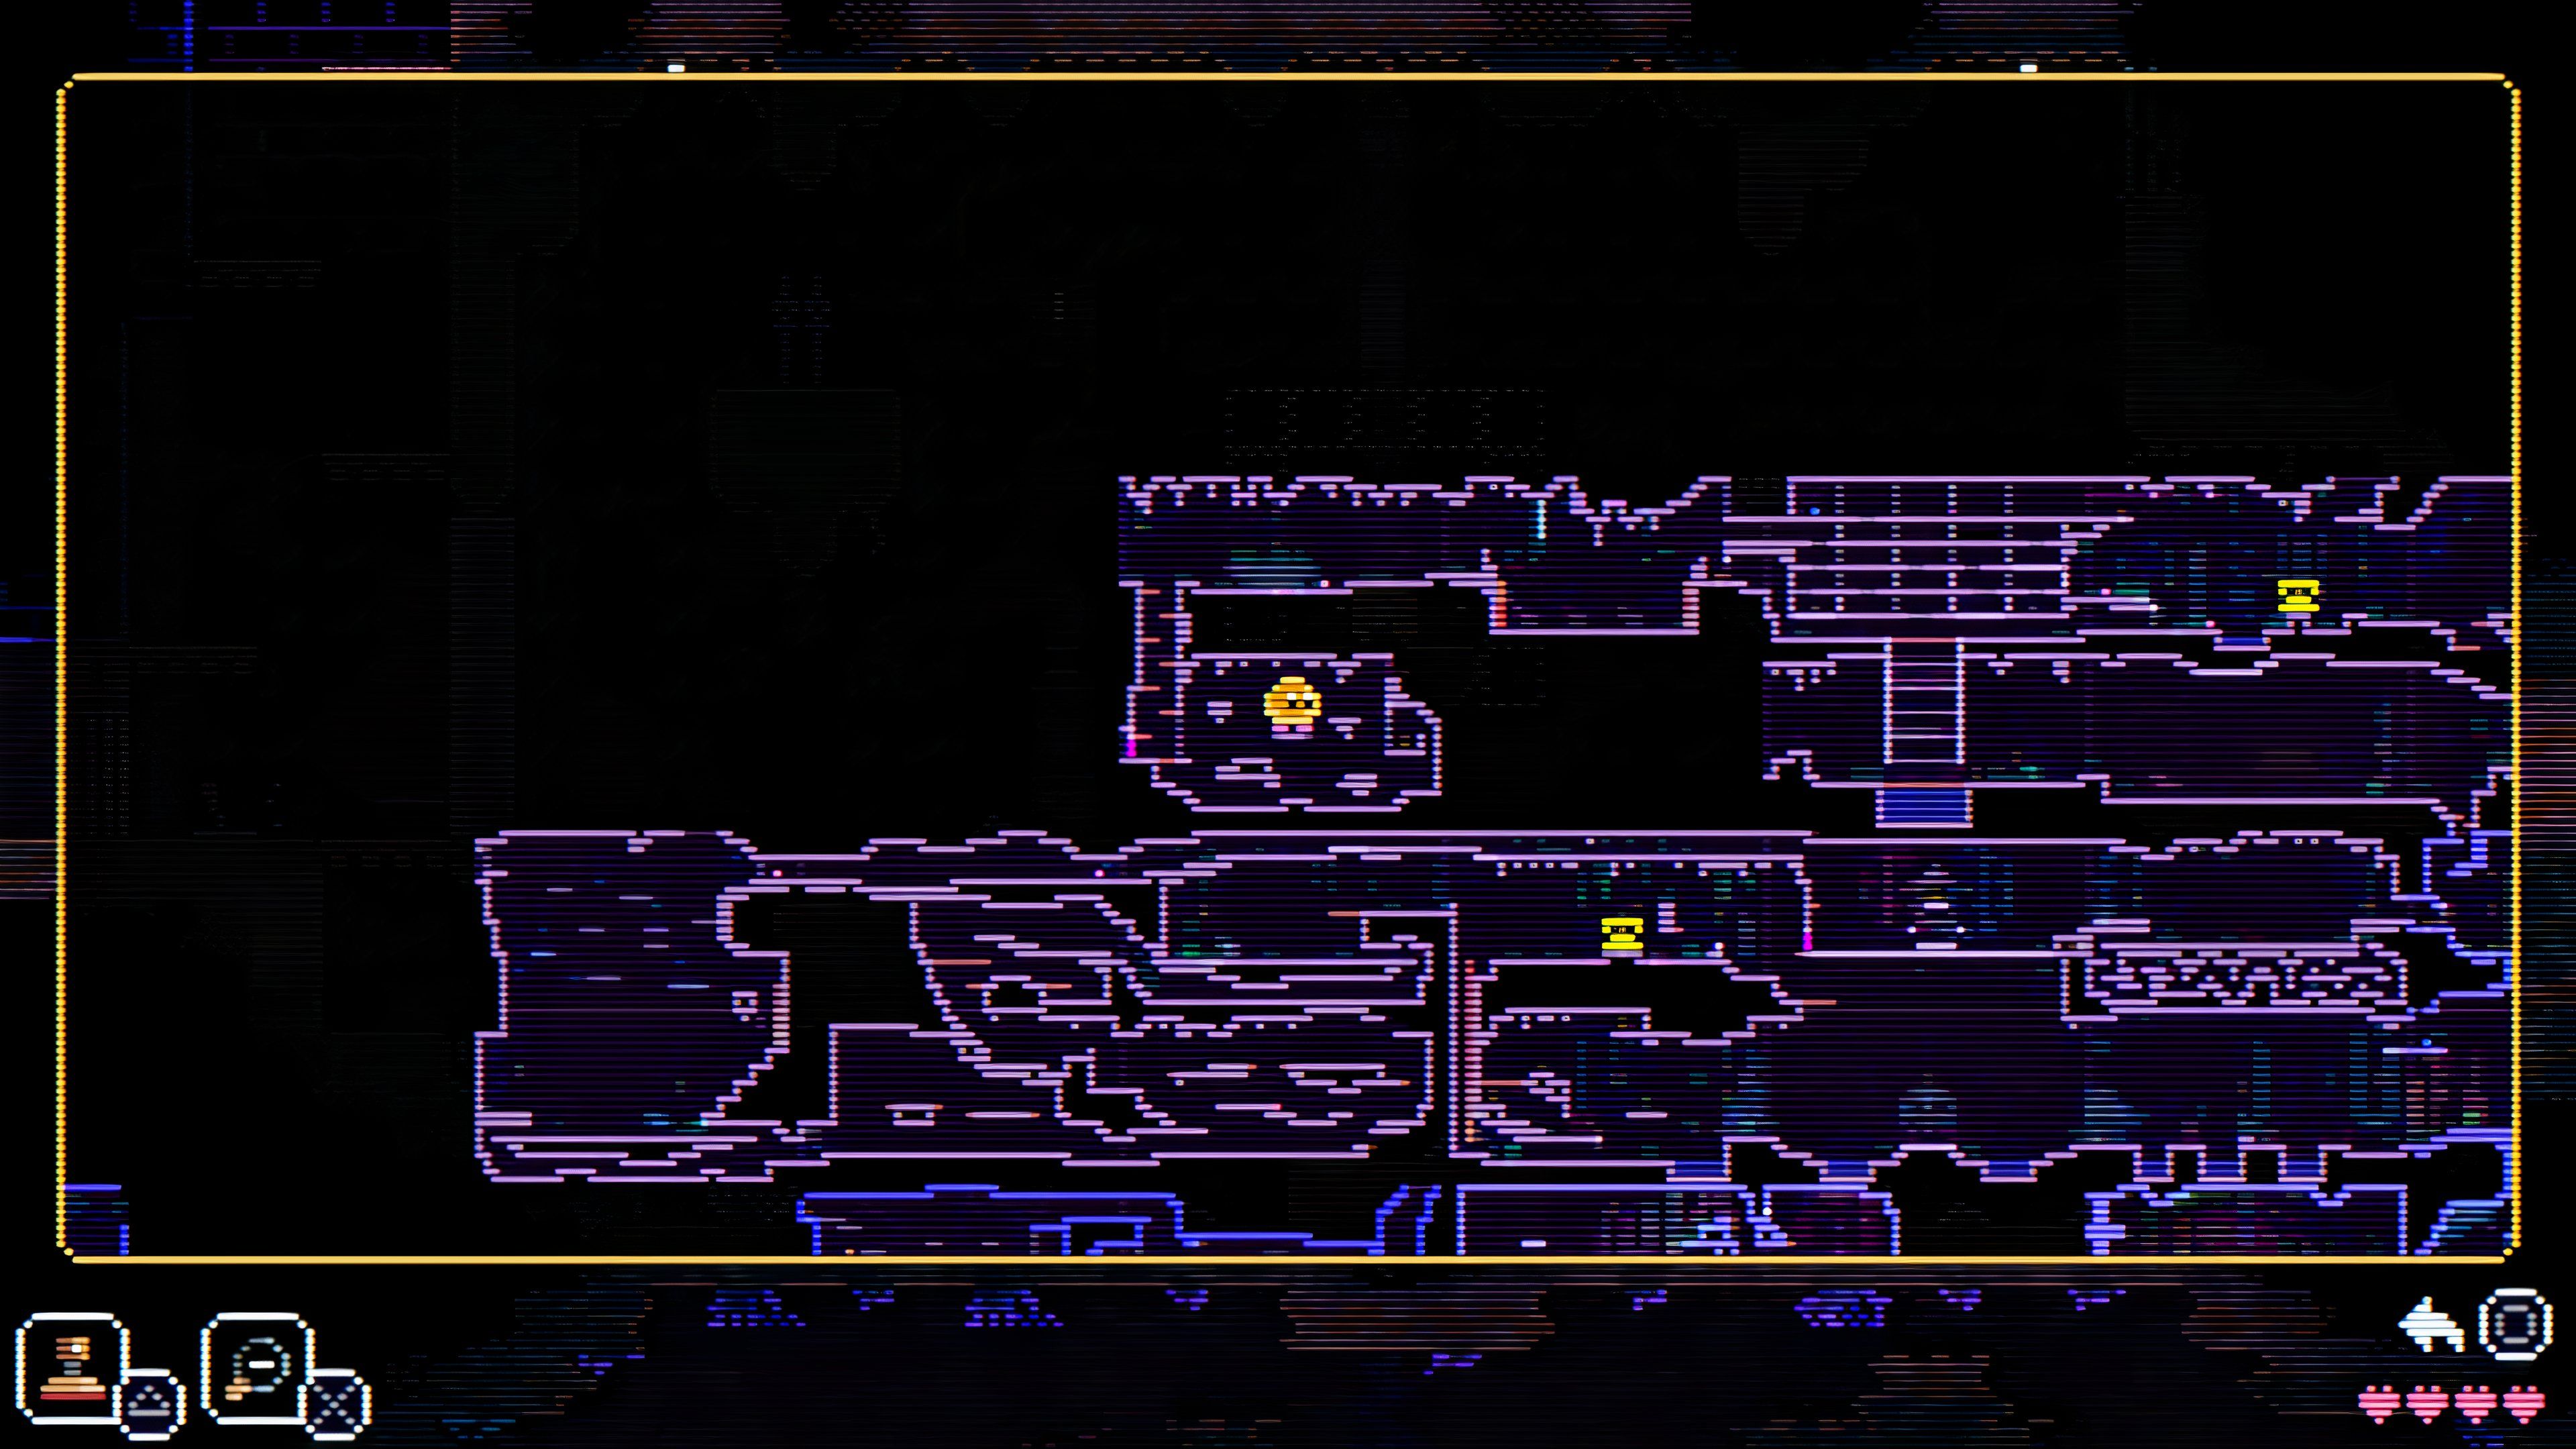 | From the previous Candle location, keep heading left until you can drop down into a room with a switch on the bottom. Activate the switch and head right; doing so will block the Candle, so look towards the switch and use your Disc to activate it. Deal with the enemy using Firecracker and light the candle on the platform in the middle of the room. |
5 | 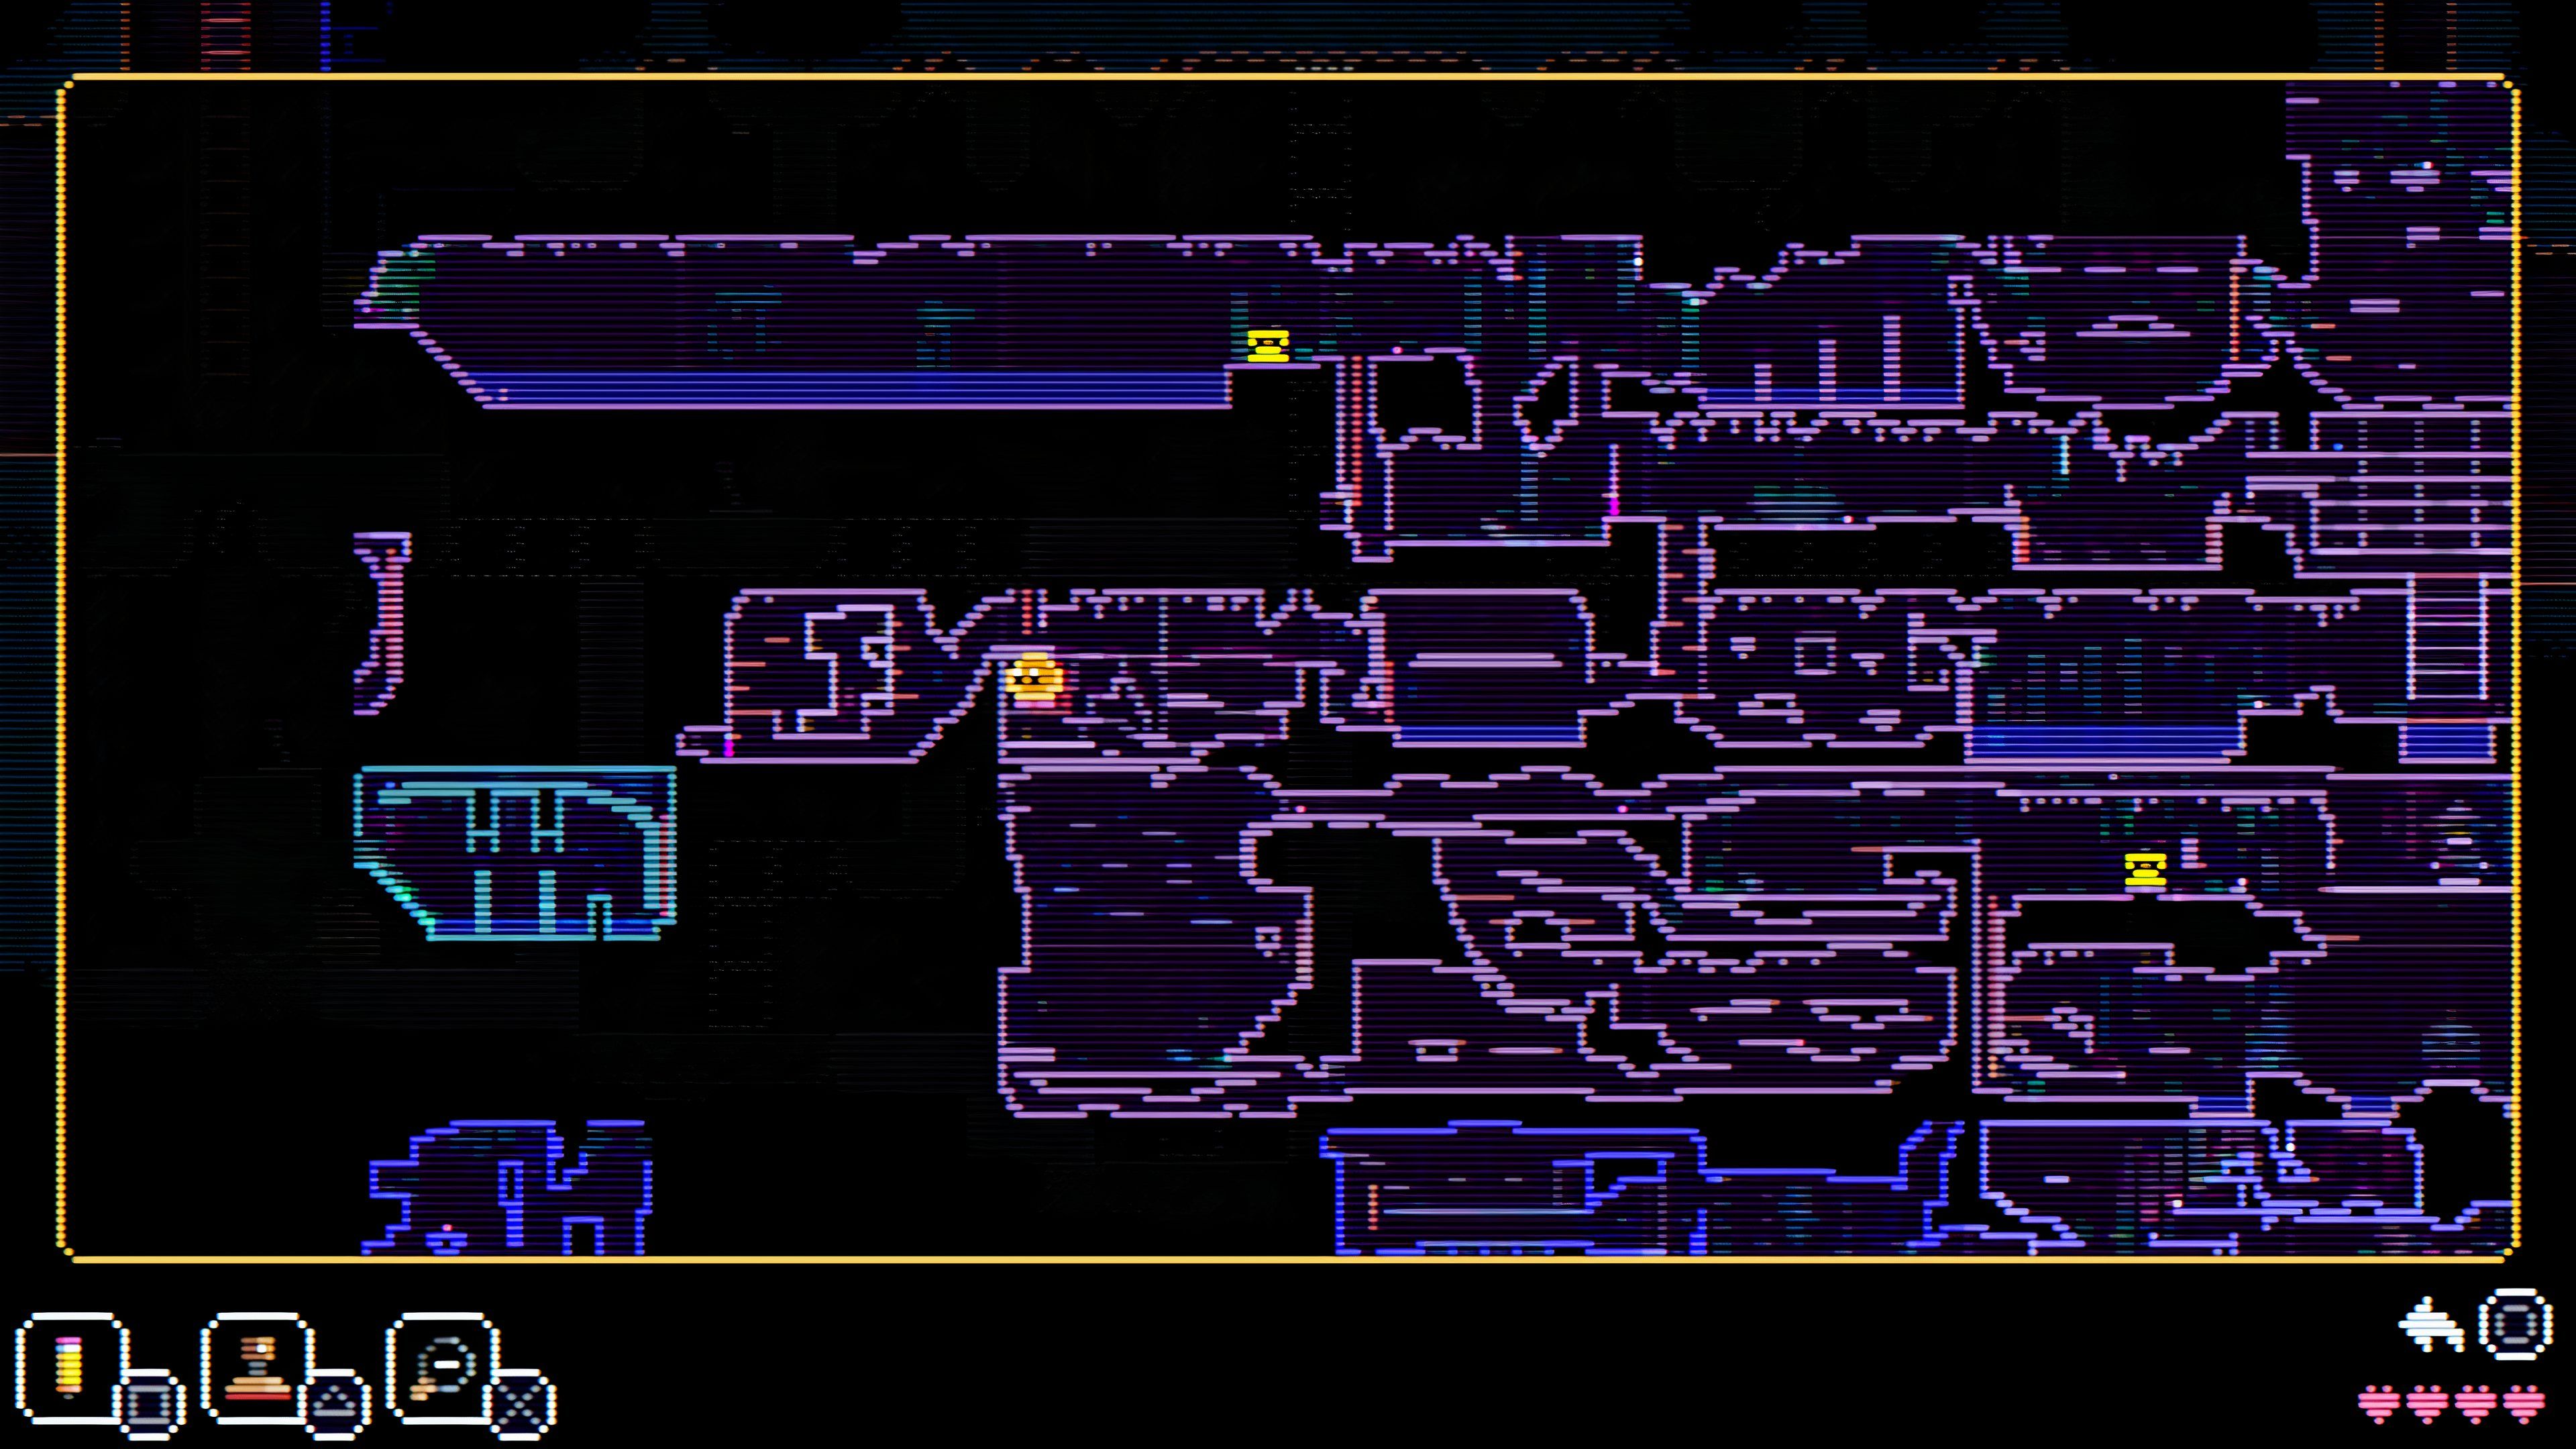 | Activate the Yellow Button in the room mentioned in the previous Candle location and keep heading left. You will reach a room with multiple switches, and these will change the platforms you are standing on. Activate the switch once to drop down and deal with the enemy. Go to the bottom left of the room to light the Candle. |
6 | 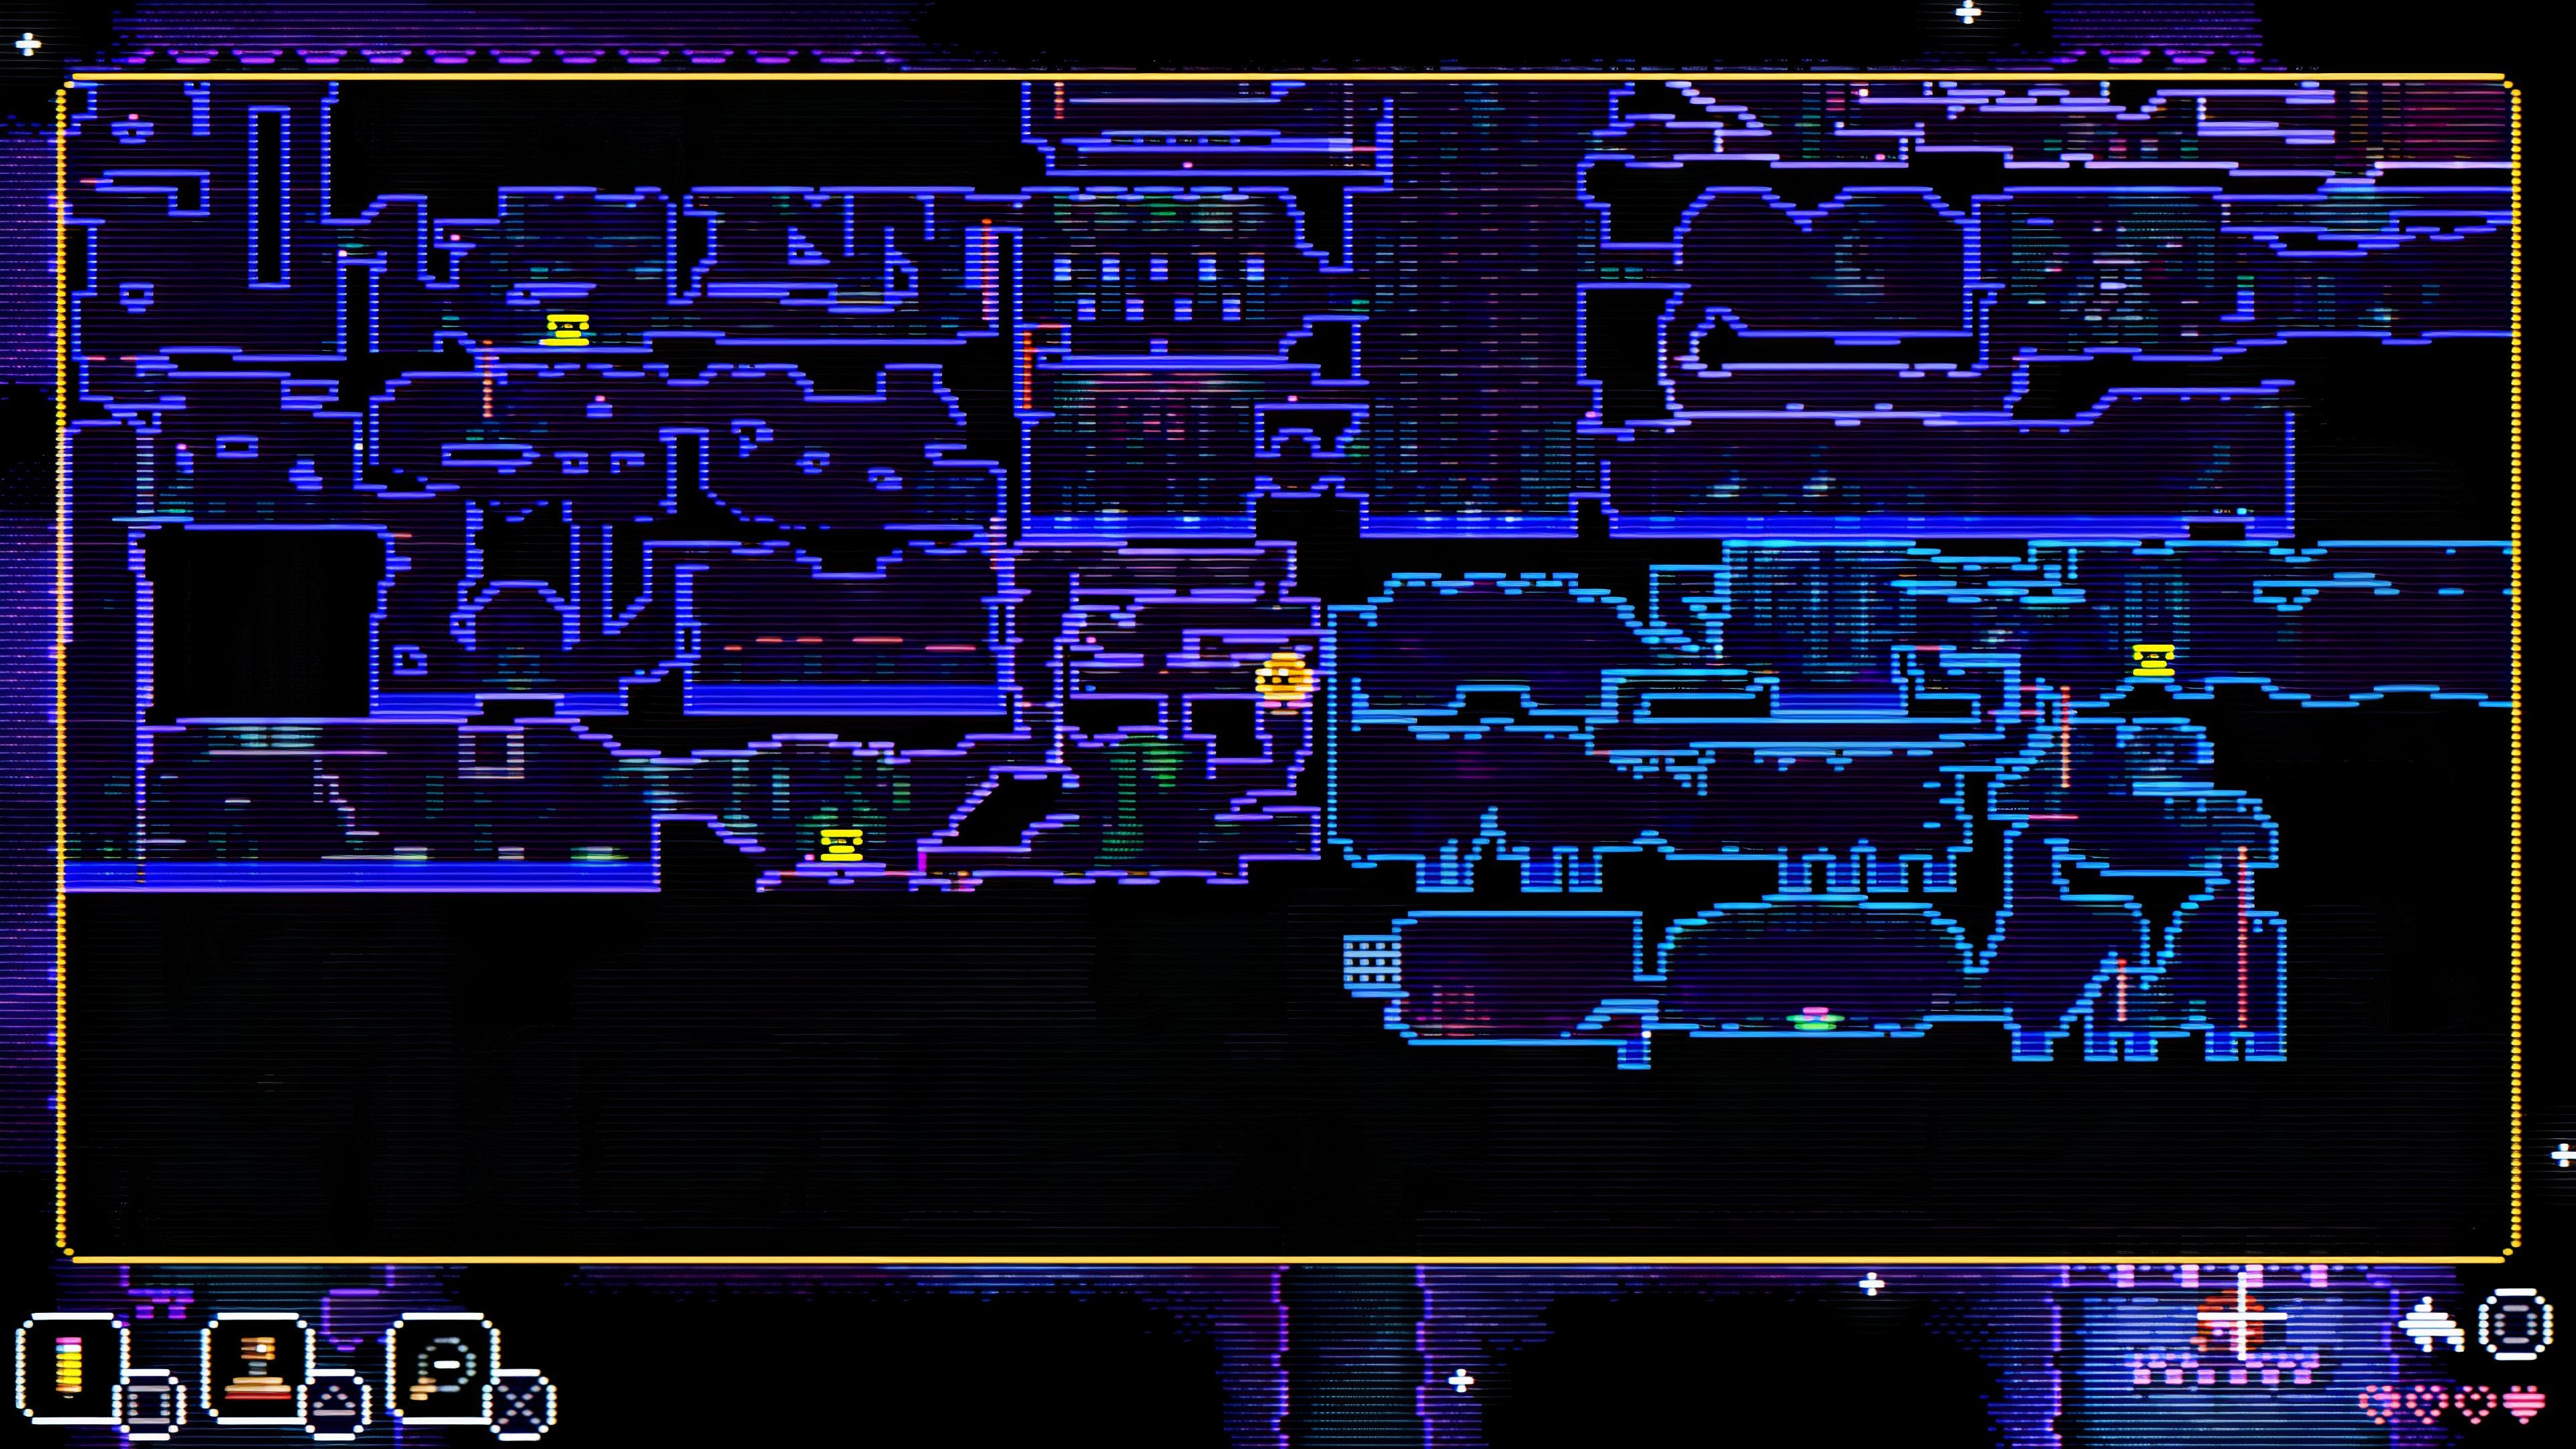 | On the bottom left part of the map, head to the top right of the lower telephone to reach a room with a penguin. Go past the penguin and head down through the gap in the middle. You will come to another room with a penguin with three Yellow Buttons on the bottom. Ignore this for now and head to the top right using your Bubble Wand. You can use your Yoyo to quickly destroy the rocks and head up to light the Candle. |
7 | 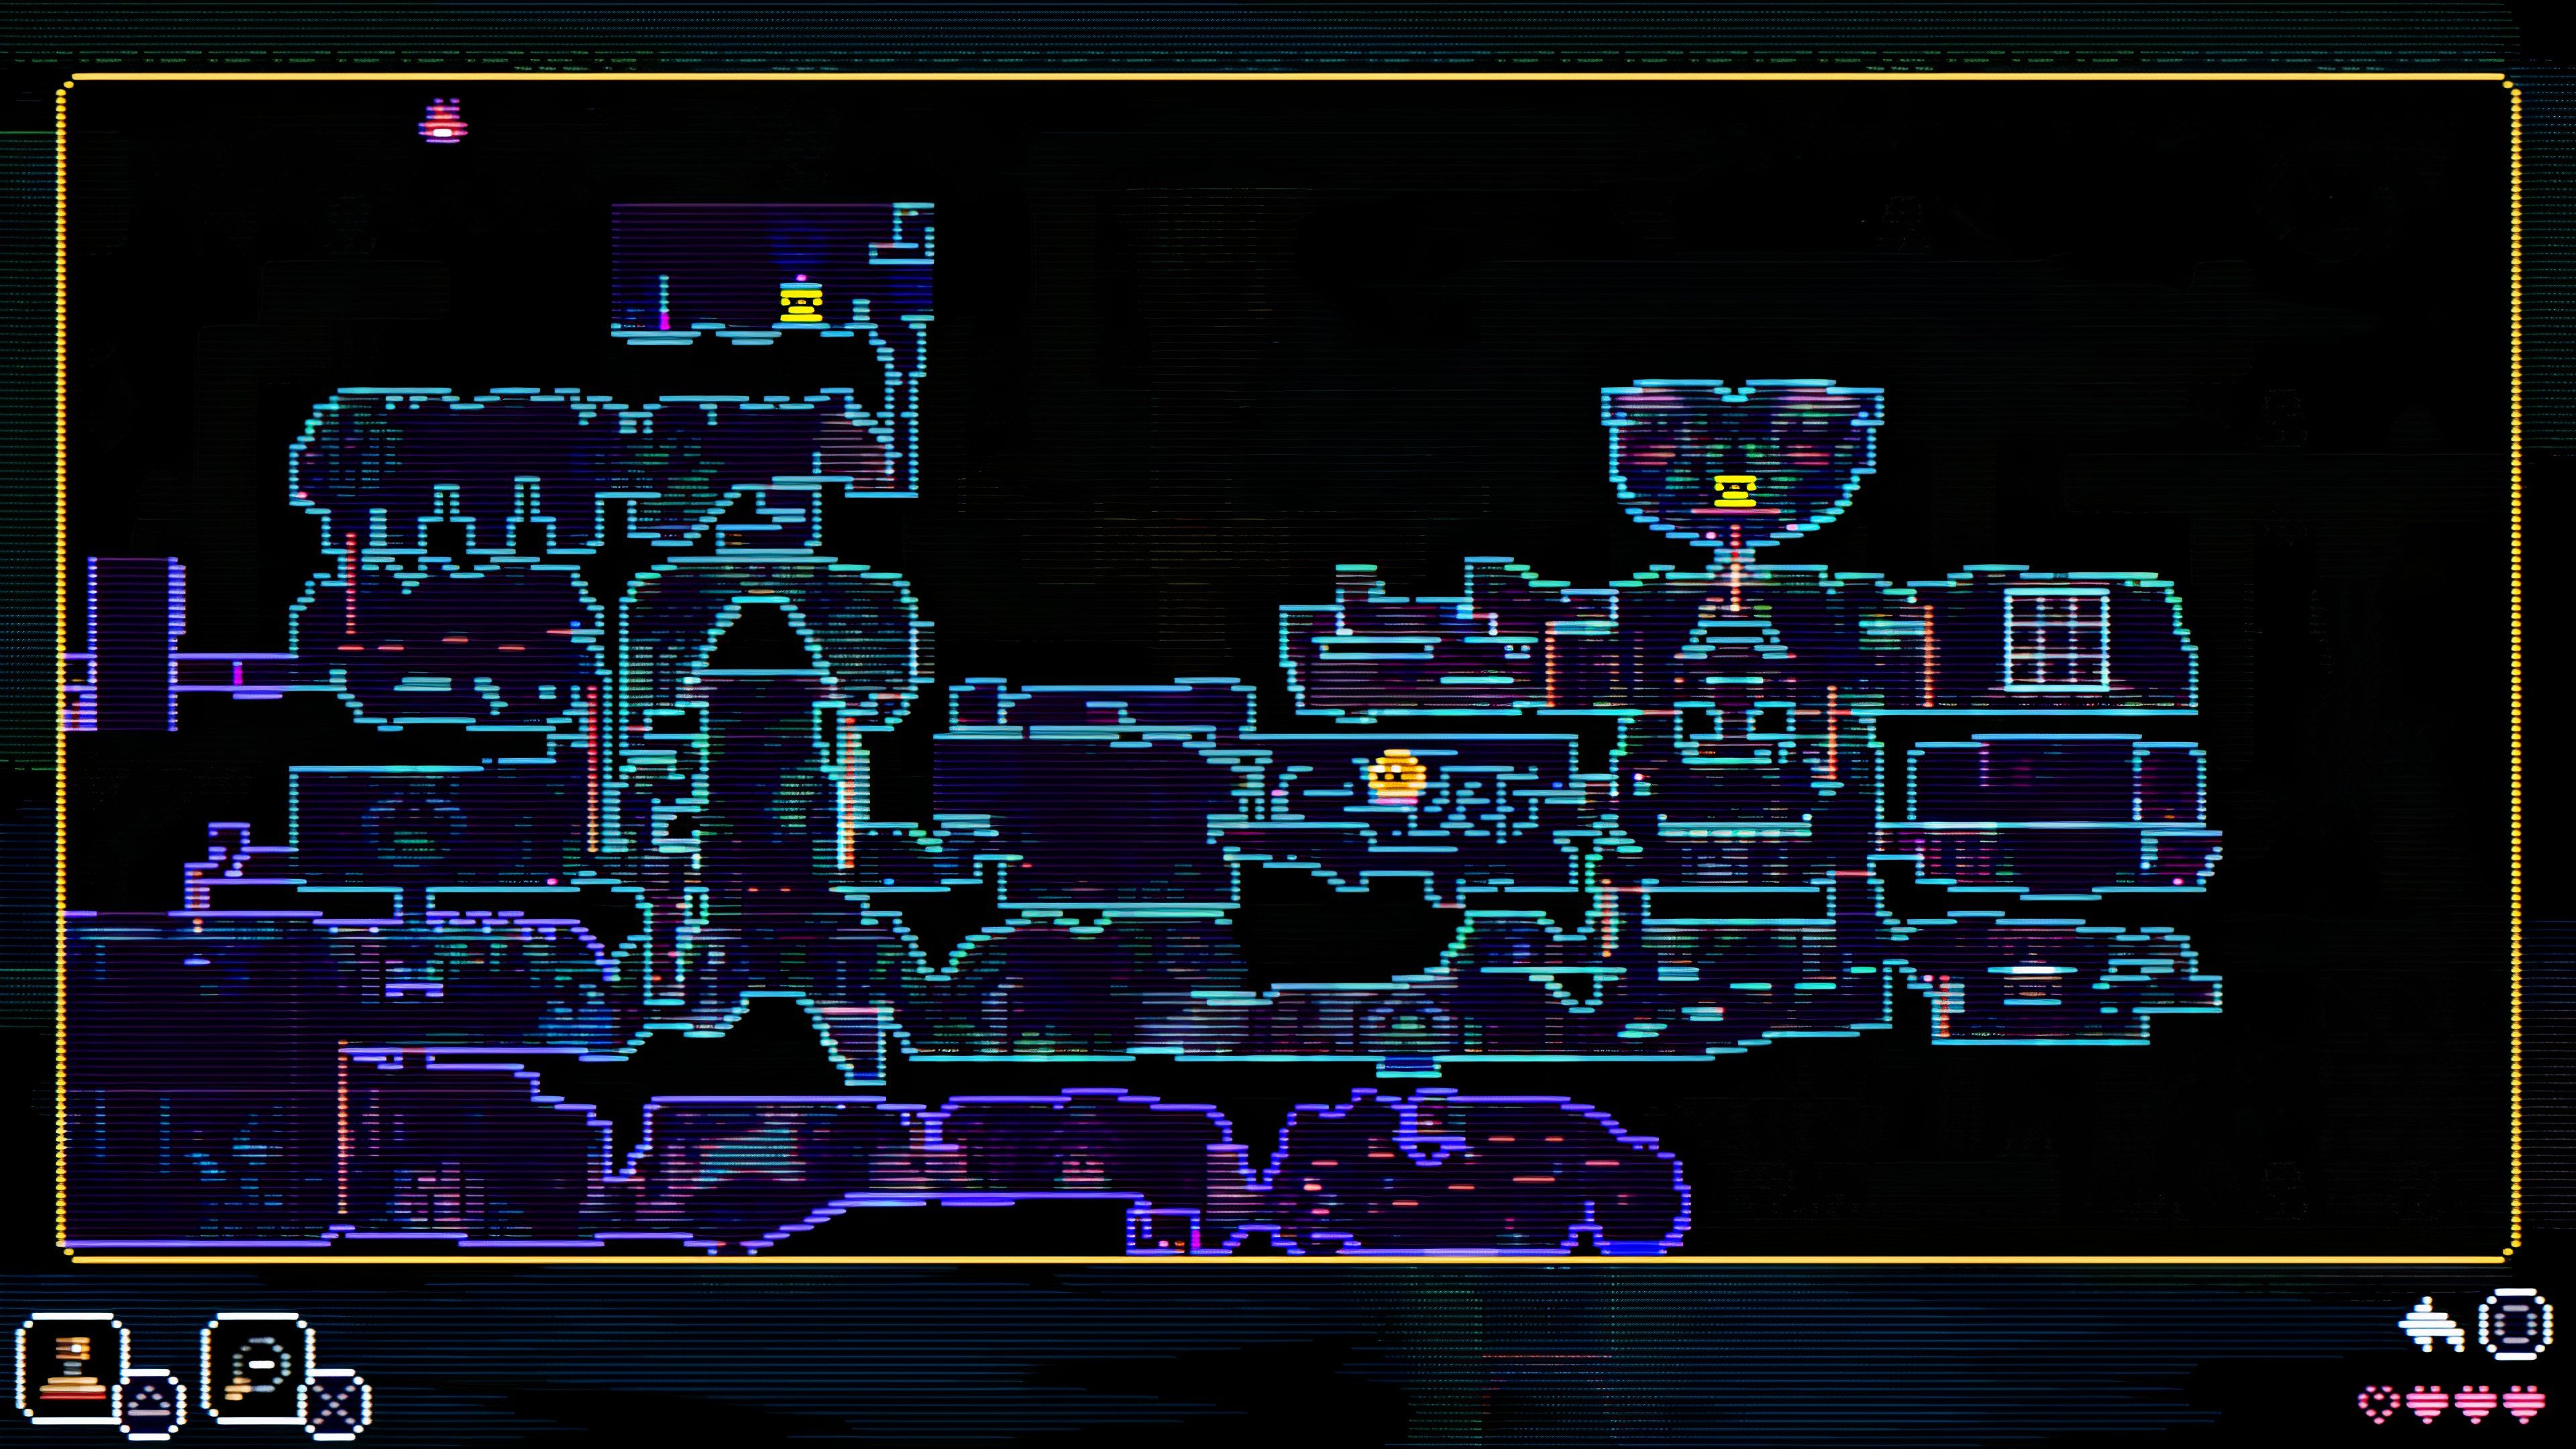 | From the Statue Room, go right and up the ladder and proceed to the right. You have to go up the ladder on the top left of the room with the Hedgehogs, but it is behind a locked door. Go right to find the key inside a chest and head back to open it. Head to the top right and up another ladder into a room with multiple yellow buttons and a telephone on the top. Once all the yellow buttons have been pressed, you can drop down from the middle of the room to press another yellow button and open the blocked door on the left side of this room. Head left past all the hedgehogs and the Chinchilla till you finally reach a dark room. There is a candle in the middle of this room. |
8 | 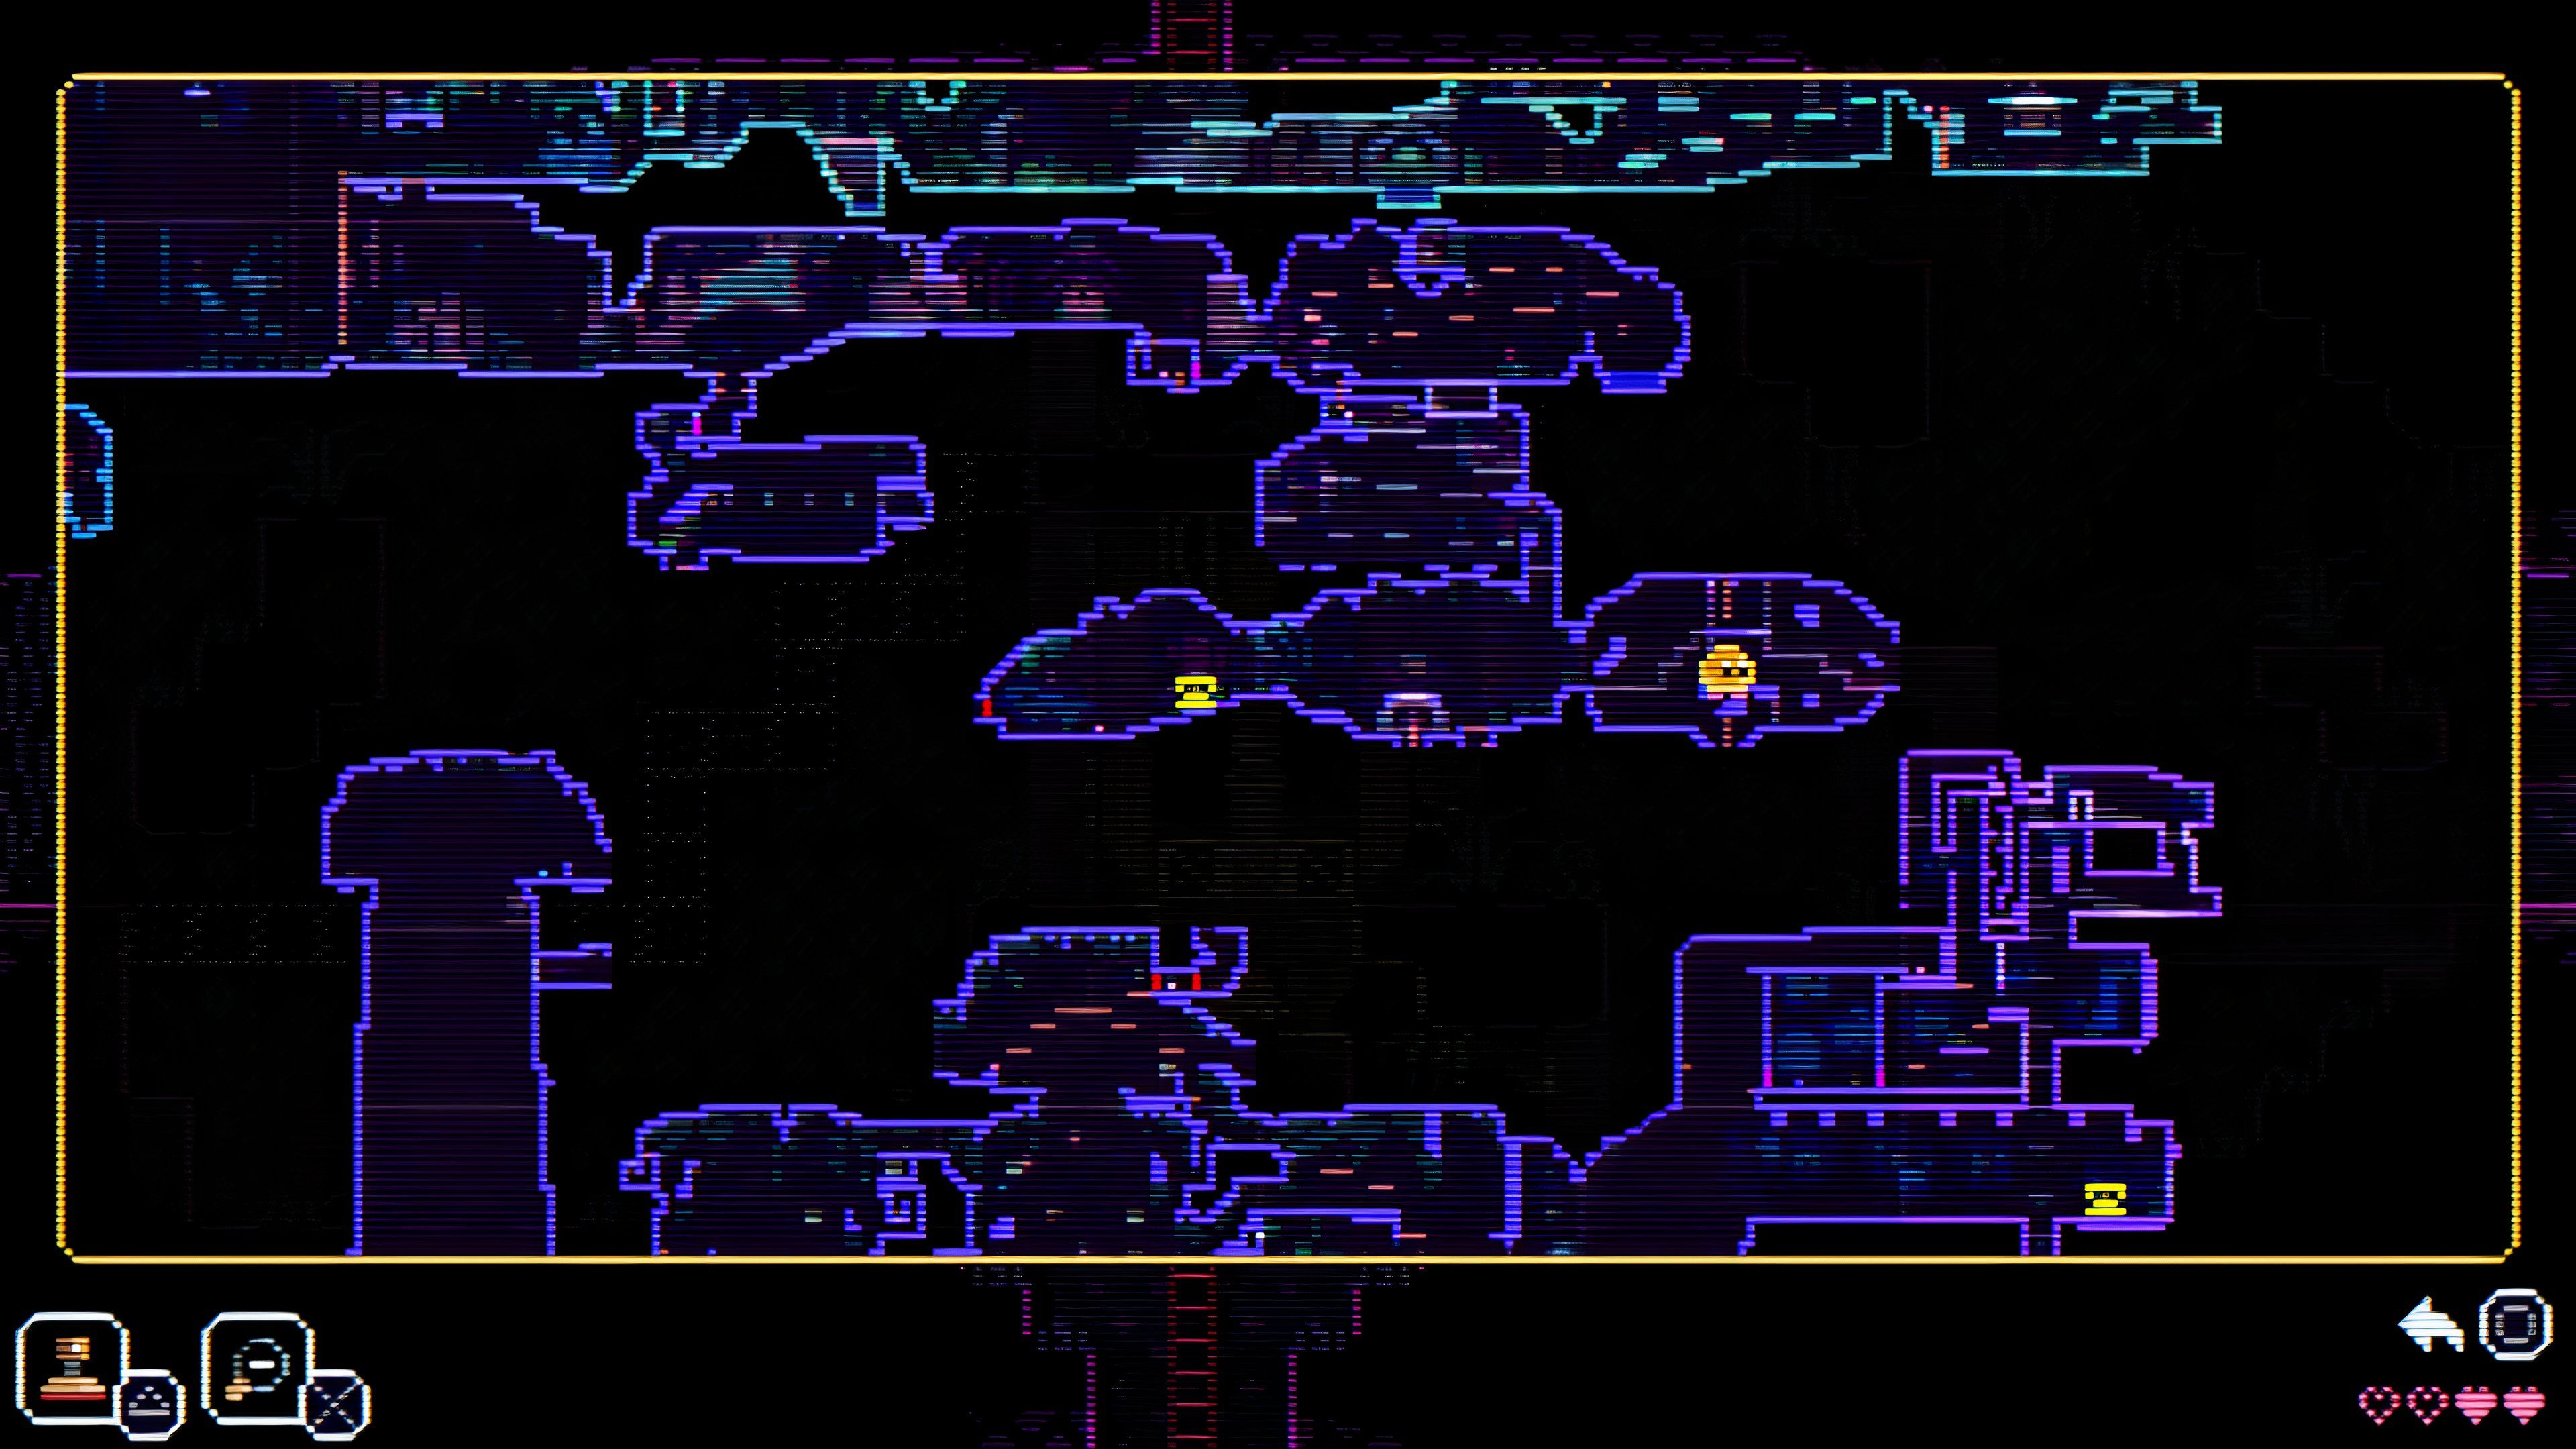 | From the Ostrich and Two Rats statue room, from the eighth Match location, head right to the dark room with the Candle in the middle of the room above the ladder. |
9 | 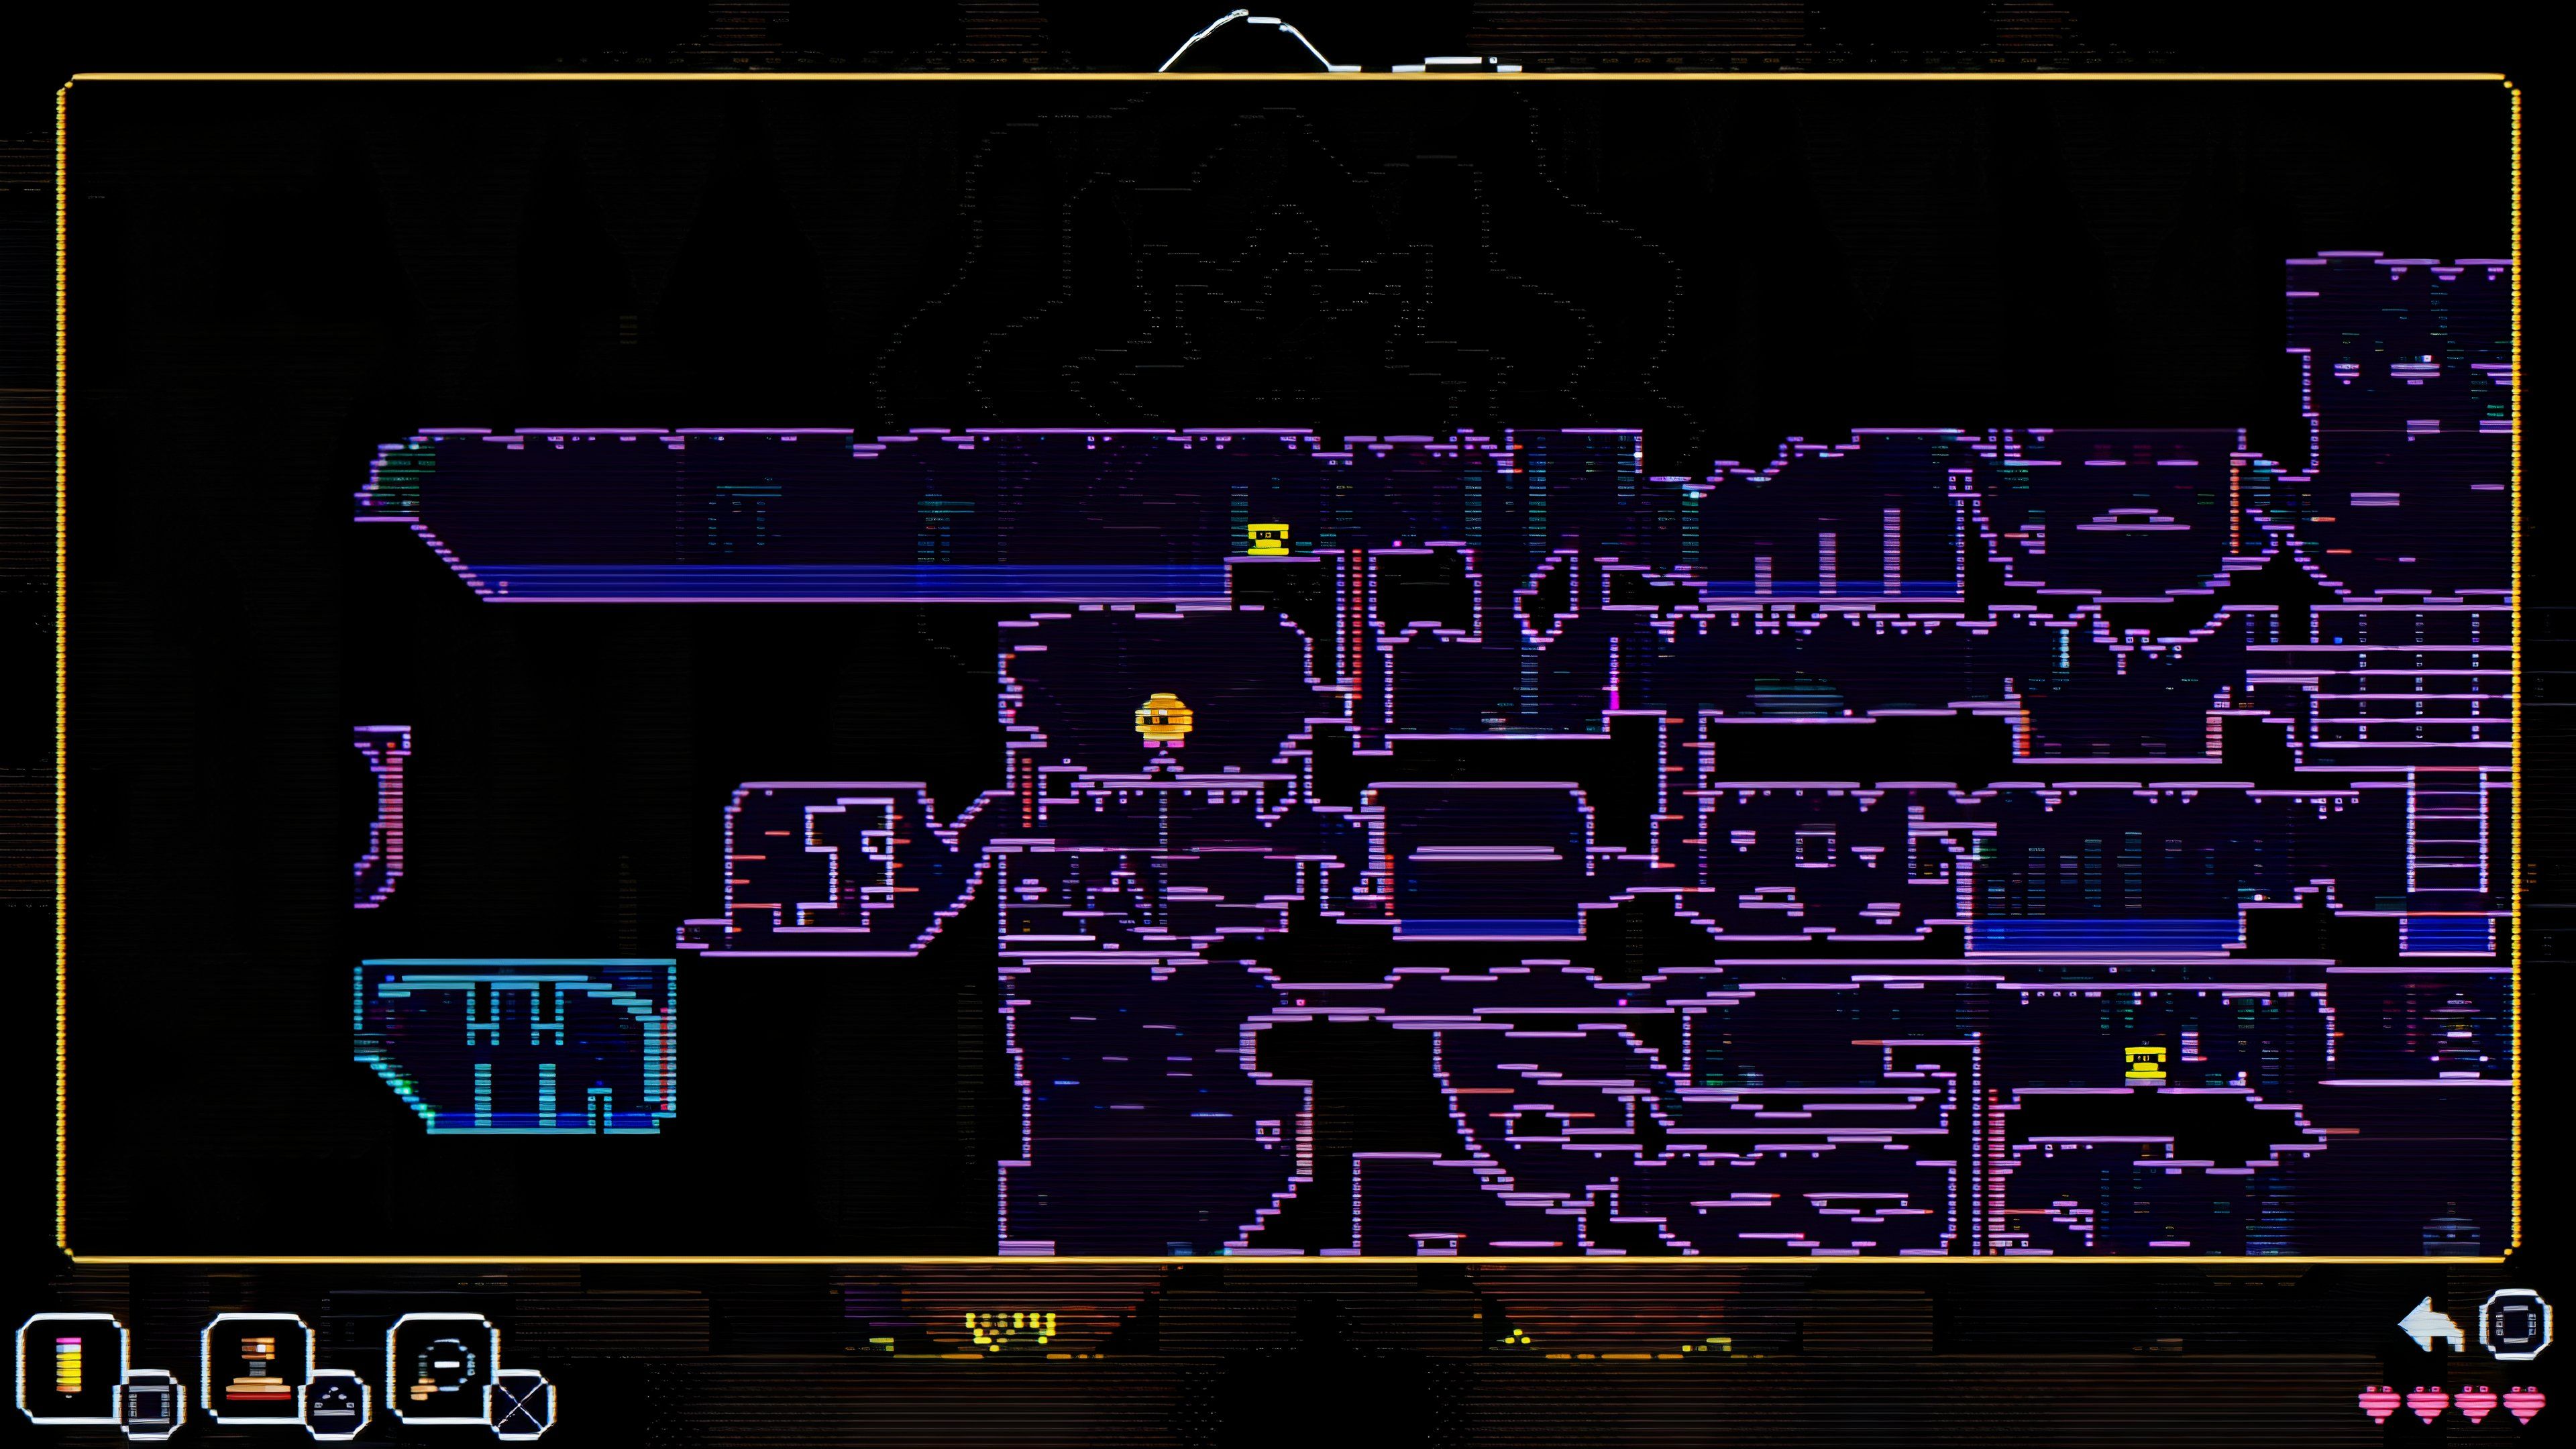 | From the Fifth Candle room, head up the top left ladder to enter a dark room. In the middle of this room is the candle that you can light. Be careful, as there is a giant Bat here that wakes up when you light the Candle. |
Animal Well Walkthrough
This Animal Well walkthrough will help players reach the end credits and explore the challenging puzzles that can be found beyond them.
How To Defeat The Bat Boss
As soon as you light the ninth Candle stated on the table above, you will see a Bat on the ceiling. This giant Bat acts as a boss, flying around the arena and damaging you by getting close to you. When the Candle is lit, and the boss is awoken from its sleep, it will perform a loud scream, causing the rocks on the ceiling to fall down, blocking all paths out of the boss's arena. These rocks can be destroyed by using a Disc or the Yoyo, which seems to be the faster option out of the two.
You have no way of damaging the boss physically, so you will have to resort to Firecrackers to save the day. As Bats are not fond of light, the Firecrackers will make it screech. Three Firecrackers should do the trick, making it run away from the arena. If you are low on Firecrackers, head to the top left room to find some lying on the ground.
One thing to note is that even after using the Firecrackers to make it go away, upon arriving back at the location, it will reappear, so this is only a temporary way to deal with it.
Getting The Reward For Lighting All Candles
Once you have lighted all the Candles you need to make your way to the area left of where you start the game. You can either go to the Statue Room and head down from there, or you can fast-travel back to the hub using your flute and head through the Bunny mouth on the bottom left. Head left from here, and a path will open just below the Candles in the glass on the left. Use your Bubble Wand and travel through the pipes to reach another room where you can find a crank on the bottom right side. Use the Crank to pull the platform up, revealing a chest with an E medal.
Animal Well
- Platform(s)
- PS5 , PC , Nintendo Switch
- Released
- May 9, 2024
- Developer(s)
- Shared Memory
- Genre(s)
- Metroidvania , Puzzle


