Quick Links
In the previous chapter of Alan Wake 2, more information about Alan's time in the Dark Place was revealed. One thing that Alan Wake 2 players should keep in mind is that many chapters in this game can be played in any order and this and future chapters are only the order in which they were played when this walkthrough was written.
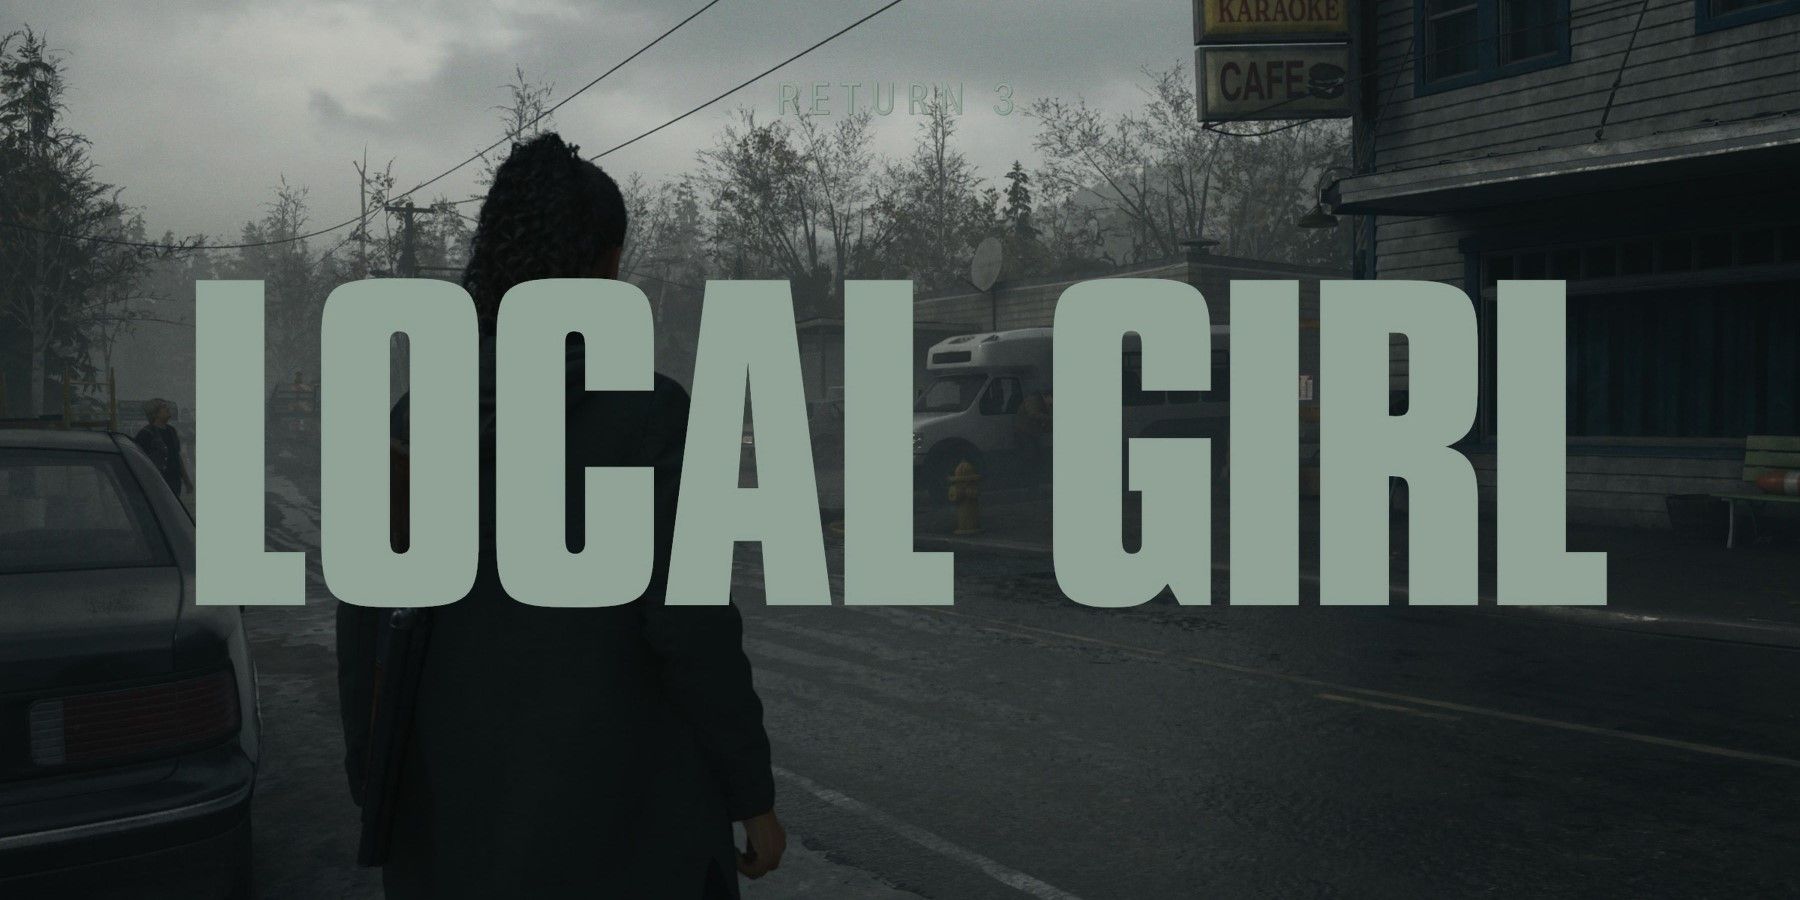
Nevertheless, since gameplay can be somewhat repetitive it is recommended to switch between Saga and Alan regularly rather than going through one character and then switching to the other. Saga's next chapter, Return 3: Local Girl, follows the same pattern as Return 2: The Heart. There is more combat in this chapter, however, so players will need to make sure they are prepared.
This walkthrough contains spoilers, so players should proceed with caution.
Go to Watery
Head outside toward the car. For this chapter, players will get to choose where they go. While the story can be advanced by going to Watery, players do have the option to return to Cauldron Lake if they wish.
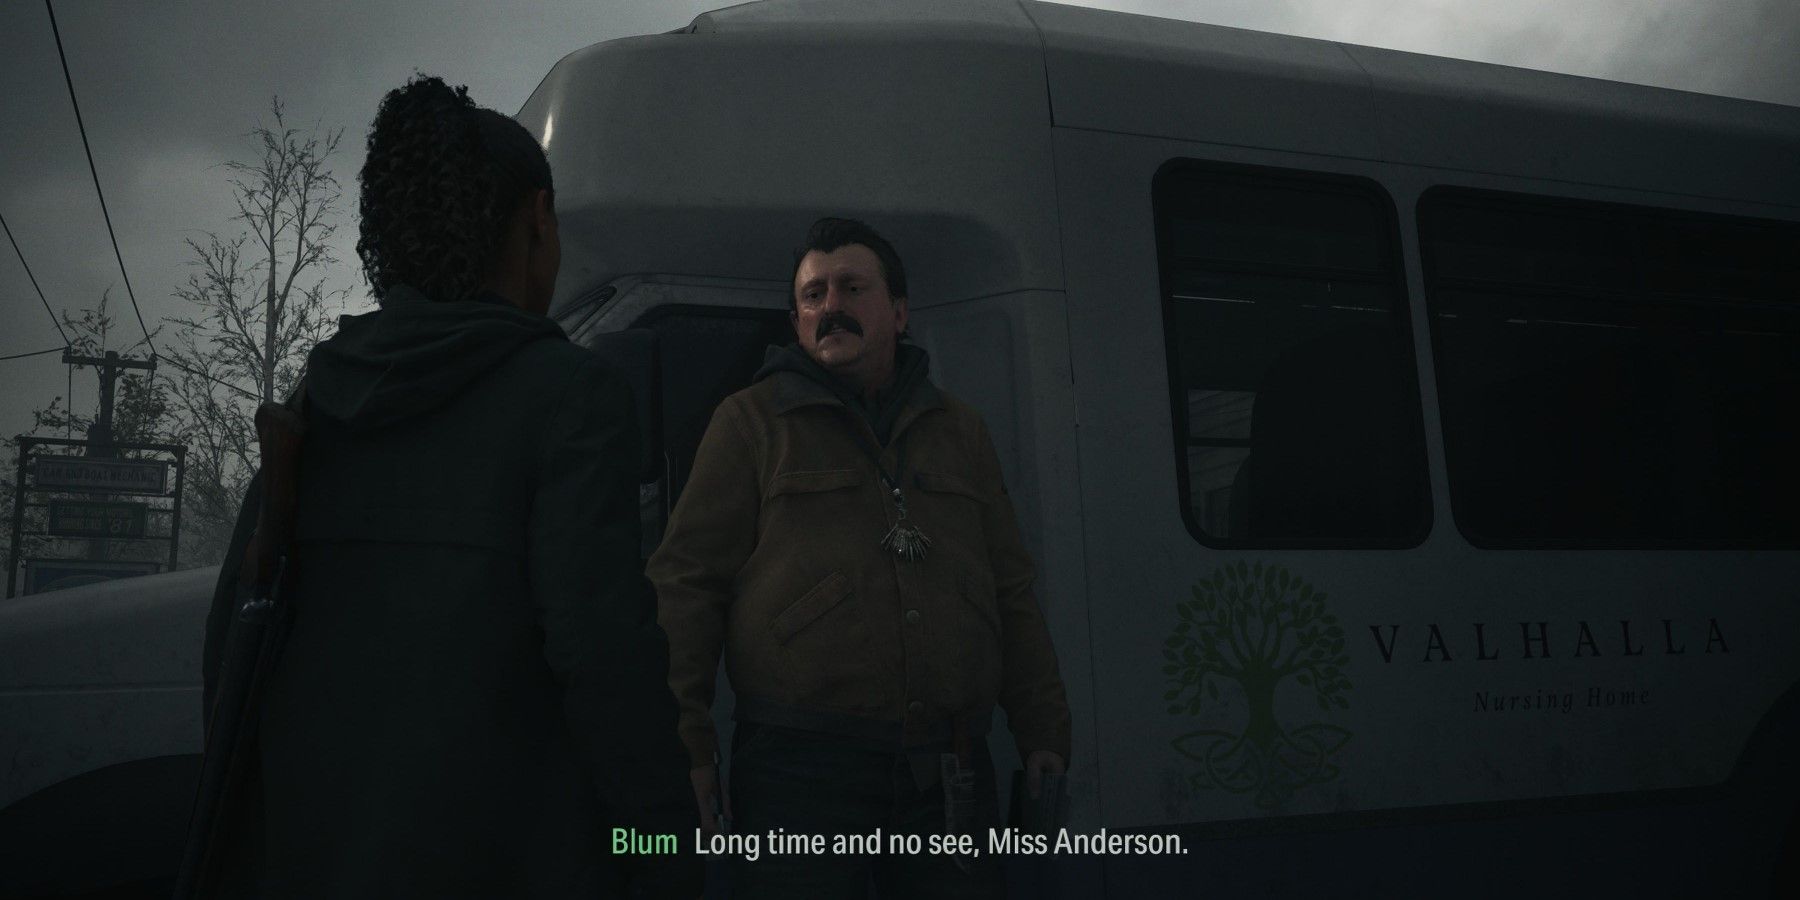
Upon arriving at Watery, go toward the bus with the Valhalla Nursing Home logo on it. Talk to the bus driver to get some information, and then go inside the building to the right. Just inside on the left is a map of the town.
Find a Way to the Trailer Park
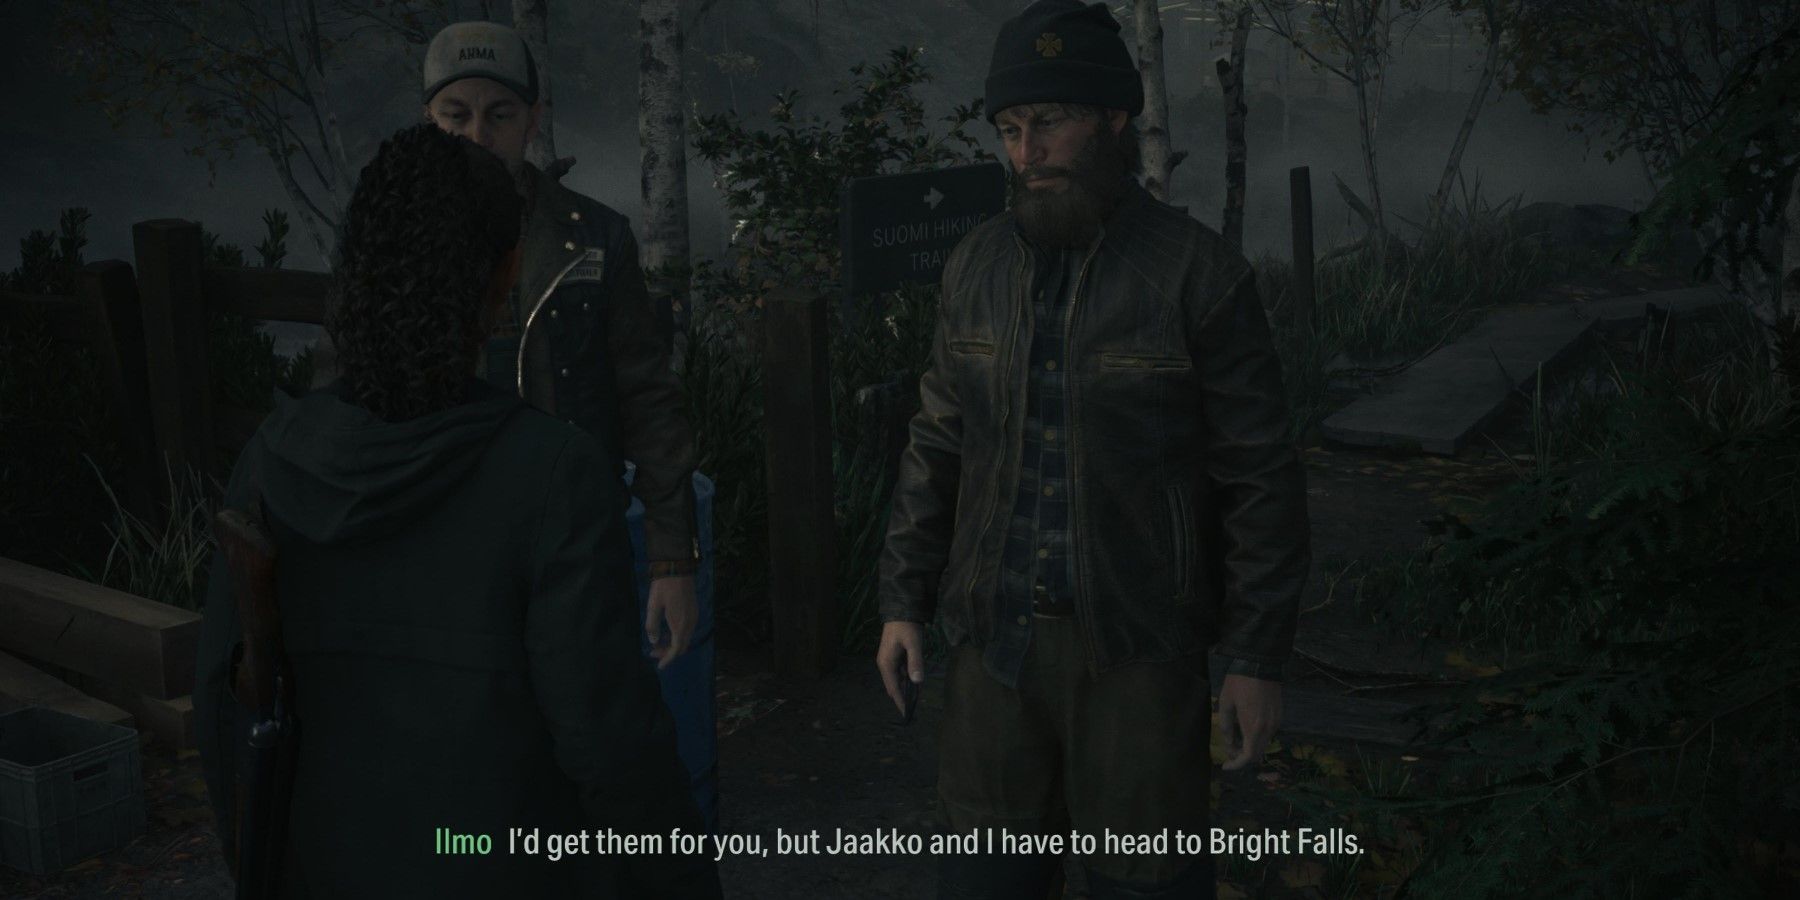
Go west toward the broken bridge and speak to Ilmo. After talking to him and his brother, Jaako, profile them and then talk to them again. They will move out of the way so that Saga can go down the path behind them. The key to Saga's supposed trailer home is in the gift shop of Coffee World. Unfortunately, the bridge is out, so players will have to take the long way.
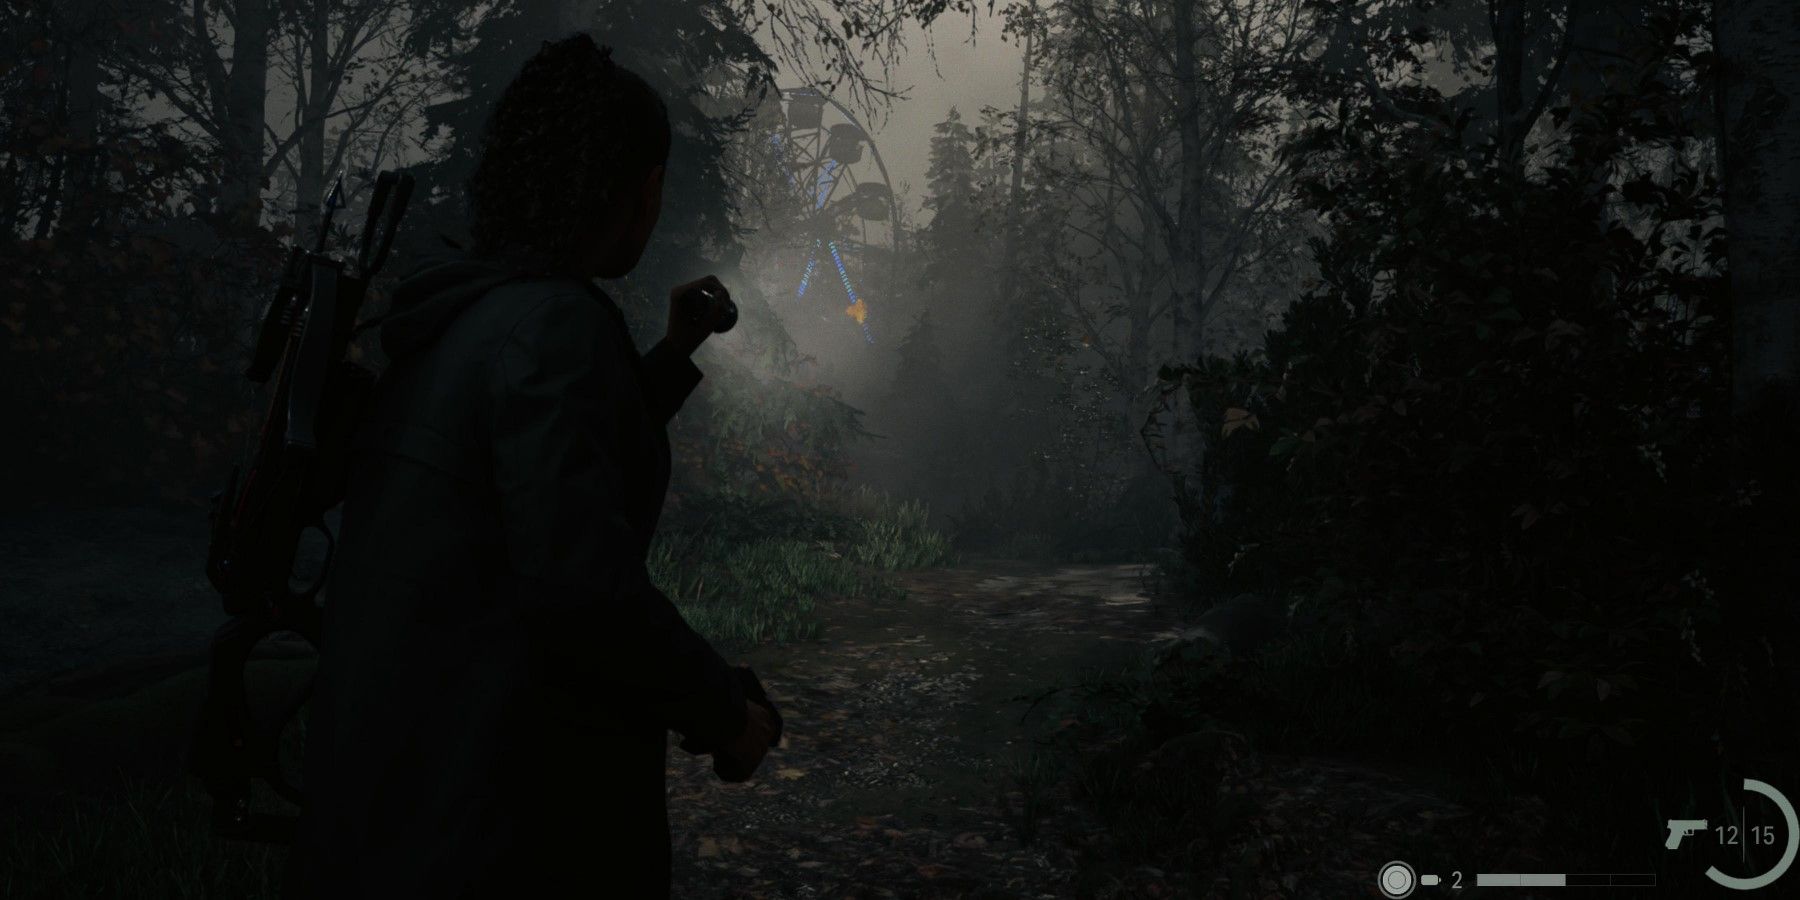
Follow the trail to go deeper into the woods. Naturally, since Alan Wake 2 is a horror game it isn't long before this becomes more than just a pleasant stroll through the woods. A Taken will appear and throw axes. Try to dodge them as much as possible, but don't waste too much ammo trying to kill this enemy as they will keep teleporting away for now.
Wait until the Taken appears on the path. Then use the flashlight to remove his shield and then kill him. There are two Taken in this area, so players should watch their backs. Continue following the trail. Players will have the option to go off to a side path where another rhyme puzzle awaits. Place the Moose Doll onto the tree to spawn a Coffee Mug Charm on statue along the road.
Keep following this path, but make sure to stop by the Hunting Shack along the way. Activating the generator creates a save point that can be used. There is also a Manuscript Page in the shack as well. Outside the Hunting Shack is a locked box that contains the Crossbow. The code for the lock is 527.
The arrows in the squares with numbers next to the chest can be taken and used as ammo for the Crossbow.
When ready, continue onward toward Coffee World. As players get closer to where the trail allows them to cross the river, they will encounter more Taken. Deal with them as needed and keep moving forward.
Once players have crossed the bridge, they will gradually begin to hear music coming from Coffee World. Make sure to stop by the save point on the way into Coffee World. Go around to the entrance of the gift shop and approach the door.
How to Get Inside the Coffee World Gift Shop
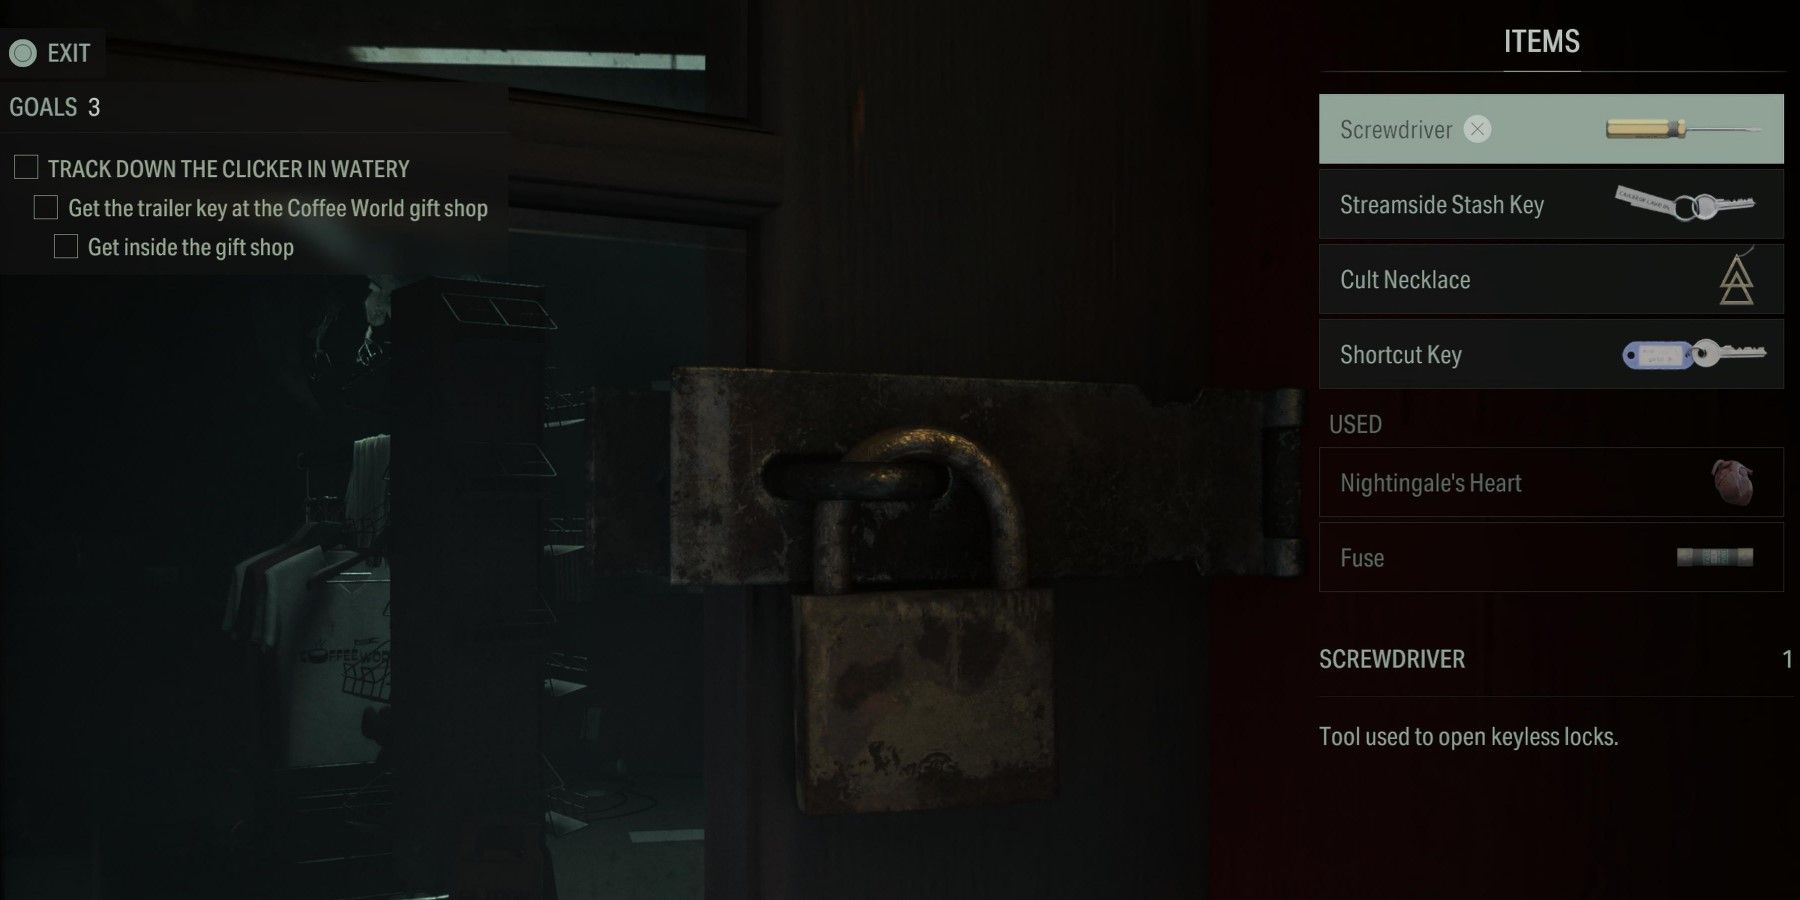
Unfortunately the door to the gift shop is locked. To the right of the door is a note that can be examined for two clues. Go to the Case Board and pull up the Trail of the Cult Case. Place the evidence onto the board and then leave.
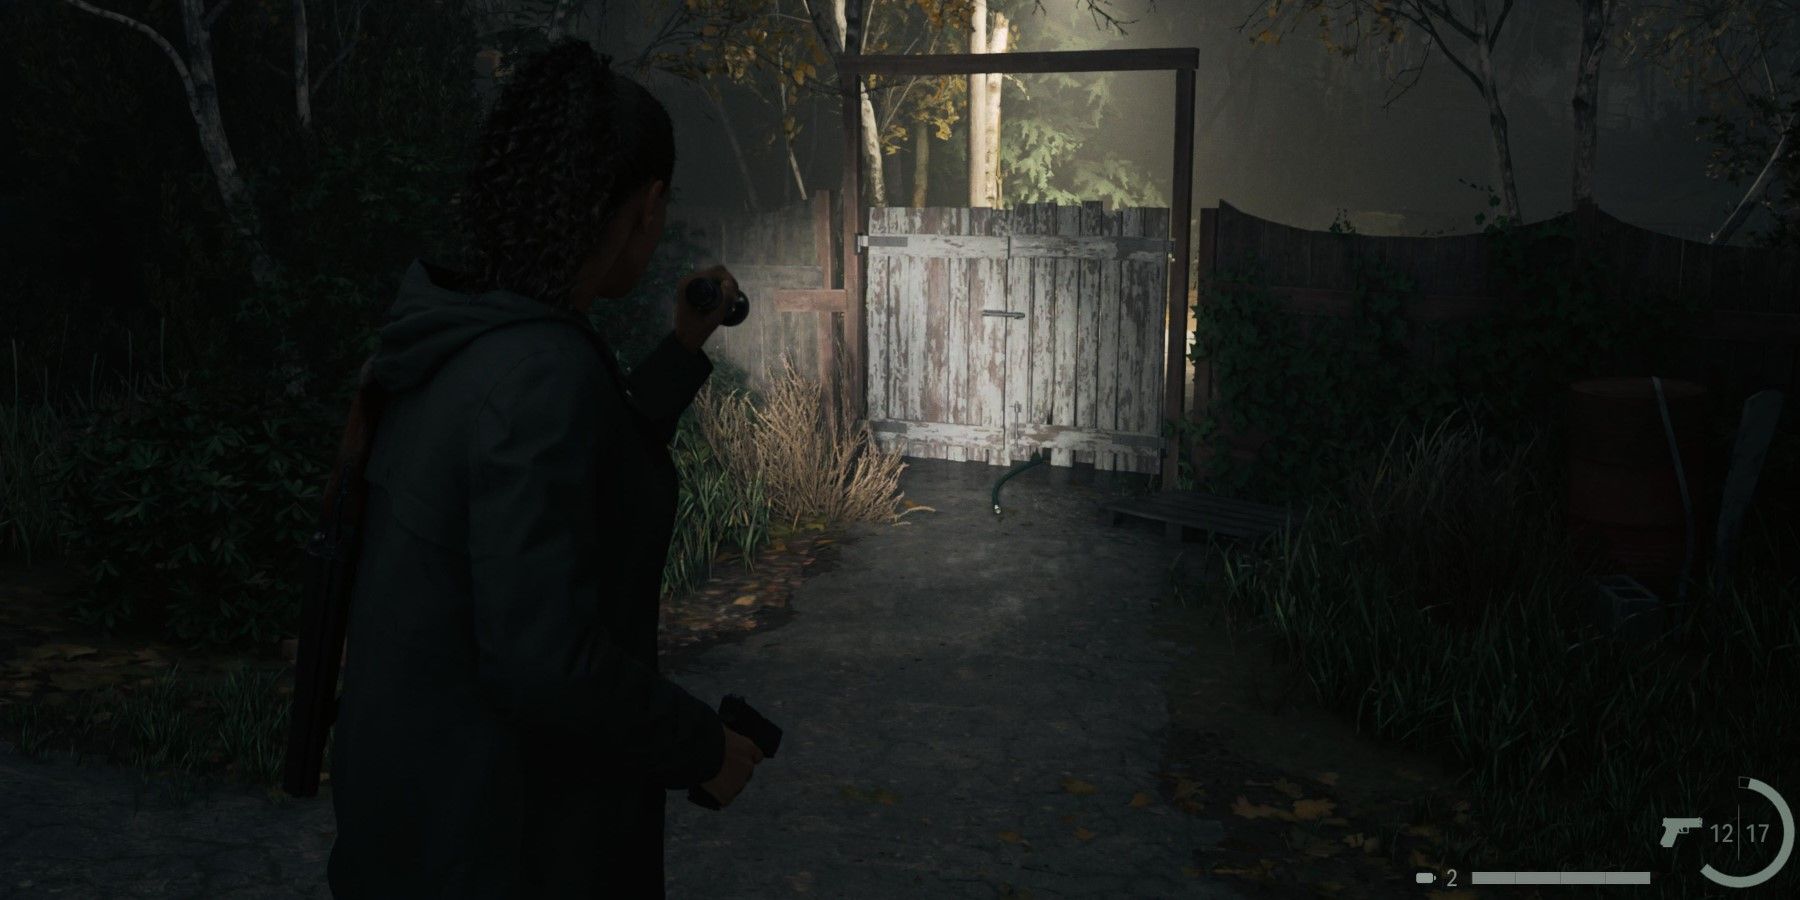
In order to get into the gift shop, players will need to find the screwdriver to get in. Go further into the park and approach the Percolator. The ride will stop moving, and the gate will open. As expected, players get ambushed by two axe throwing Taken. Kill one and then use the Crossbow to kill the one on top of the ride. Wait for the coffee mug cover to go down before shooting.
The screwdriver can be found on top of the control panel for the ride. Start heading back toward the gift shop, but be vigilant as there are several Taken roaming around the theme park. Once back at the gift shop, examine the lock and use the screwdriver to get it off.
Find the Safe
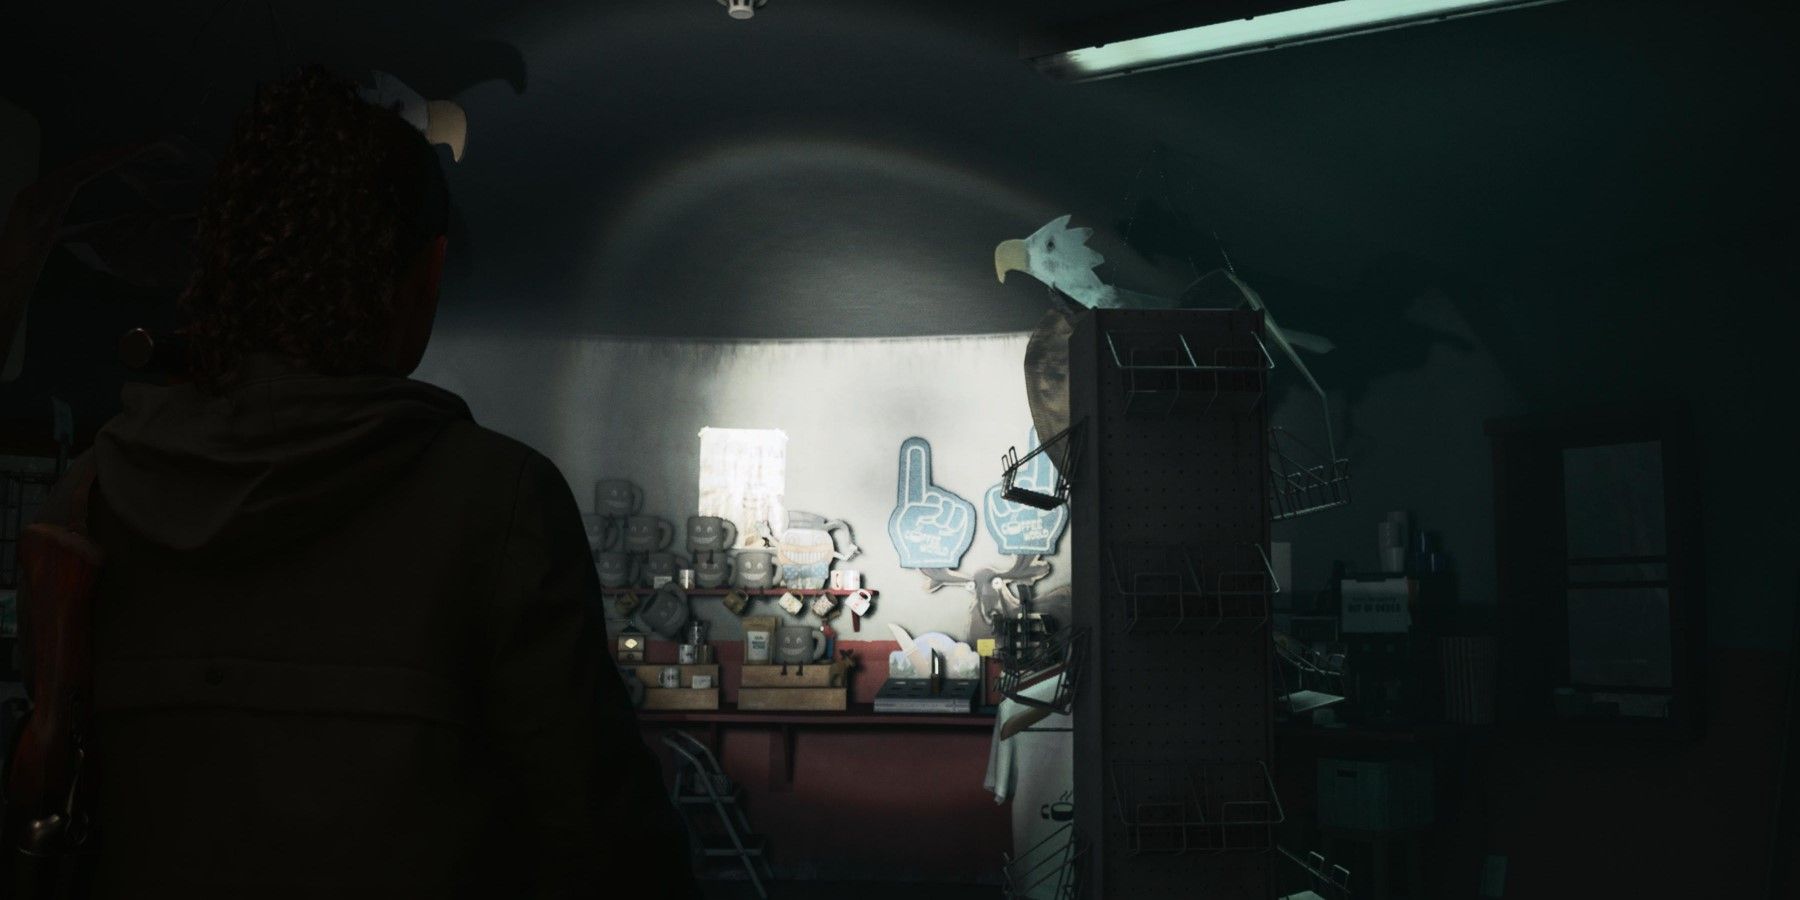
Inside the gift shop, players will find supplies along with a Manuscript Page near the entrance. The safe is behind the counter, but players will not know the code for it right away. Examine the notes next to it and then profile the Koskela brothers.
After that, examine the employee board in the gift shop. This board contains the code based on the amount of stickers that certain employees have on their picture. The code is 146. Grab the key from inside the safe and leave the gift shop.
Go to Lighthouse Trailer Park
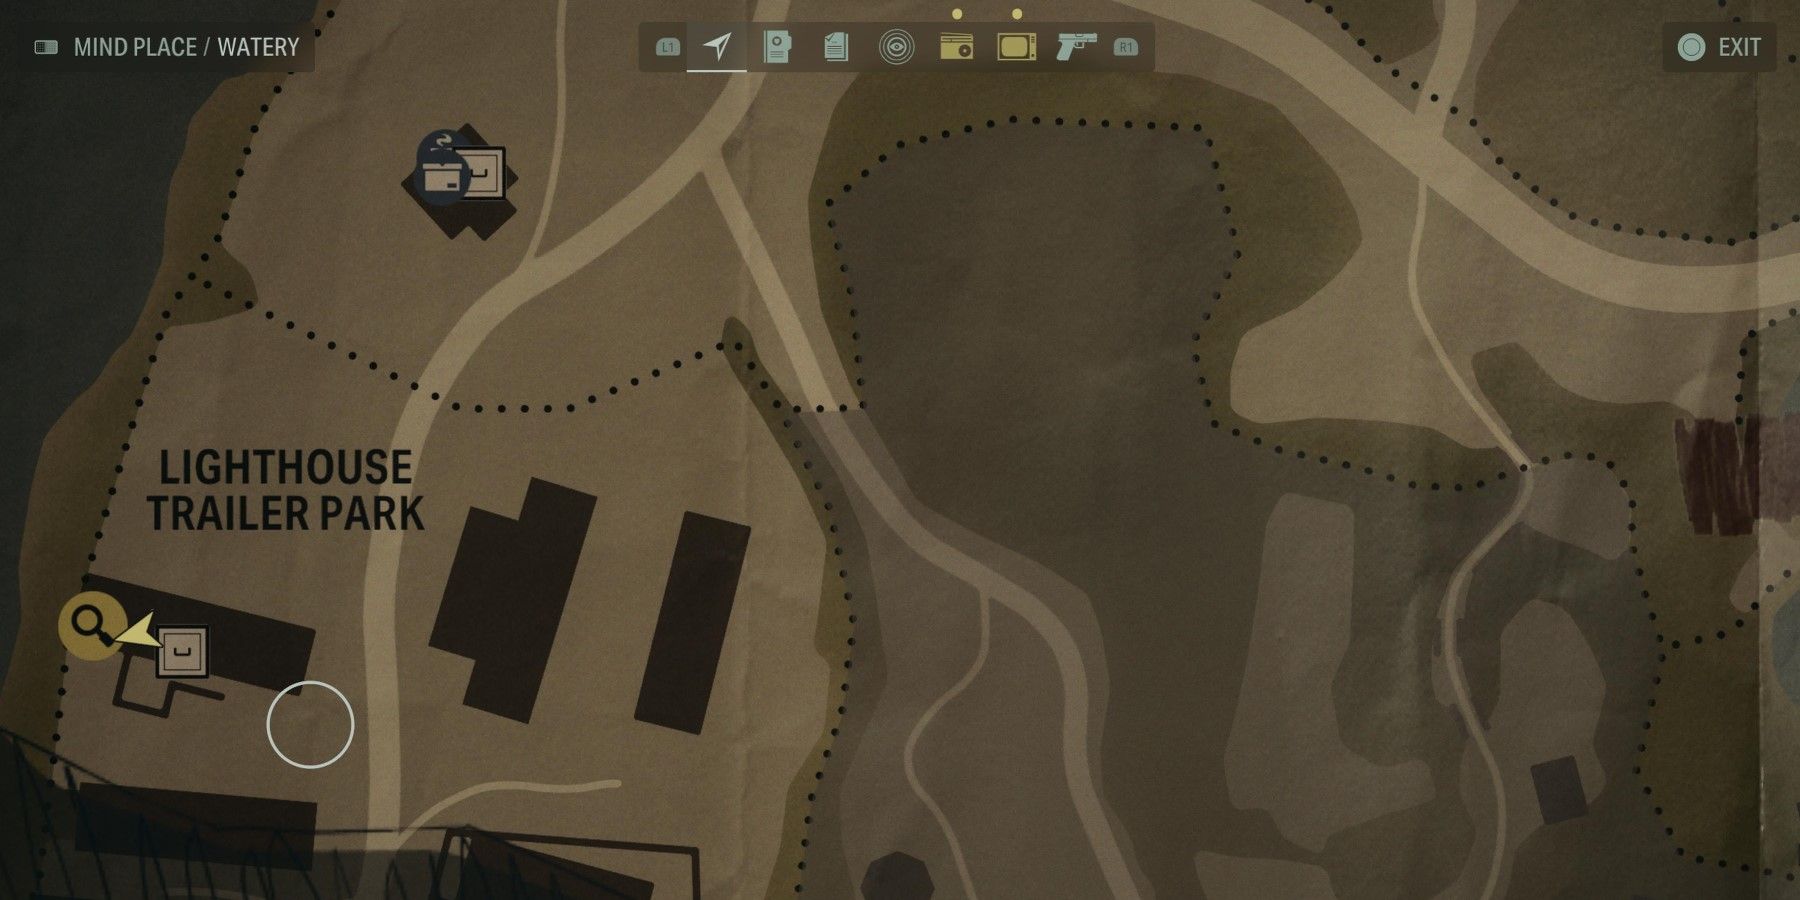
Follow the path out of the park and south toward the Lighthouse Trailer Park. Near the trailers, there is a small building with a save point. Unlock the gate for the trailer park and go in to trigger a cutscene.
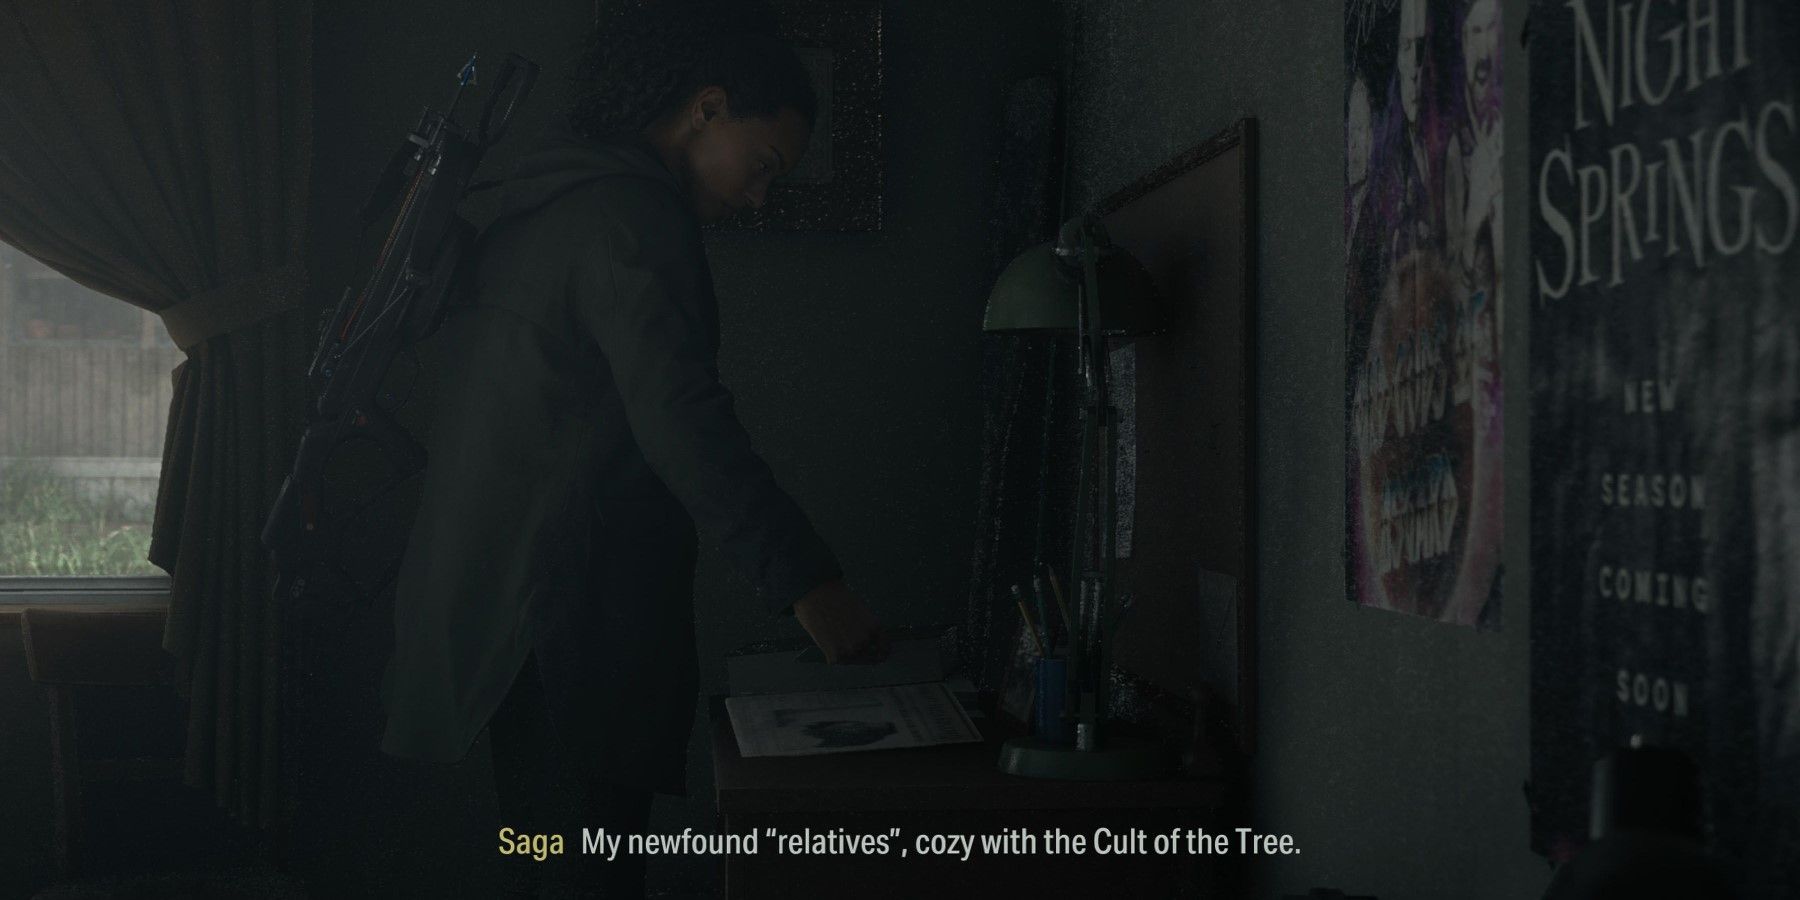
After meeting Odin and Tor, go to the trailer depicted in the image above. Search each room to find clues both in Saga's bedroom and Logan's bedroom.After gathering all the evidence, go to the Case Board and open the Fact or Fiction Case to place the new evidence. Look for a photo of Odin and Tor to trigger a cutscene.
Follow the Cultist
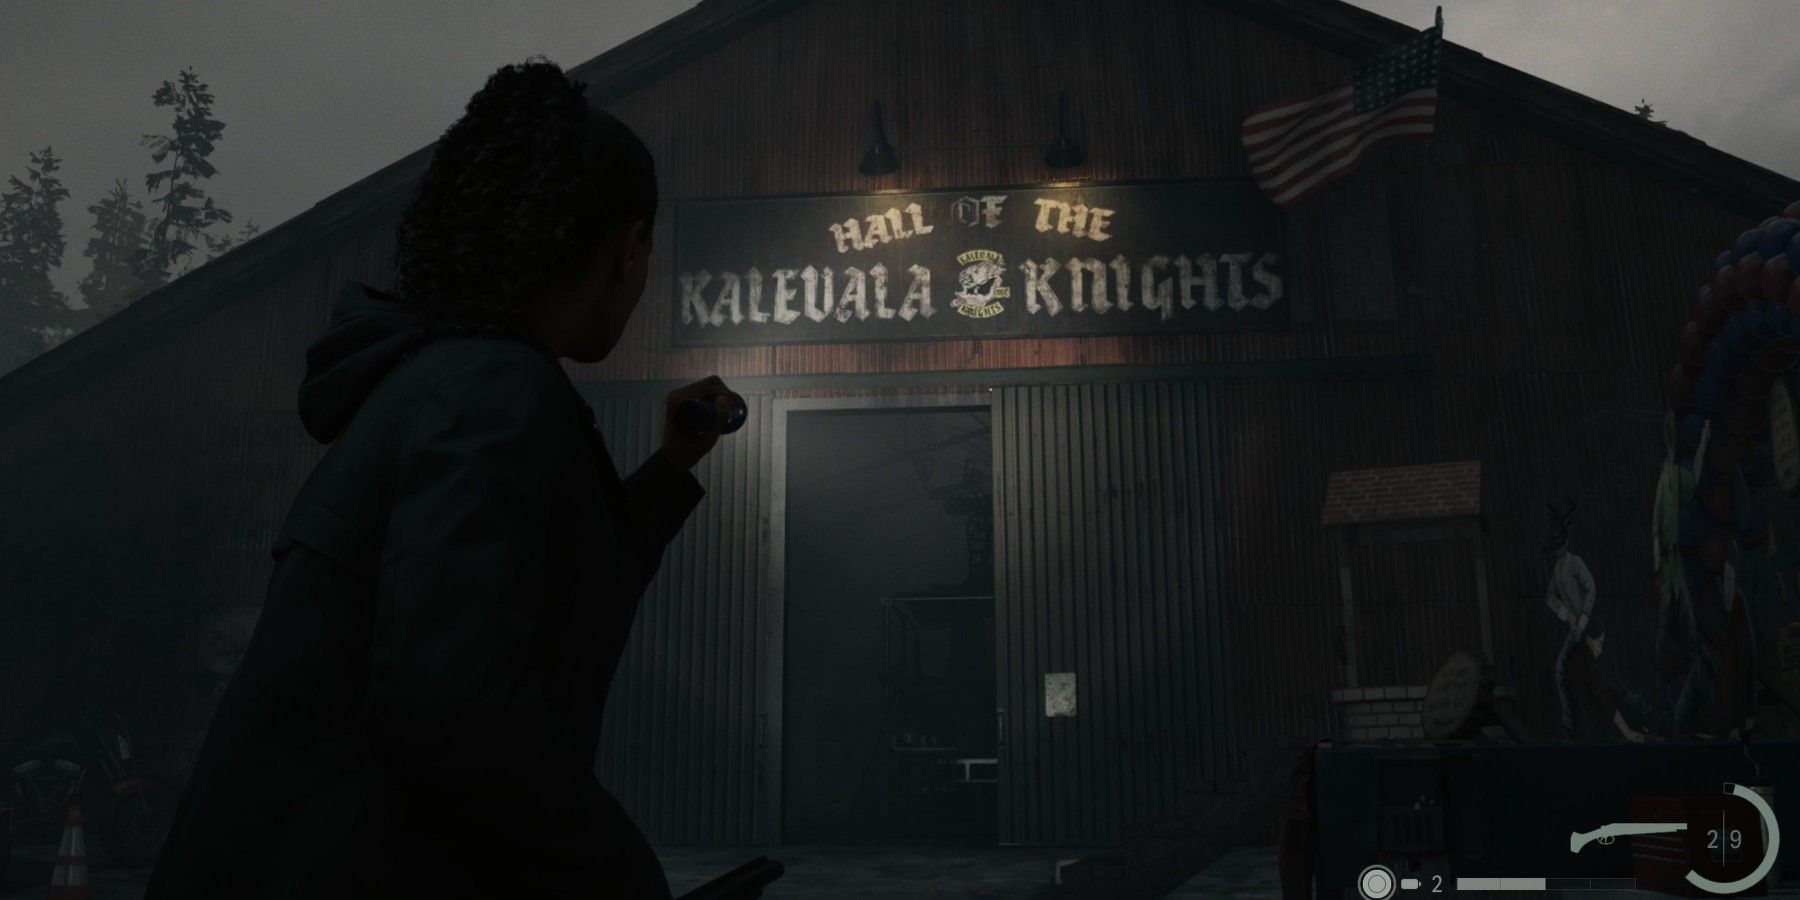
Once the cutscene is over, follow the Taken cultist. This is a good time to save, so make good use of the nearby save point. Go north toward the Kalevala Knights Workshop. Approach the entrance to the warehouse and go inside. In one of the side rooms is a bag that expands inventory.
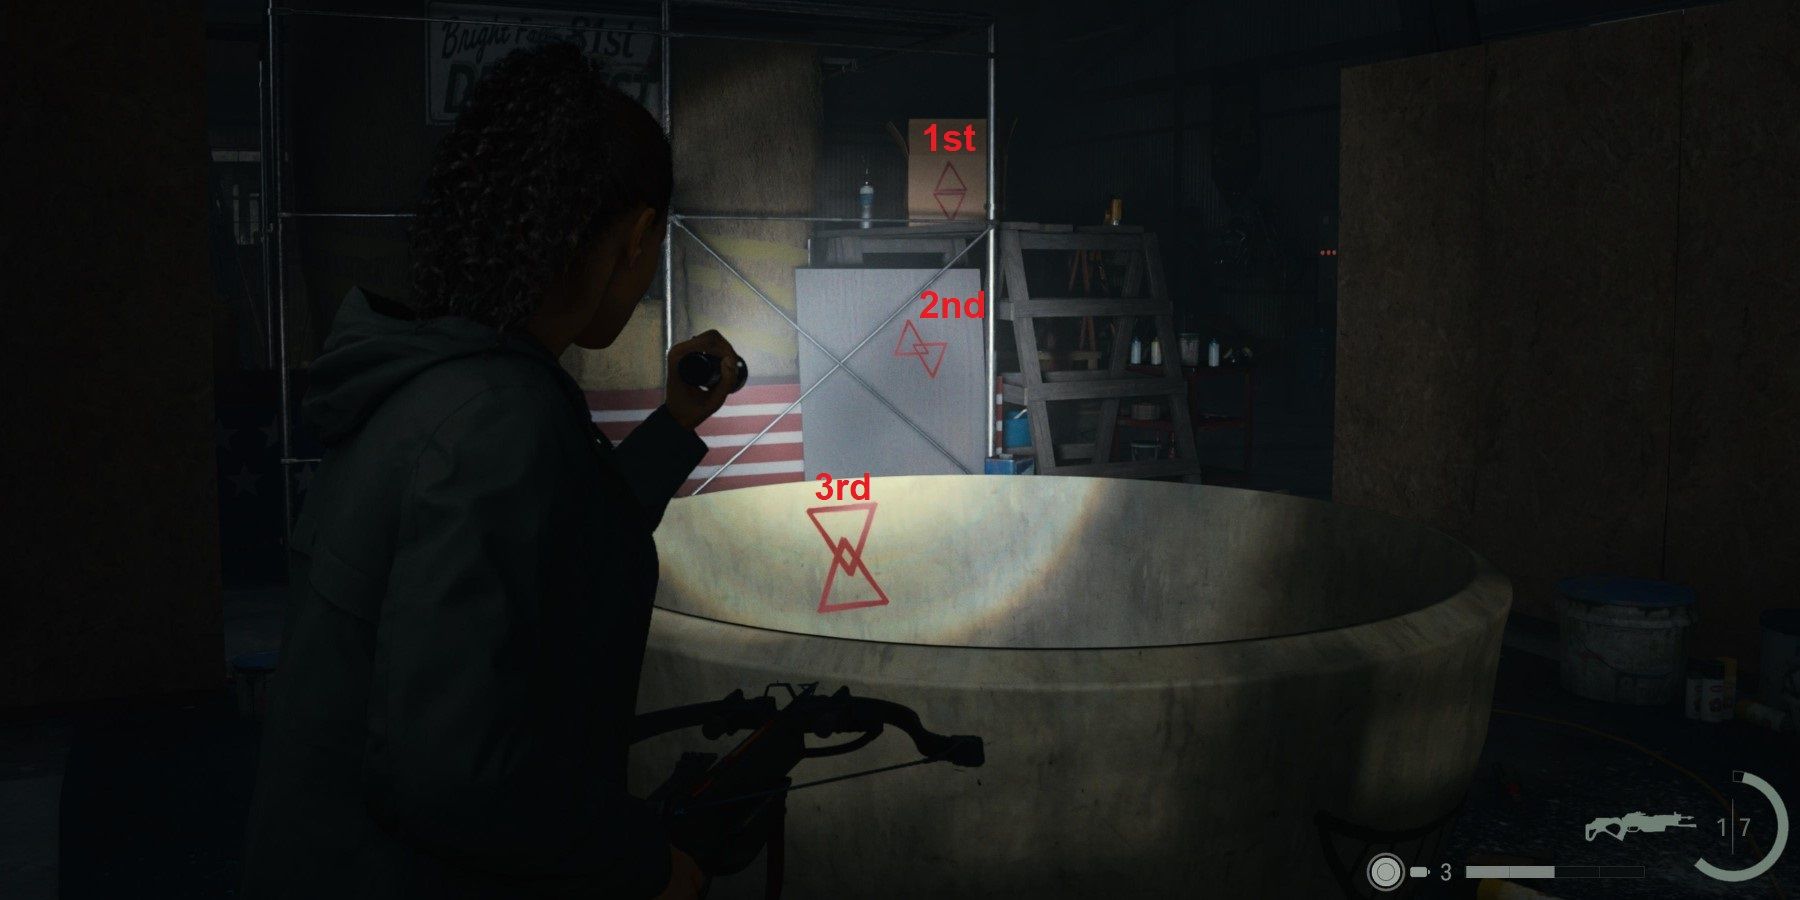
In order to get past the locked door in this room, go back to where the large coffee mug is being built in the warehouse. There are three symbols that can be found as depicted in the image above. The symbol at the top is the first, the one in the middle is the second, and the one in the coffee mug is the third in the sequence.
Go into the room and examine the board for evidence. Save the game and head down to the basement when ready. Walk towards the altar and pick up the Clicker, or attempt to at least. After the cutscene, profile the deputies and then go back upstairs.
Get the Clicker Back
Mulligan and Thorton have the Clicker. While attempting to leave, players will be ambushed by a Taken. Kill it and then approach the darkness blocking the exit. Go outside and pick up the Manuscript Page to progress the story. In order to get into the Overlap where the Clicker is, players will have to finish the float that is outside the warehouse.
Examine the float for clues. Then go to the tent and examine the notepad to learn the locations of the parts needed to finish the float. Three of the parts can be found back at Coffee World. Fortunately, players do not have to backtrack all the way to Coffee World, as there is a shortcut right next to the float.
Before that, players should place the evidence they have found so far onto the Case Board. They will gain the option to profile the Koskelas again. Then after that, profile the deputies twice to learn the location of the mask. Before doing anything else, go to the save point in the warehouse and grab the fuse. Go to the well and pick up the mask. Take it up to the float and put it onto the man who has a face that says "Mask".
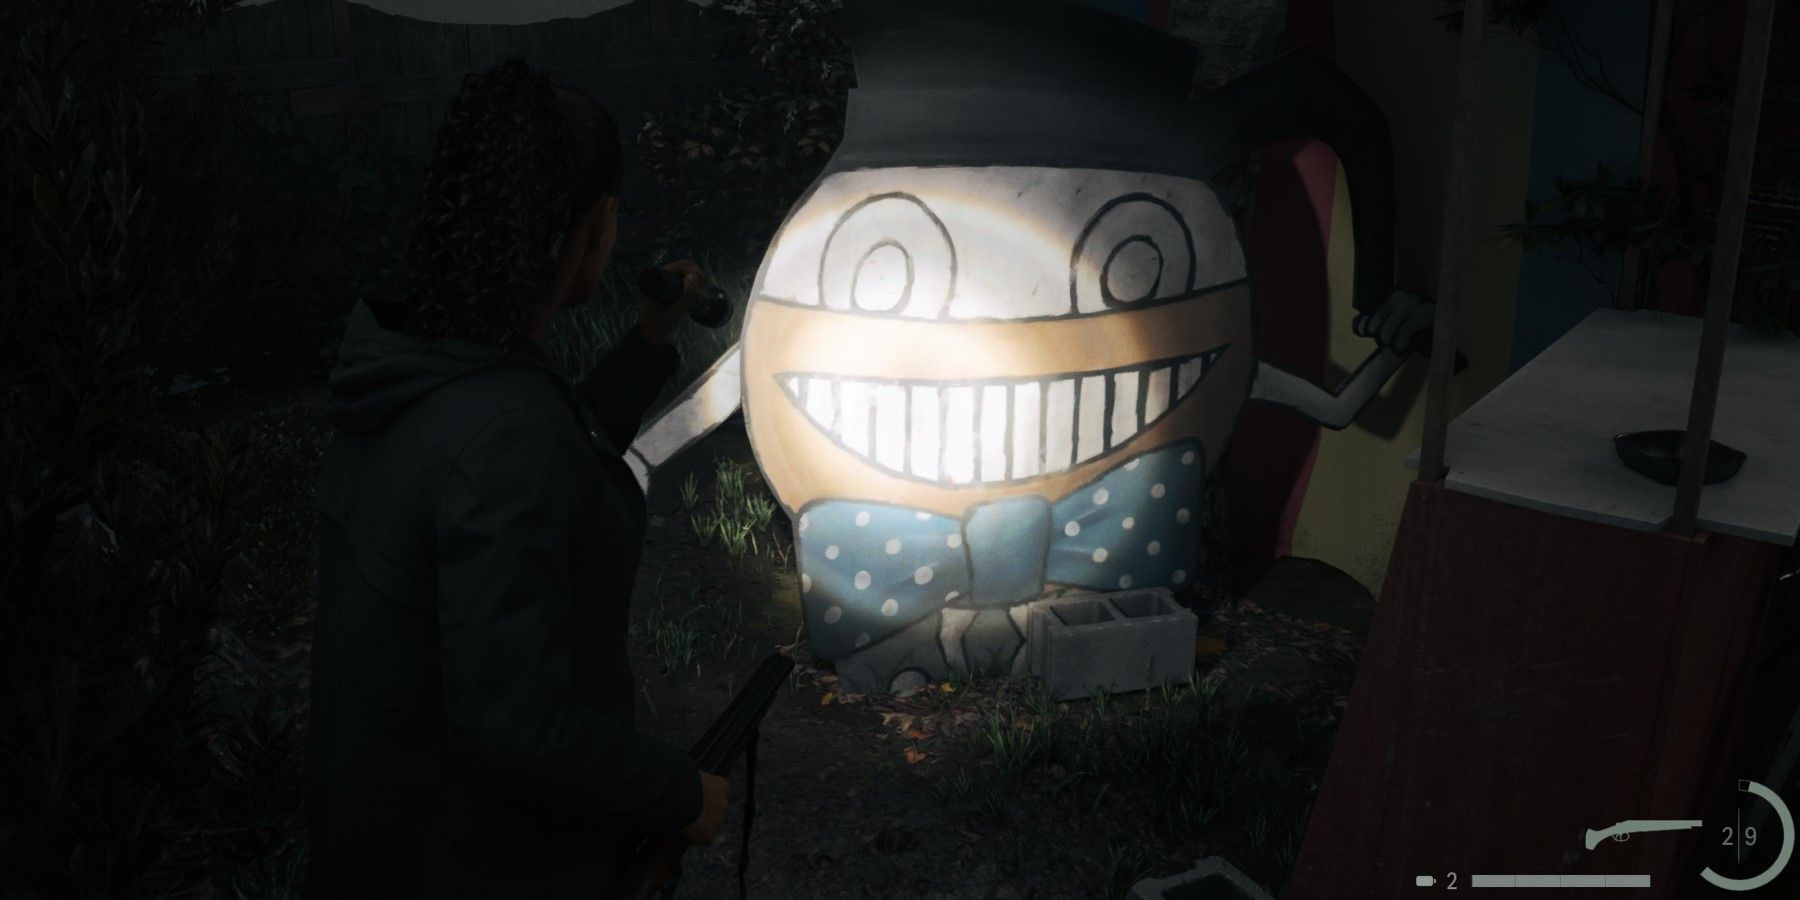
After that, go back to Coffee World and head to the Fair Trade Fun Zone. Find the animated cut-out of Mr. Drippy and take the tape player off of him. Next, go to the gift ship and go inside. Grab the toy knife next to the coffee mugs. Finally, go to the Espresso Express and approach the machine. The circuit board is inaccessible. Go to the control panel for the ride and examine it. The fuse needs to be replaced, so follow the yellow cable to reach the fuse box. Insert the missing fuse and then go back up to the platform.
Activate the control panel and then turn it off when the path to the bottom is clear. Pulling out the circuit board goes the ride to go haywire. Follow the path back to the workshop, but watch out for the two Taken that emerge from the well.
Insert the circuit board onto the float, put the knife into the hand of the model with the moose skull, and then place the tape into the well. With all the parts placed, the path to the Overlap will open. Approach the well and go down the ladder.
Find Mulligan and Thornton
Follow the path out to a new area. Approach the dock and then follow the path of wood planks, which leads deeper into the woods. Eventually, players will come across a well that leads down. Follow this path to eventually loop back to where players started. Approach the well again, and then follow the path that is behind it after the jump scare.
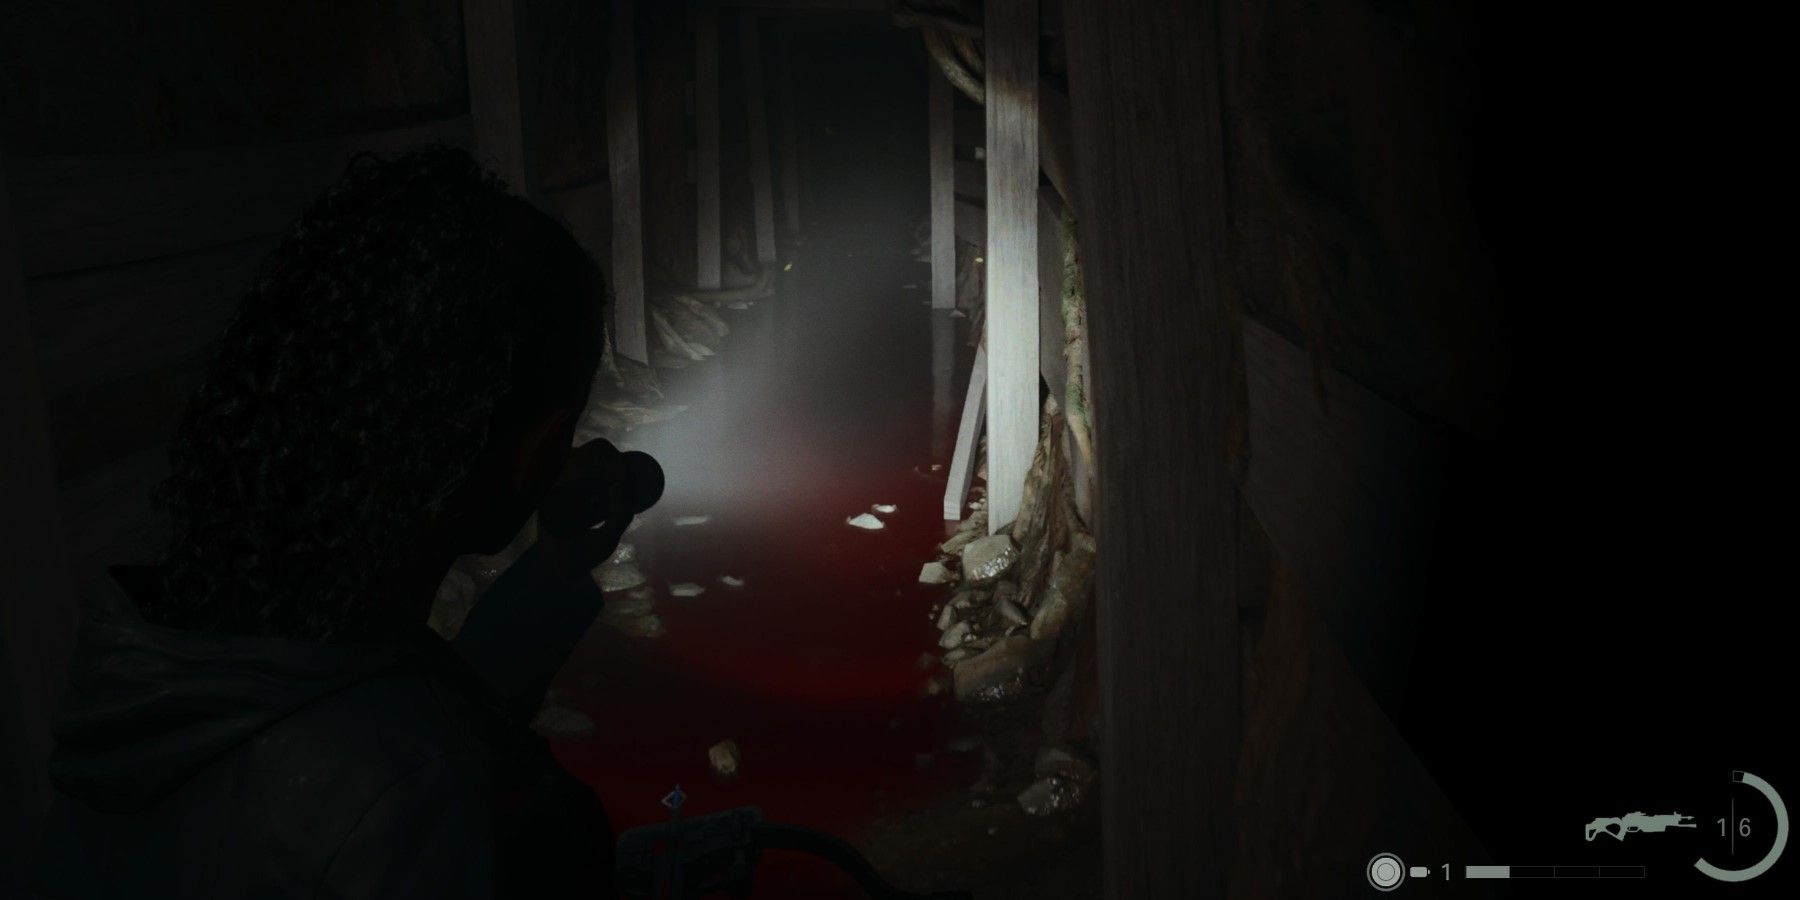
Keep going forward and follow the sound of music as much as possible. Eventually, players will come across the well again, and it will not be filled with blood. Go down the ladder to loop back to the cabin. Turn off the radio on the table and continue following the same path. There is a shoebox and supplies nearby, which can only mean one thing.
How to Beat Mulligan and Thornton
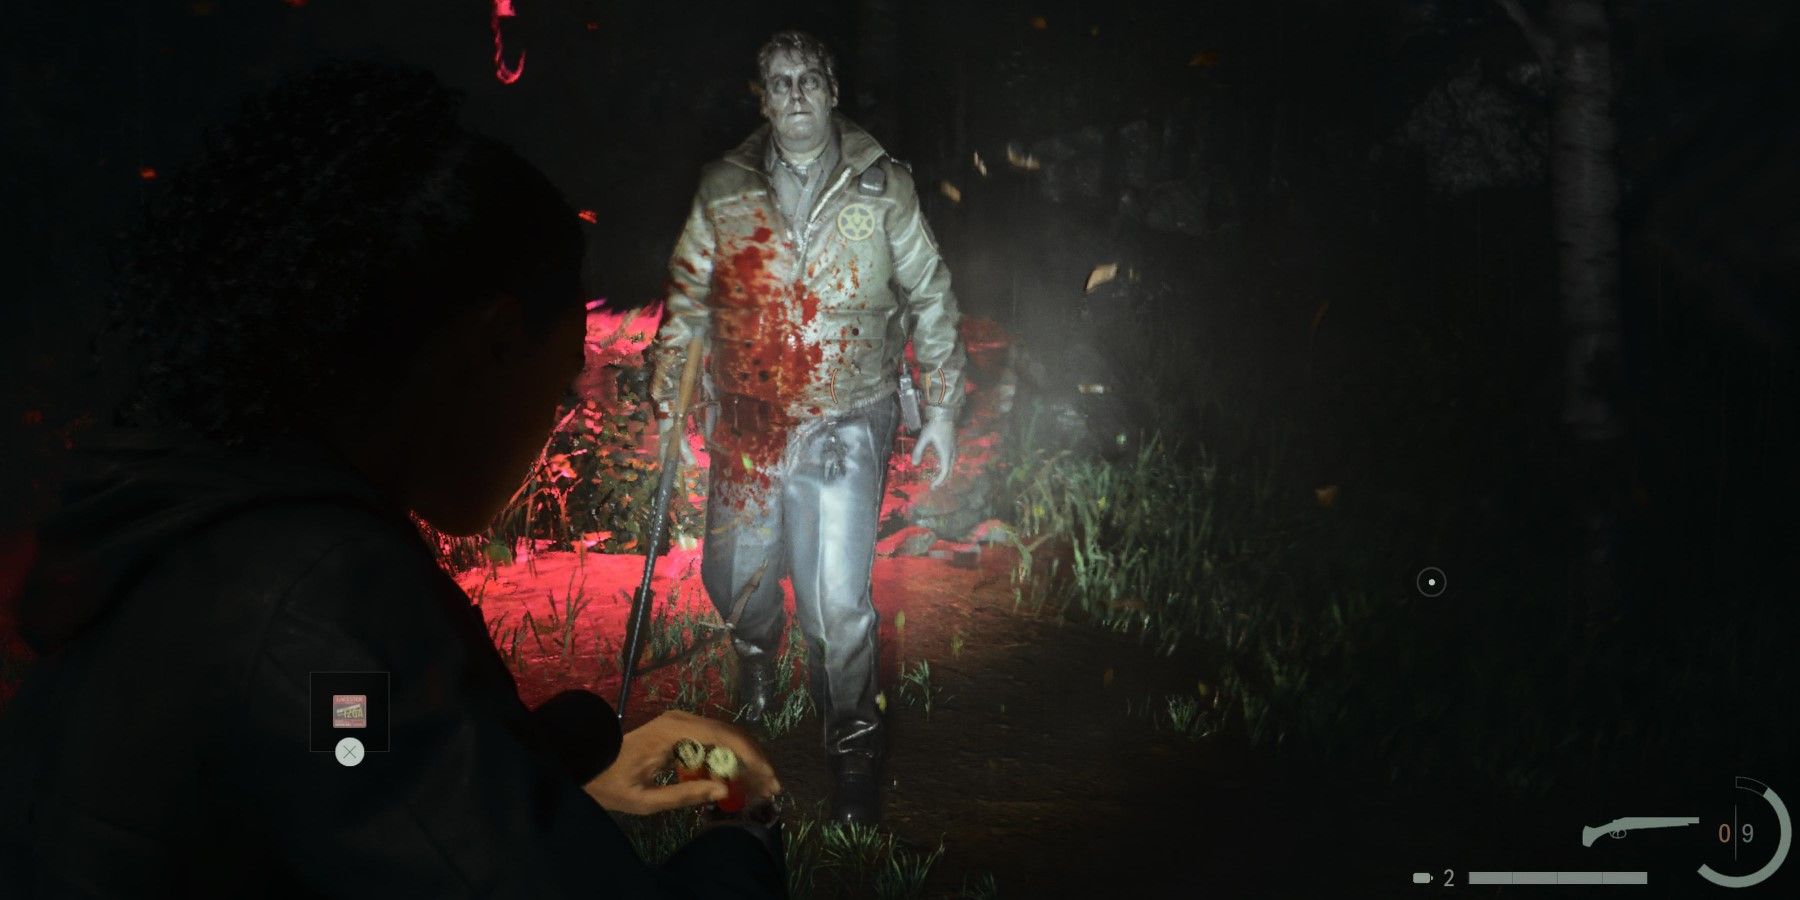
It is time for a boss battle. But unlike Nightingale, Mulligan and Thornton take some strategy to defeat. While they are both easy to kill, they will keep reemerging from the well every time they die. Not only that, but they have guns (unlike any other Taken encountered up to this point). Obviously, getting shot hurts, so players will want to avoid this.
In order to defeat them, players will need to look around for dark clusters around the arena that can be destroyed by focusing the flashlight on them. It is best to do this while Mulligan and Thornton are respawning. Once Saga comments that they will not return, it is time to kill the two crooks for good. Once both of them die, players will earn an achievement/trophy. Once the cutscene ends, head back to the car and go to Bright Falls to bring the chapter to an end.
Alan Wake 2
- Platform(s)
- PC , PS5 , Xbox Series S , Xbox Series X
- Released
- October 27, 2023
- Developer(s)
- Remedy Entertainment
- Publisher(s)
- Epic Games

